Ceramic Illustration and Modeling Techniques
A course by Pepa EspinozaArchitect, ceramist, and illustrator
A course by Pepa Espinoza, Architect, ceramist, and illustrator

Transform your illustrations into ceramic pieces full of volume and color
The merging of different artistic languages and creative processes can give life to unique compositions, as shown by the Chilean artist Pepa Espinoza, who explores two of her specialties in her creations: ceramics and illustration. By linking these two areas, her ceramic pieces gain color and texture, and her illustrations, beyond the paper, acquire a new dimension giving life to decorative and utilitarian objects.
In this course, learn how to give volume to your illustrations, taking an image from paper to ceramics and creating a piece with textures and decorative techniques. To do this, learn, step by step, the different manual processes of modeling and the materials to illustrate and color your ceramic pieces by applying different types of paint. By the end, you will be able to create unique pieces with your own hands.
What will you learn in this online course?
17 lessons & 24 downloads
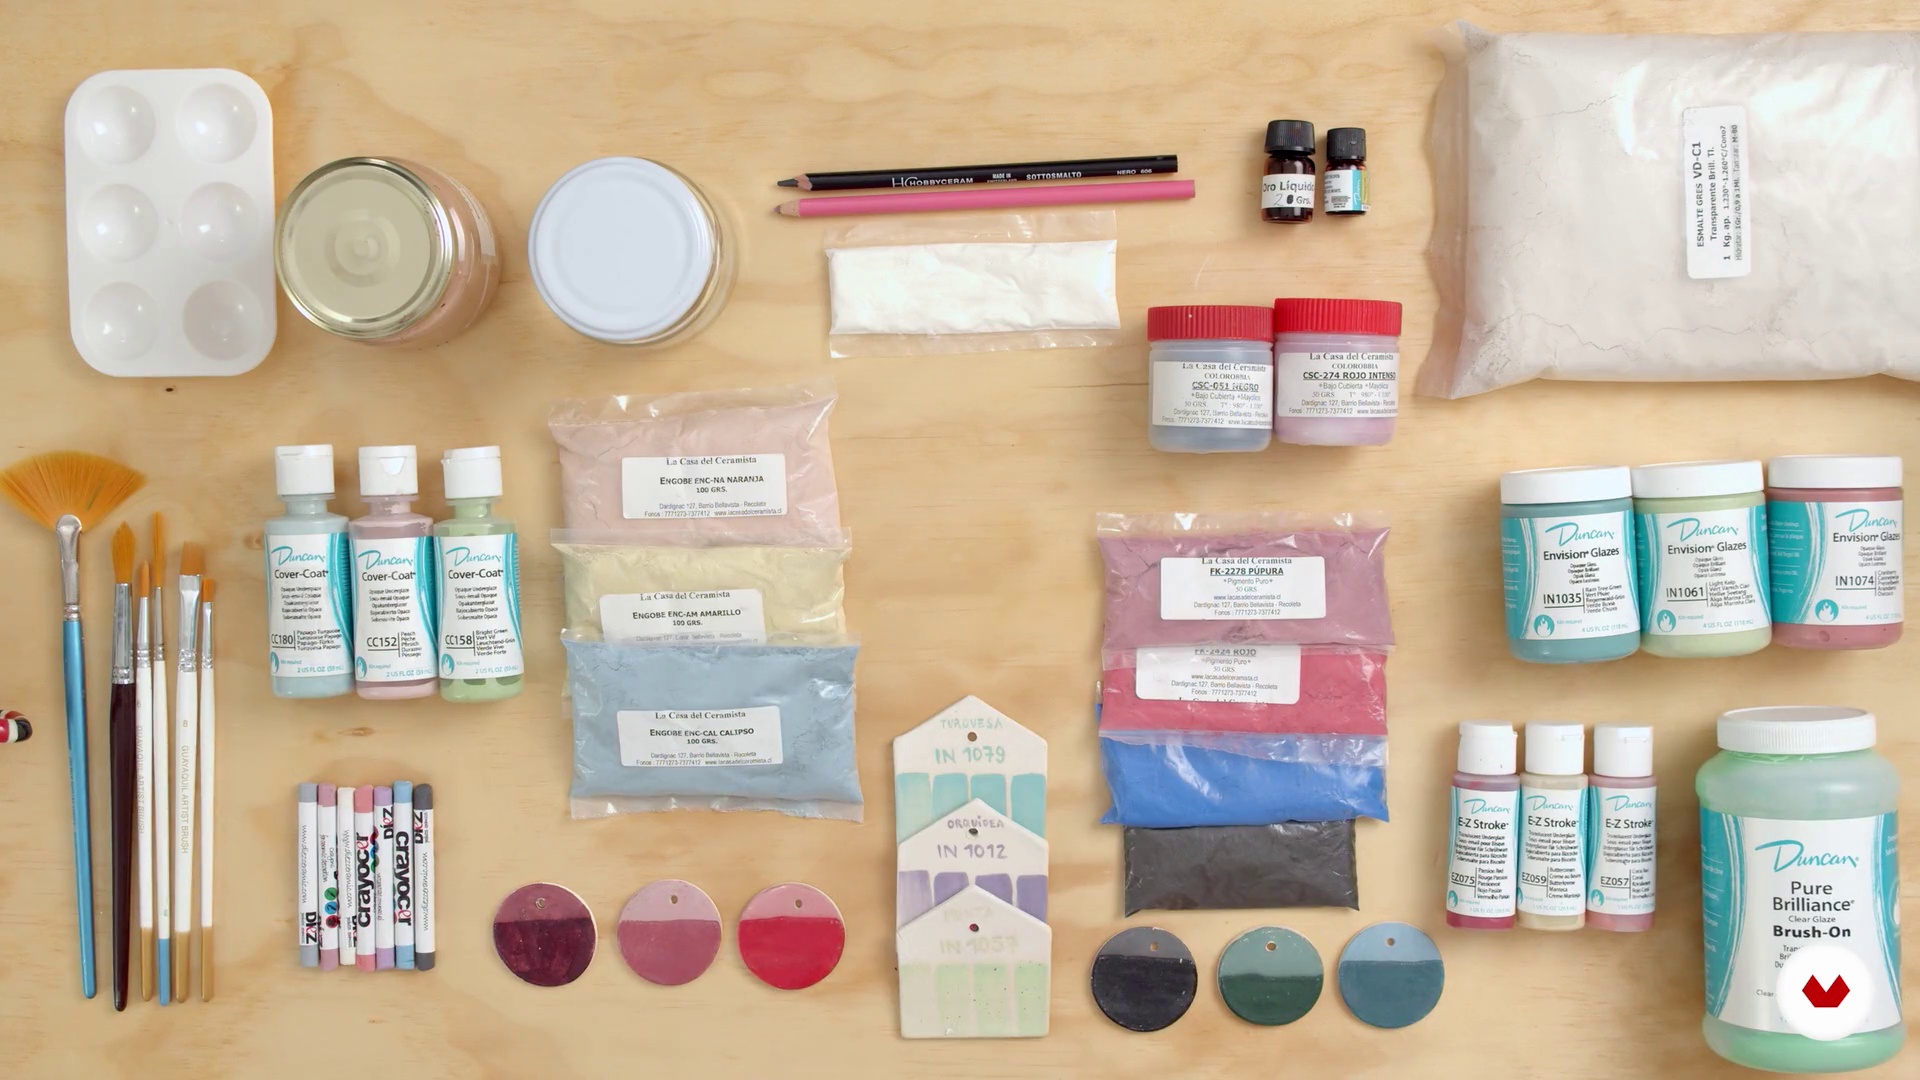
Types of ceramic paints and decorating tools
12 minutes, 57 seconds
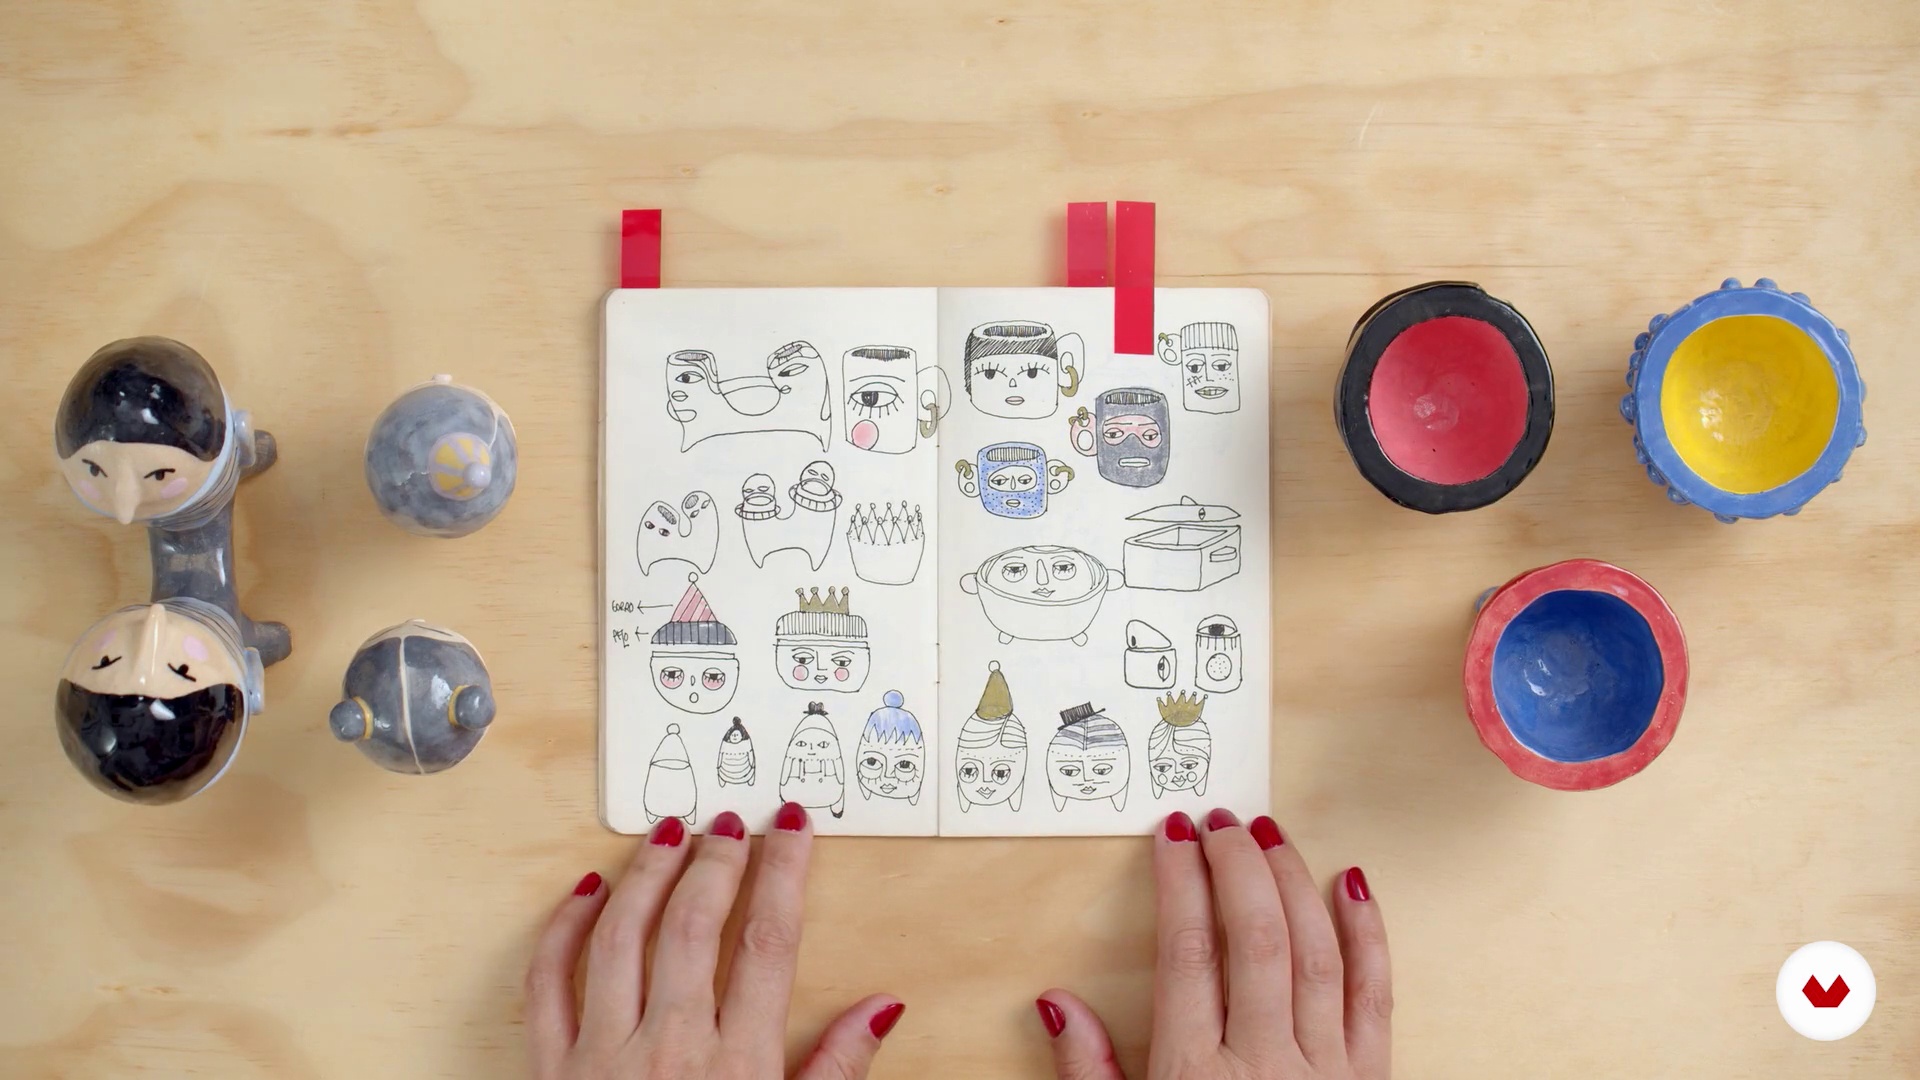
Illustration exercise
6 minutes, 55 seconds
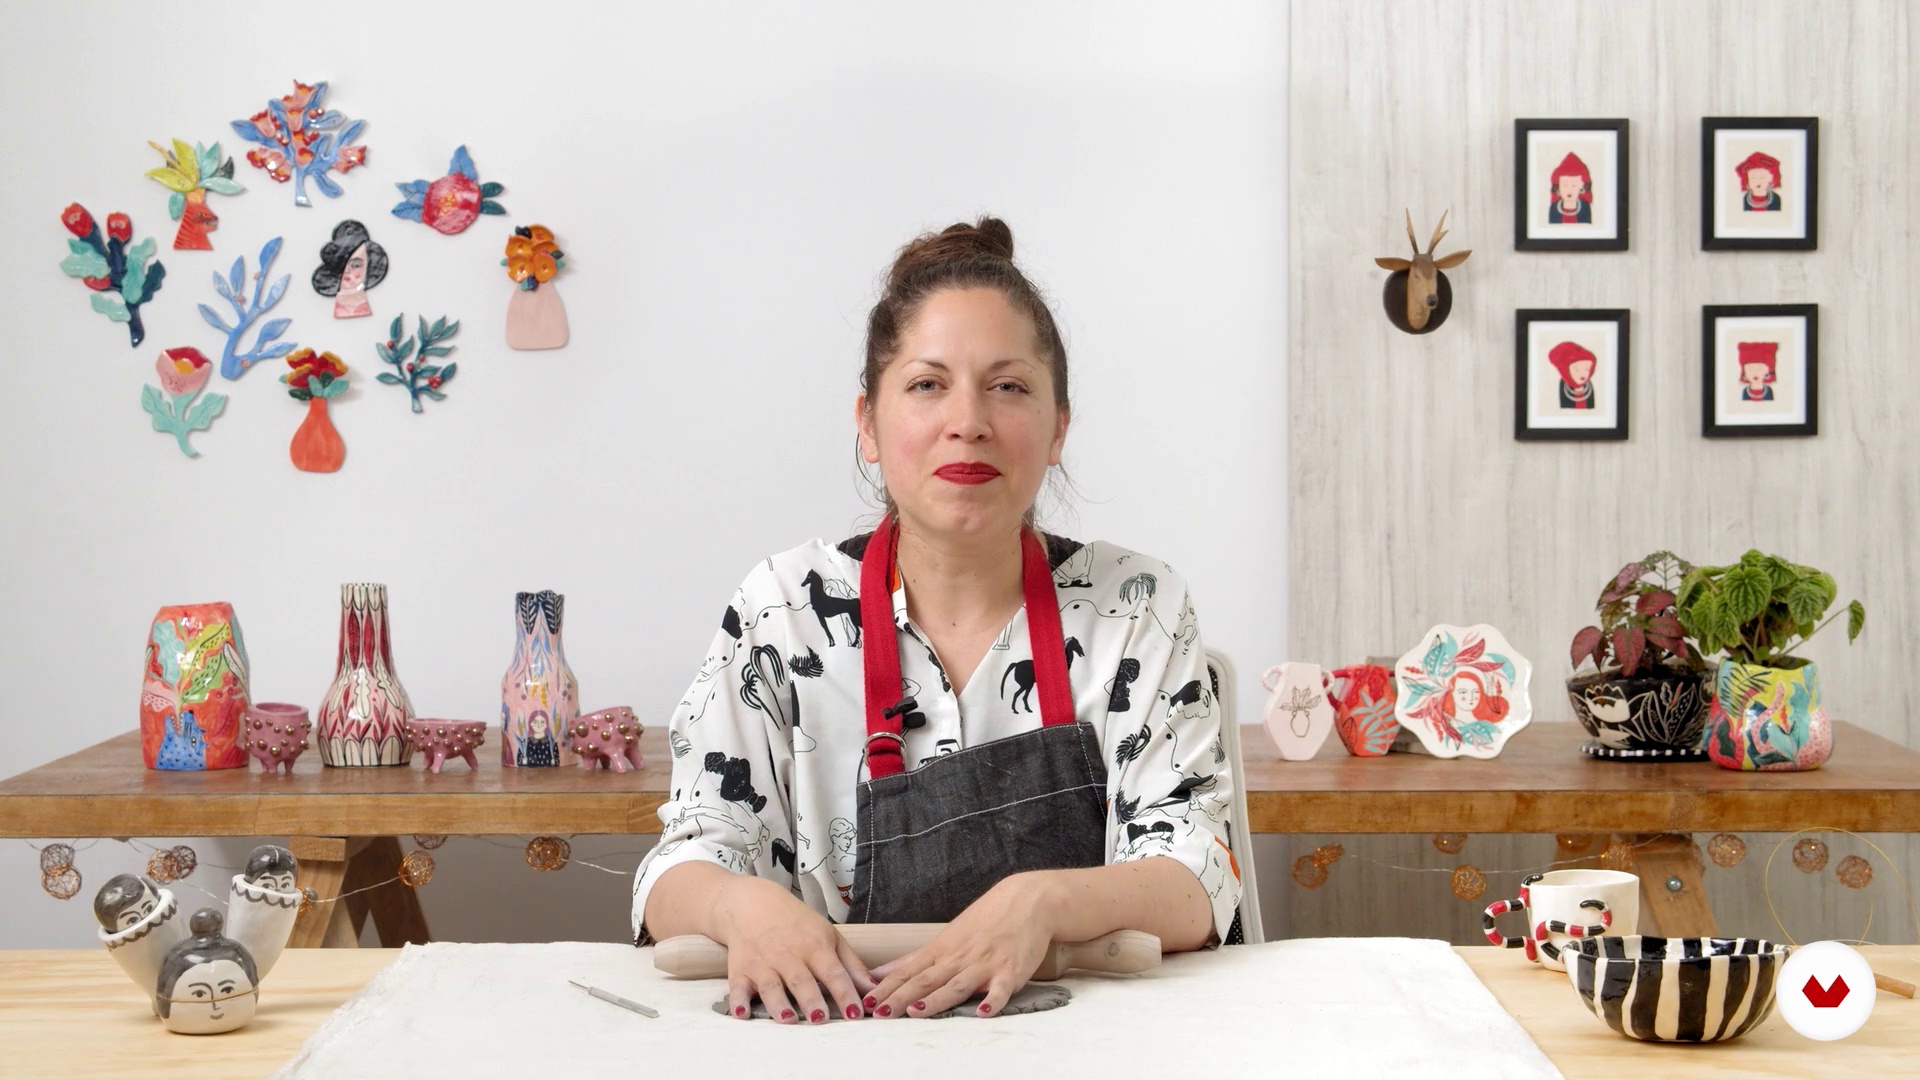
Kneading and recycling the clay
7 minutes, 50 seconds
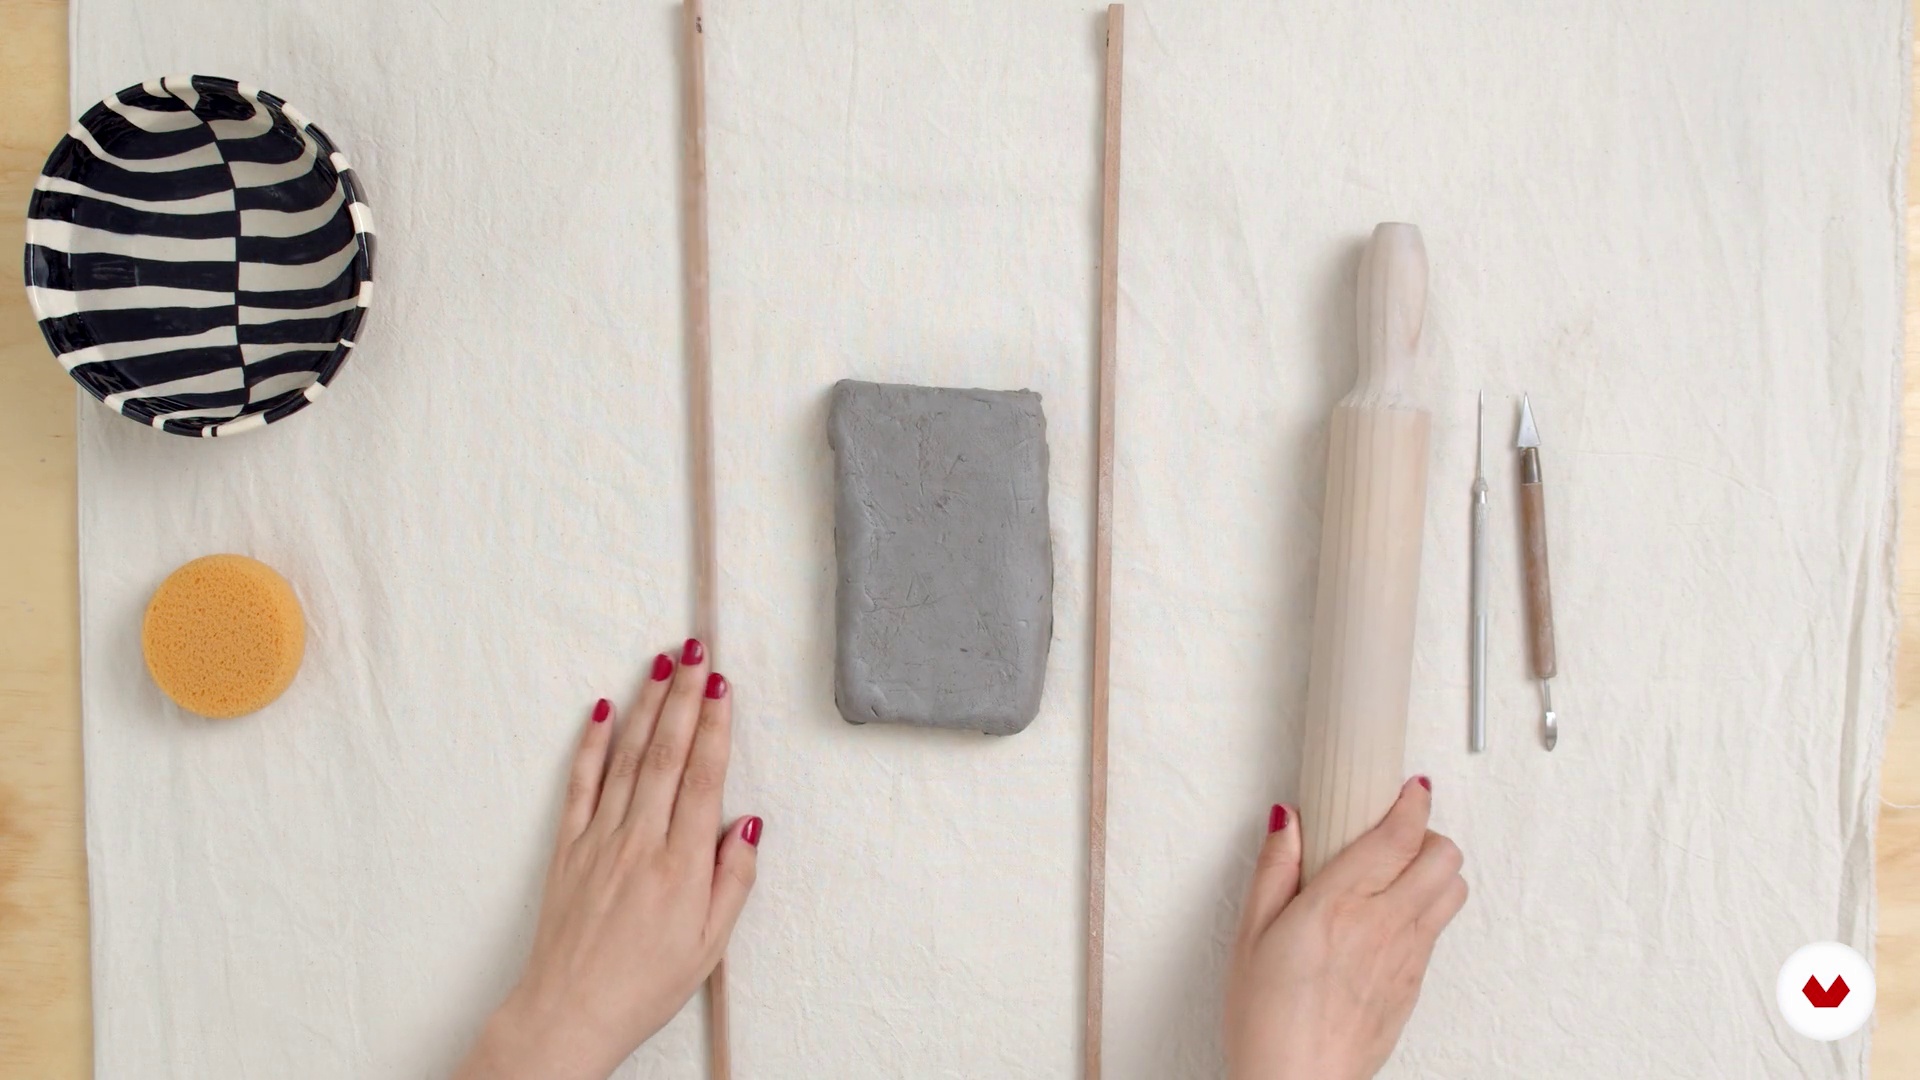
Basis of illustration using the plate technique
12 minutes, 7 seconds
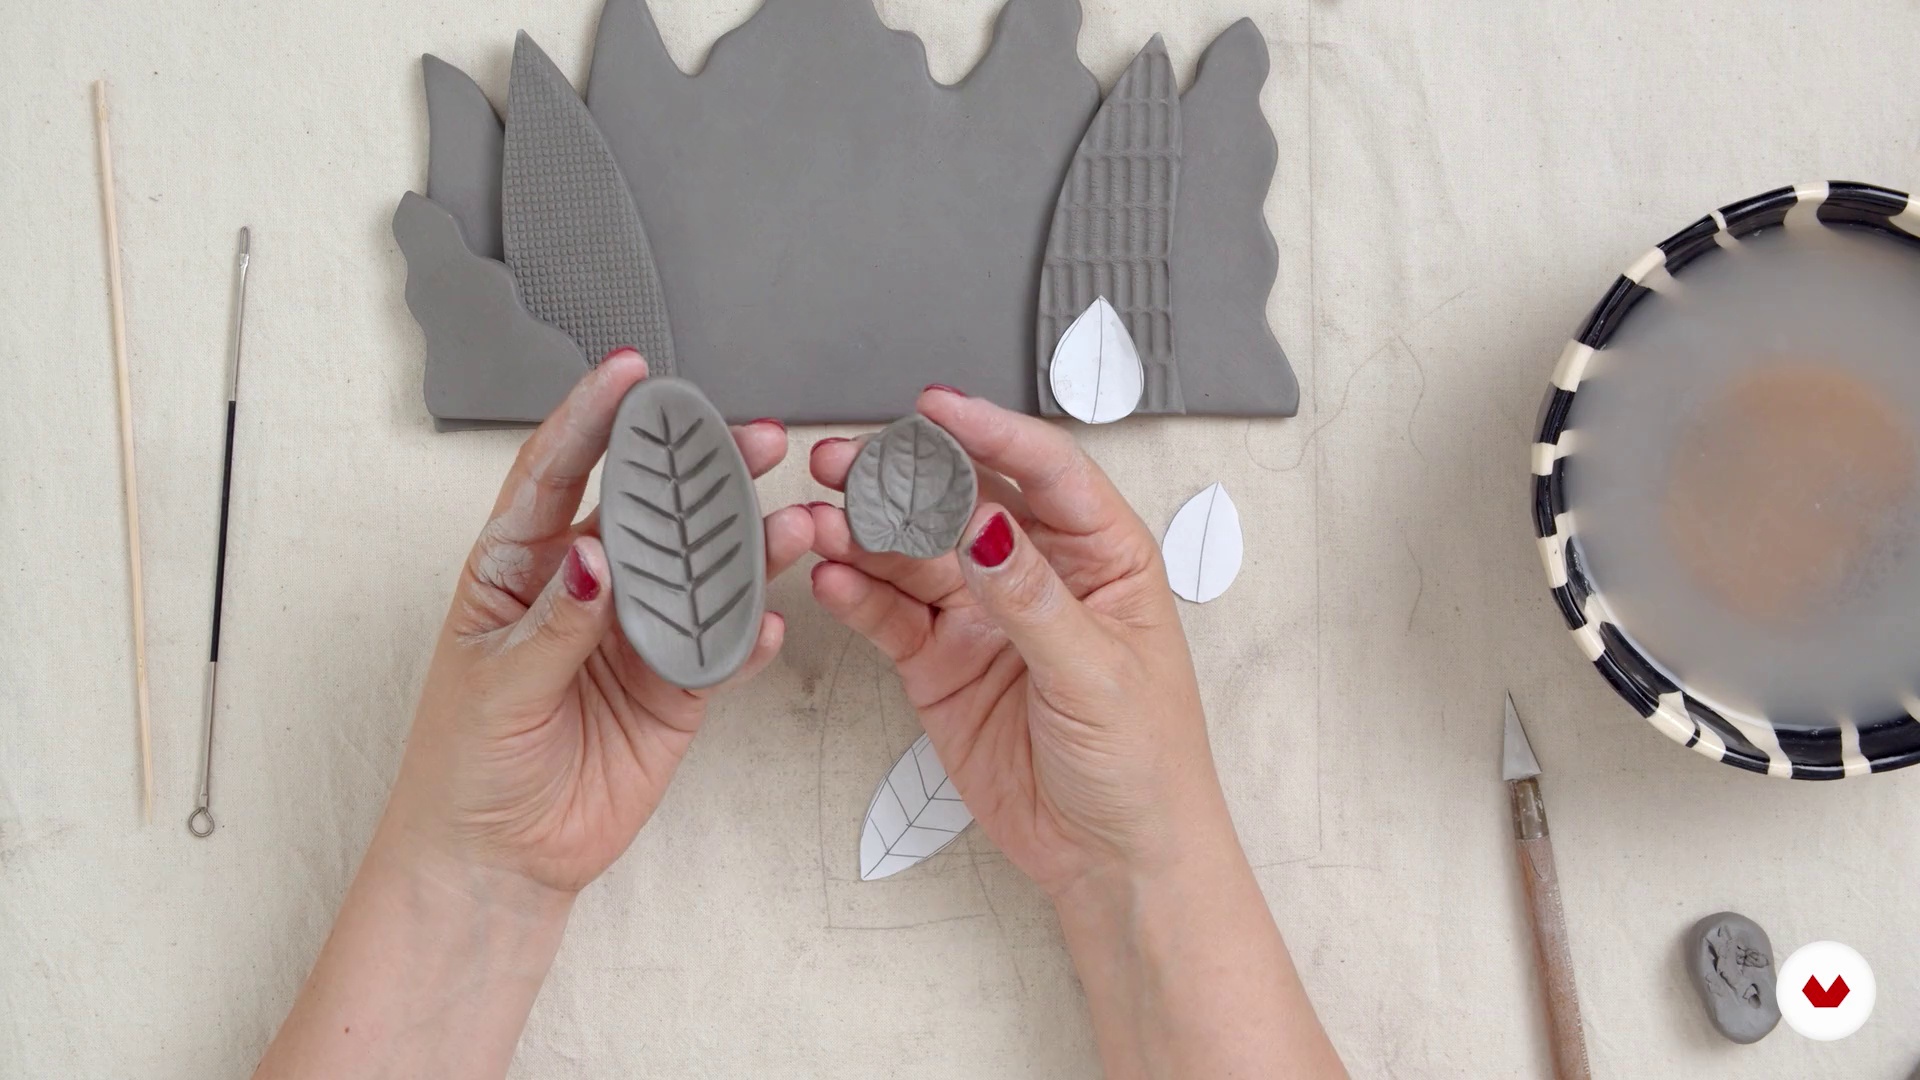
Volume using the pinch technique
15 minutes, 5 seconds
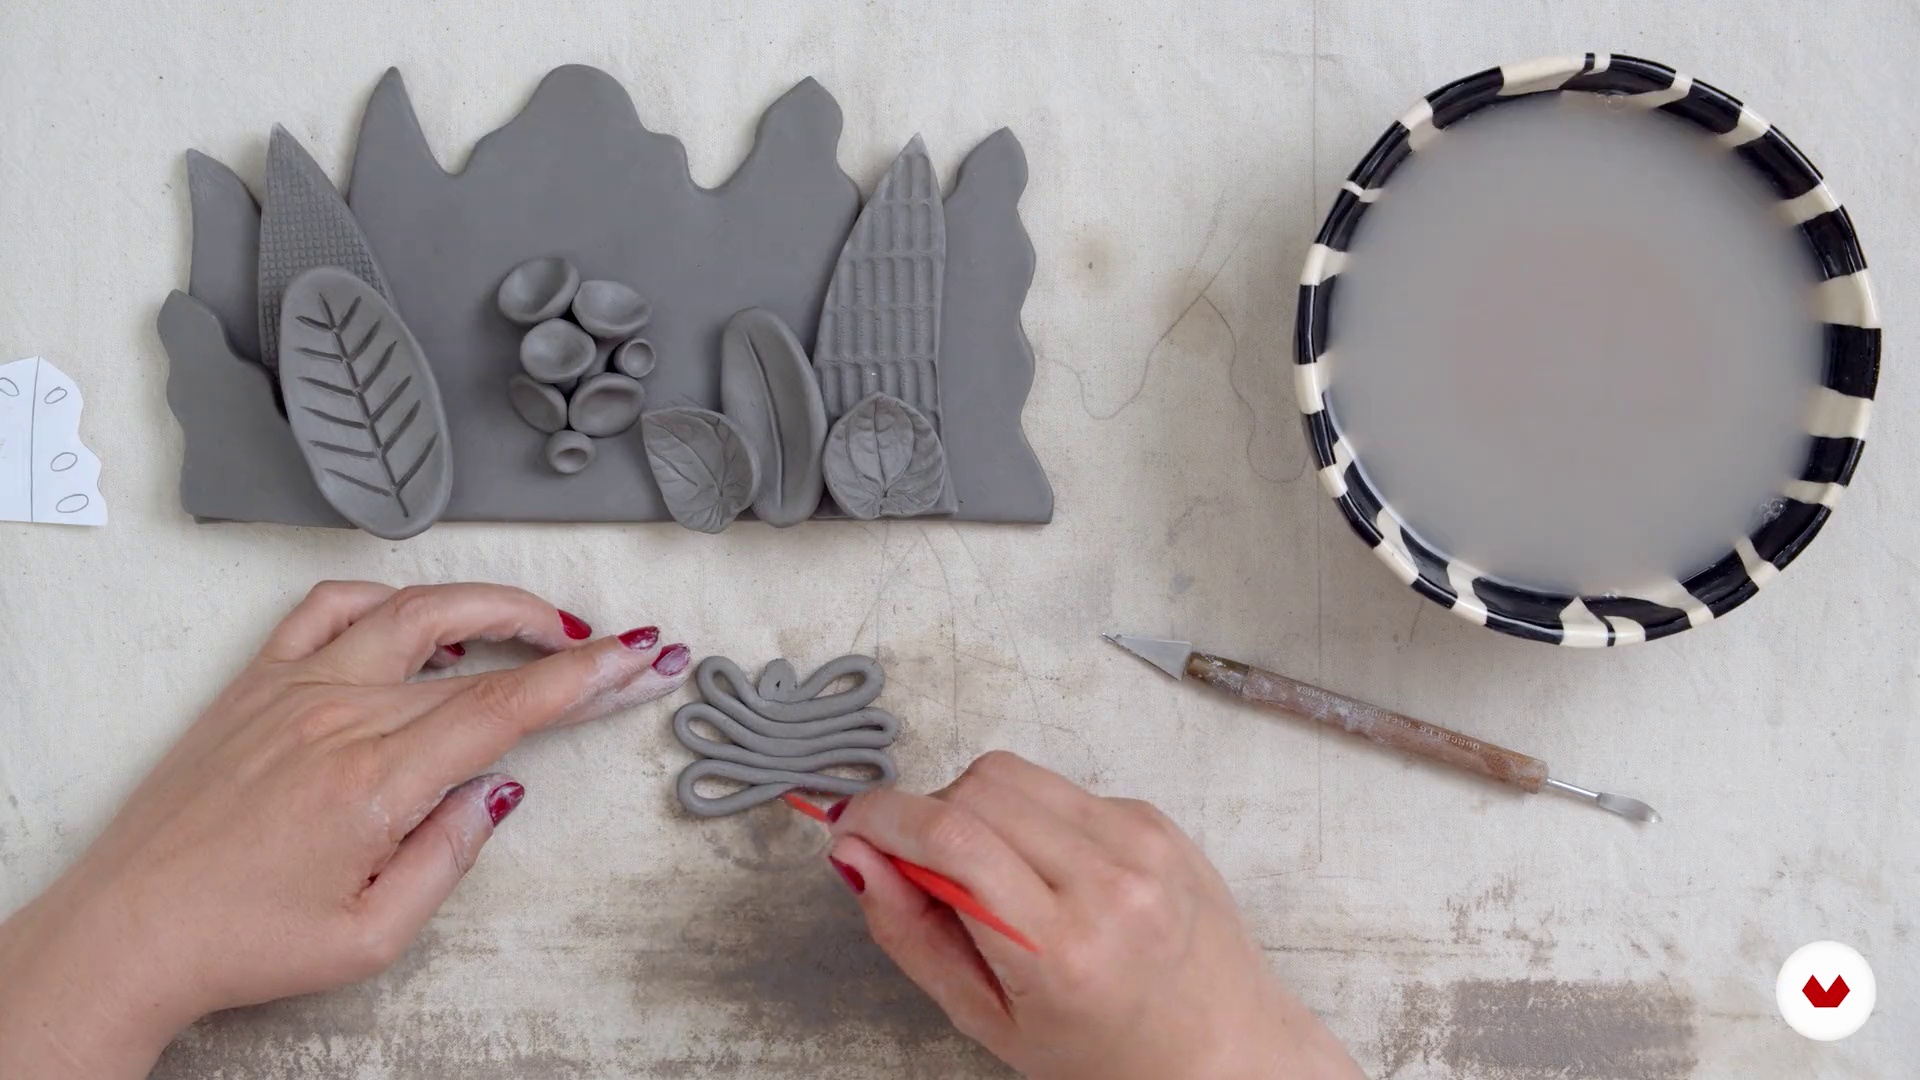
Details using the roll technique
13 minutes, 12 seconds
What's included in this course?
You will start by meeting Pepa, who will tell you how she went from architecture to ceramics and how this material caught her attention. You will learn about her influences and everything that inspires her when creating a new piece.
In the second unit, learn about the varieties of clay that exist and how they behave; also, see the different types of paint for ceramics and their main characteristics. Pepa shows you how to organize and visualize your themes and ideas so that, from them, you can create a sketch on paper.
After having your sketch finished, put your hands in the clay and start modeling, learning different manual techniques such as pinching, rolls, and plates. Explore the potential of each one so that you can create the effects you want and create the basis for your ceramic illustration.
In the next stage, finish shaping your ceramic illustration and learn different painting techniques: from engobe to the use of pigments, glazes, and pencils. Pepa teaches you more about the materials and their behavior in the different stages of burning.
Finally, see how to give a touch of light to your illustration using the "golden glow". Pepa gives you a few final tips so that you can transport your pieces, preserving the work, and avoiding possible damage.
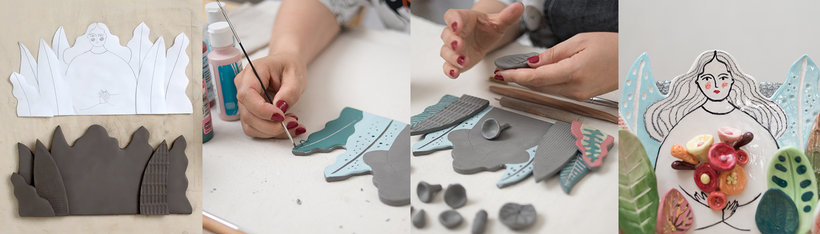
What is this course's project?
Create a ceramic illustration with volume, where you will put into practice different modeling and illustration techniques to personalize your piece.
Projects by course students


Who is this online course for?
Anyone who wants to learn something new and explore the possibilities of ceramics, through a pleasant and relaxing process.
Requirements and materials
To take this course you do not need previous knowledge, but if you already have it you can explore new techniques to combine ceramics and illustration.
As for the materials, you will need a basic ceramic kit or you can use, as an alternative, tools that you find at home such as ice cream sticks, needles, sponge, roller, fishing line, old fabrics. You will also need clay and paints for ceramics. Finally, you will need access to a craftsman's oven or pottery workshop in which you can rent an oven. This is not necessary if you use air-drying clay.
Reviews
- 4 months ago
Fantastyczny kurs! Objaśniający krok po kroku wszystkie zagadnienia! Interesujący zarówno dla początkujących, jak i dla zaawansowanych, ale chcących poszerzyć umiejętności o nowe techniki. Prowadząca posiada dużą wiedzę i w sposób przystępny tłumaczy proces. Dzięki temu można uniknąć bardzo kosztownych błędów, z uszkodzeniem pieca włącznie. Polecam wszystkim!
- 7 months ago
Fantastic course. Very thorough and great for beginners. I learned so much.
- 8 months ago
excelentes explicaciones y tecnicas! felicitaciones!
- 9 months ago
Pepa's corse was incredible. She is very detail oriented and explains every process and techniques . I recommend this course. Thank you!!
- 10 months ago
Eu já conhecia o trabalho da Pepa nas redes sociais, e quando vi que ela tinha um curso a domestika fiquei muito feliz! Adorei ela ter usado várias técnicas na mesma peça, a explicação é muito boa e passei a admirar ainda mais o trabalho dela.

A few years ago she opened her own brand, Pepa Espinoza, where she develops ceramic collections that combine volume and illustration, resulting in decorative and functional pieces. Her style is characterized by a fusion of reality and fantasy, creating magical worlds where nature, dreams, and colors are always present.
Currently, in her studio in Chile, she also teaches ceramics and illustration classes for all those who want to create with their own hands.
Content
- U1
Introduction
- Presentation
- Influences
- What Will We Do on This Course?
- U2
From drawing to ceramics
- Types of clay and tools for modeling
- Types of ceramic paints and decorating tools
- Visualizing an idea
- Illustration exercise
- U3
Hand modeling techniques
- Kneading and recycling the clay
- Basis of illustration using the plate technique
- Volume using the pinch technique
- Details using the roll technique
- U4
Illustration techniques in ceramics
- Illustrate with engobes
- Compose and paste
- Illustrate with pigments
- Illustrate with enamels and ceramic pencils
- Shine
- Tips for transporting your pieces
- FP
Final project
- Ceramic Illustration and Modeling Techniques
What to expect from a Domestika course
Learn at your own pace
Enjoy learning from home without a set schedule and with an easy-to-follow method. You set your own pace.
Learn from the best professionals
Learn valuable methods and techniques explained by top experts in the creative sector.
Meet expert teachers
Each expert teaches what they do best, with clear guidelines, true passion, and professional insight in every lesson.
Certificates
PLUSIf you're a Plus member, get a custom certificate signed by your teacher for every course. Share it on your portfolio, social media, or wherever you like.
Get front-row seats
Videos of the highest quality, so you don't miss a single detail. With unlimited access, you can watch them as many times as you need to perfect your technique.
Share knowledge and ideas
Ask questions, request feedback, or offer solutions. Share your learning experience with other students in the community who are as passionate about creativity as you are.
Connect with a global creative community
The community is home to millions of people from around the world who are curious and passionate about exploring and expressing their creativity.
Watch professionally produced courses
Domestika curates its teacher roster and produces every course in-house to ensure a high-quality online learning experience.
FAQs
You’ll learn hand-building techniques like slab, pinch, and coil methods; decorating with slips, pigments, and gold luster; plus how to handle tools, pack, and fire your work to create professional-quality ceramics.
This course is designed for beginners to intermediate learners, with step-by-step explanations of techniques and tools to support gradual learning.
You’ll need clay, slips, pigments, glazes, brushes, modeling tools, a rolling pin, sponge, wire cutter, slip, and a kiln. The course also suggests homemade alternatives for basic tools.
The slab technique involves rolling out clay into even sheets to build geometric shapes or assemble parts. It’s perfect for making bases, plates, and flat objects.
Air bubbles are removed by properly kneading the clay—cutting, pressing, and folding it—to create a smooth, consistent texture and prevent cracks during firing.
Slip is a liquid mix of clay and pigments applied to pieces for decoration before firing. Colored clay is clay mixed with colorants from the start and shaped directly.
Gold luster is brushed on glazed and fired pieces using a special brush. It requires a third firing and must be applied in a well-ventilated area due to solvents.