


Embroidery Tutorial: the grid stitch

Learn step by step how to illustrate with the grid stitch technique with Yolanda Andrés
Yolanda Andrés (@yolandandres) grew up in a town surrounded by friends and family with the women in her life. But she hung up the thimble to dedicate herself to graphic design and advertising until in 2008, when her daughter was born prematurely, she began to accompany the long hours in the hospital with the thread and needle. So what she started as a way to abstract herself, stop counting hours and relax became her job. Now she is an artistic embroiderer who has worked for large brands and institutions such as Hermès, Museo Thyssen or Carolina Herrera.
In this tutorial she teaches you how to make the grid stitch, one of the most interesting cross stitches.
See the tutorial below:

The grid stitch is a very simple crossed stitch that can be used to fill spaces in a very beautiful way. You can also continue adding details on top.
Steps:
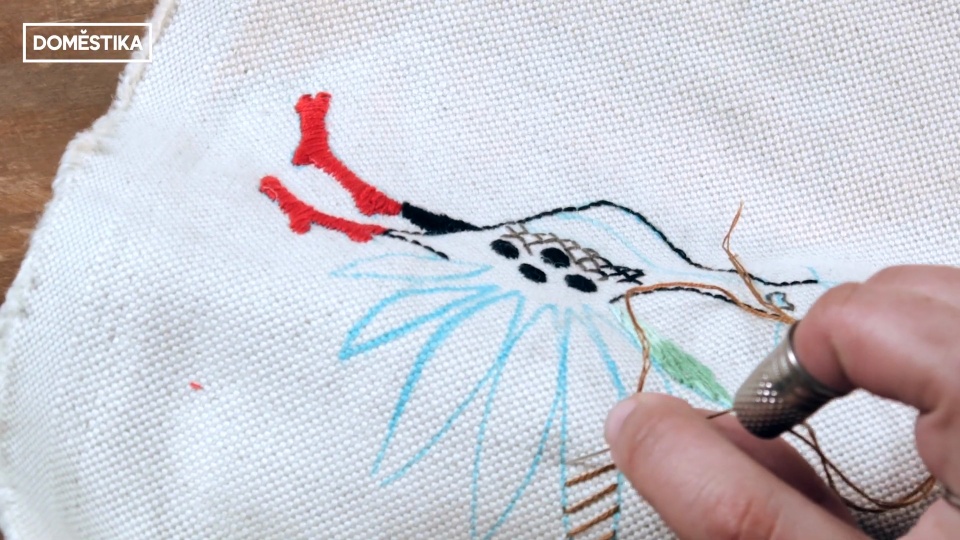
1) Start with a crooked stitch, almost on the bias, that covers the entire piece in the same direction. This is the first part of the grid cross stitch.

At this point it is interesting to realize how little thread is used at the back even though the piece is practically covered with thread at the front. It is a point with which you will save material and will continue to have a neat appearance.

2) It is in the second part of the point that the grid design begins to be seen. The second thread crosses the first diagonally, above it, and creates that crossing effect that we were looking for. This is how the piece begins to complete.

A trick to make straight lines at this point (if you have not chosen to draw them on the fabric, which is an option) is to pull the thread to generate an imaginary line.

3) Tie off the thread at the back when you have the finished piece. It will look like a honeycomb of small rhombuses.

If you liked this tutorial, don't miss more tips from Yolanda in her course "Embroidery techniques: illustrating with thread and needle" where you will learn to transfer a drawing to the fabric and that will be when you arm yourself with thread and needle to practice the different types of stitches.
It may interest you:
- Floral composition with acrylic and embroidery, a course by Josefina Jiménez
- Advanced embroidery techniques: stitches and compositions with volume, a course by Señorita Lylo
- Basic embroidery and watercolor techniques, a course by Katy Biele
- Creation of embroidered portraits, a Bugambilo course


0 comments