
The Marching Toy Soldiers
przez Yeo Mei Ying yeo @evangelione
- 699
- 5
- 0
Introduction
The Marching Toy Soldiers
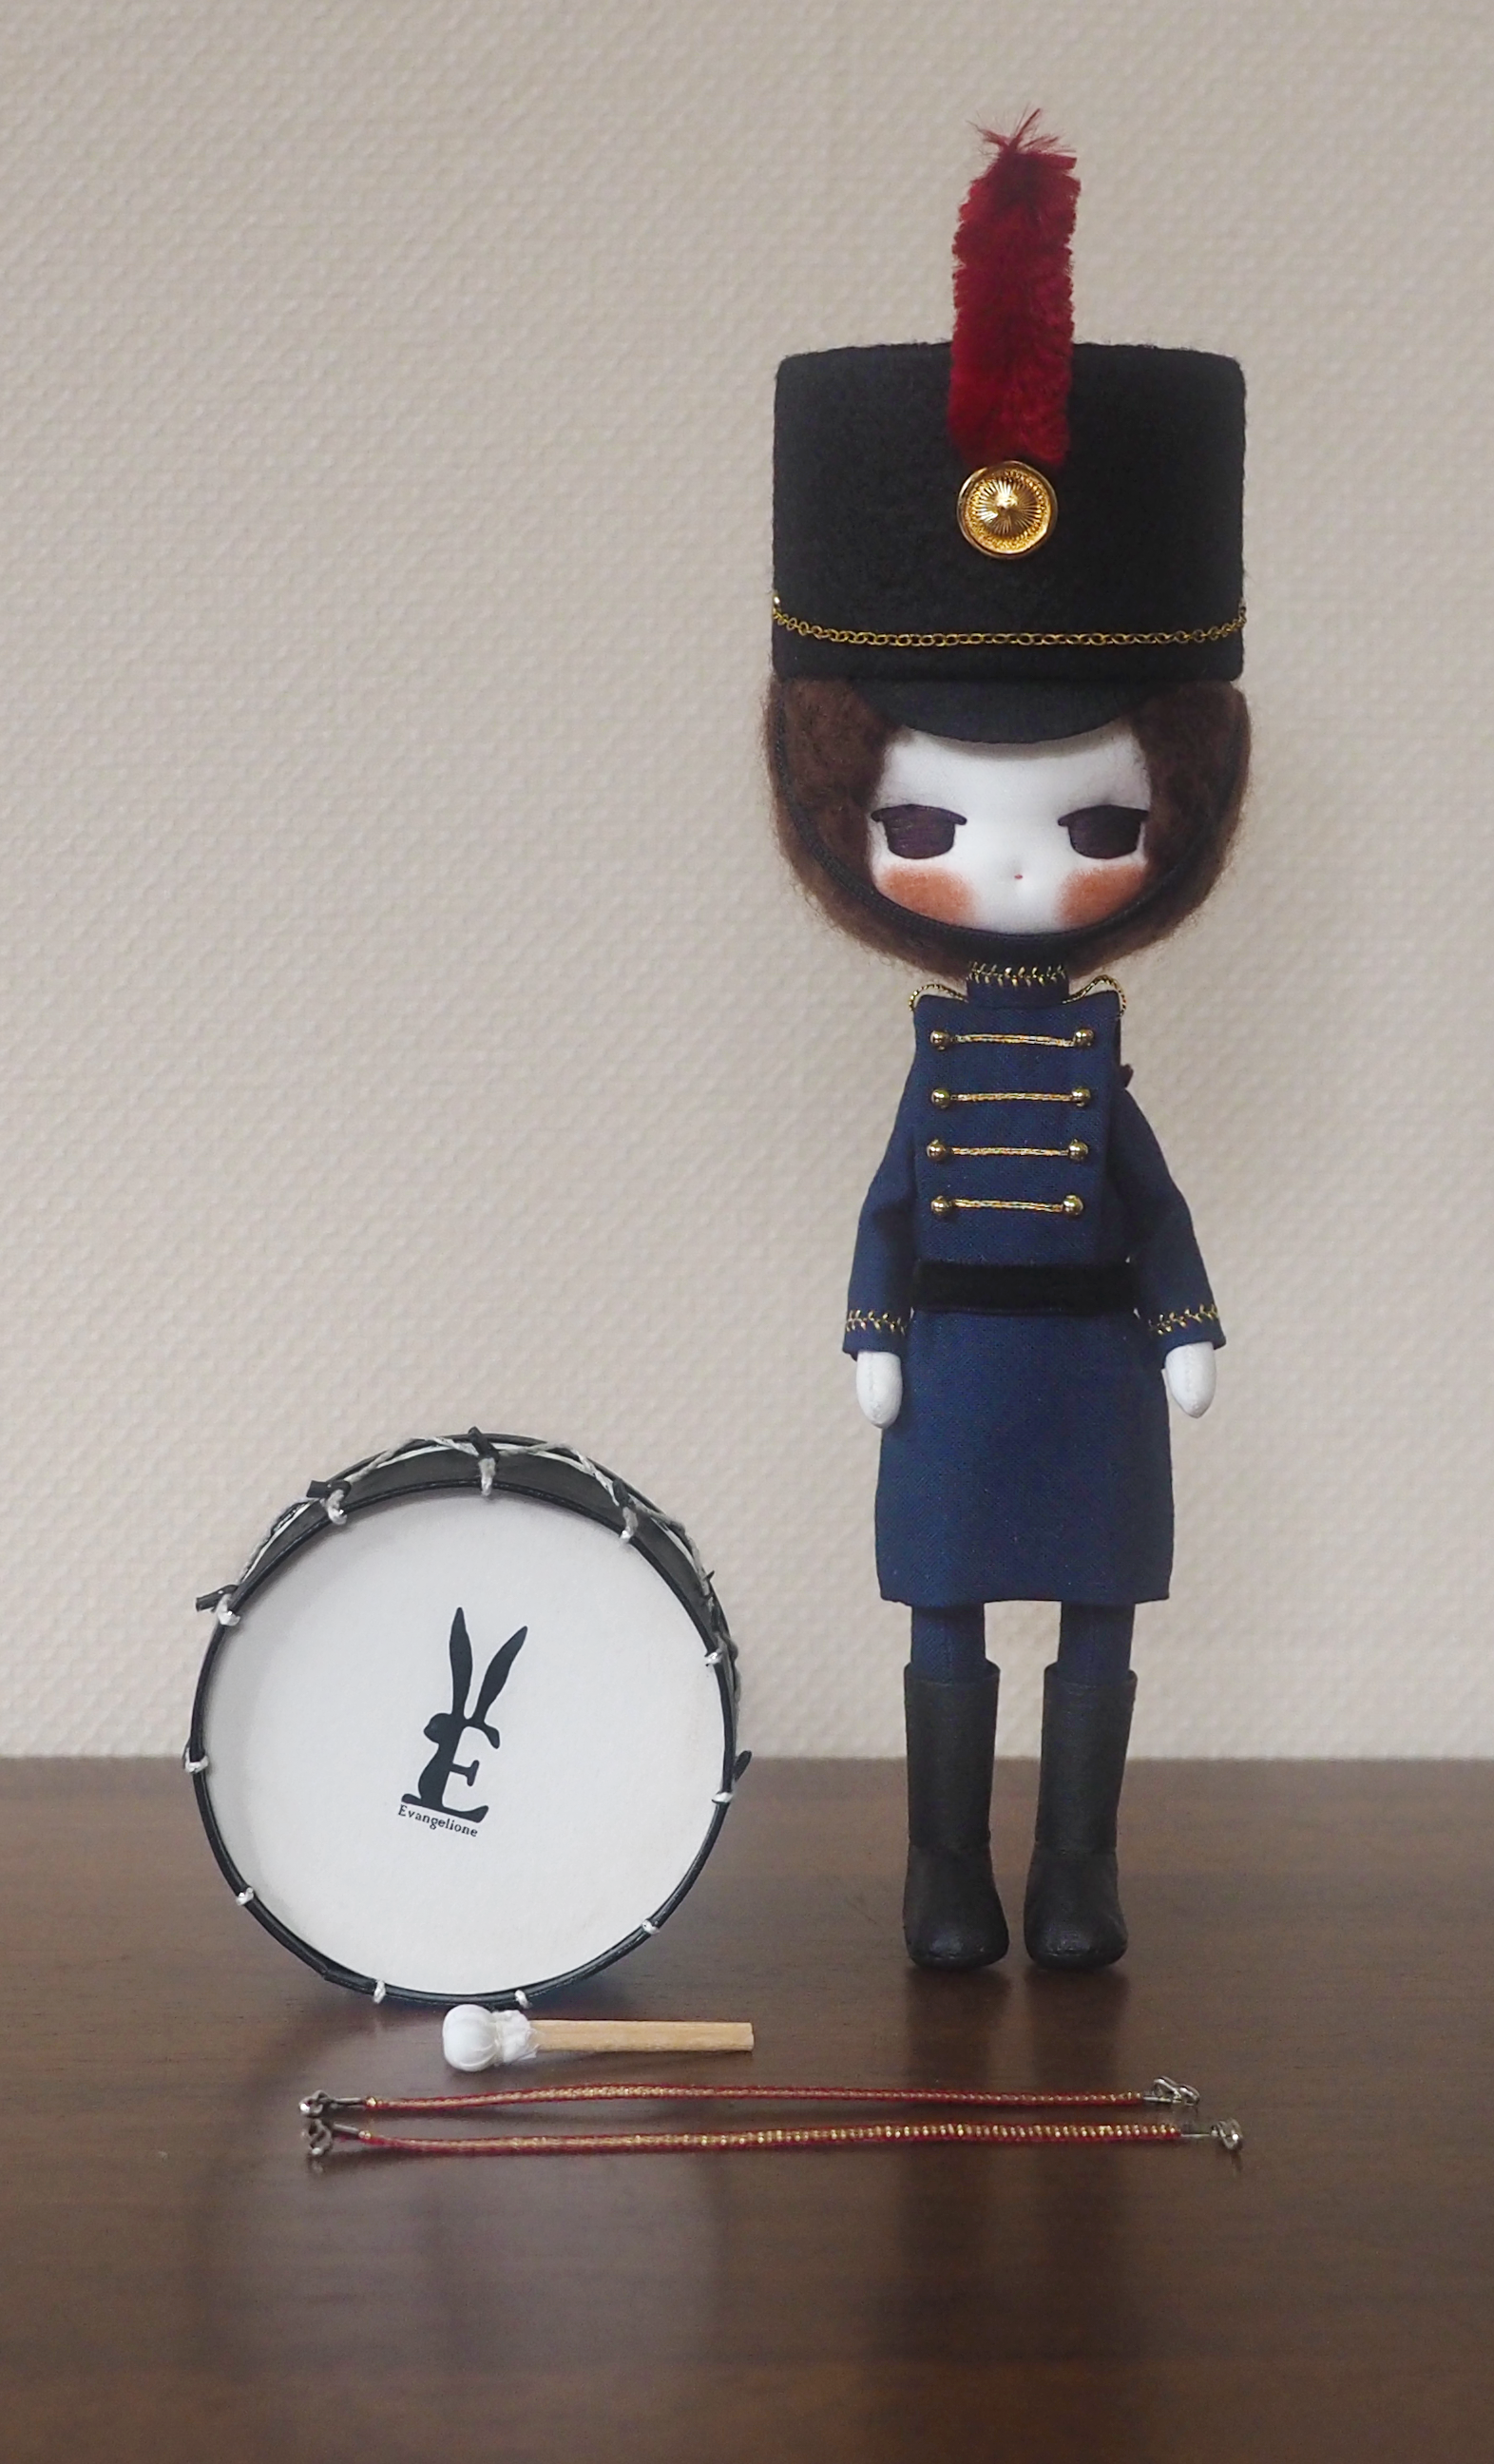
Neatly buttoned and proudly standing tall, The Marching Toy Soldiers are a tribute to childhood memories and timeless tales. Inspired by classic storybooks and old-world parades, each figure carries the charm of a forgotten toy box—disciplined yet dreamy, brave yet endearing. With crisp uniforms, polished boots, and steady gaze, they march not for war, but for wonder—guarding the magic of imagination.
Supplies
Materials:
Fabric and textiles (for clothing and soft body parts)
Acrylic paints and pastels (for coloring and finishing touches)
Wire armature (to provide structure and poseability)
Mixed media elements (such as resin, beads, and found objects)
Sealants and varnishes (to protect and preserve surfaces)
Needle felting wool (for doll hair)
cotton, polyester fiber (for stuffing)
White glue, silicone glue, UV resin glue
Cardboards, papers
Tools:
Precision sculpting tools (including fine knives, needles, and shaping tools)
Paintbrushes of various sizes (for detailed painting and shading)
Sewing needles and threads (for stitching fabric parts)
Sandpaper and polishing tools (for smoothing surfaces)
Cutting mats and scissors
Tweezers
How I Made the Drum for the Marching Toy Soldiers
Materials Used:
Hard paper (such as card stock or thin cardboard)
Thread (for detailing)
Acrylic paint
Glue
Scissors or a craft knife
A round object (like a bottle) to trace circles
Step-by-Step:
Cut the Drum Pieces
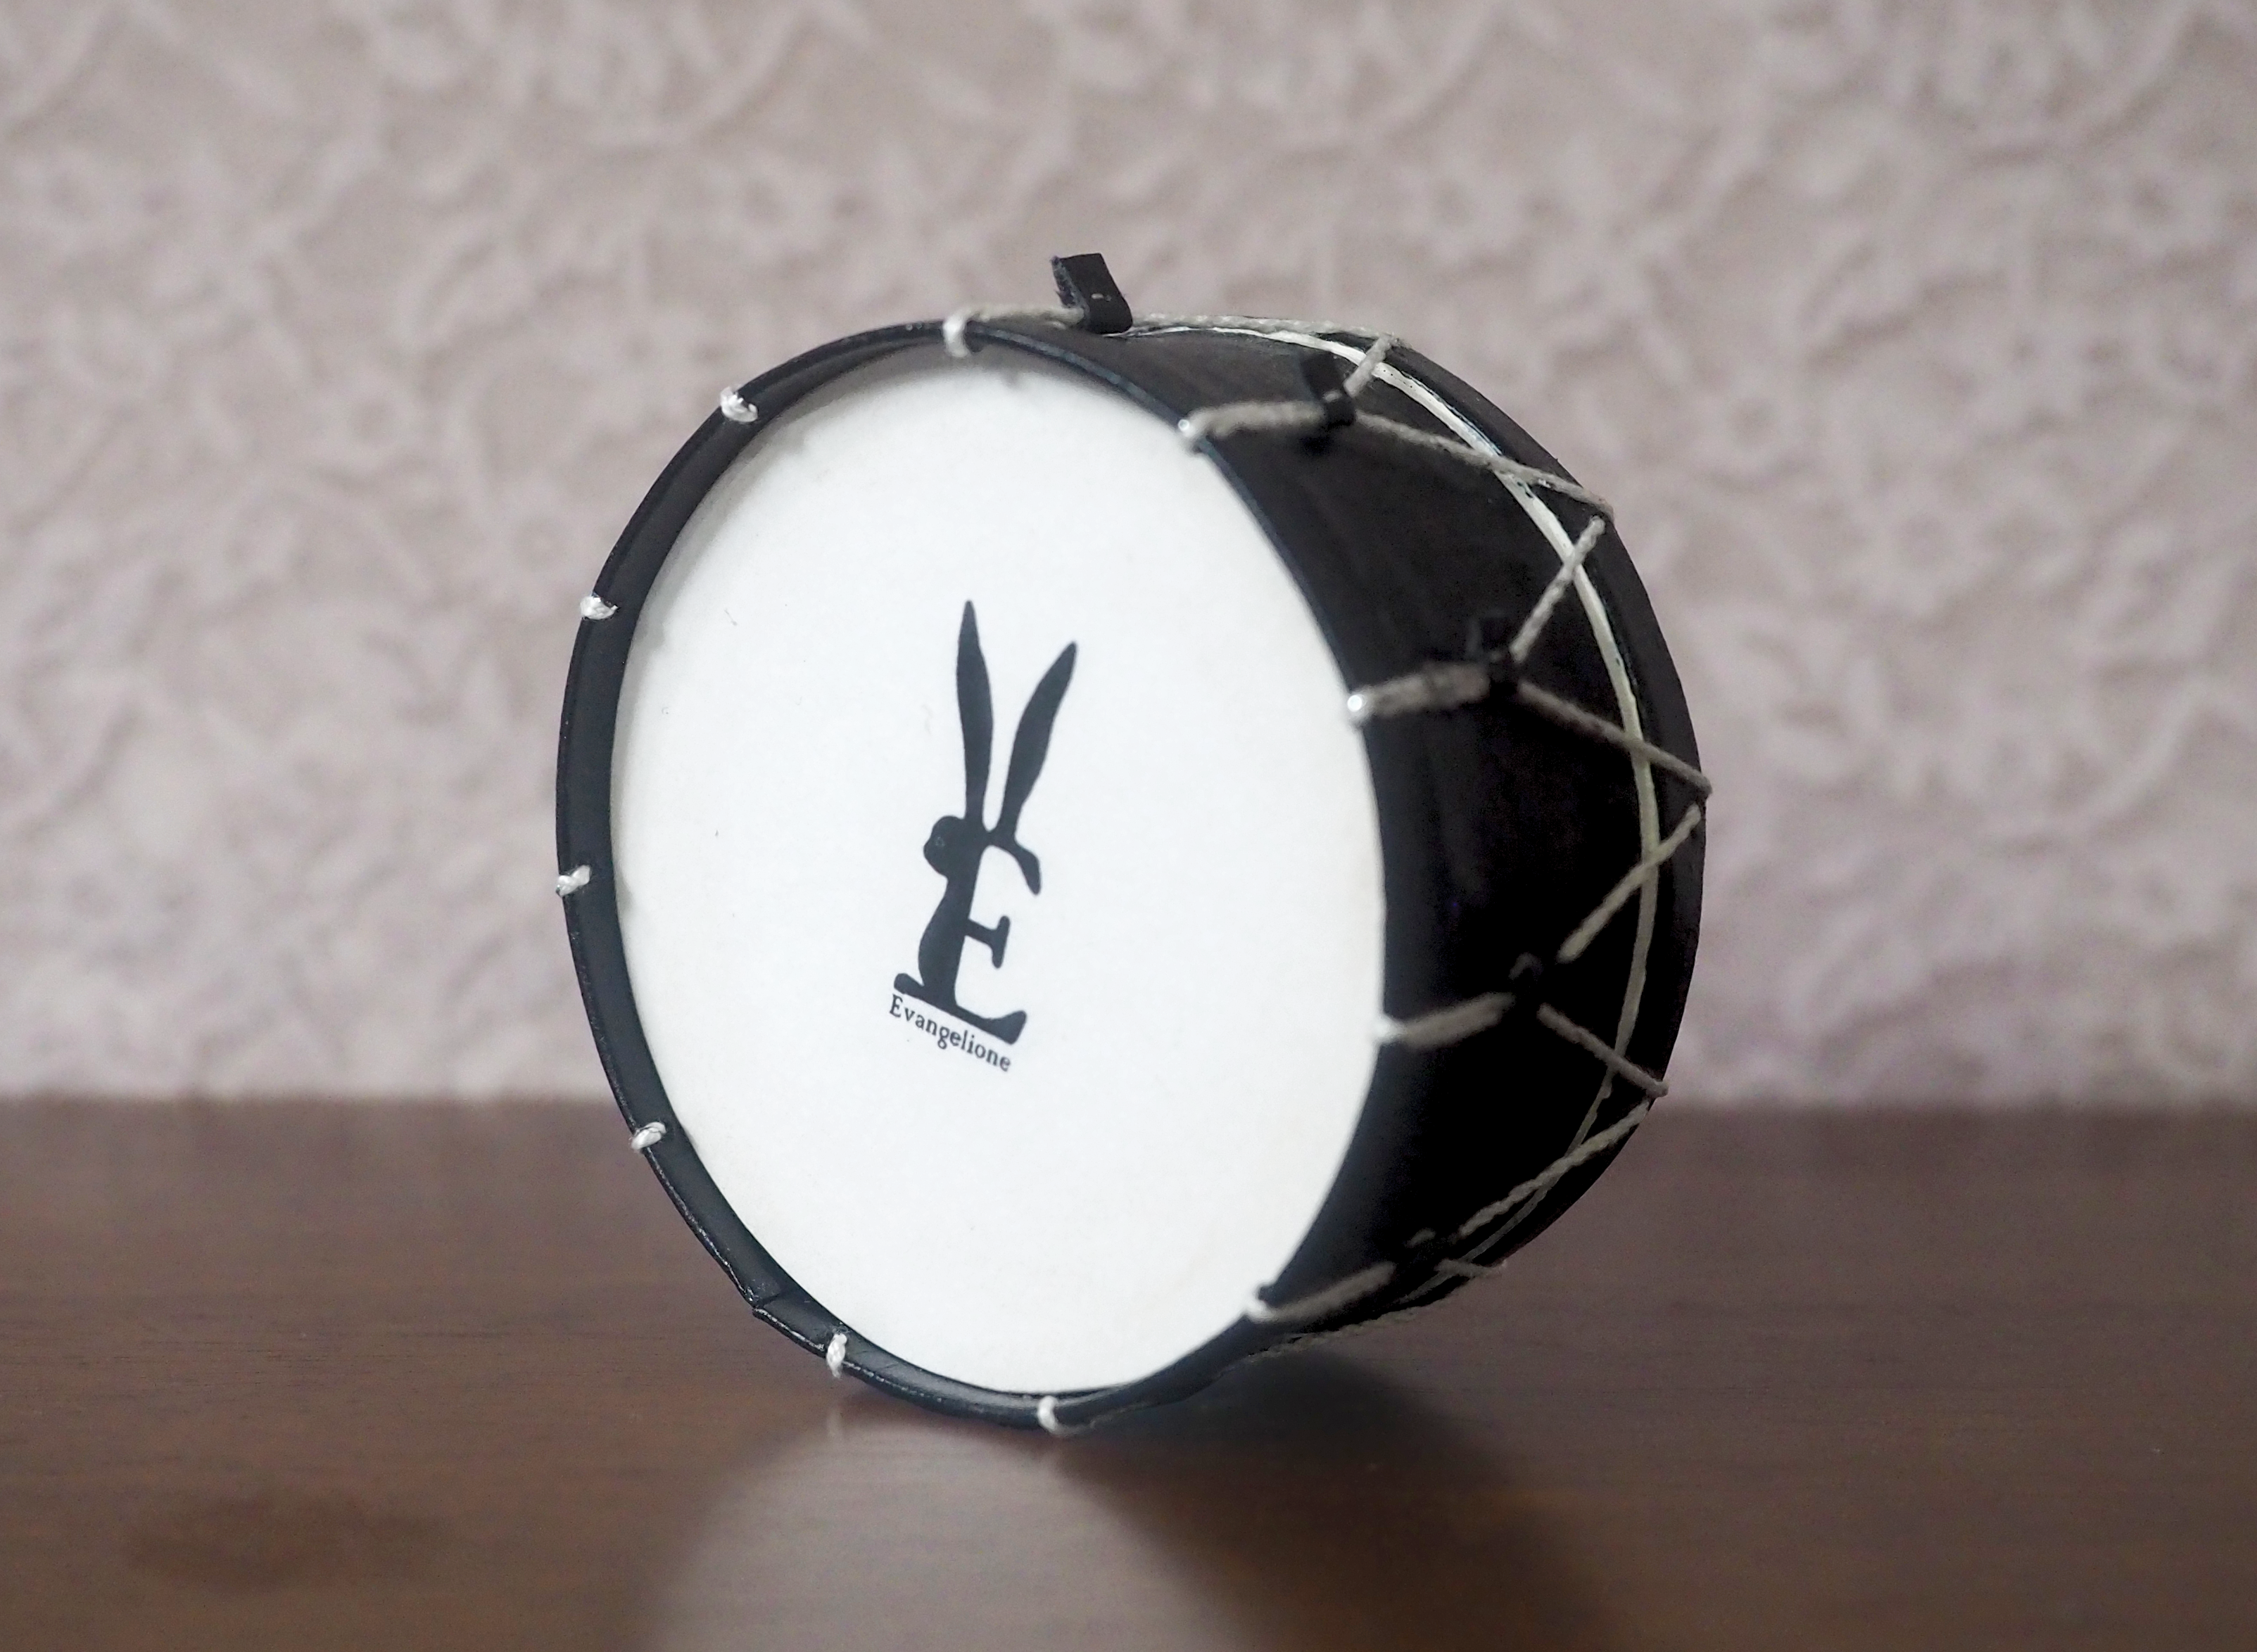
I started by tracing and cutting two small circles from hard paper for the top and bottom of the drum. Then I cut a long strip of hard paper to form the side wall of the drum.
Form the Drum Shape
I gently curved the paper strip and glued the ends together to create a ring. Then I glued the two circles to the top and bottom to close the shape into a drum.
Paint the Base Colors
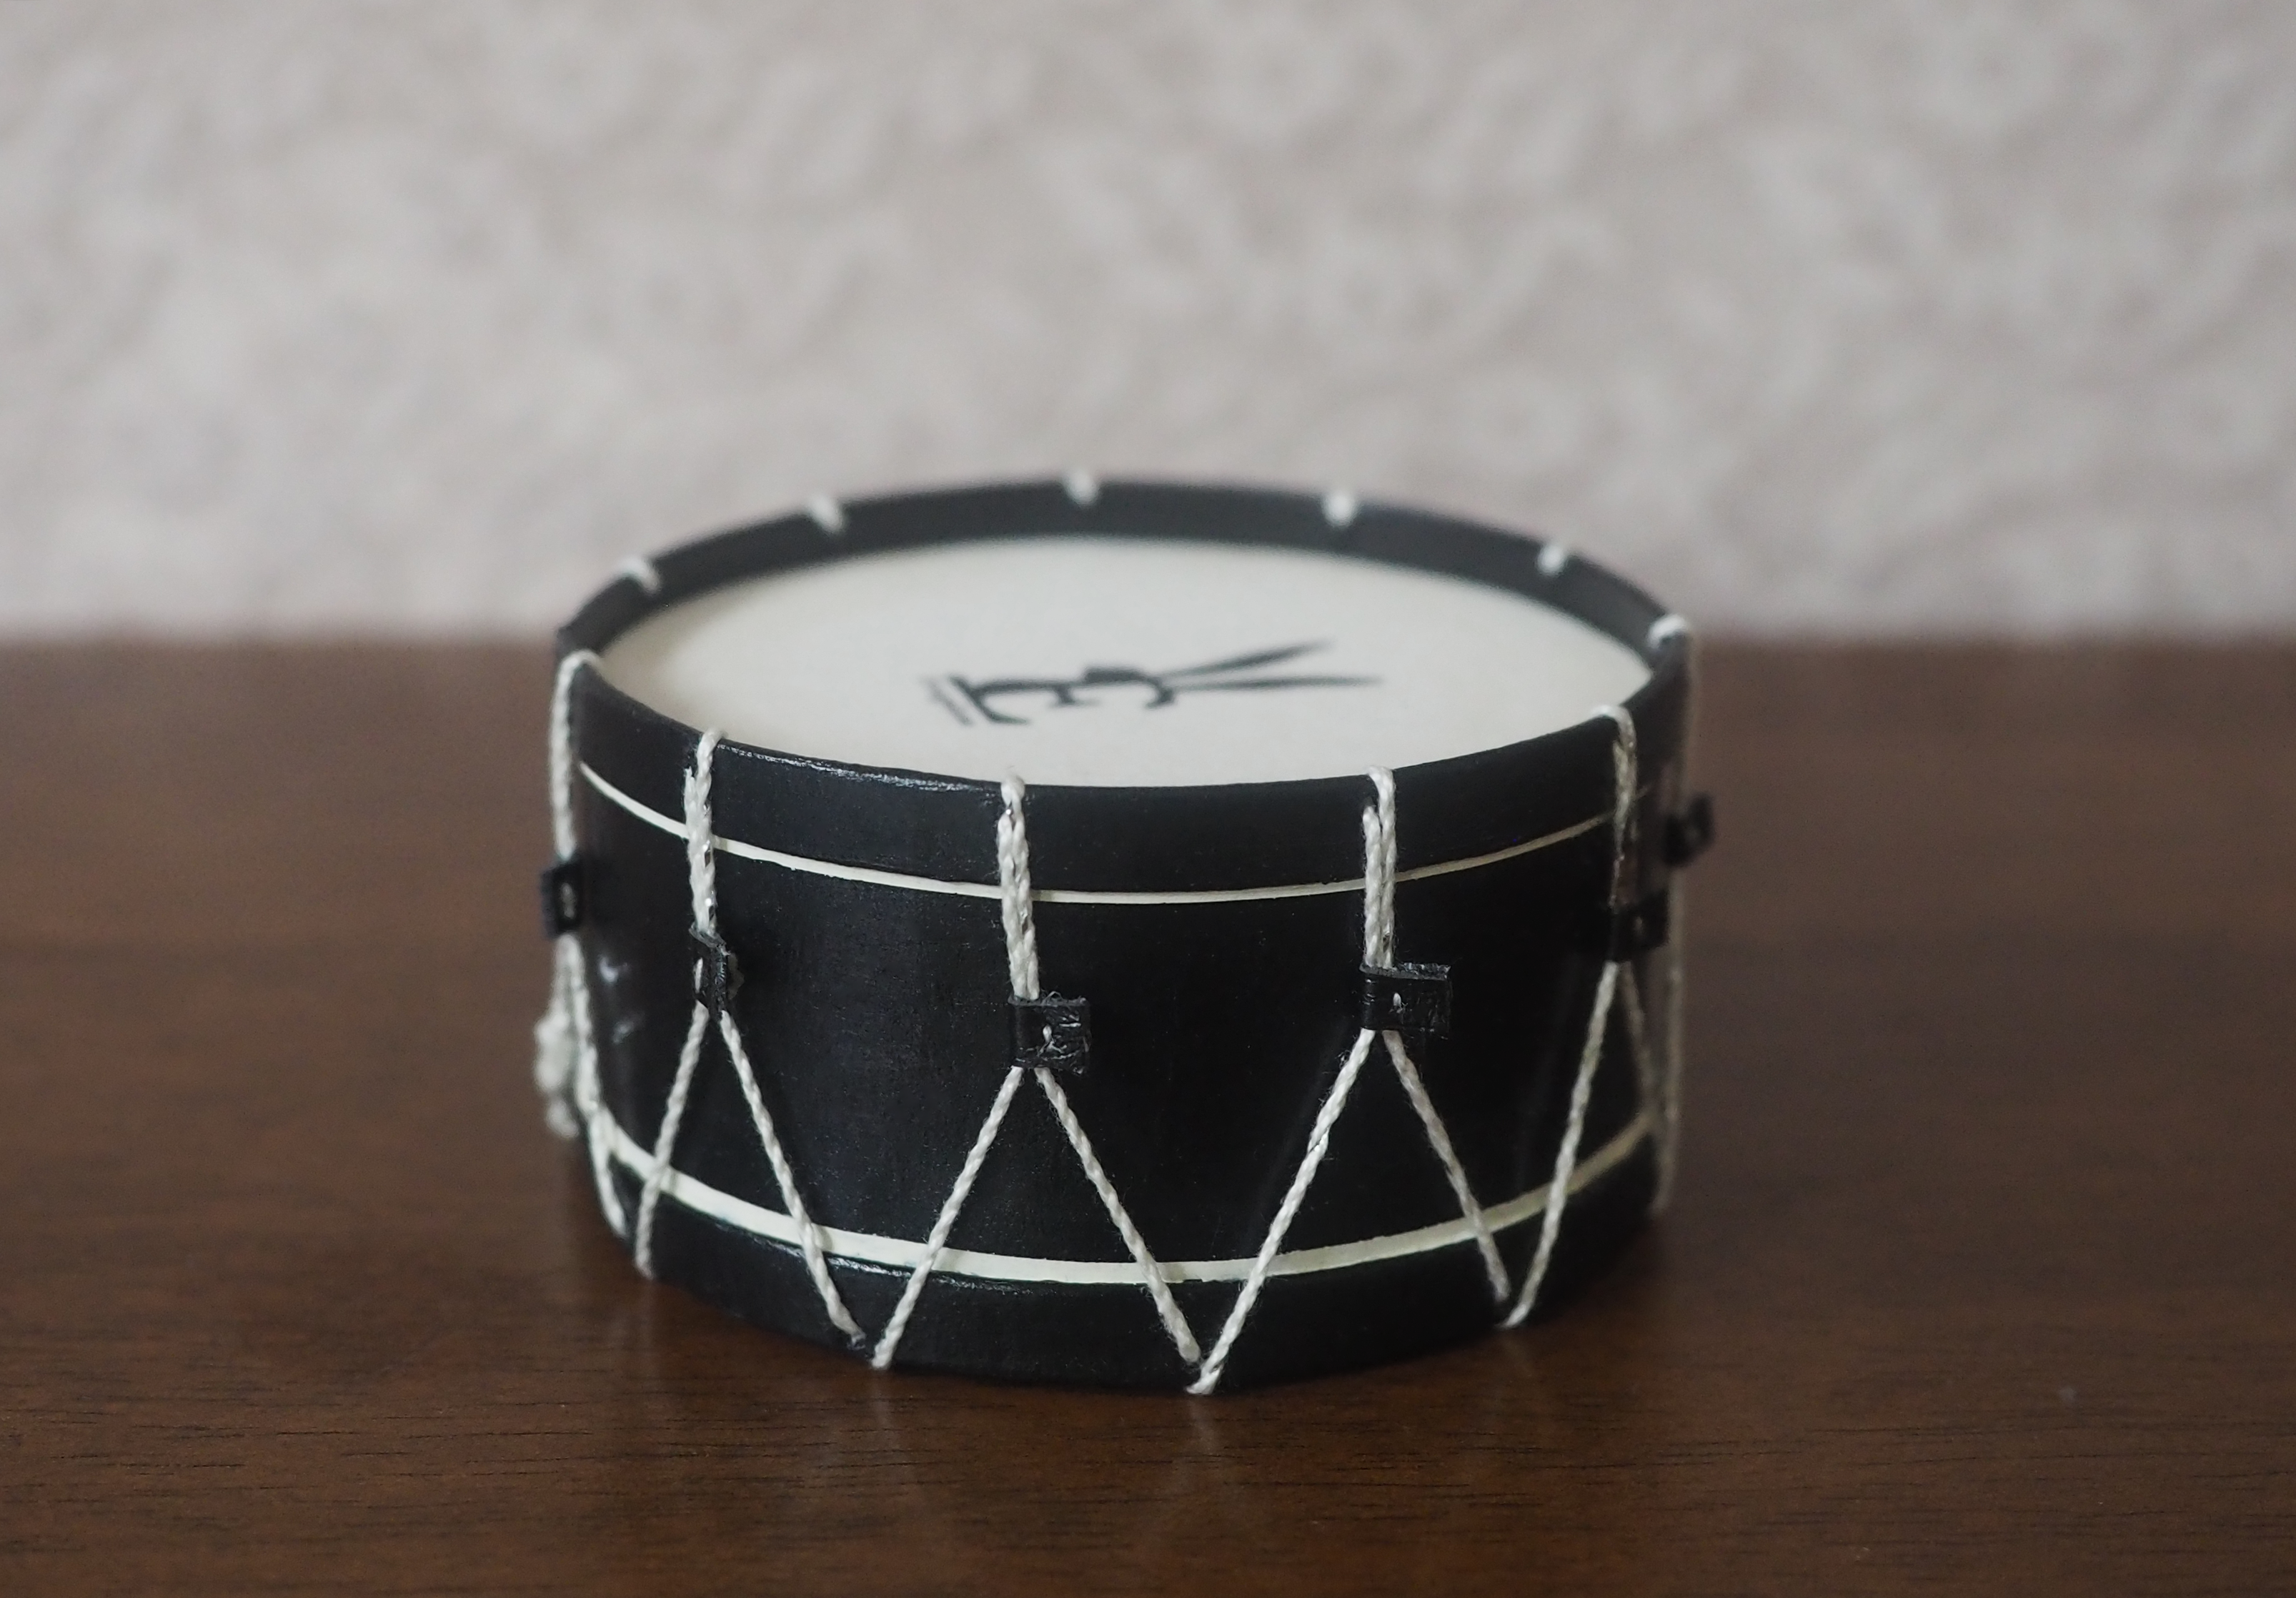
Once the glue dried, I painted the drum with acrylic paint
Add Thread Detailing
After the paint dried, I used thread to create the crisscross lacing often seen on toy drums. I glued the ends of the threads in place, spacing them evenly around the drum to keep the pattern neat.
Final Touches
I touched up any areas with paint where glue or thread might have smudged the surface, and made sure all the thread was secured tightly.
How I Made the Shako Hat for the Toy Soldier
Materials Used:
Cardboard (thin but sturdy, for the hat’s structure)
Felt (to cover the hat)
Small decorative button (for the front emblem)
Pipe cleaner (for the plume)
Glue
Scissors or craft knife
Step-by-Step:
Cut the Base Shape
I cut a strip of cardboard to form the main body of the hat (a tall cylinder), and a circle for the top. The size was measured to fit the scale of the toy soldier.
Assemble the Structure
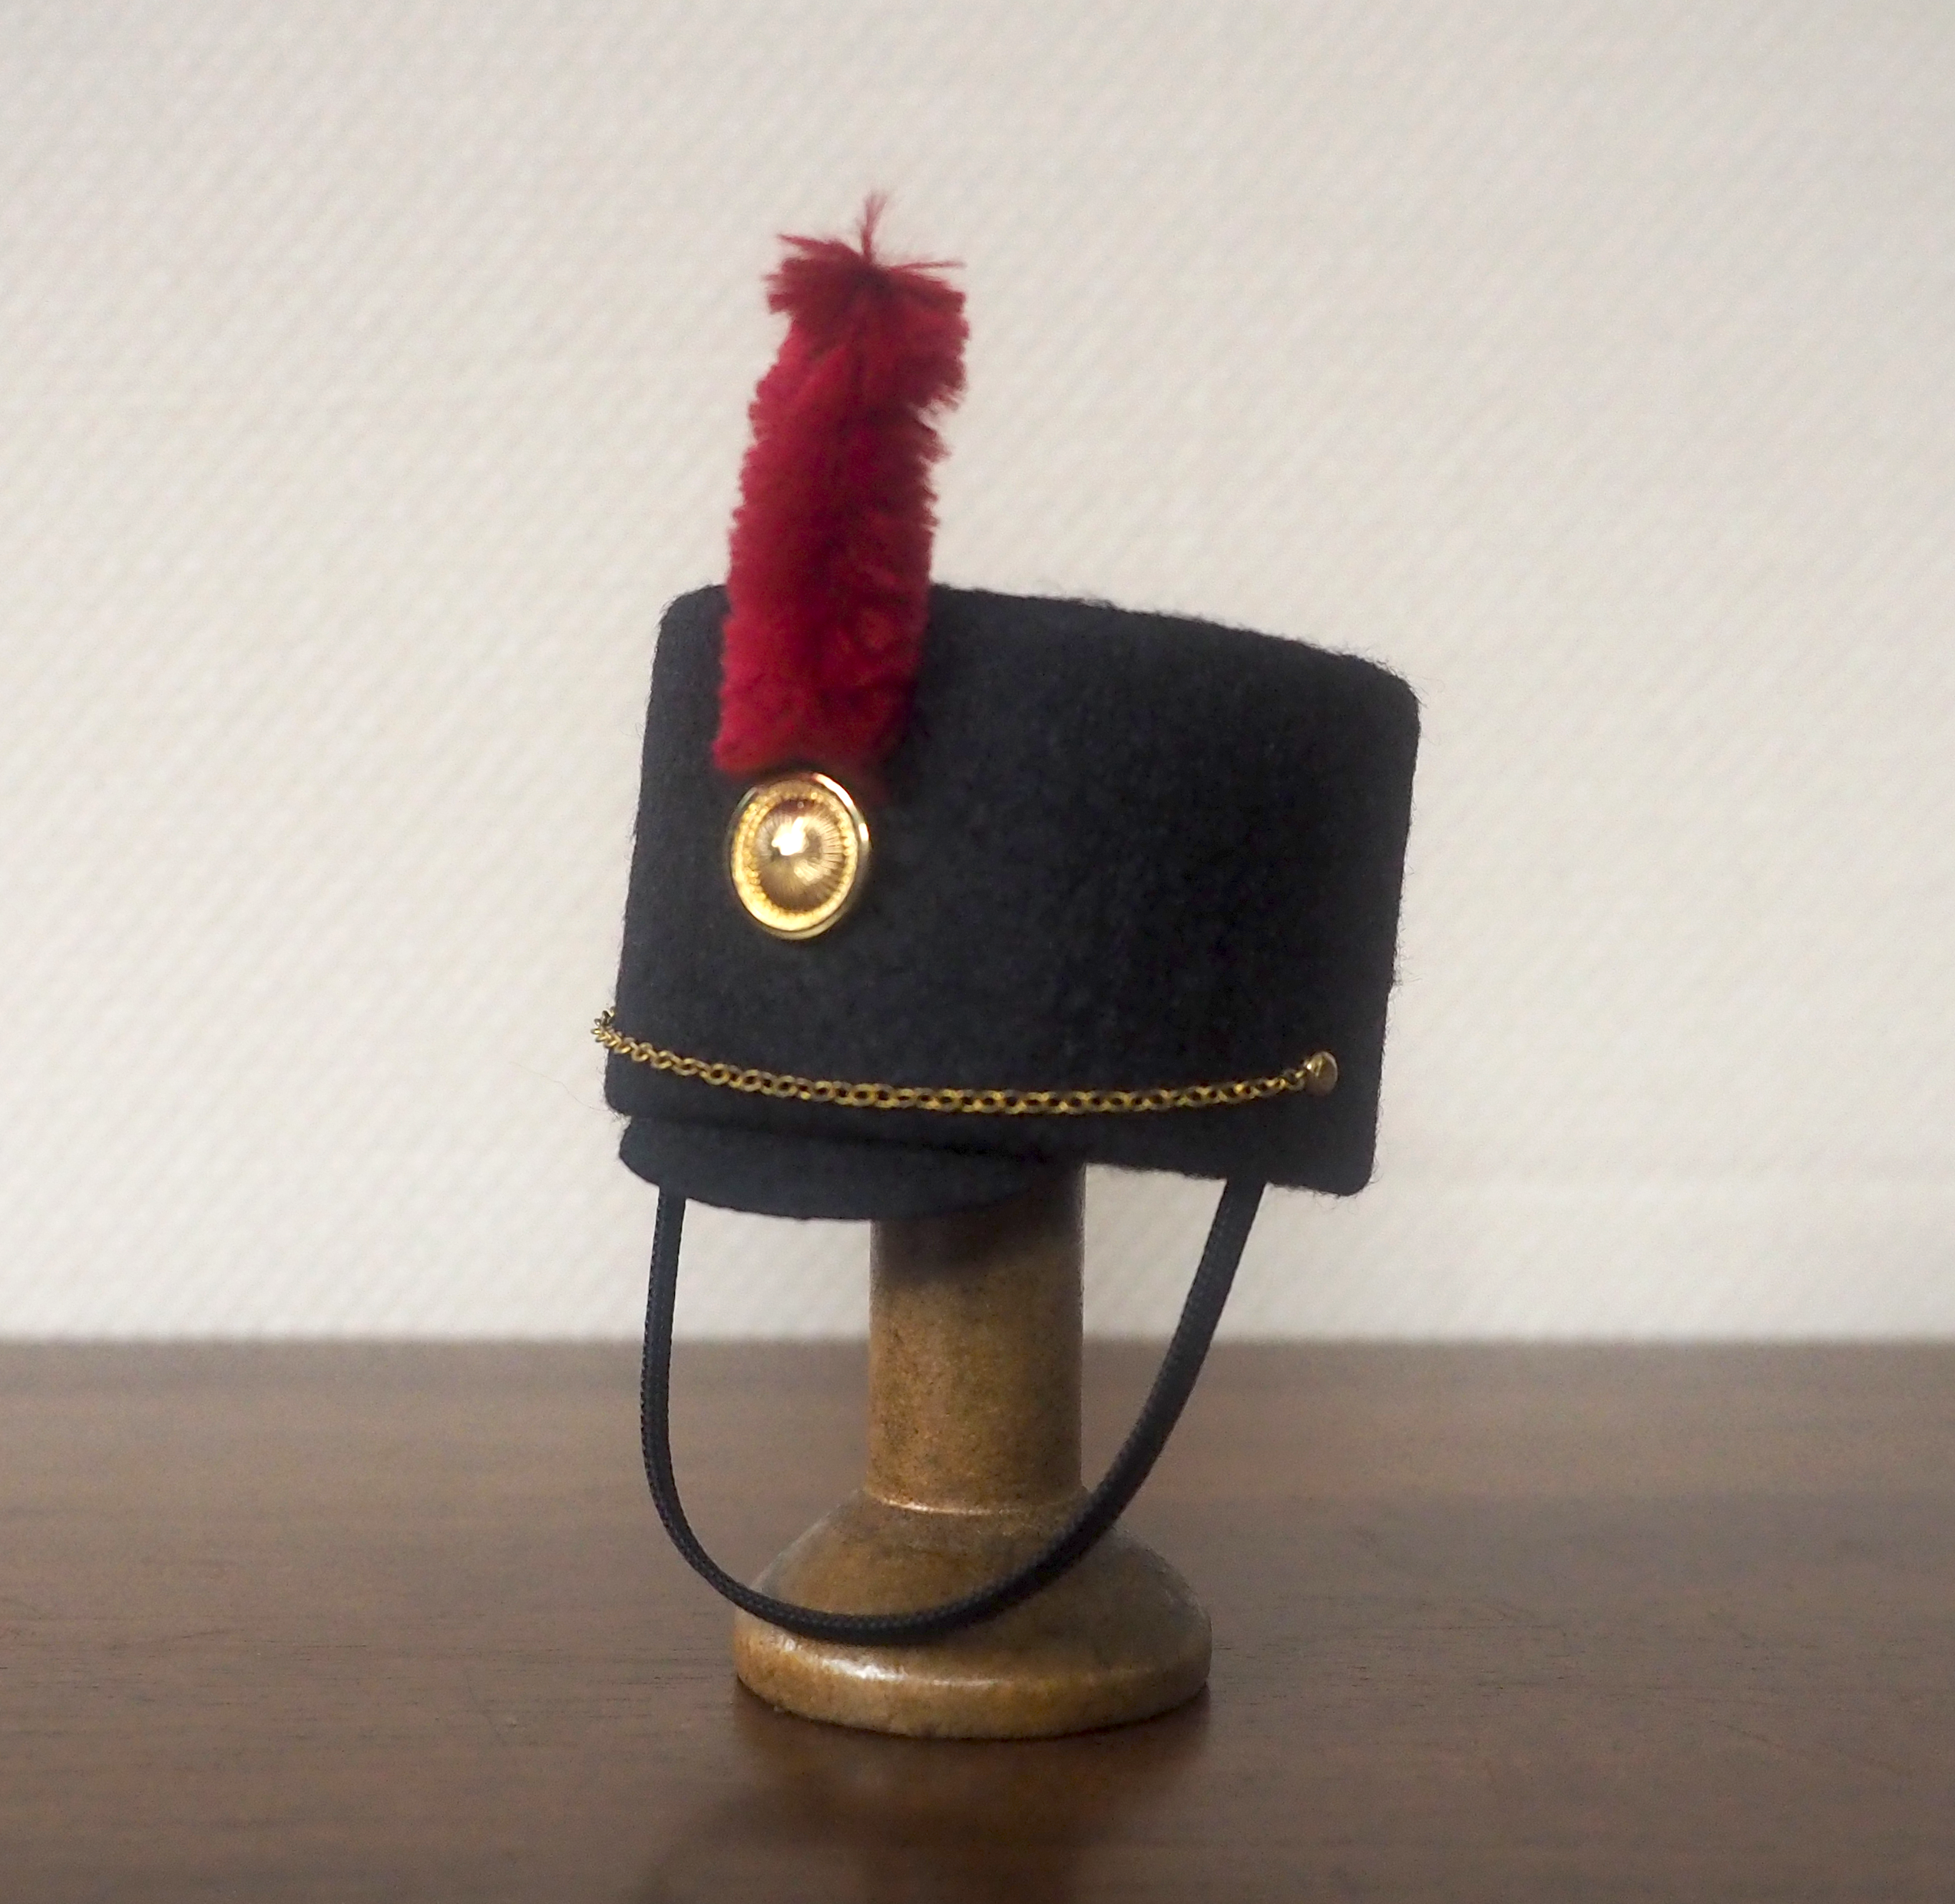
I curled the cardboard strip into a cylinder and glued the ends together. Then I glued the circular piece on top to complete the shako shape.
Cover with Felt
Once the structure was set, I carefully wrapped it with felt—cutting pieces to fit the body and top of the hat. I glued the felt smoothly in place, trimming any excess.
Add Decorative Details
I glued a small button to the front of the hat to mimic a traditional shako emblem or badge.
Attach the Plume
I shaped a pipe cleaner into a small plume and glued it to the top or side of the hat, just behind the button, for a classic soldier look.
Final Touches
I checked all edges to make sure the felt was securely glued and added a thin trim or accent if needed, to give it a crisp finish.


0 komentarzy
Zaloguj się lub dołącz bezpłatnie, aby móc komentować