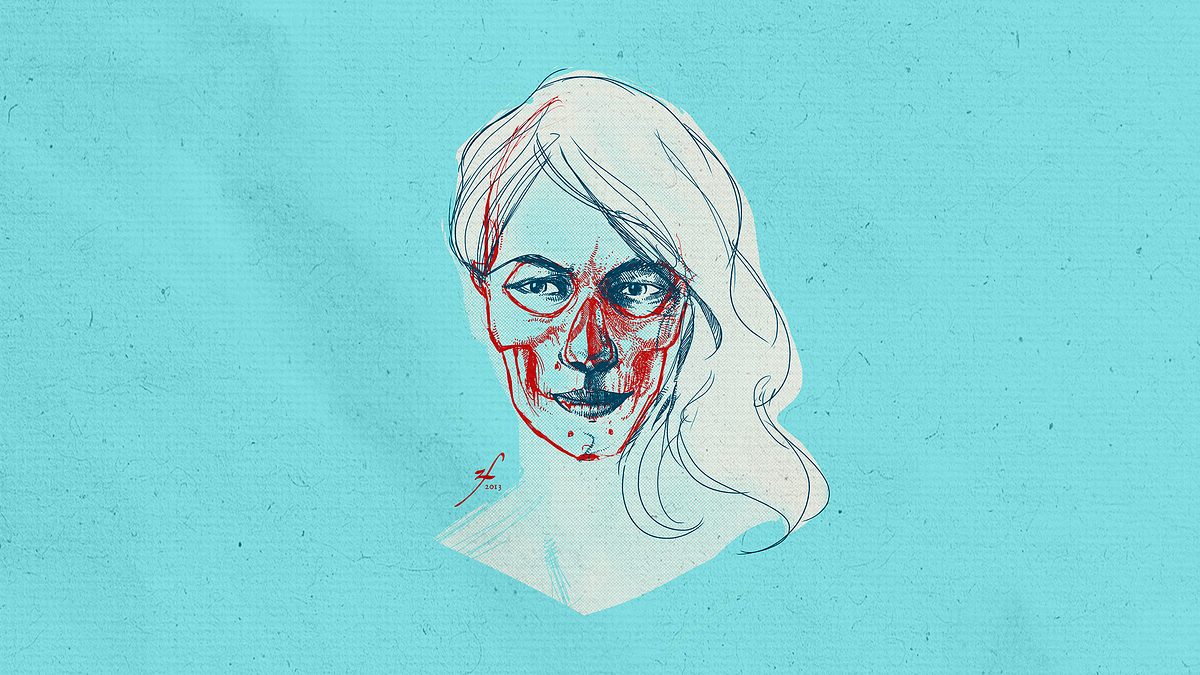

Master anatomical drawing, capturing human figure dynamics with precision and expression using diverse techniques and materials
Explore the art of anatomical drawing, a timeless discipline that bridges the gap between technical precision and creative expression. Delve into the intricate world of human anatomy, where each muscle and bone serves as a canvas for your artistic journey. This specialization guides you through mastering anatomical fundamentals with the expertise of renowned artists like ZURSOIF Miguel Bustos Gómez, Ella Nitters, Mildred Hankinson, Diego Catalan Amilivia, and Shane Wolf. Their diverse backgrounds bring unique perspectives to capturing the human form, offering a rich tapestry of techniques and insights.
Embark on a comprehensive journey that spans from the foundational elements of drawing extremities to the dynamic portrayal of figures in motion. Develop skills in graphite shading, charcoal texture, and hyperrealistic representation, all while understanding the delicate balance of structure and movement. By the end of your studies, you'll have created a professional portfolio showcasing your ability to depict the human body with both technical accuracy and artistic flair. This specialization is your gateway to mastering anatomical drawing, enriching your skills, and unlocking new creative possibilities.
What will you learn in this specialization?
 1
1Introduction
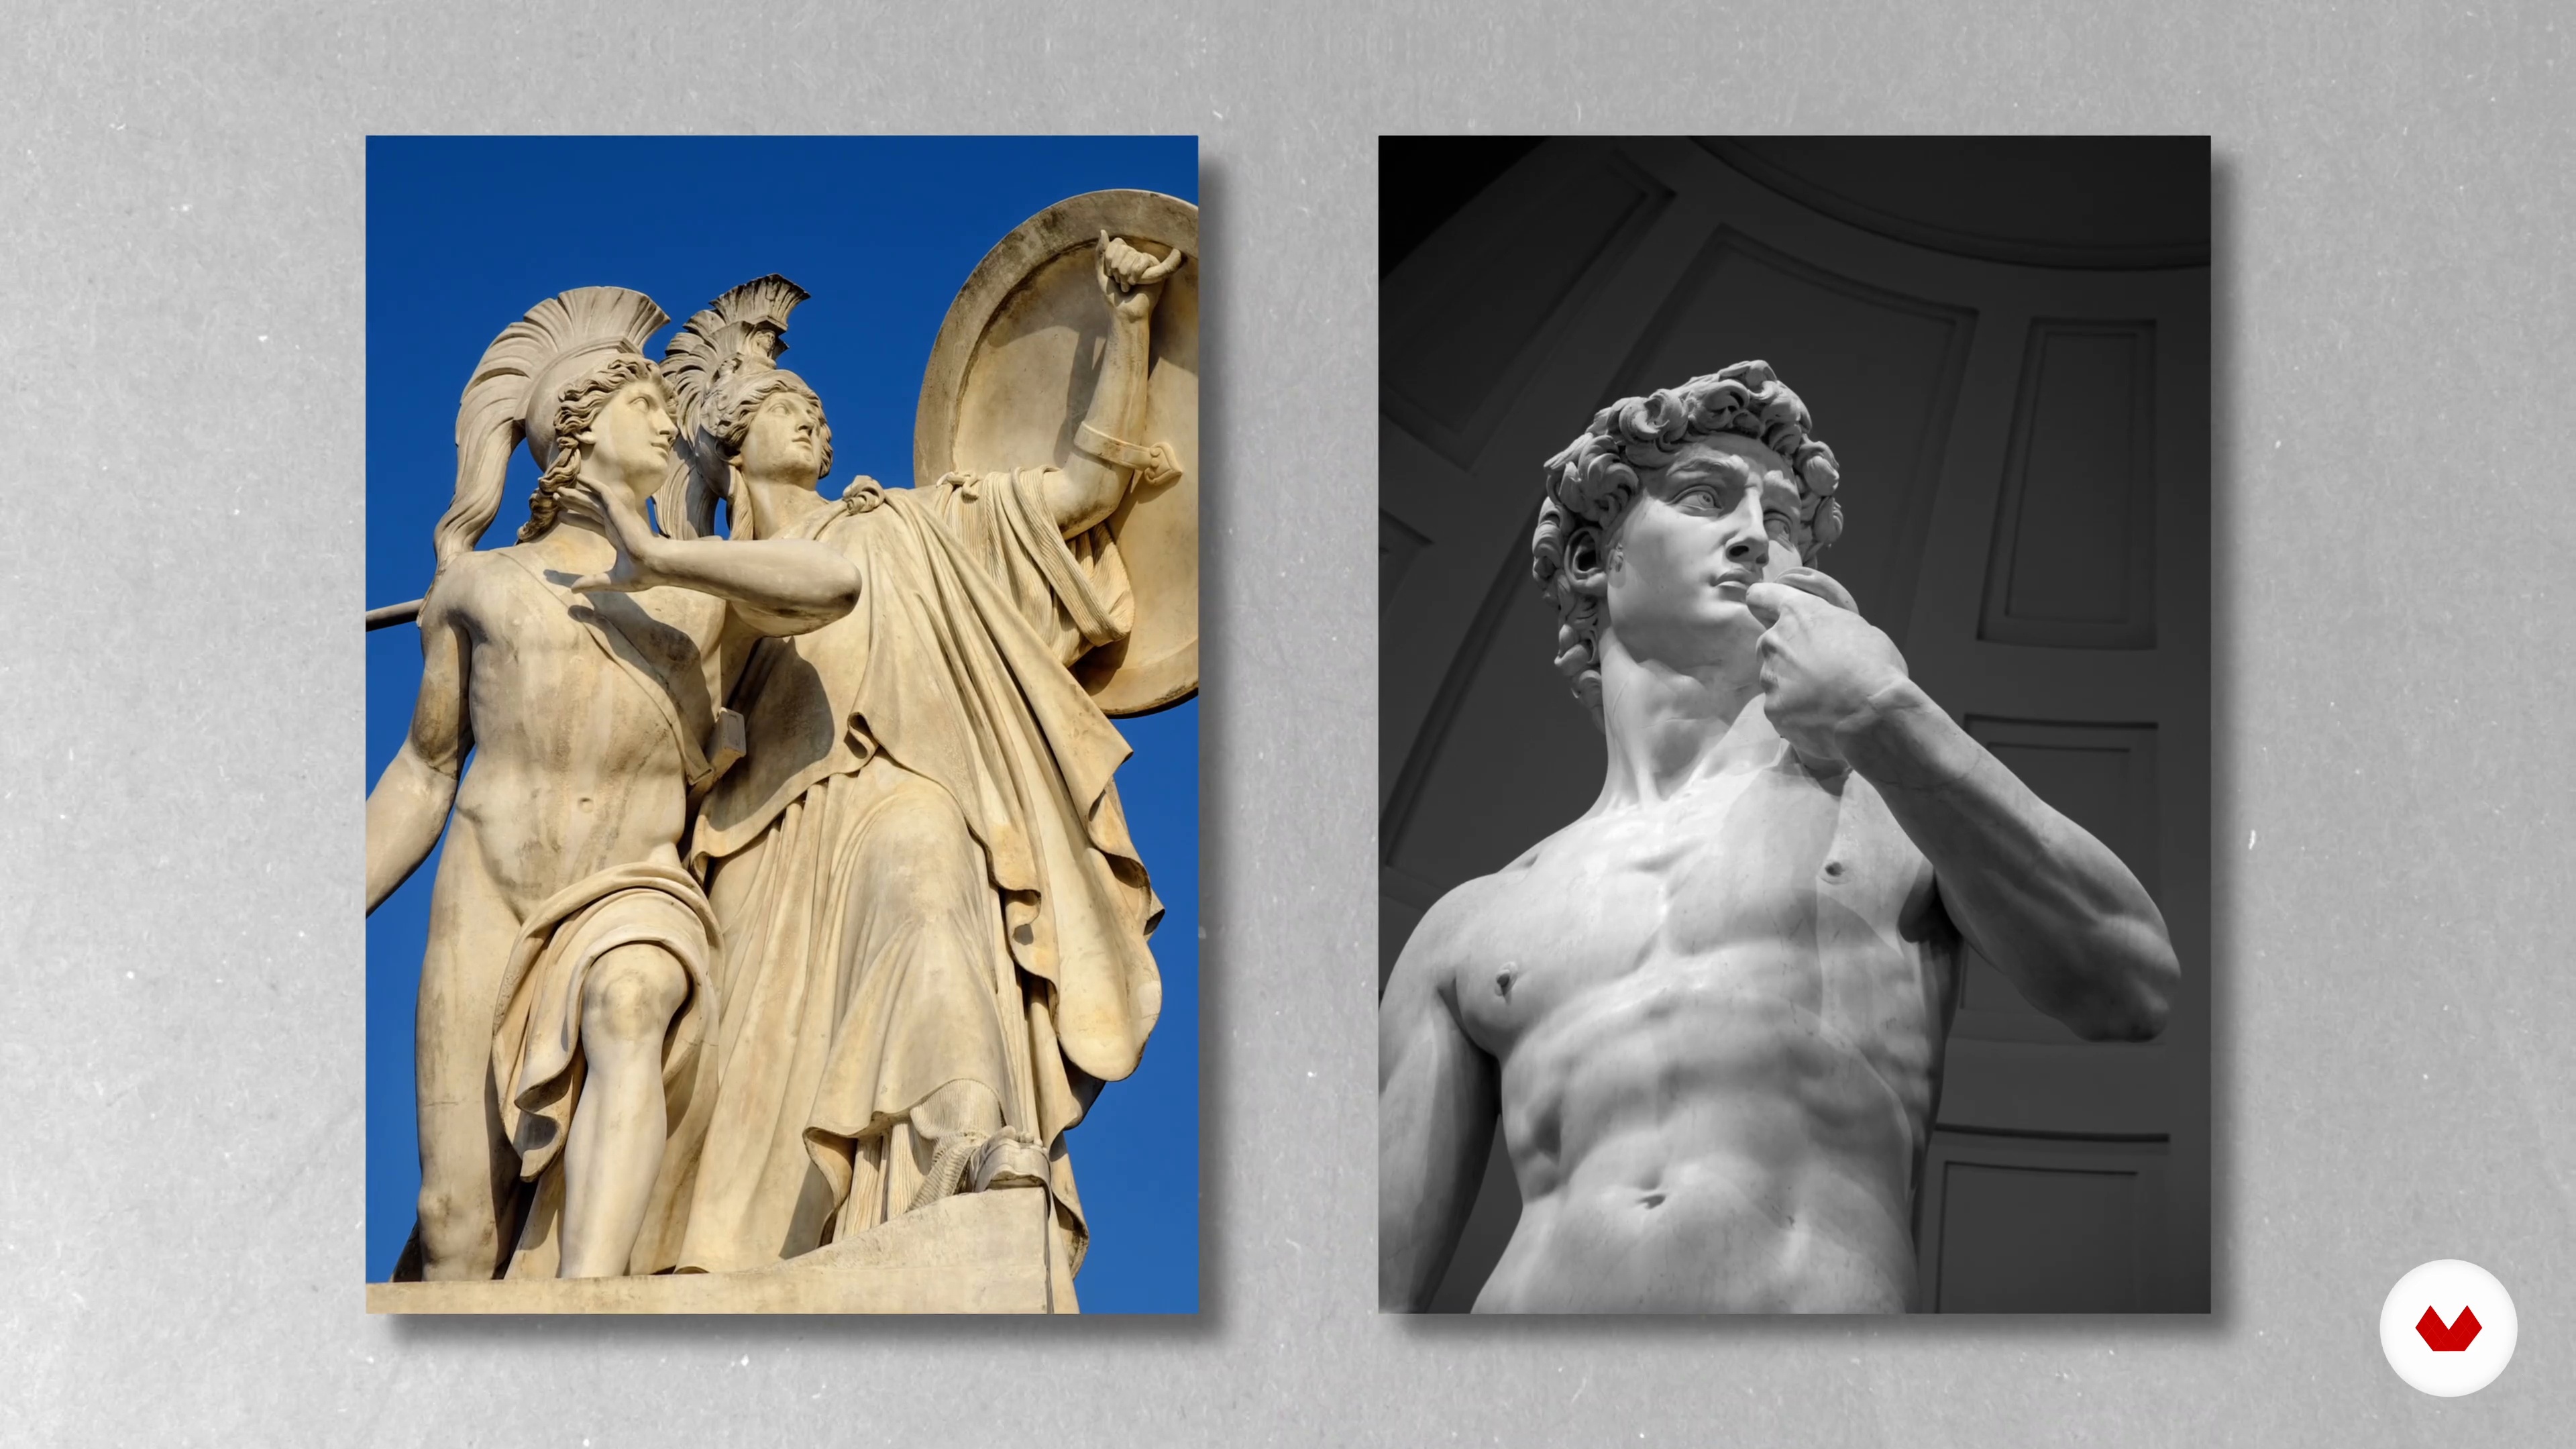
Few artistic practices are as demanding and rewarding as drawing the human figure. By studying anatomy, structure, and movement, you’ll gain tools to go beyond realism and tap into imagination. Each sketch becomes a step toward deeper perception, helping you see the body—not just as form—but as emotion, story, and expression.
1m
 2
2Influences | ZURSOIF Miguel Bustos Gómez
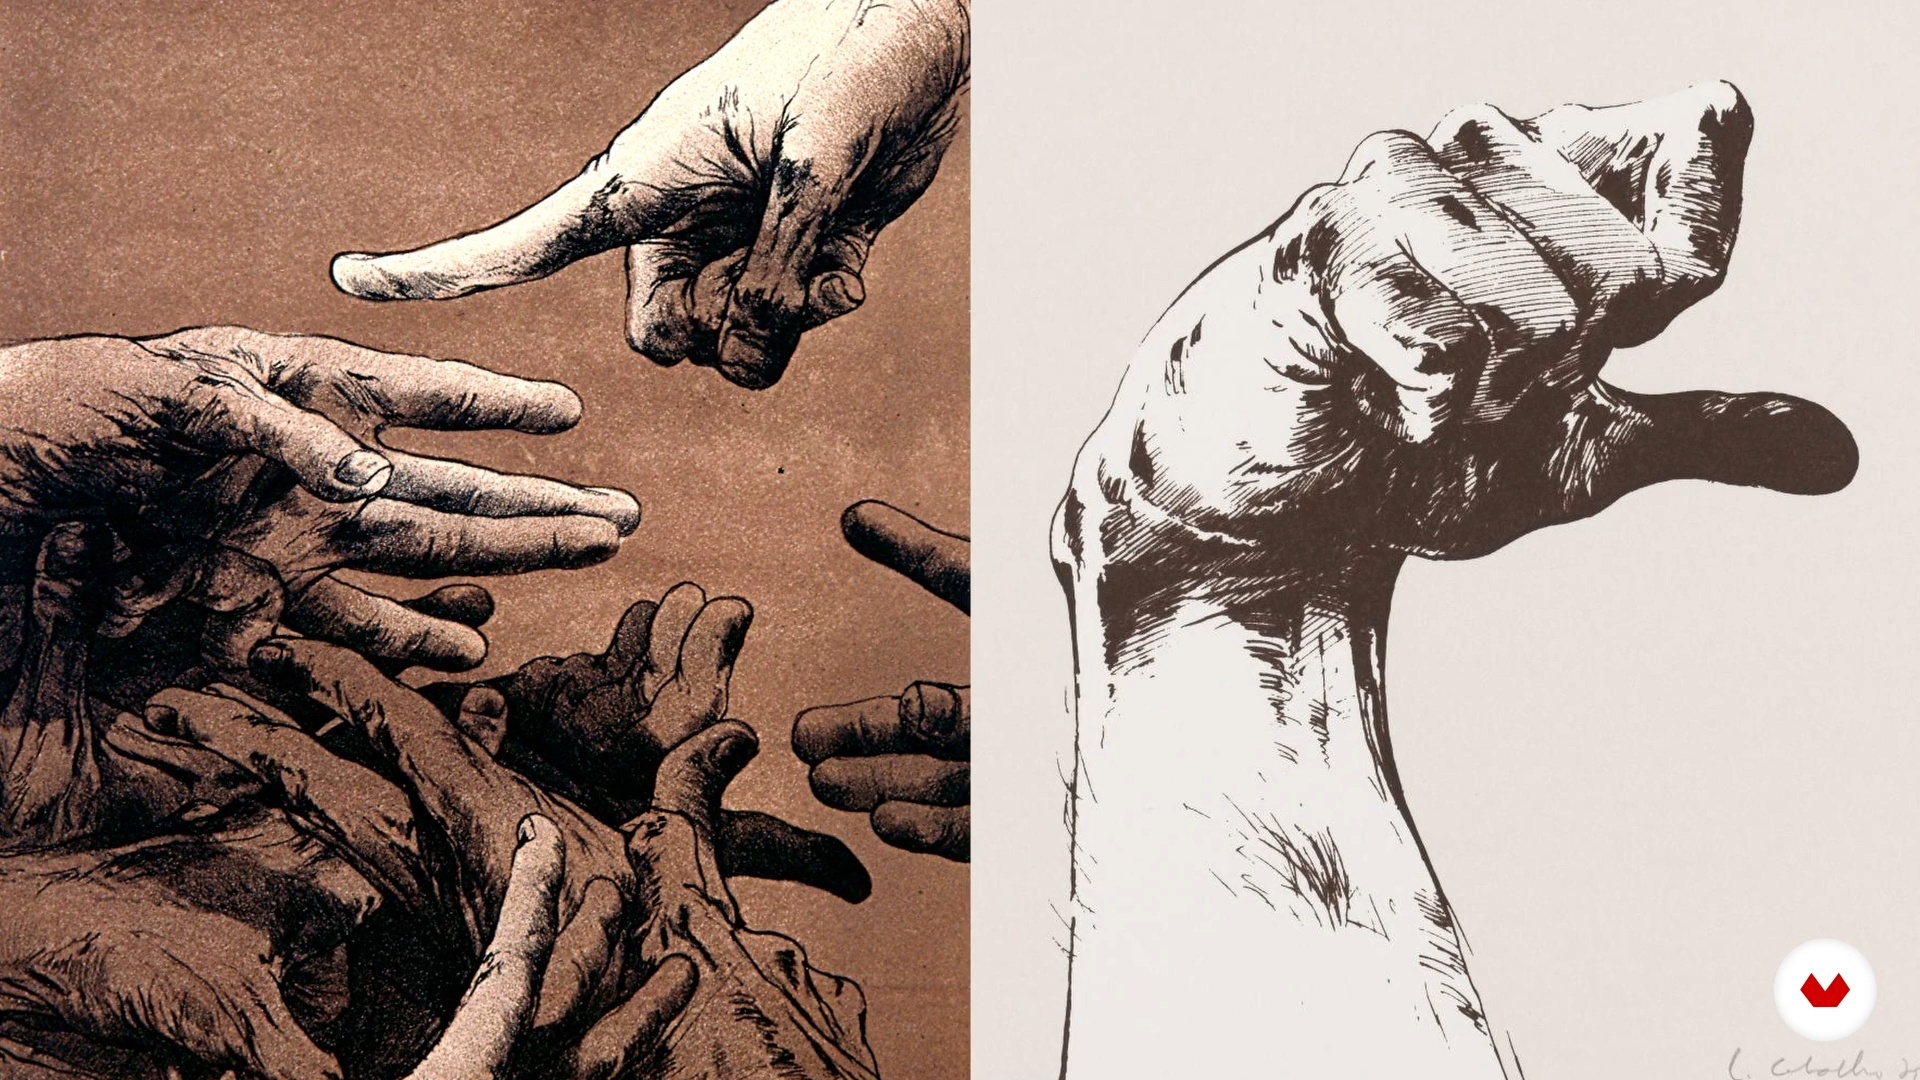
Now I will tell you about some of my influences when thinking about drawing.
2m
 3
3Influences | Ella Nitters
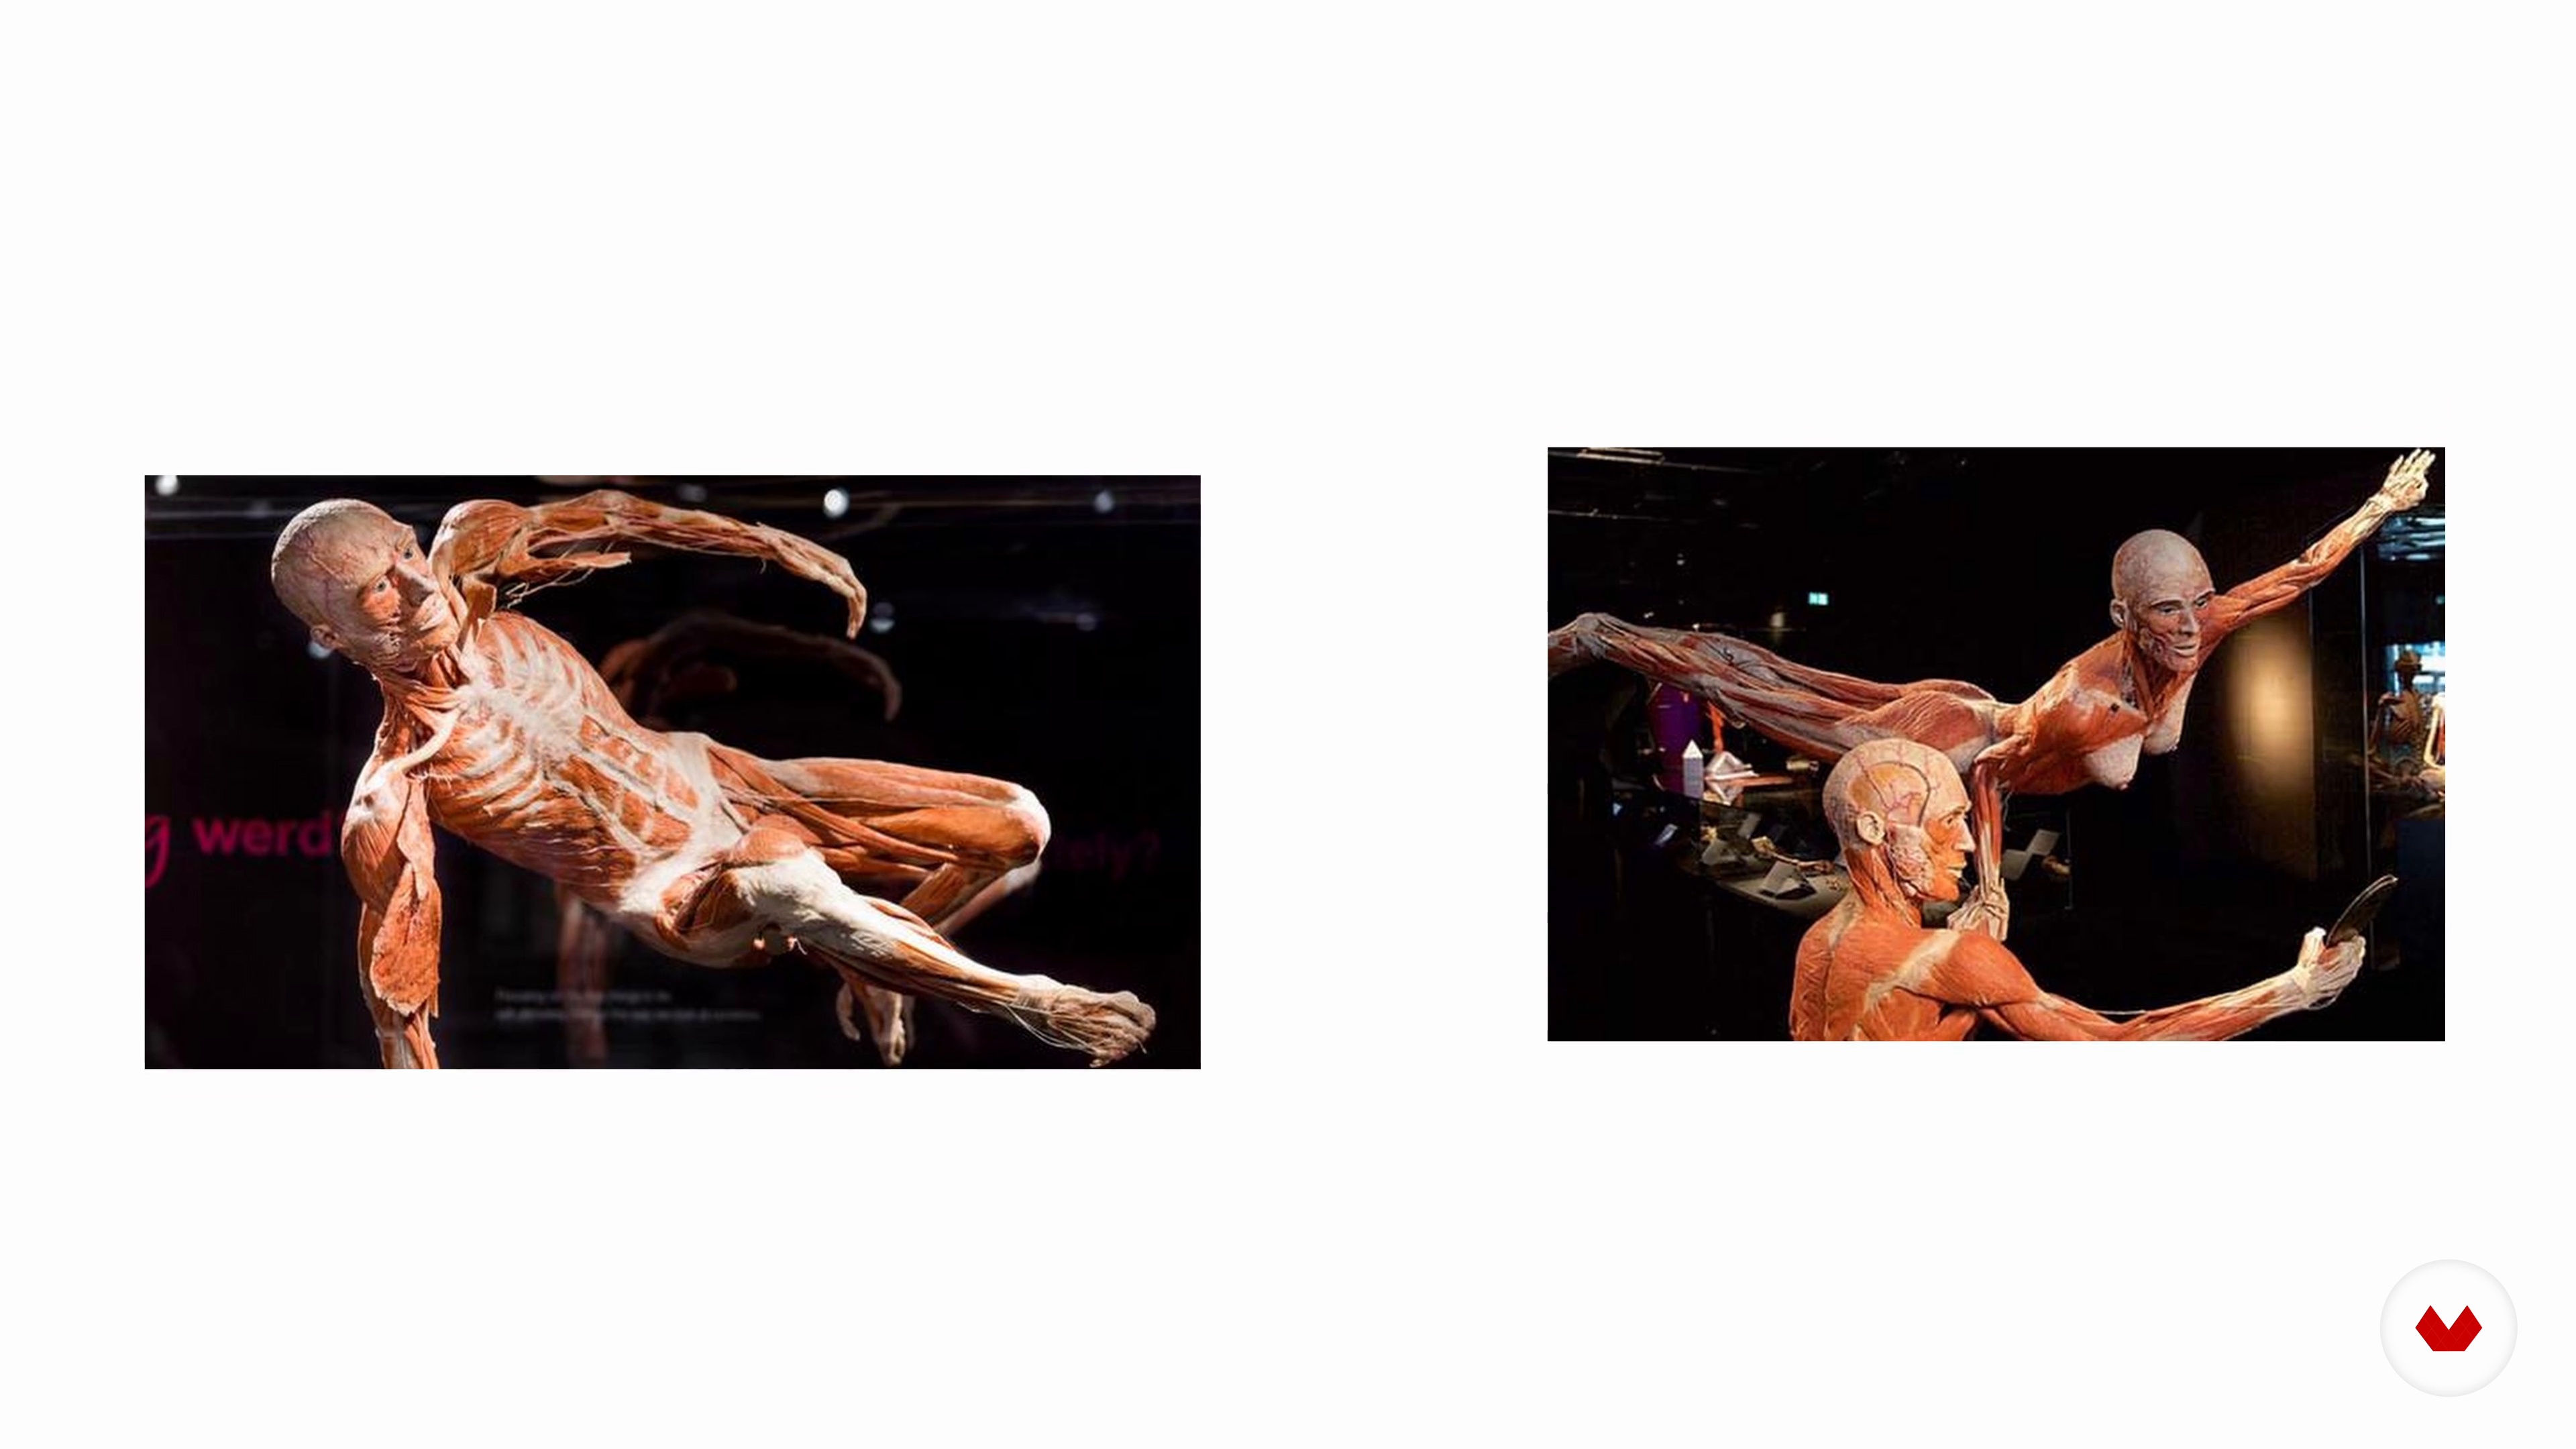
In this lesson, I will talk about different artists that have influenced me and inspired me on my journey to becoming a medical illustrator. I will share examples and talk about the beauty of anatomy.
5m
 4
4Influences | Mildred Hankinson
It seems to me that it is always important to talk about the influences and things that inspire us, so in this lesson, I’ll discuss my greatest artistic influences, as well as why and how they shape my own work.
4m
 5
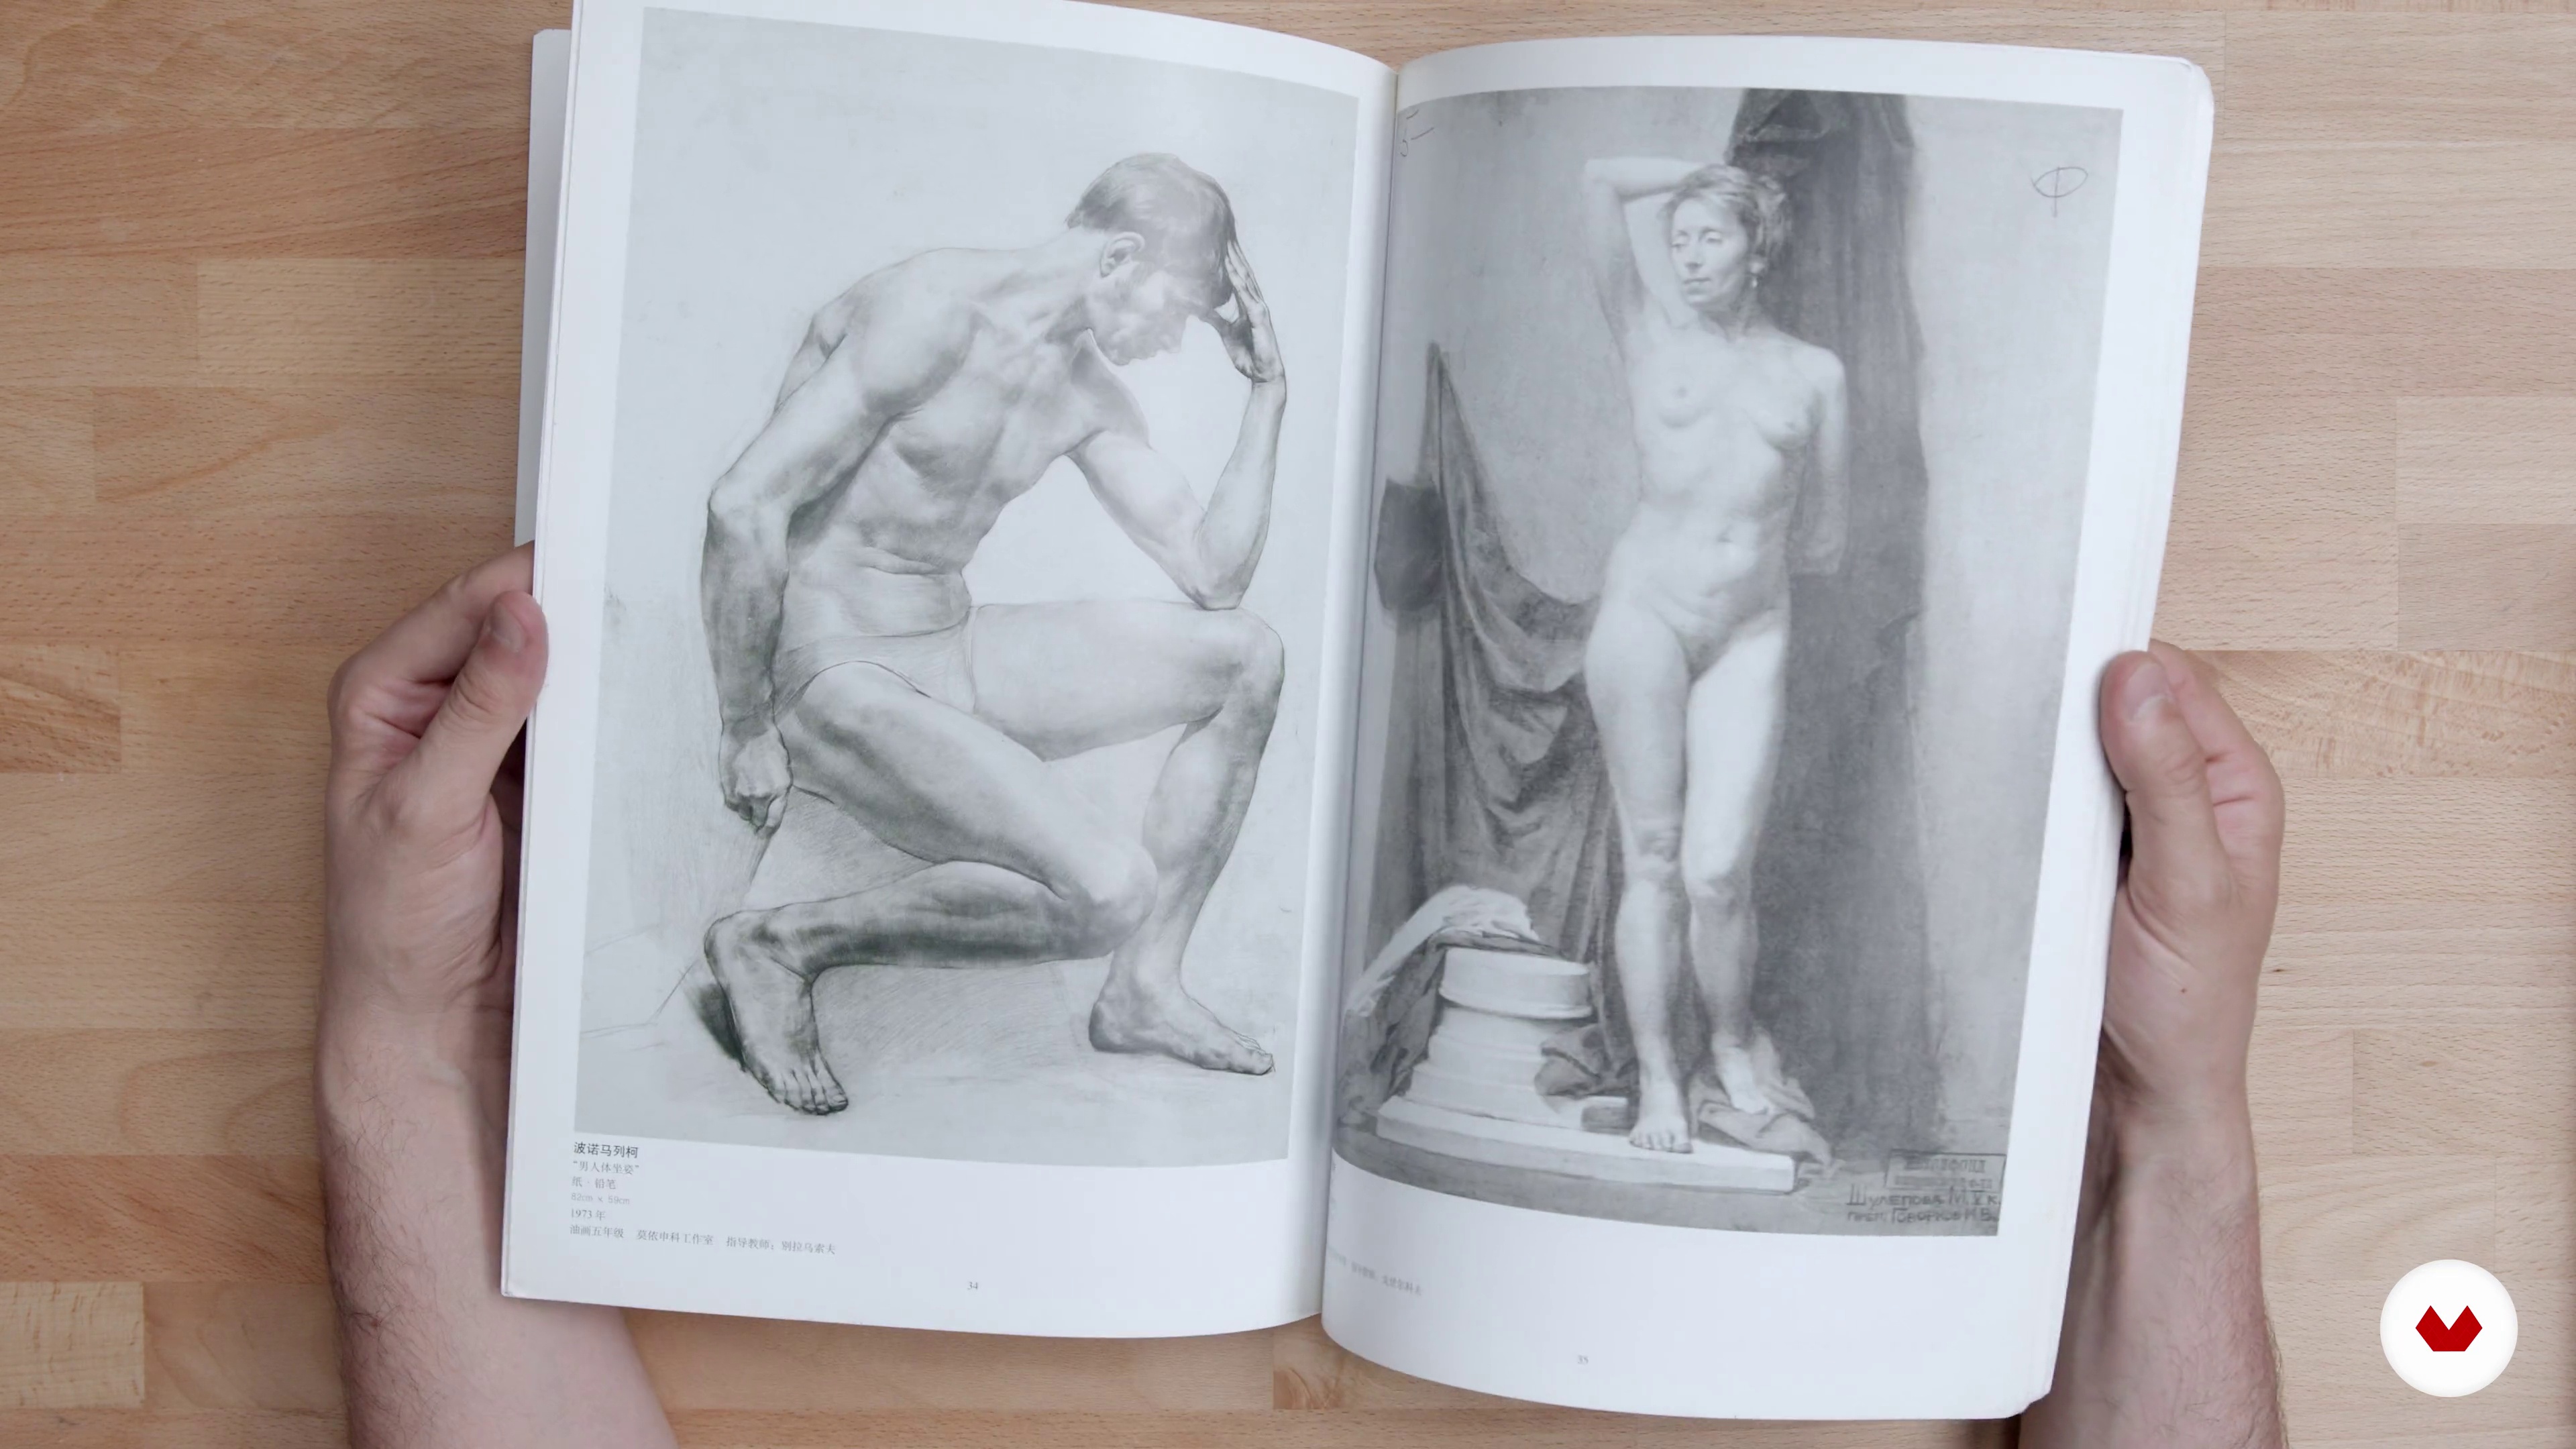
5Influences | Diego Catalan Amilivia
In this lesson I will share with you some of the most influential artists during my training stage, whose study has been part of my academic and professional career. We will also see how the principles of analytical drawing are applied by the students of the academy, and finally, how different artists do it in their own creative work.
11m
 6
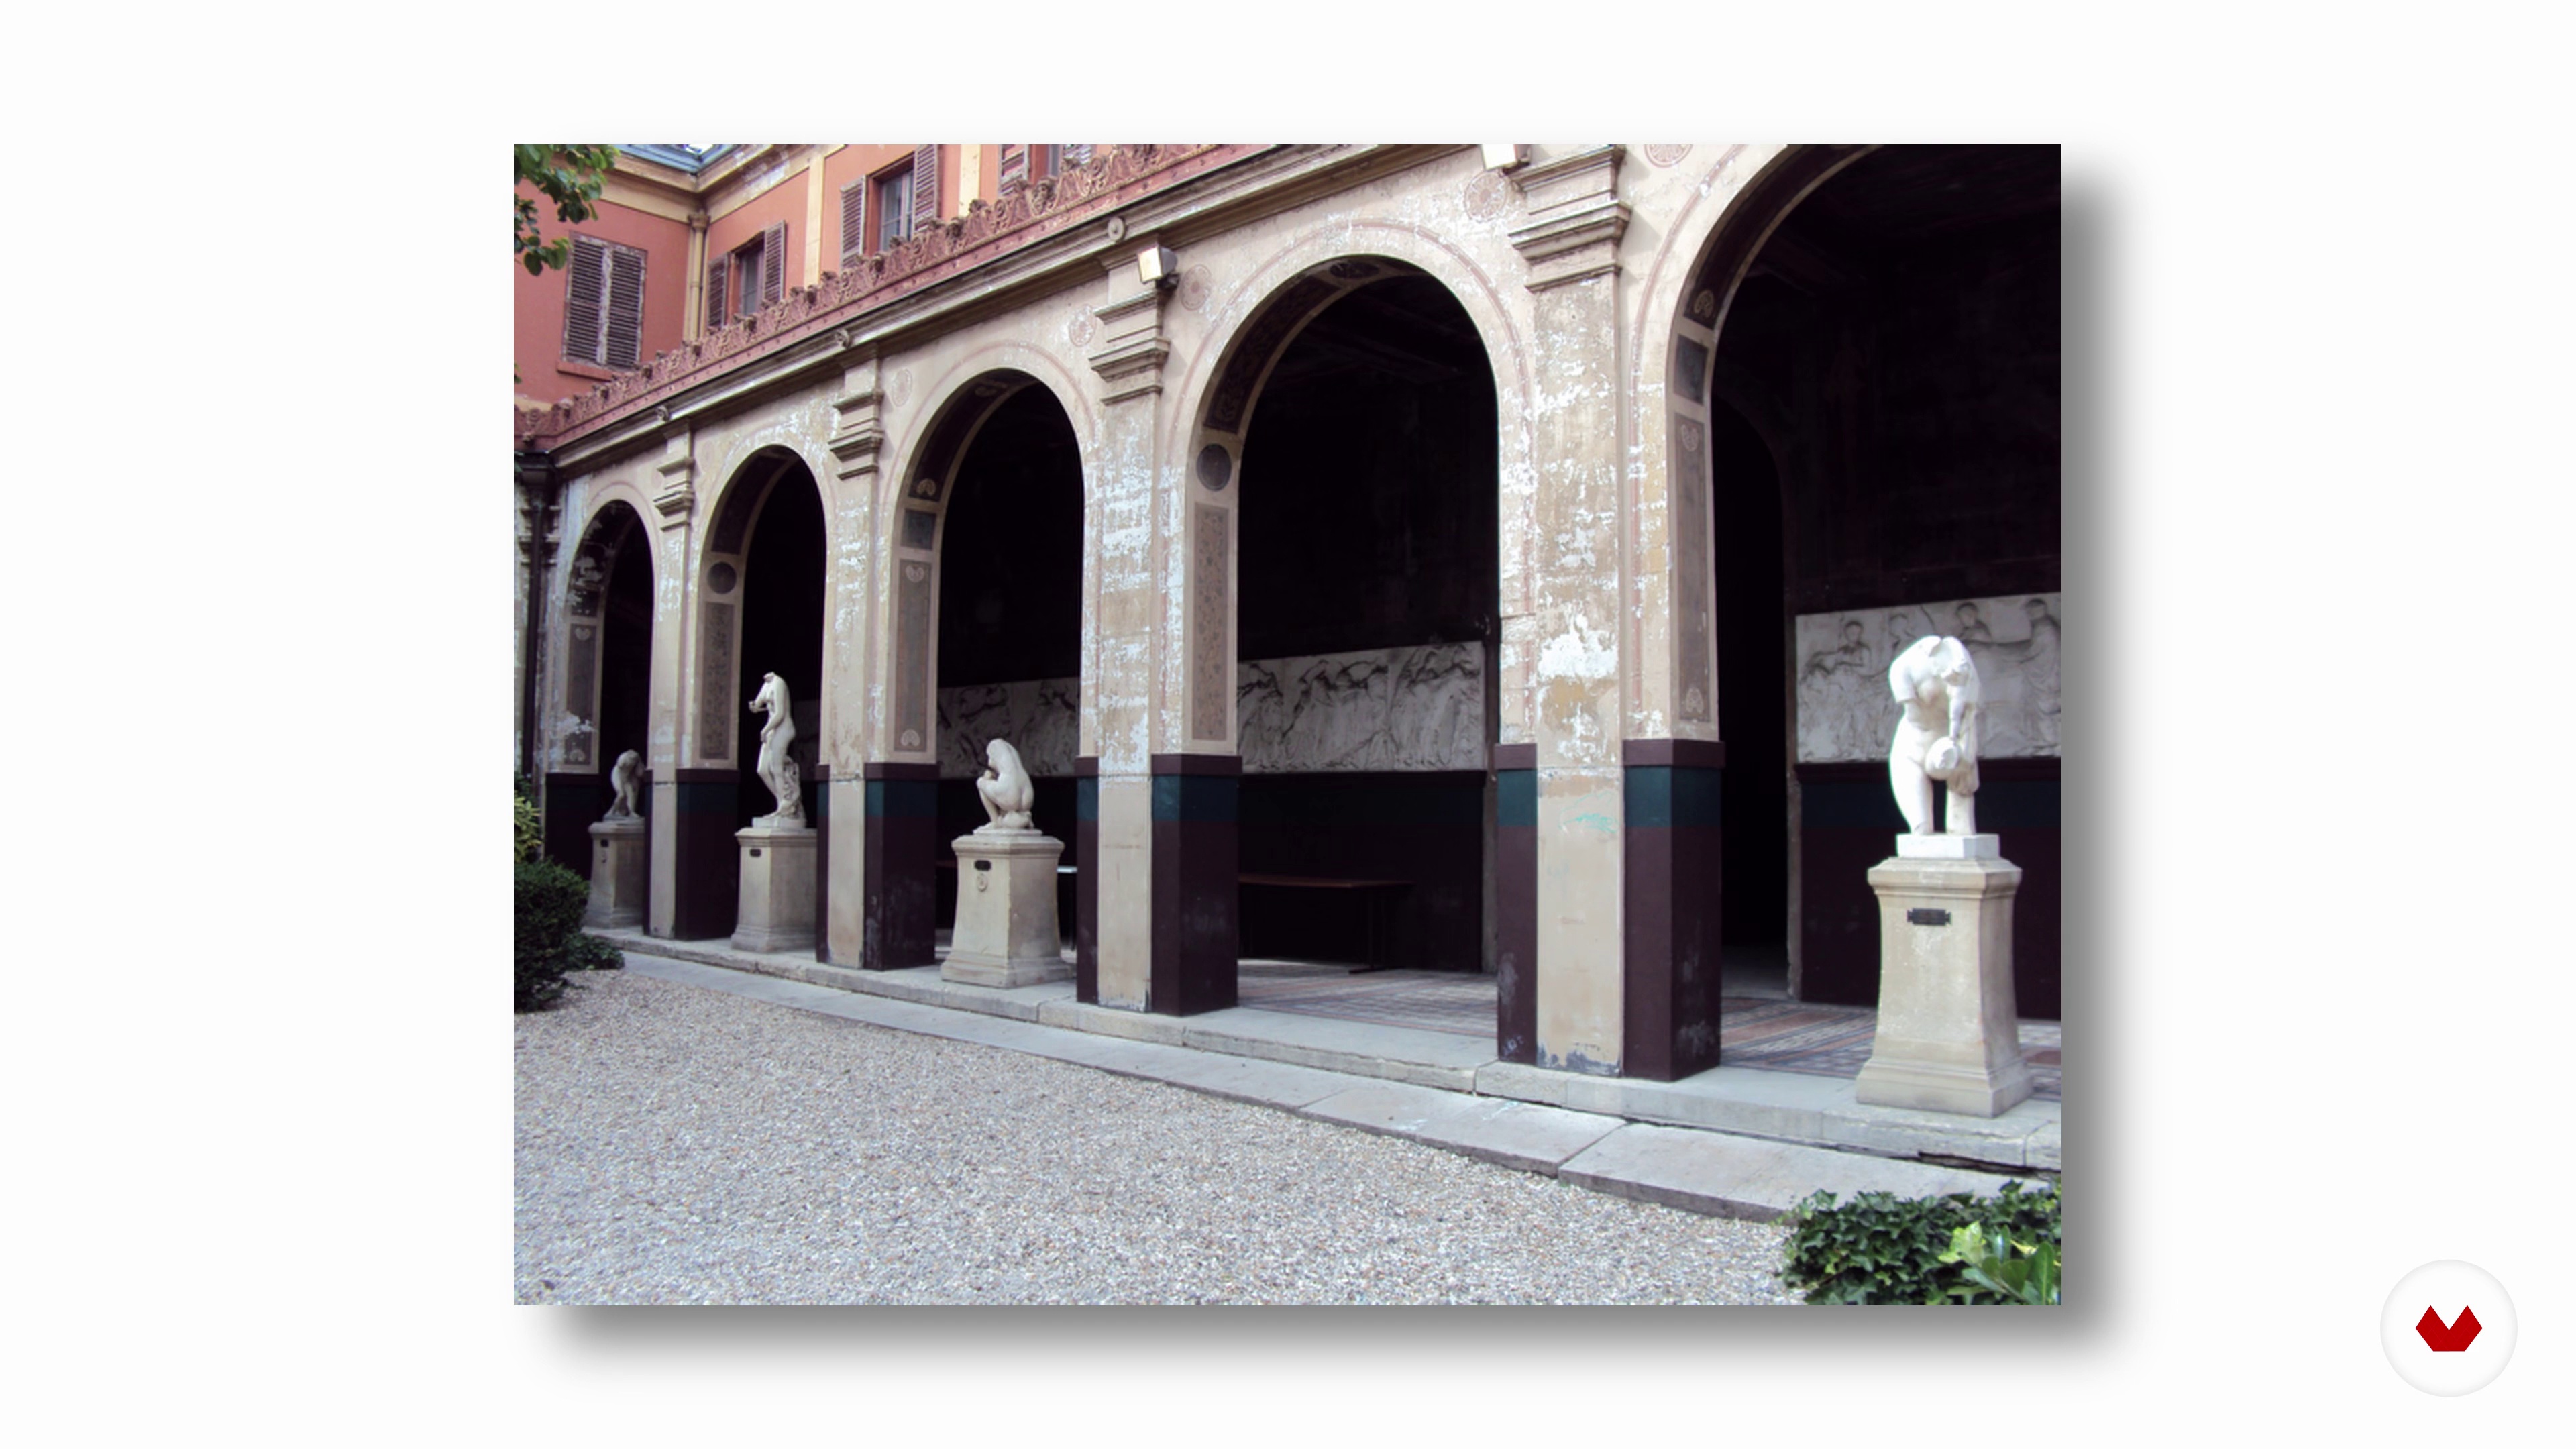
6Influences | Shane Wolf
In this lesson, I will talk about what inspires me, the importance of working uniquely from life, and how I continue to learn from great artists of the past.
5m
 3
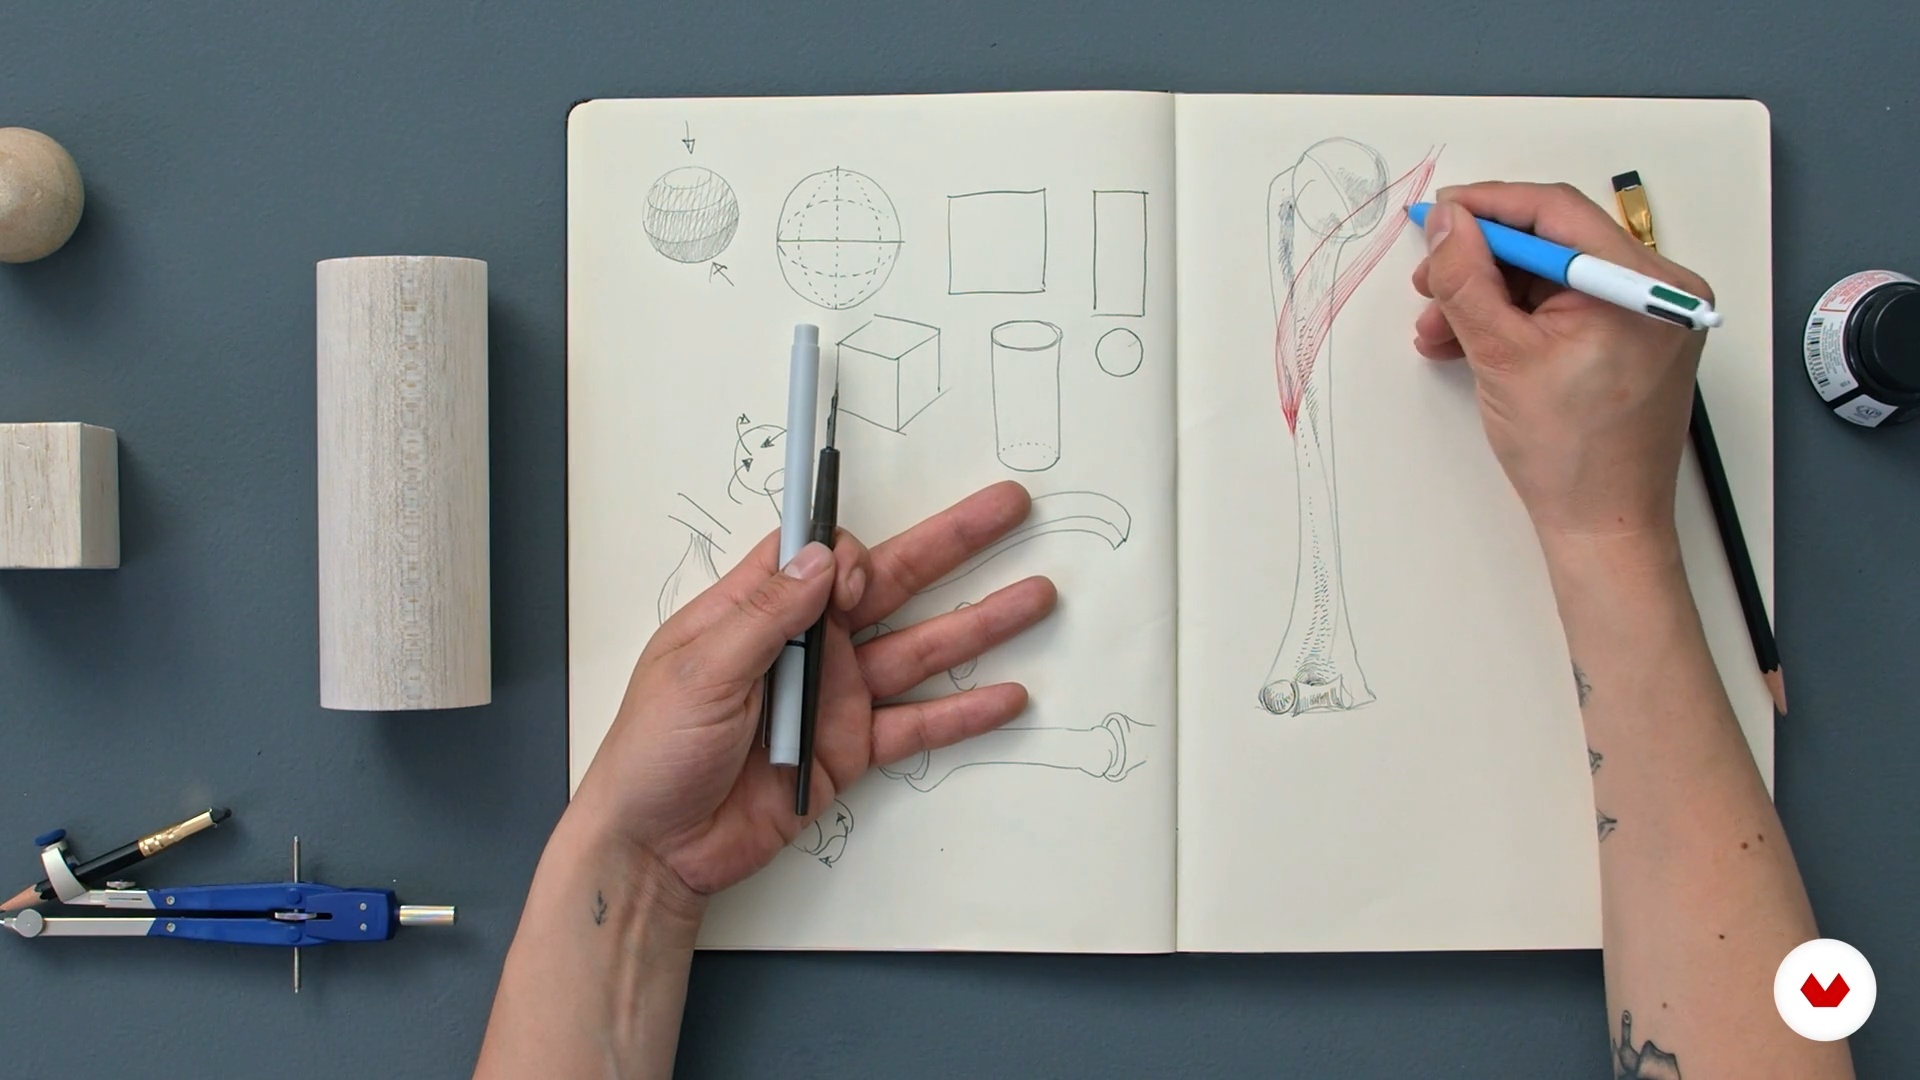
3Anatomy Basics
To start, I will show you the materials I will work with during the course. I will also teach you how to draw basic 2D and 3D shapes. In addition, you will learn how to create textures to represent the bones and muscle fibers.
10m
 4
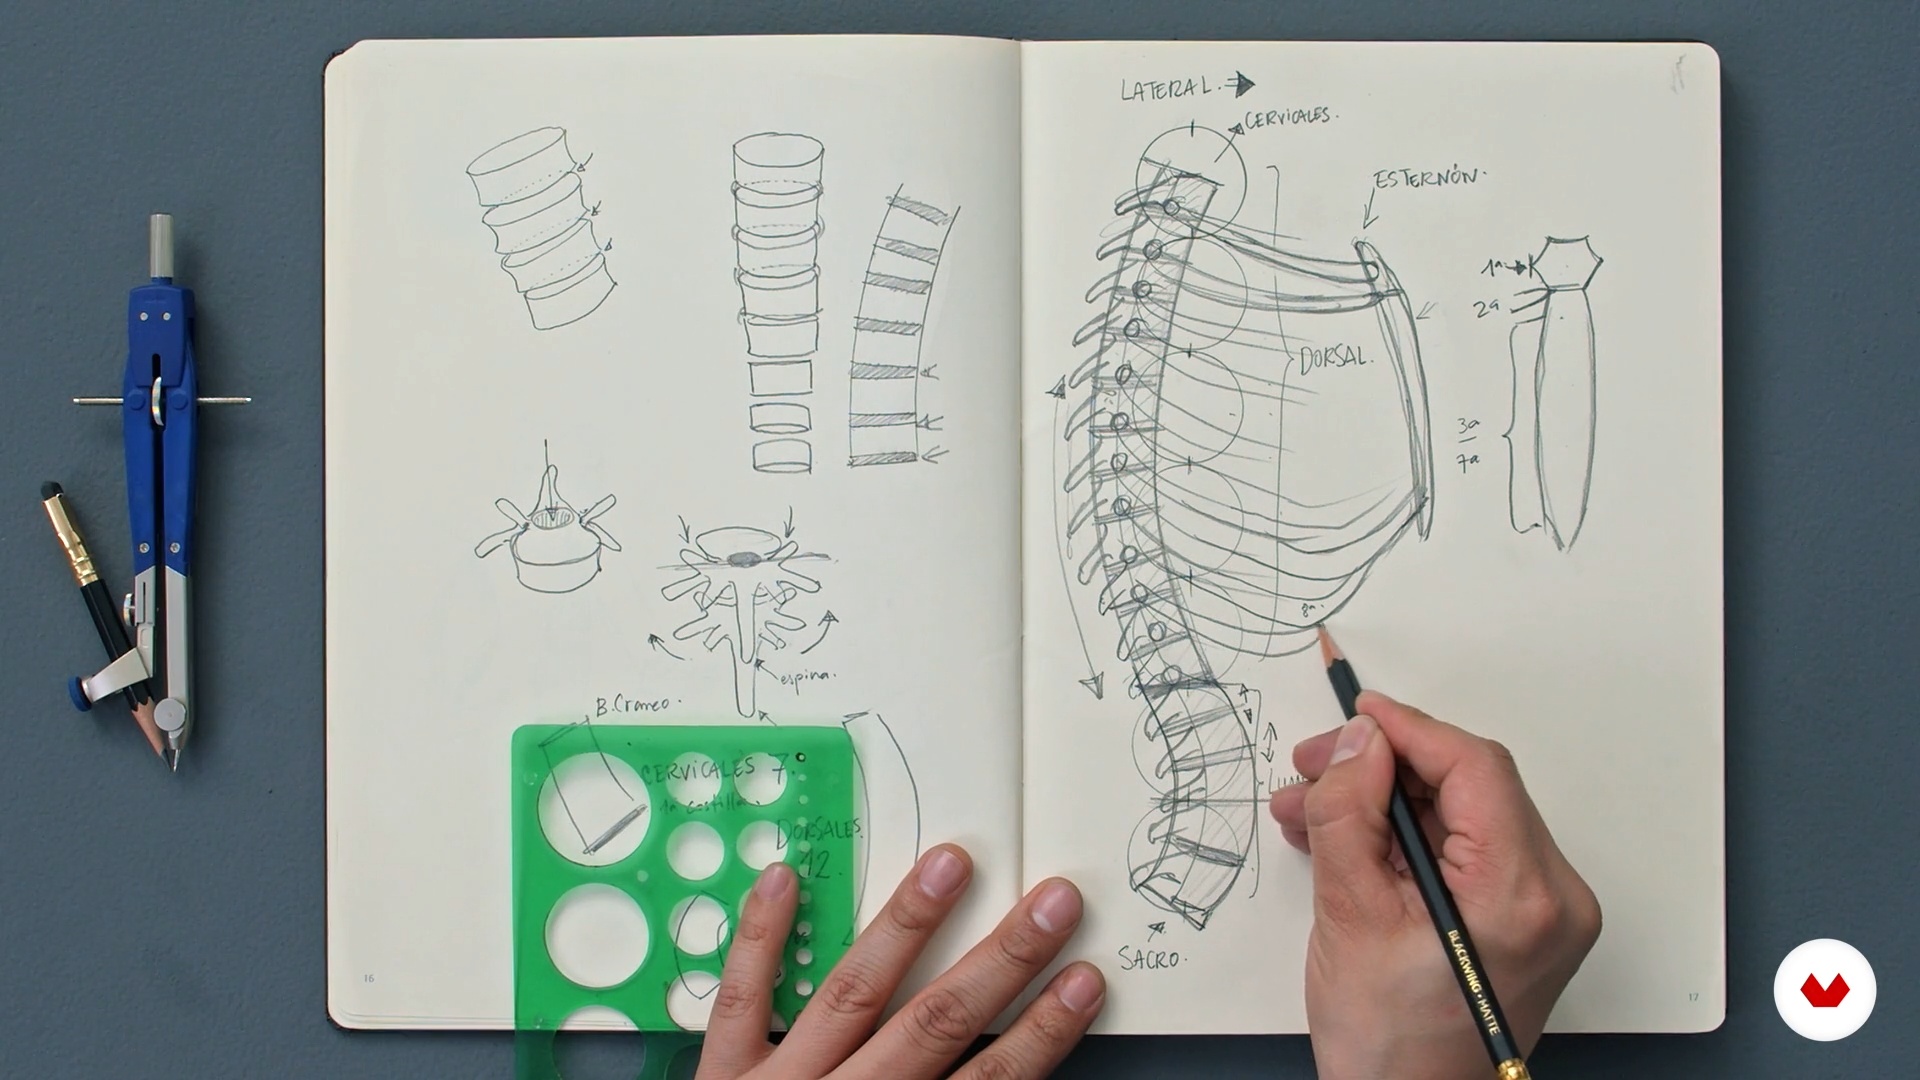
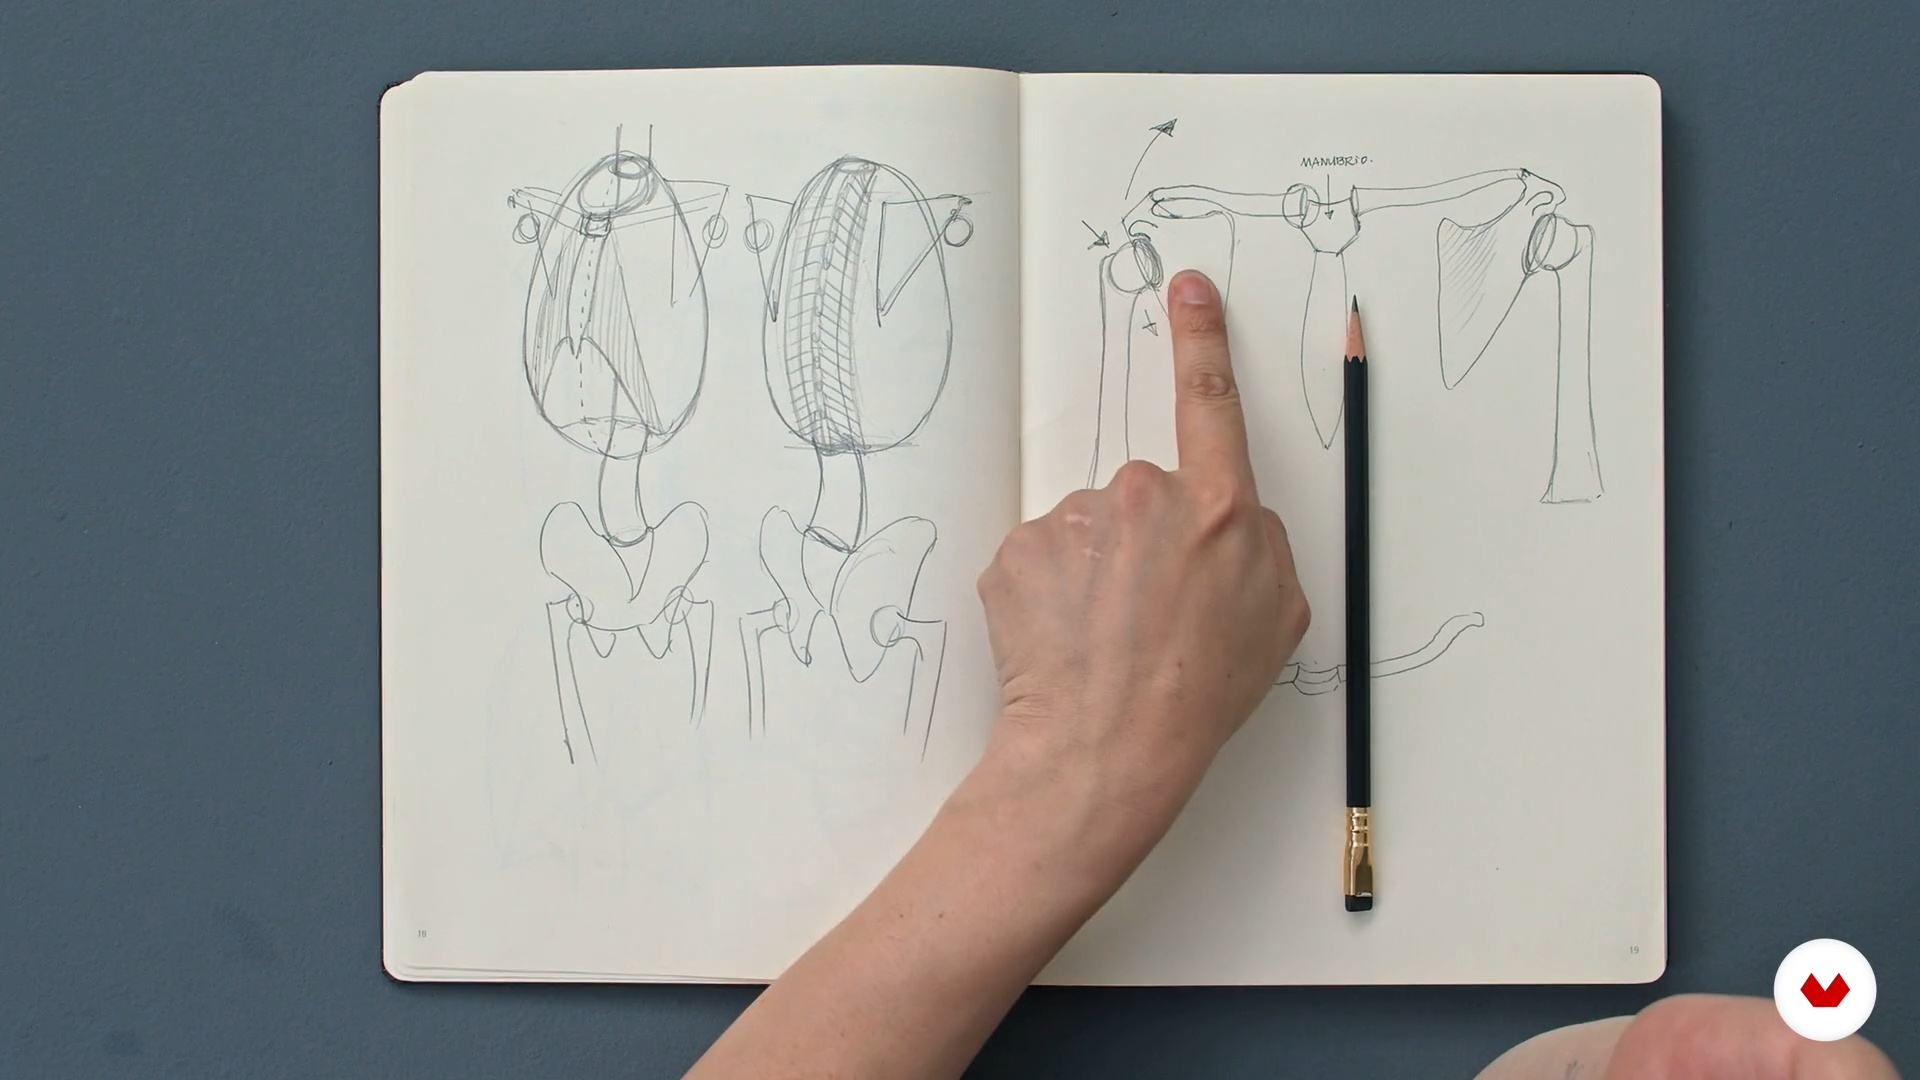
4Torso and spine
Now you will see how to draw the planes and represent the bones of the torso and the spine.
18m
 5
5Shoulder and arm
I'll start by explaining how to draw the bones and muscles that make up the shoulder joint. In addition, you will learn how to represent their movements.
10m
 6
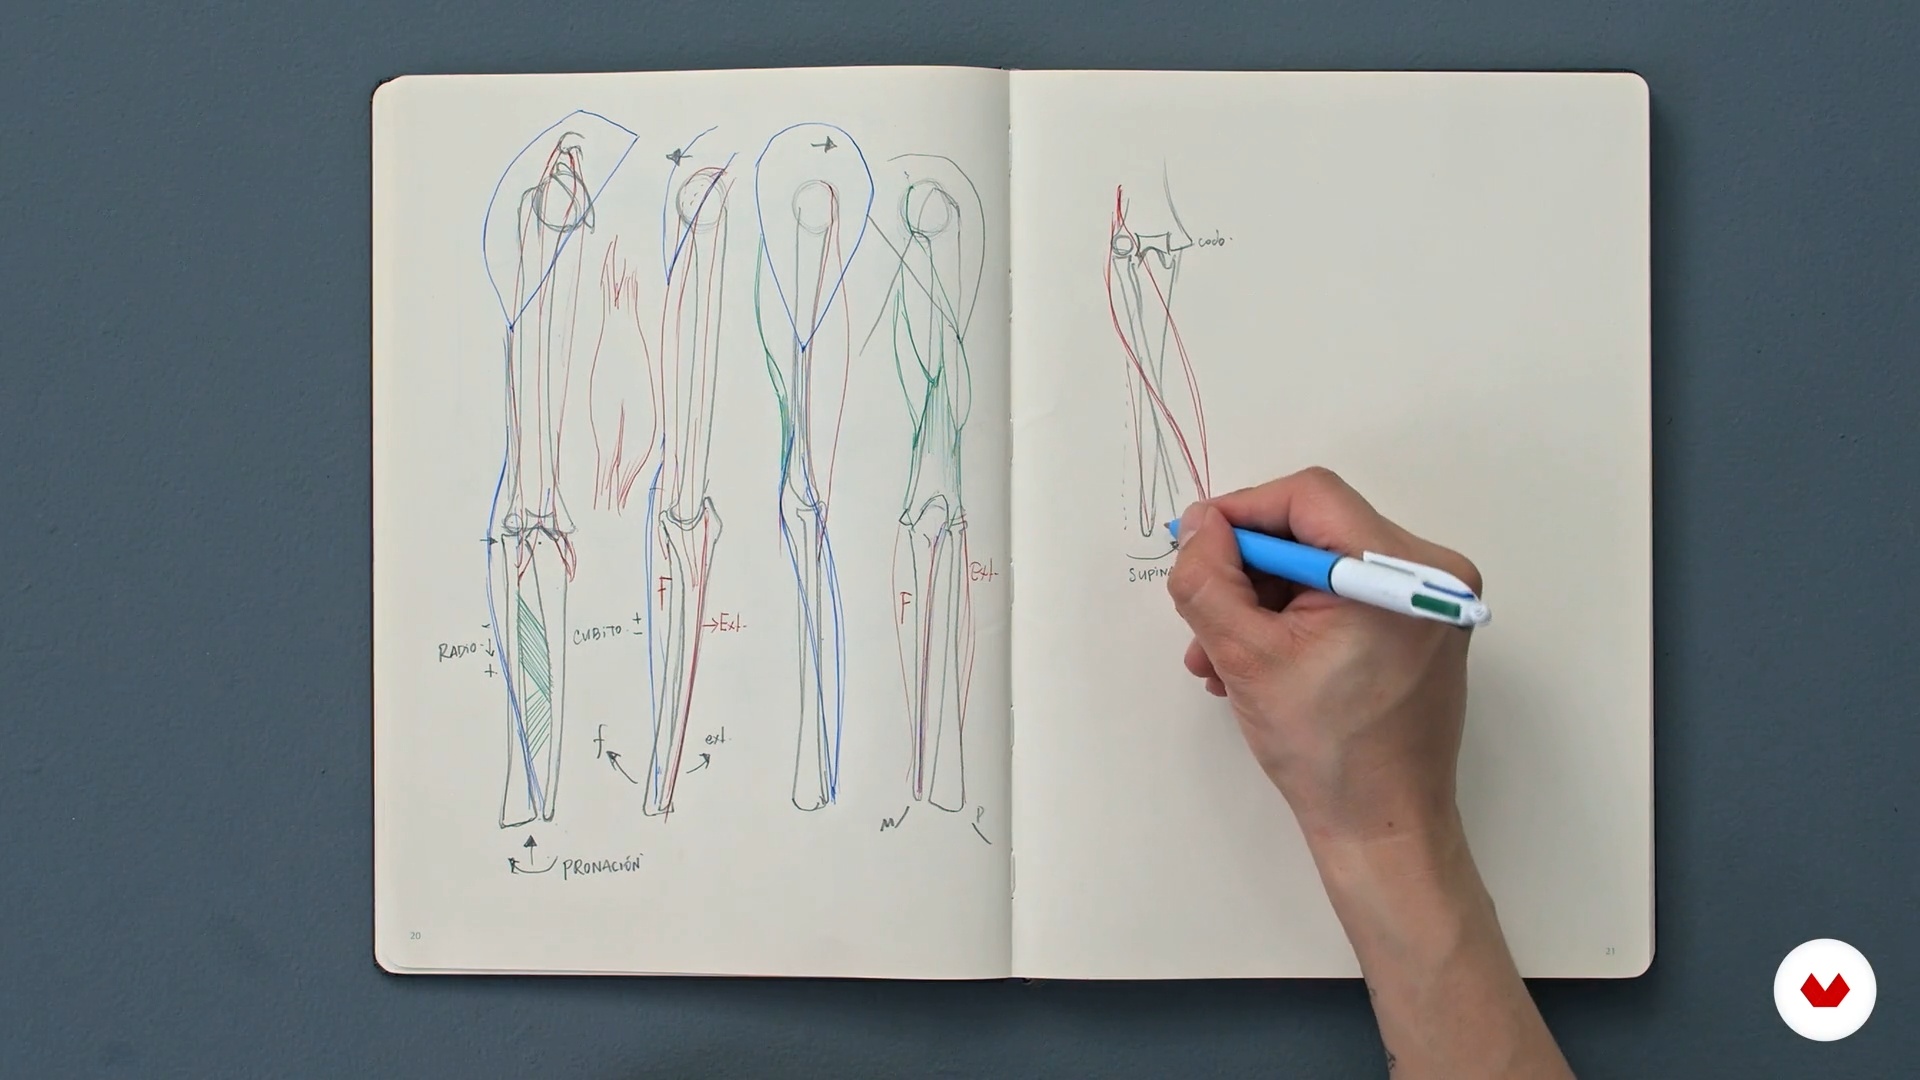
6Forearm and wrist
In this lesson you will learn to draw the bones and muscles that are part of the elbow and wrist joint. I will share some tricks so you can represent their movements.
18m
 7
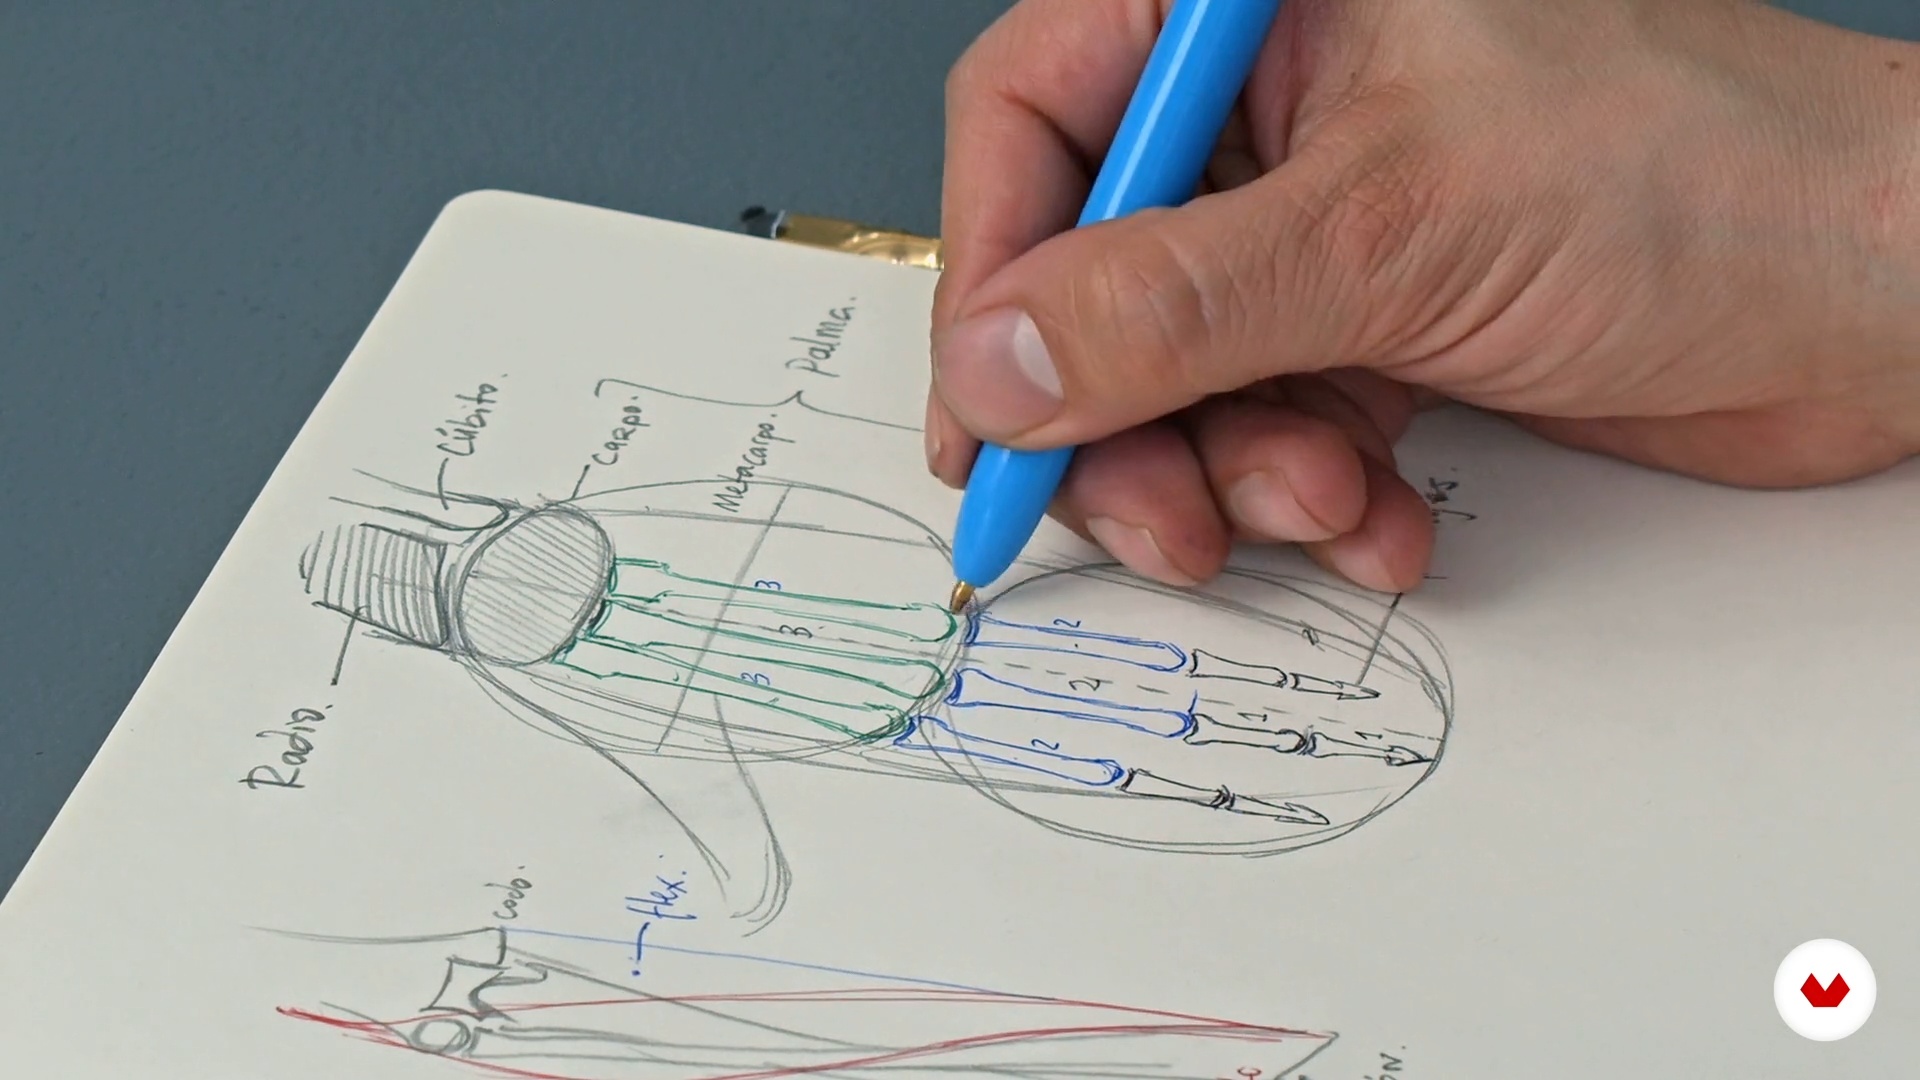
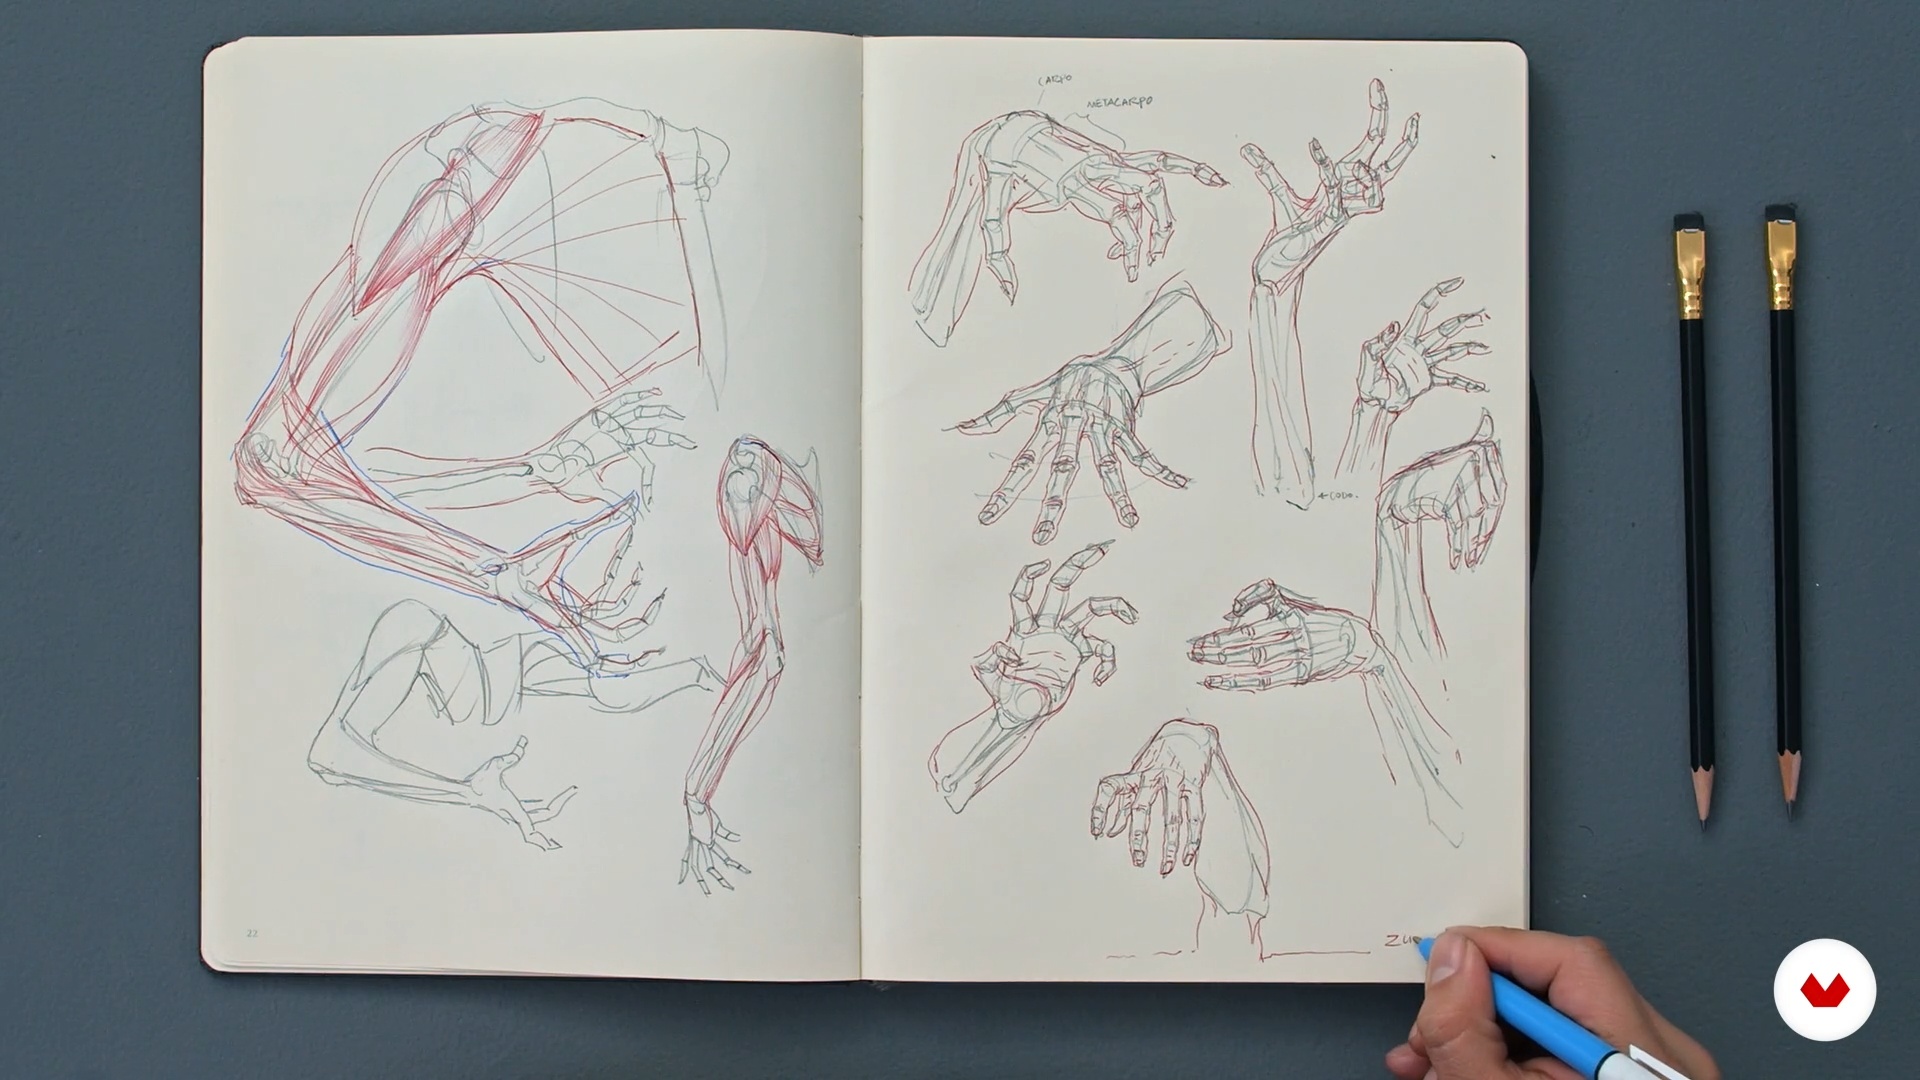
7Hands 1
Generally, there is always a huge fear when it comes to drawing hands. Therefore, in this lesson I will teach you how to draw the bones and muscles that are part of the hand and how to represent their movements.
19m
 8
8Hands 2
During this second part of the lesson, I will continue to explain how to draw hands from different points of view.
17m
 9
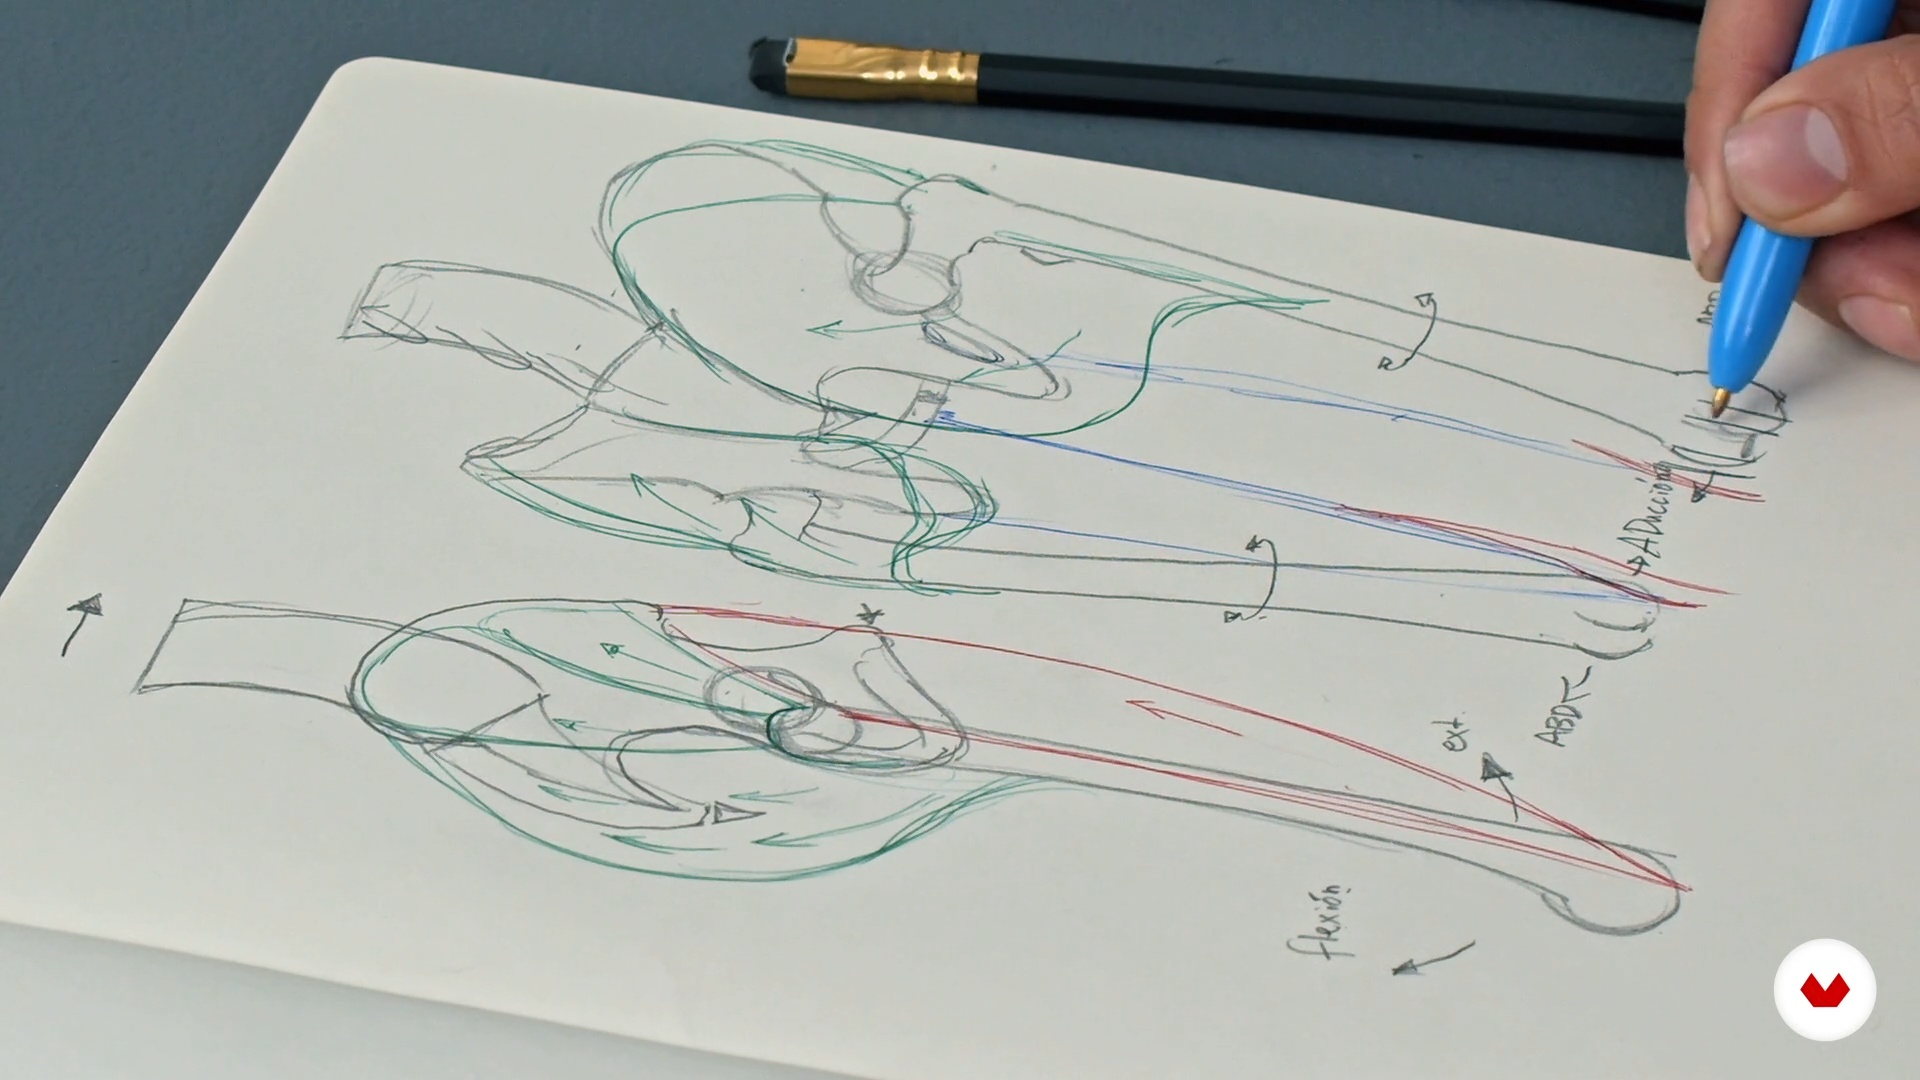
9Hip and thigh
To begin with, you will learn how to draw the bones and muscles that are part of the hip and thigh.
13m
 10
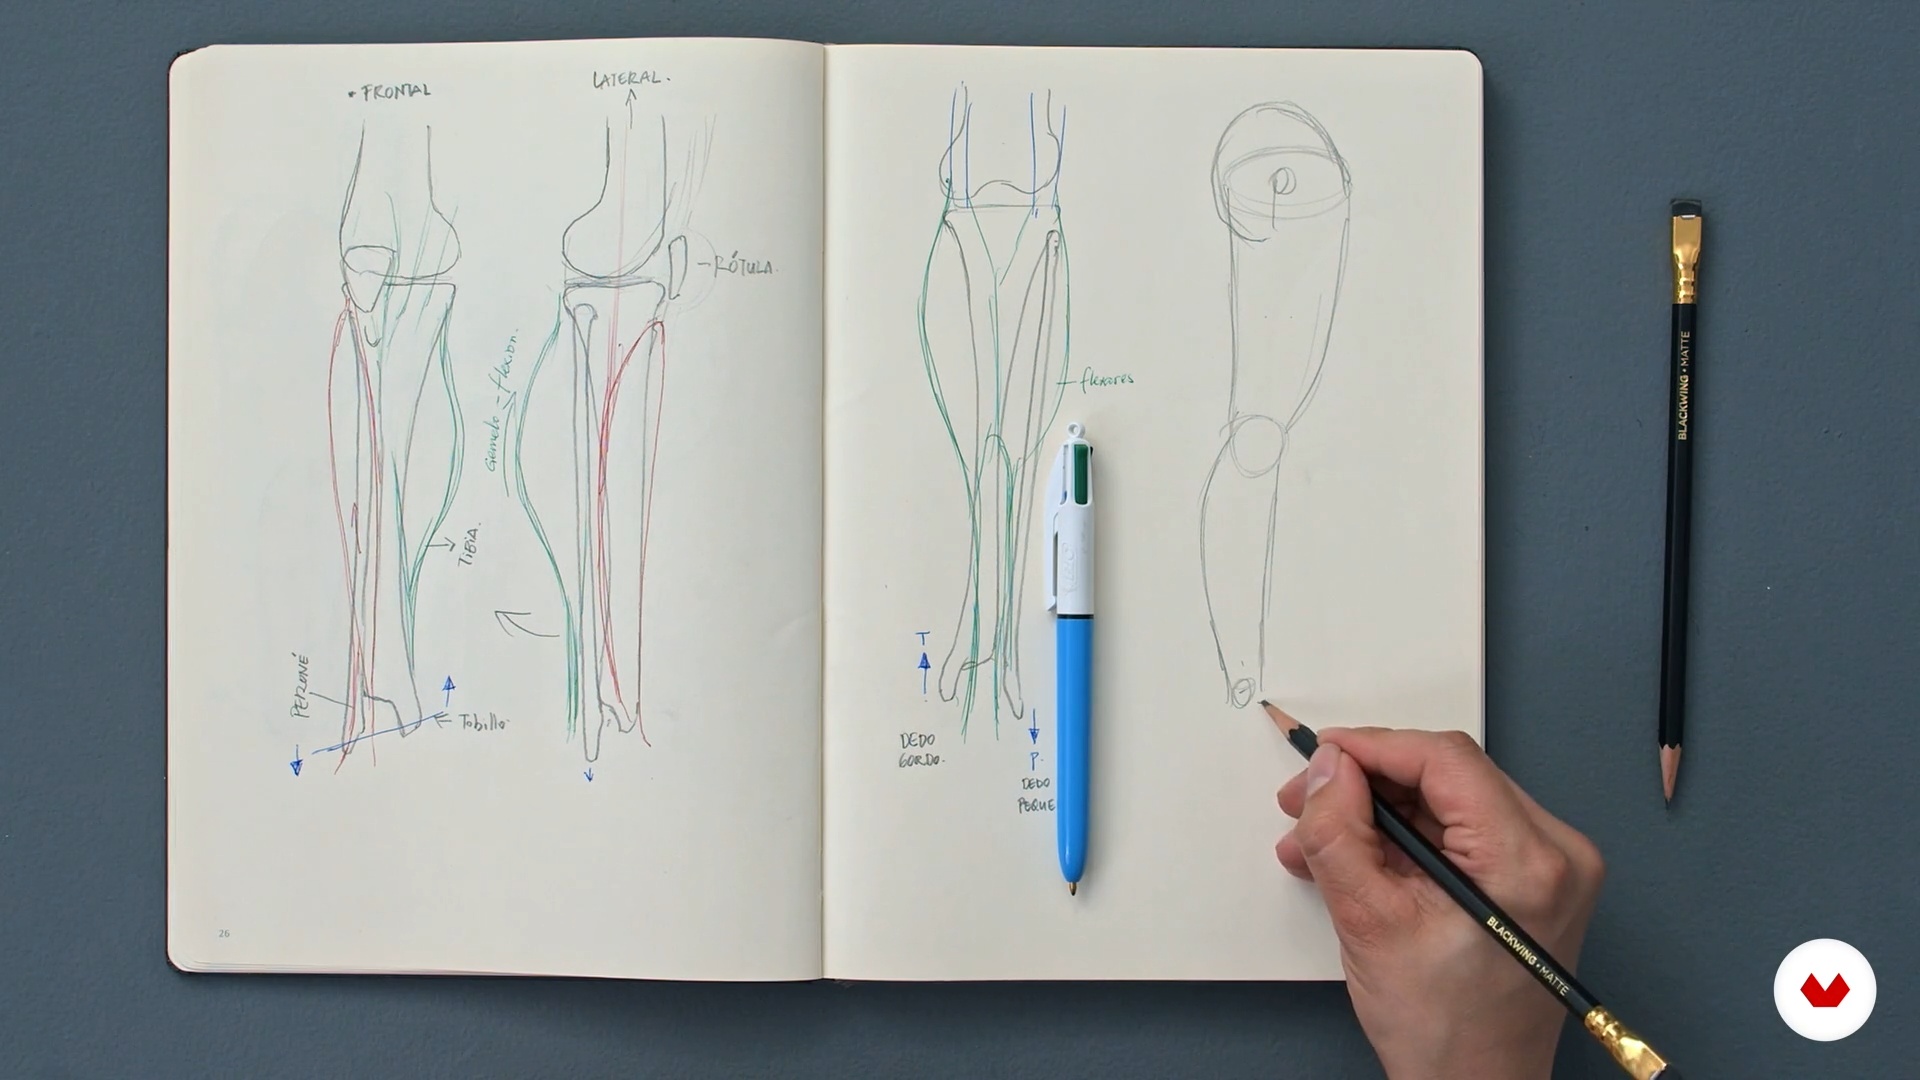
10Knee and leg
Now, you will learn to draw the knee and the leg, in addition, I will give you tips to draw the bones and muscles that make them up quickly and easily.
9m
 11
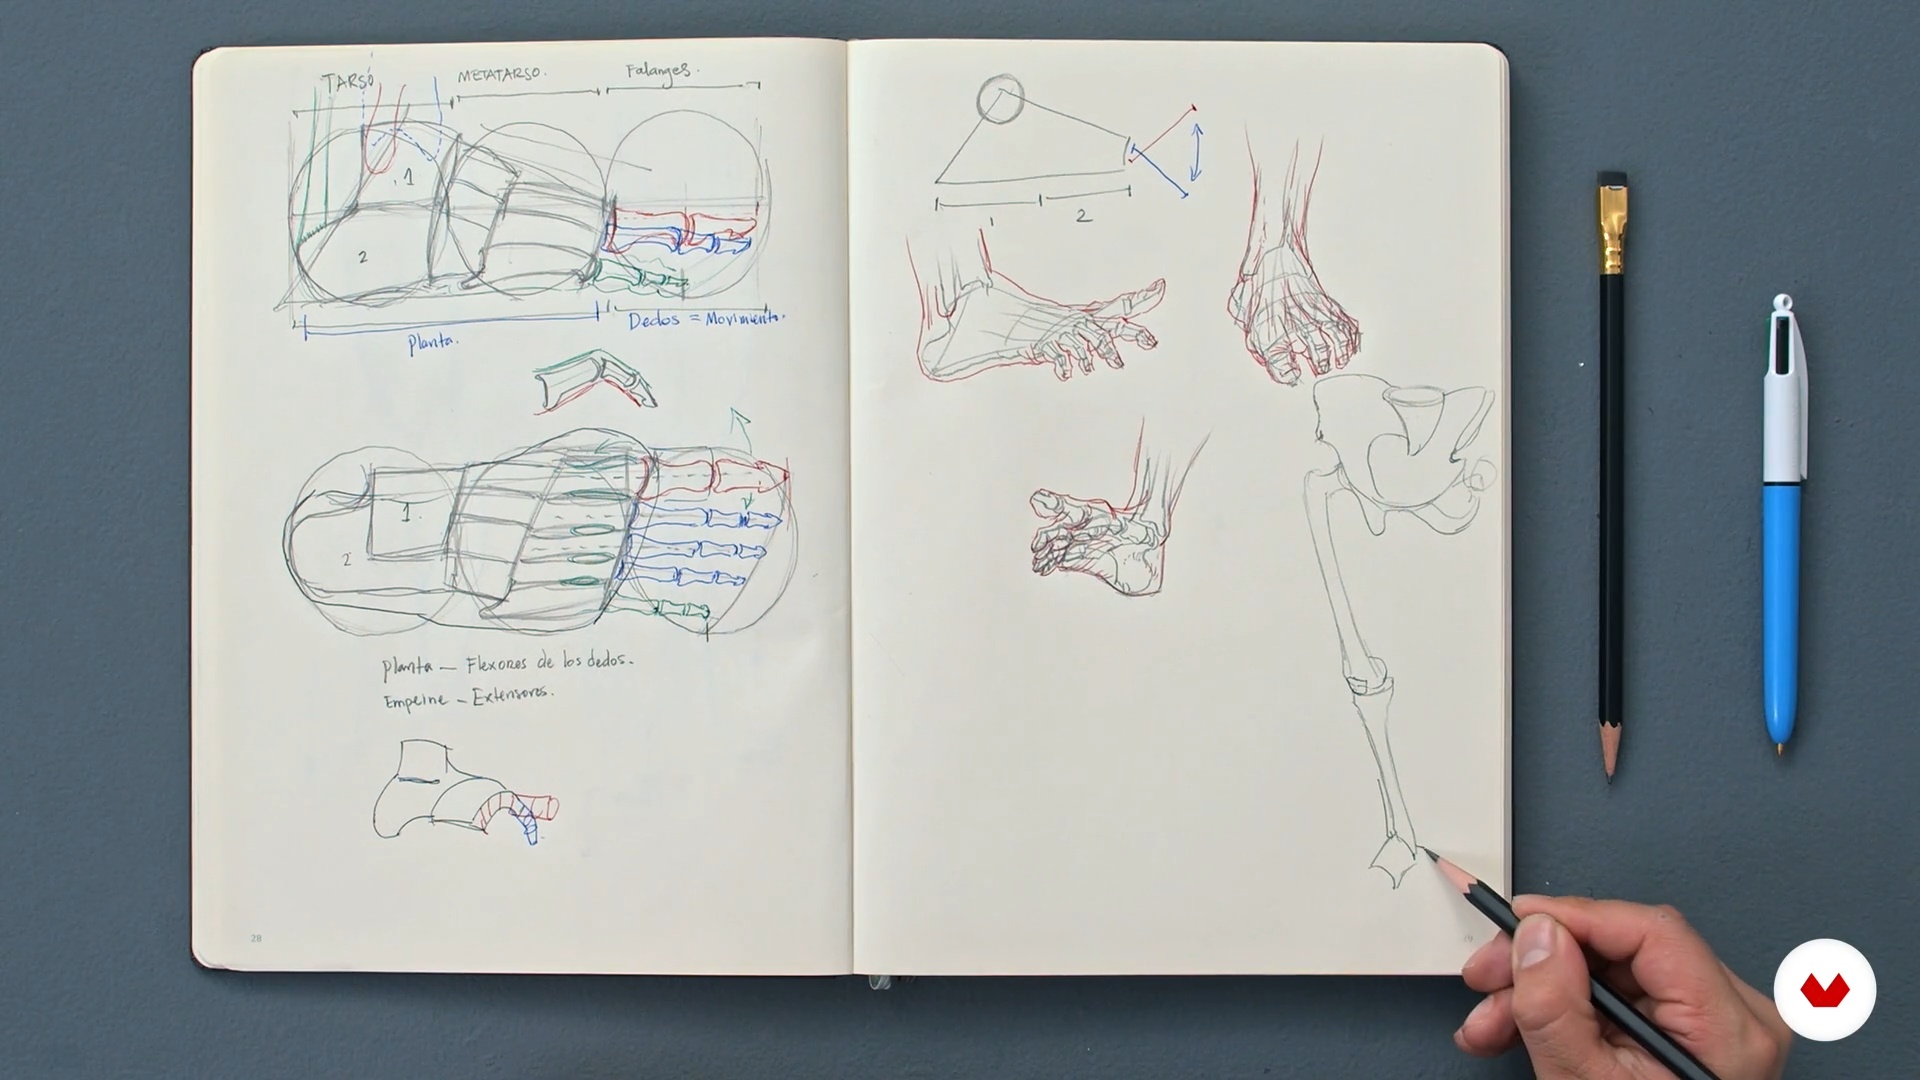
11Feet
You are ready to face a new challenge! Therefore, in this lesson I will explain how to draw the bones and muscles that make up the foot. I will also explain how to draw them from different points of view.
22m
 12
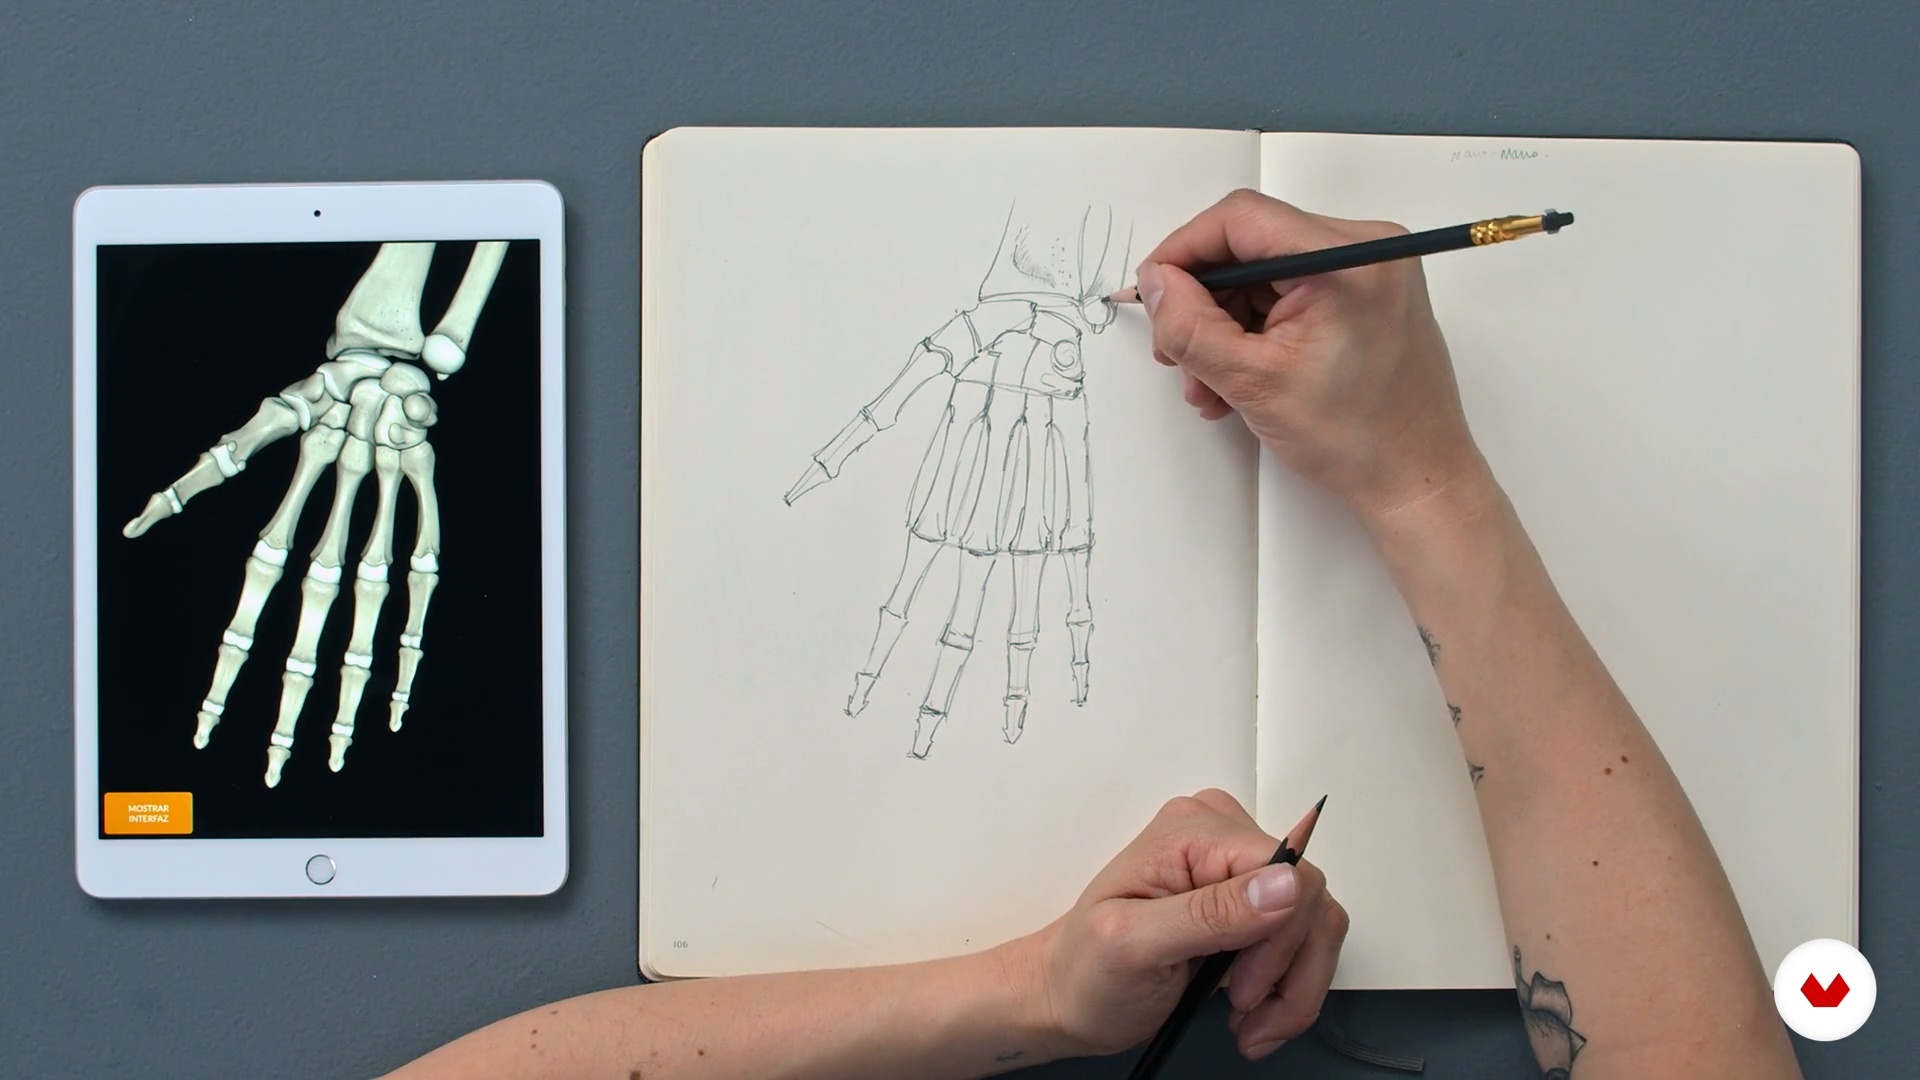
12Views
In this lesson you will see which views you need to draw to have enough references when drawing.
11m
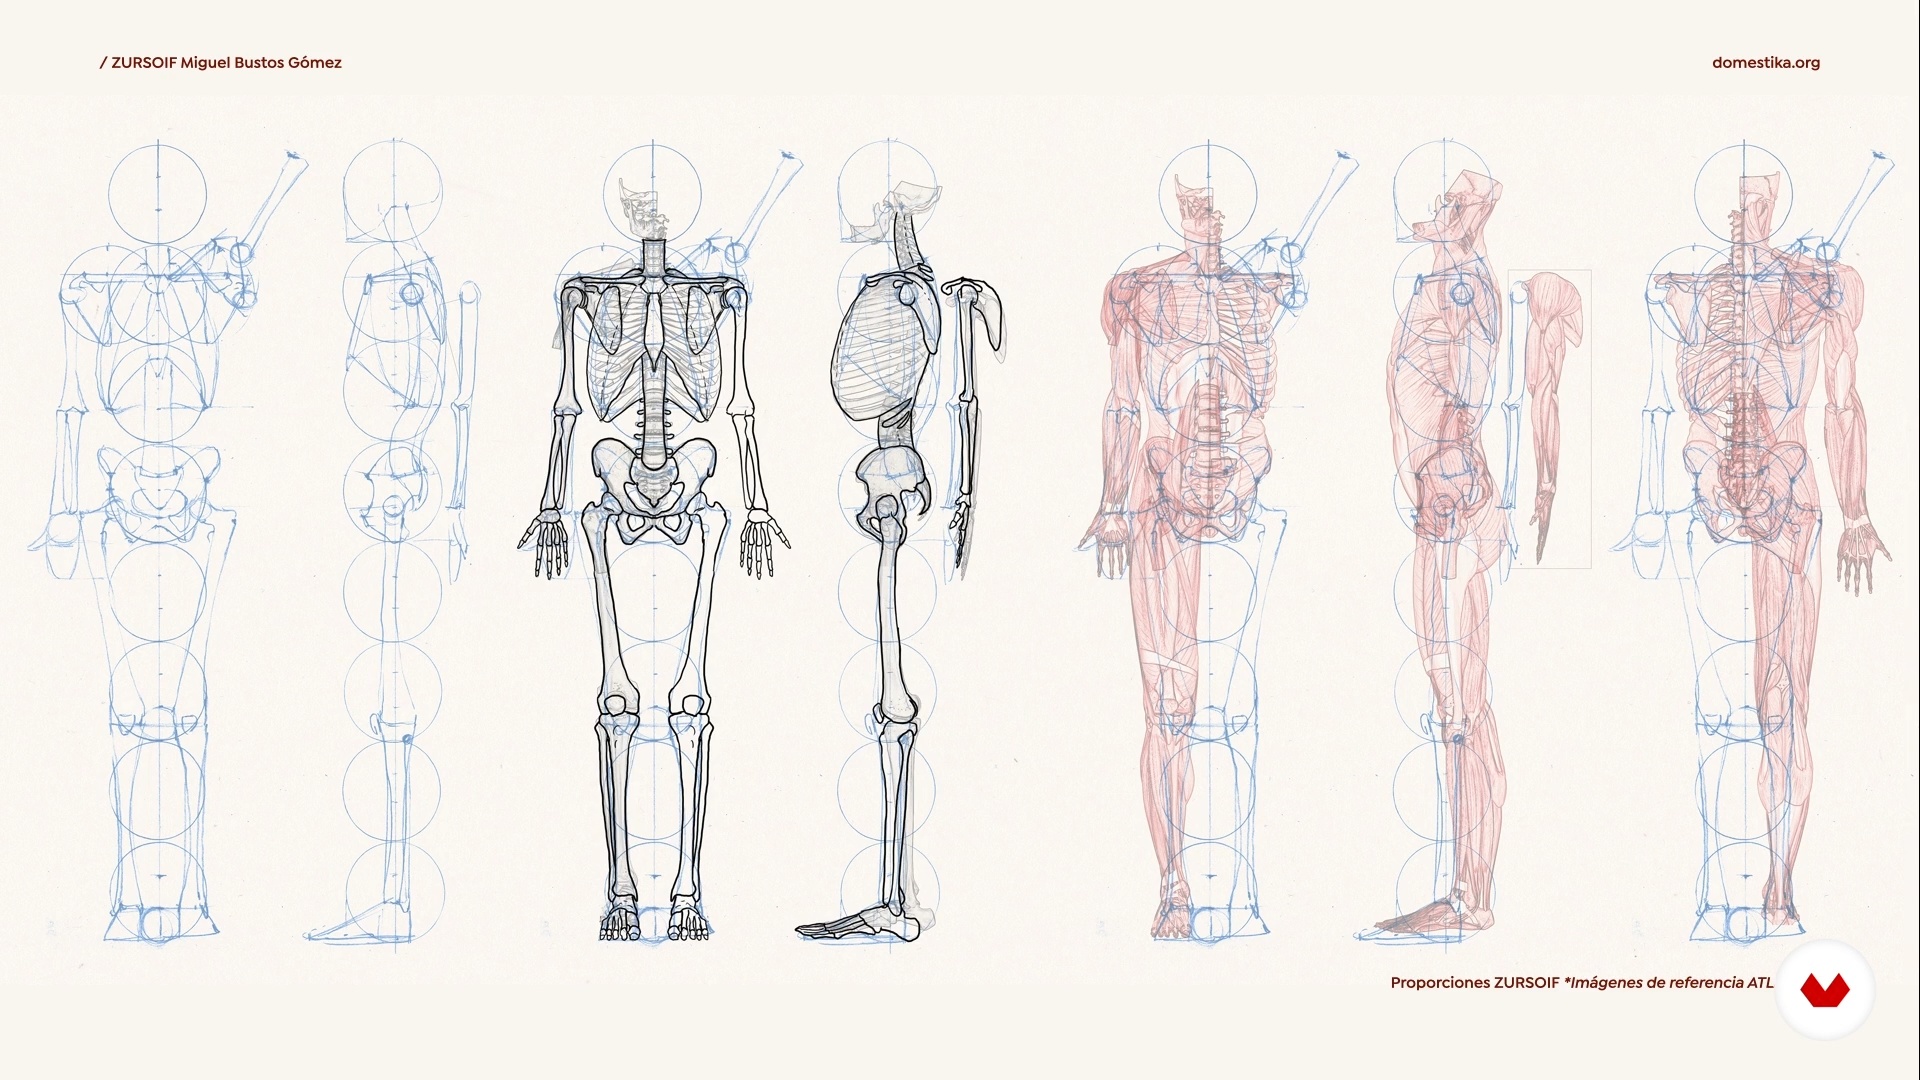 13
13Ultimate compilation
Here I will show you some ways to collect anatomical information such as catalogs, reference books or anatomical plates.
5m
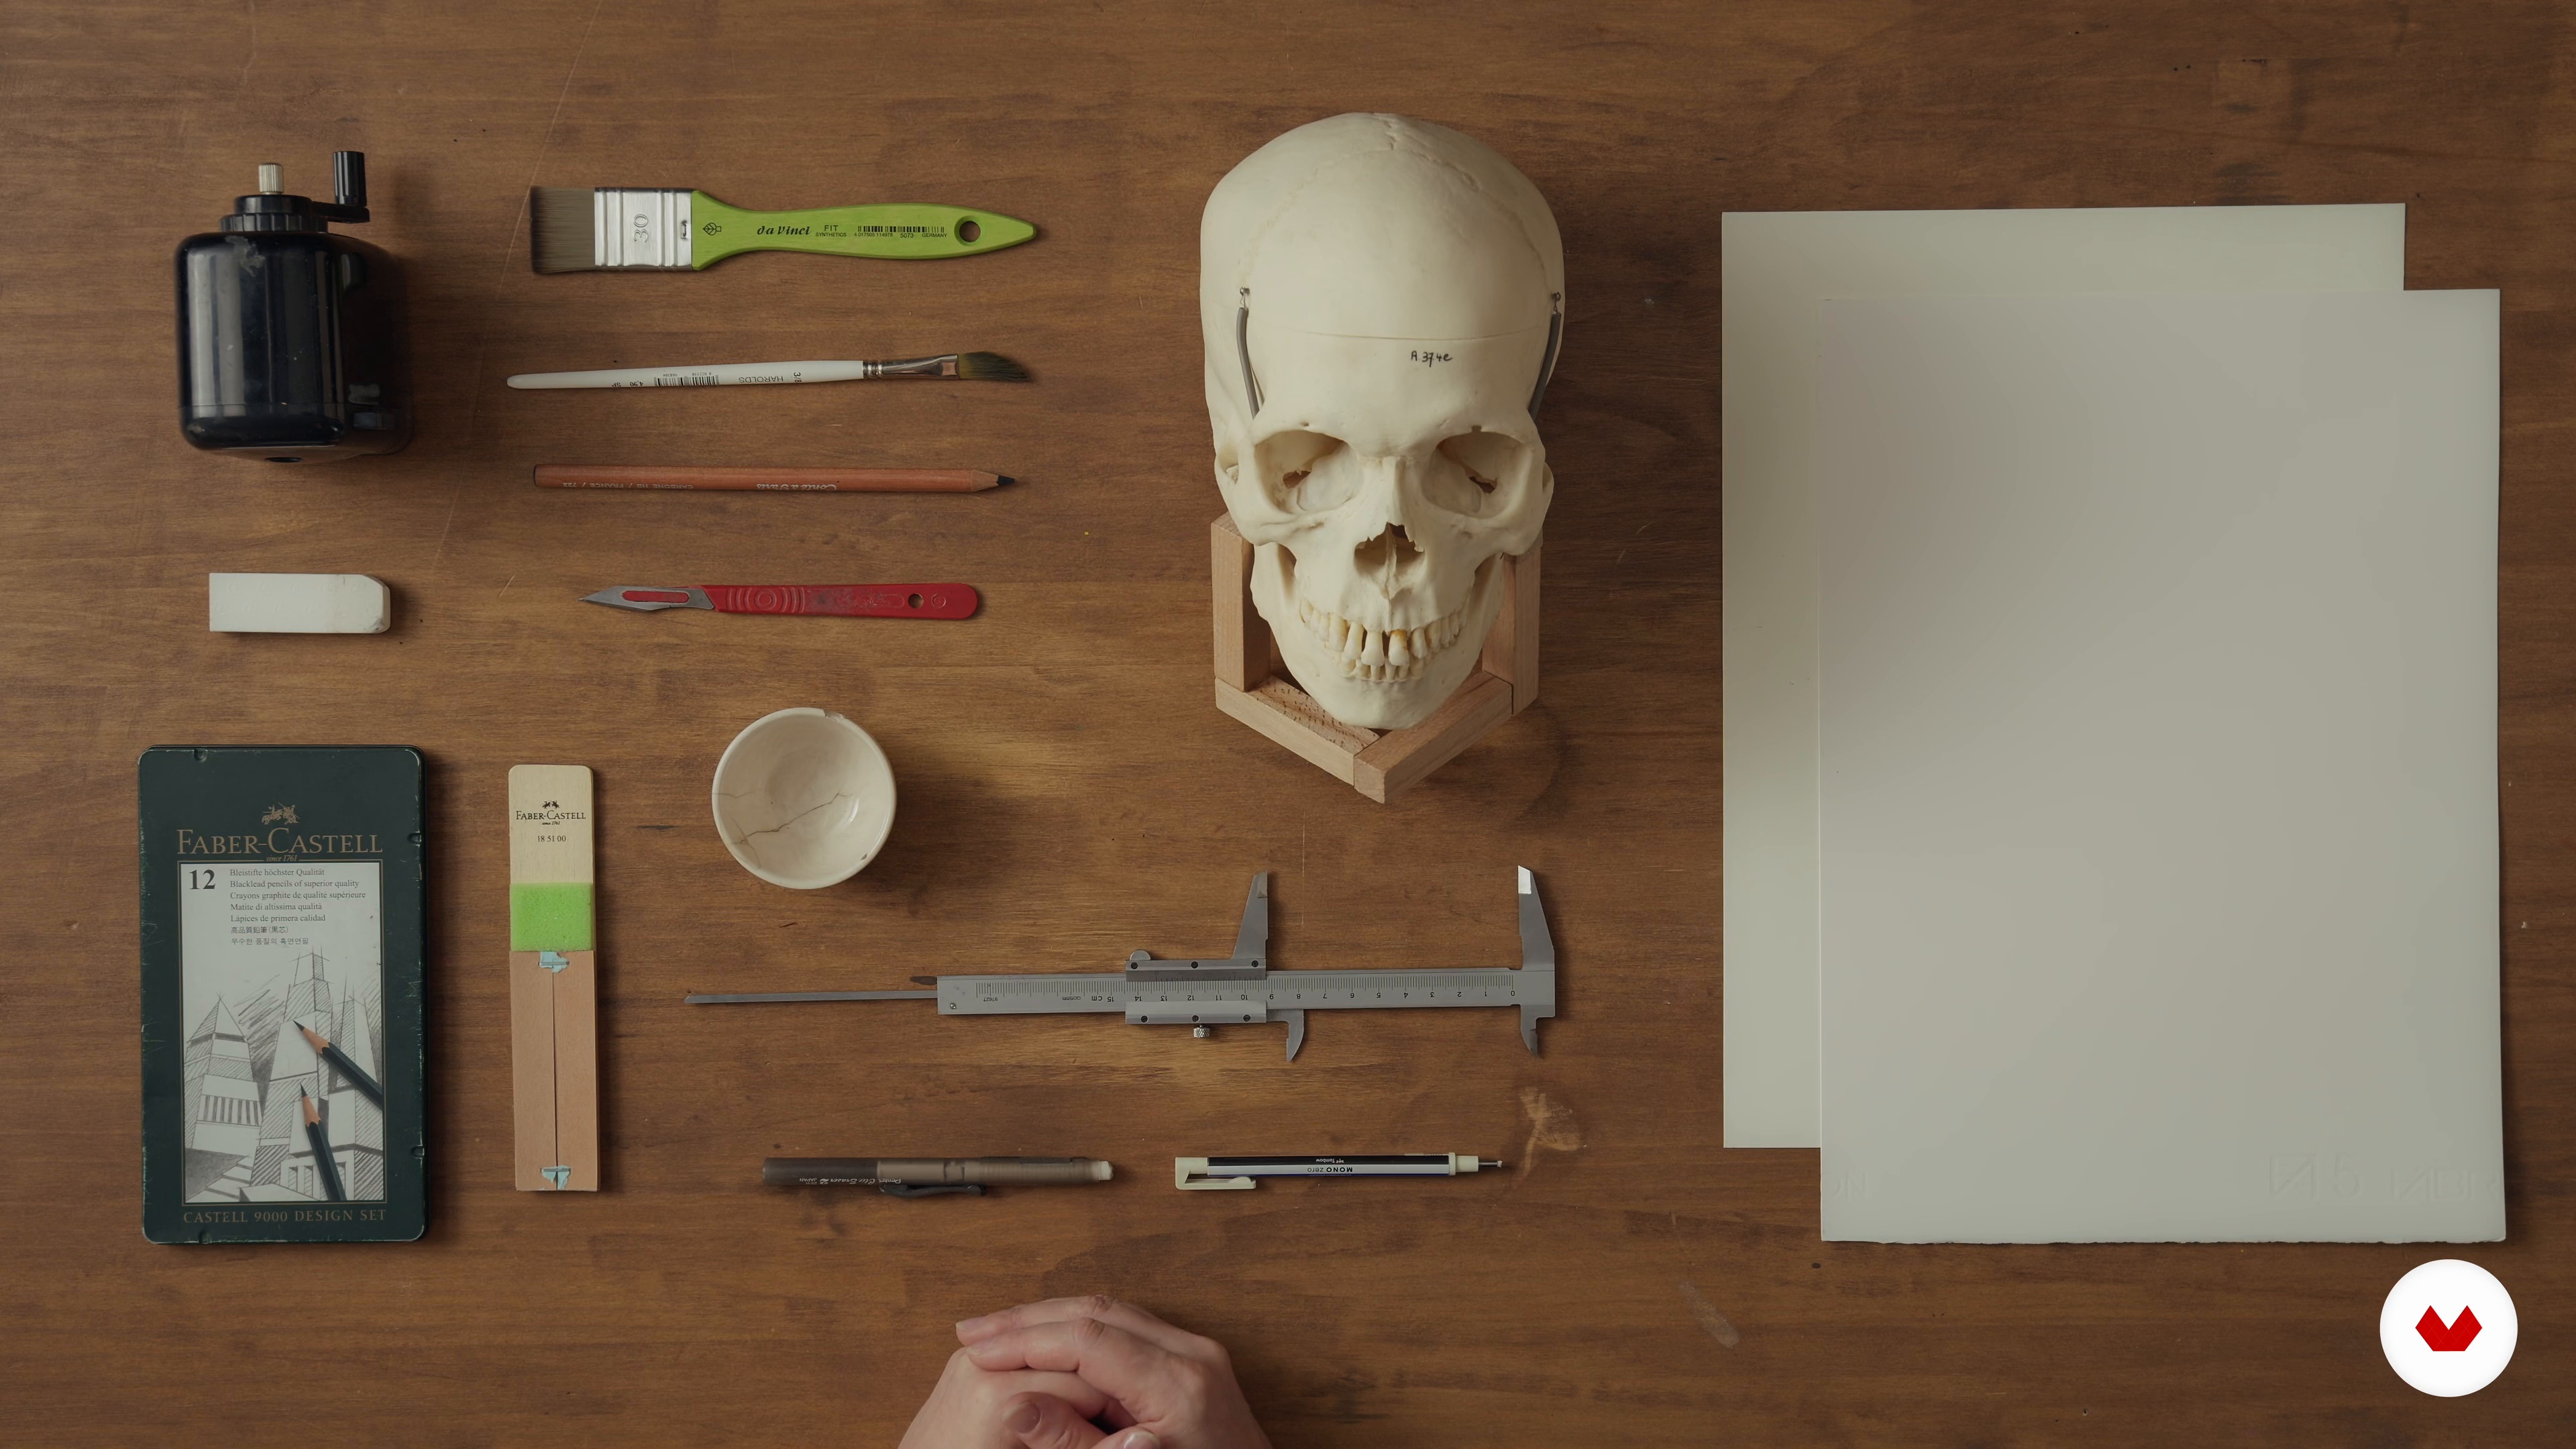 3
3The Materials
Before getting into action, I will explain all about the materials you will need and why I chose graphite pencil for this course. I will also give some suggestions for quality brands.
4m
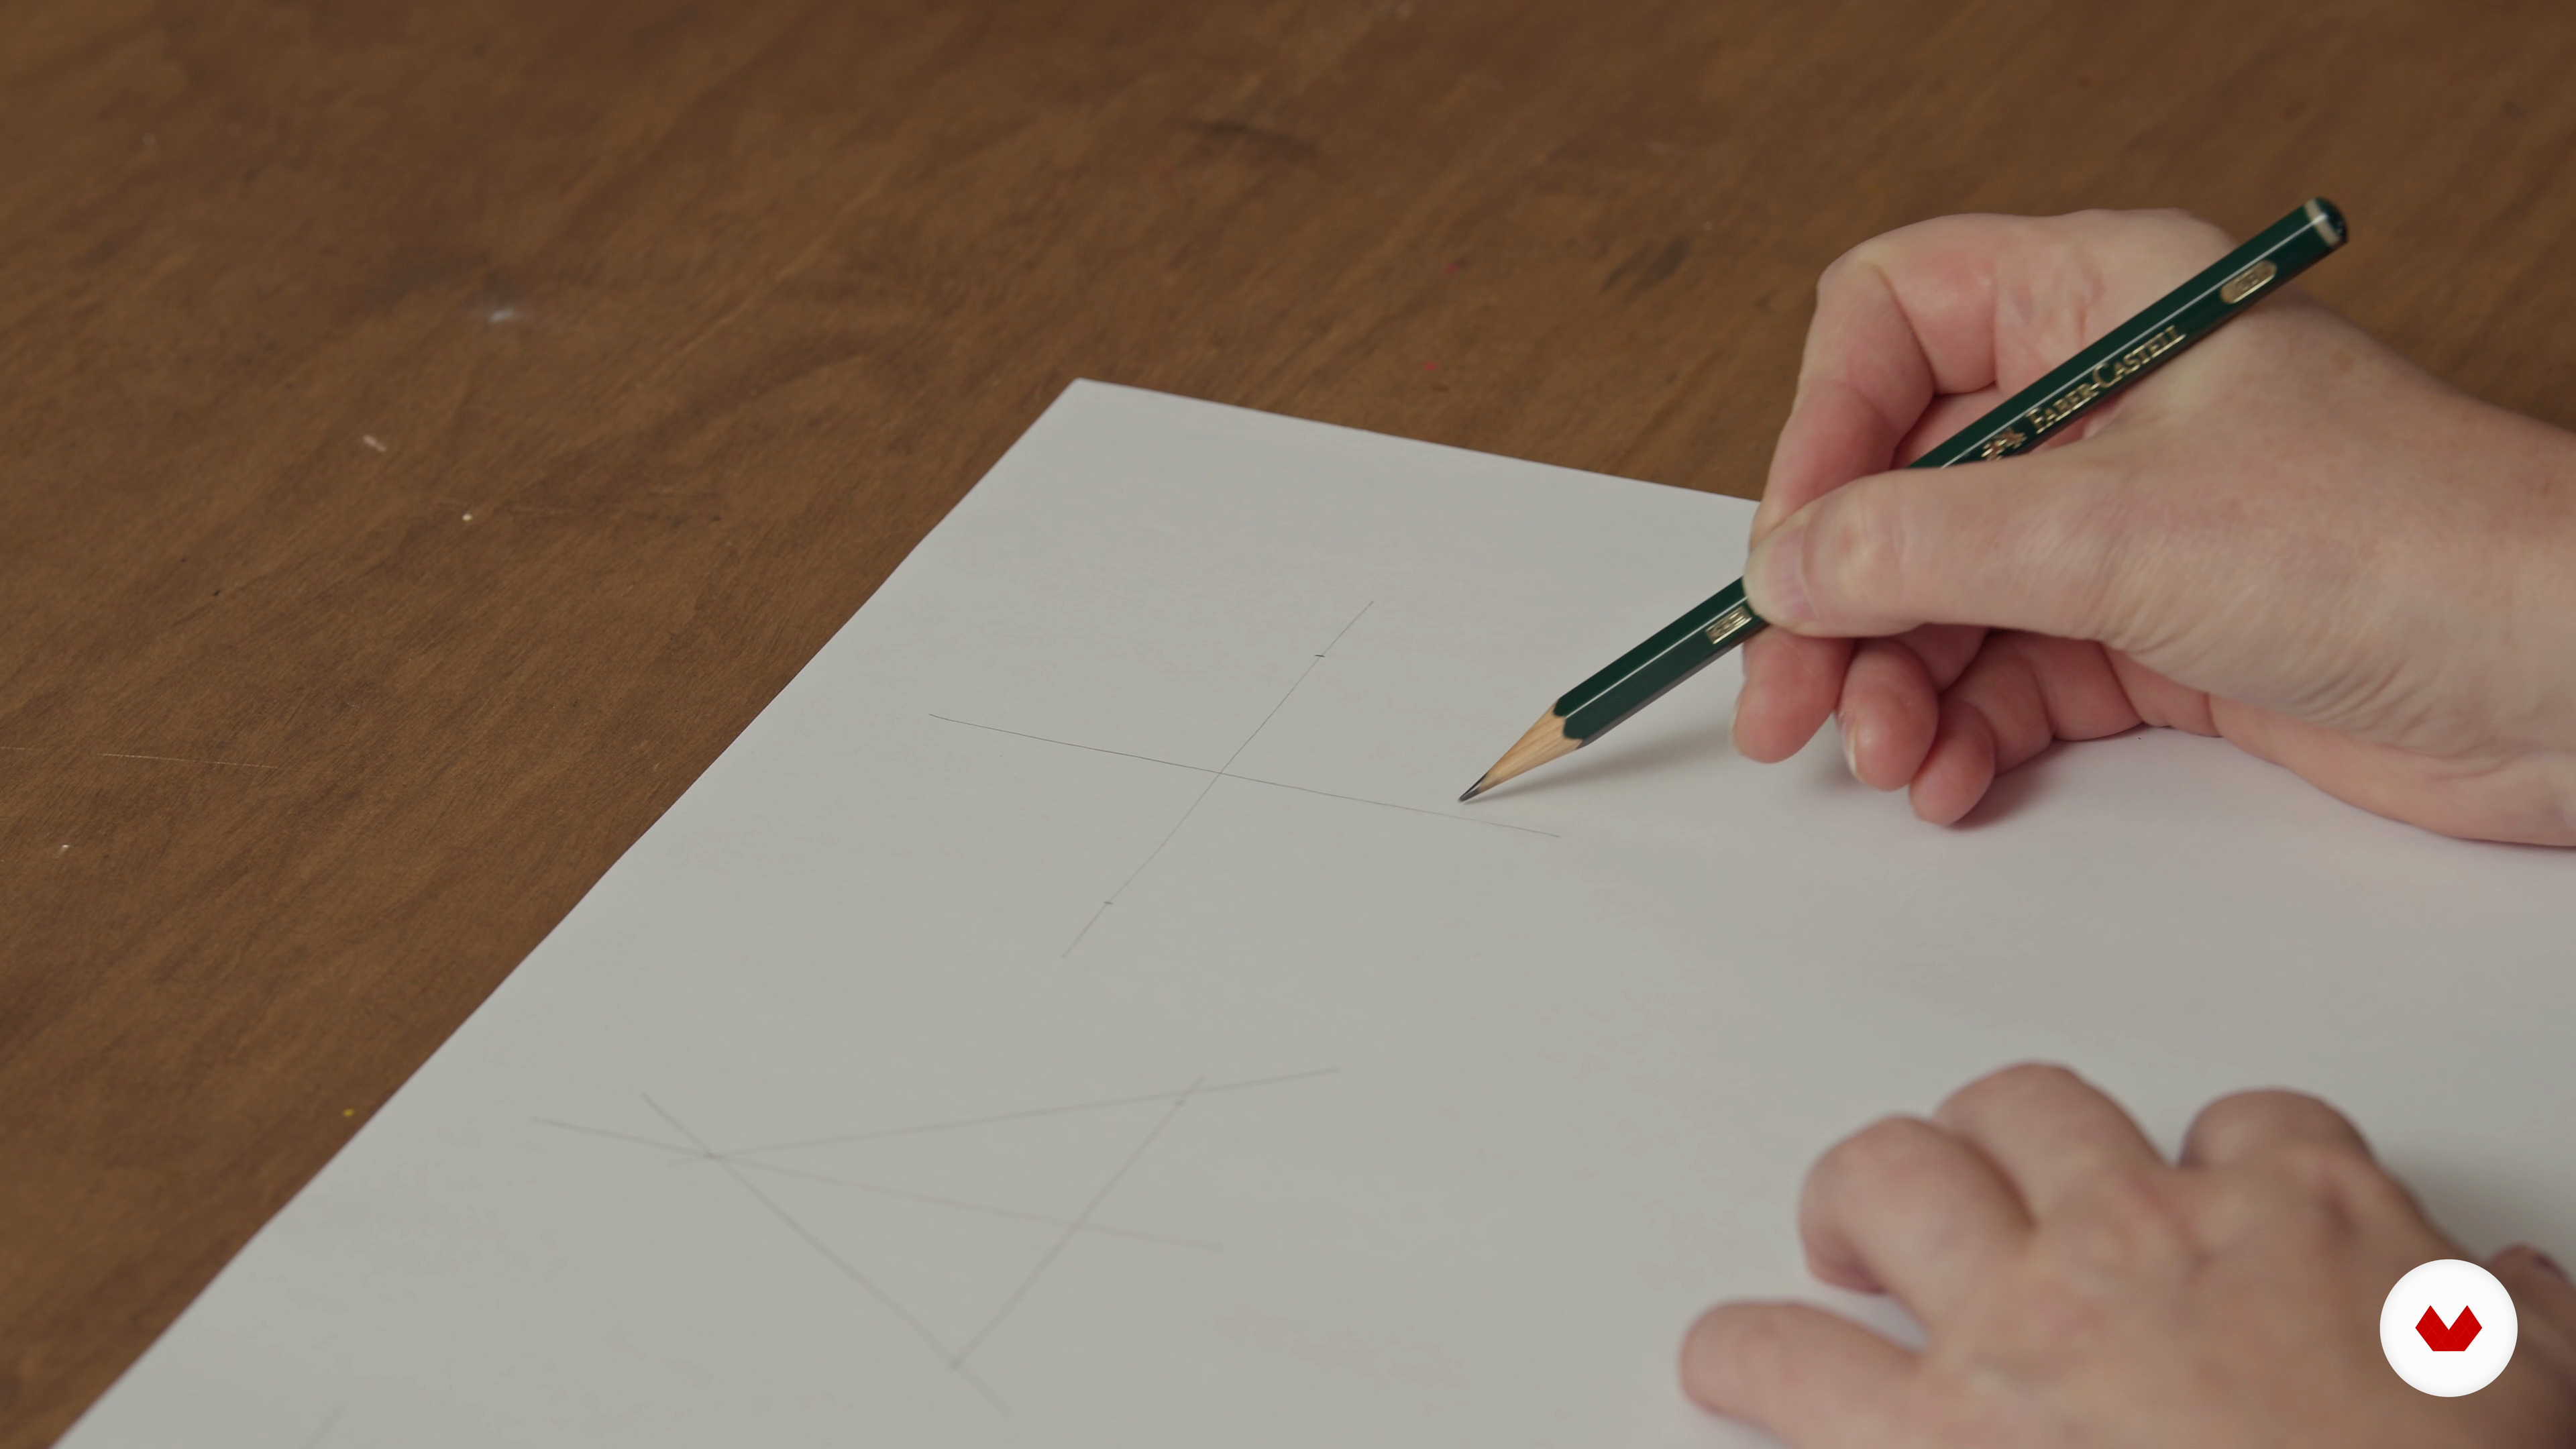 4
4Sketching Lines and Shapes
In this lesson, you will learn the basics about sketching and drawing lines and basic 2D shapes. I will give you tips and tricks on how you can improve your drawing.
6m
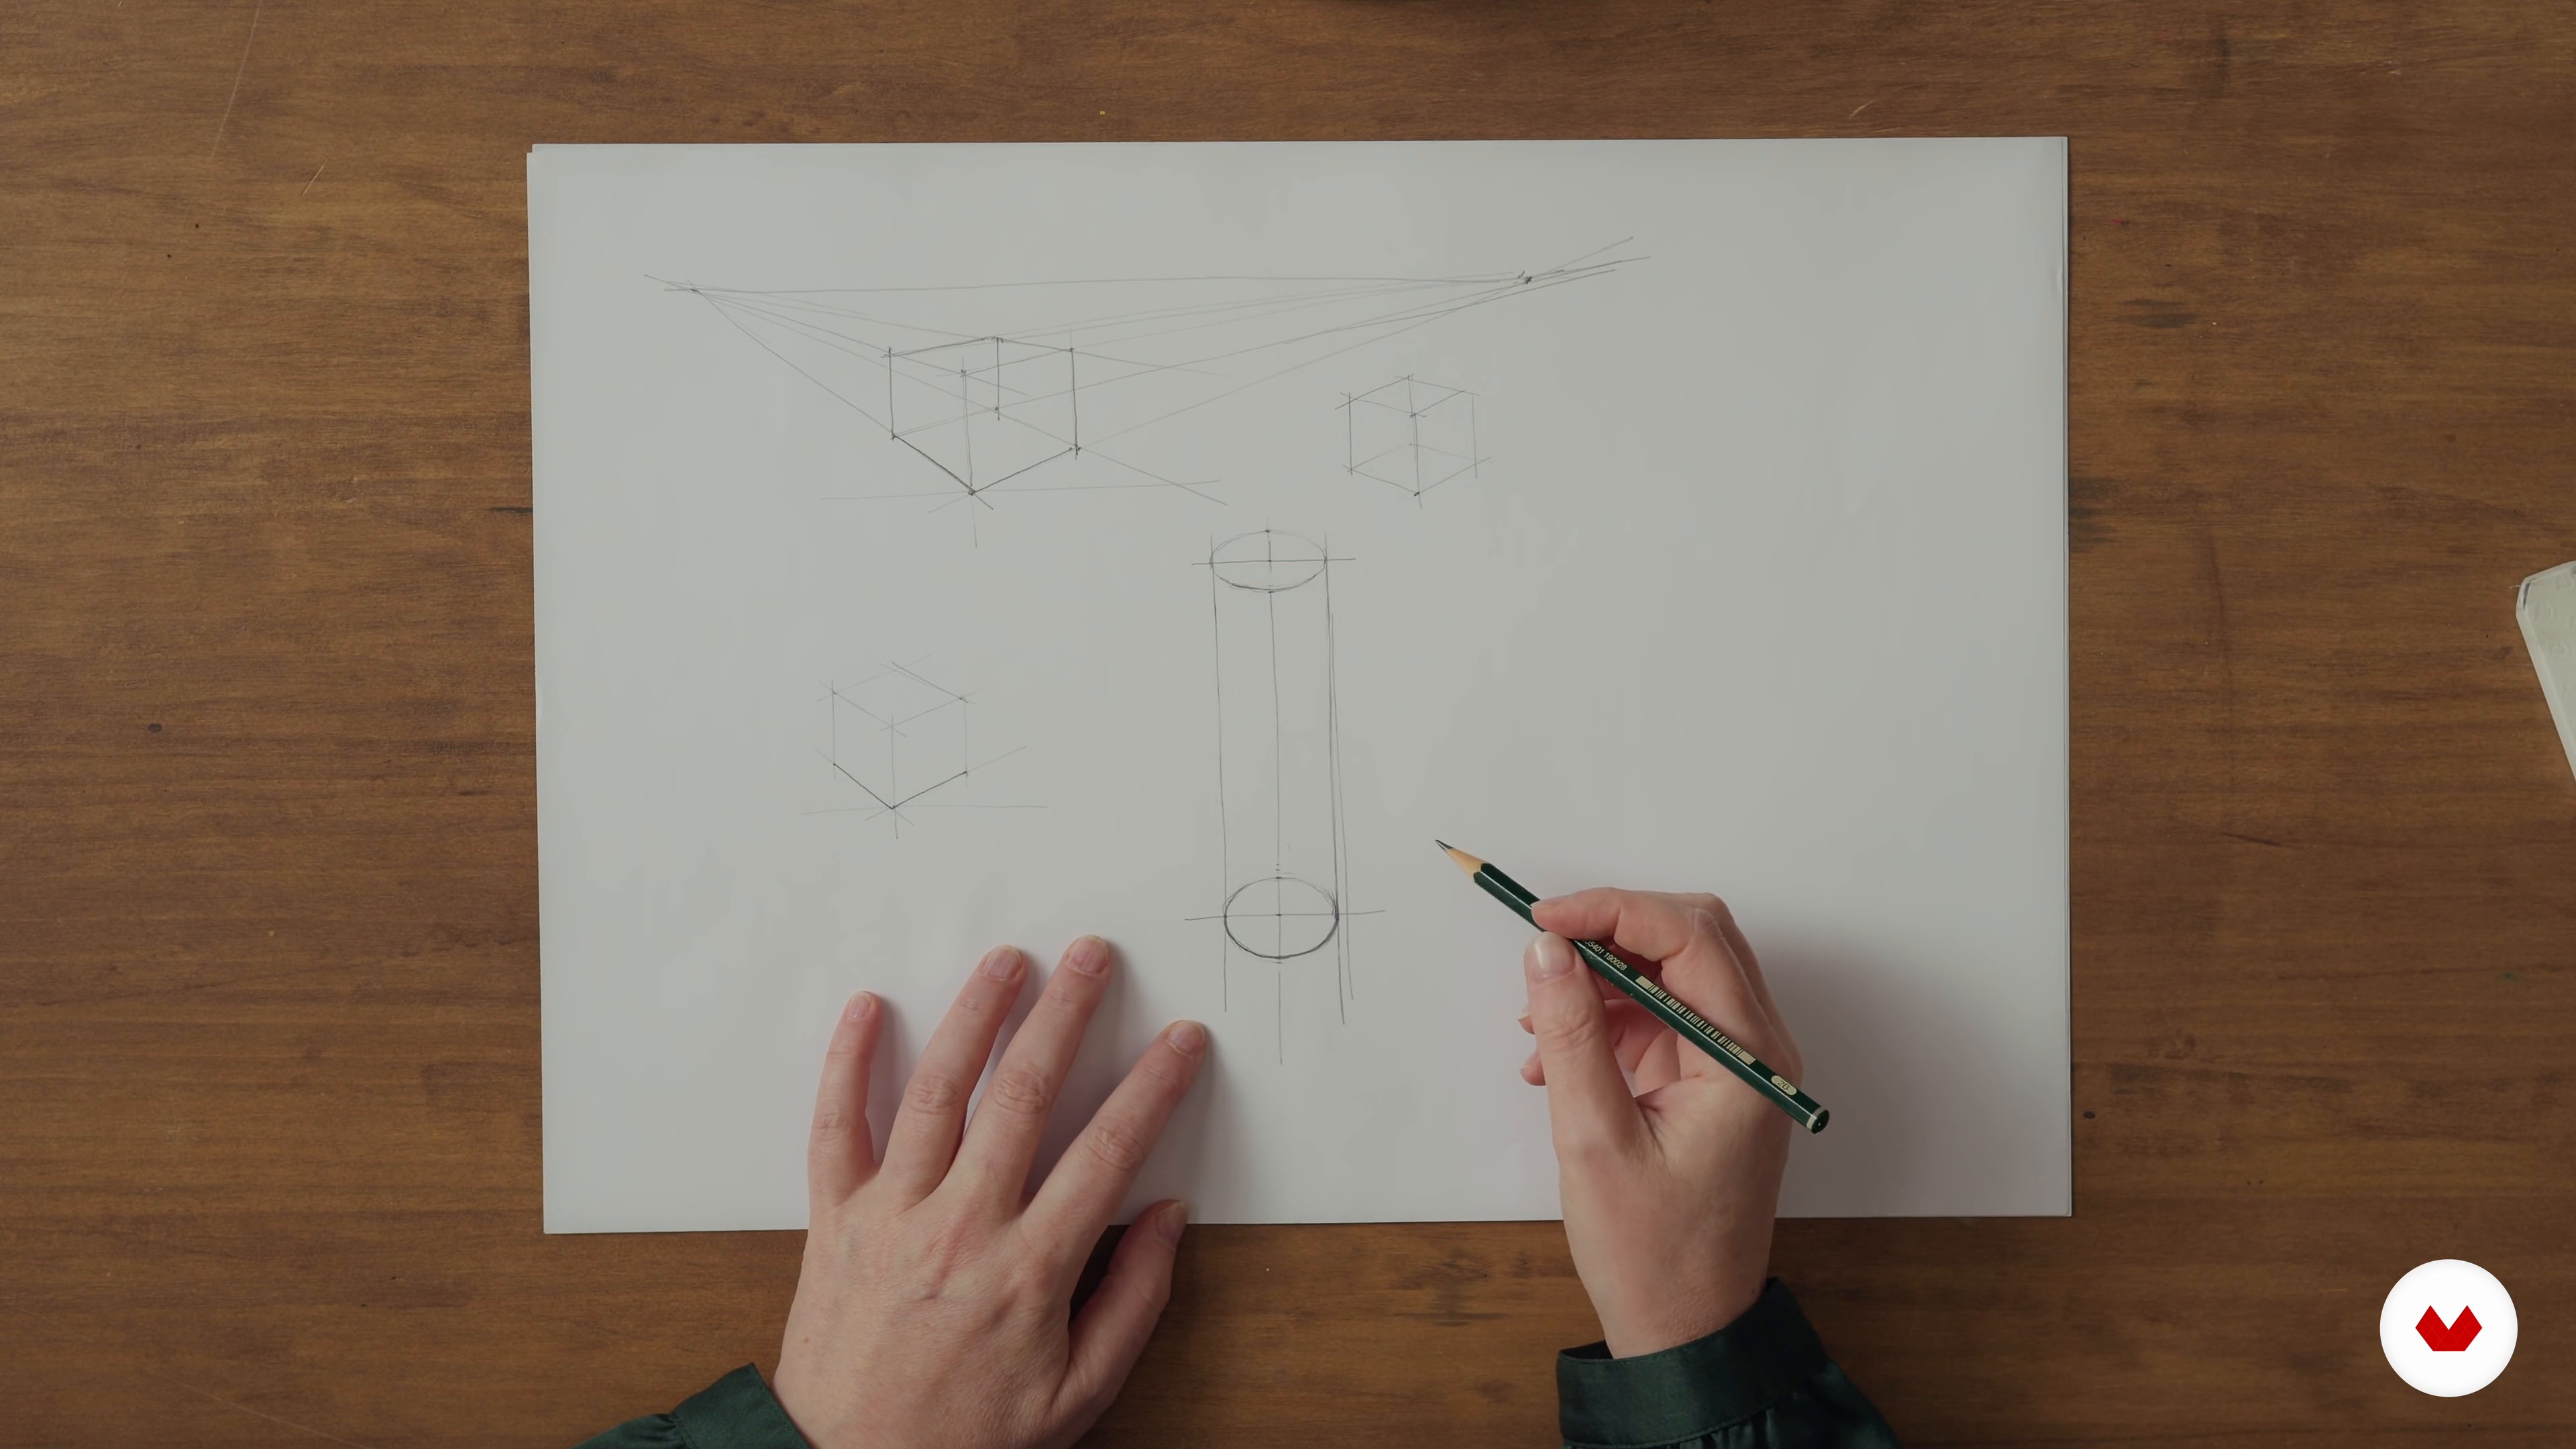 5
5Drawing Volumetric Shapes 1
This lesson is about drawing volumetric shapes from a linear perspective. You will learn how to build up volumetric shapes, starting with basic shapes and moving towards more complex ones. You will learn how to work on the basic shapes during this first part of the lesson.
15m
 6
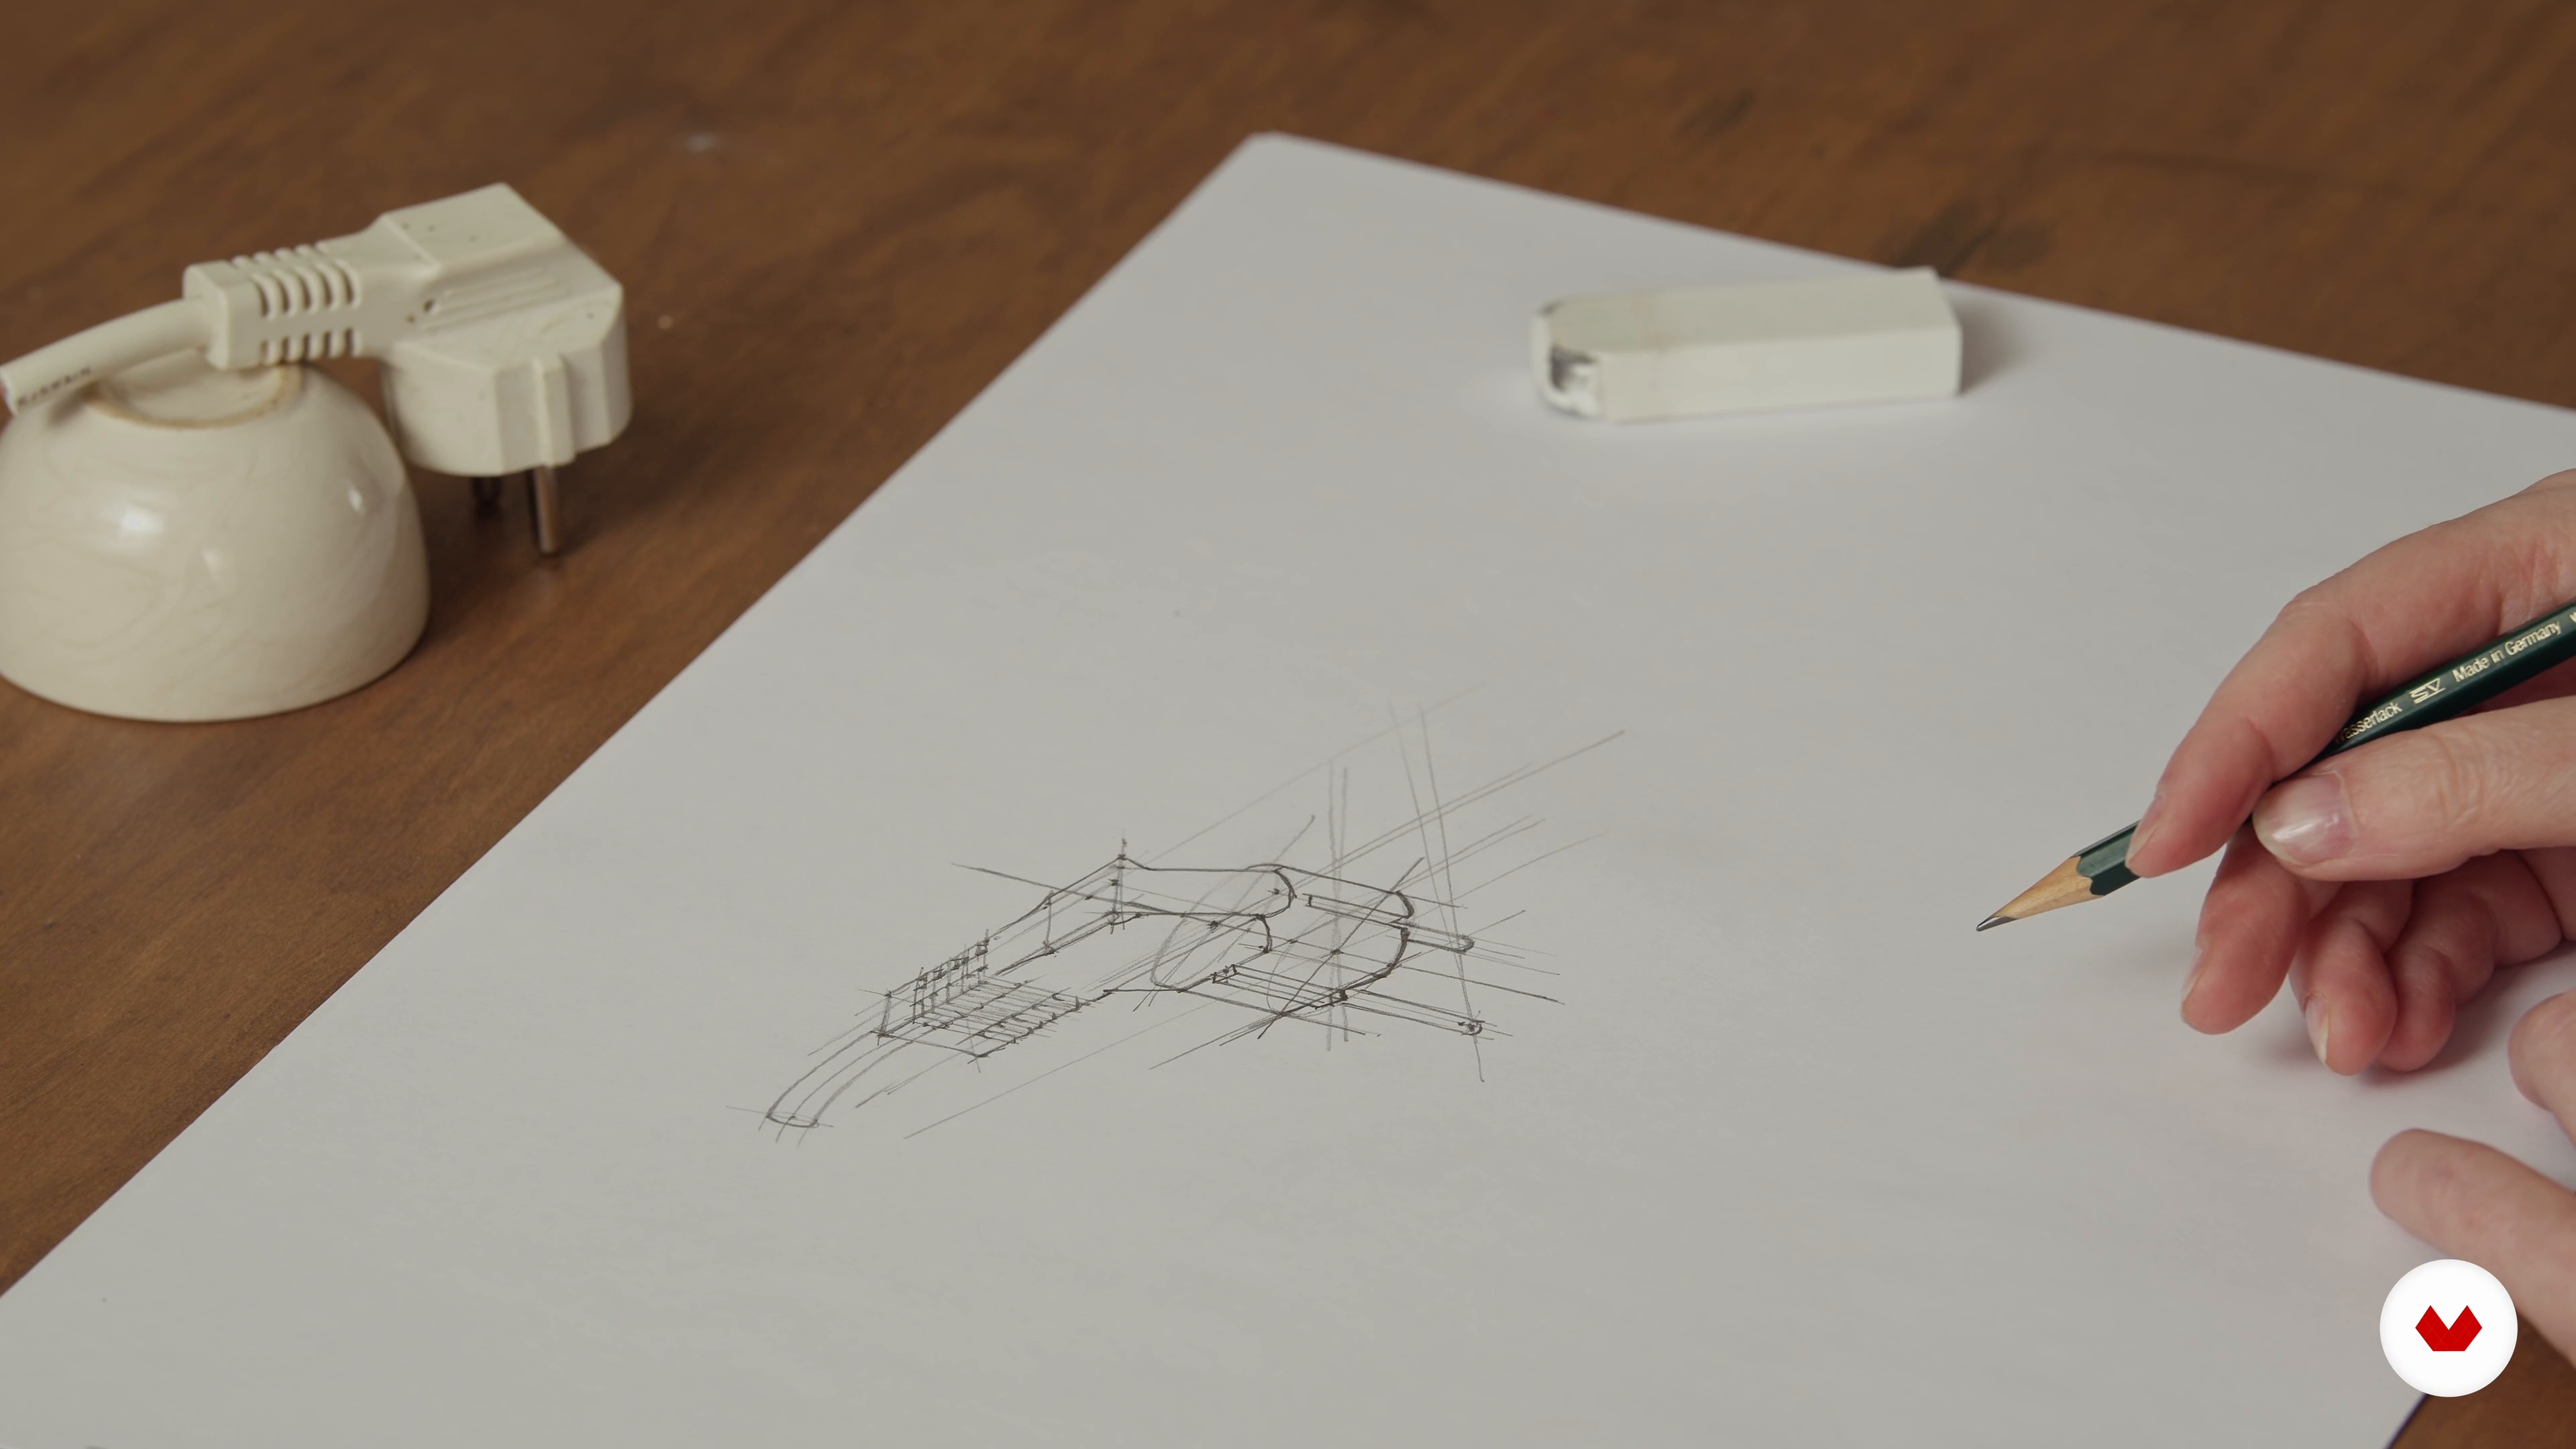
6Drawing Volumetric Shapes 2
Now that you have learned everything about the basic shapes, I will teach you everything about working on the more complex objects.
8m
 7
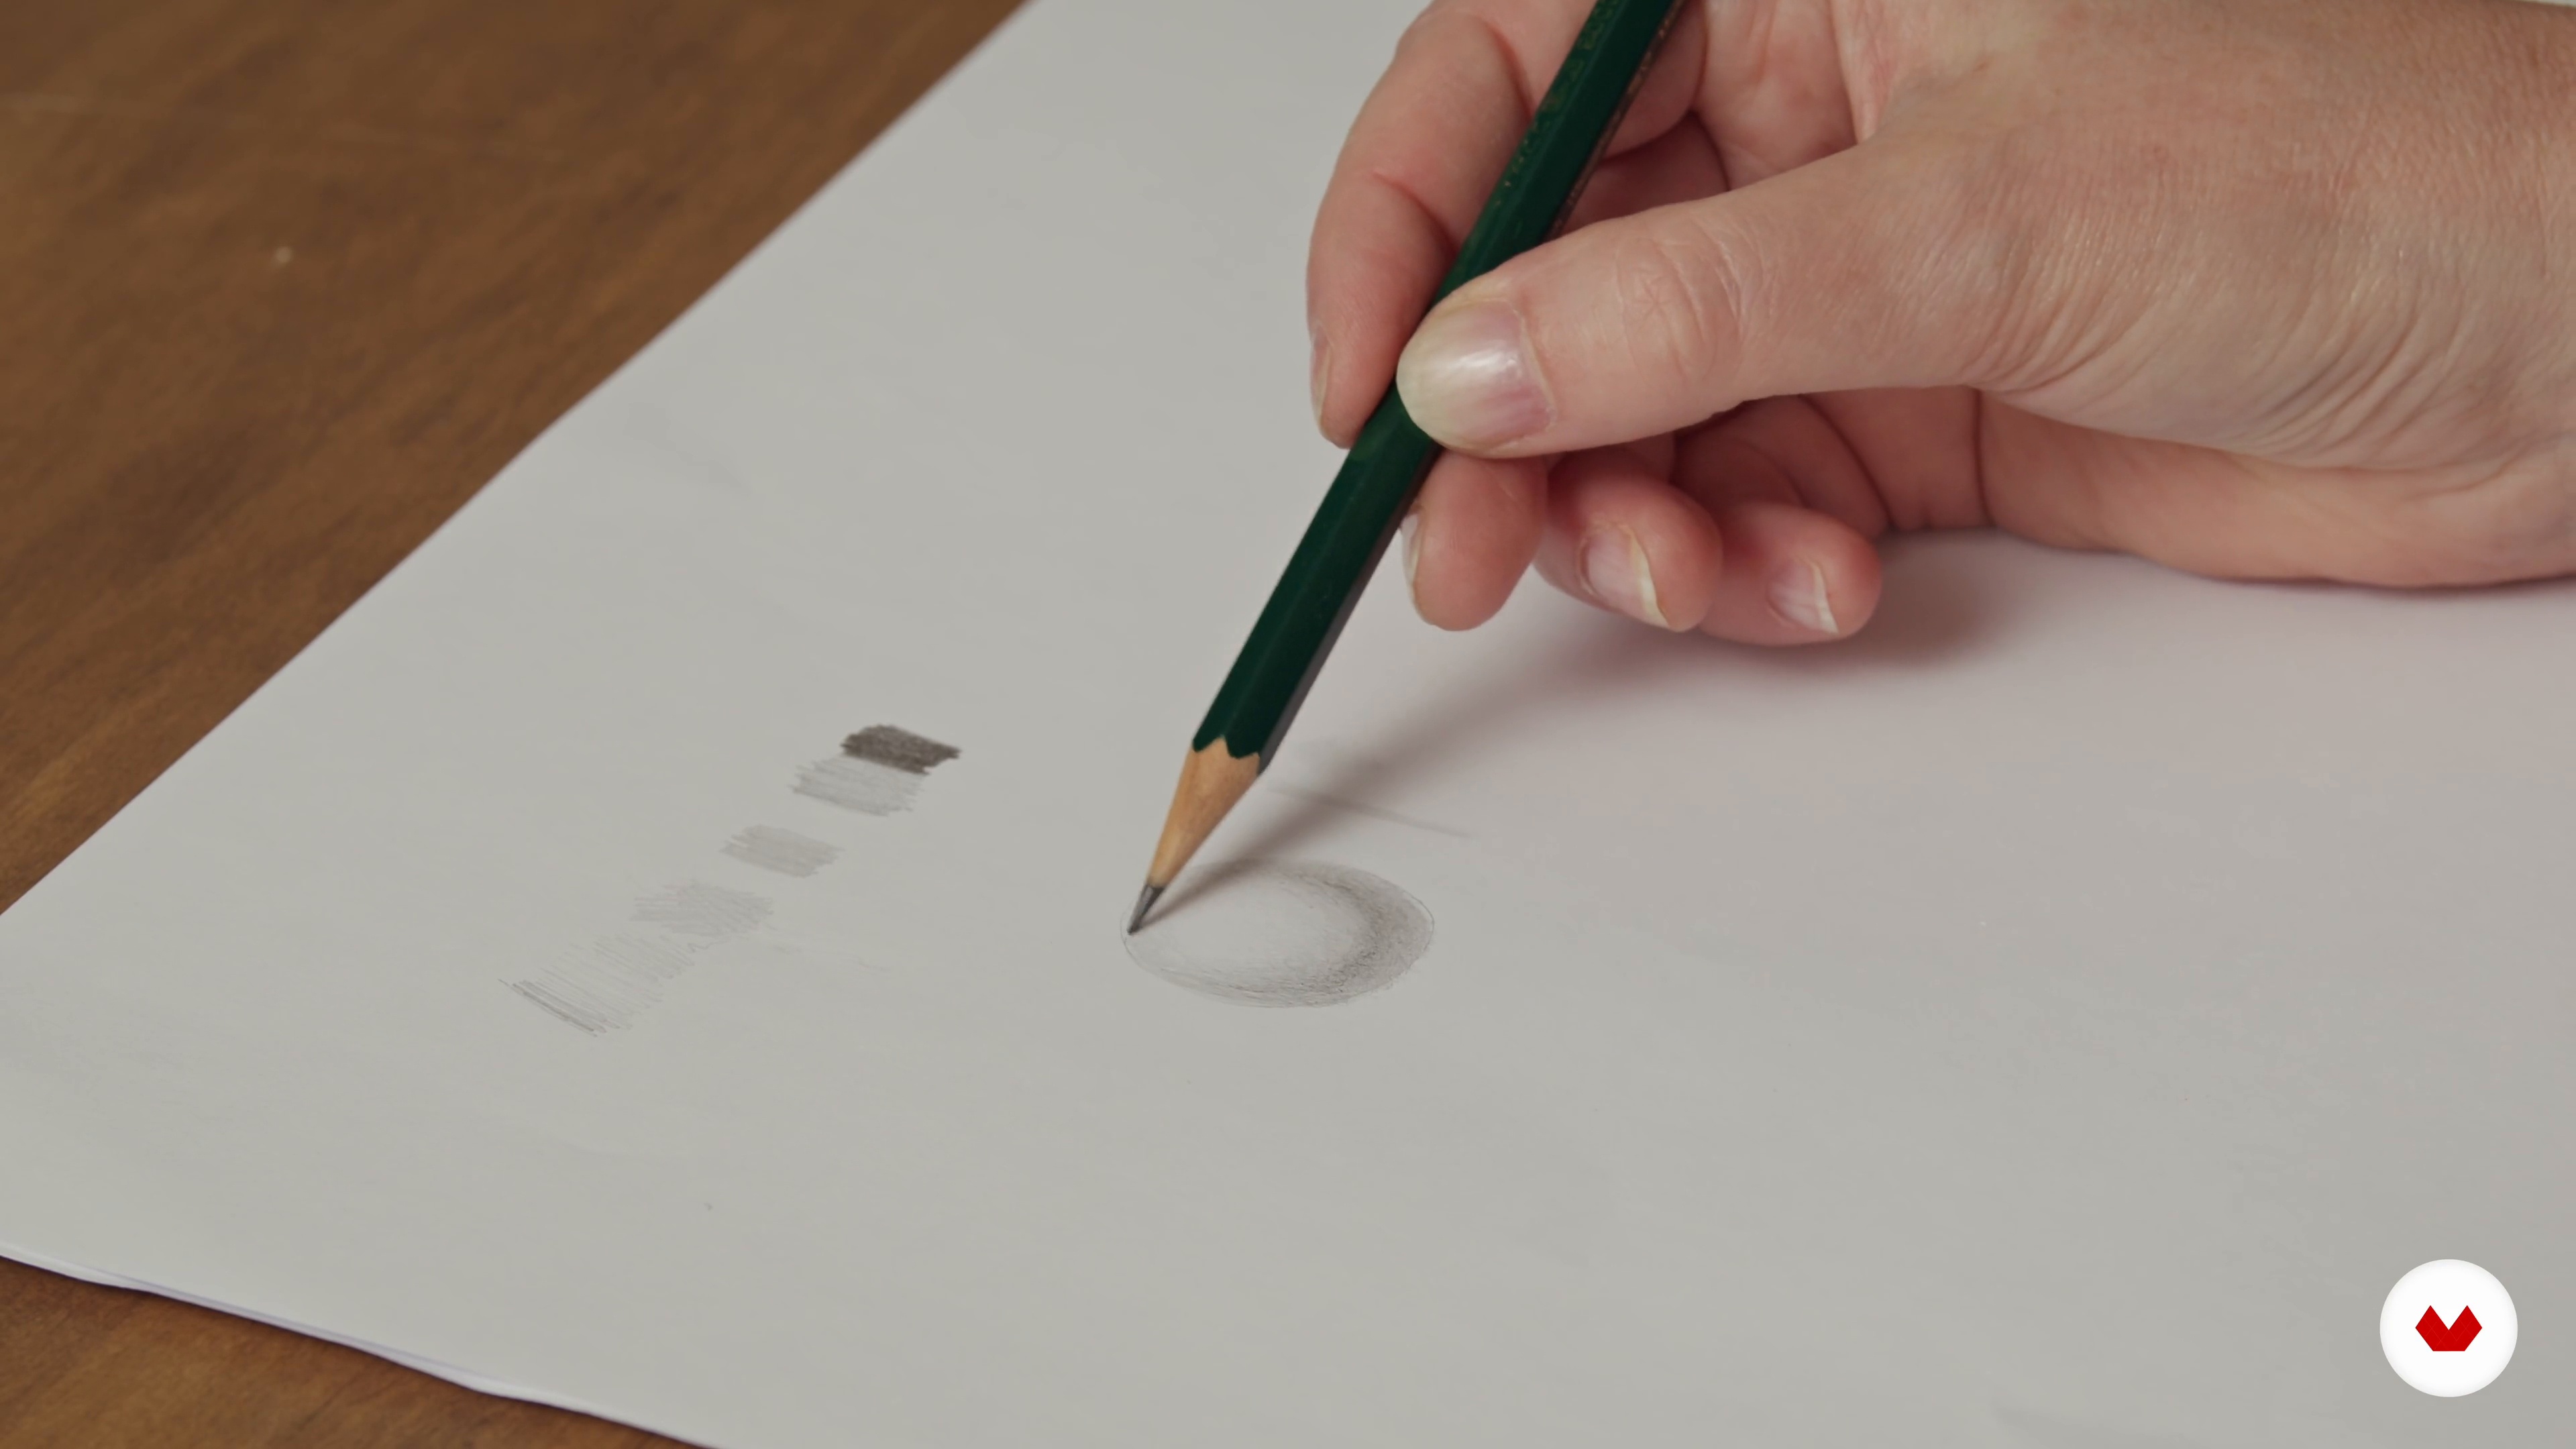
7Rendering with Graphite Pencil
It's time for you to see how to experience drawing with graphite pencils in varying hardness. I will also explain how to render with graphite pencil by drawing layers.
9m
 8
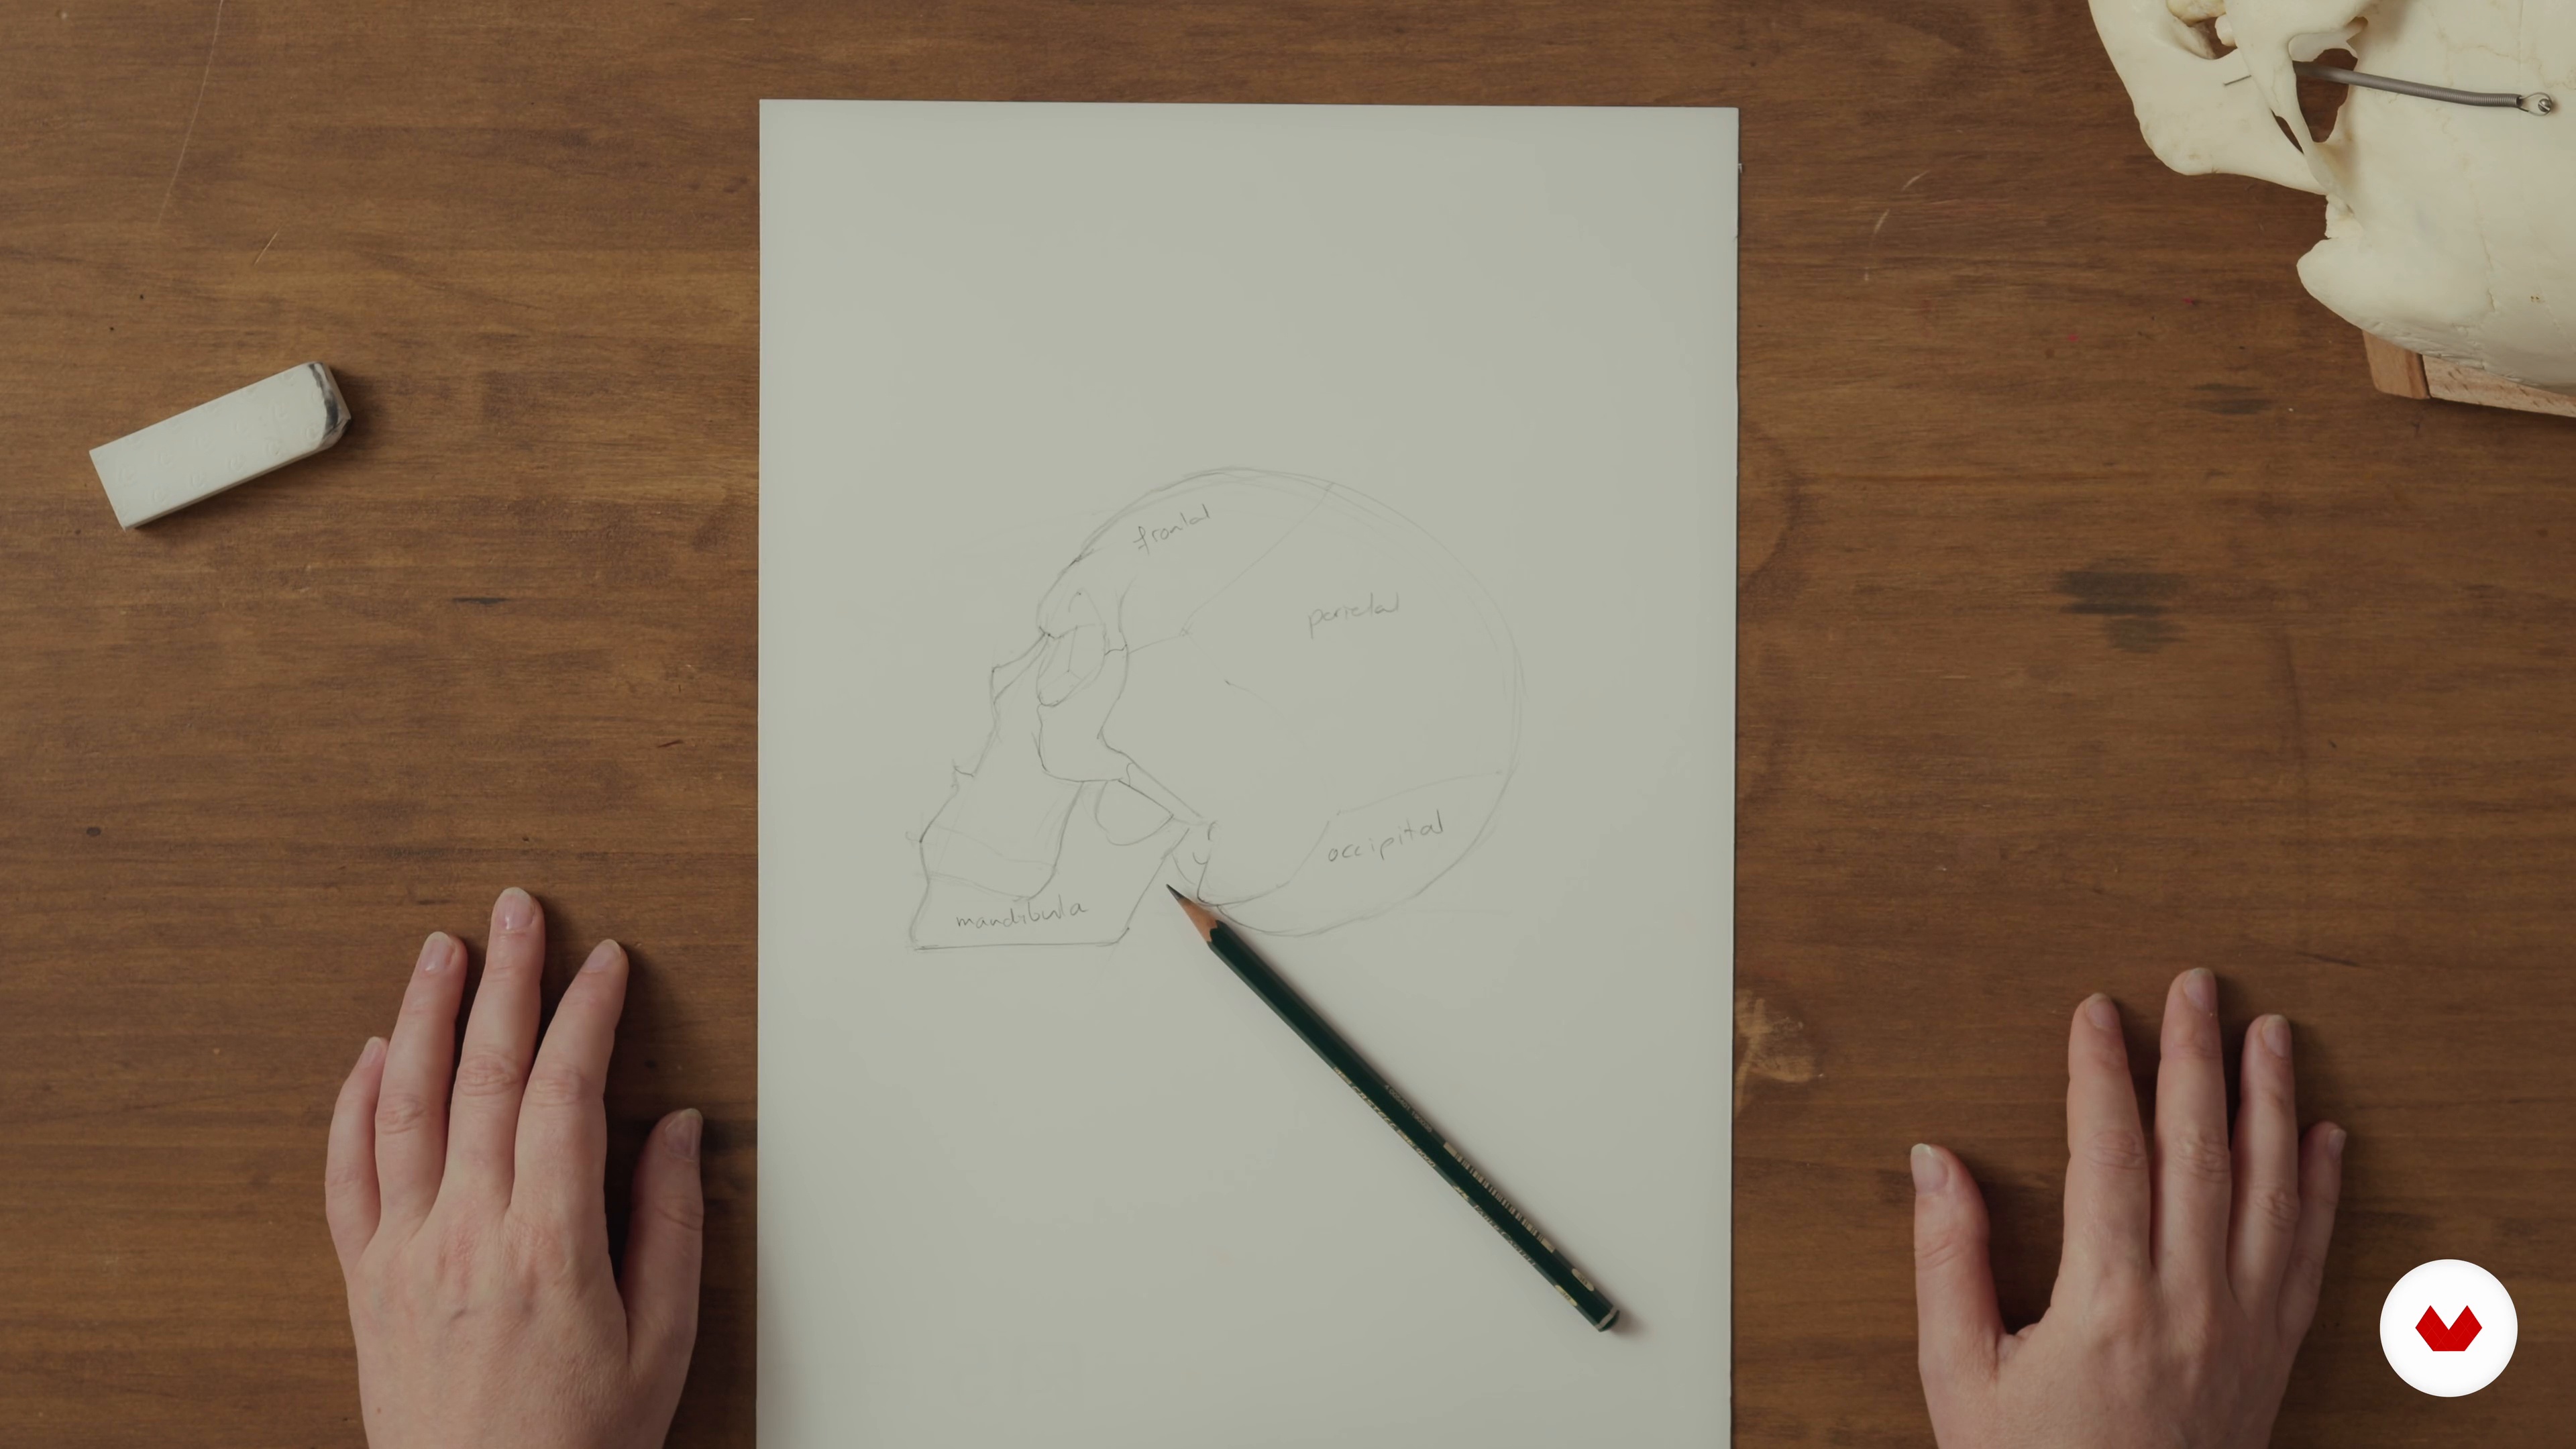
8Rendering Volumetric Shapes
Lastly, you will learn about the theory of light and shading. Then you will learn how to render some basic volumetric shapes and construct cast shadows!
4m
 9
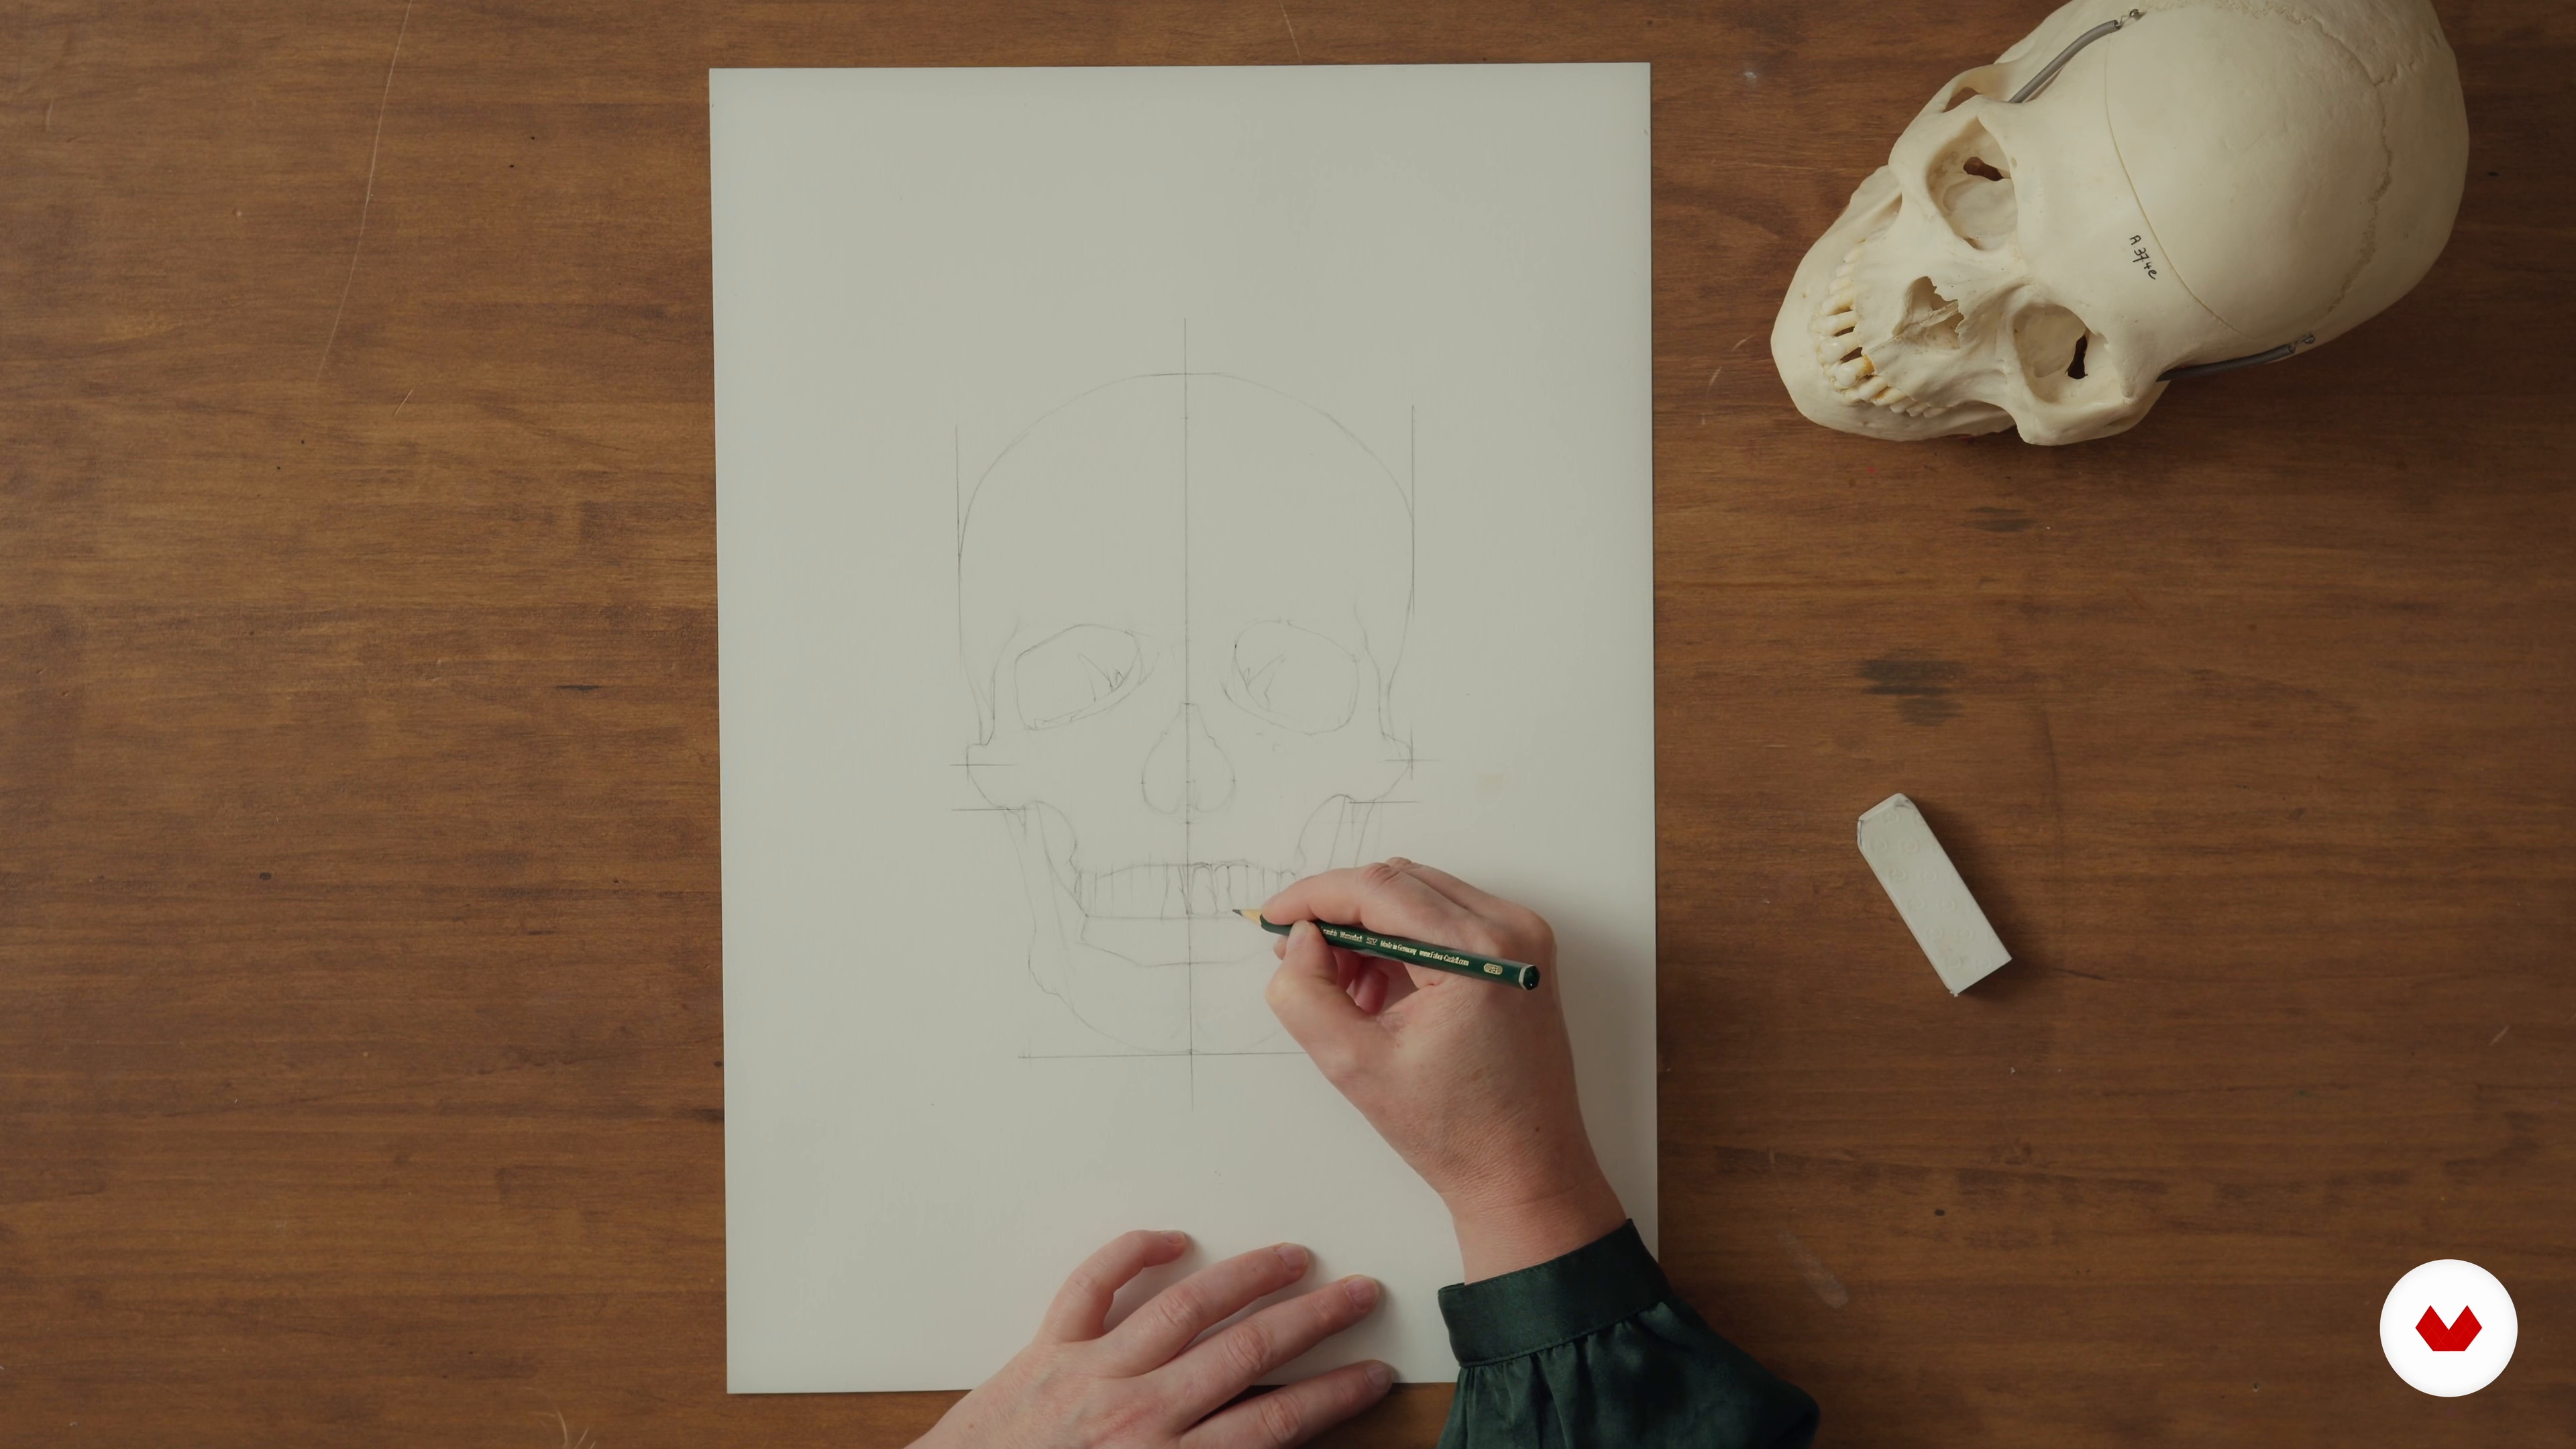
9Reference and Research
What are you going to draw? I will show you my process for choosing the object I will draw. I will also share some tips about good references. Then I will encourage you to learn more about it by researching and making sketches. In the end, I will teach you more about drawing through observation.
10m
 10
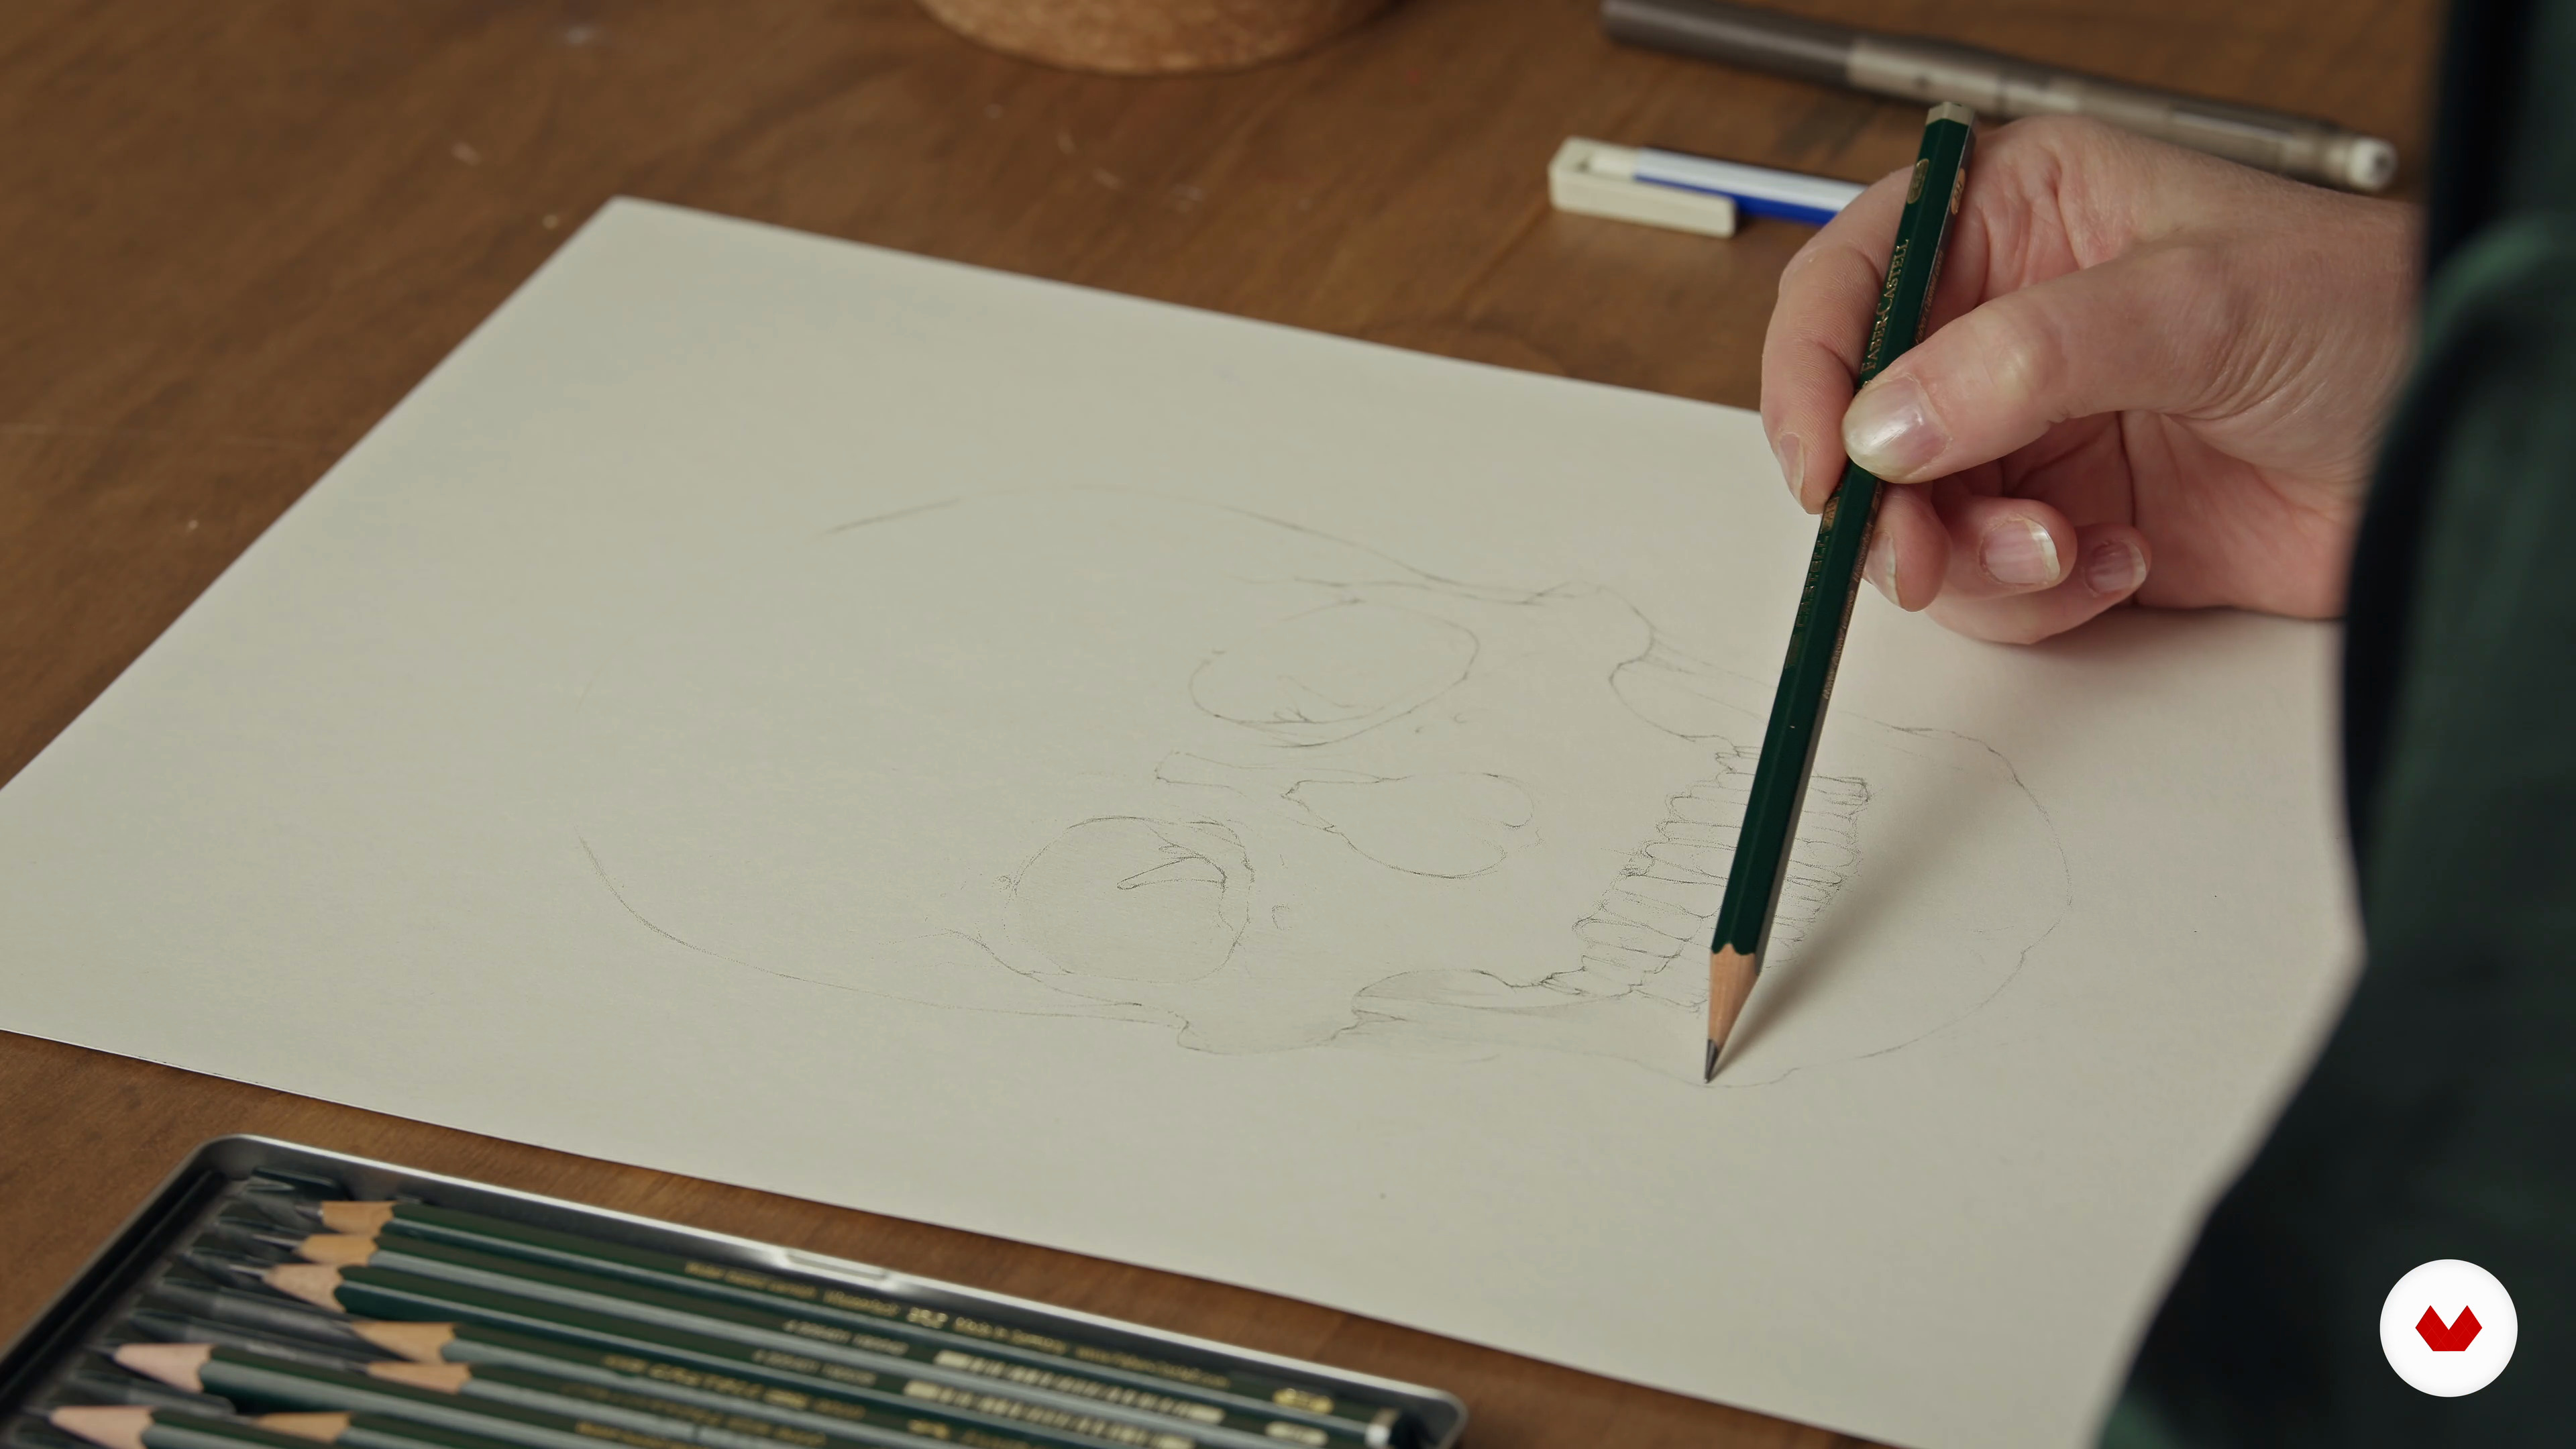
10The Line Drawing
Let me show you how to create the line drawing that will form the basis for your final drawing. Then I will share some ways to transfer the line drawing to the final paper.
17m
 11
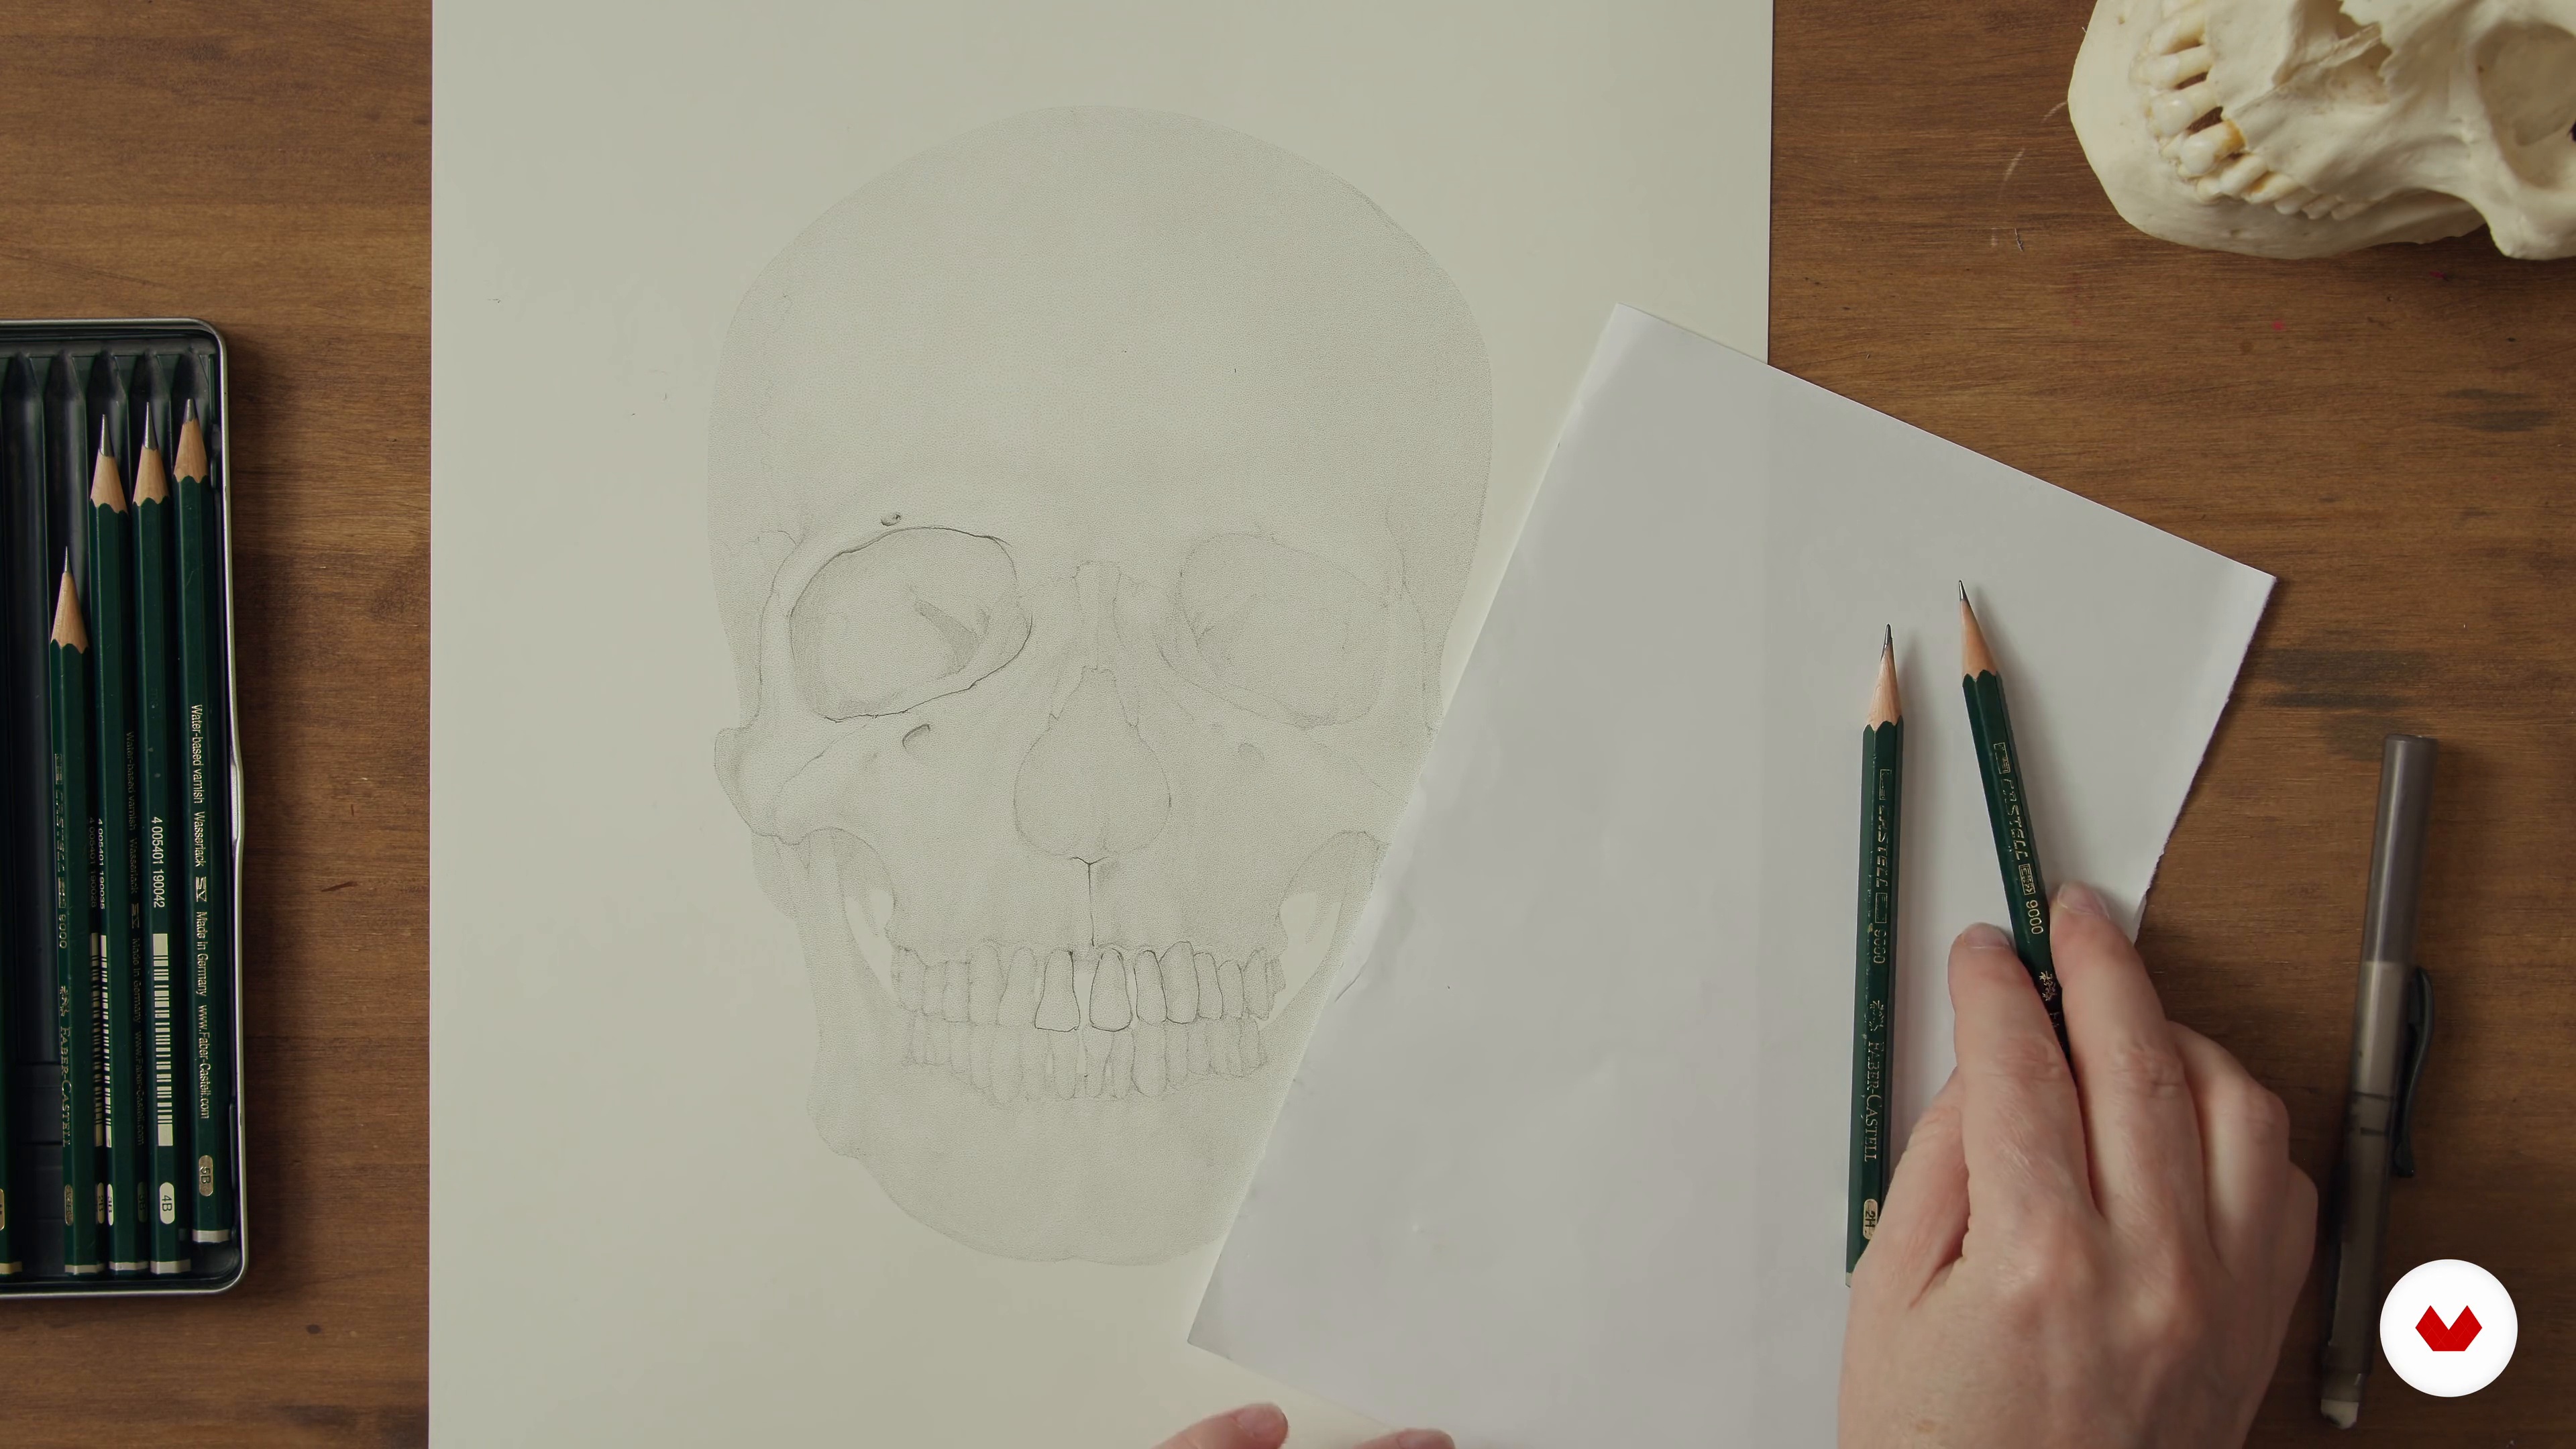
11The Rendering 1
In this lesson, I will take you through the rendering process in a step-by-step way, and I will show you how to create an intricately detailed end result.
20m
 12
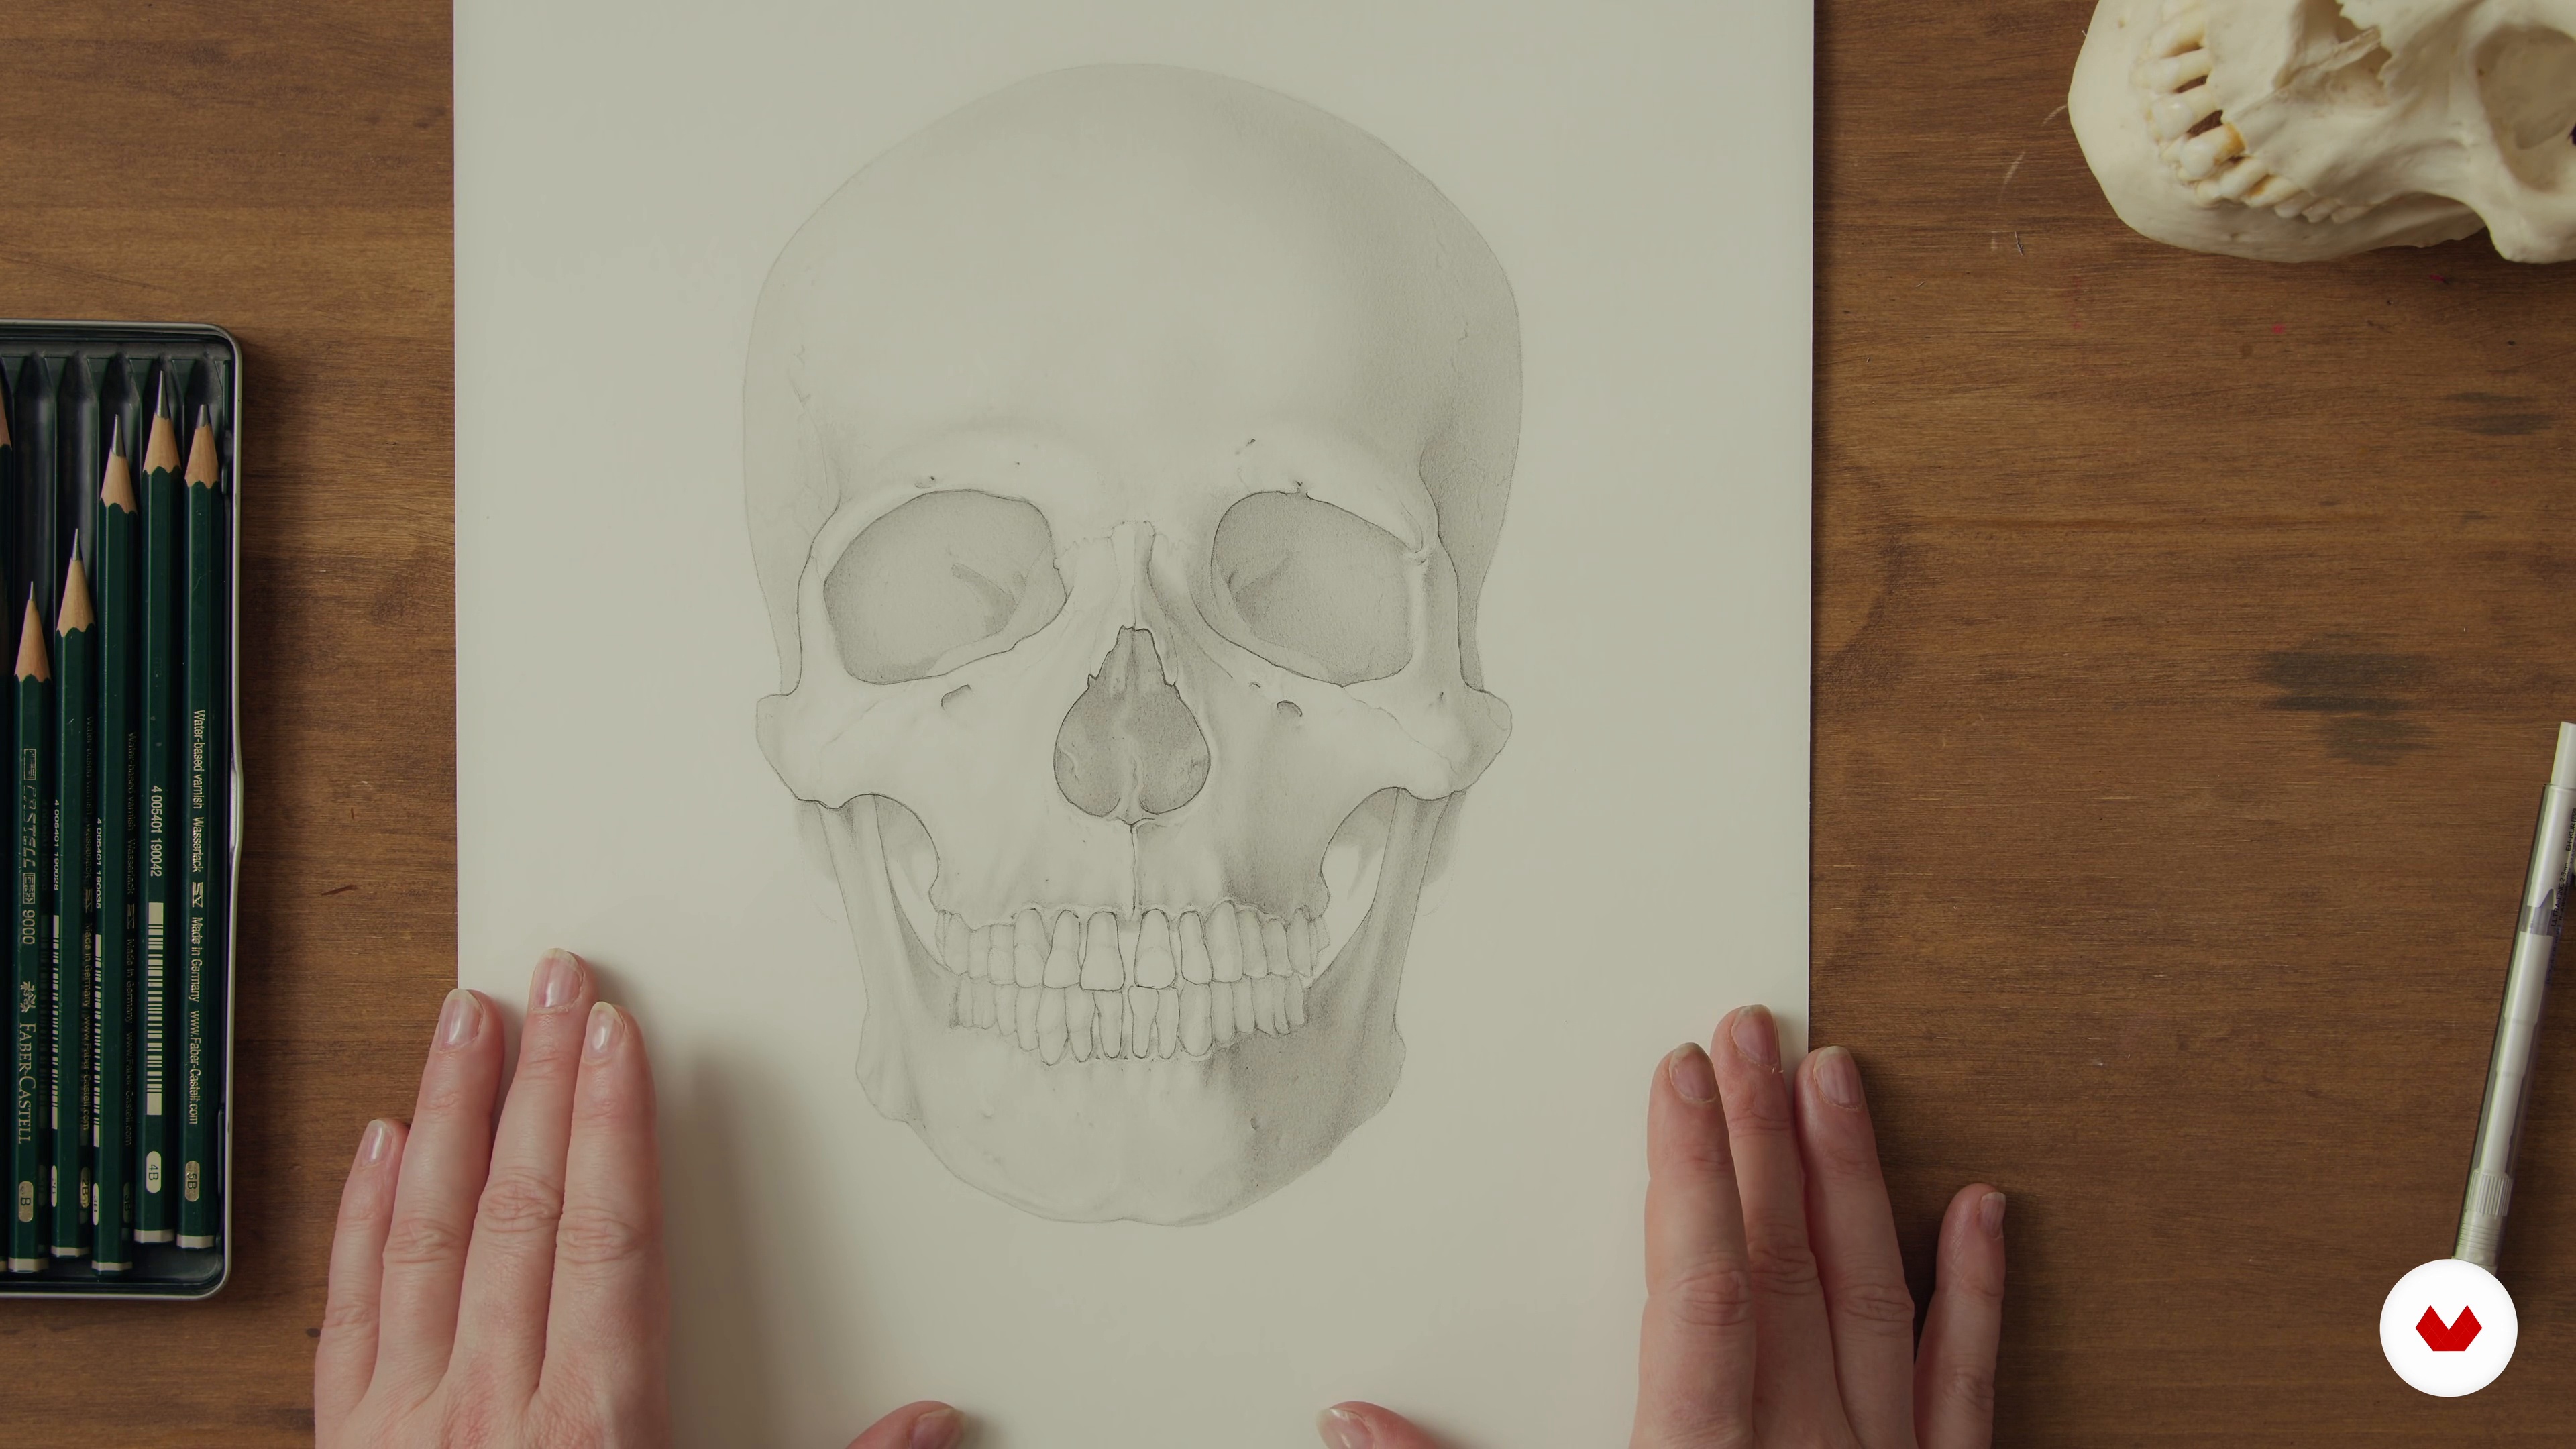
12The Rendering 2
I will continue sharing some tips and tricks to create depth by thinking of photography, sharpness, details, and fading towards back.
17m
 13
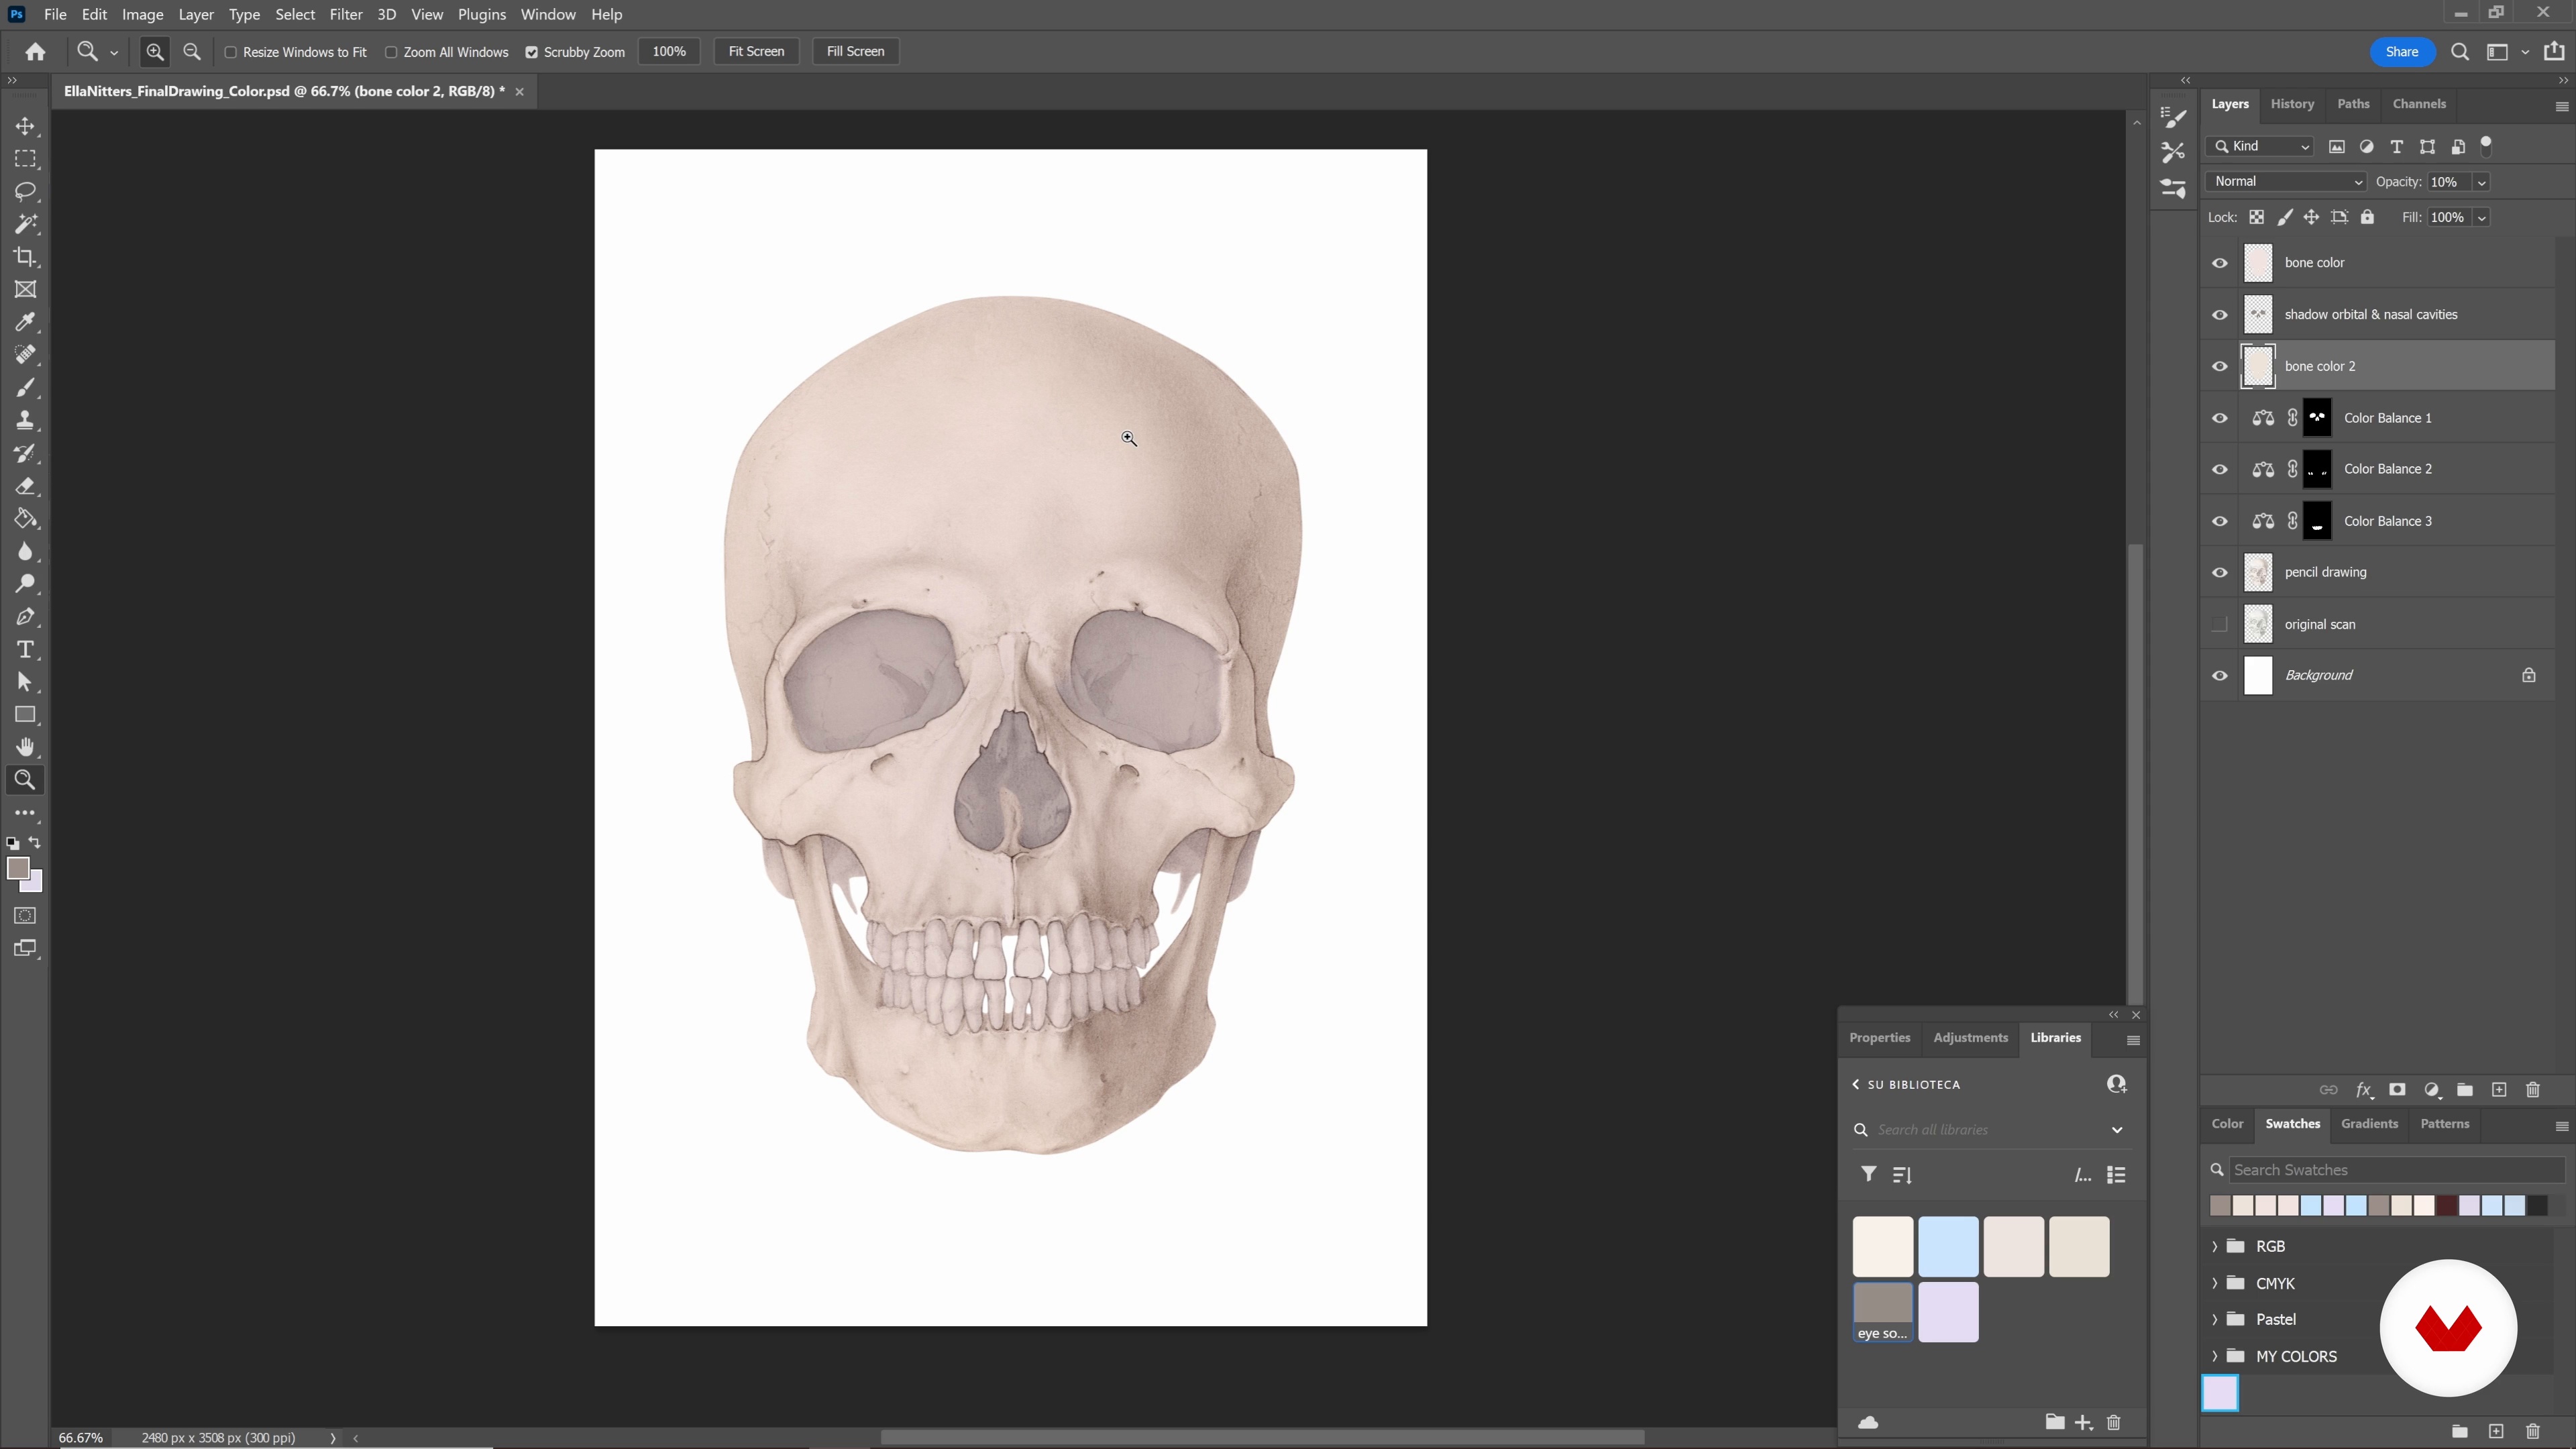
13The Rendering 3
Lastly, I will teach you how to make core shadows smooth and flowing. You will also learn to reflect light to make sure it is a little darker than halftone.
6m
 14
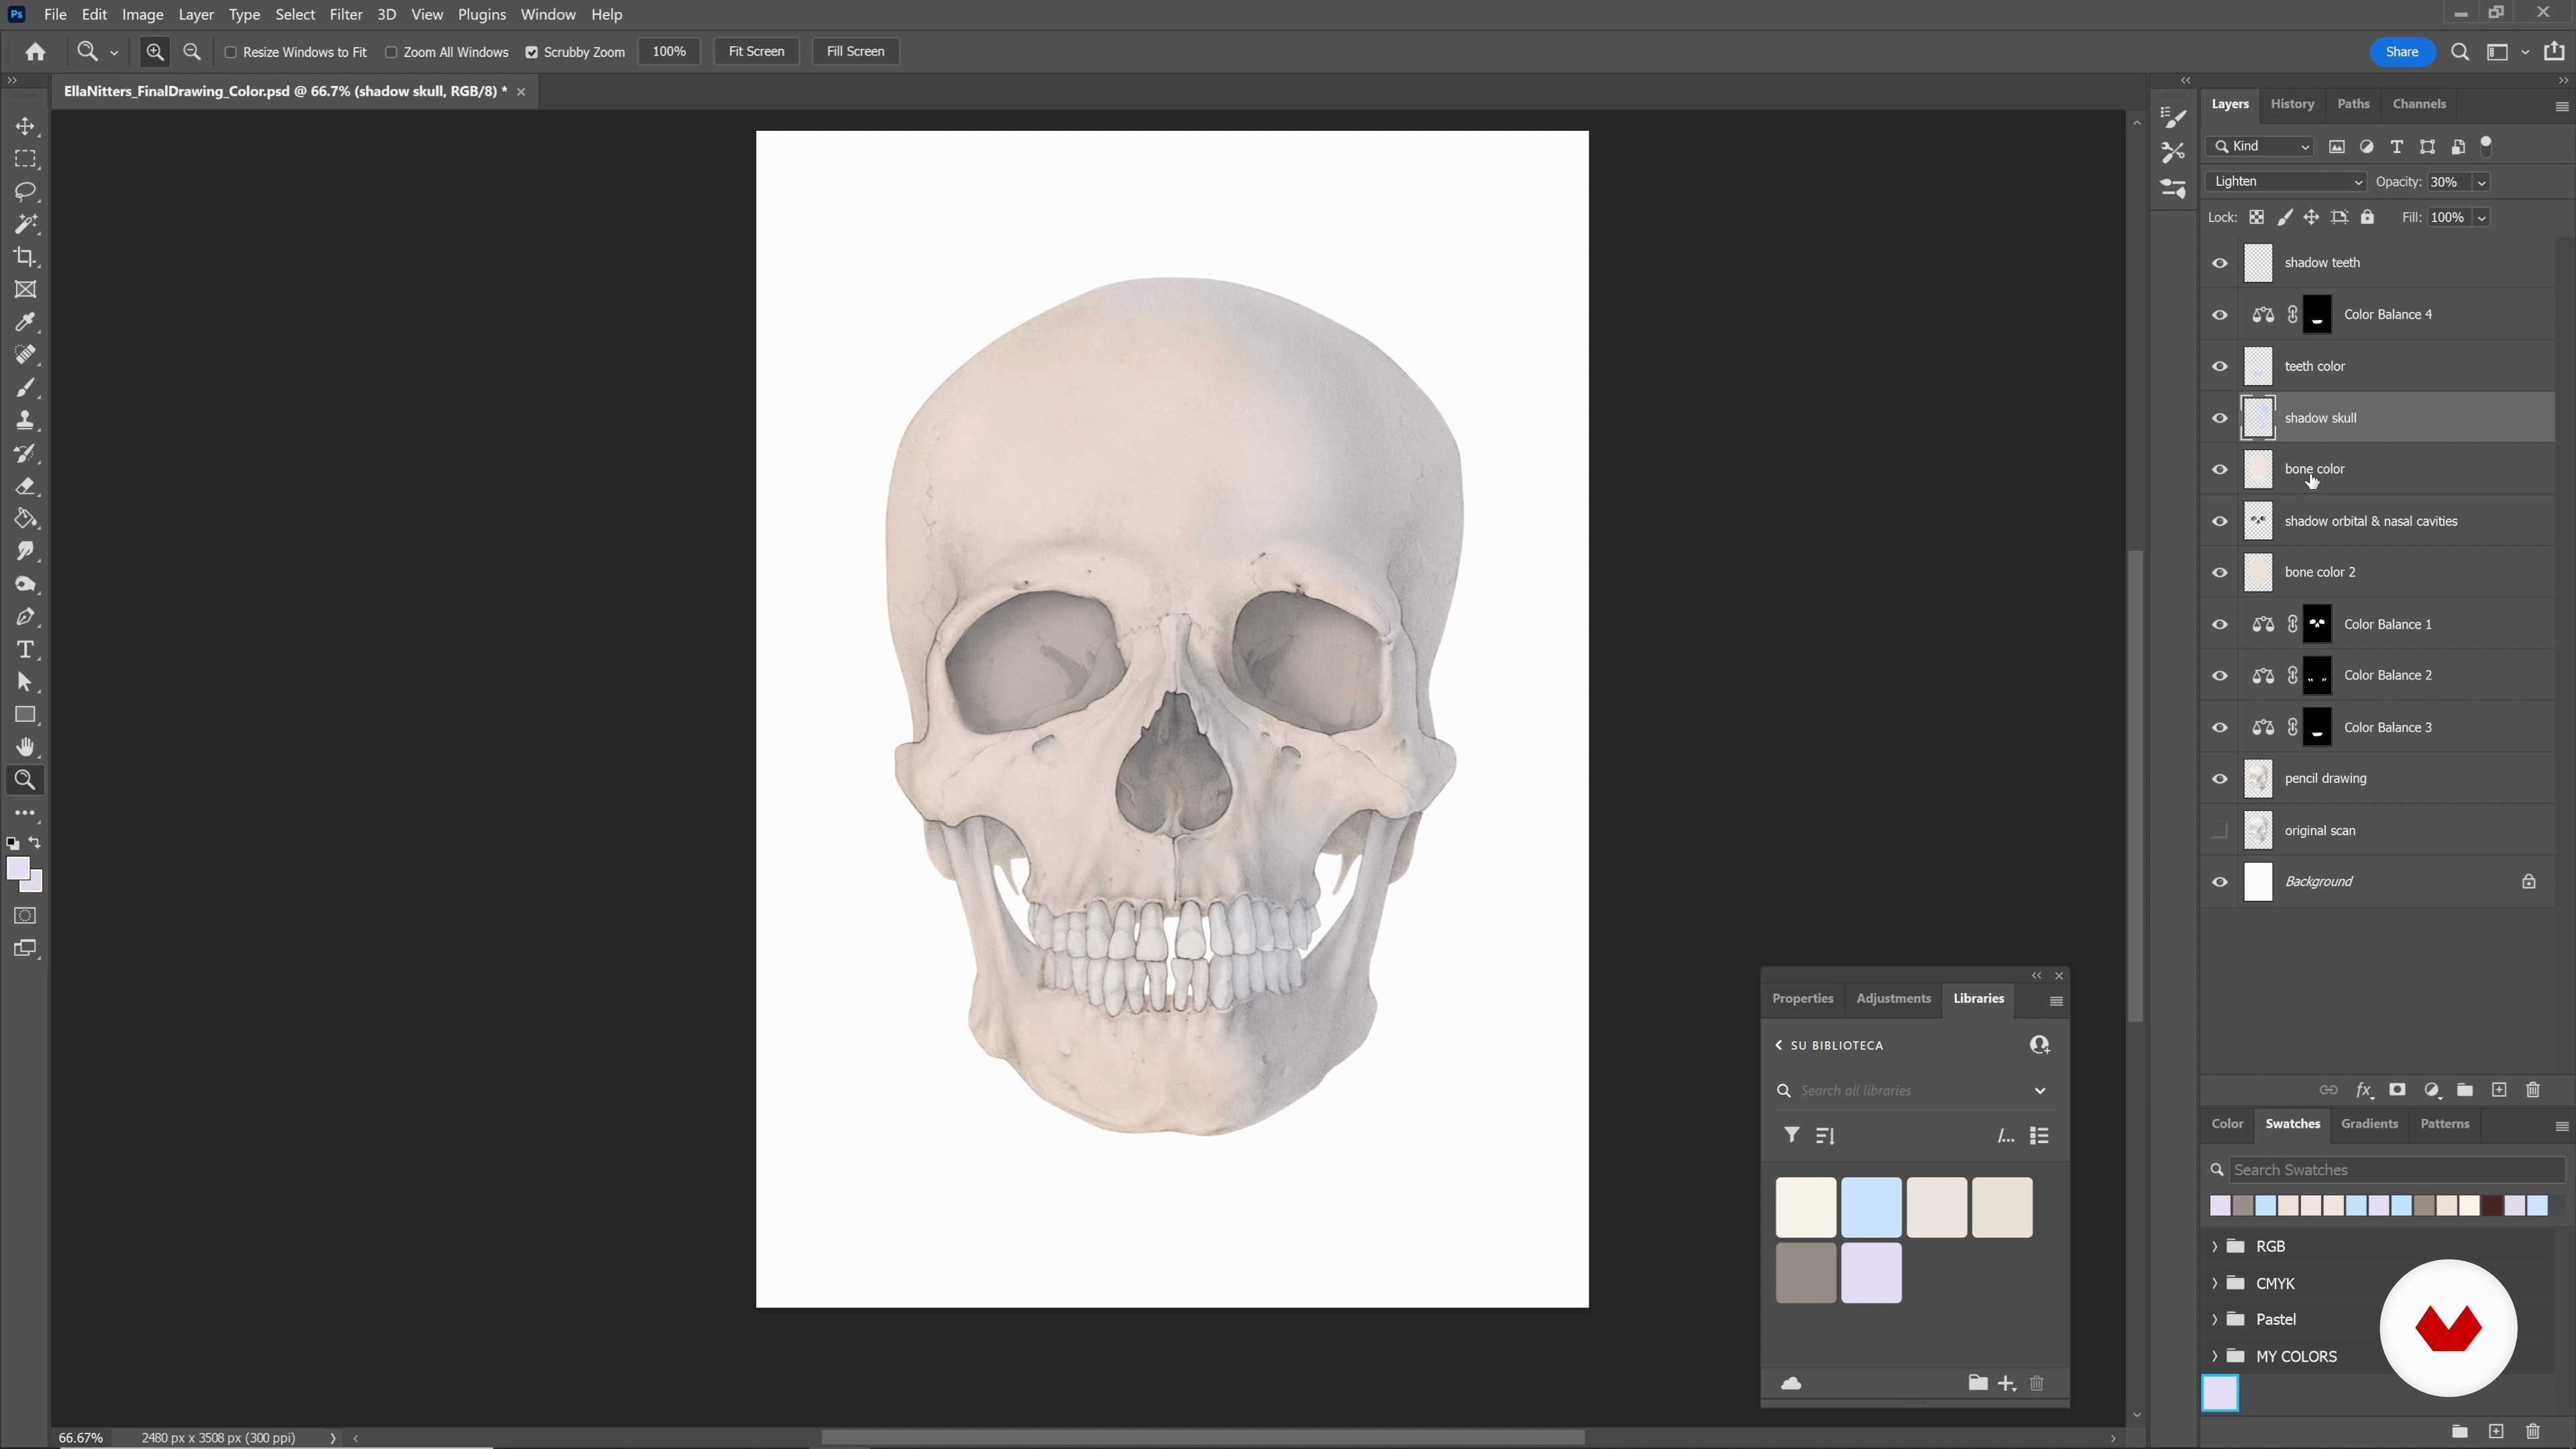
14Scanning and Coloring the Graphite Drawing 1
In this lesson, I will show you how to transform your black-and-white graphite drawing into a colored one using Photoshop.
19m
 15
15Scanning and Coloring the Graphite Drawing 2
In medical illustrations, bones are still often depicted as light brown for clarity, more in contrast with other structures like ligaments, tendons, and joint capsules. That's why I will show you how to choose the color of your drawing depending on what you want to do with it.
12m
 16
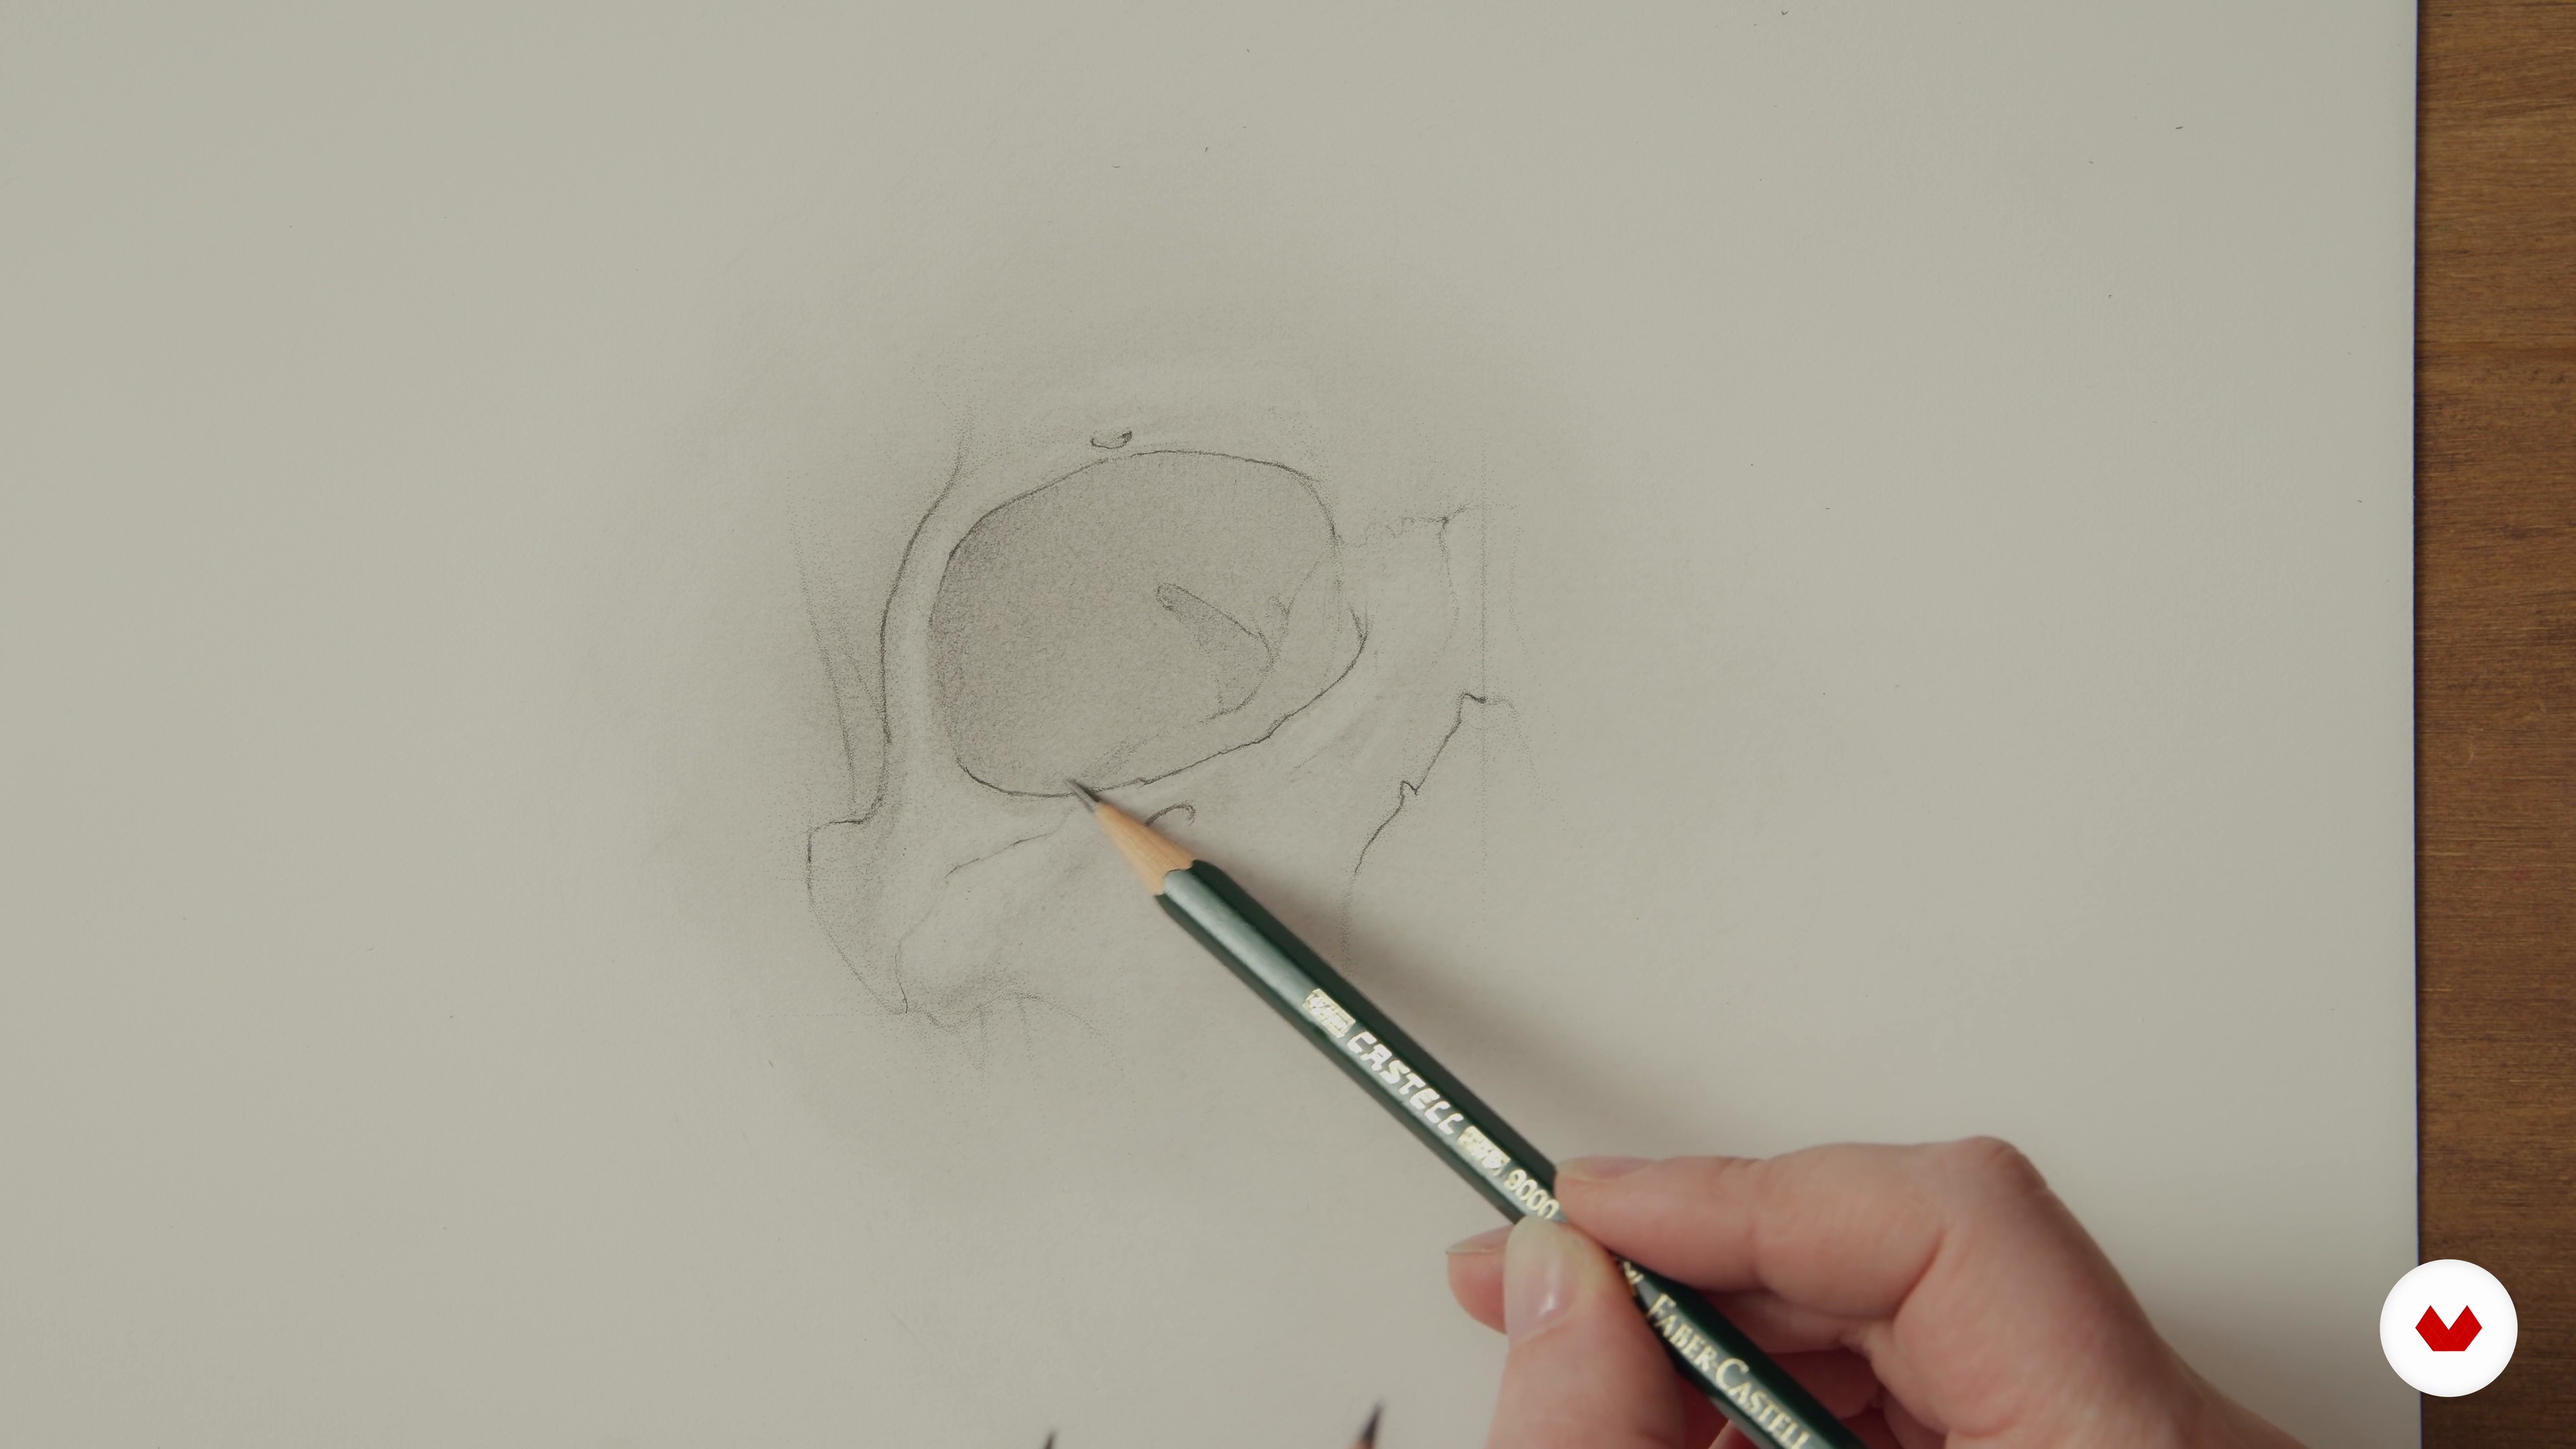
16Introduction to Carbon Dust
To finish this unit, I will show you how you can use carbon dust as a base layer to create a smooth drawing using graphite pencils and eraser pens.
17m
 3
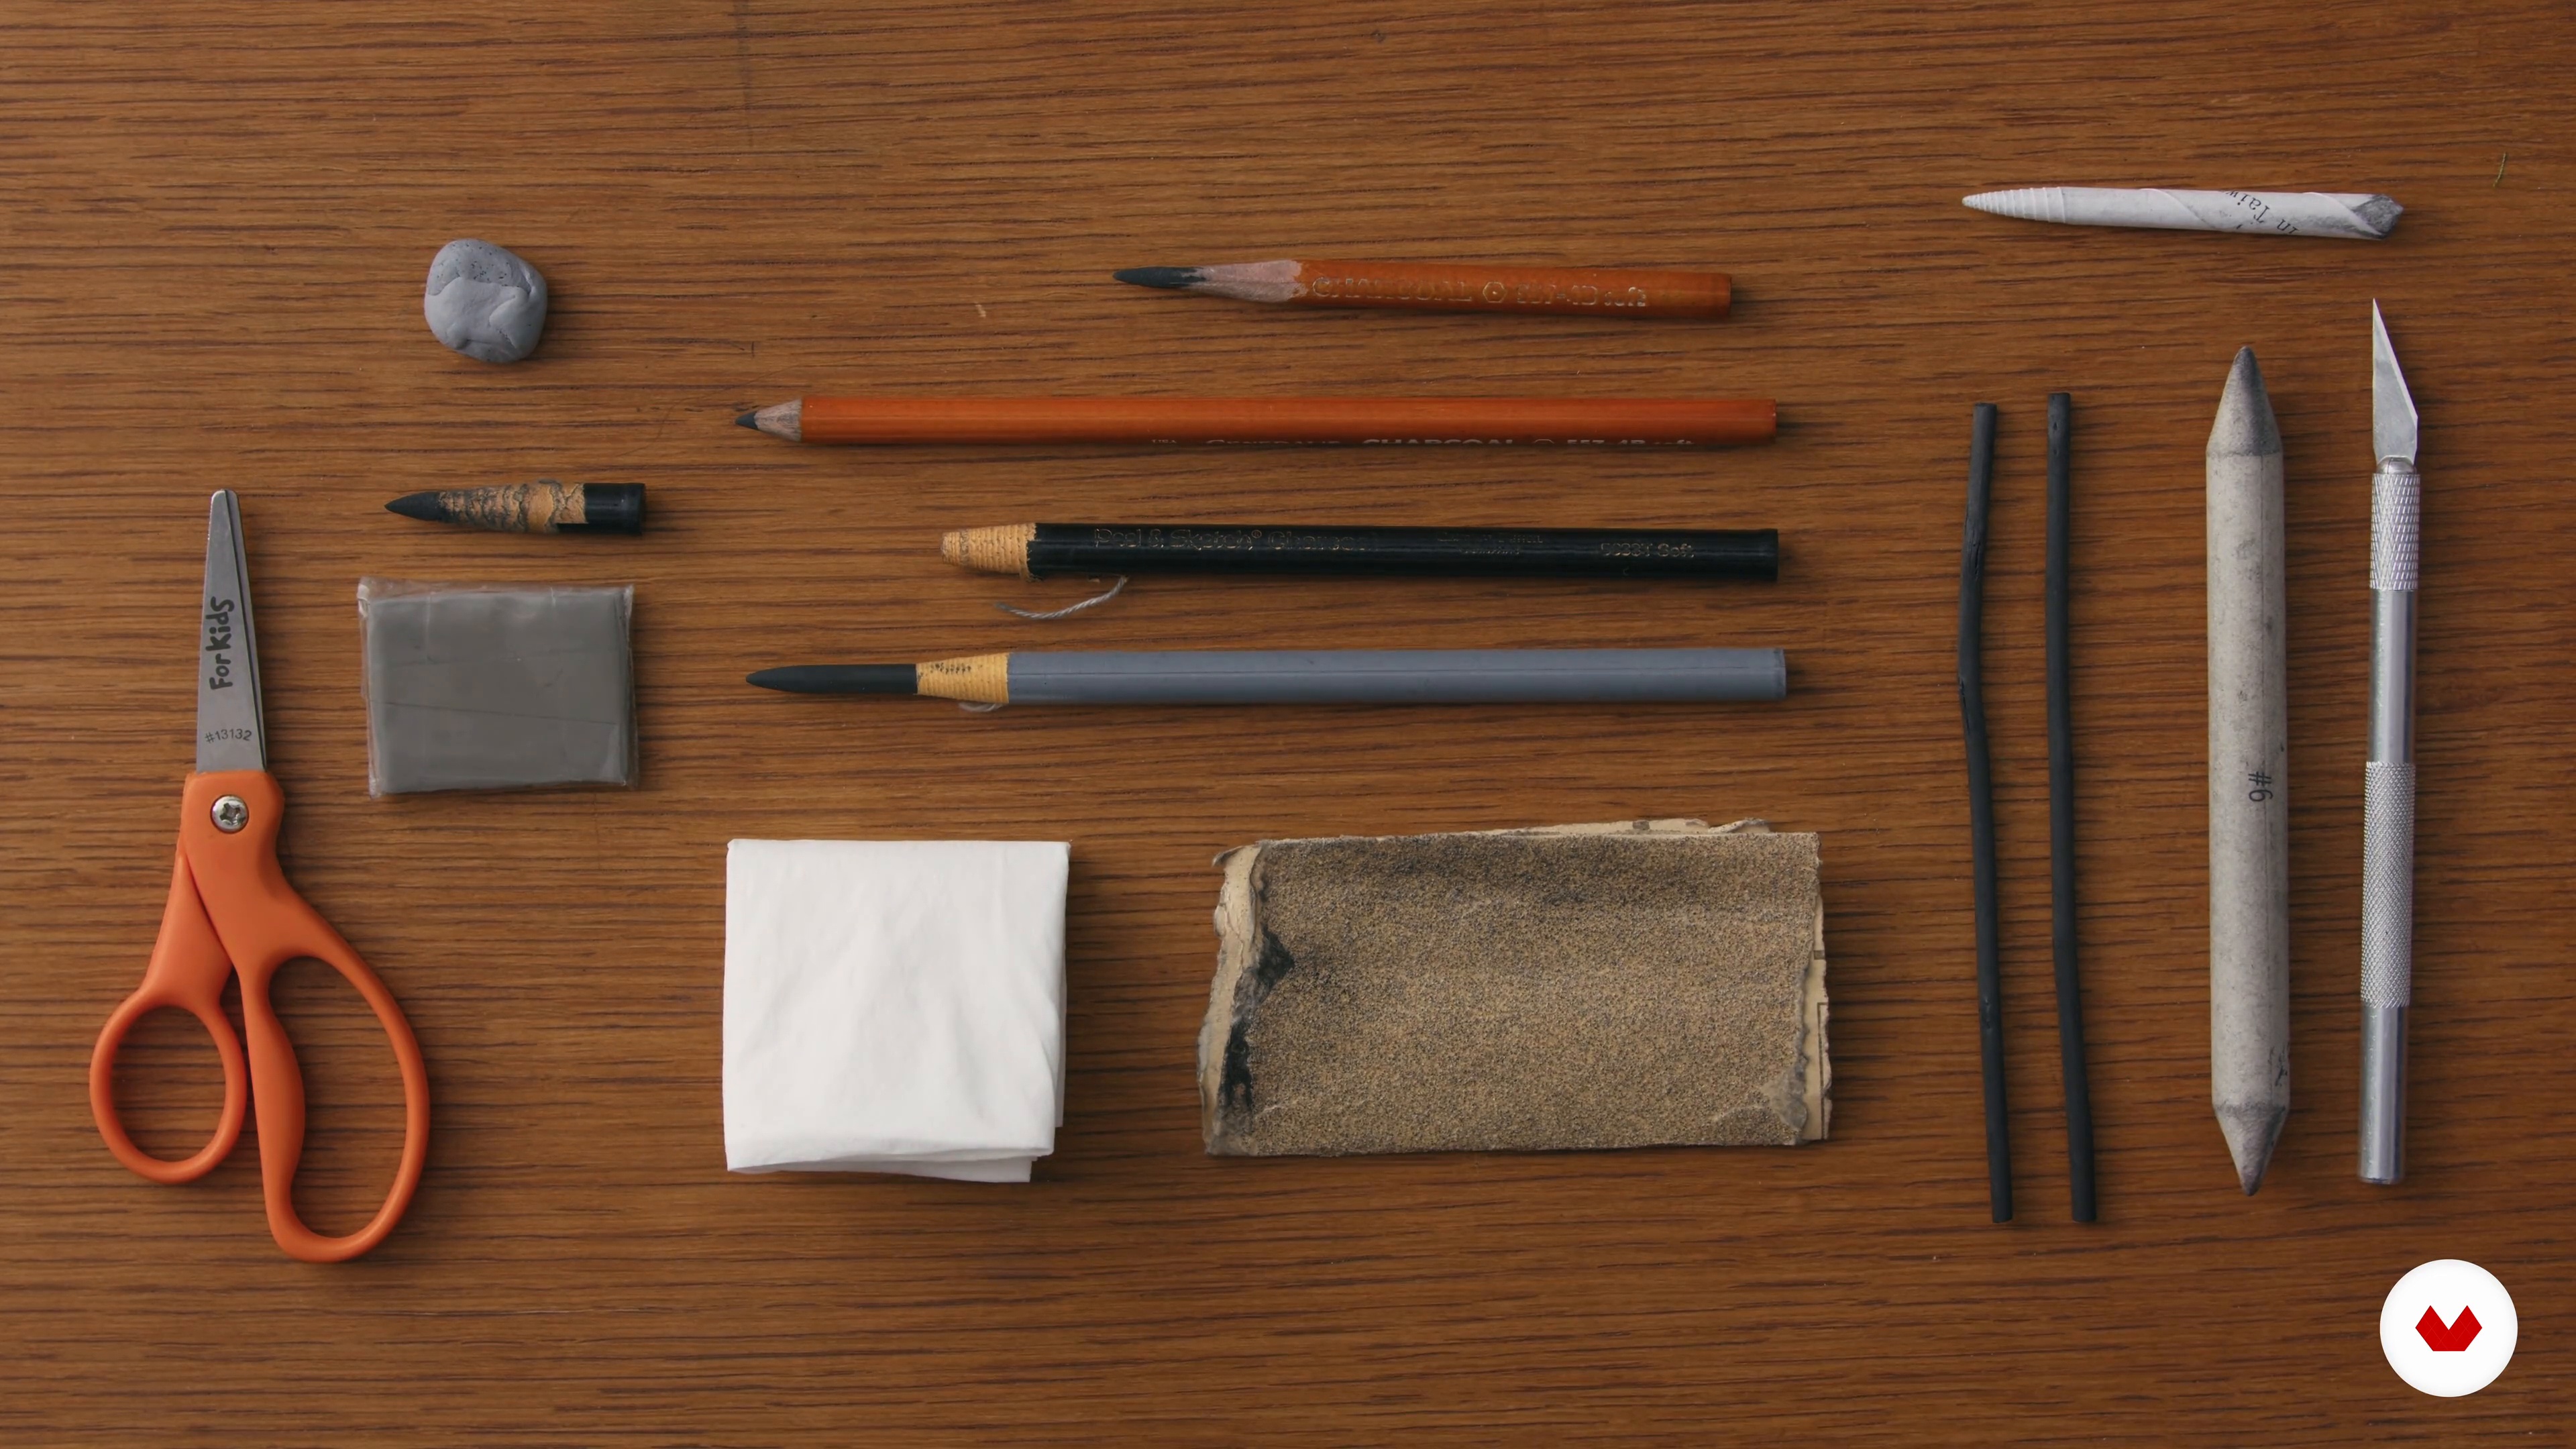
3Materials
Here I'll provide an overview of the functions and properties of the drawing materials, as well as basic handling techniques.
12m
 4
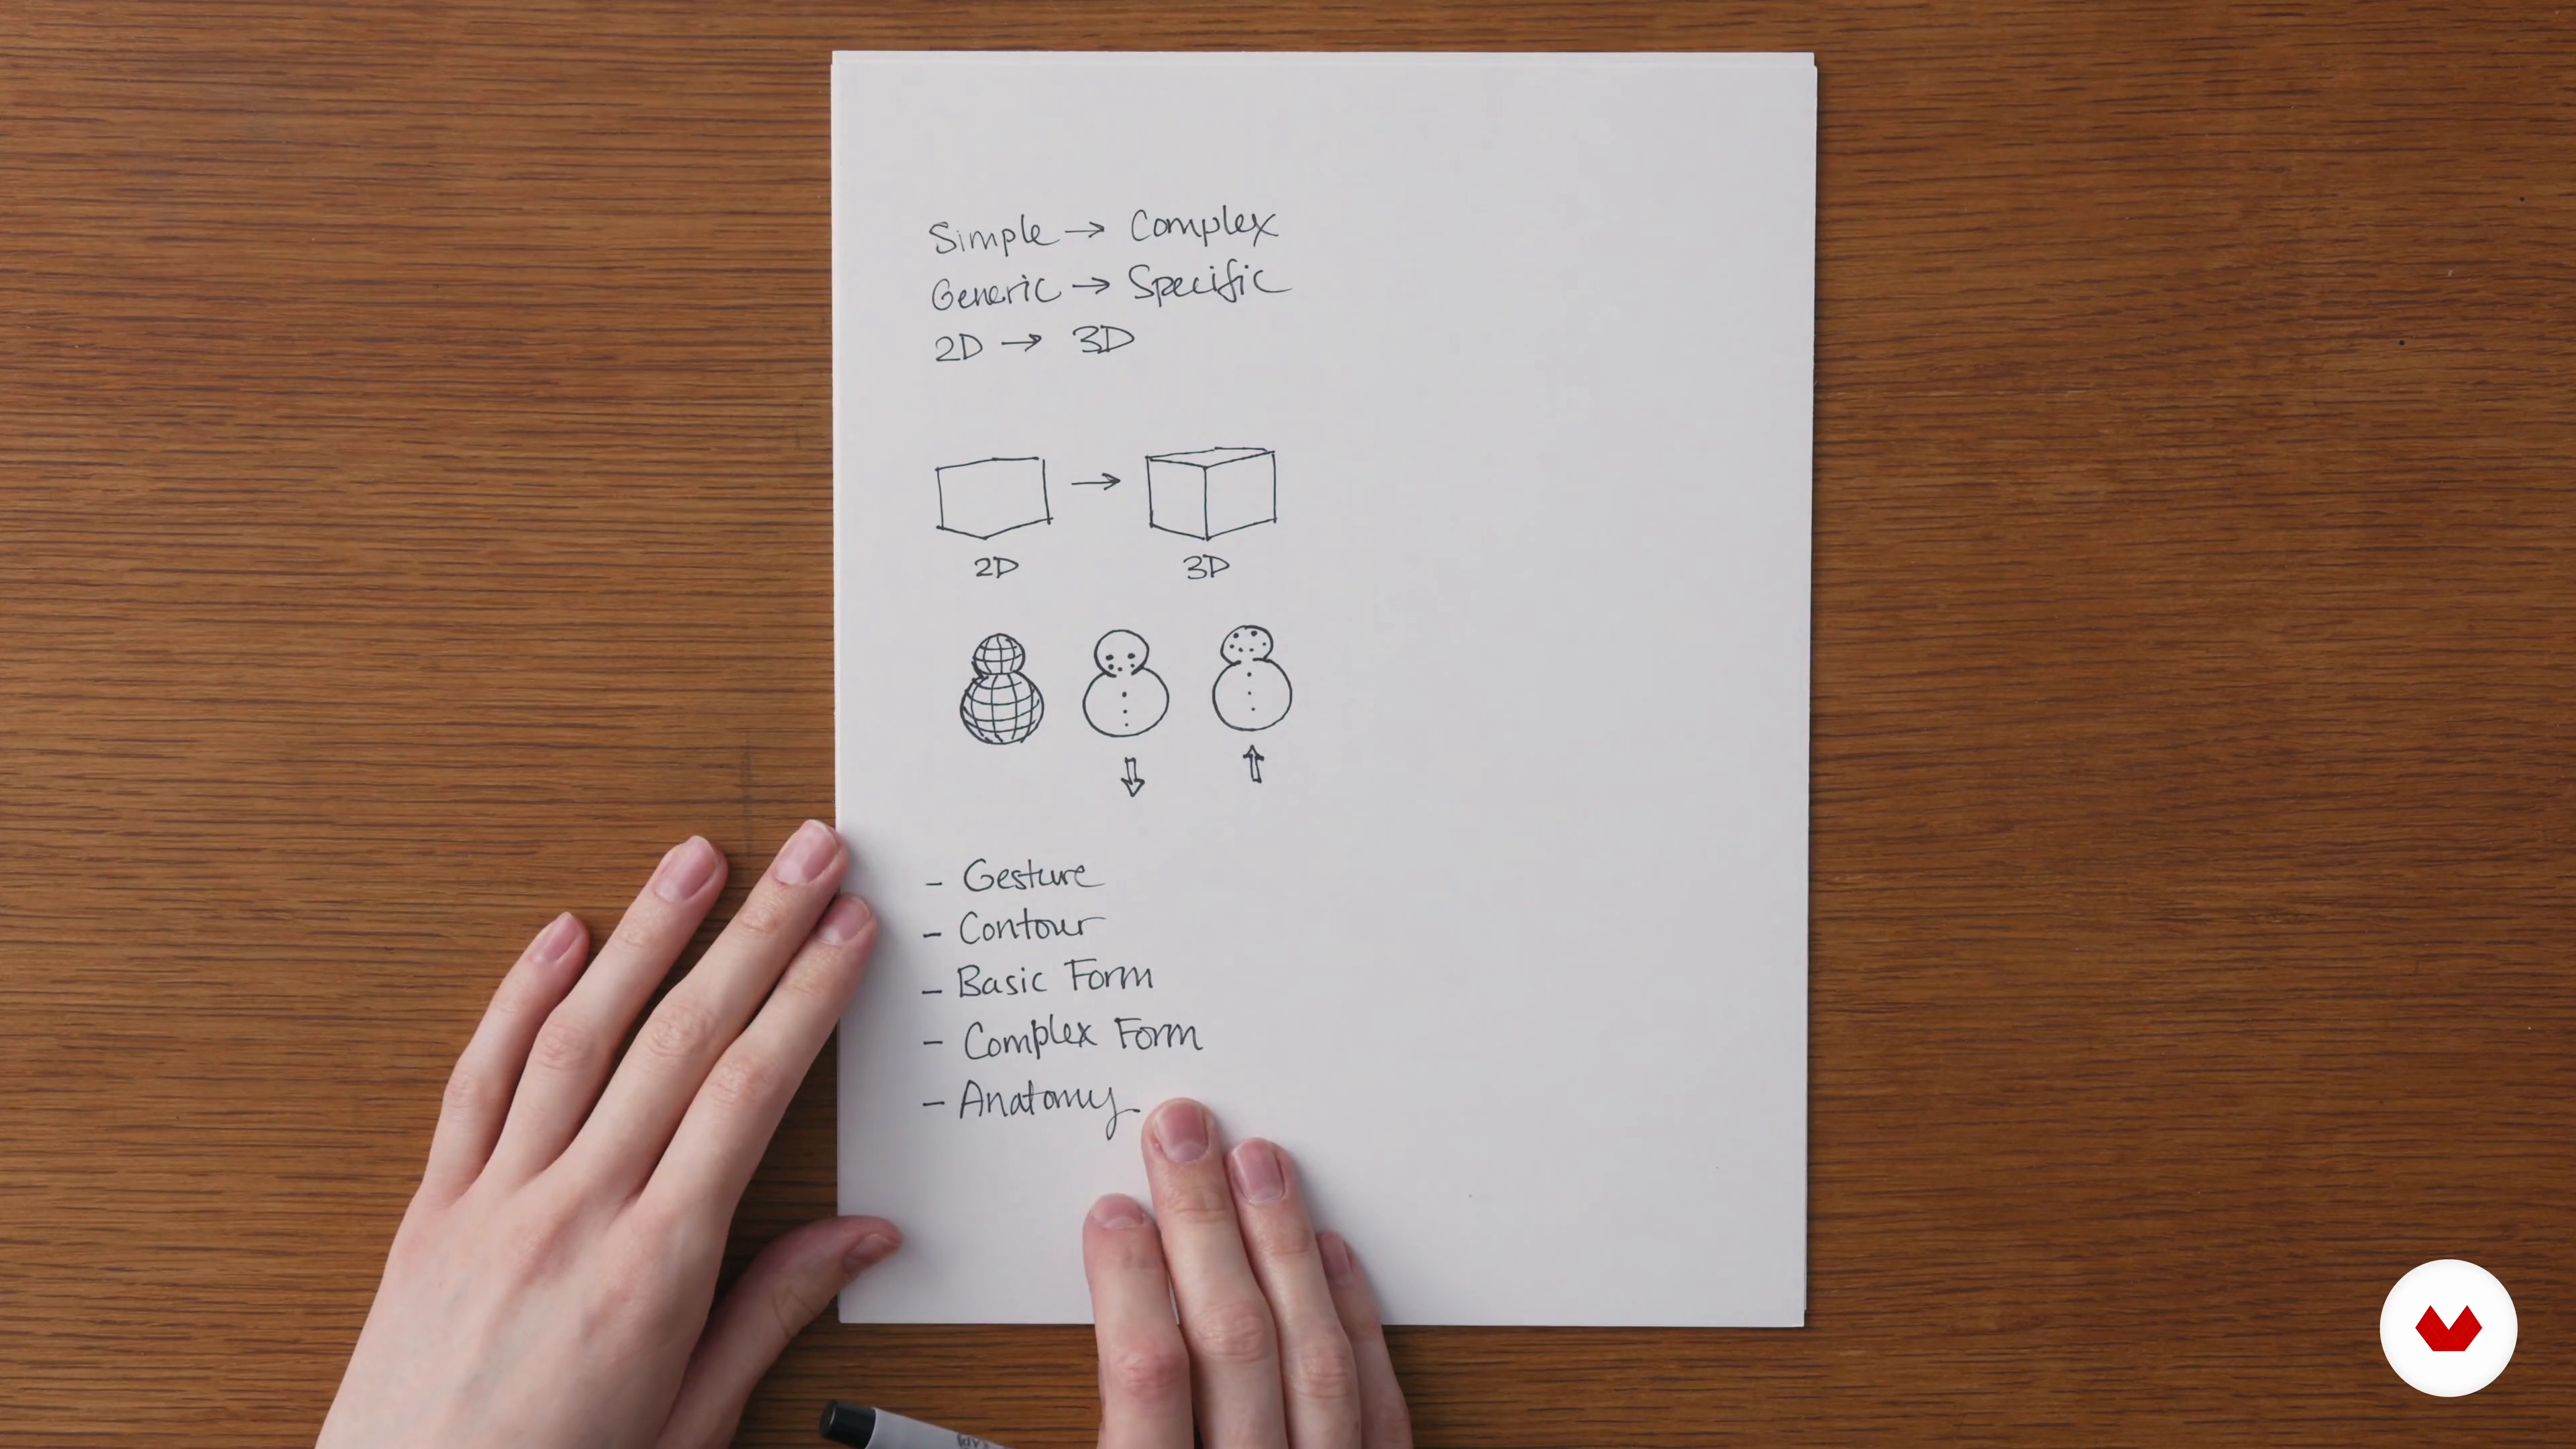
4Drawing Guidelines
Let's start with the first thing to know. In this lesson, I'll discuss the basic guidelines of figure drawing: simple rules and fundamental concepts.
9m
 5
5The Model
Now you'll learn how to work with and pose a model, as well as avoid common pitfalls when using reference photos.
10m
 6
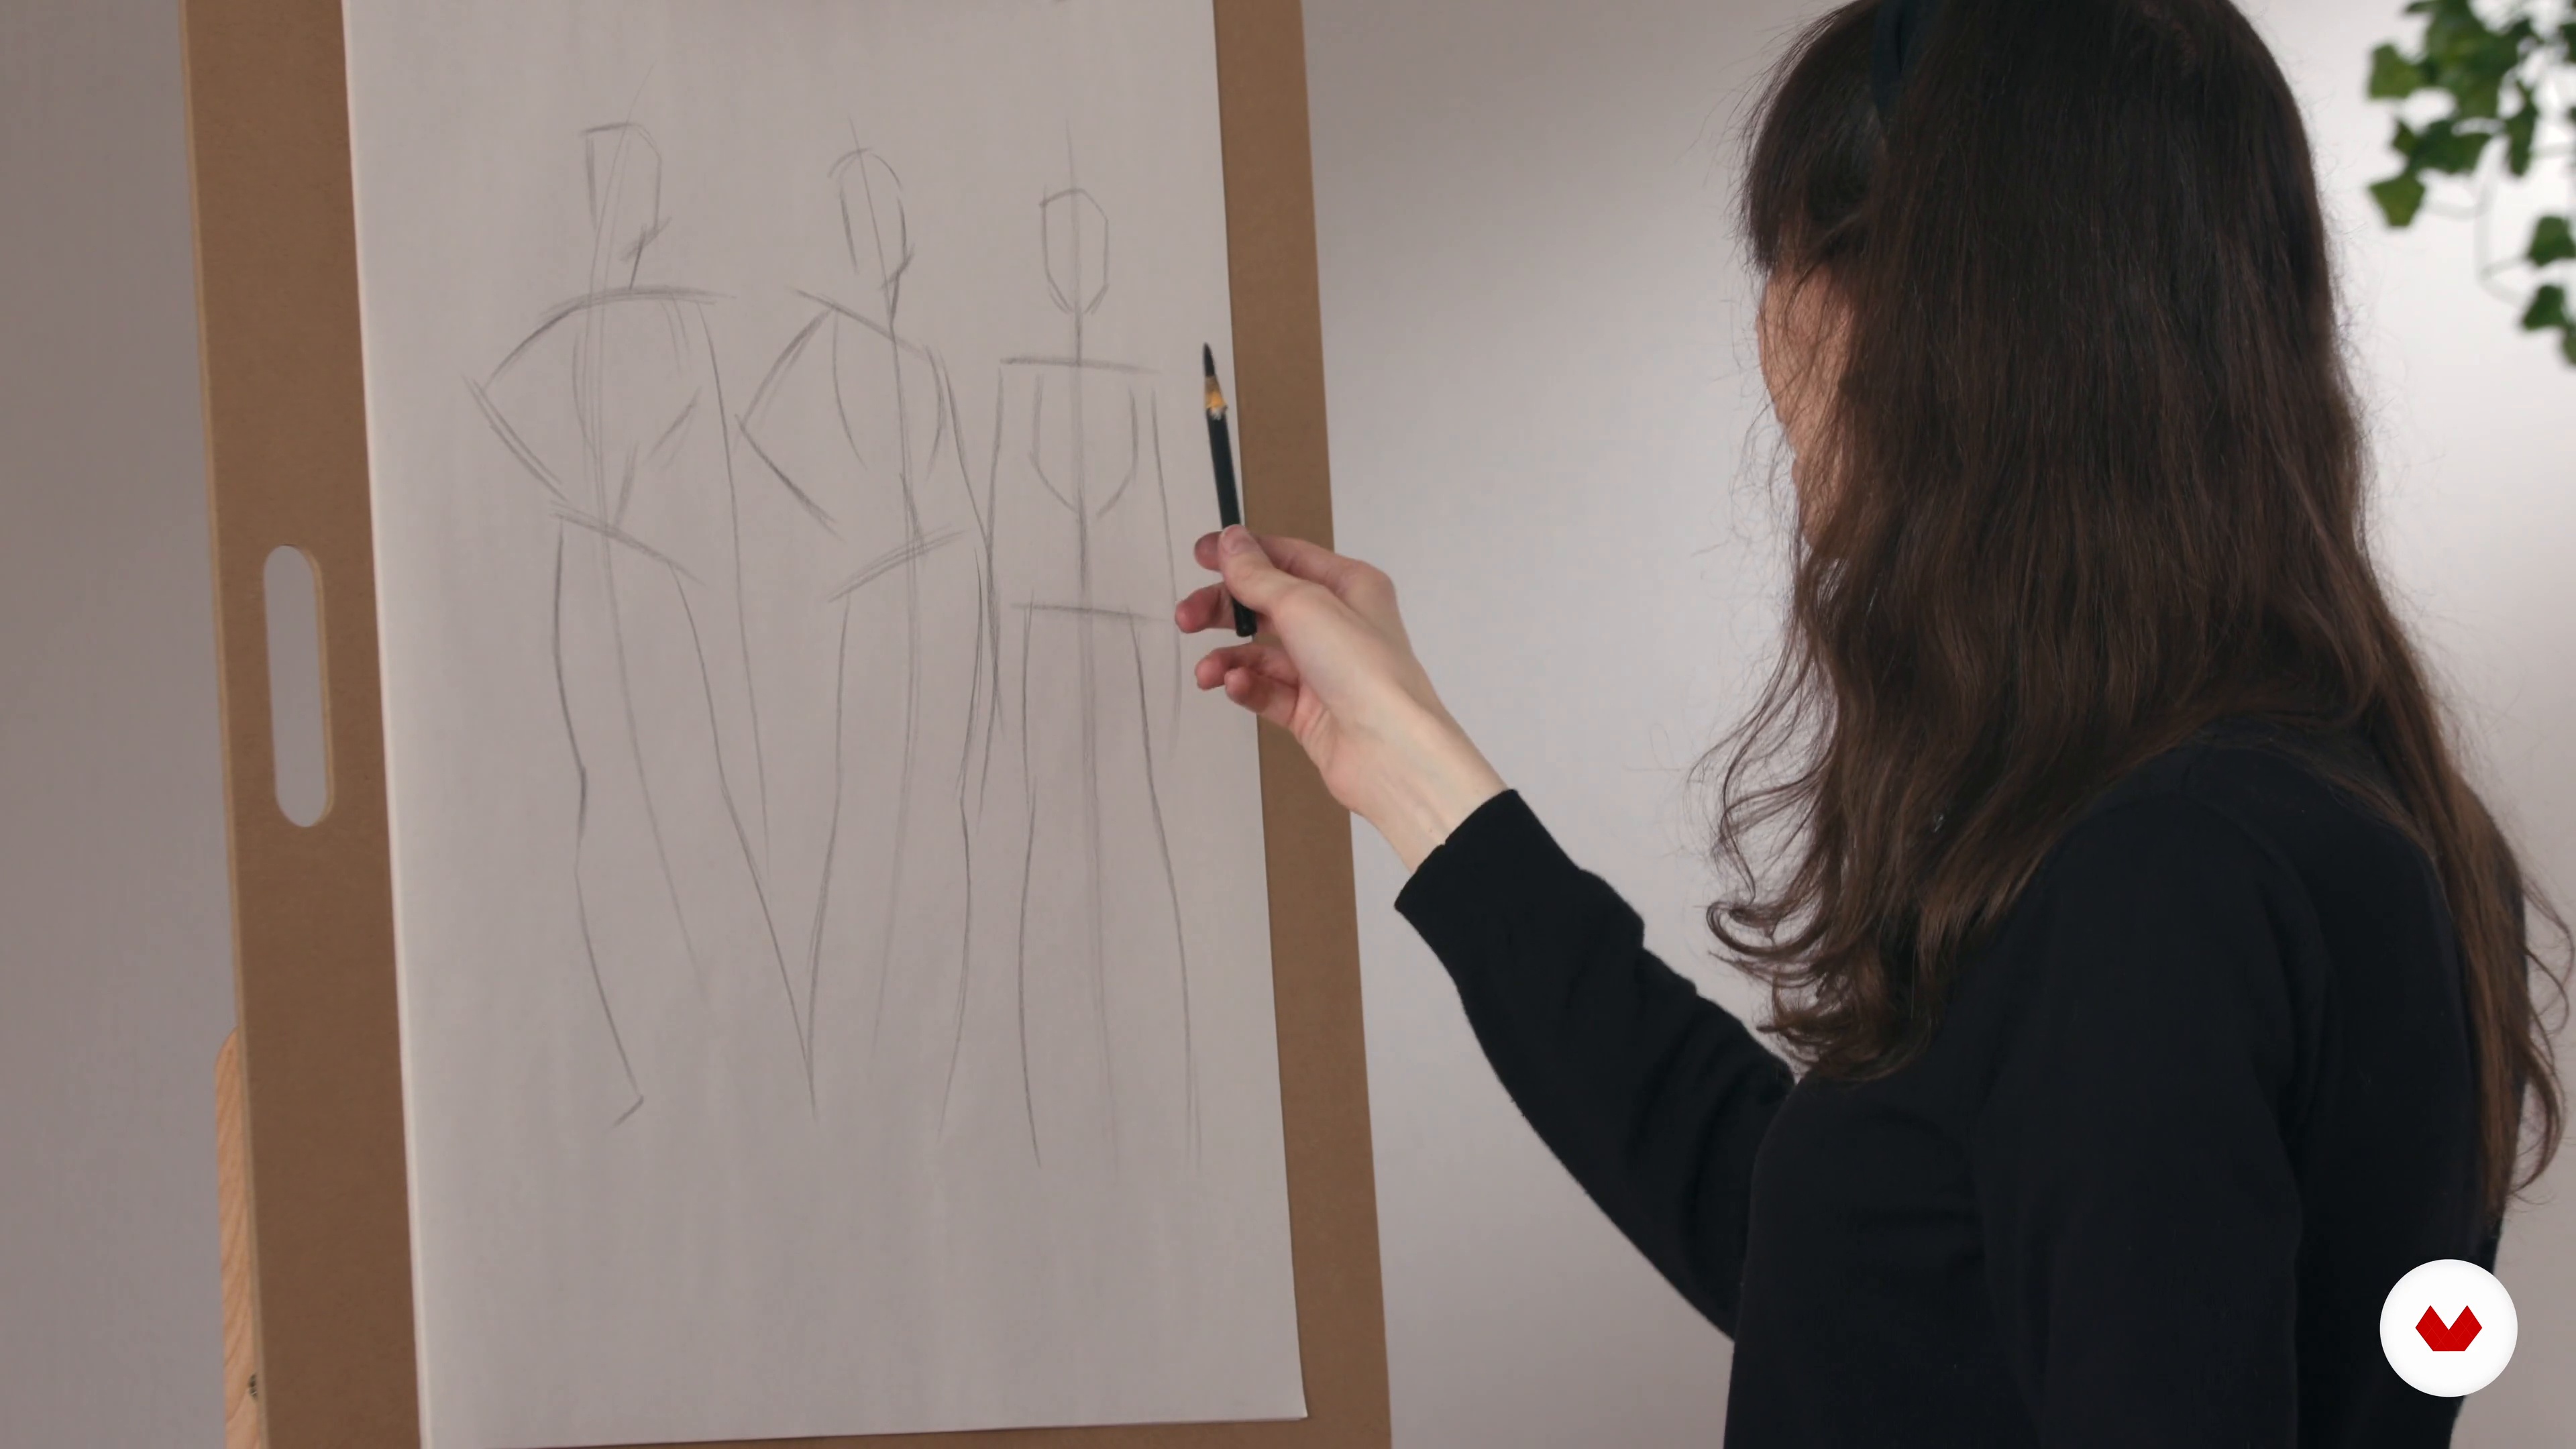
6Gesture
Gesture is the foundation of every drawing. In this lesson, we’ll discuss how to find and establish the gestural rhythms of the human form.
7m
 7
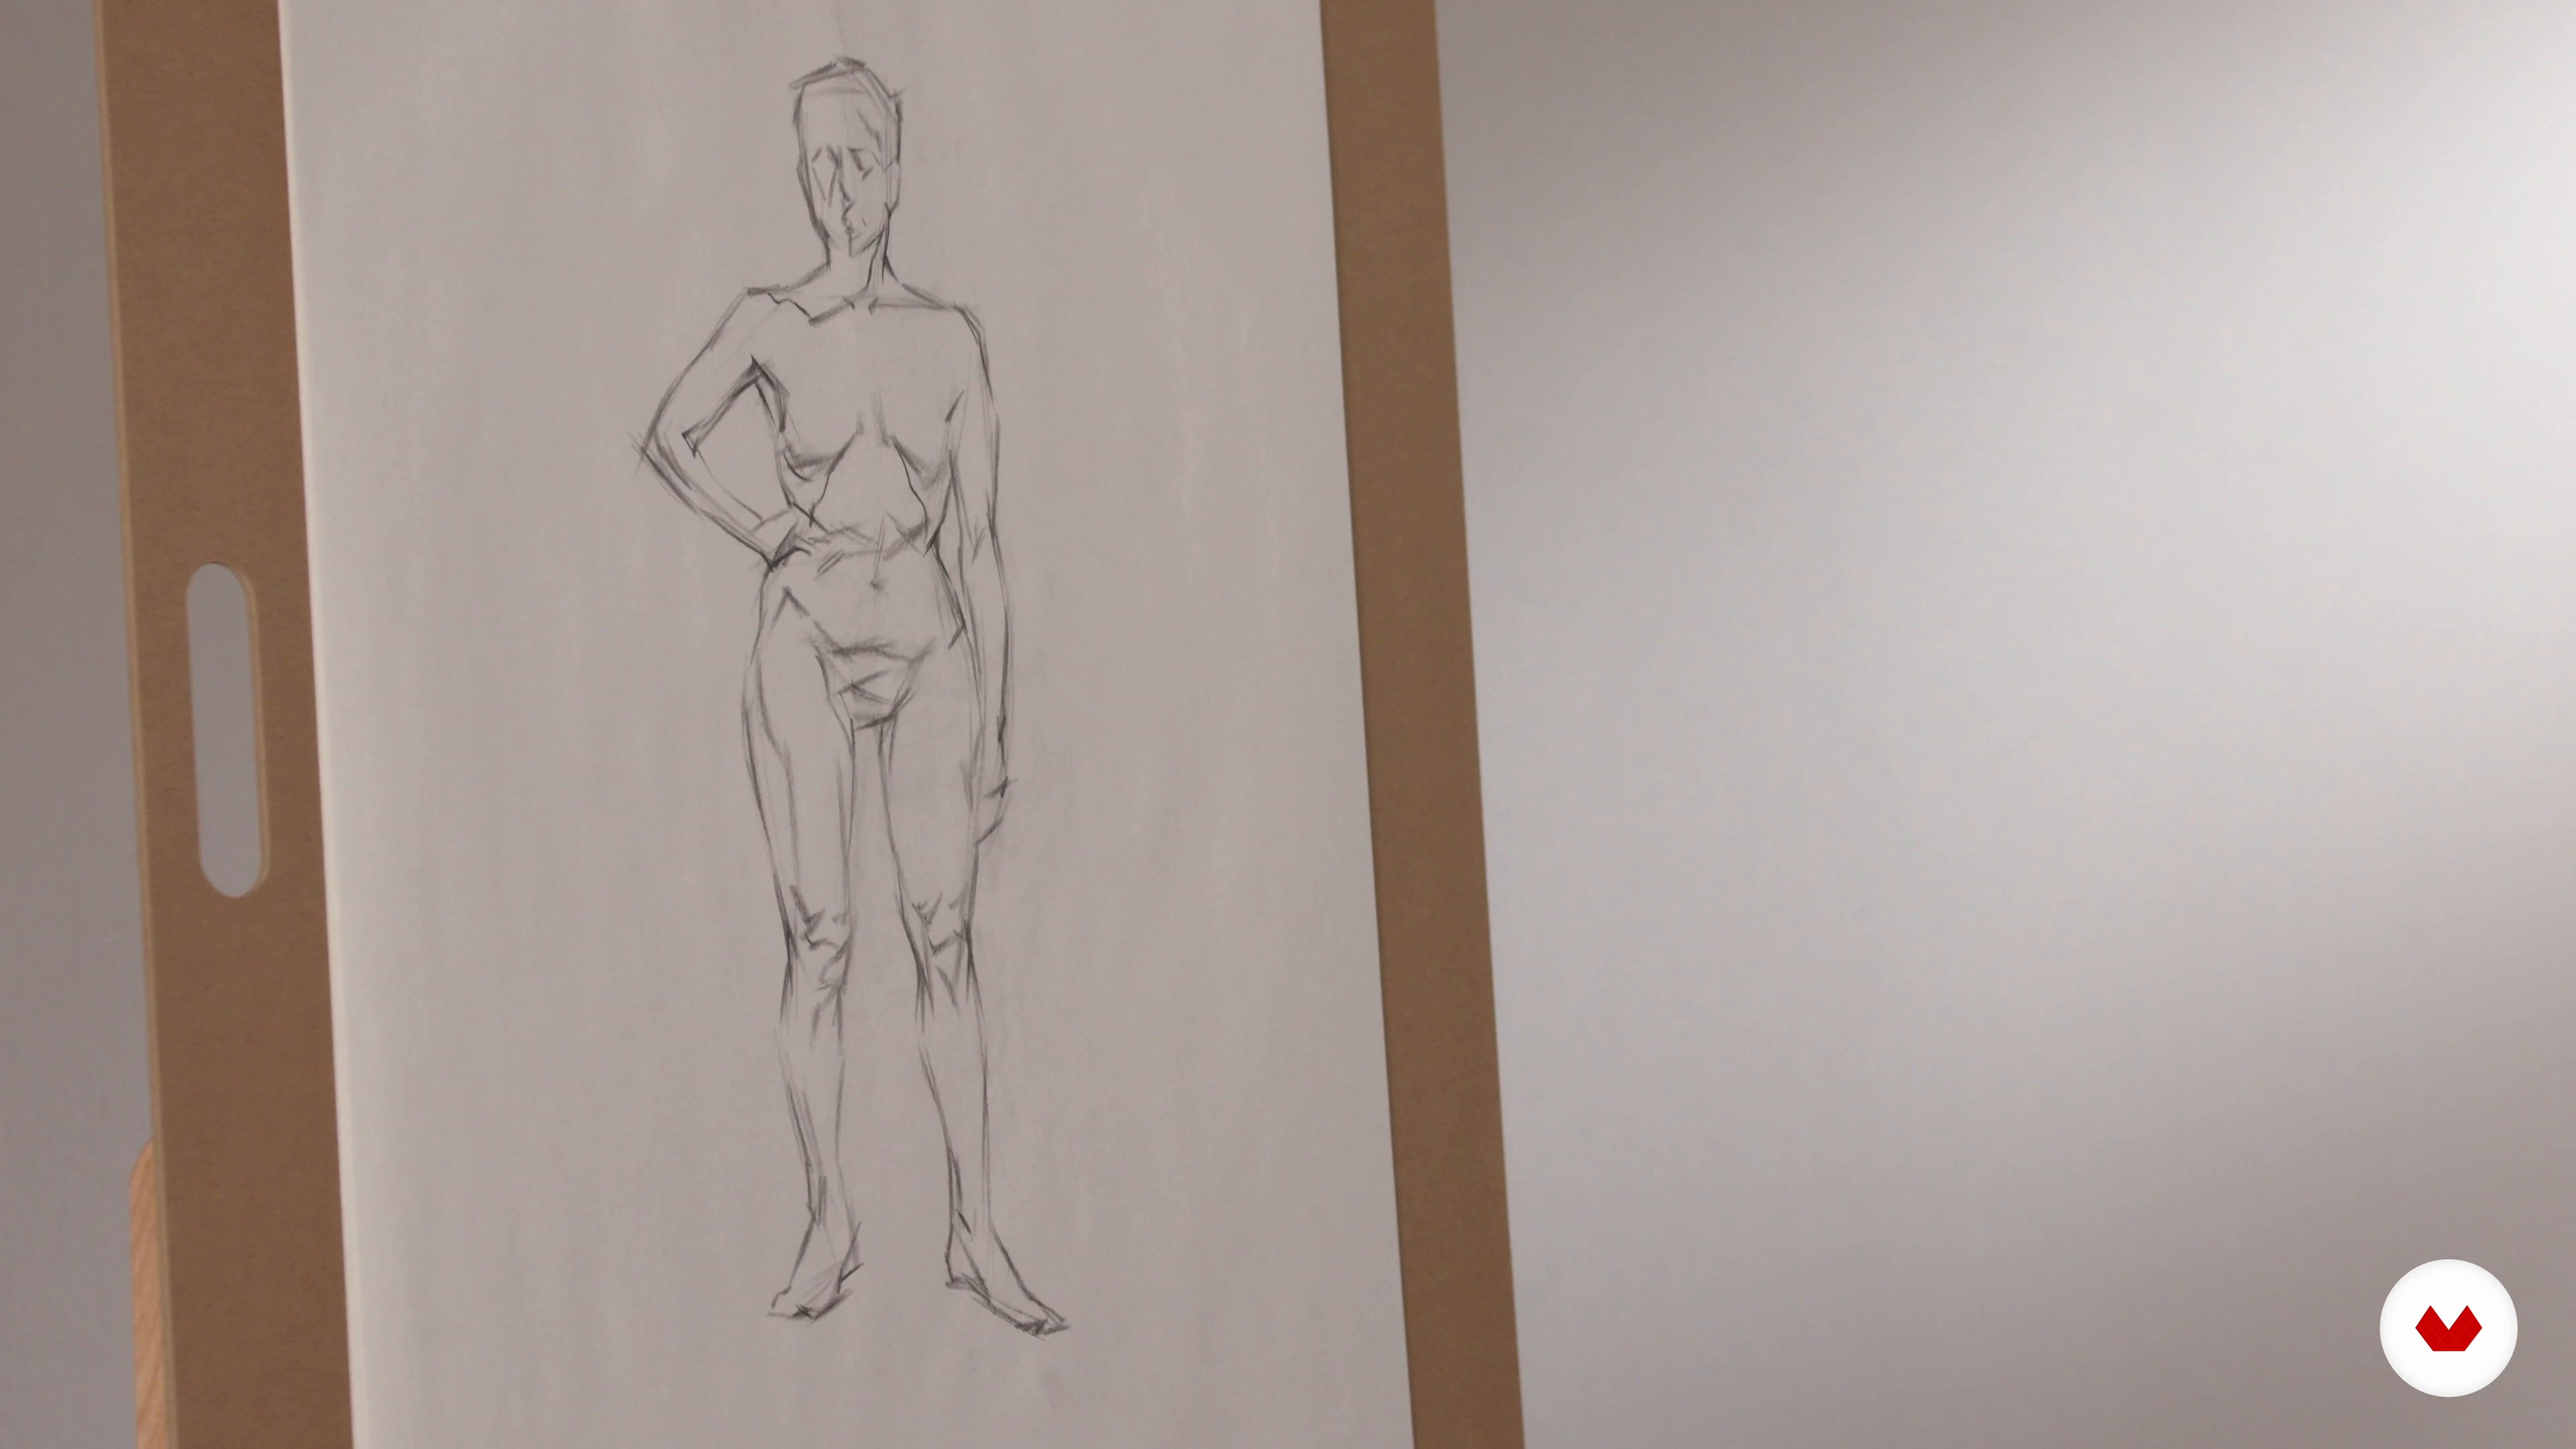
7Shape
Now I'll show you how to transform lines into simple shapes and simple shapes into nuanced contours.
18m
 8
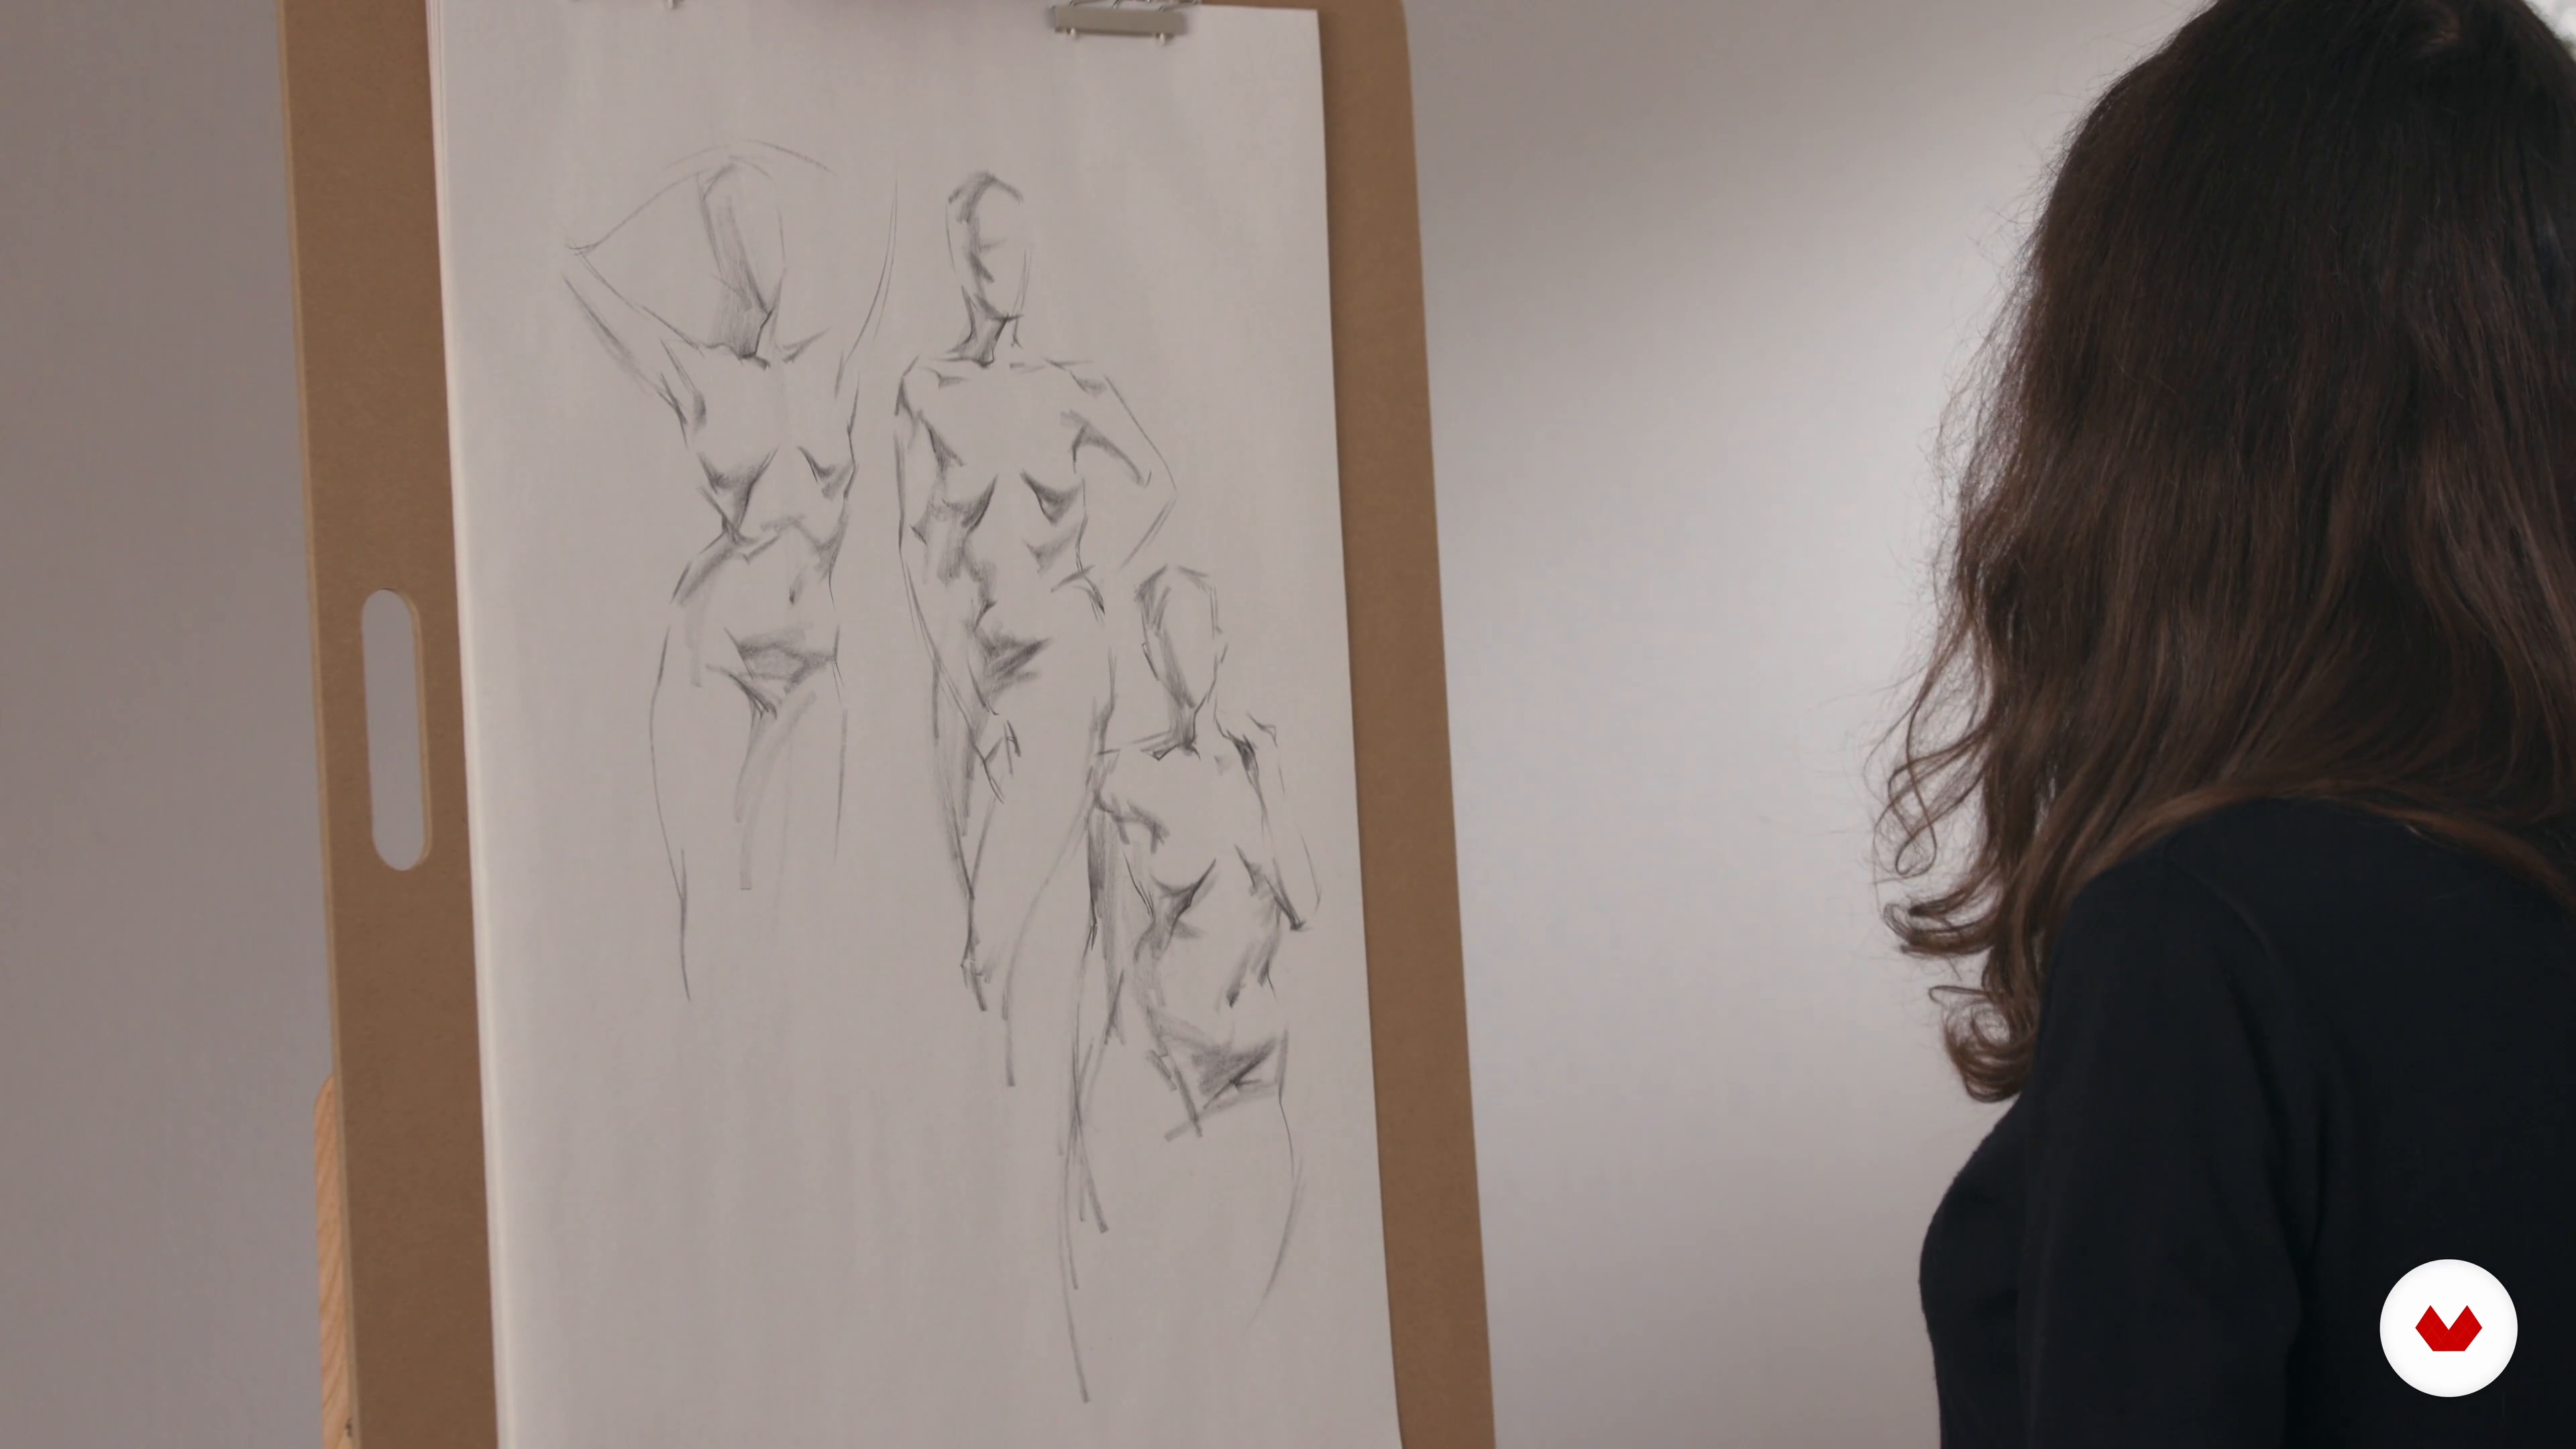
8Quick Sketch
In this lesson, I will demonstrate how to create quick sketches using the information we’ve discussed so far.
10m
 9
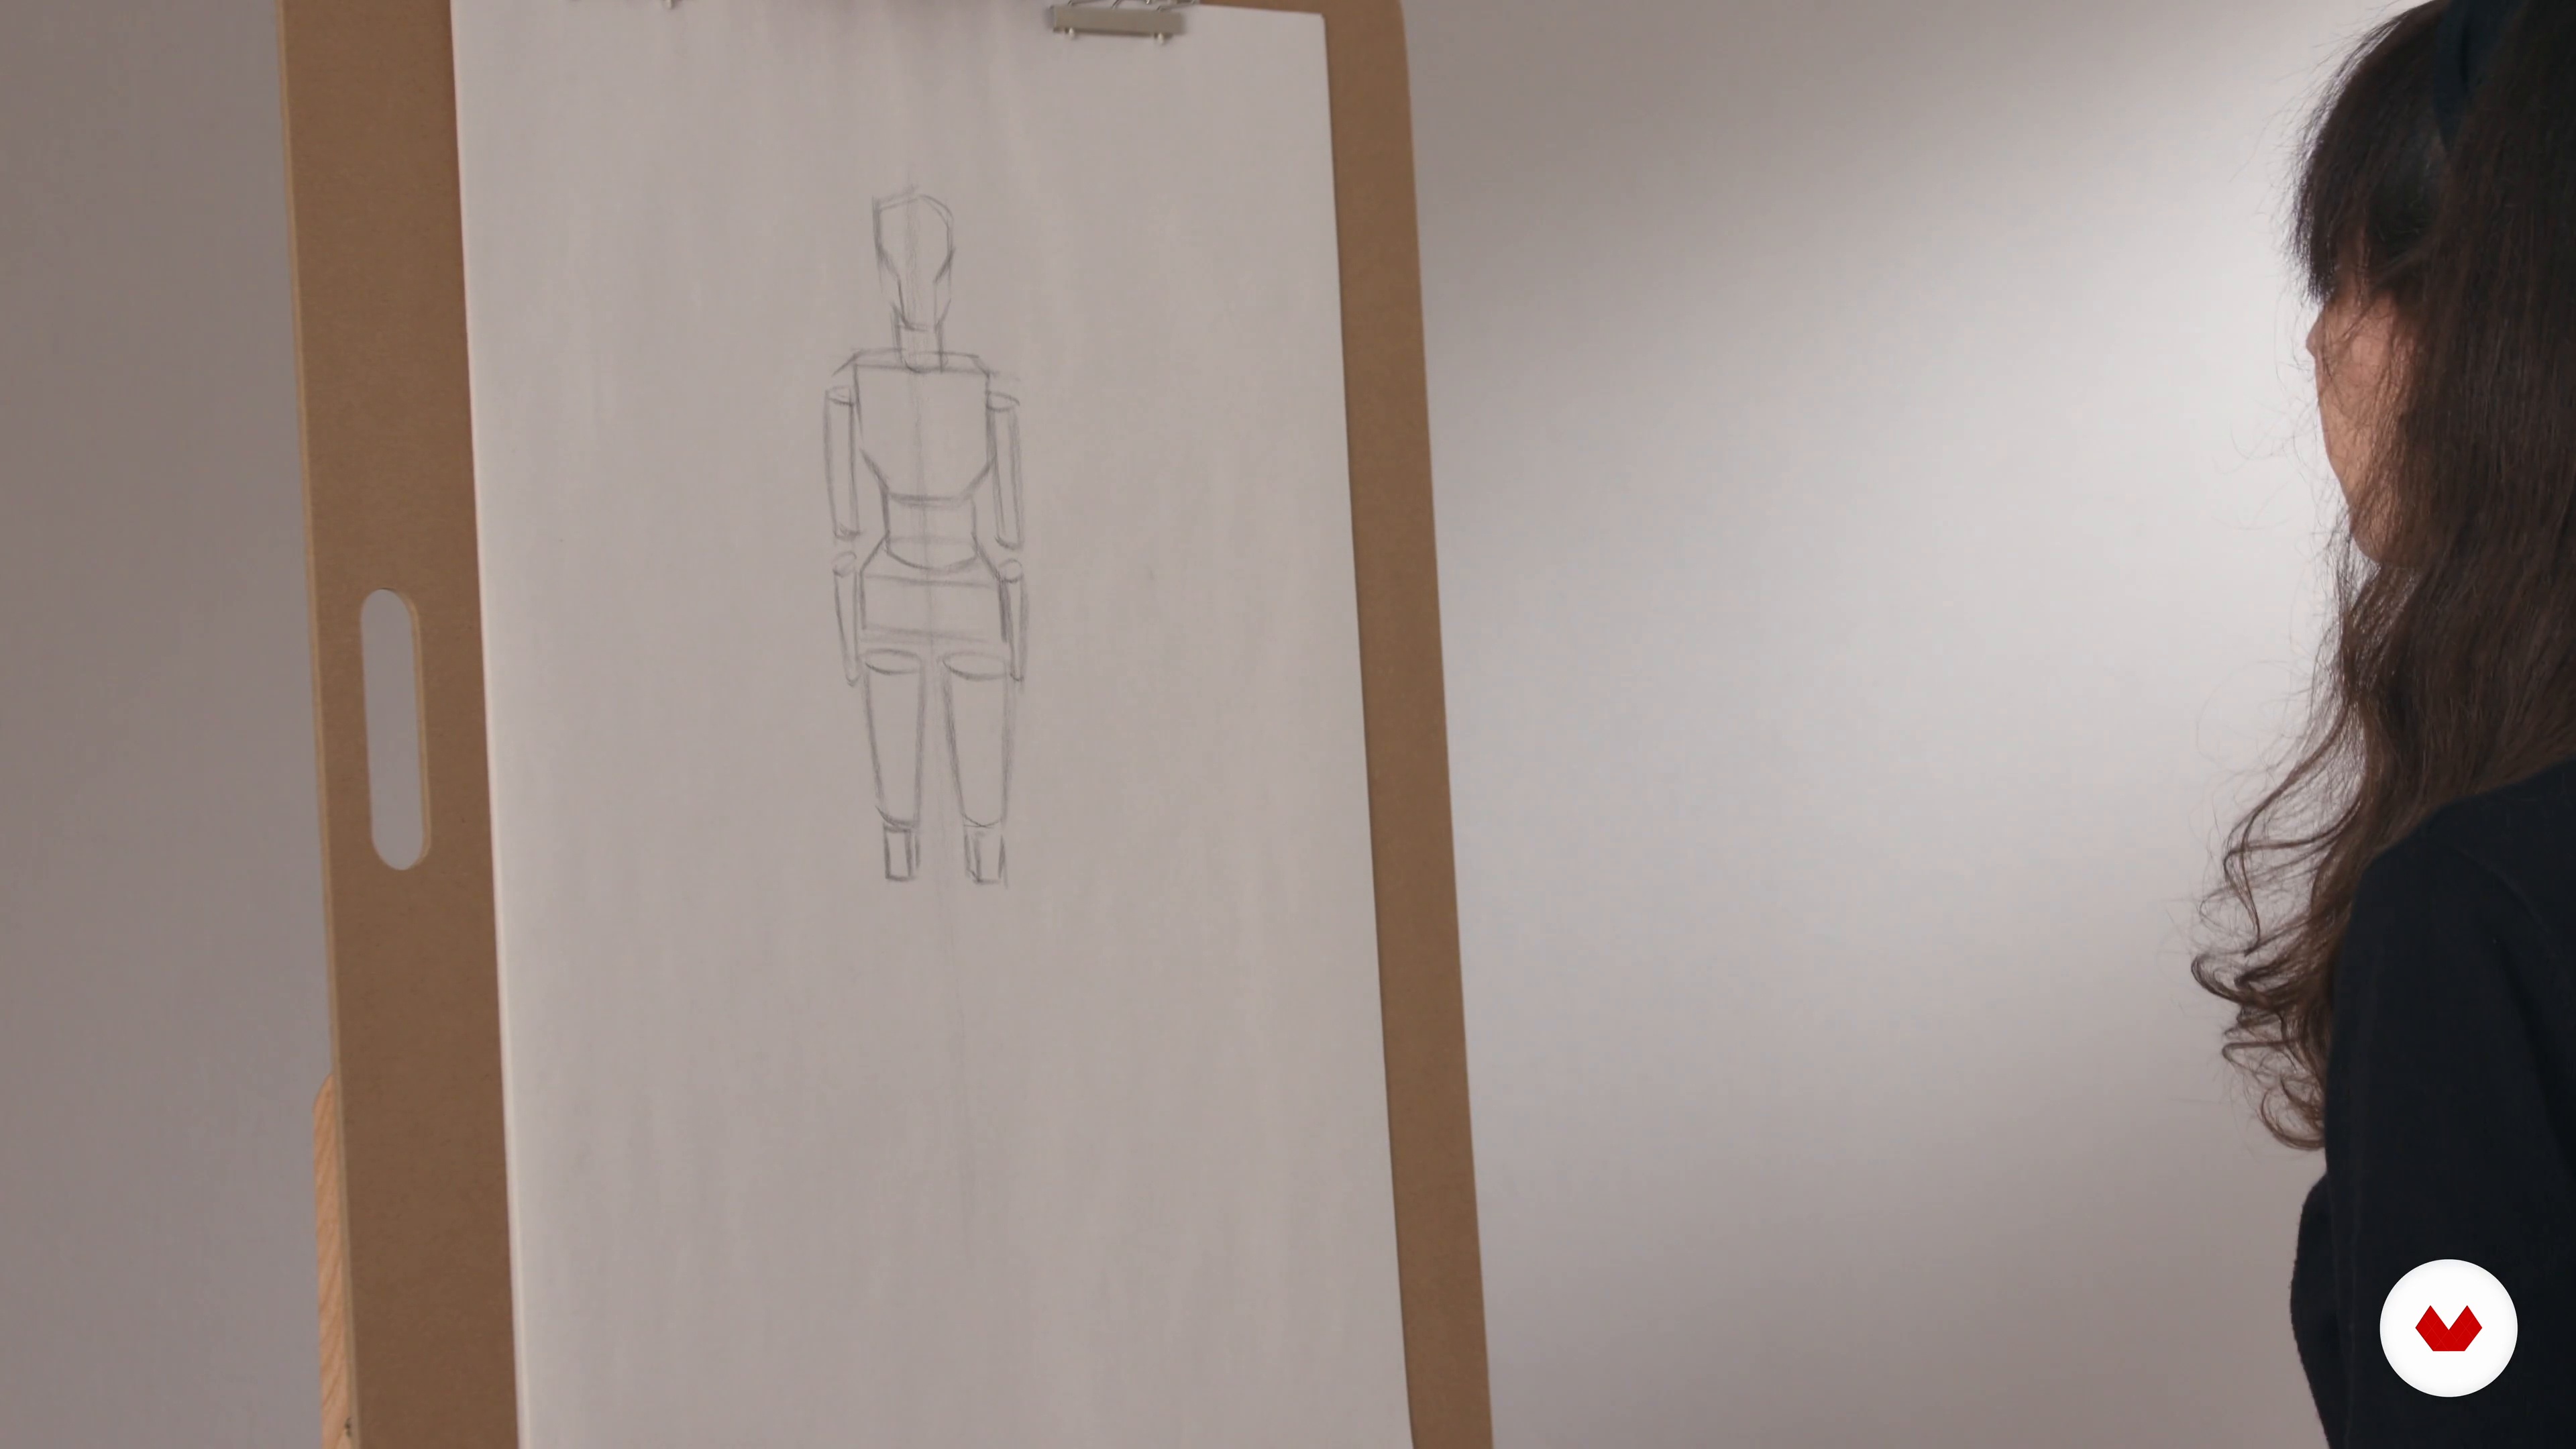
9Basic Form
The figure can be broken down into basic three-dimensional forms. In this lesson, we’ll discuss how to draw and conceptualize these forms.
6m
 10
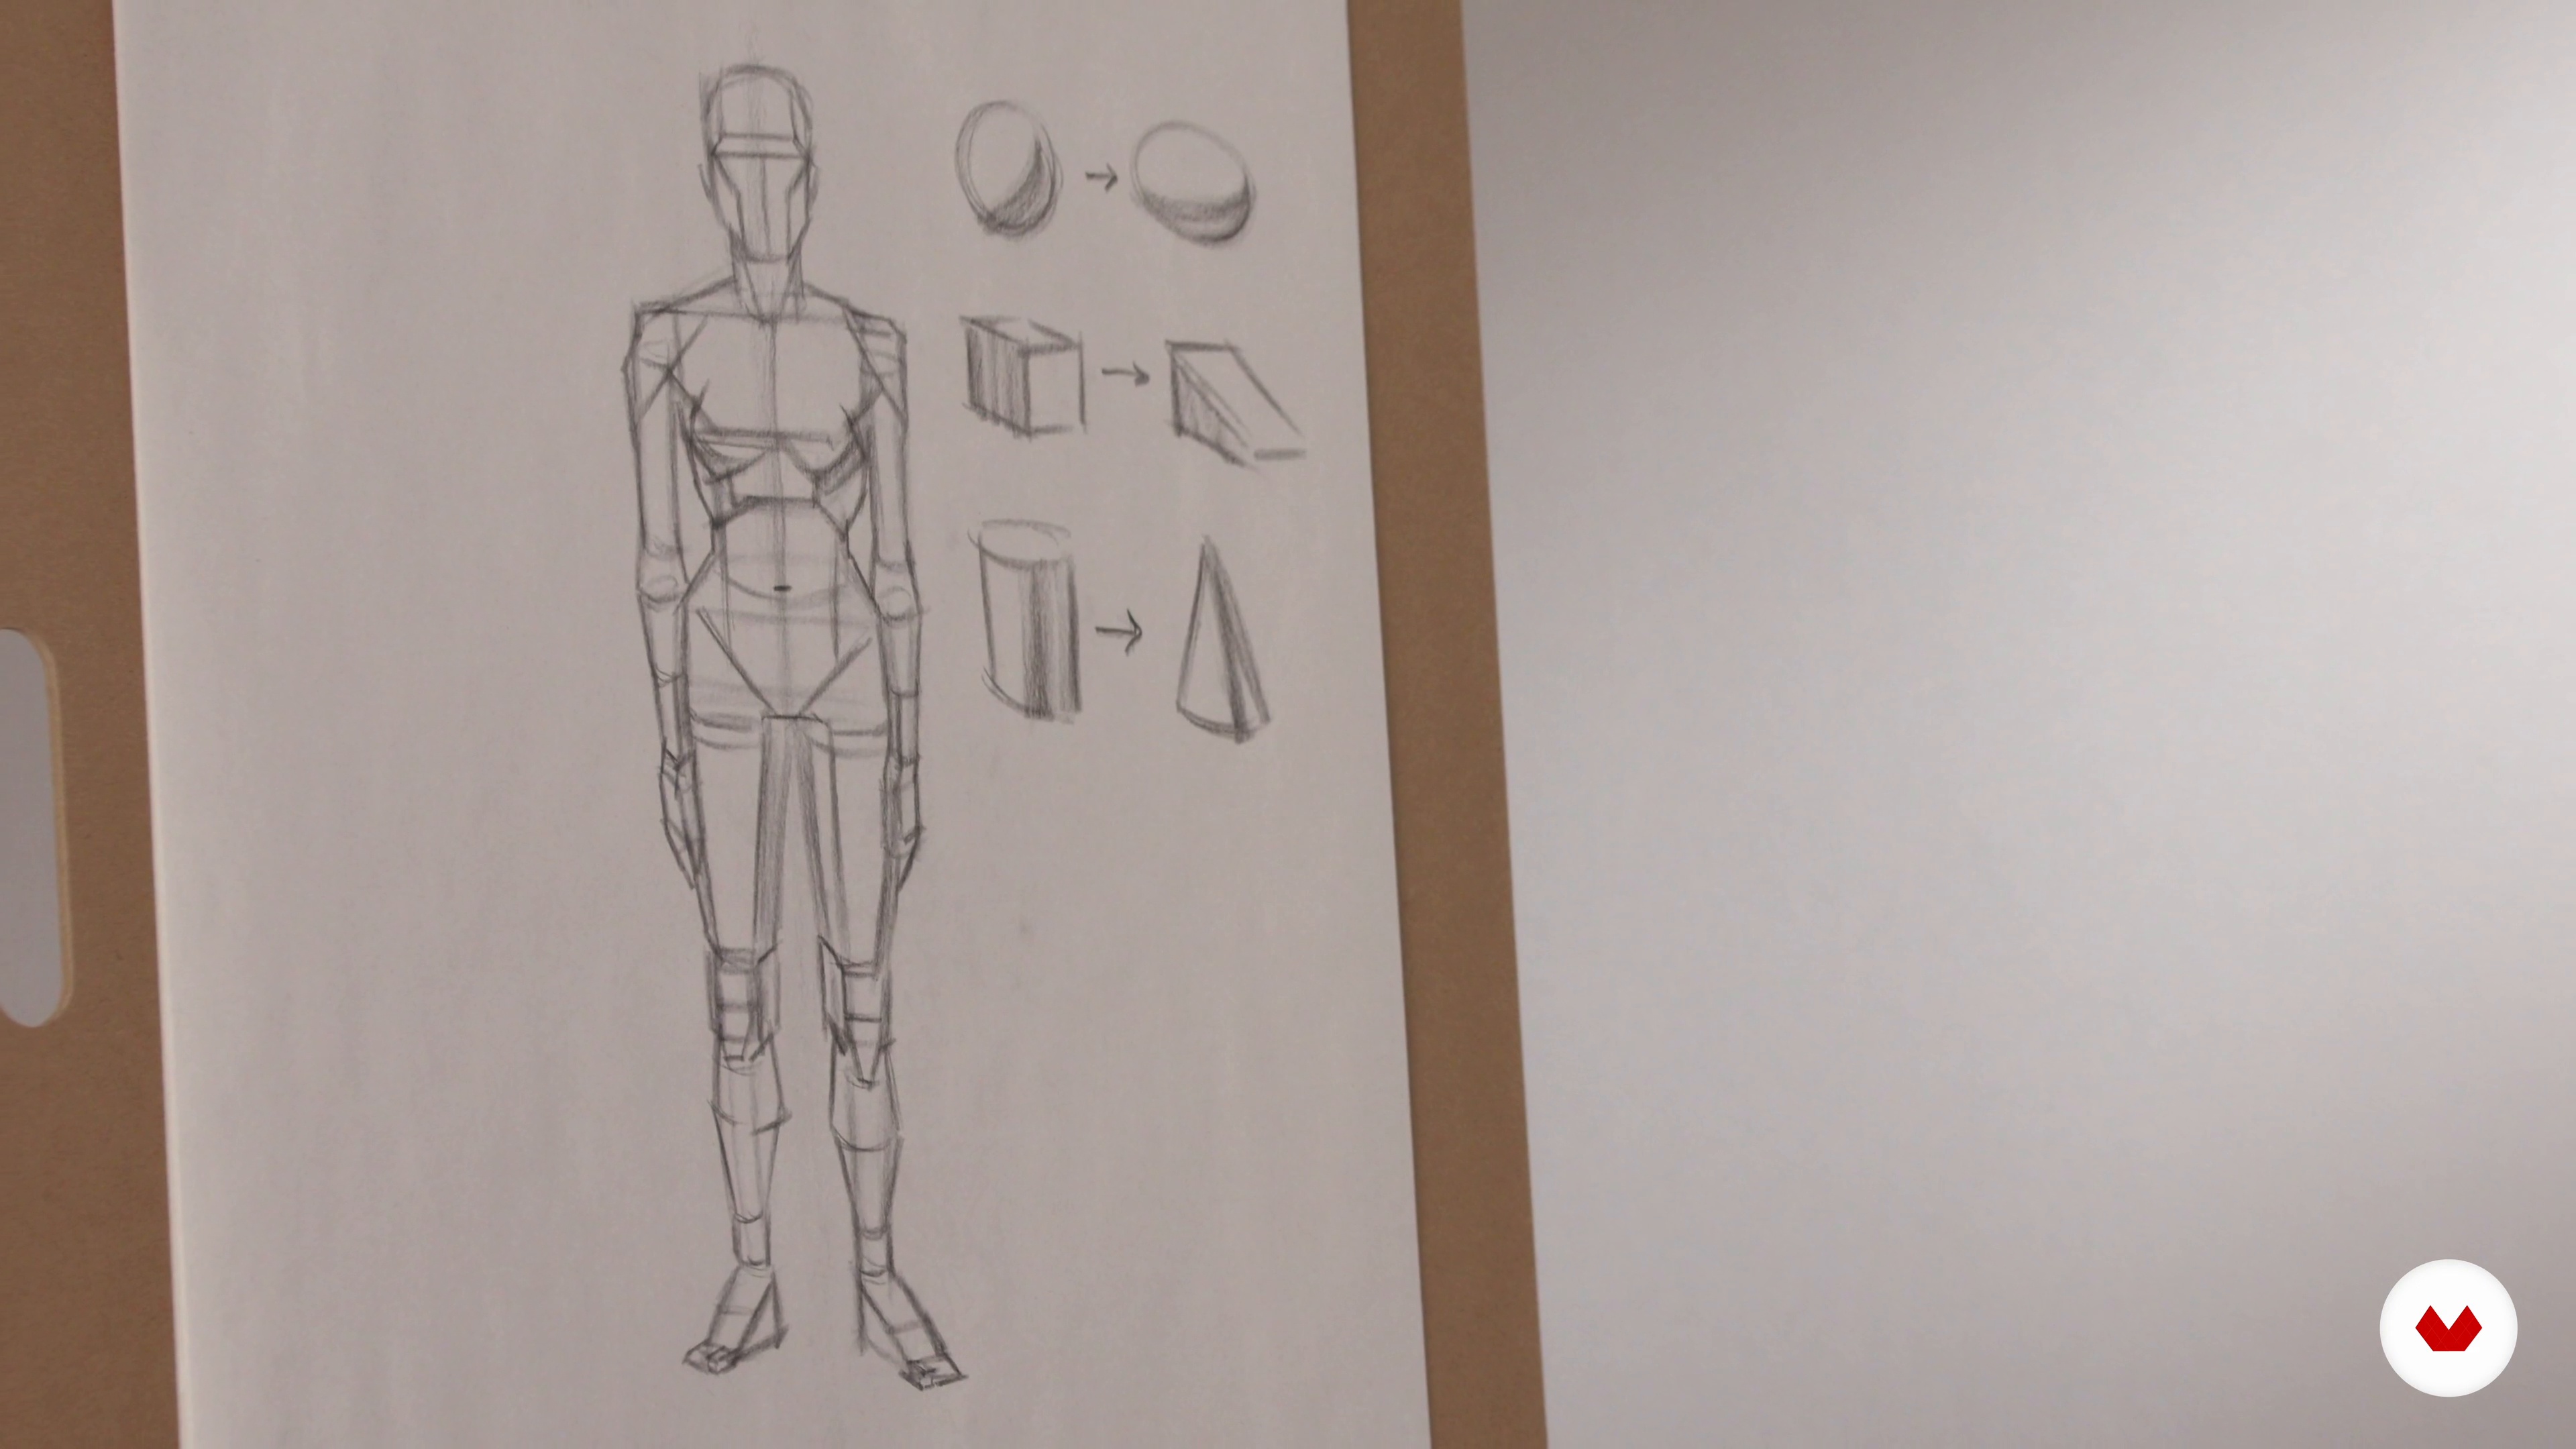
10Complex Form: Planes and Values
Here you will learn how to use basic forms as a guideline to develop a more complex structure by dividing each of the sides into smaller, more accurate sections called planes.
10m
 11
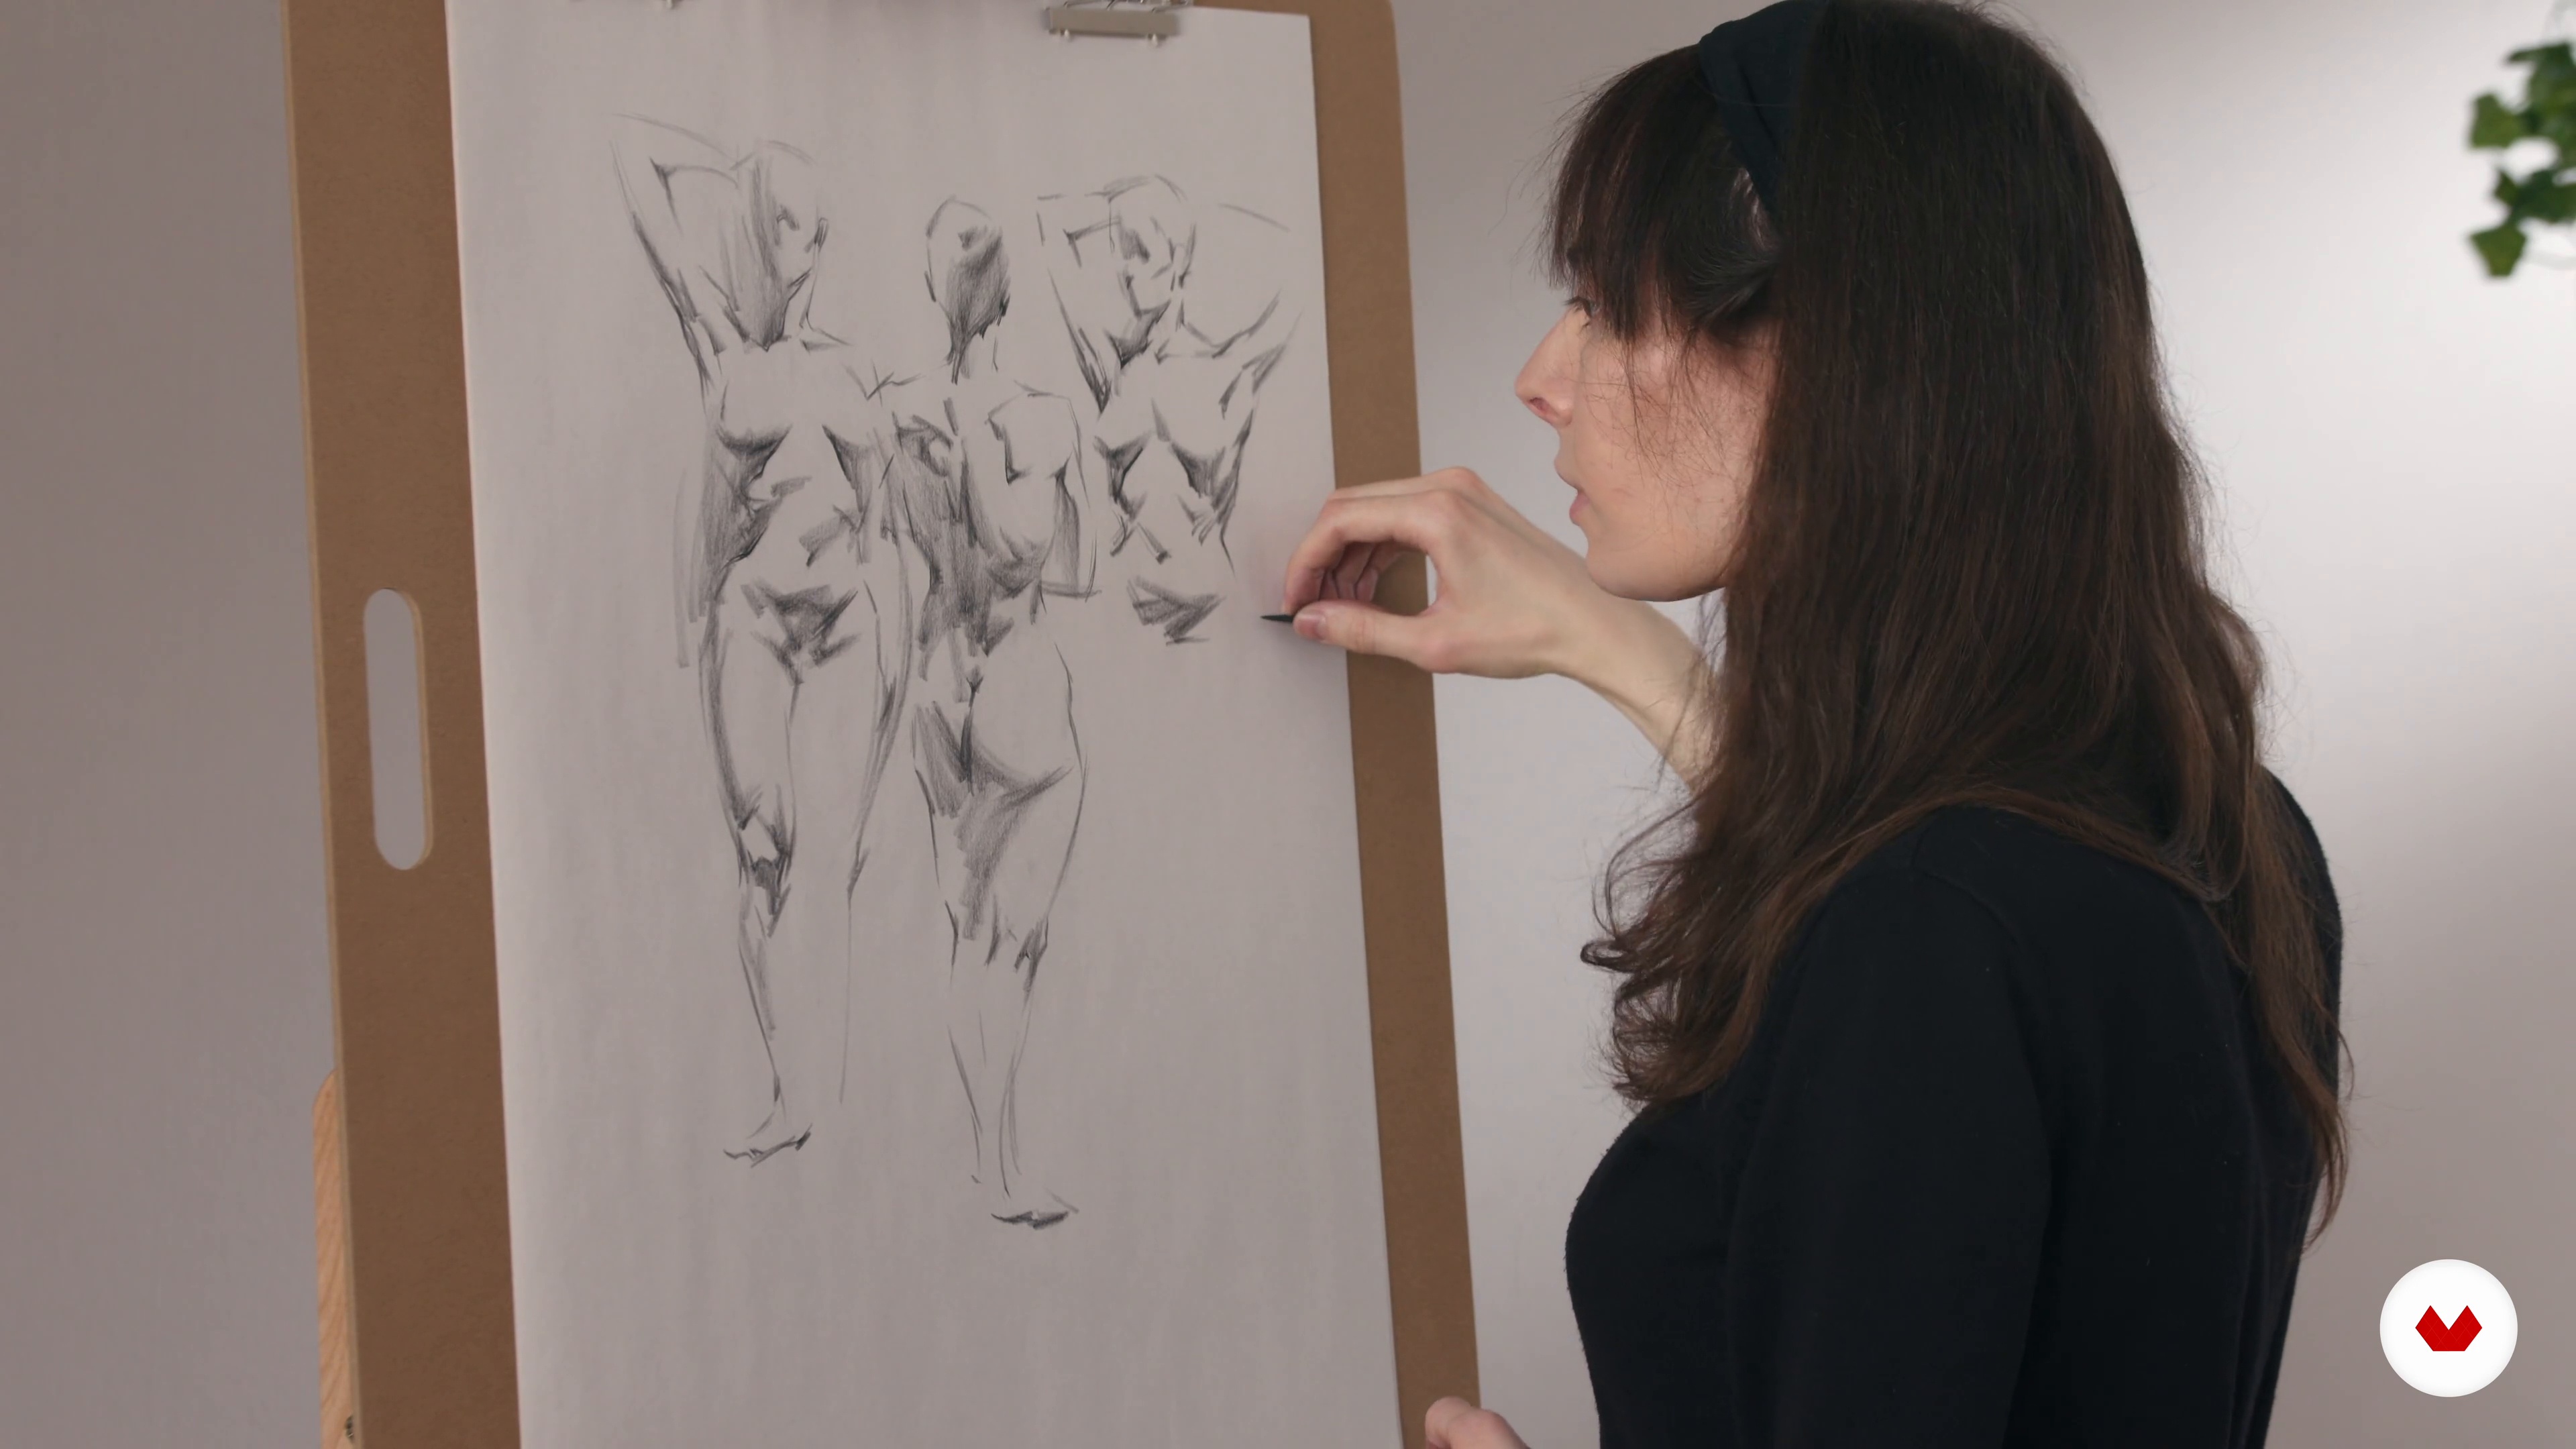
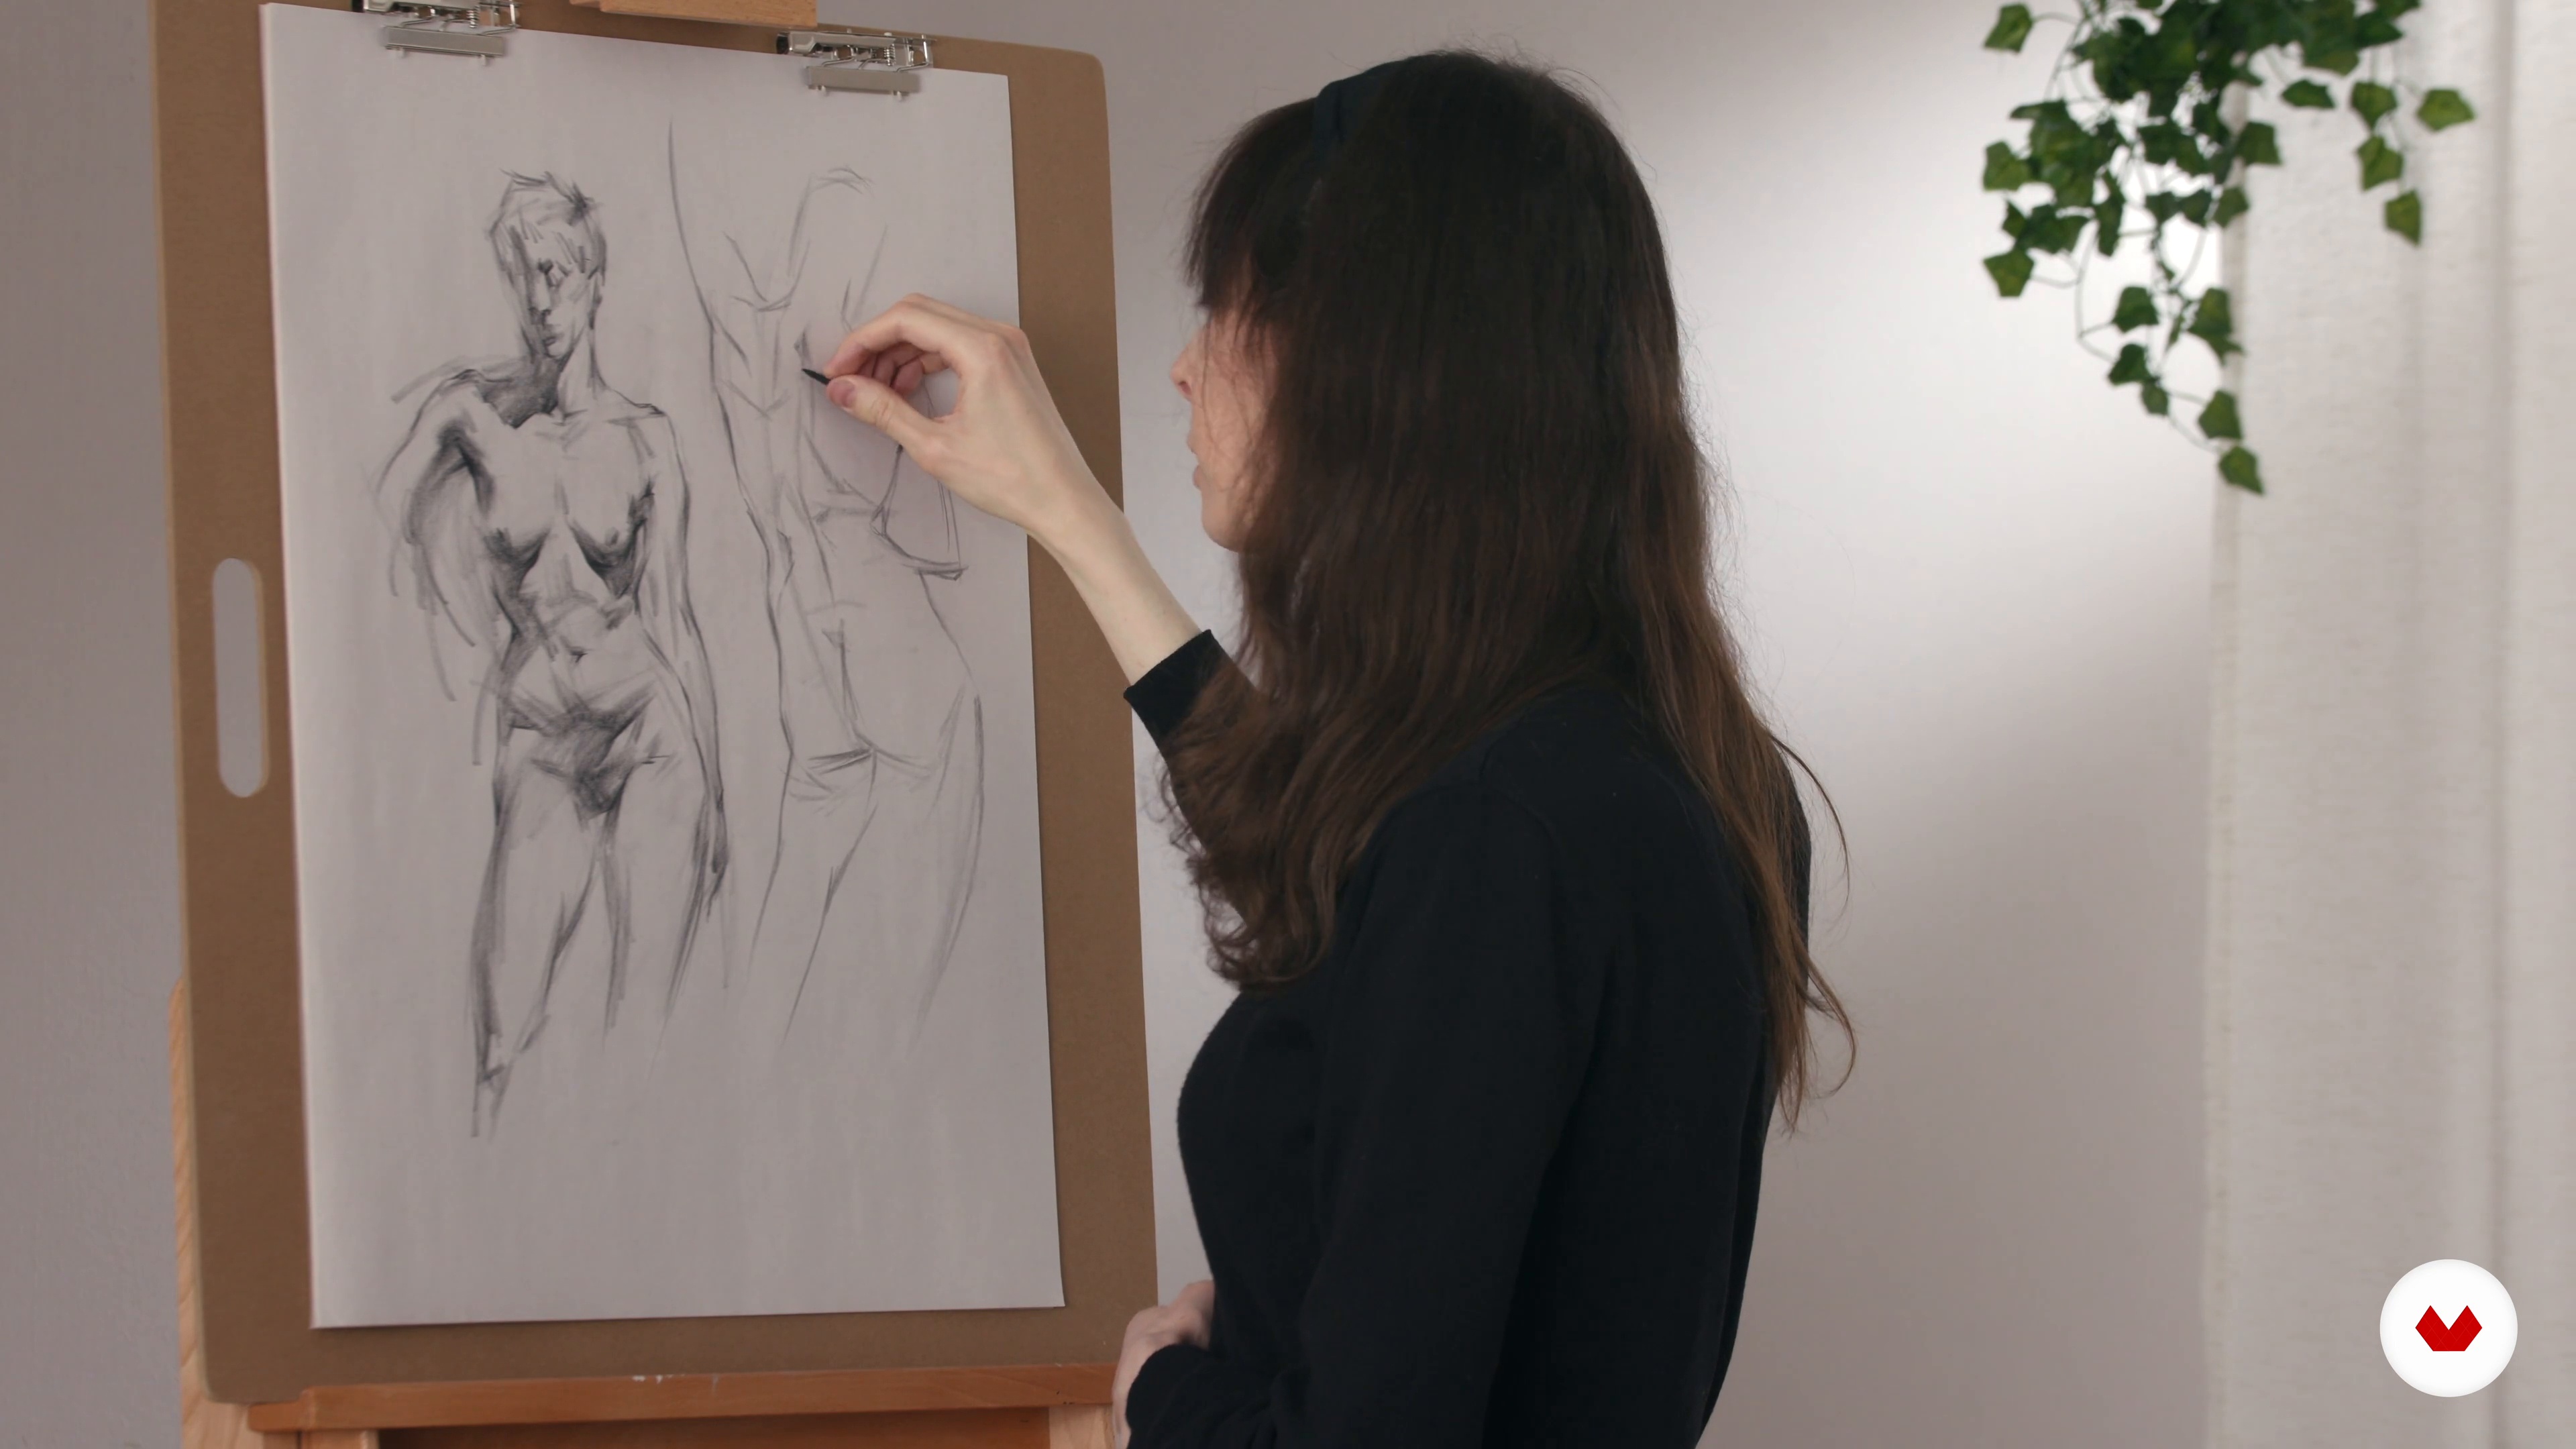
11Quick Sketch with Value
Now I will provide a demonstration of quick sketches, this time using value to create the illusion of form and planes.
15m
 12
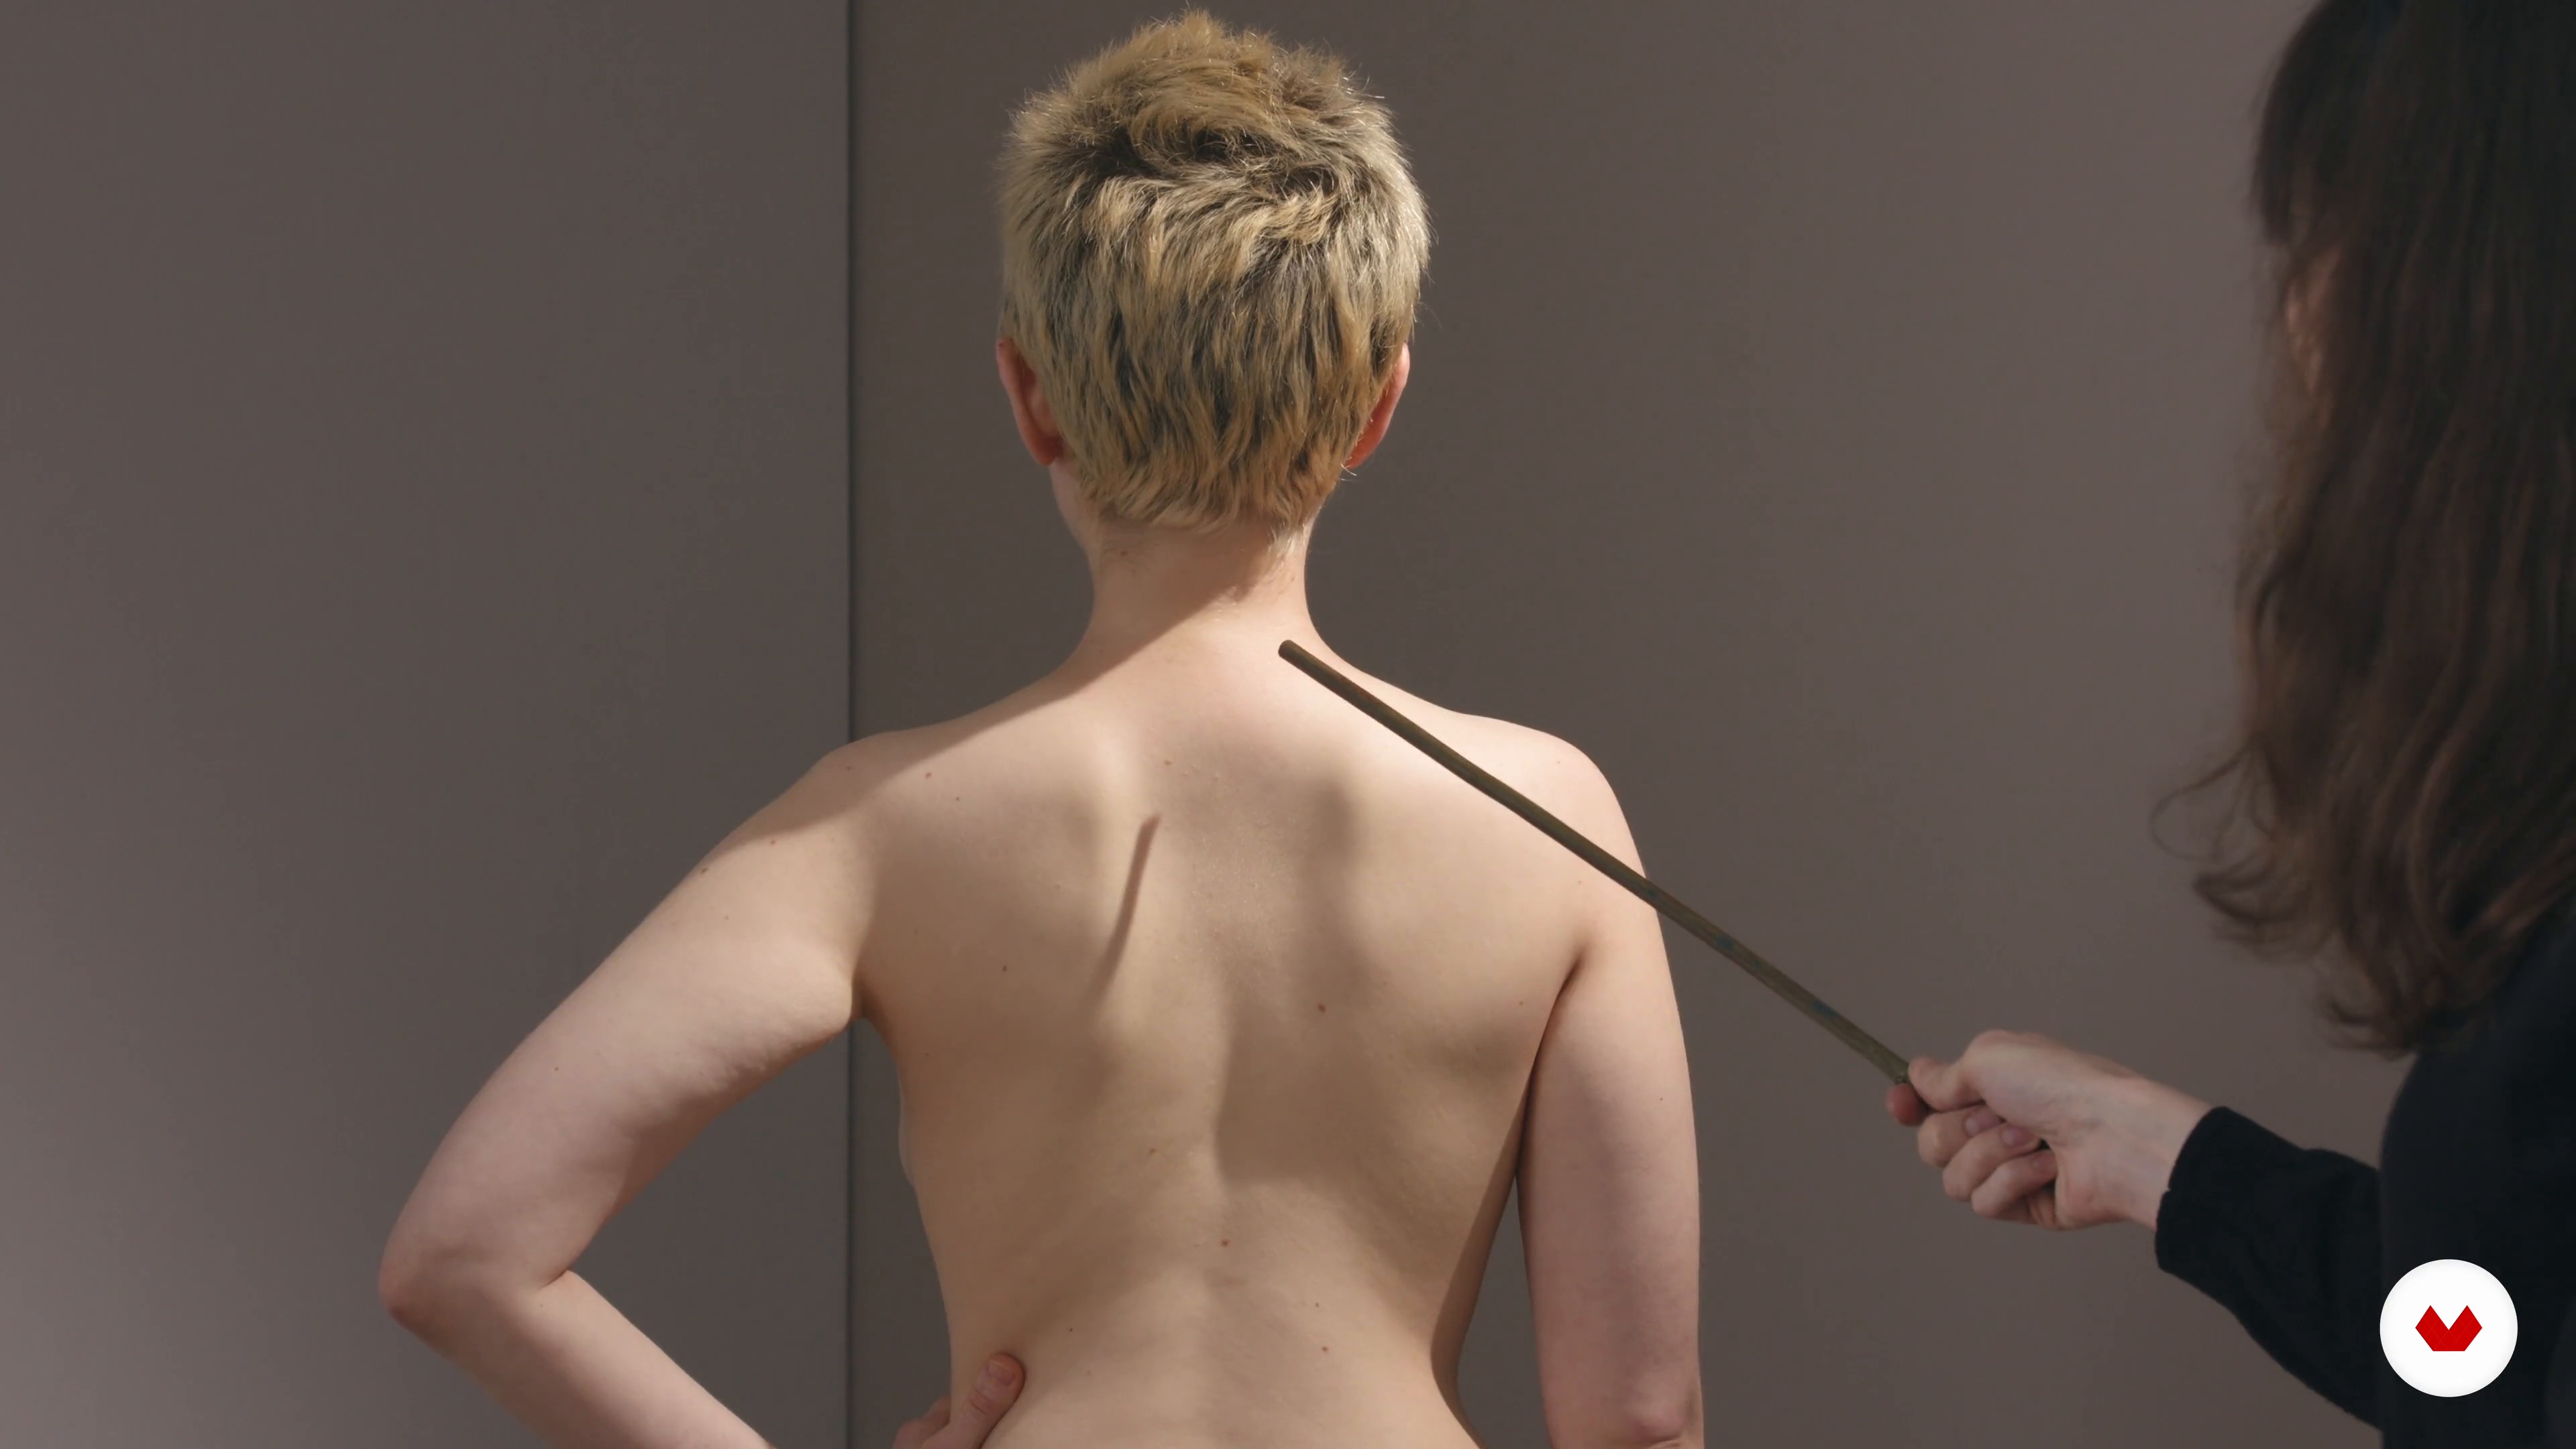
12Anatomy
Anatomy can be an extremely complex subject to study and can easily overwhelm artists. Fortunately, only a very basic version of anatomy is necessary for conveying a realistic human figure. Let's start with a discussion of basic anatomical landmarks and masses and how to avoid common errors.
3m
 13
13Torso Study
In this lesson, I’ll demonstrate how to add anatomy to a simplified torso form.
20m
 14
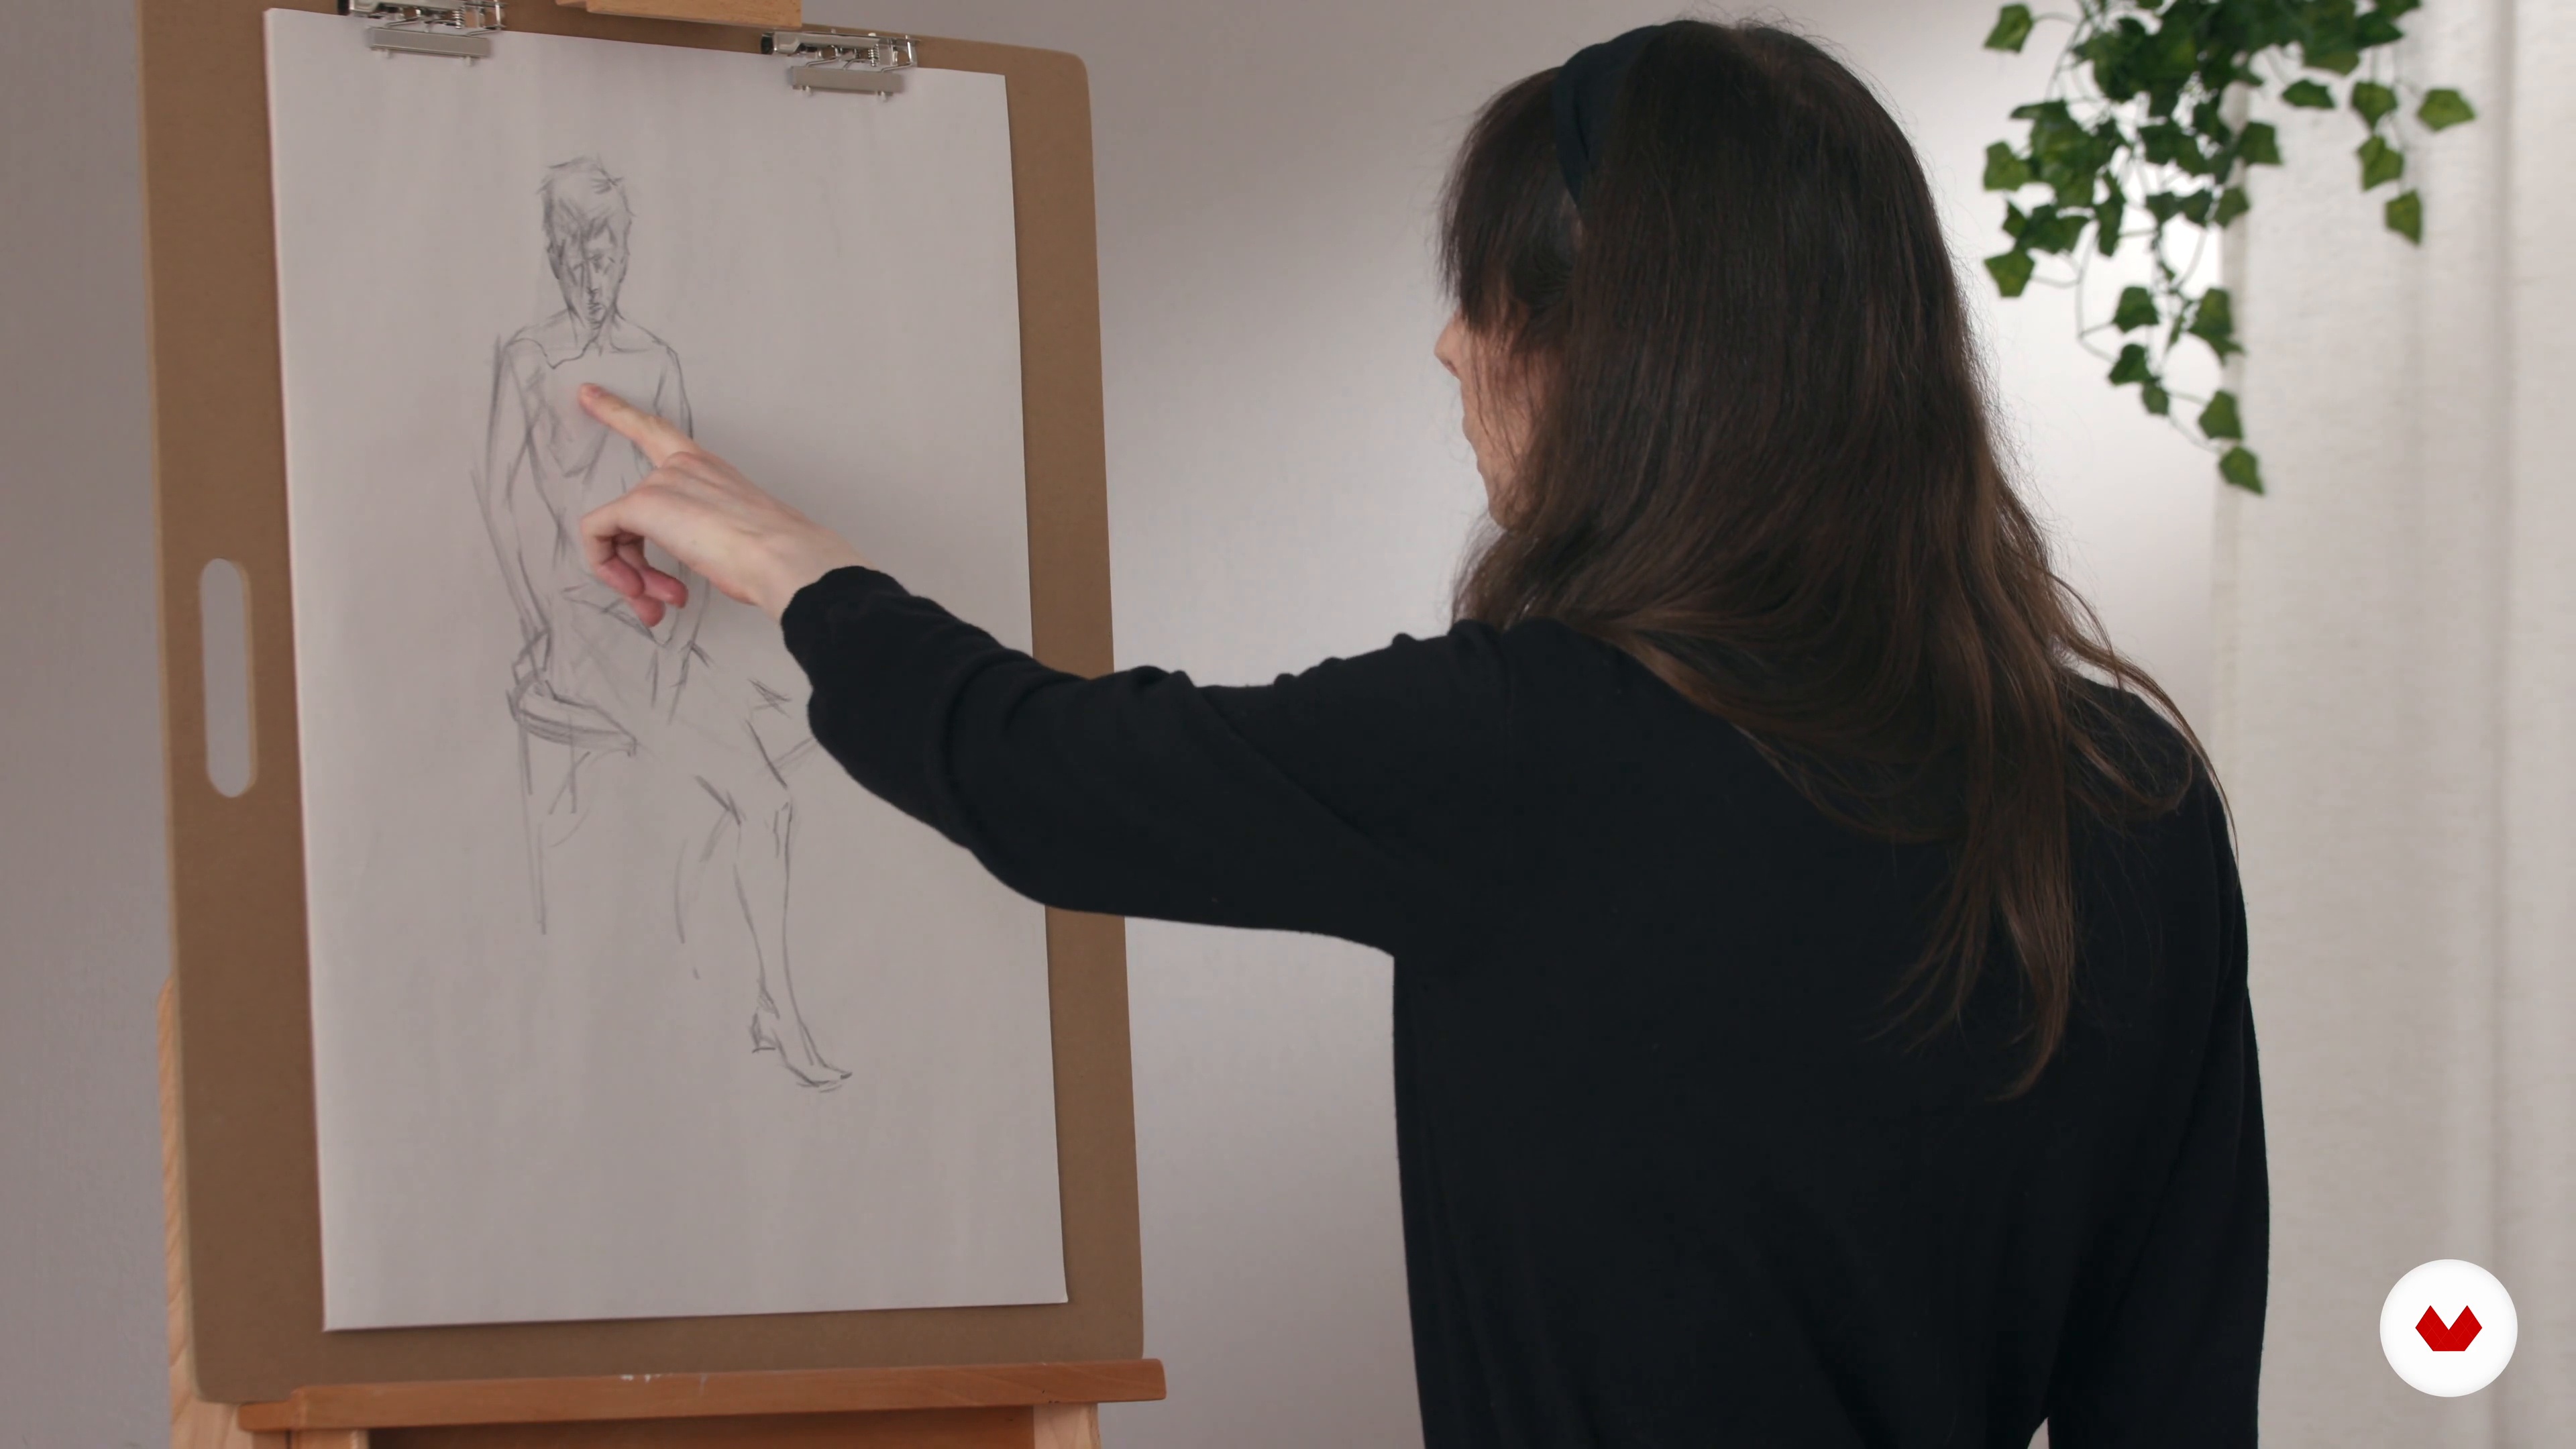
14Final Demonstration 1
For the final demonstration, I will develop a figure drawing using all of the elements we discussed in our lessons: shape, form, and anatomy.
18m
 15
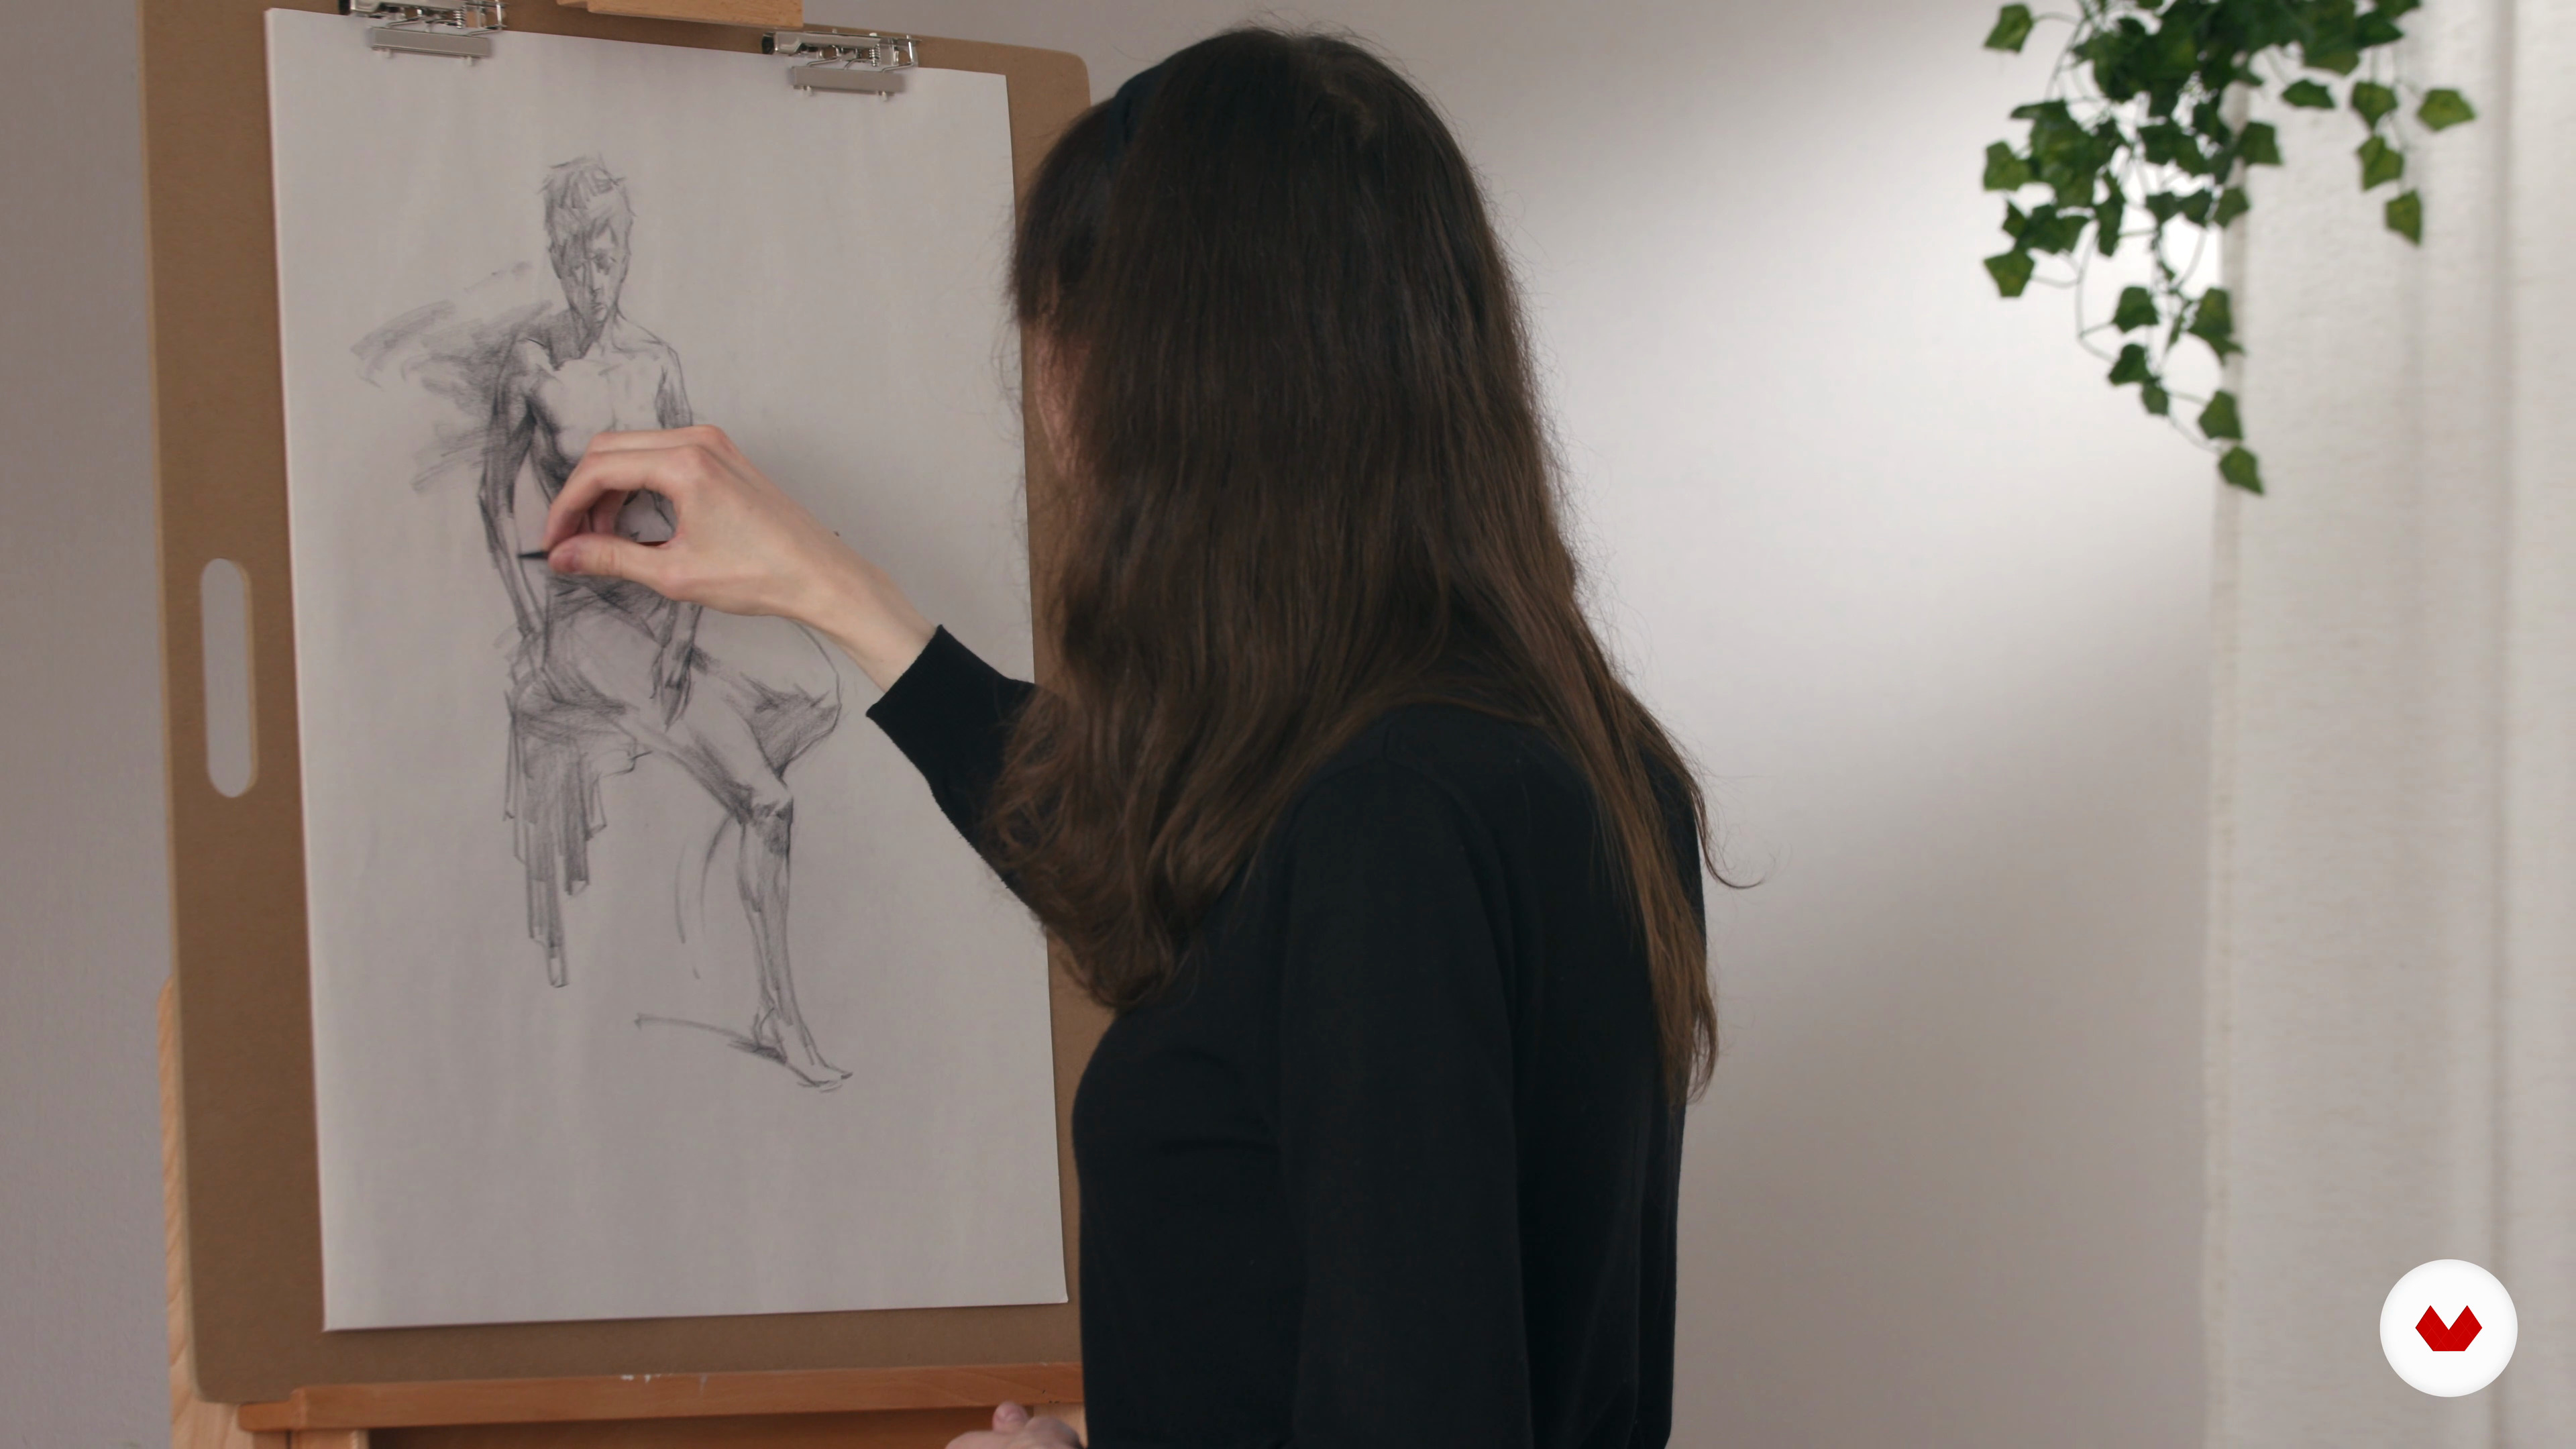
15Final Demonstration 2
I have already defined the gesture, created the contour, and started adding flat values to my drawing, so now I will add some darker values, dark accents, and anatomical details.
12m
 4
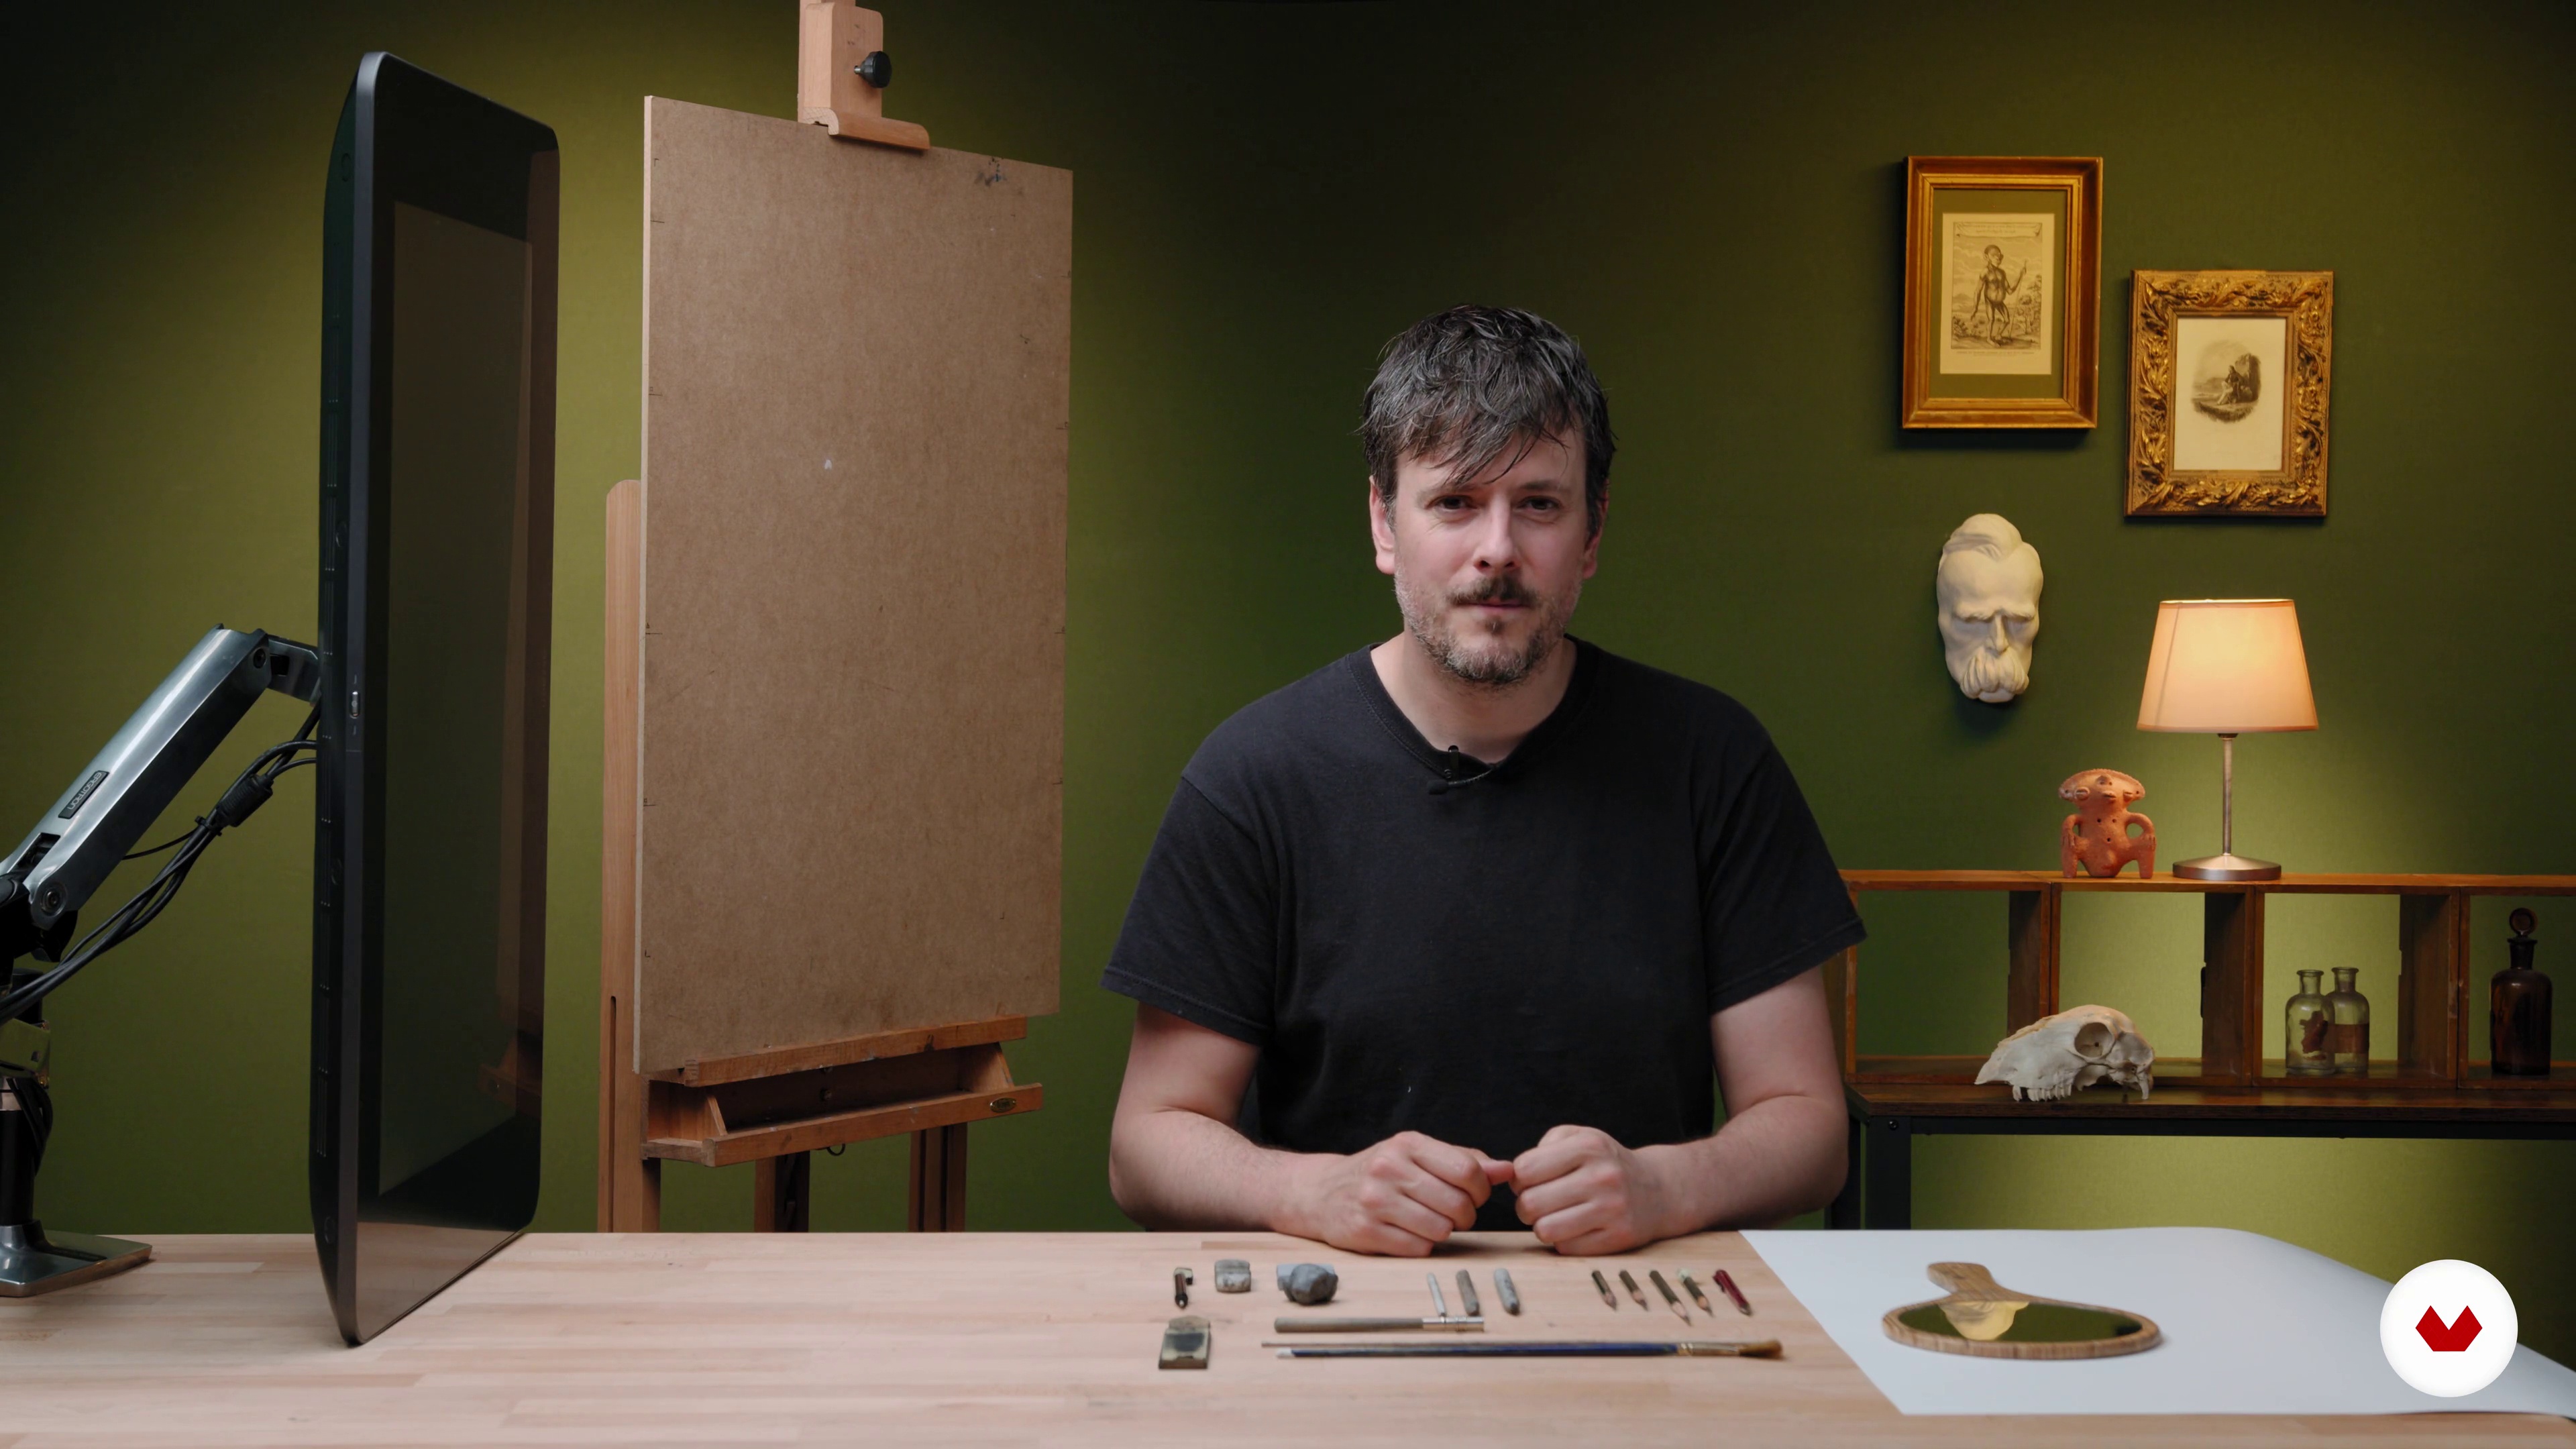
4Materials
In this lesson I will tell you about the materials we will need to make our realistic figure drawing. It is important that, whenever possible, you stick to the specific materials that I recommend in the list of additional resources at the end of this unit.
6m
 5
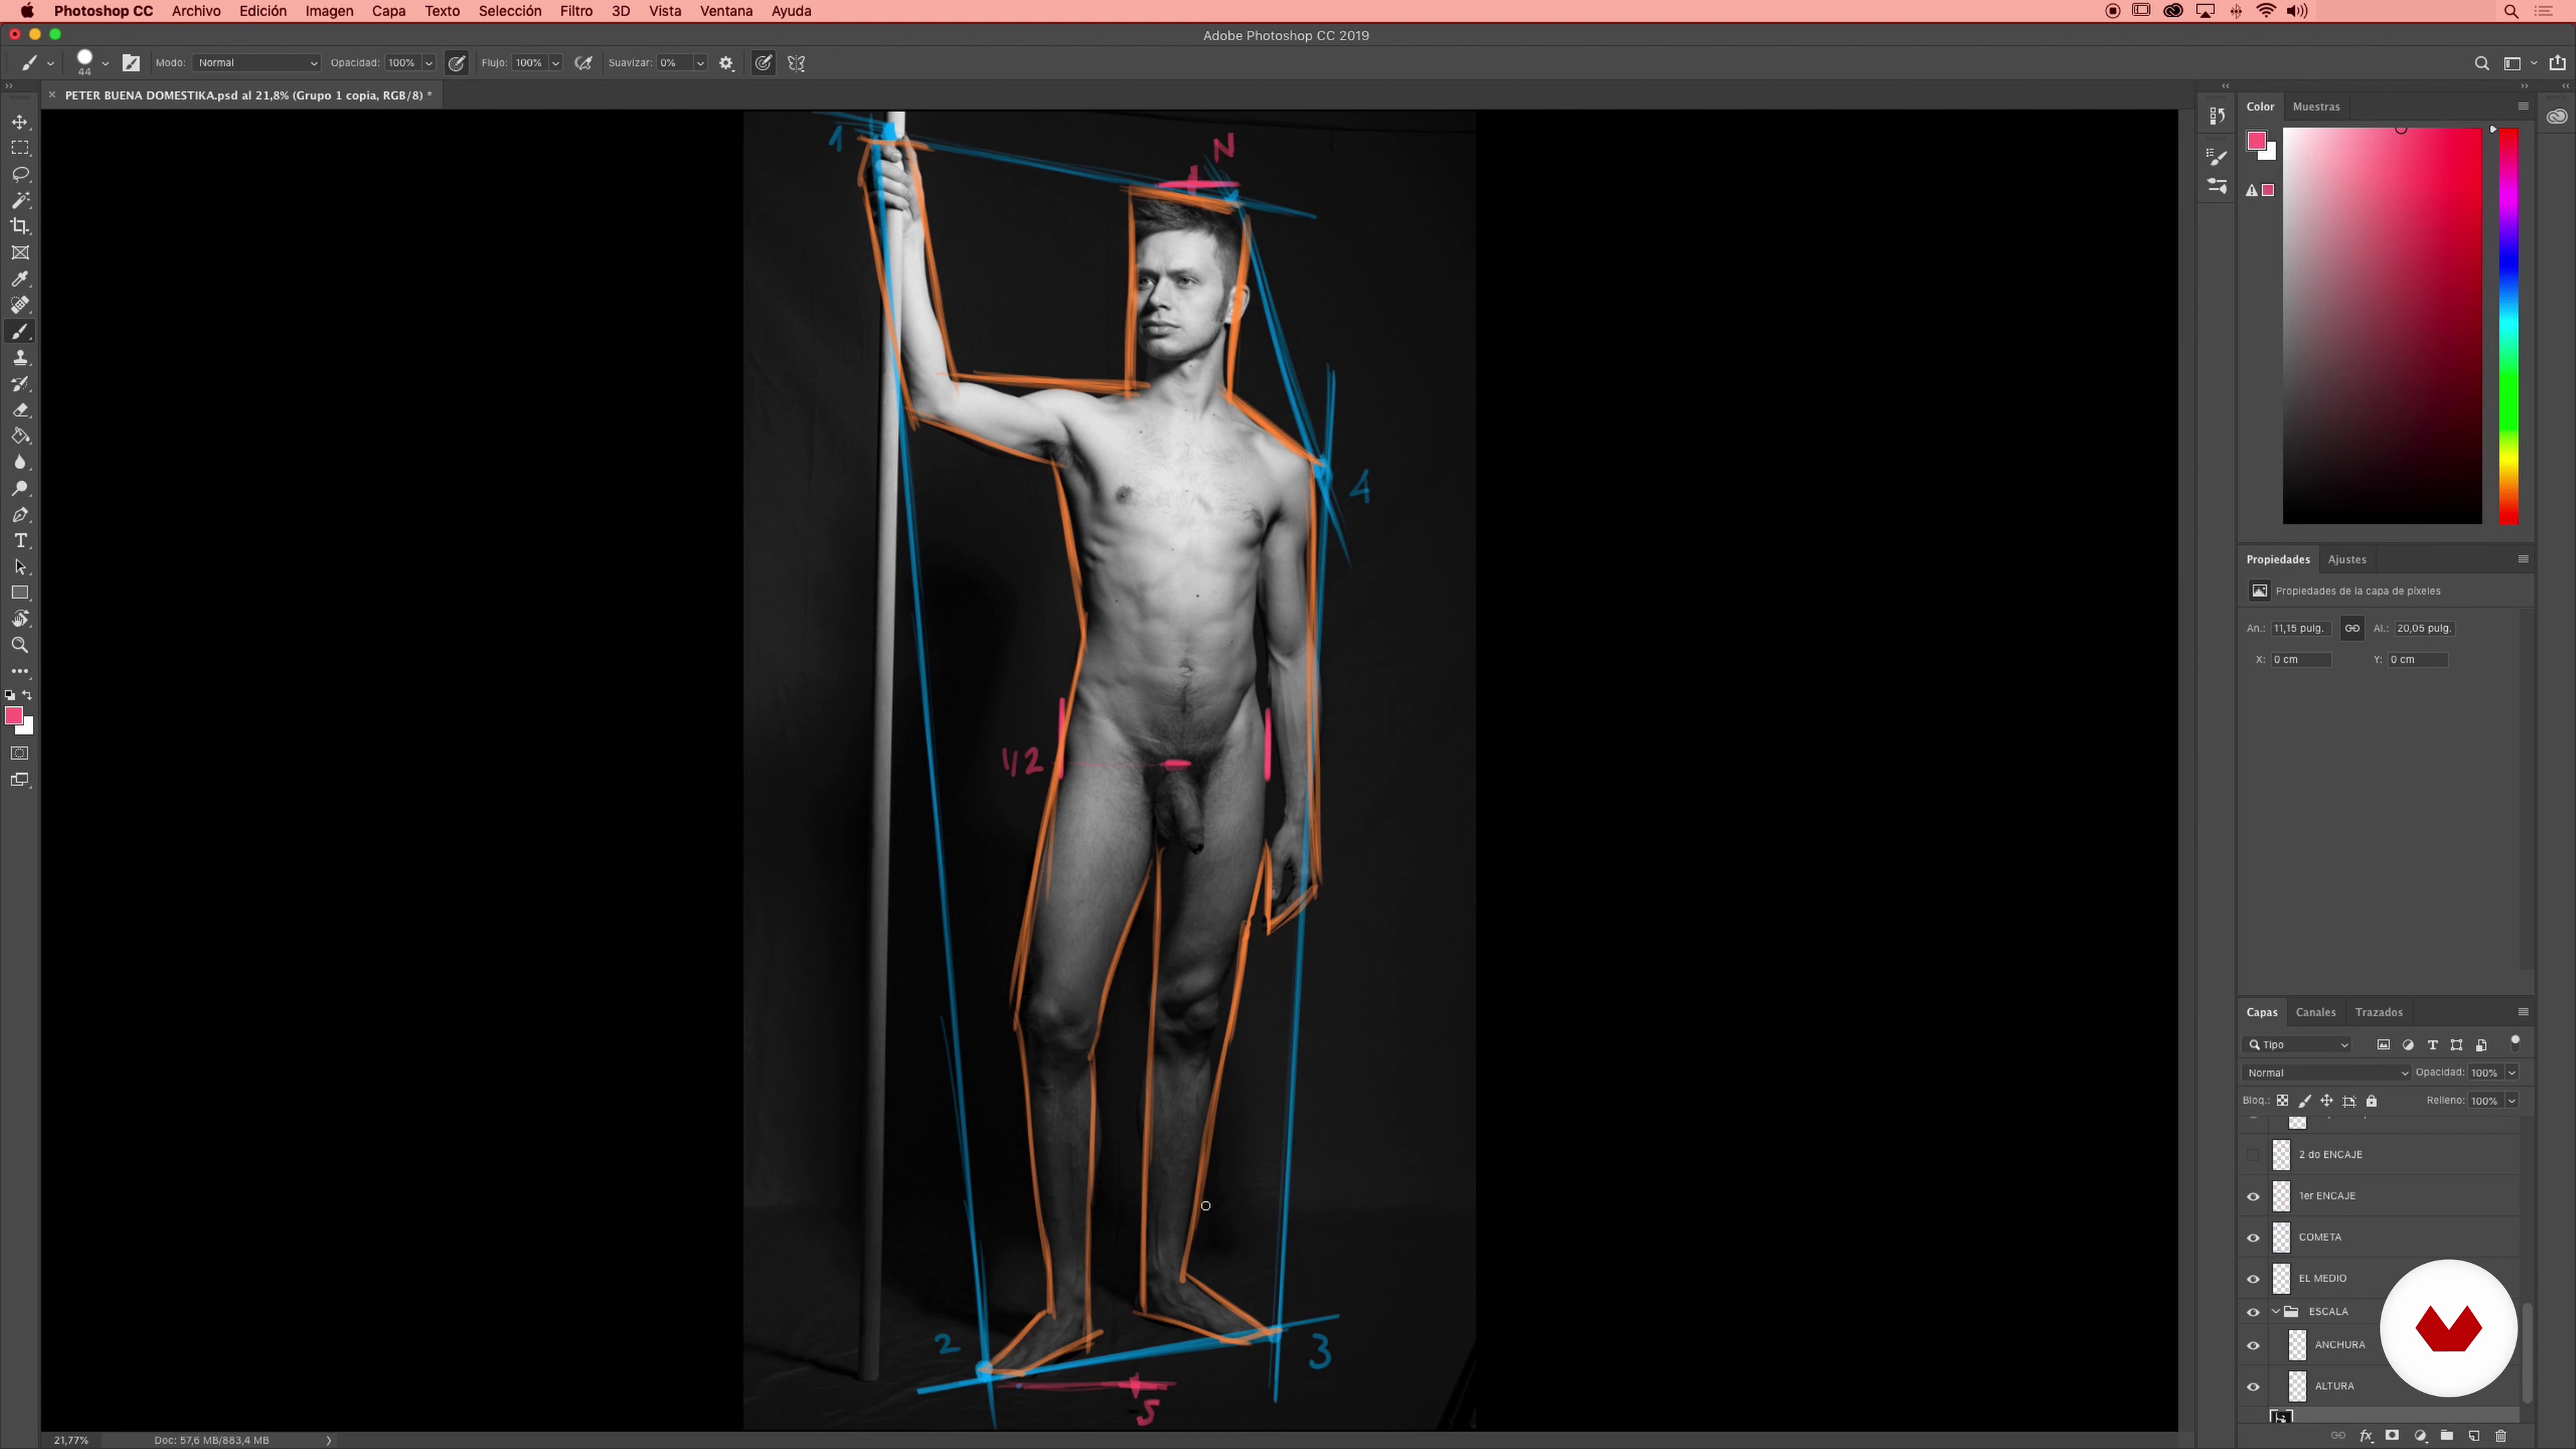
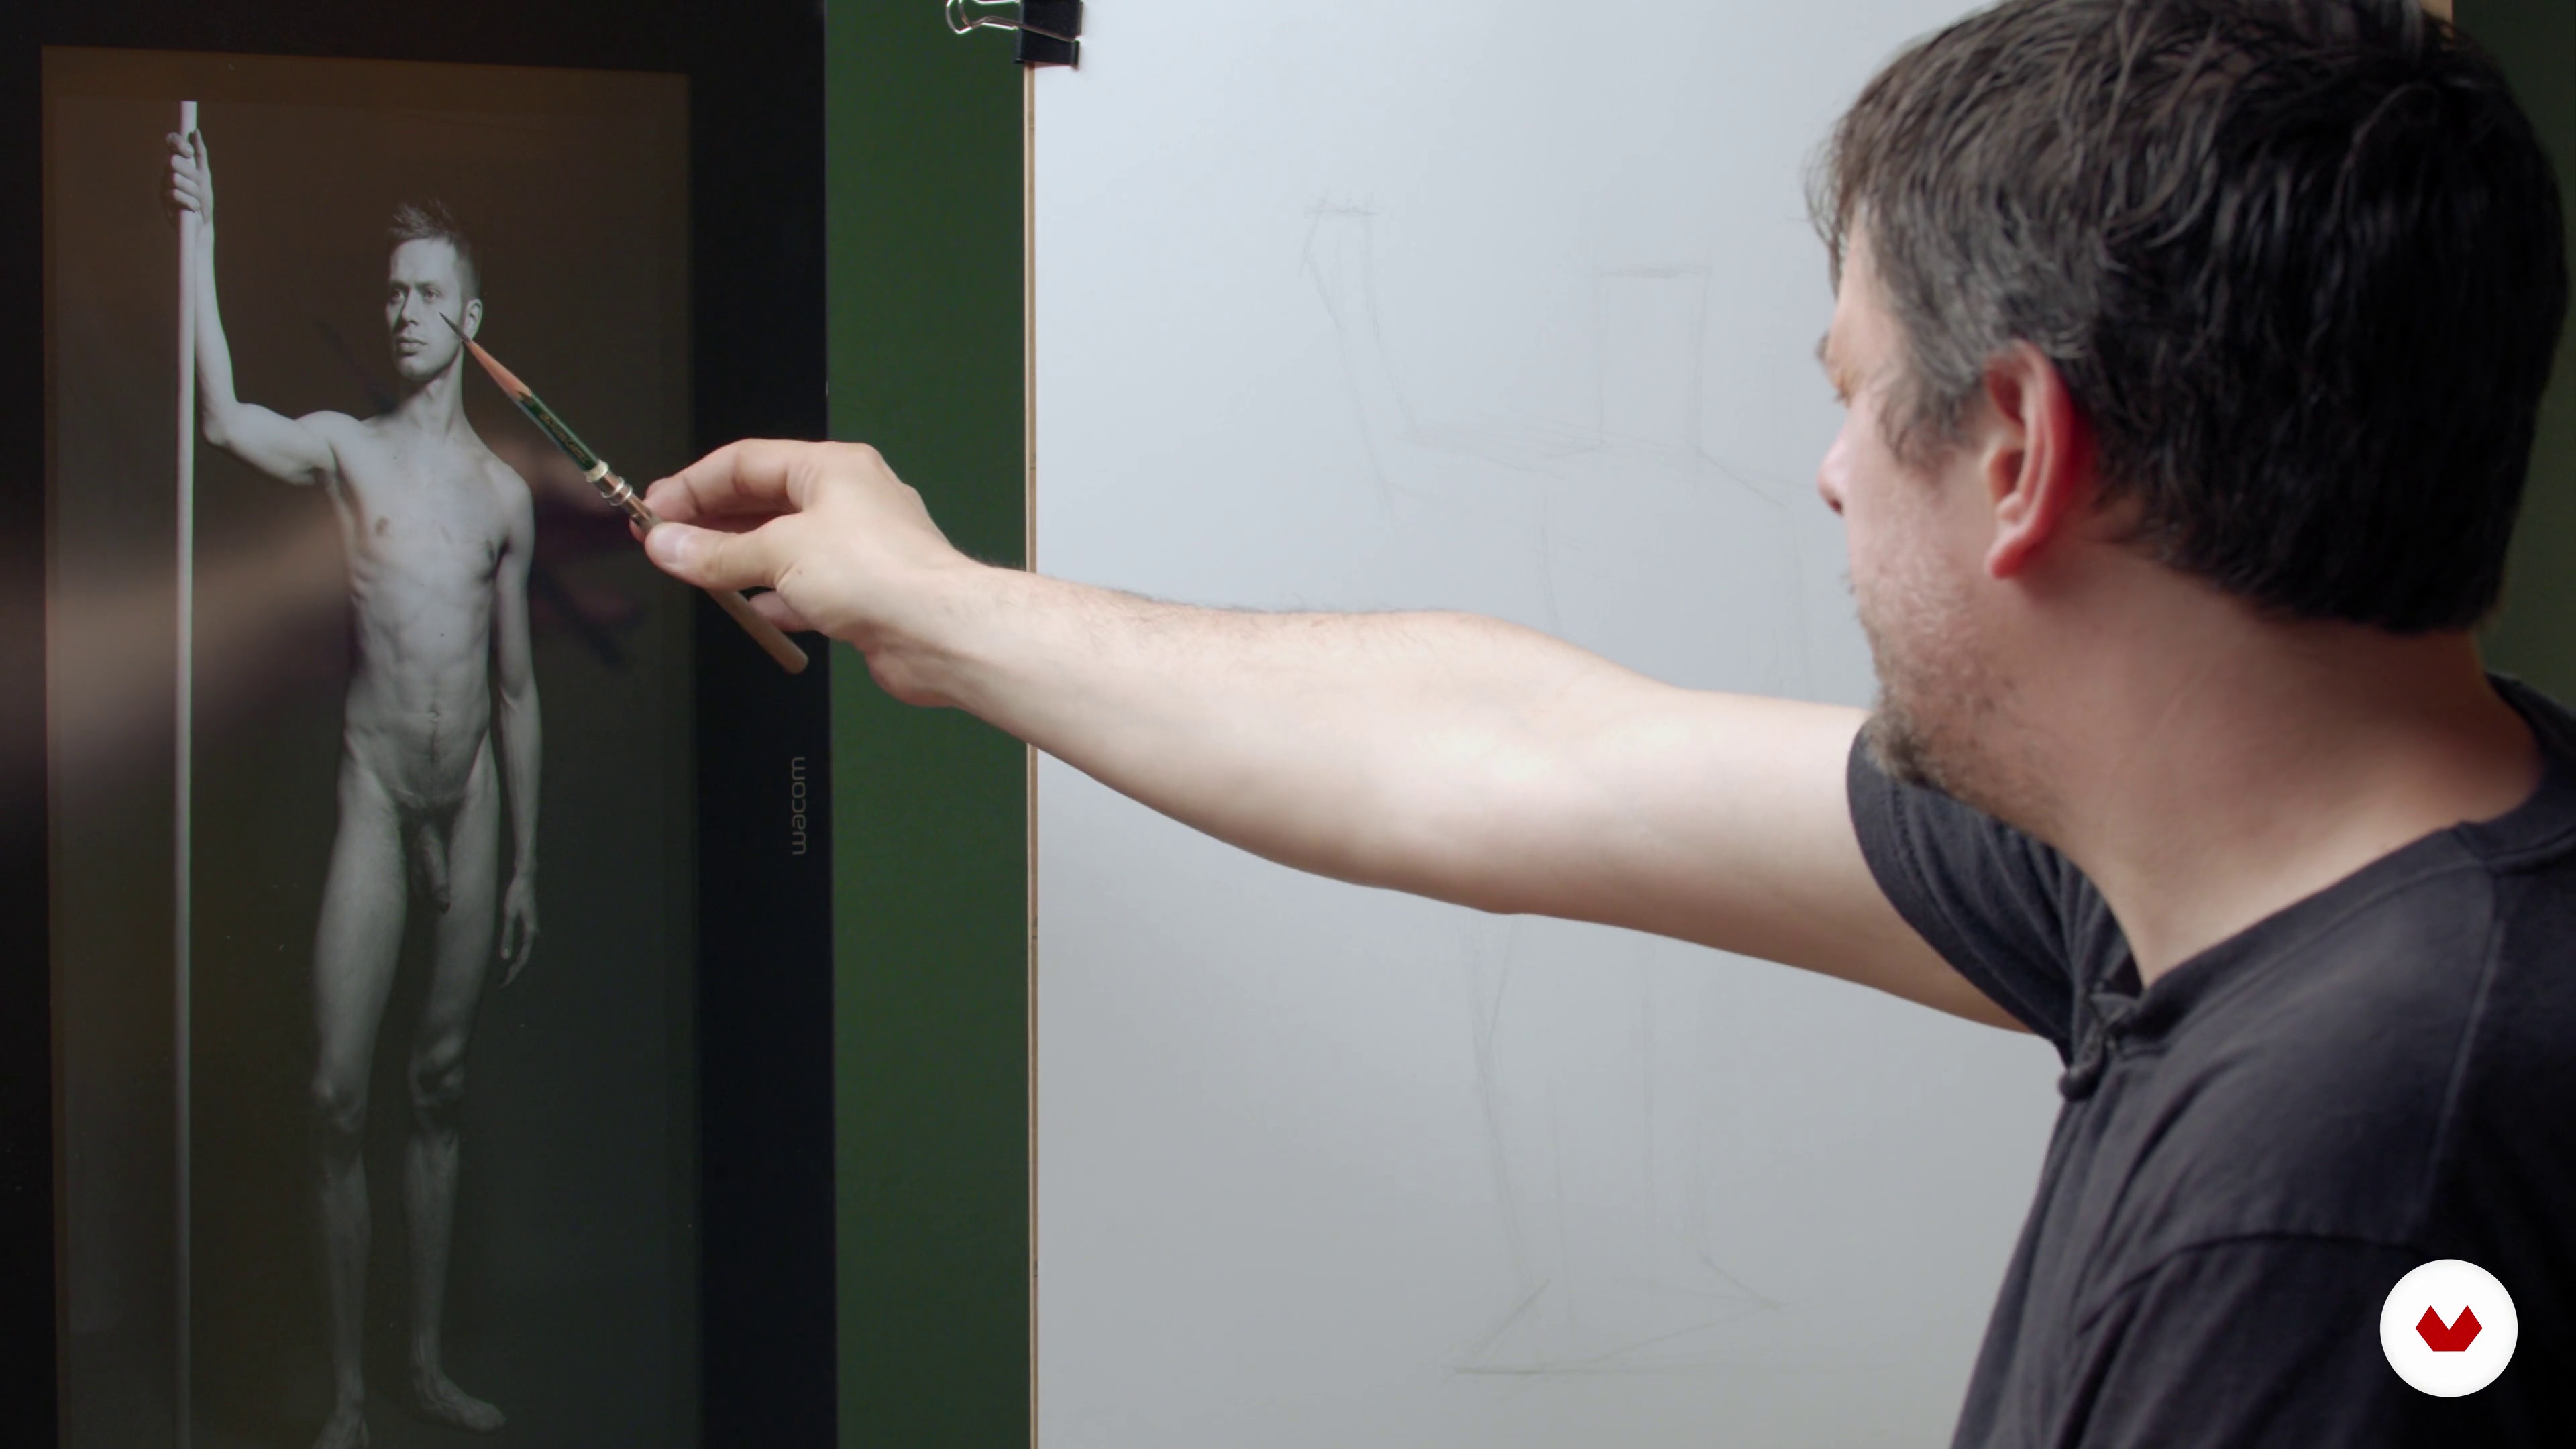
5The block-in of the drawing 1
In this lesson I will teach you how to plan the first lines of the drawing, its composition and scale, and the use of the different academic drawing tools. In this way we will build a solid beginning from which to progress, defining the parts that make up the body in more and more detail.
20m
 6
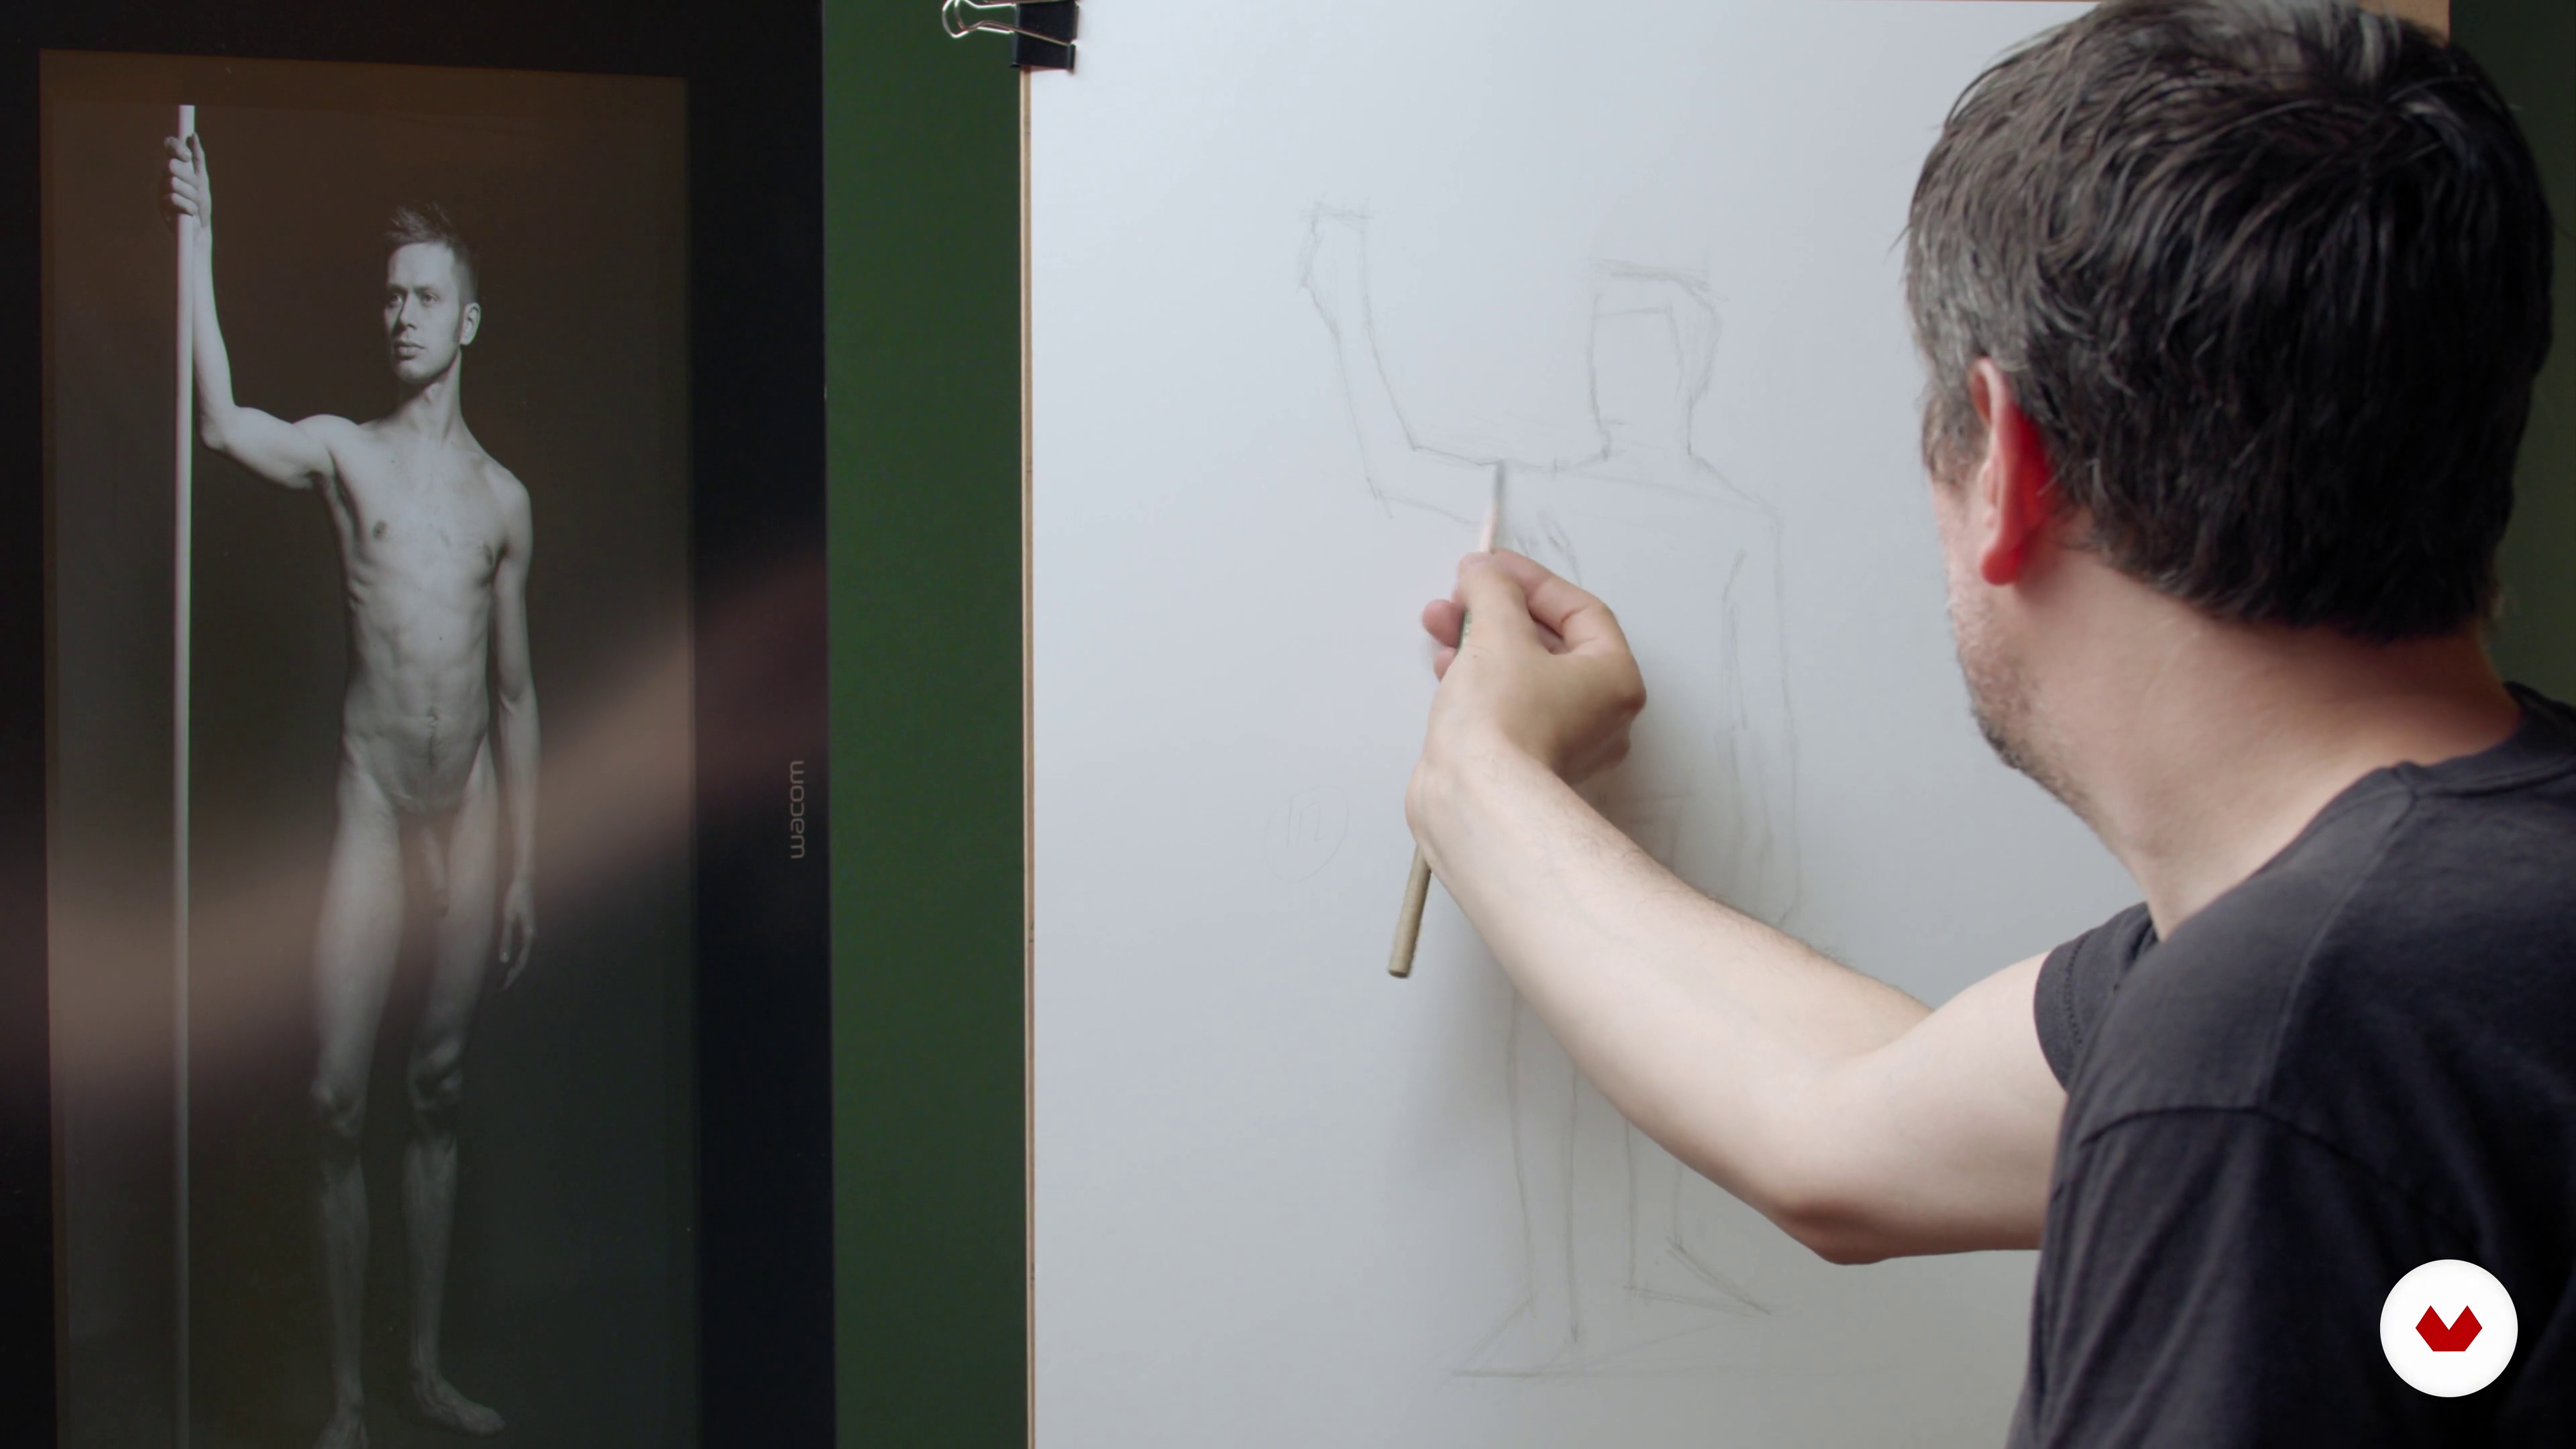
6The block-in of the drawing 2
We continue to pay attention to blocking in the drawing, which is one of the most important parts of the entire process. The marks that we are placing have to be reversible, especially the first ones, since we will constantly be checking the fit.
18m
 7
7The block-in of the drawing 3
We finalize the block-in of the drawing by cleaning and adjusting until we reach a synthetic silhouette that describes the reference image quite tightly.
11m
 8
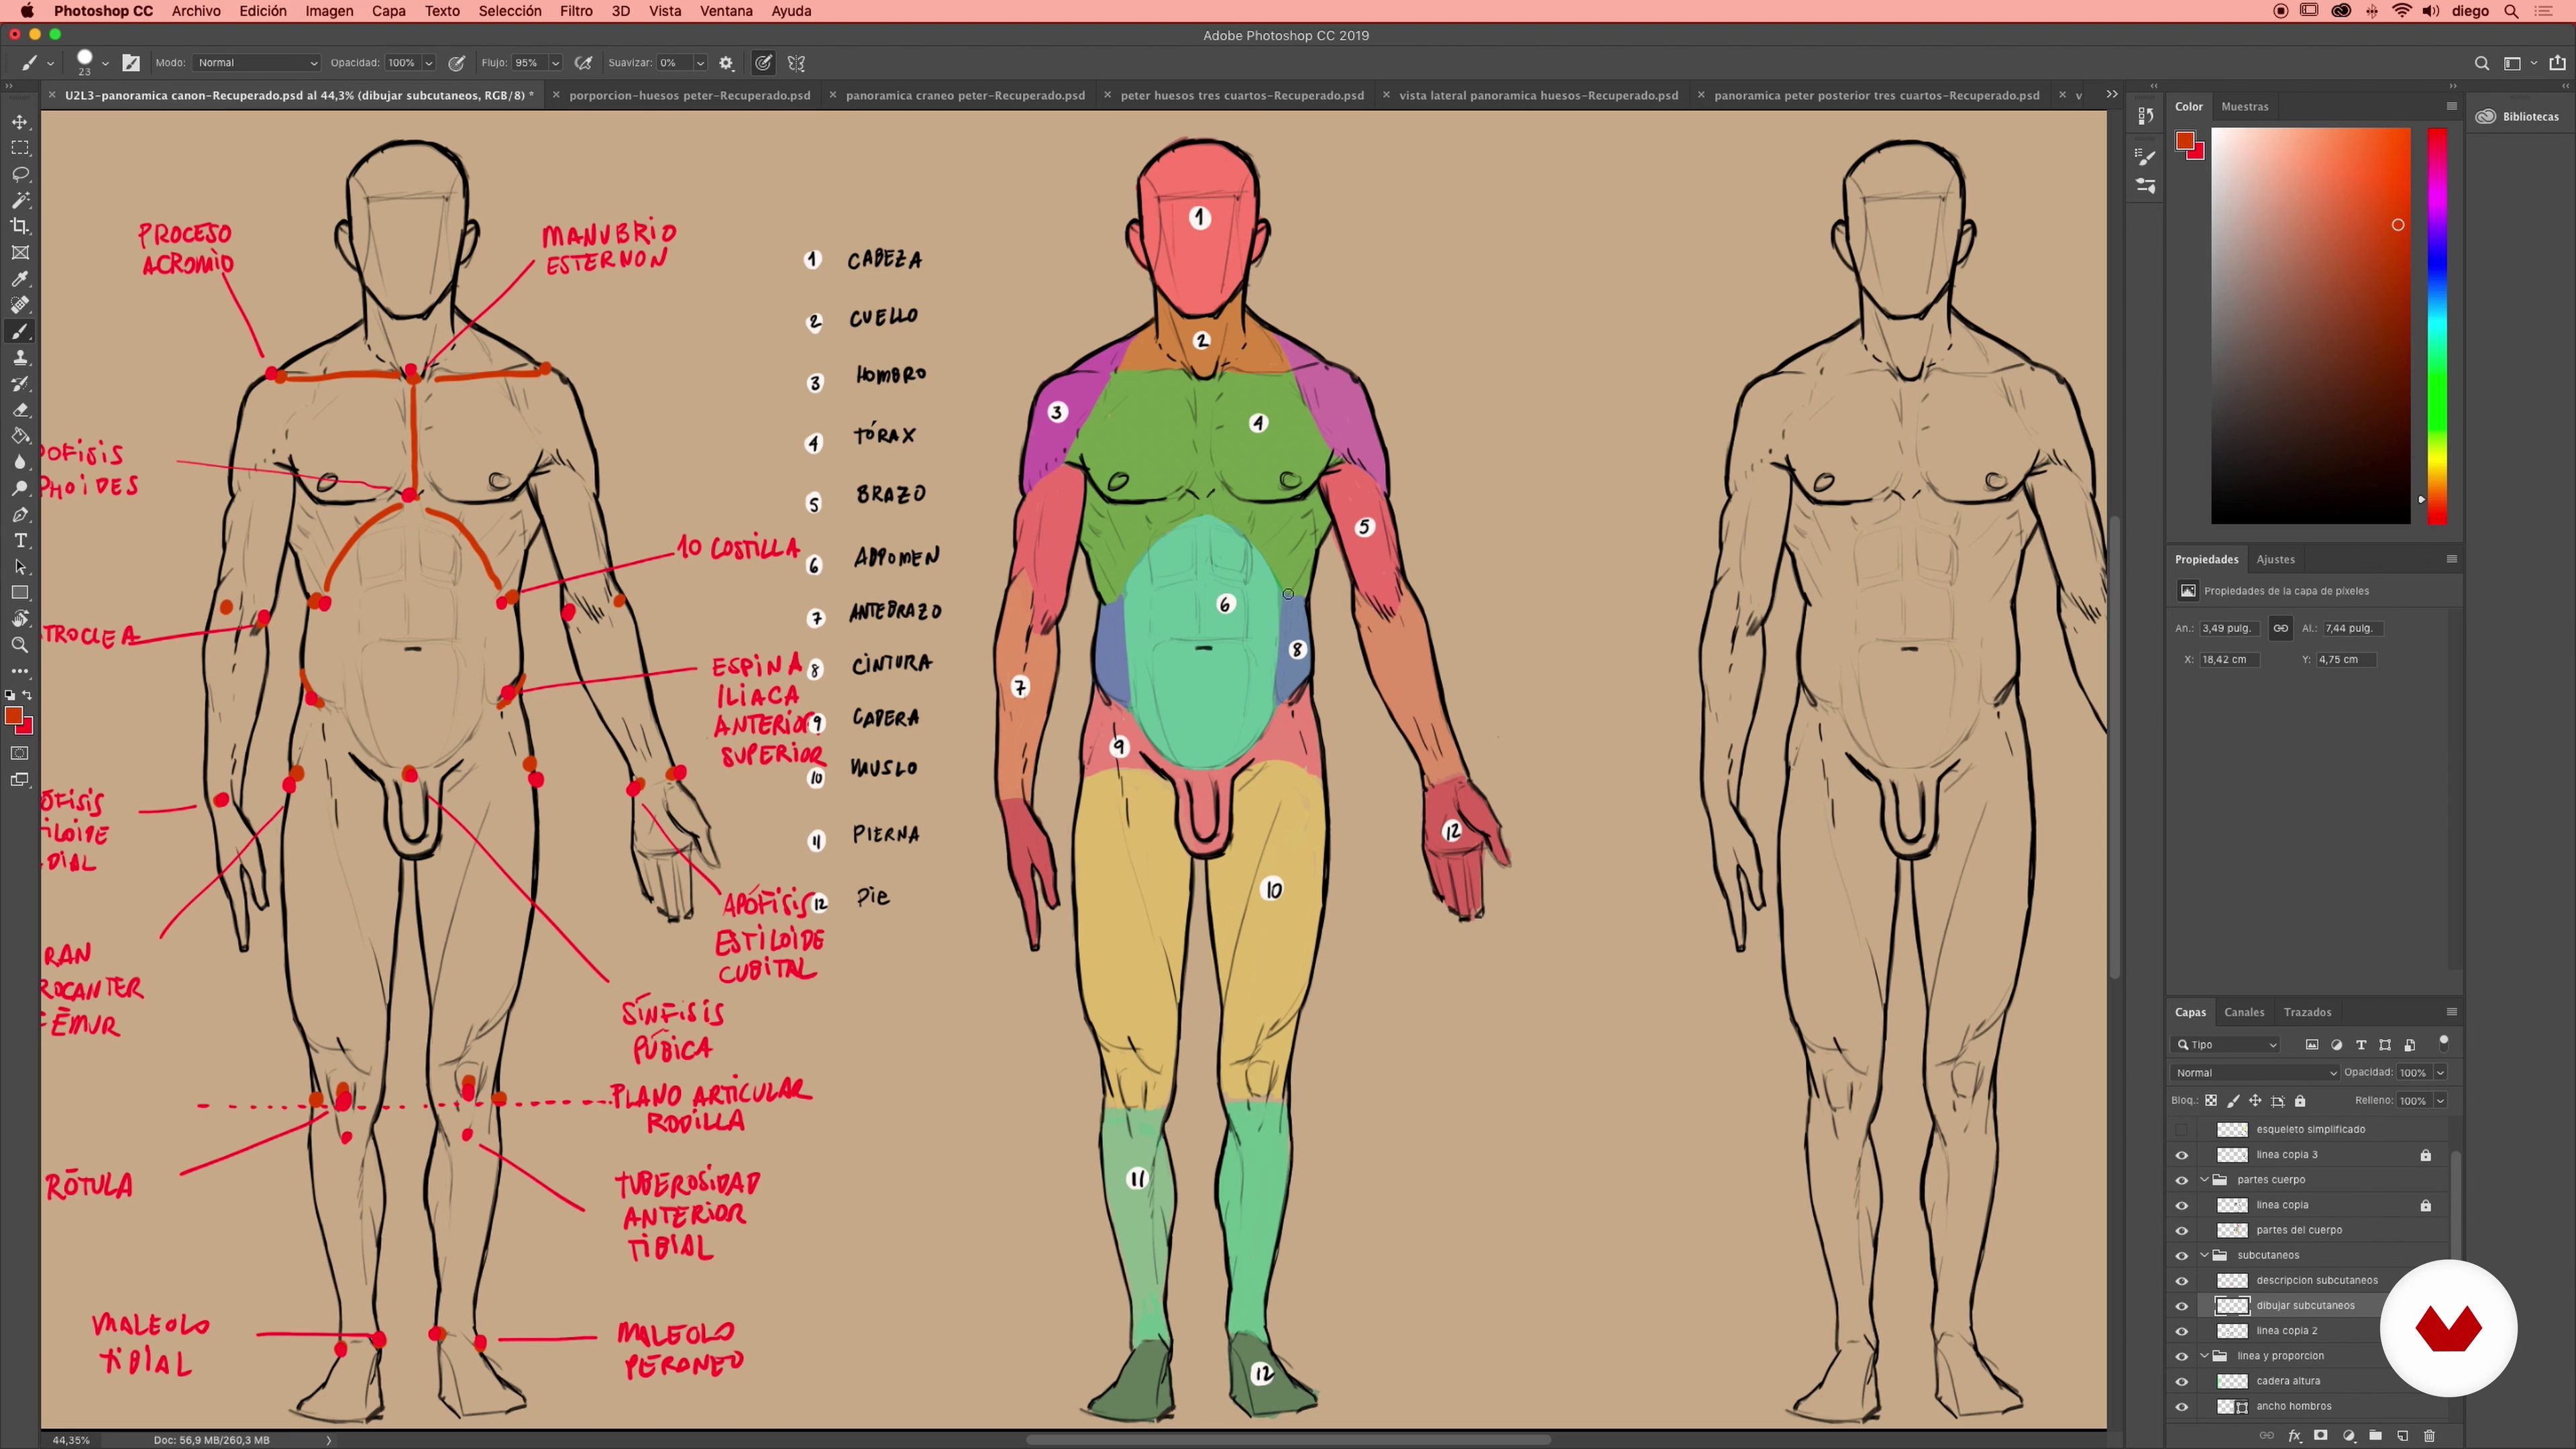
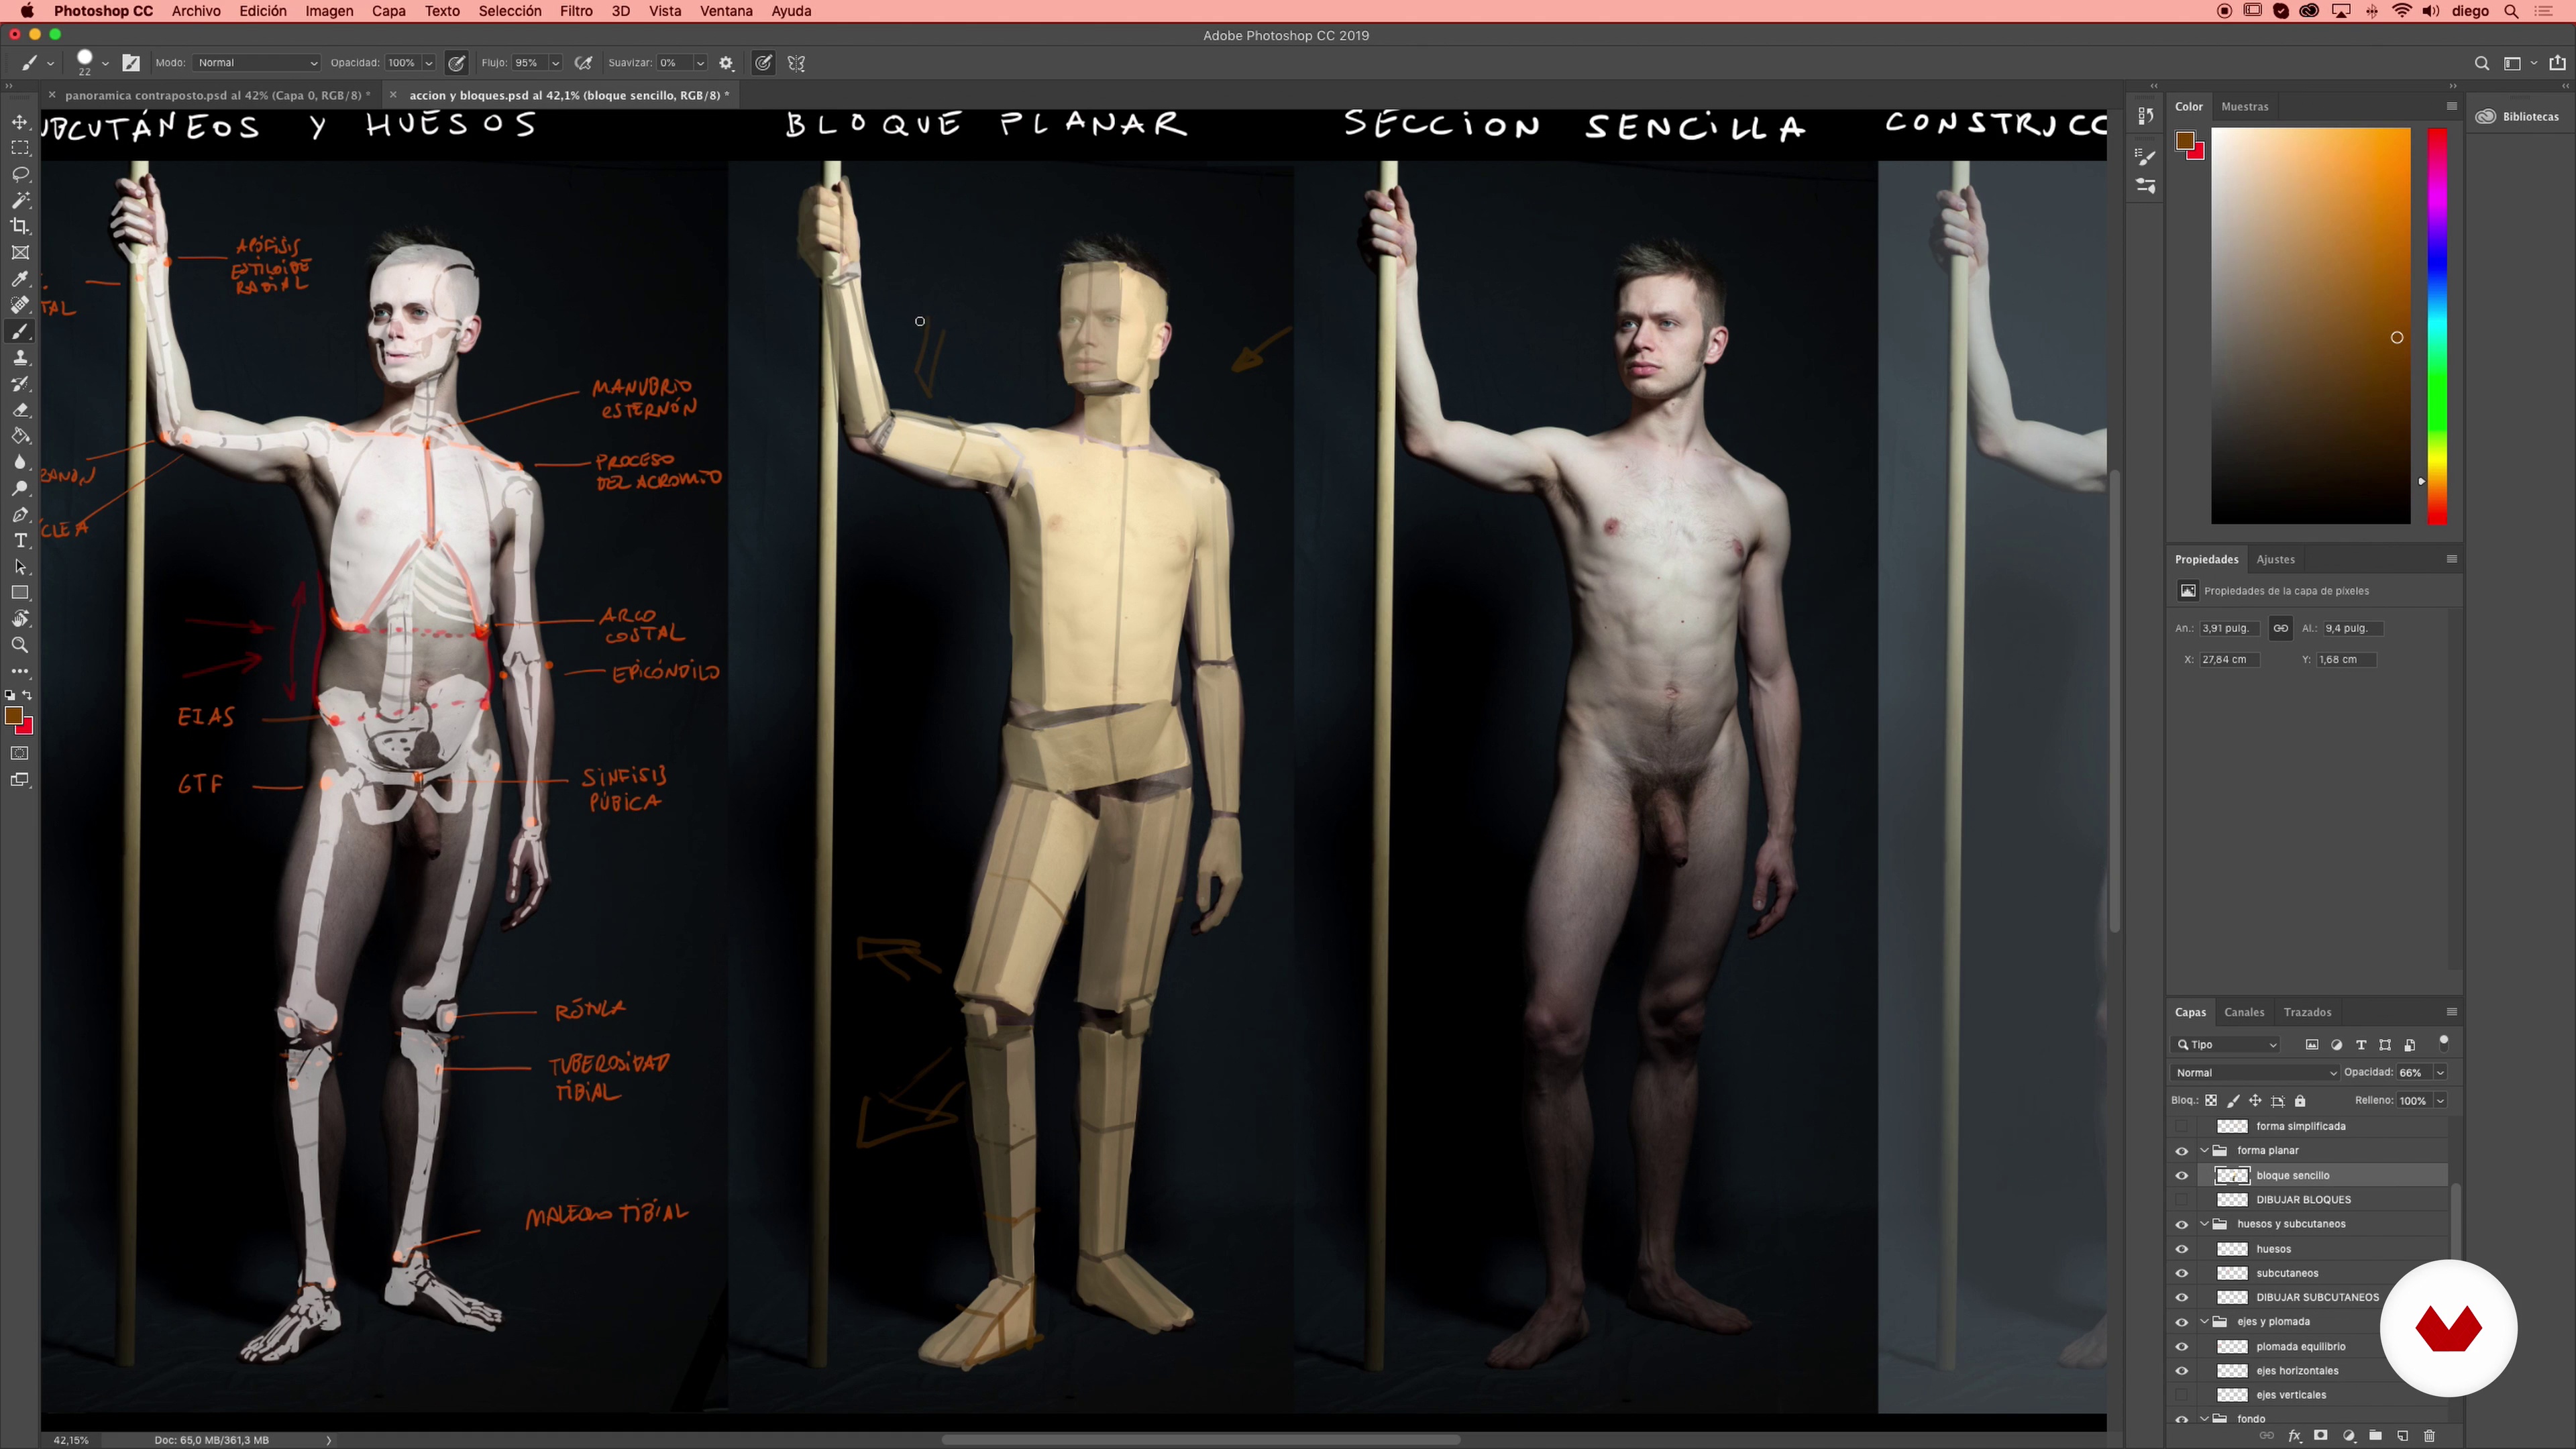
8Proportion and anatomical blocks
In this lesson I will tell you about the classic proportional canon, the specific canon of our Peter model and how to locate the bone structure under the skin. Also of the anatomical blocks that make up the body through the subcutaneous points of the skeleton.
18m
 9
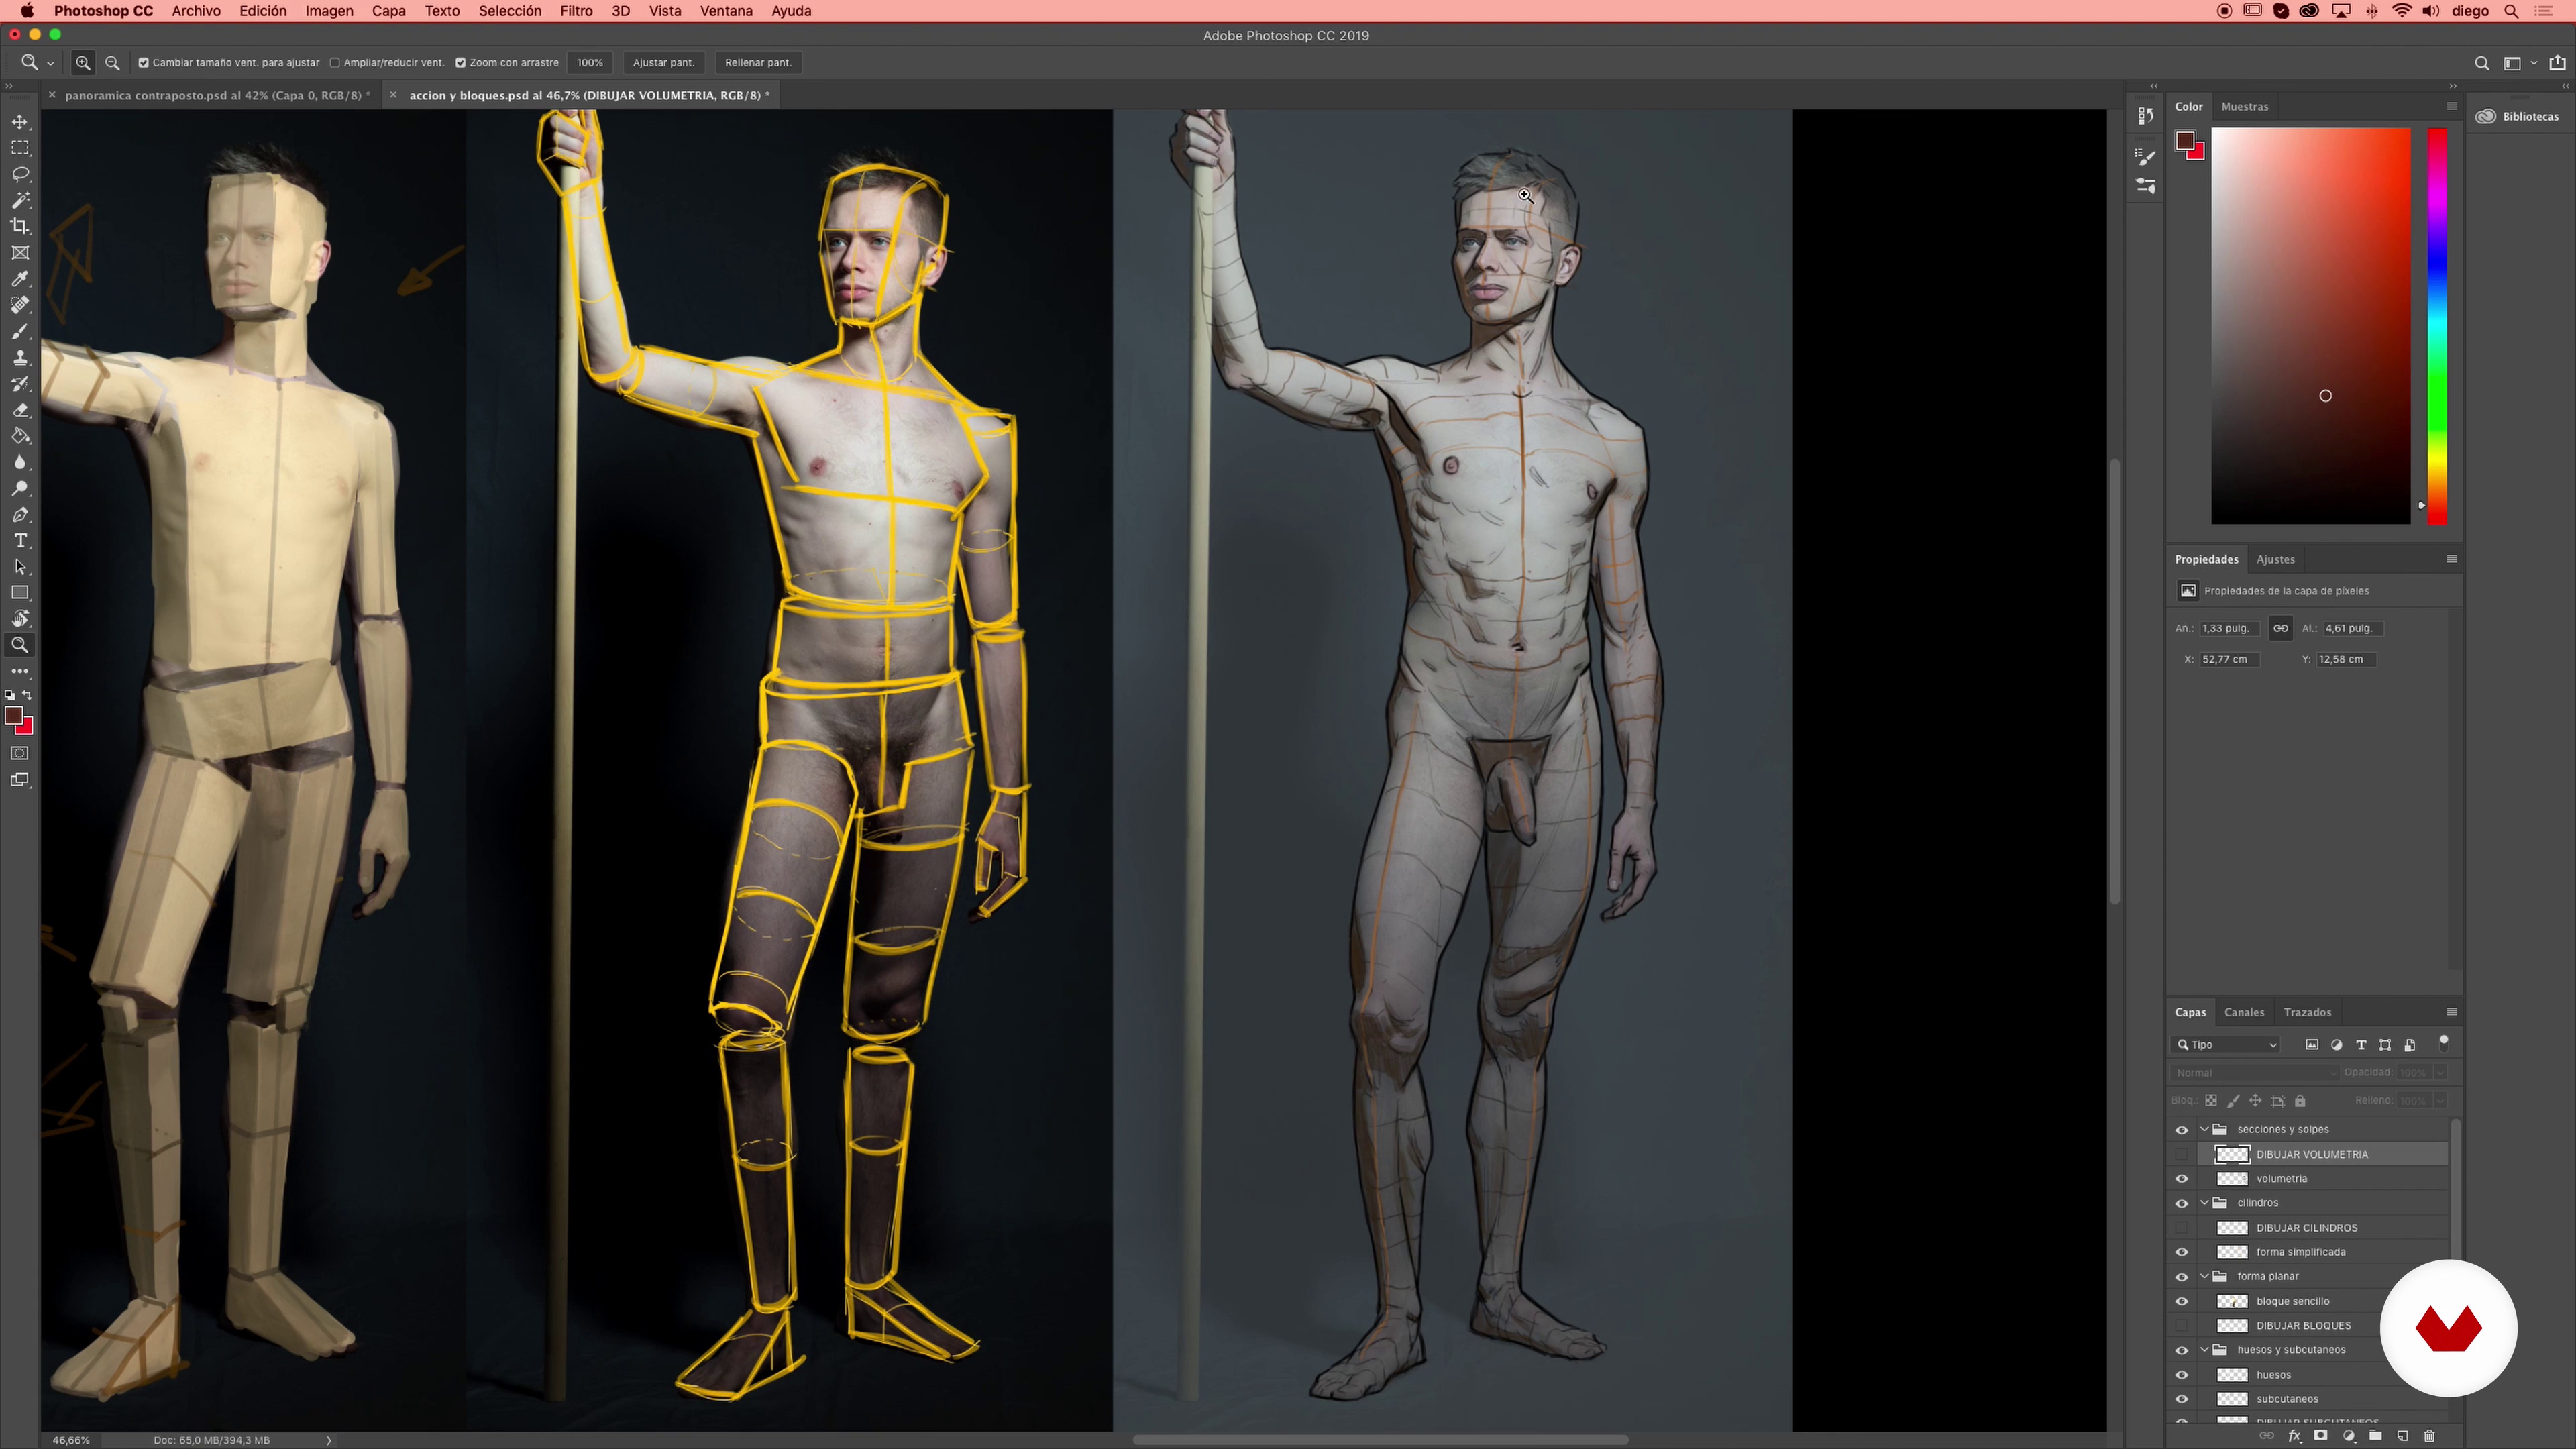
9Action, balance, gesture and 3D shape 1
In this lesson we will begin the analysis of the pose that we are going to draw in terms of action and internal gesture through the way in which the different blocks of the body interact. In addition, we will see how to locate the location of the skeleton and analyze its flat construction and its volumetric surface decomposition.
15m
 10
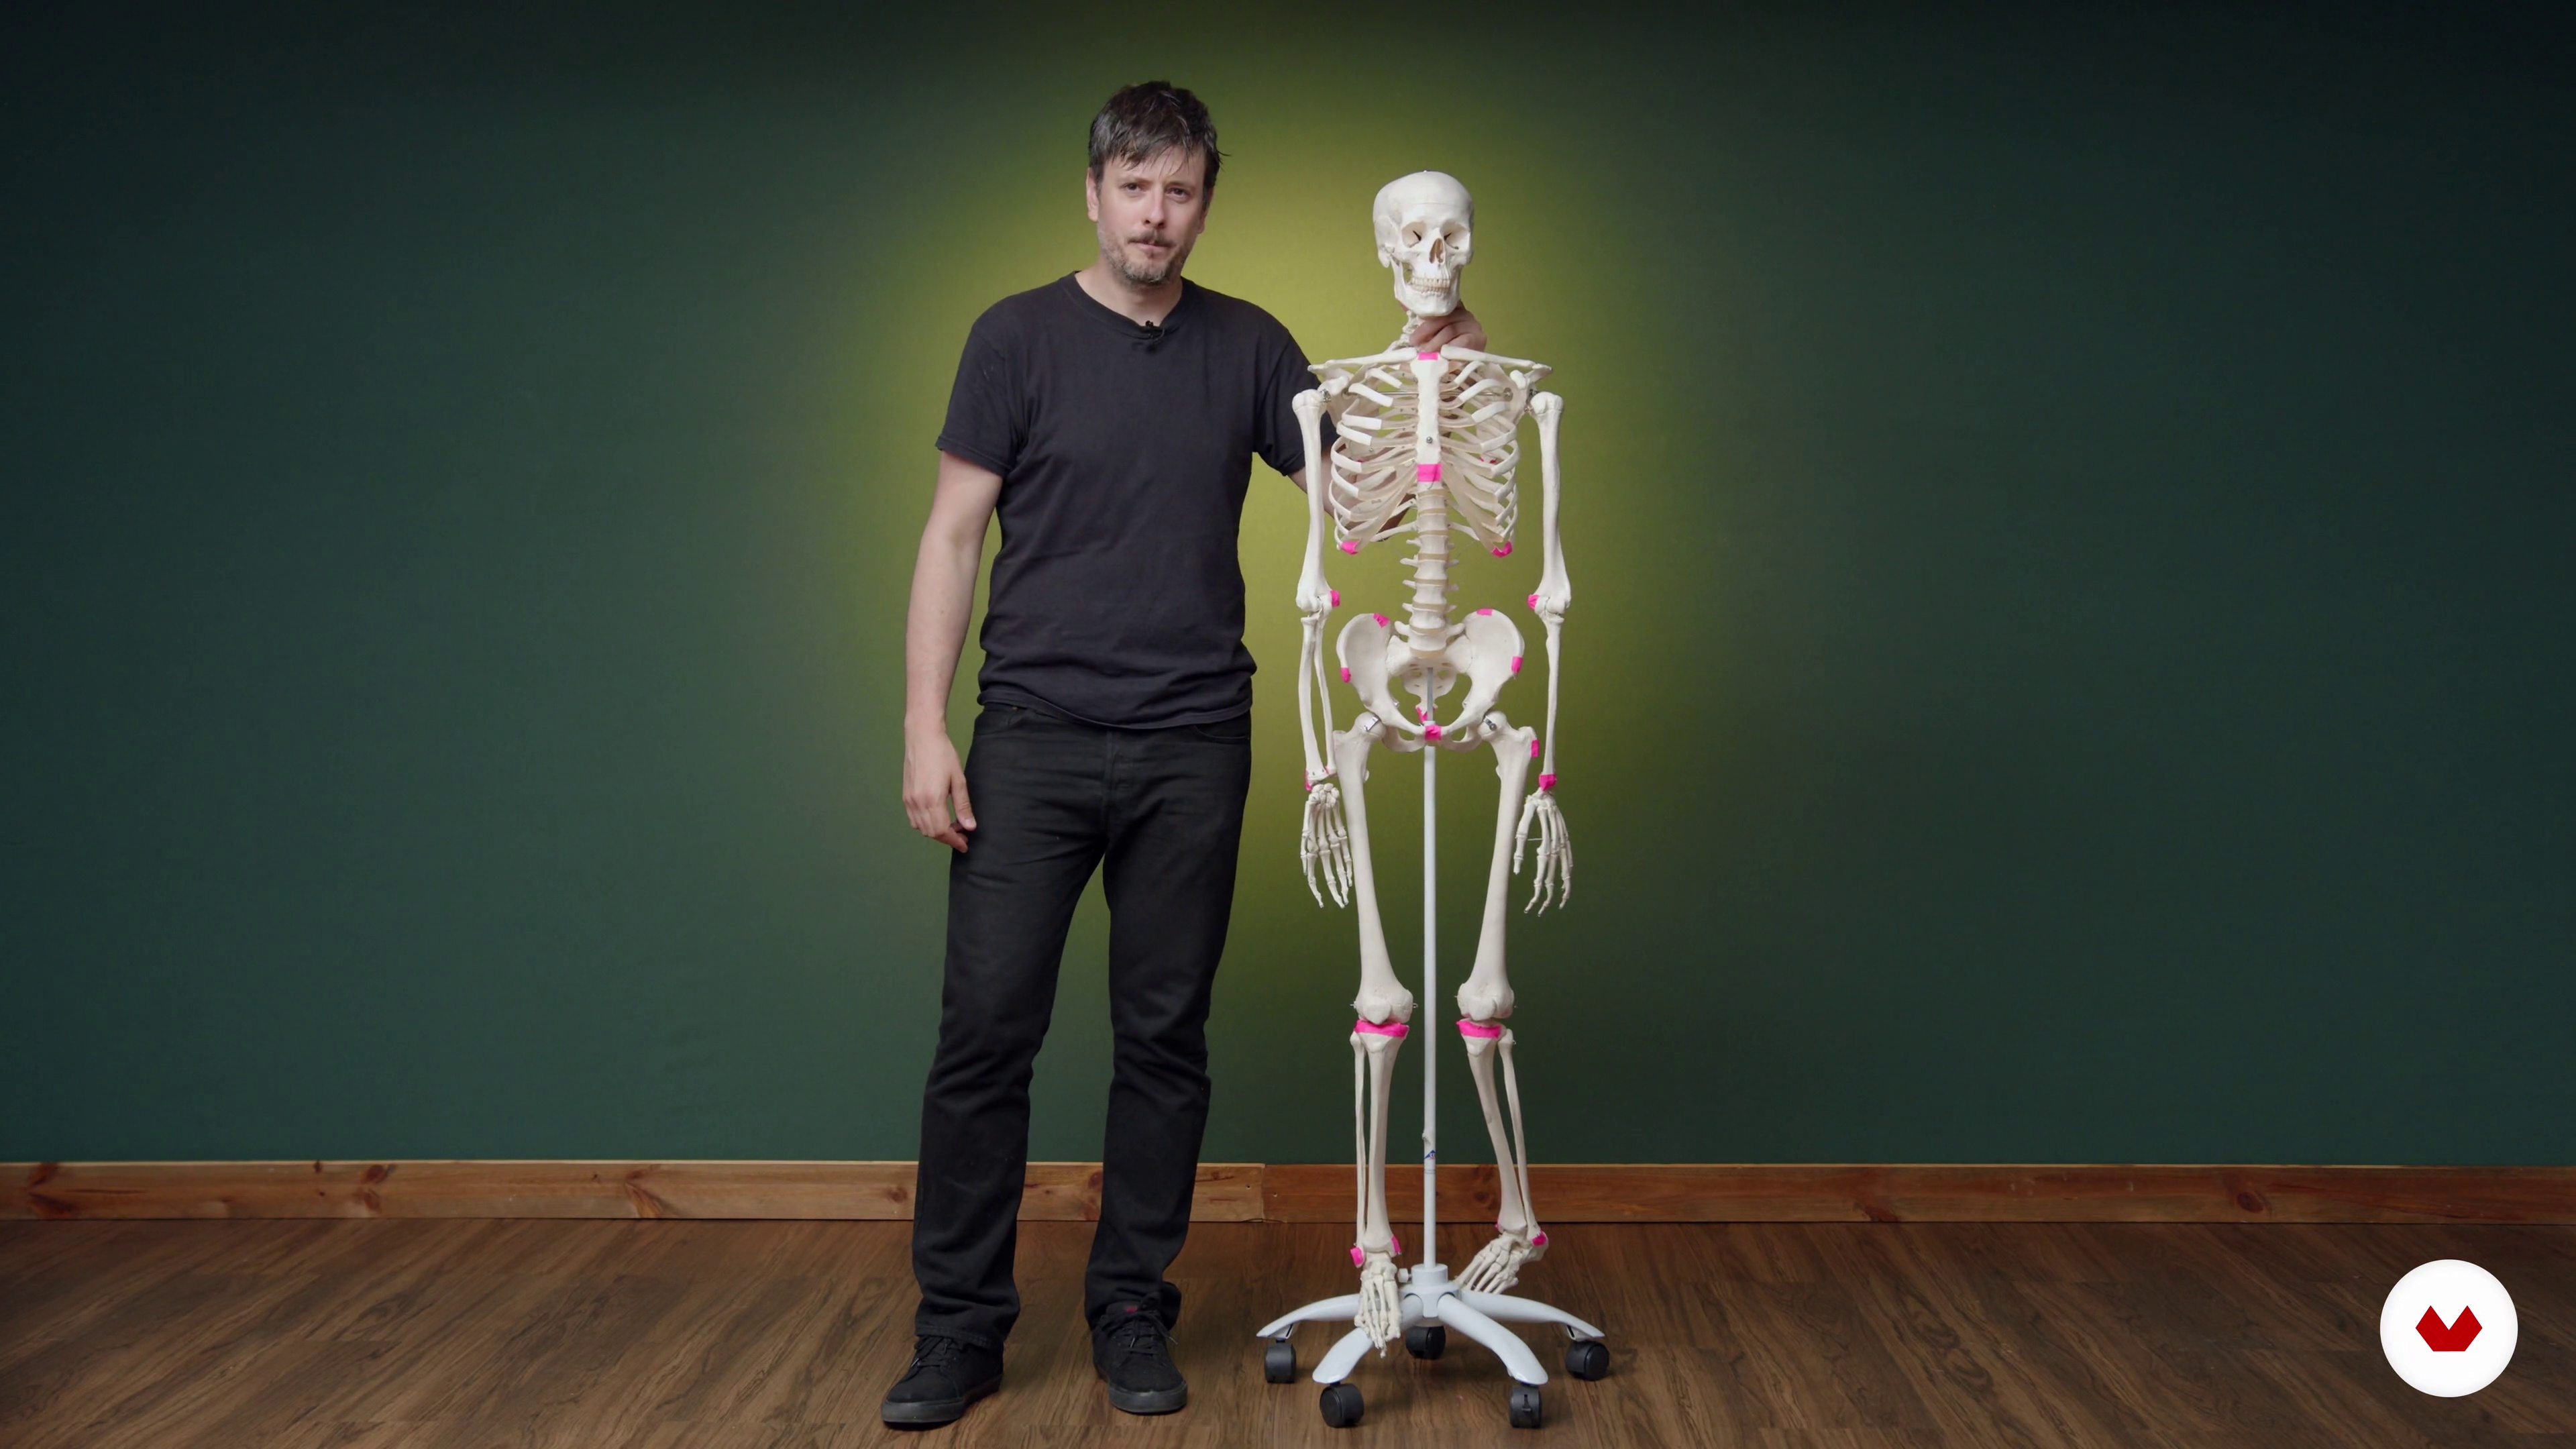
10Action, balance, gesture and 3D shape 2
We continue to analyze and collect information about the pose that we are going to draw.
10m
 11
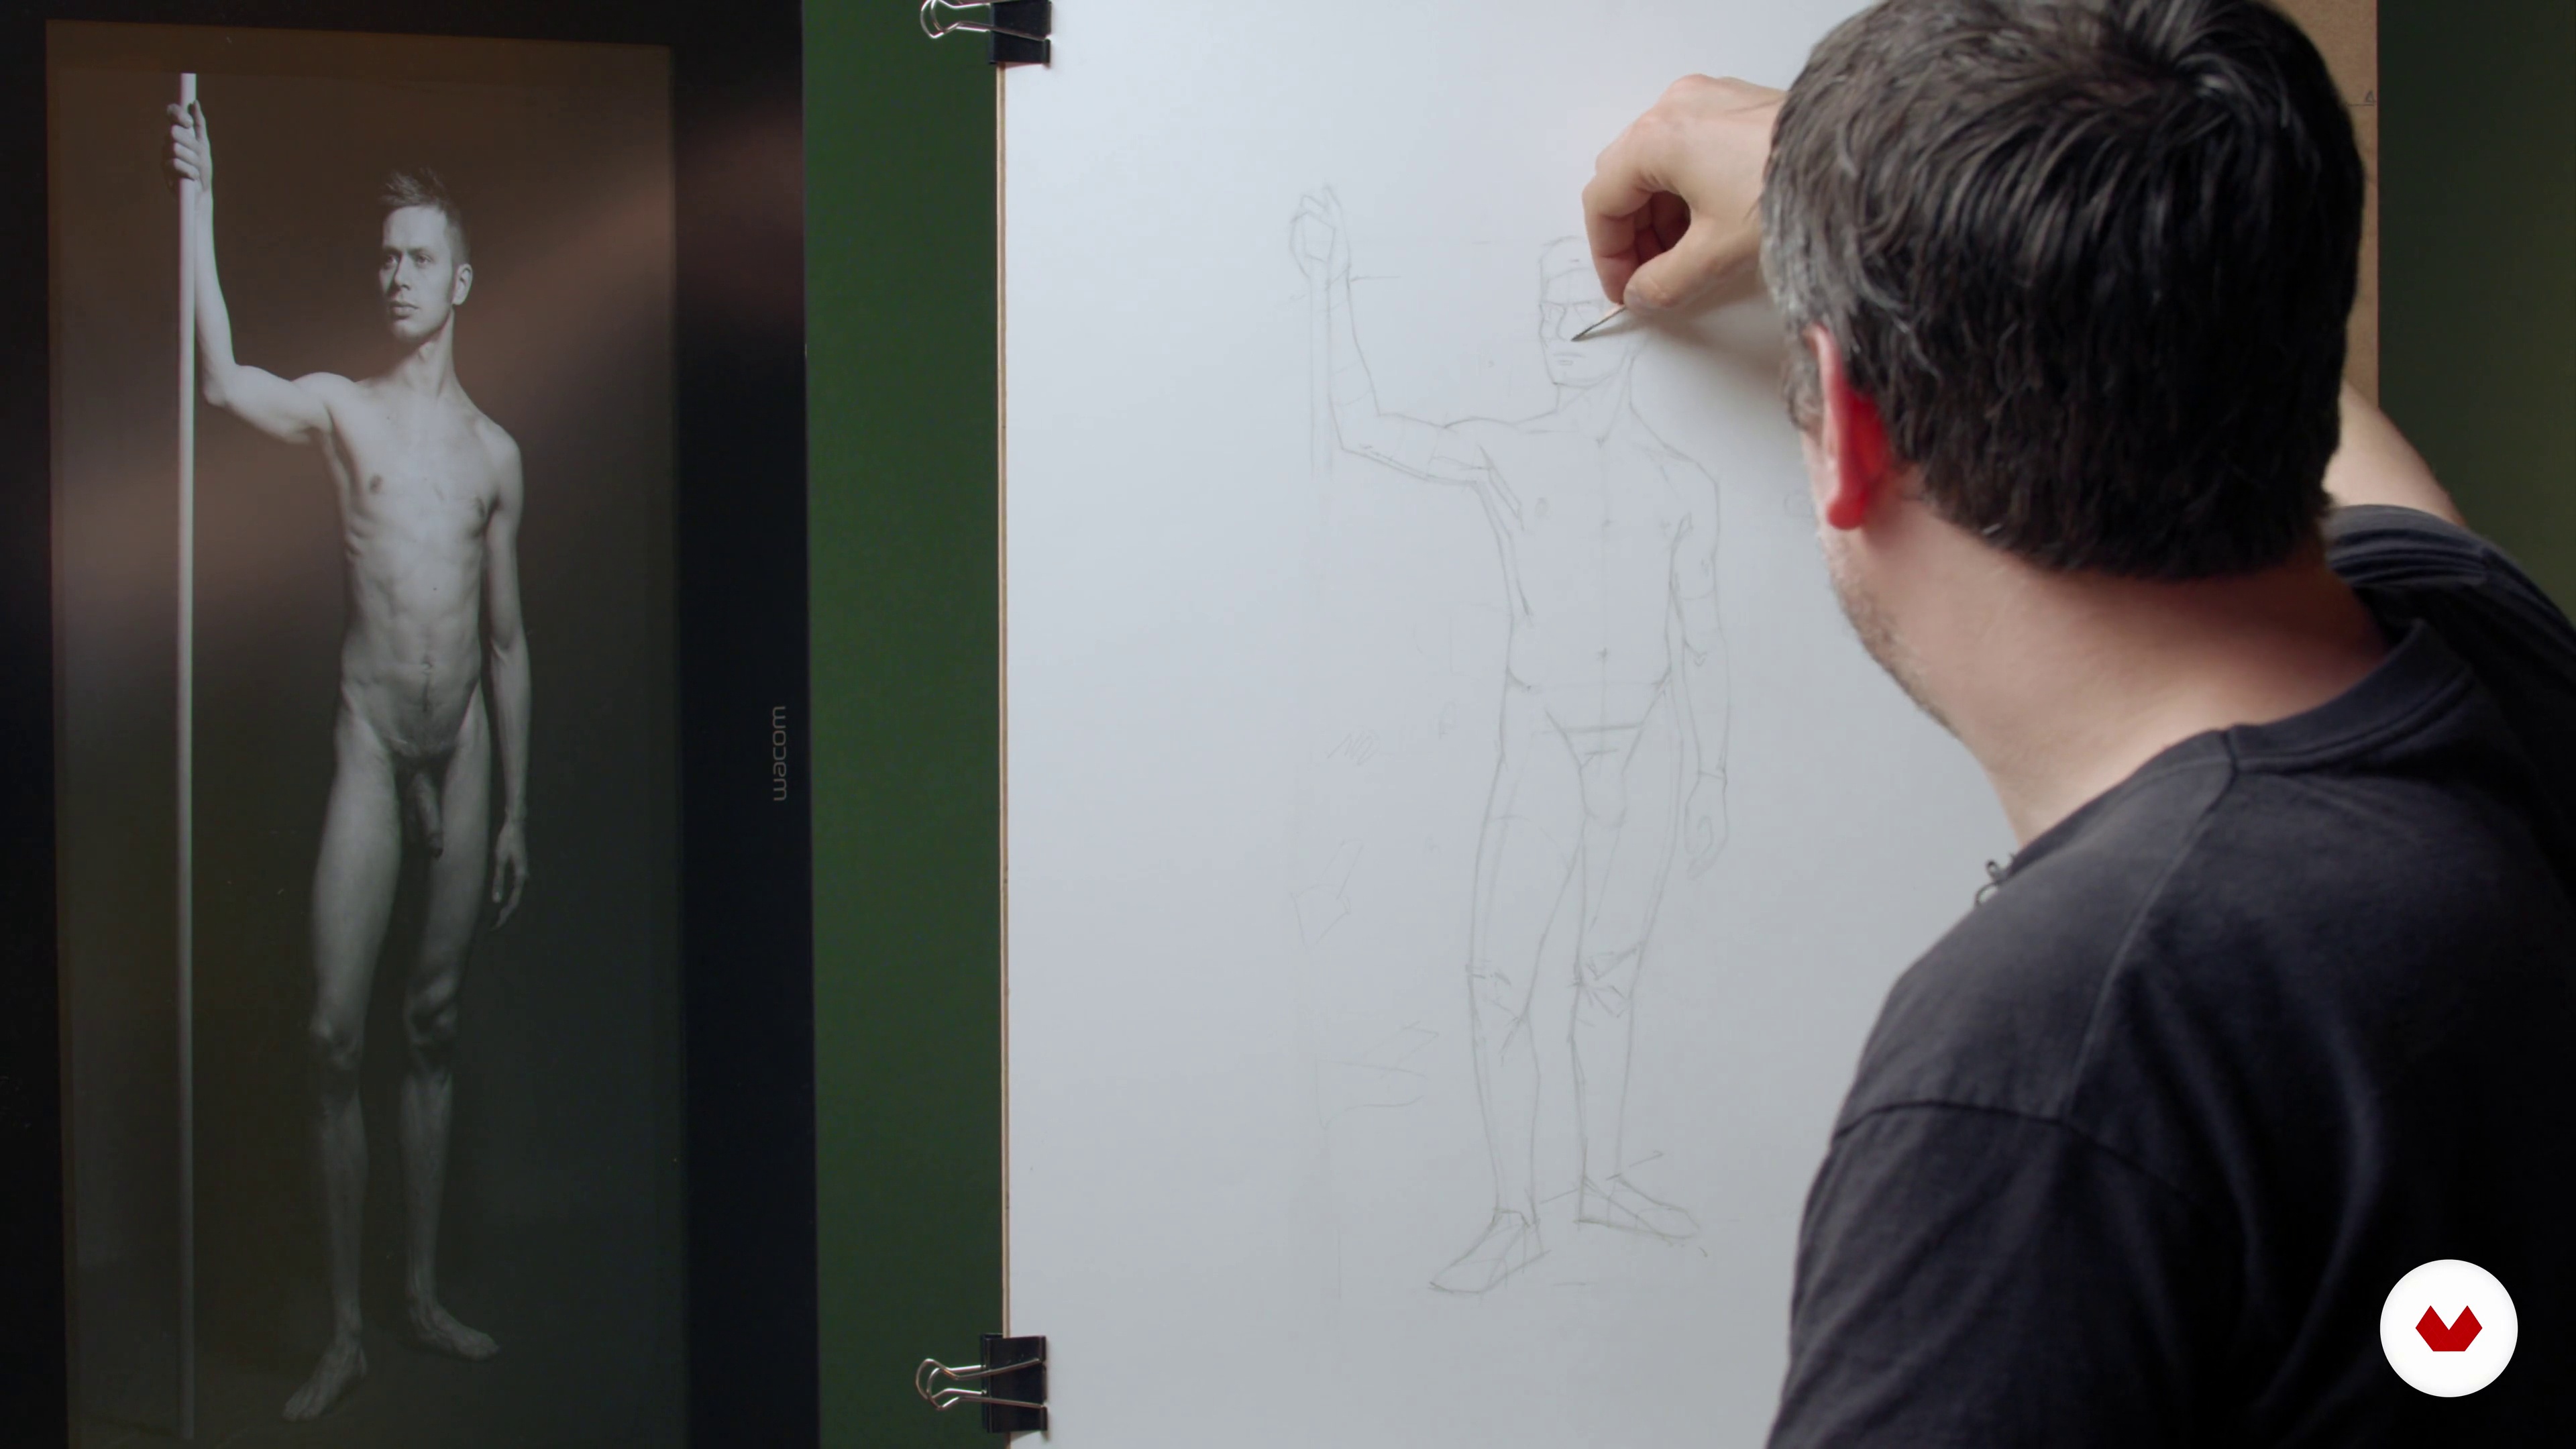
11We draw the interior of our silhouette 1
In this lesson we will go on to apply the concepts of proportion and volumetry to our fit through the internal axes, overlaps and sections that we have previously analyzed. Thus, we can correct our drawing and prepare it for the next construction phases.
19m
 12
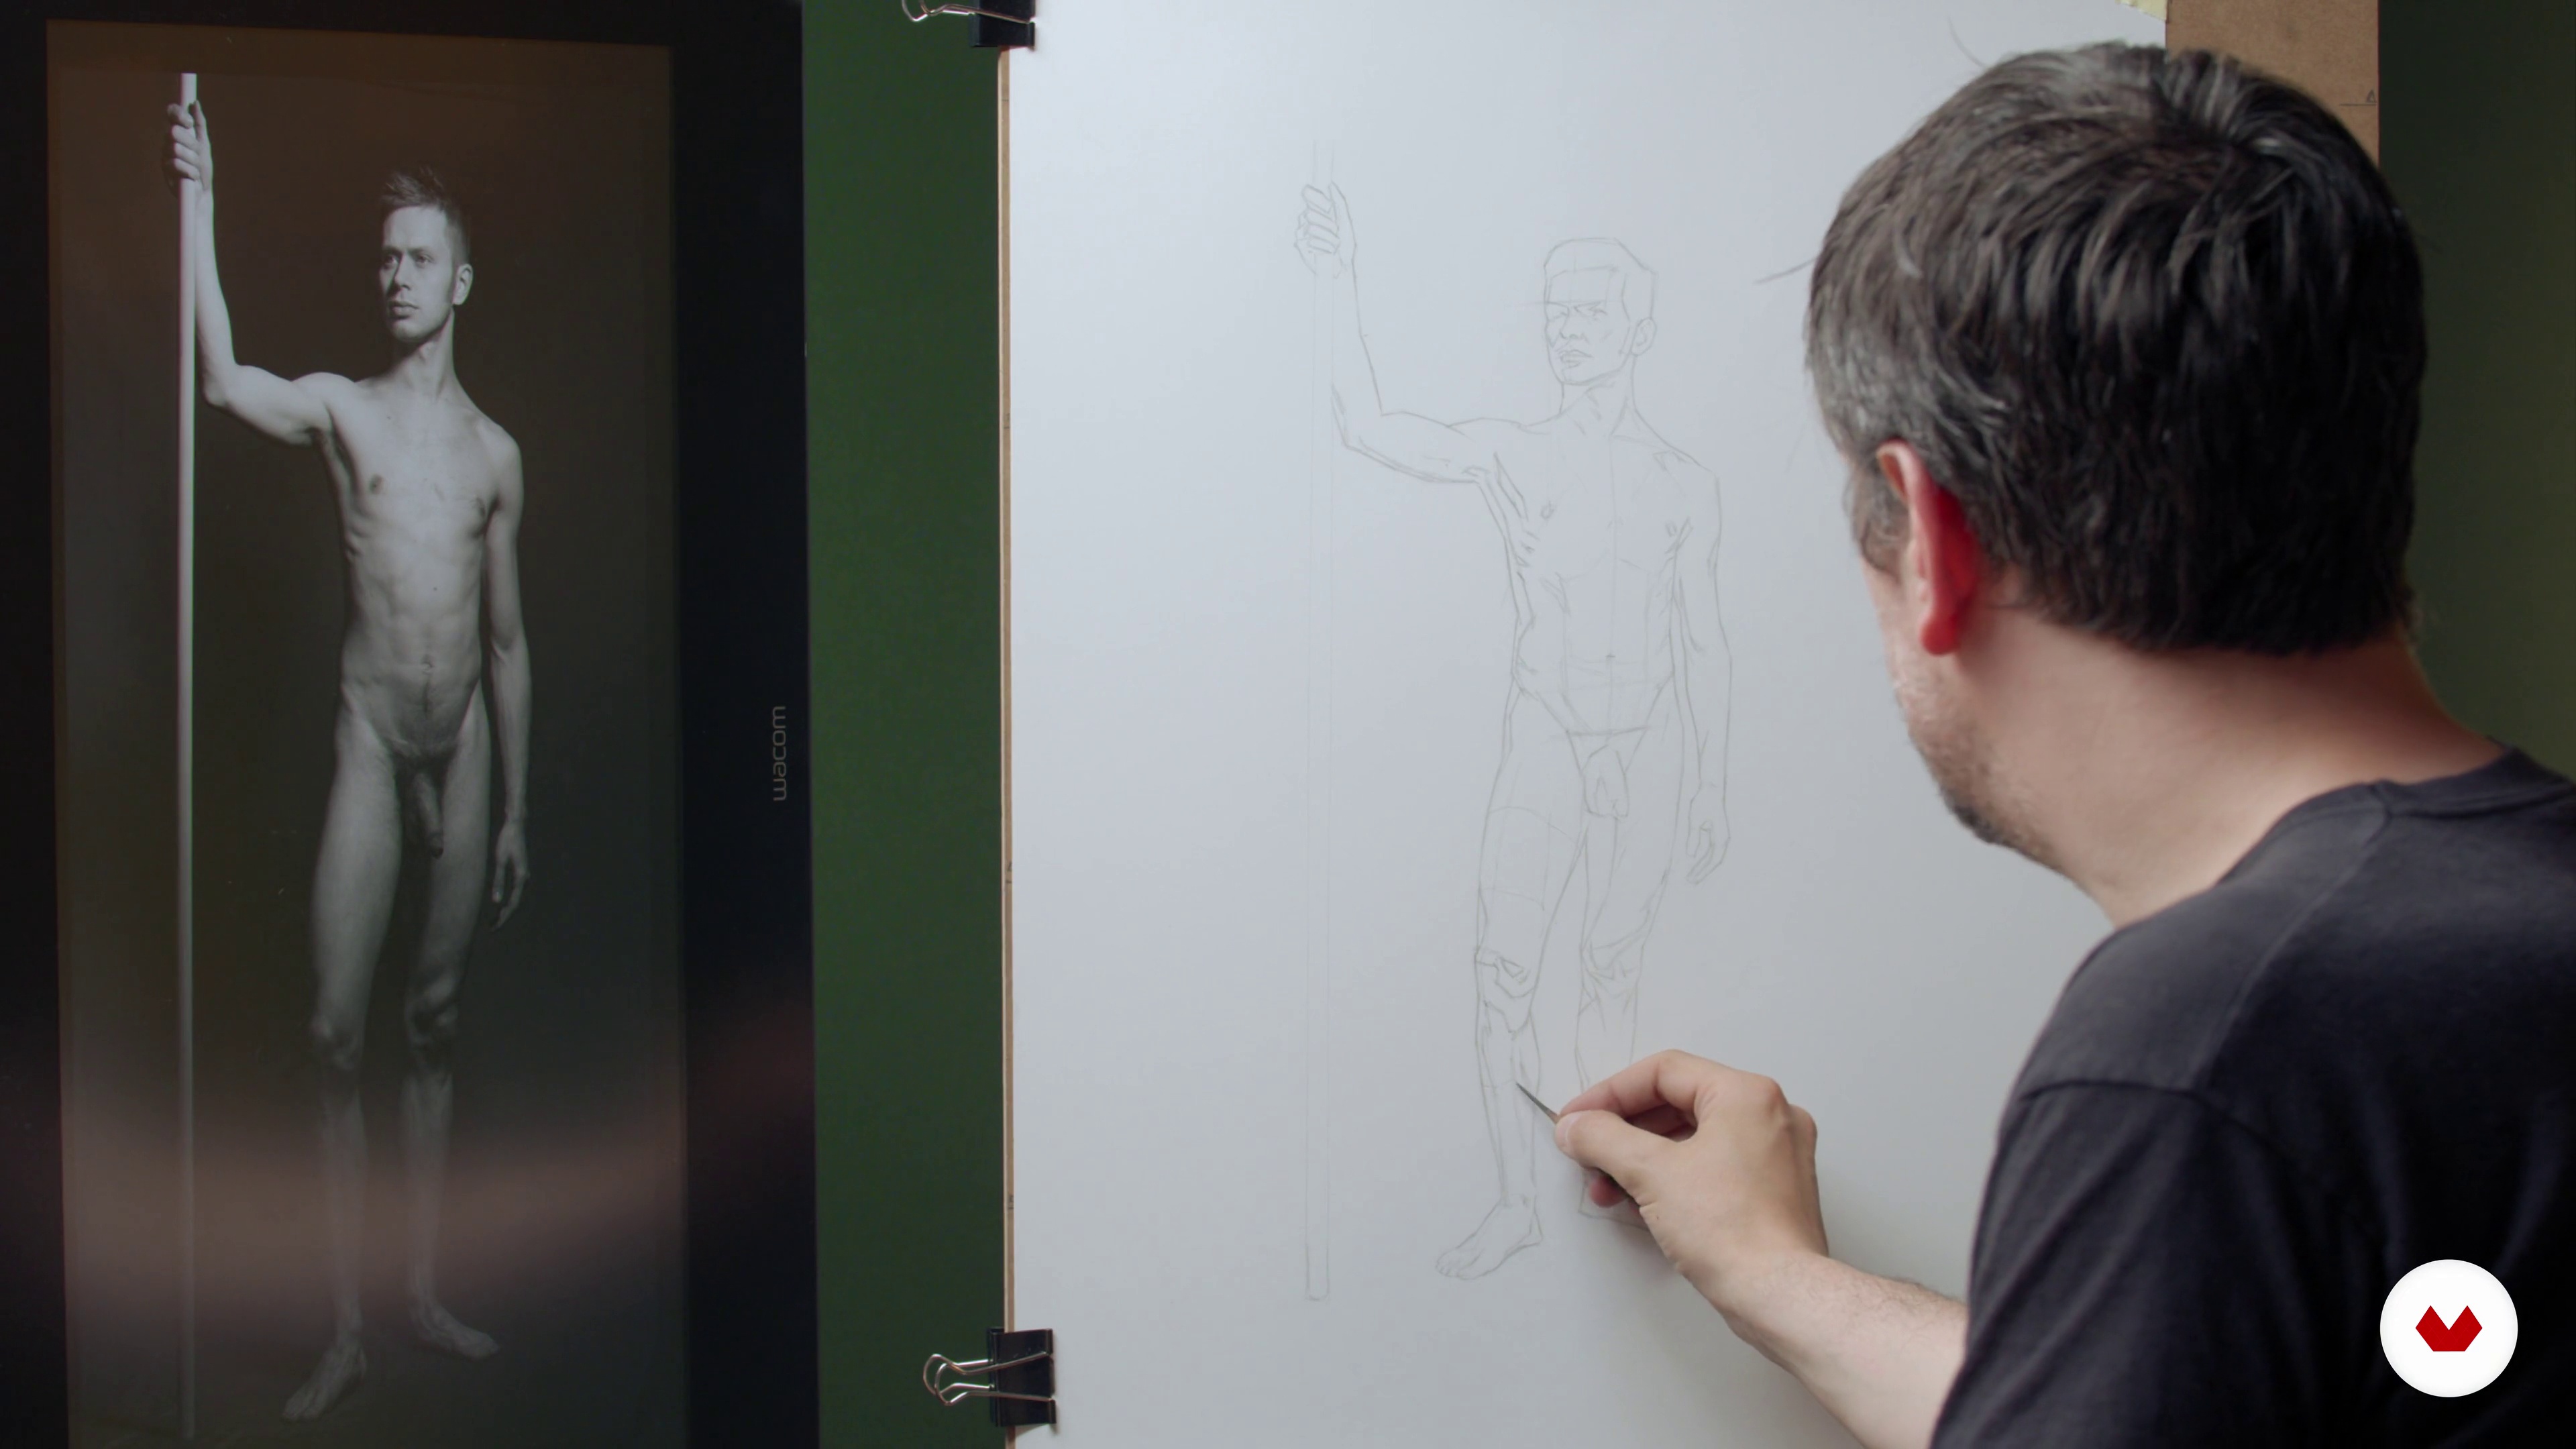
12We draw the interior of our silhouette 2
We continue to work on our fit, focusing on the proportion and construction of the head and its various elements.
14m
 13
13We draw the interior of our silhouette 3
We continue drawing the interior of our silhouette until we have the lace to lines sufficiently defined.
7m
 14
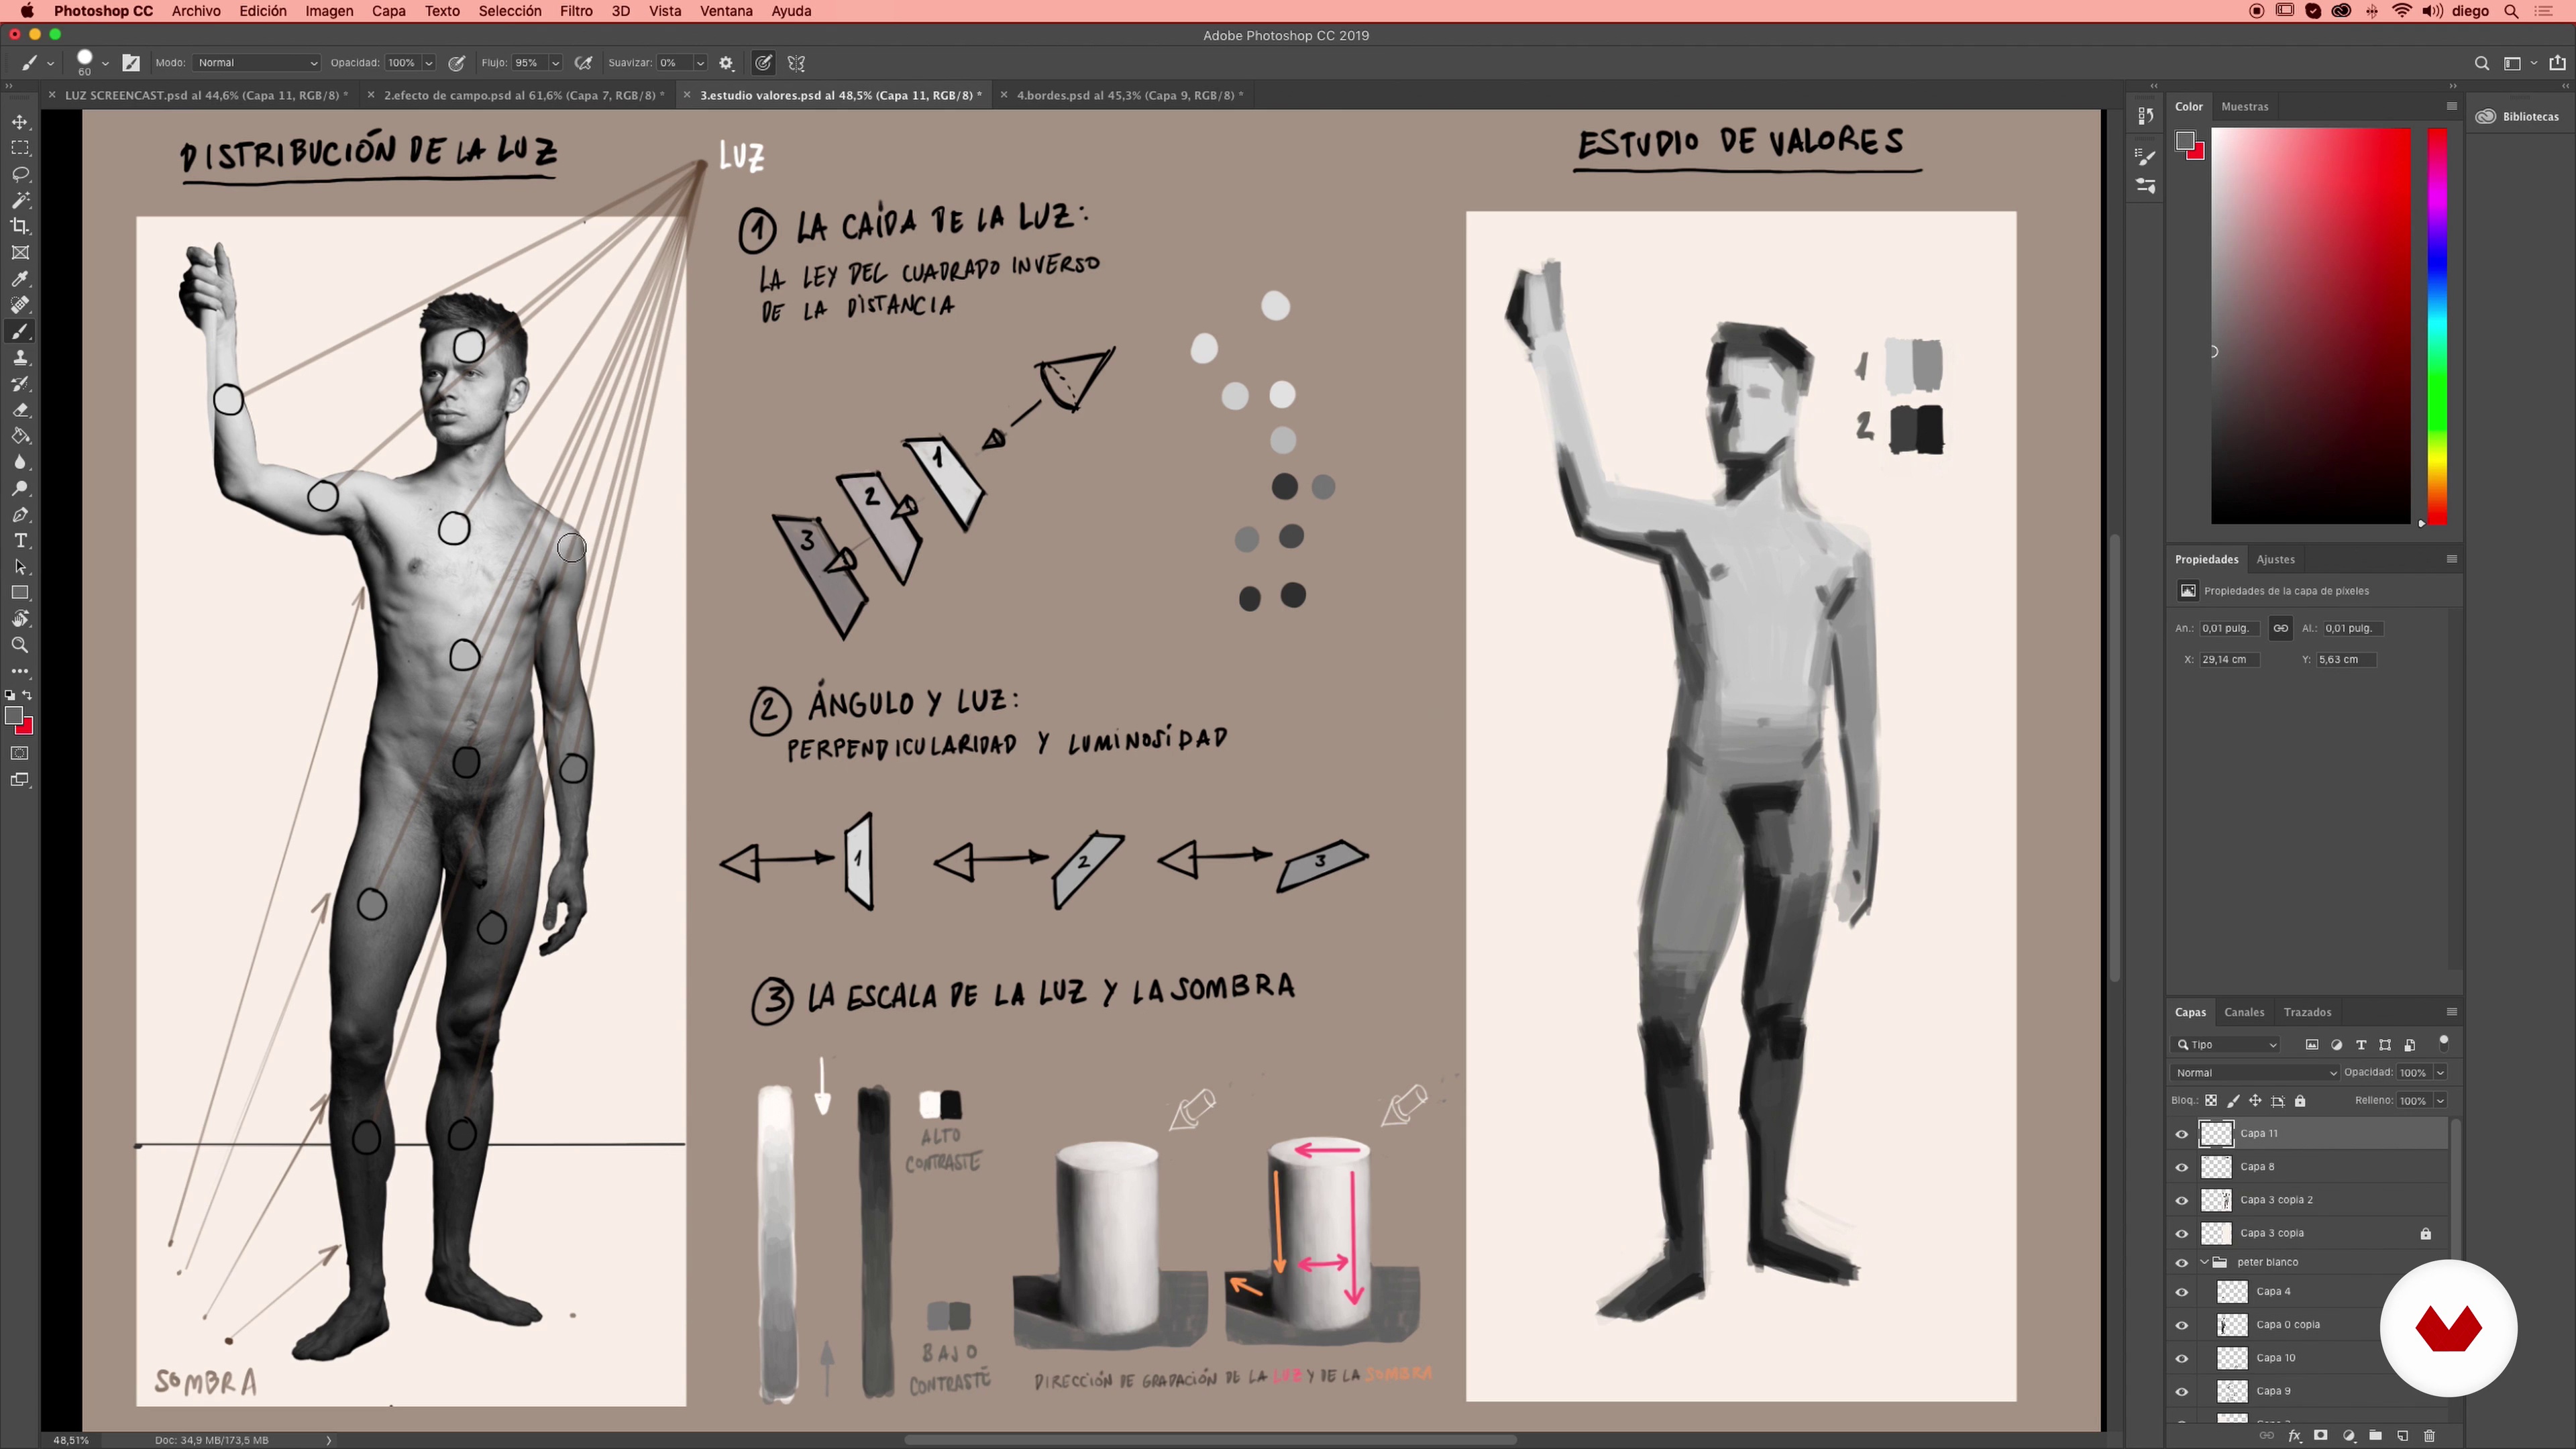
14The light
In this lesson I will explain the elemental physics of light and how it affects the different volumes of the body. Thus, we can apply these principles to the development of the drawing as we go modeling the surface.
20m
 15
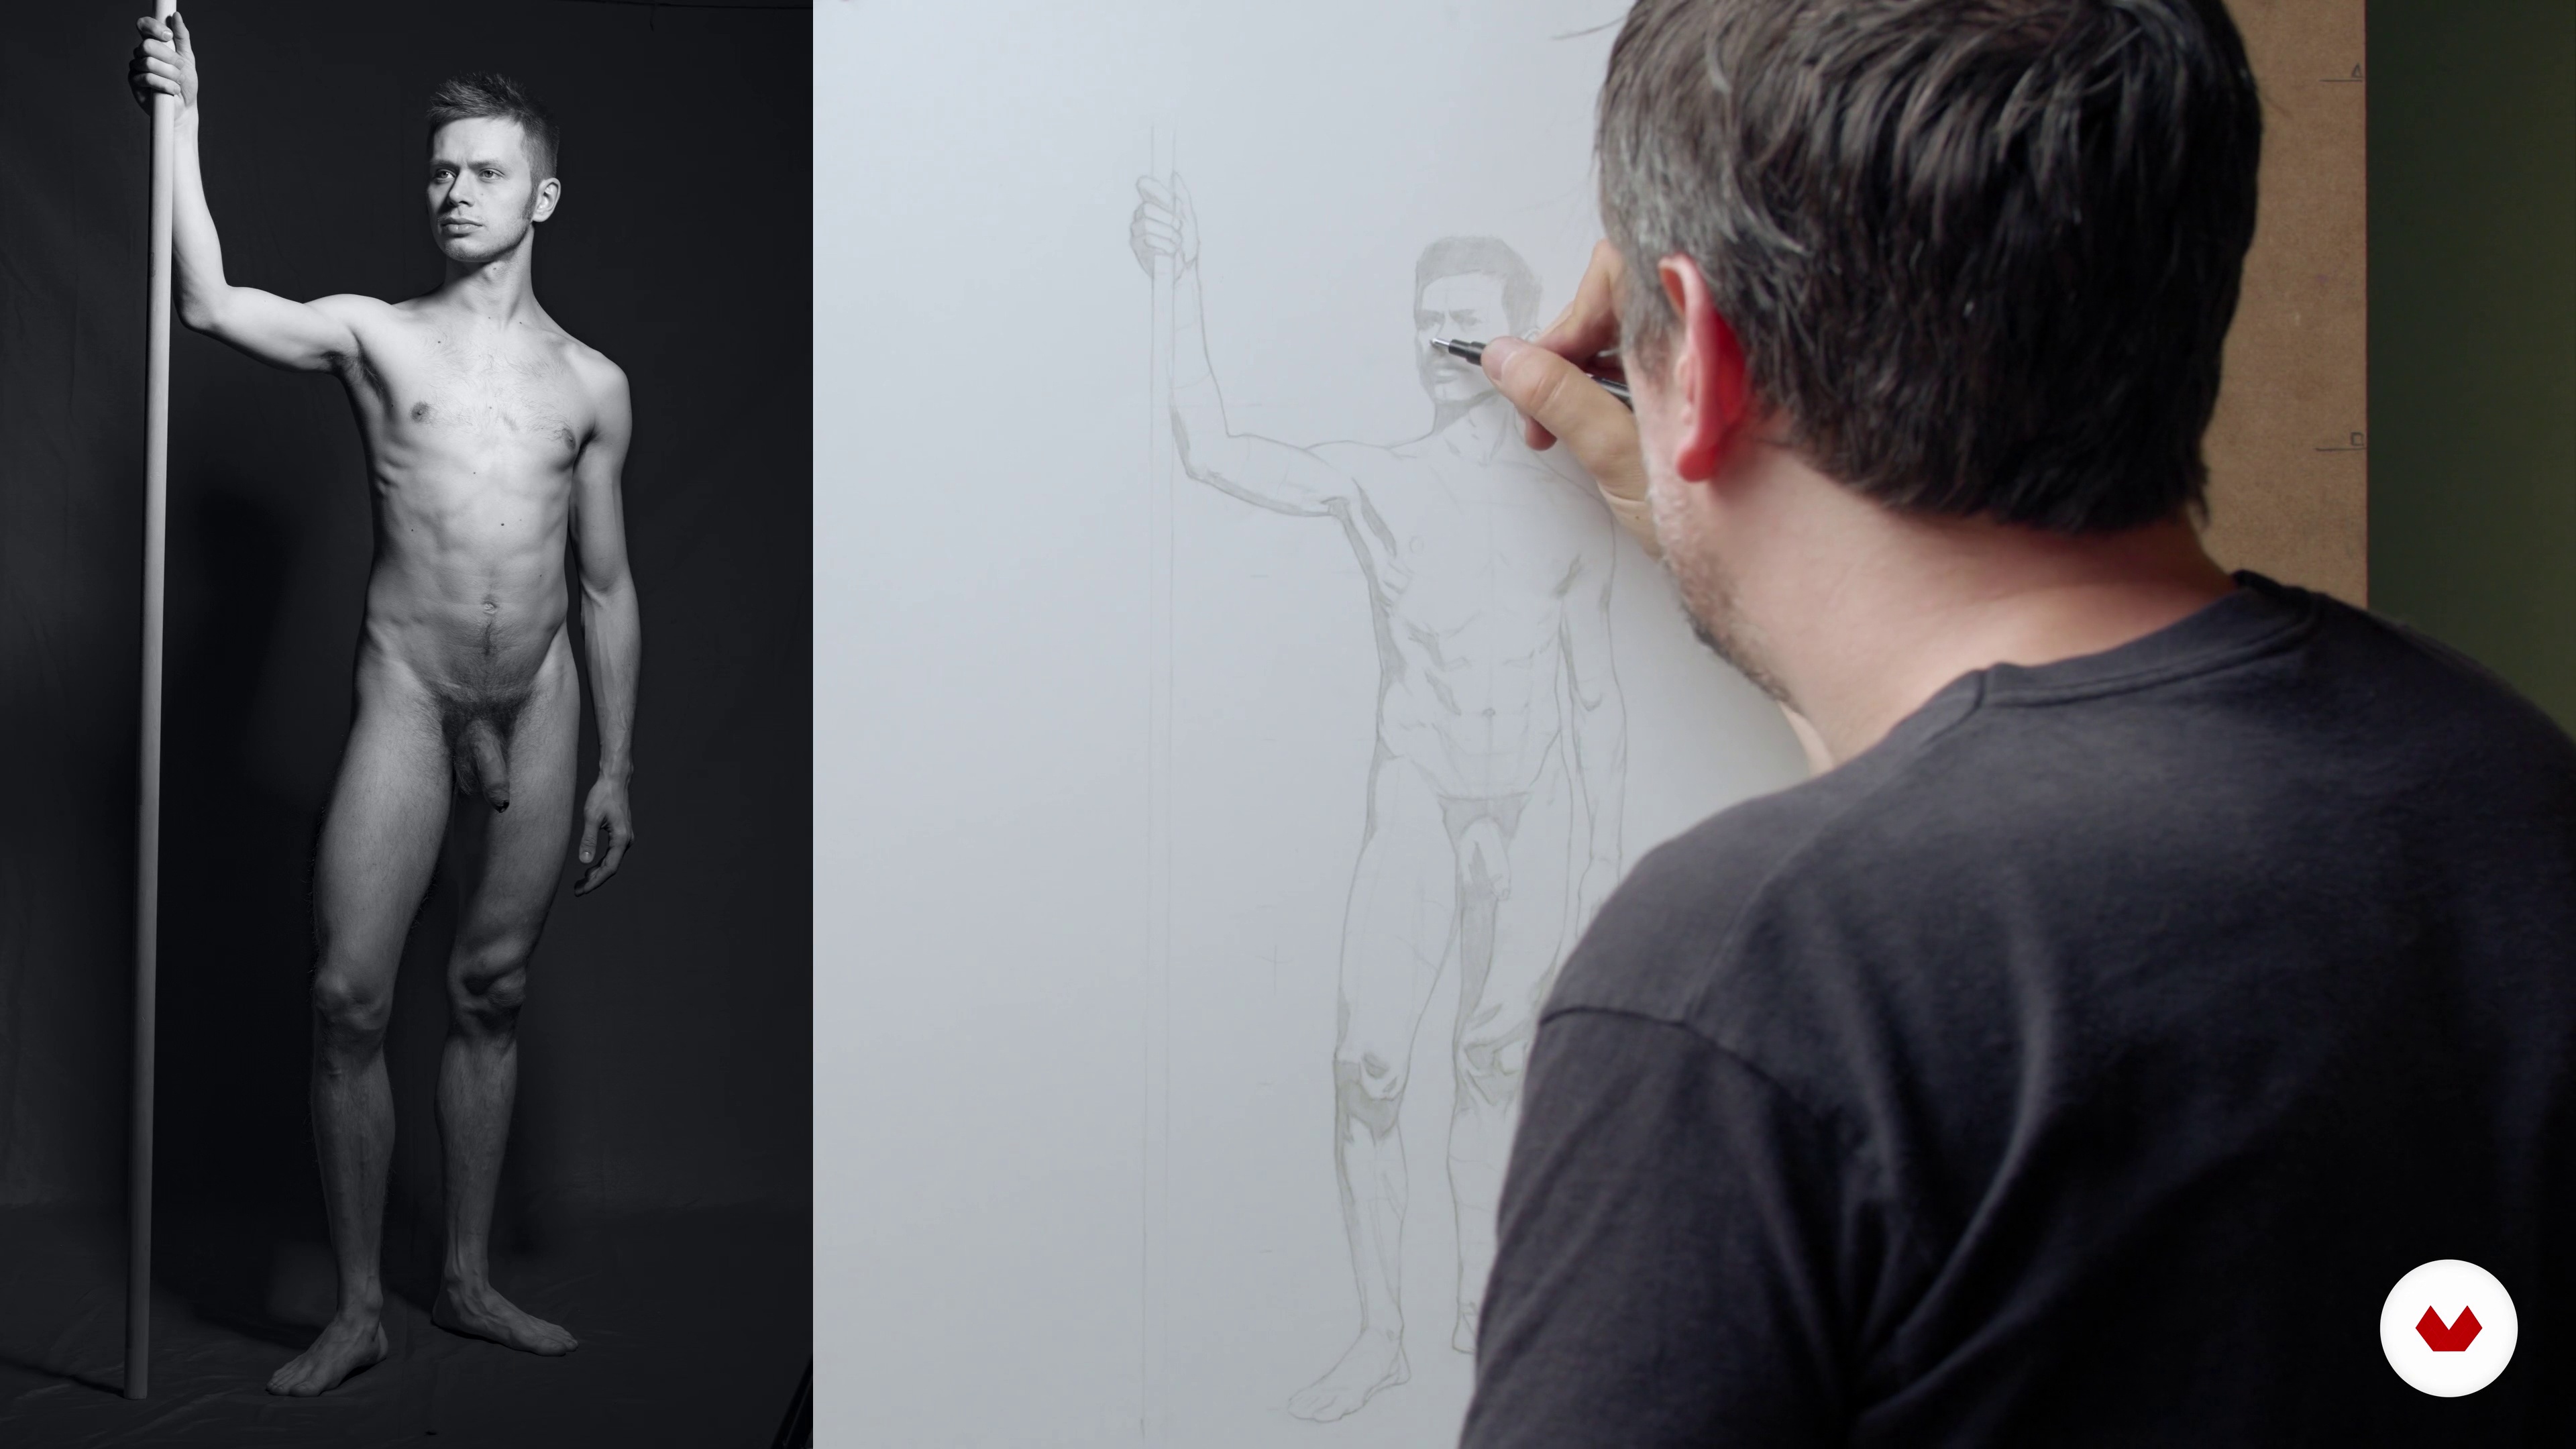
15Shadow pattern introduction
In this lesson we will introduce the flat pattern of the shadow as a correction element of the drawing and we will refine the internal elements as much as we can to prepare you for the anatomical monographic lessons.
16m
 16
16The thorax and pelvis: bone and muscle analysis
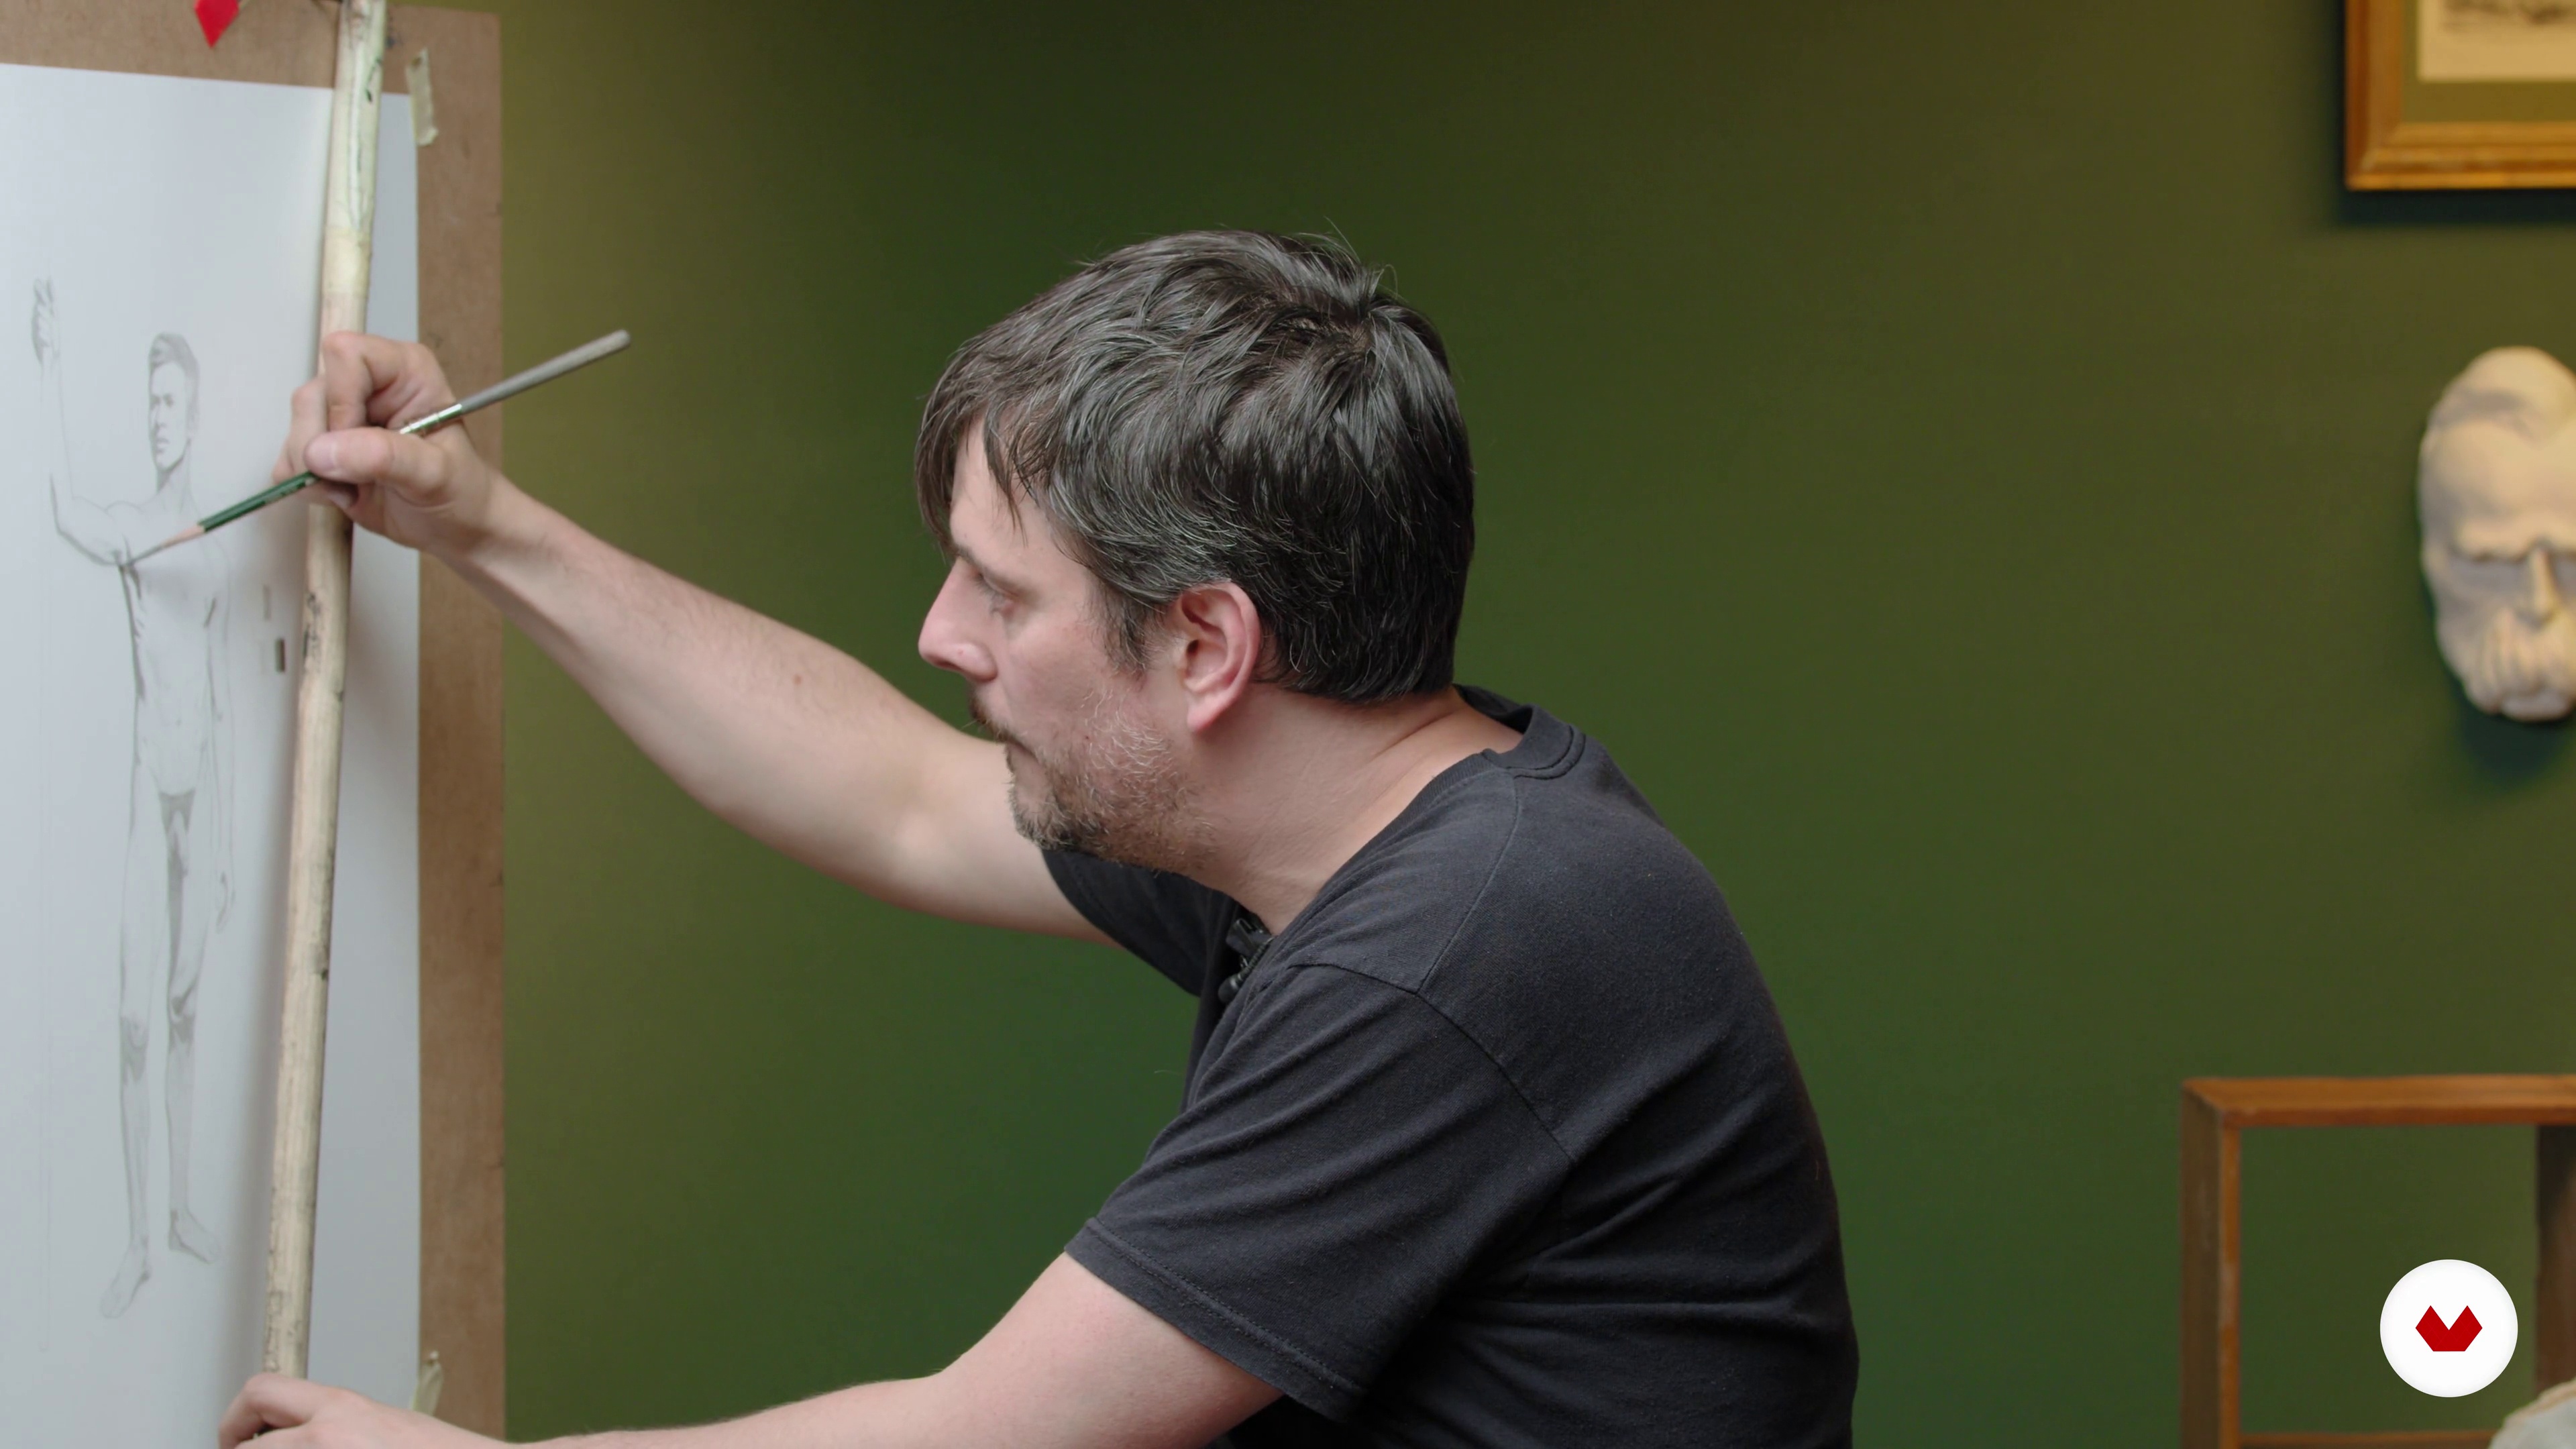
In this lesson we will talk about the combined chest-pelvis block, its interrelationship, structure, and major bone and muscle reliefs.
20m
 17
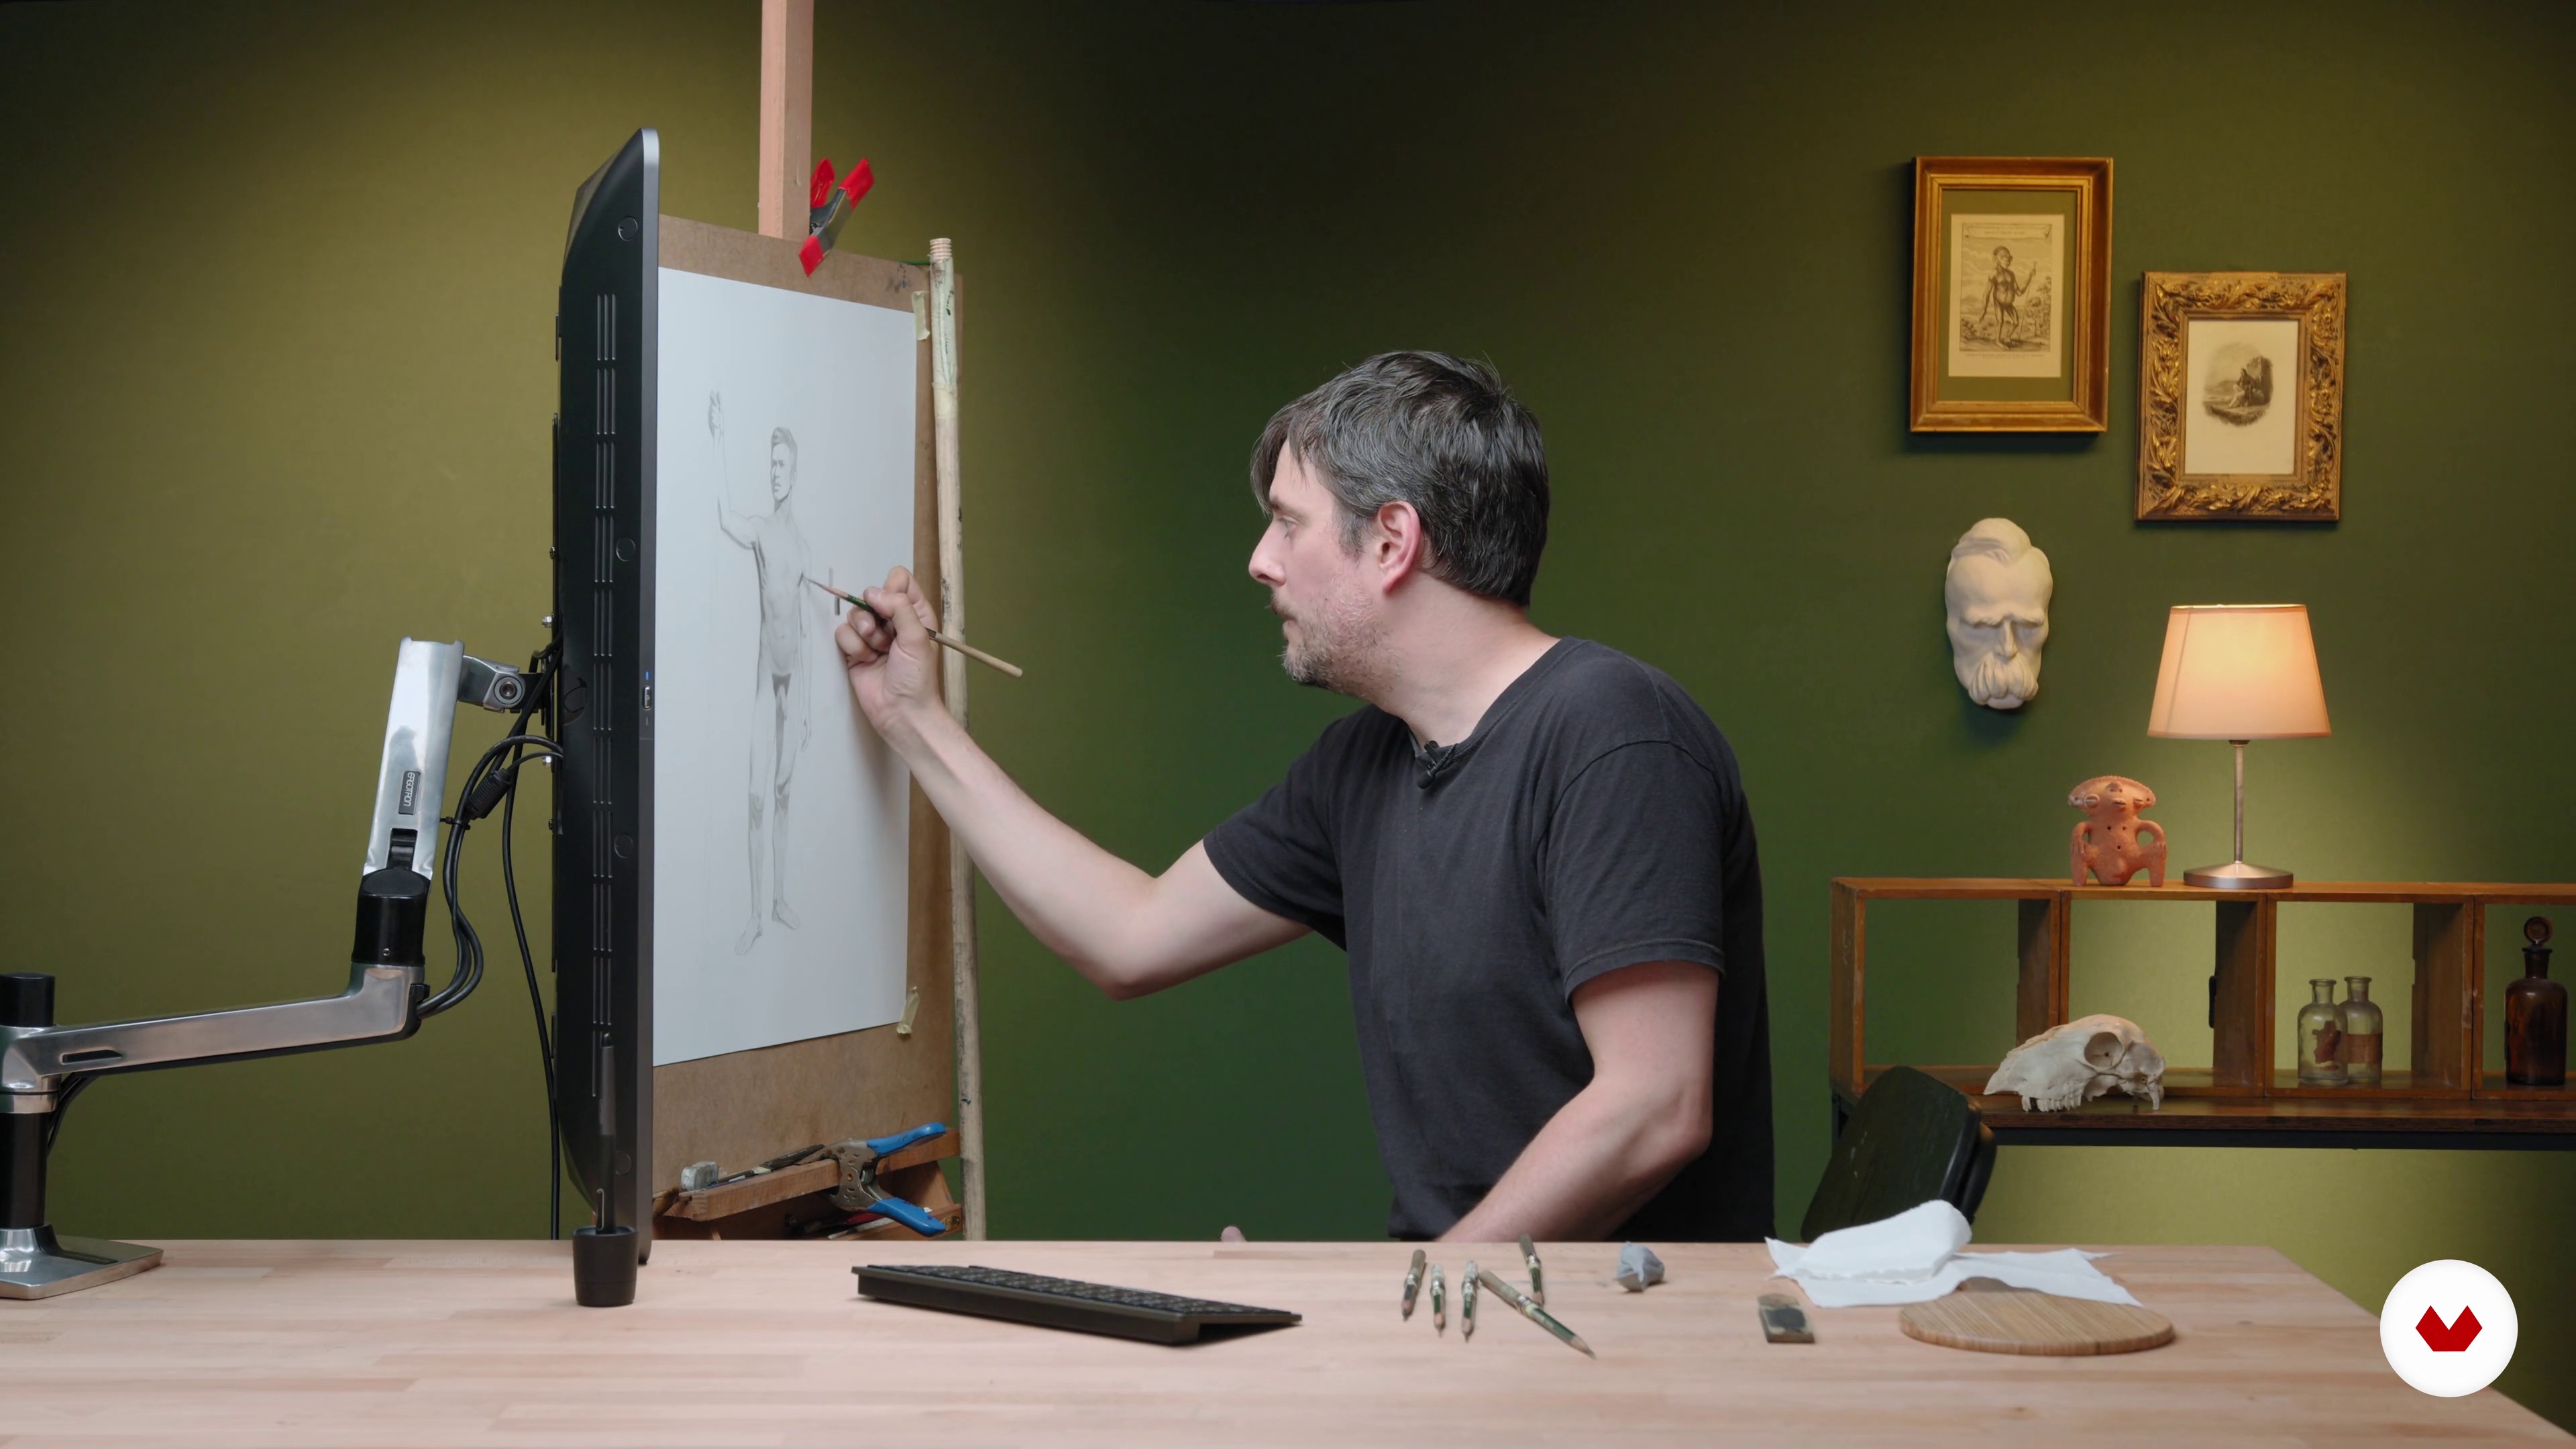
17The refinement of the drawing: we finished the torso 1
With the data we have on its bone and muscle structure, we are going to interpret the reliefs of the model and draw in final detail this entire section of the pose.
14m
 18
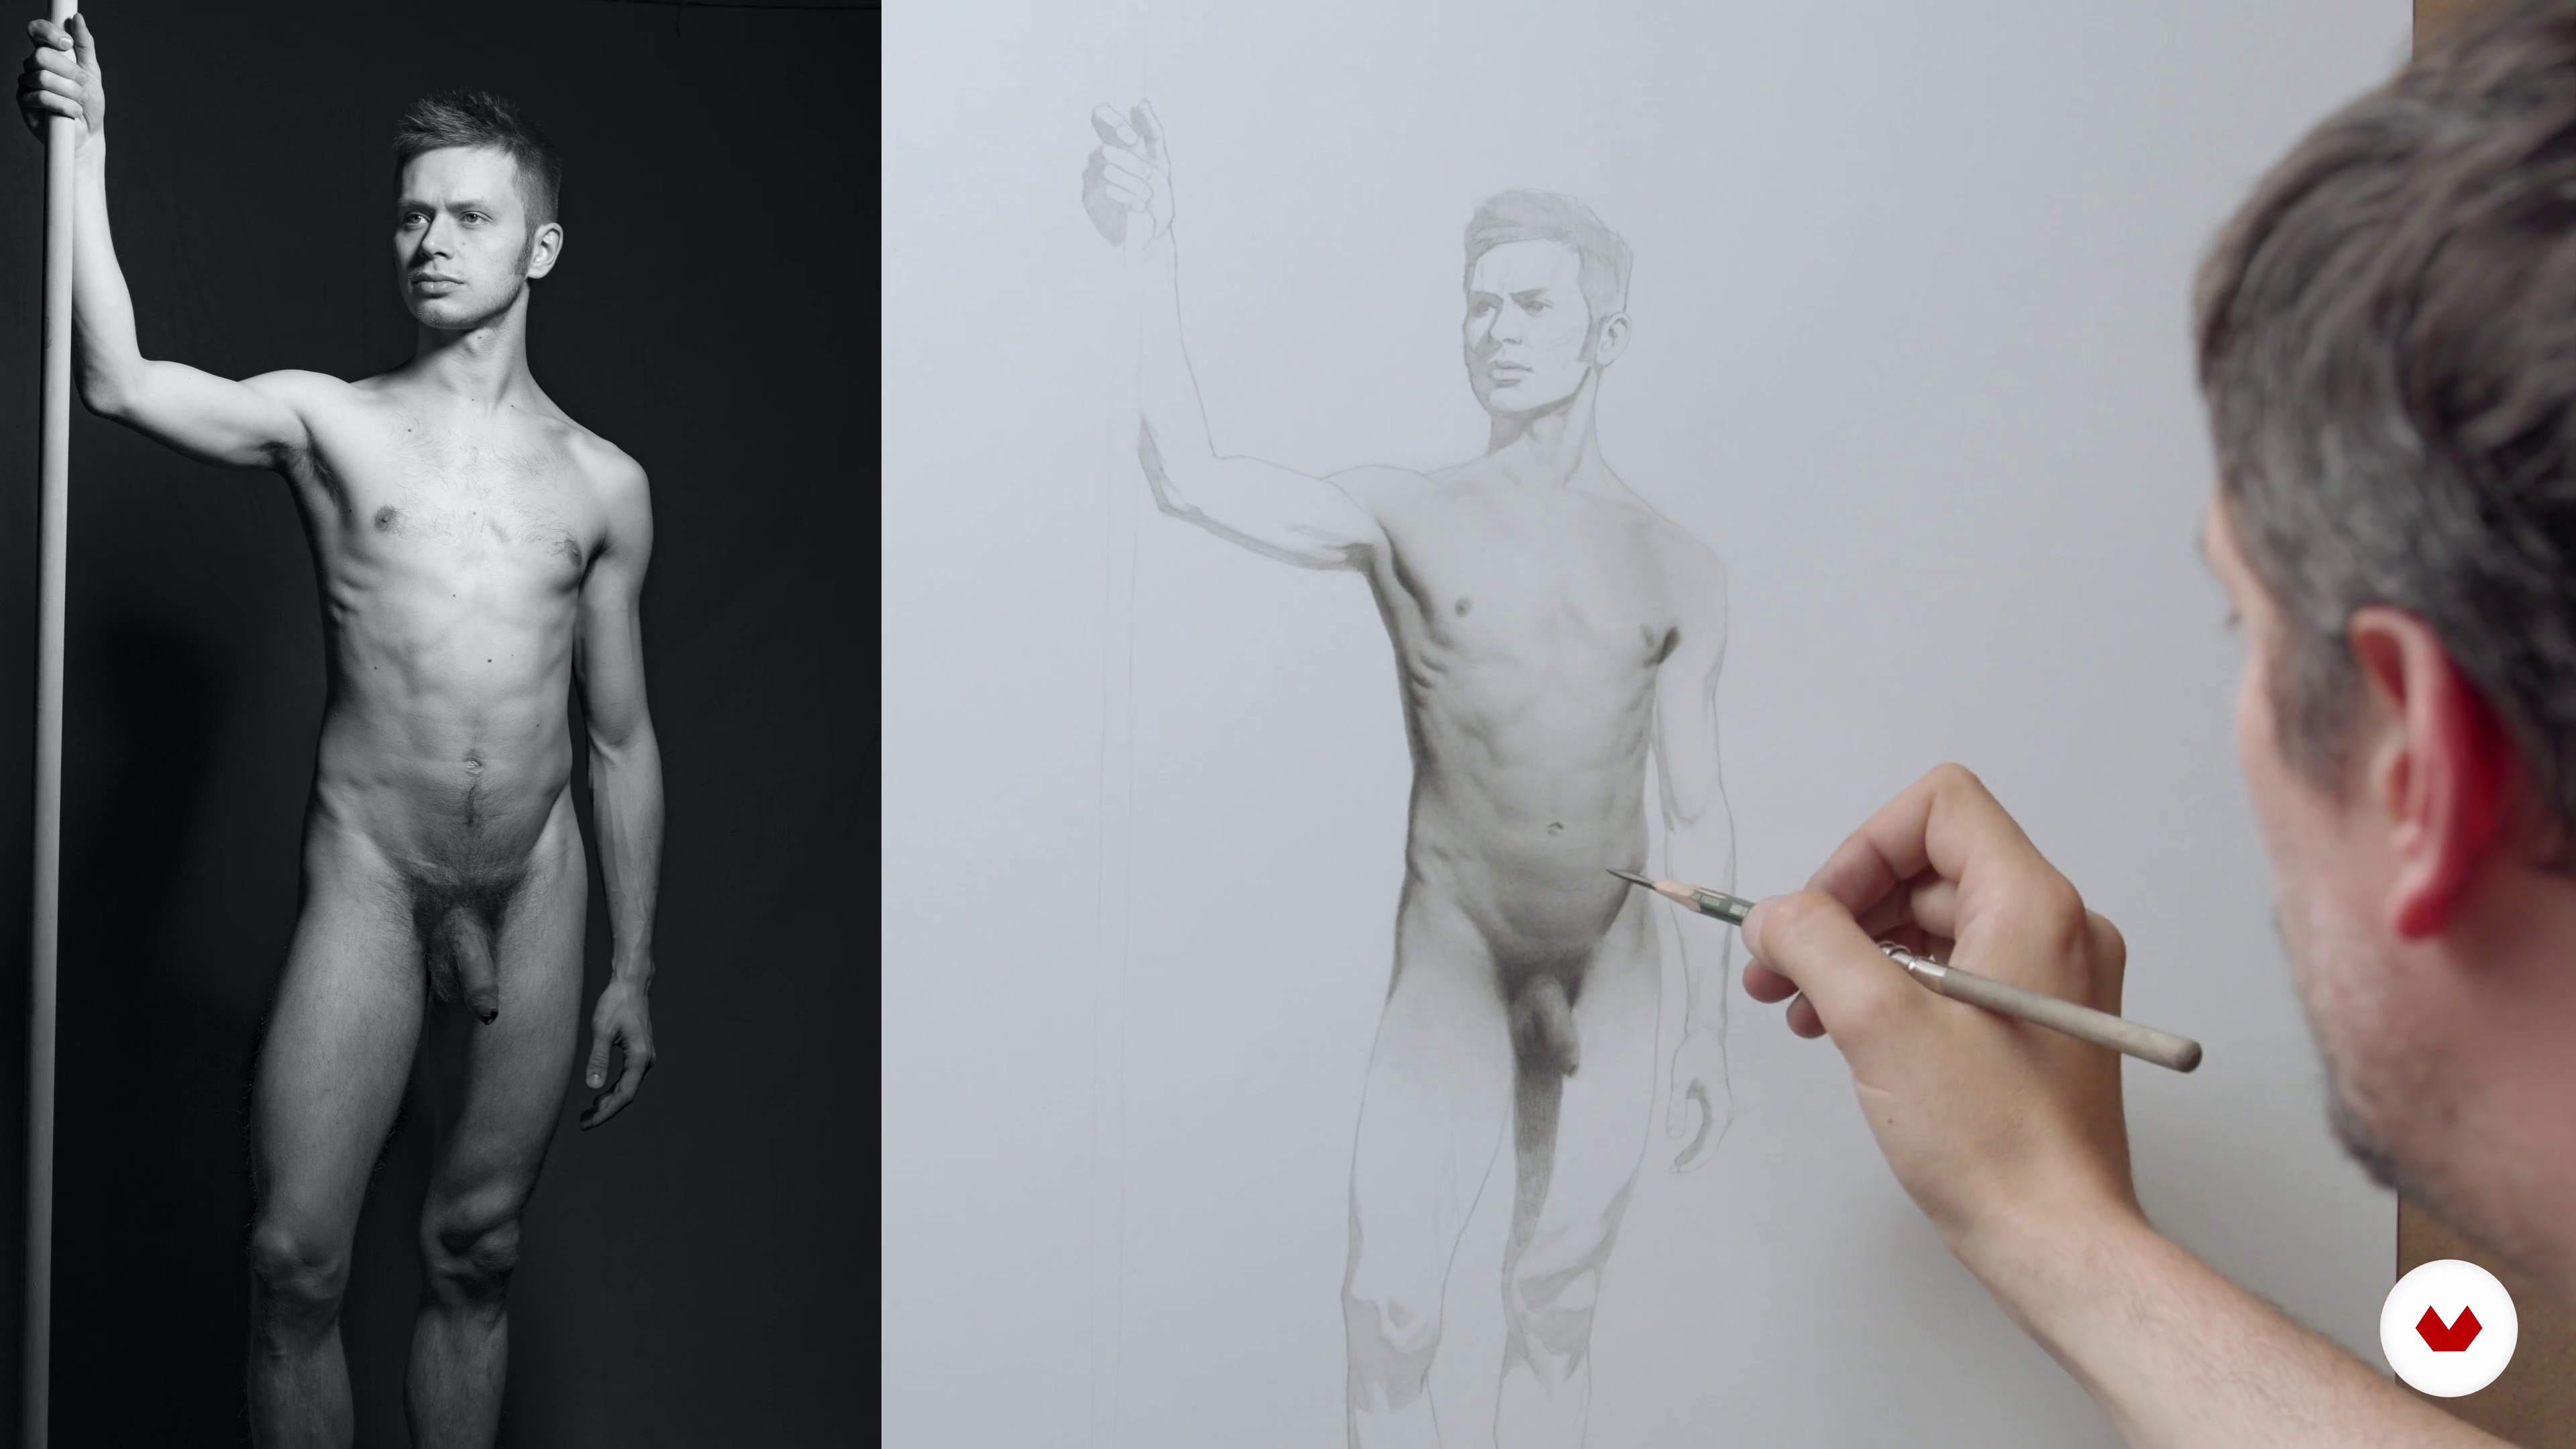
18The refinement of the drawing: we finished the torso 2
We continue to work on the torso adding detail with patience and consistency.
18m
 19
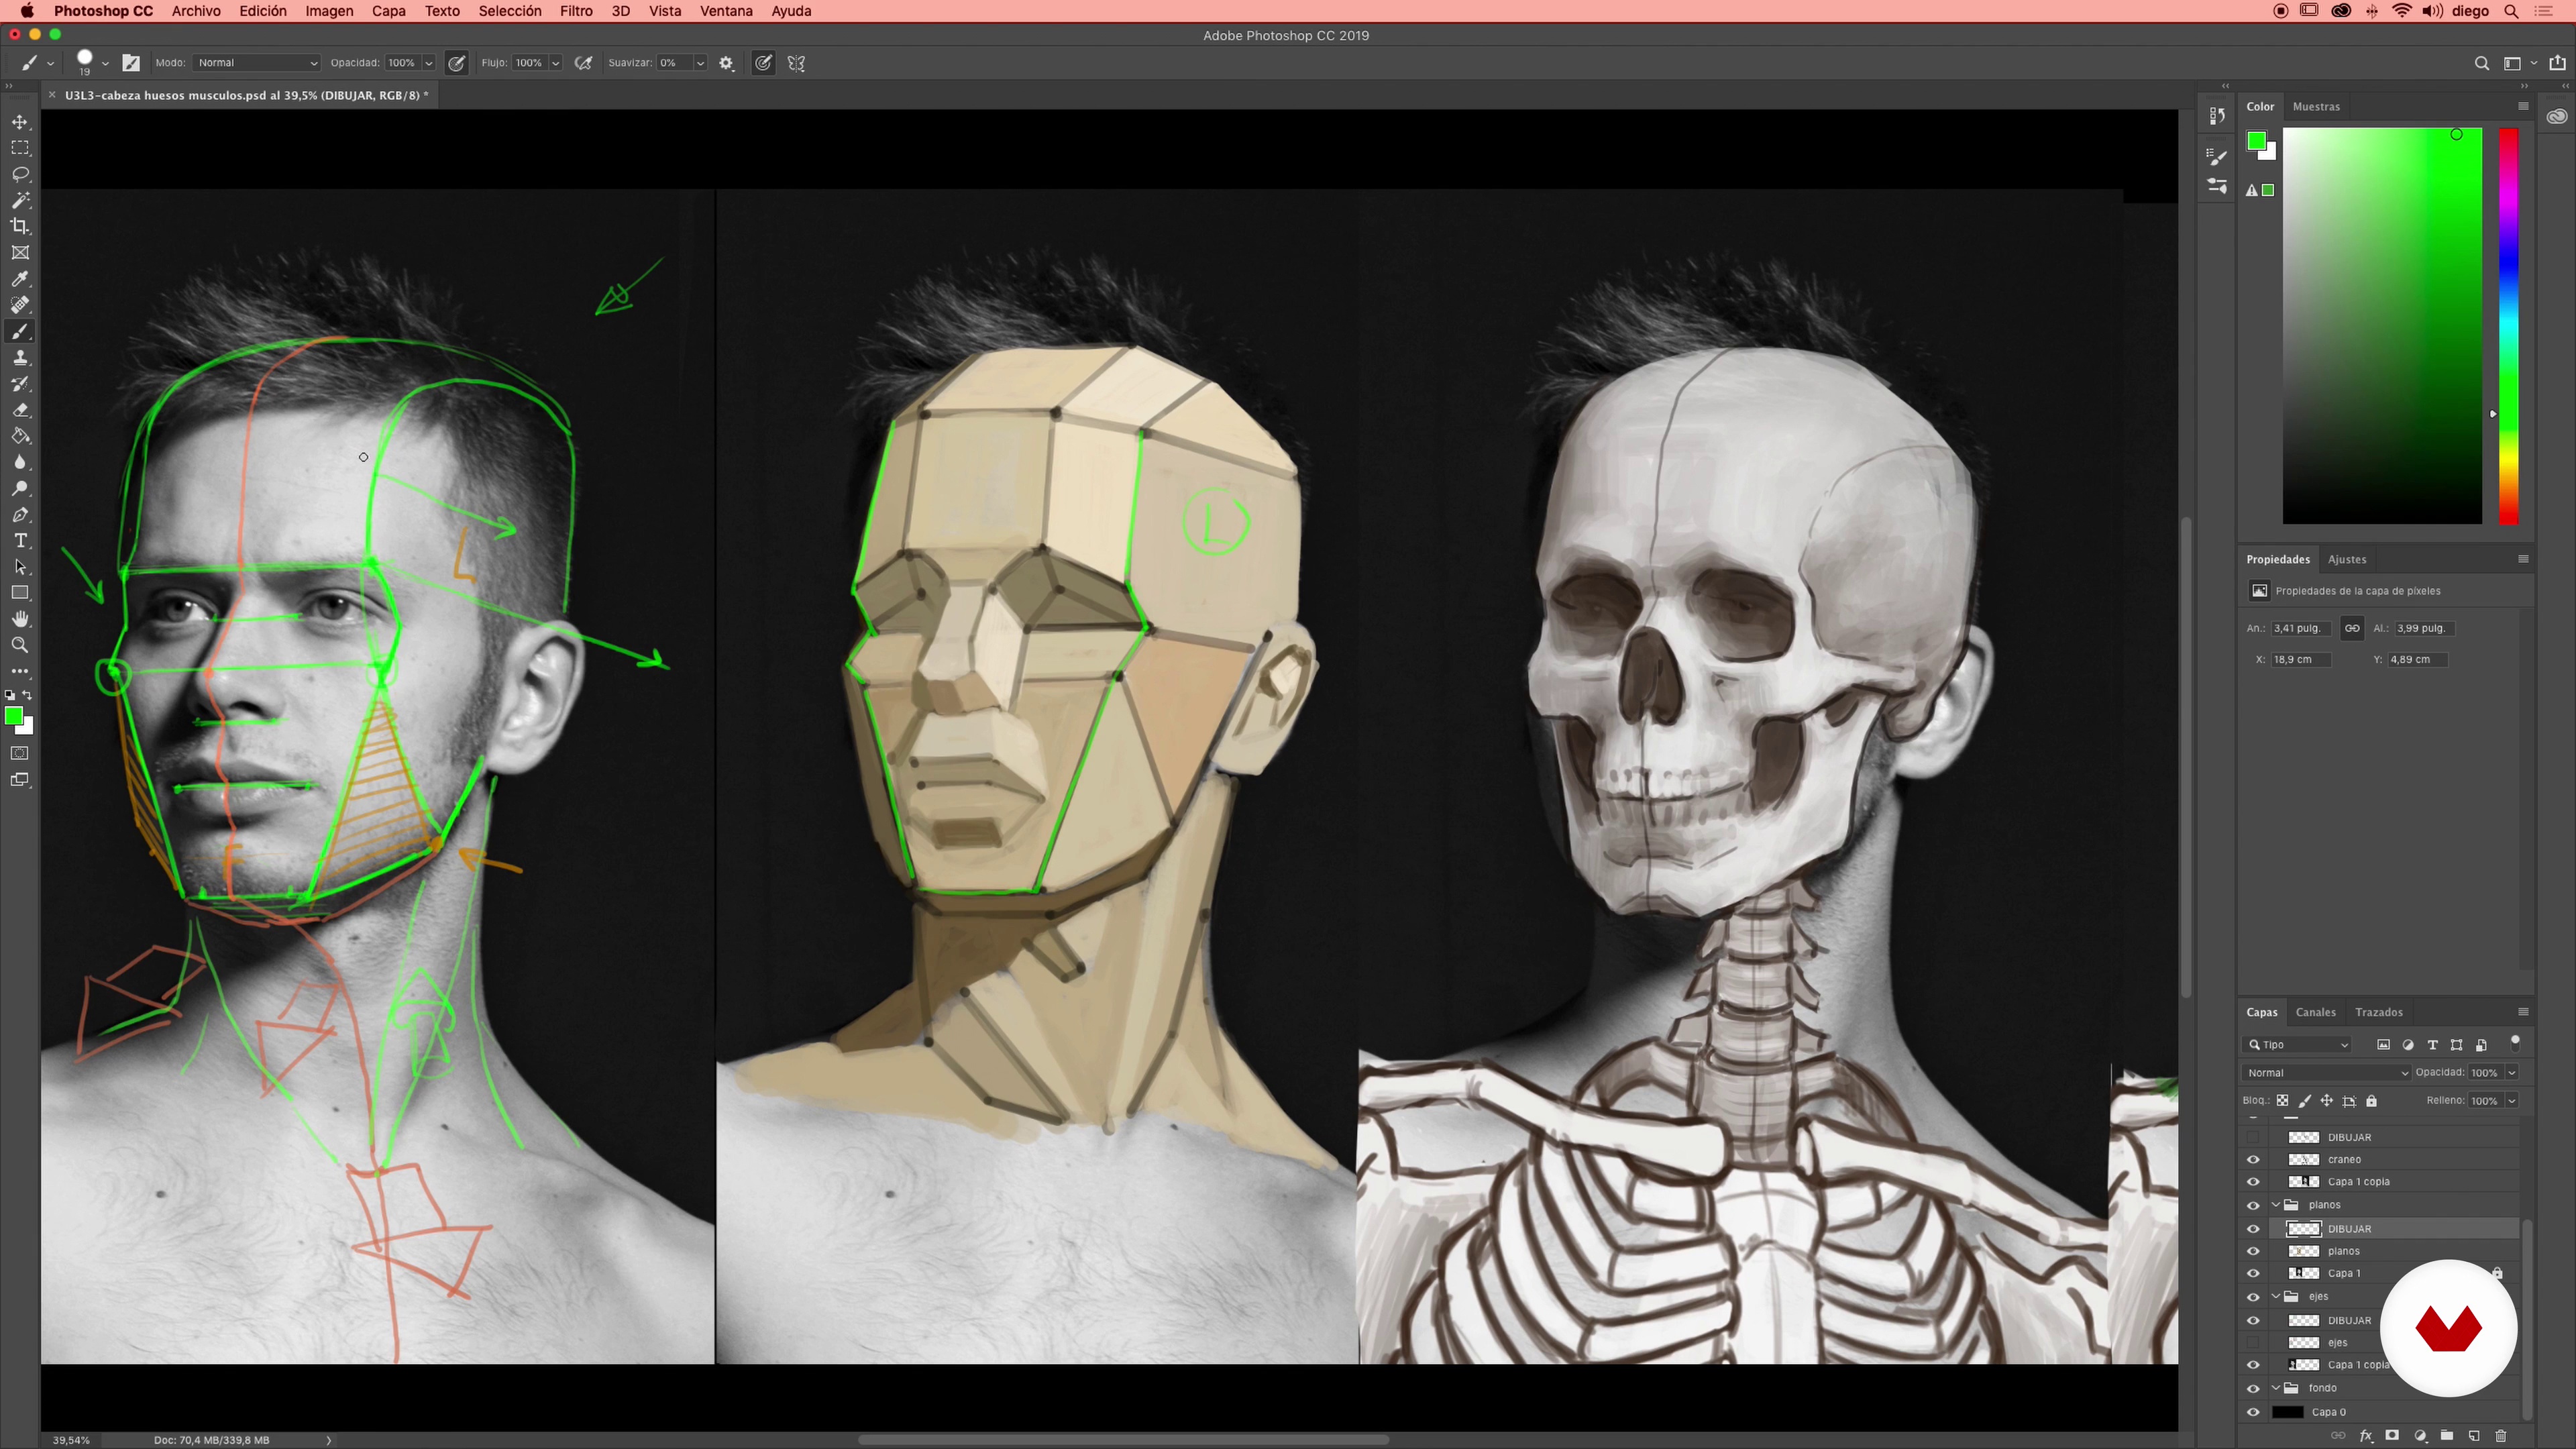
19The refinement of the drawing: we finished torso 3
We finalize the details of the torso of our drawing for now, leaving the textures work for later.
11m
 20
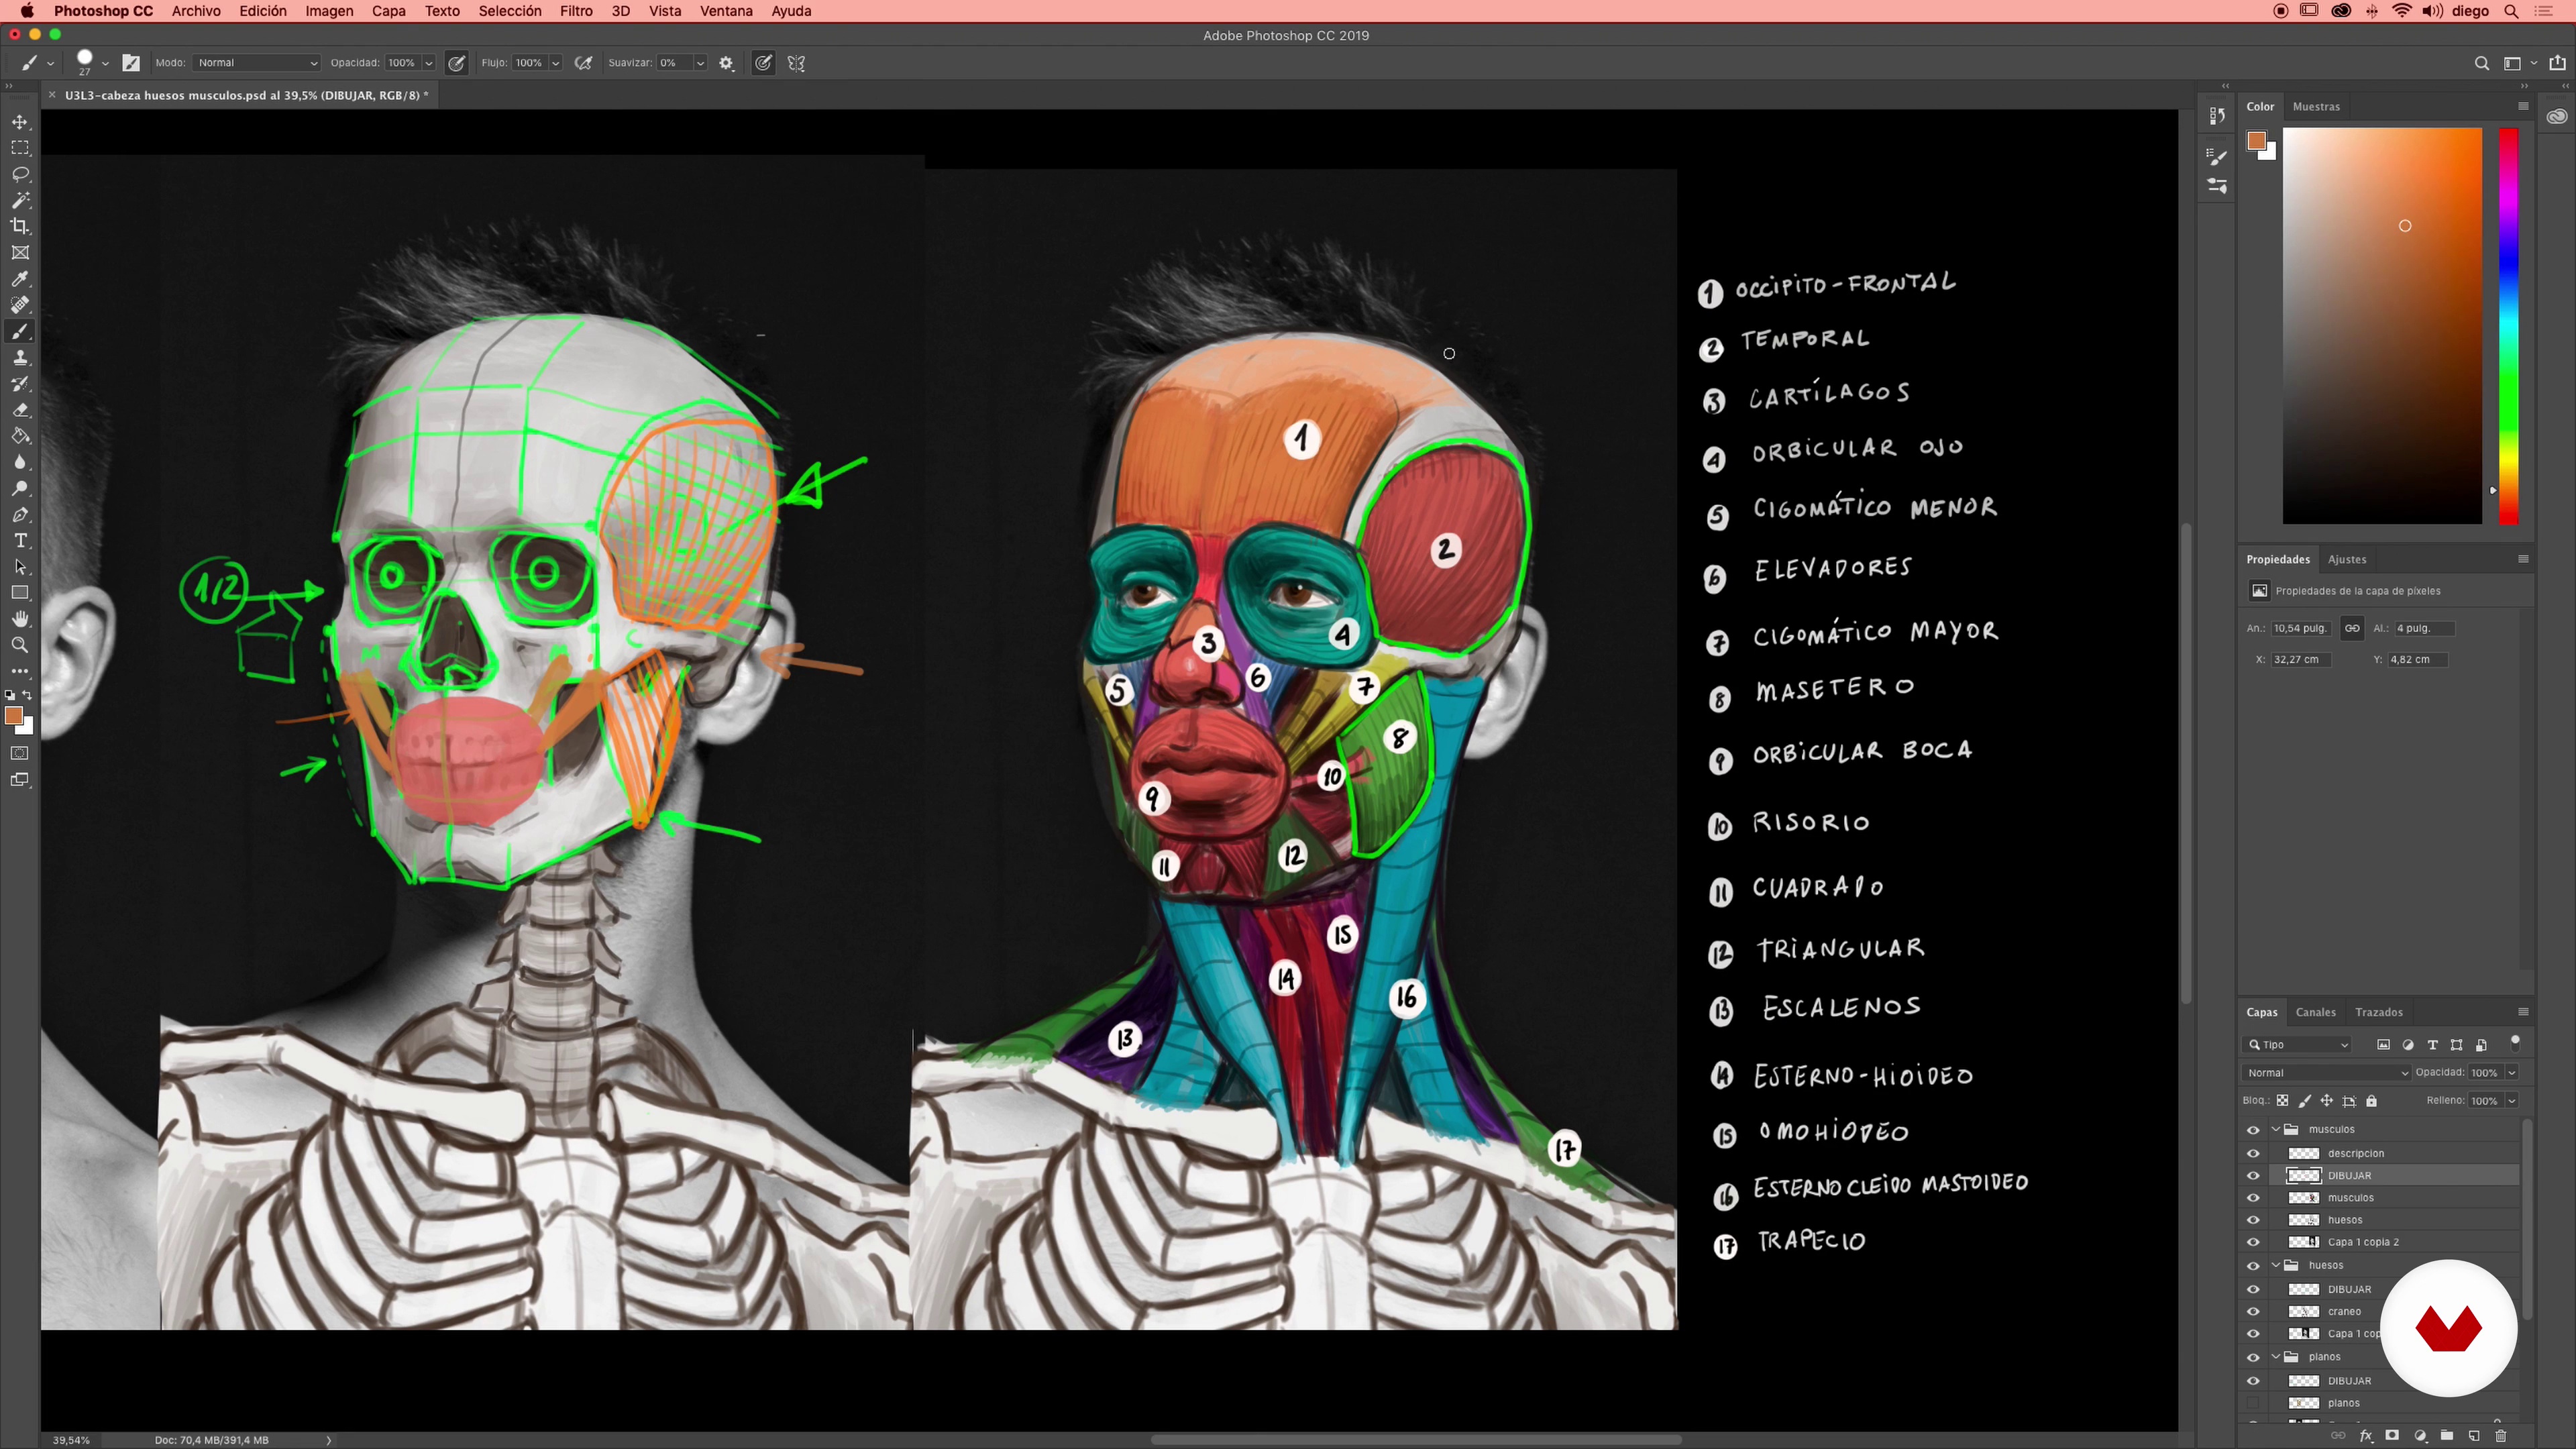
20The skull and neck: bone and muscle analysis 1
In this lesson we will talk about the skull and neck, its structure and main bone and muscular reliefs.
13m
 21
21The skull and neck: muscle and bone analysis 2
We continue the analysis of the different anatomical characteristics of the skull and neck to face the drawing of the head.
14m
 22
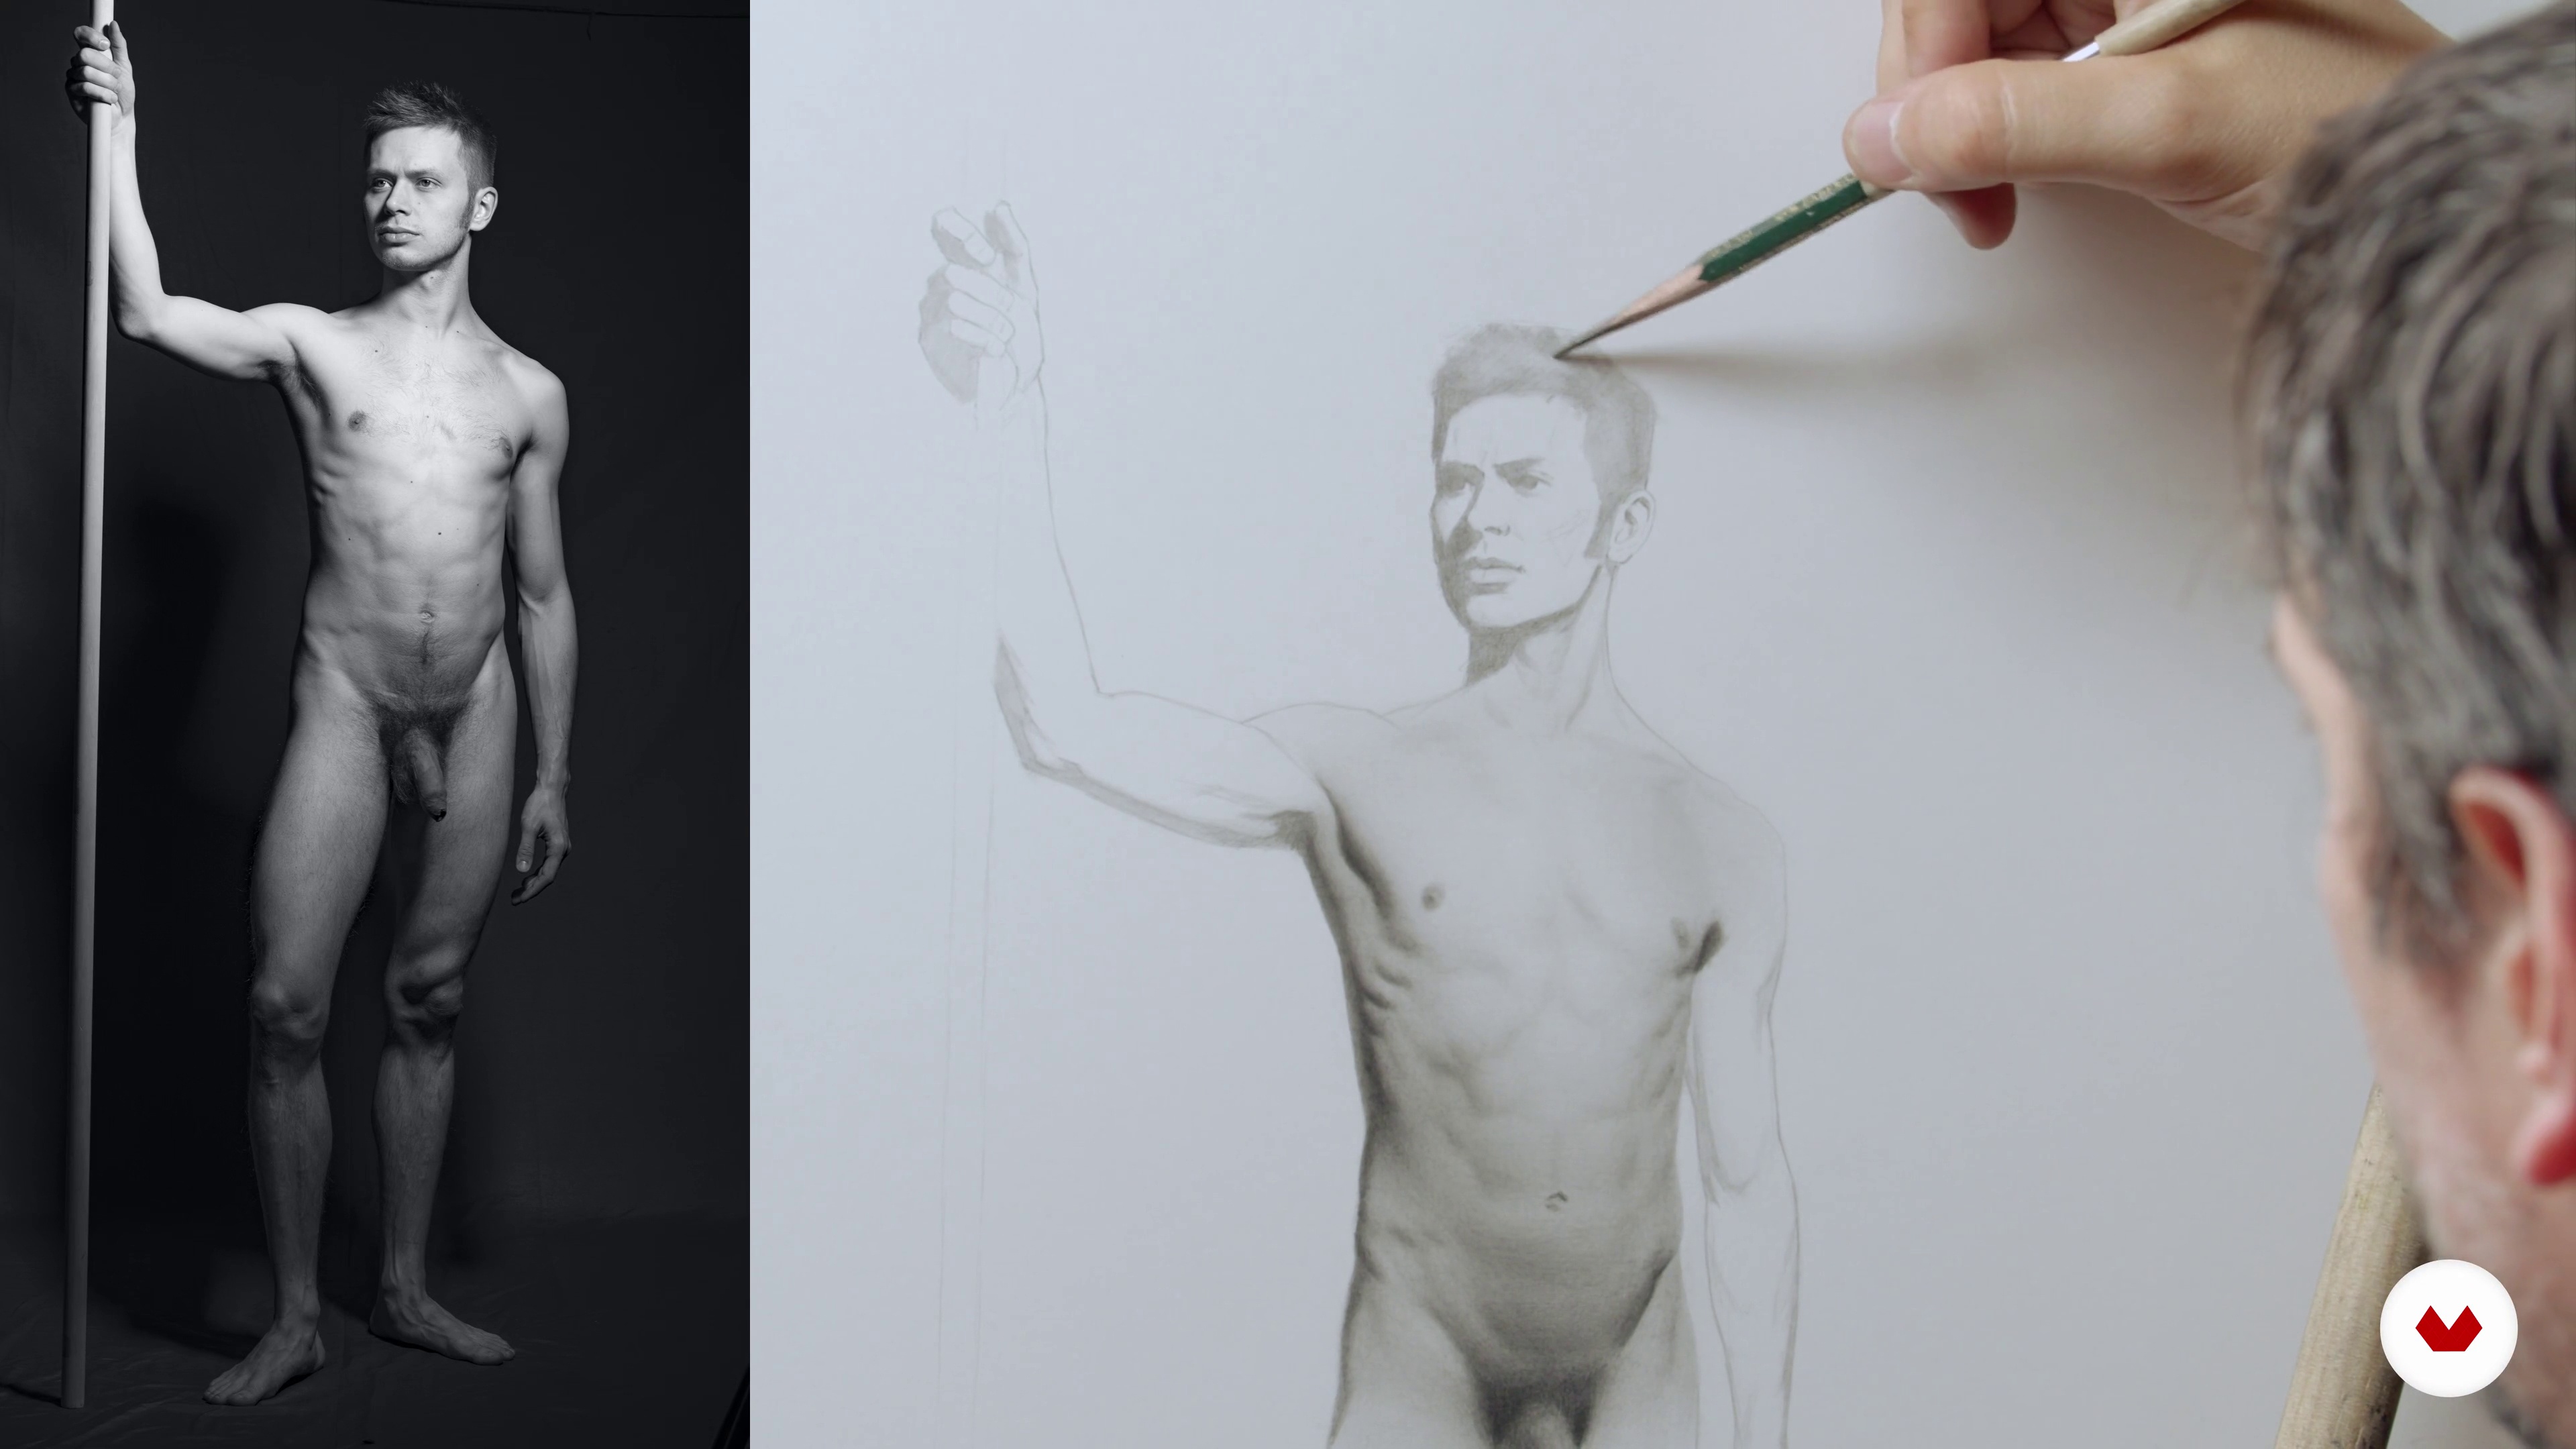
22Refinement of the drawing: we finished head 1
In this lesson we are going to finish the head, detail the features and execute the modeling with precision.
16m
 23
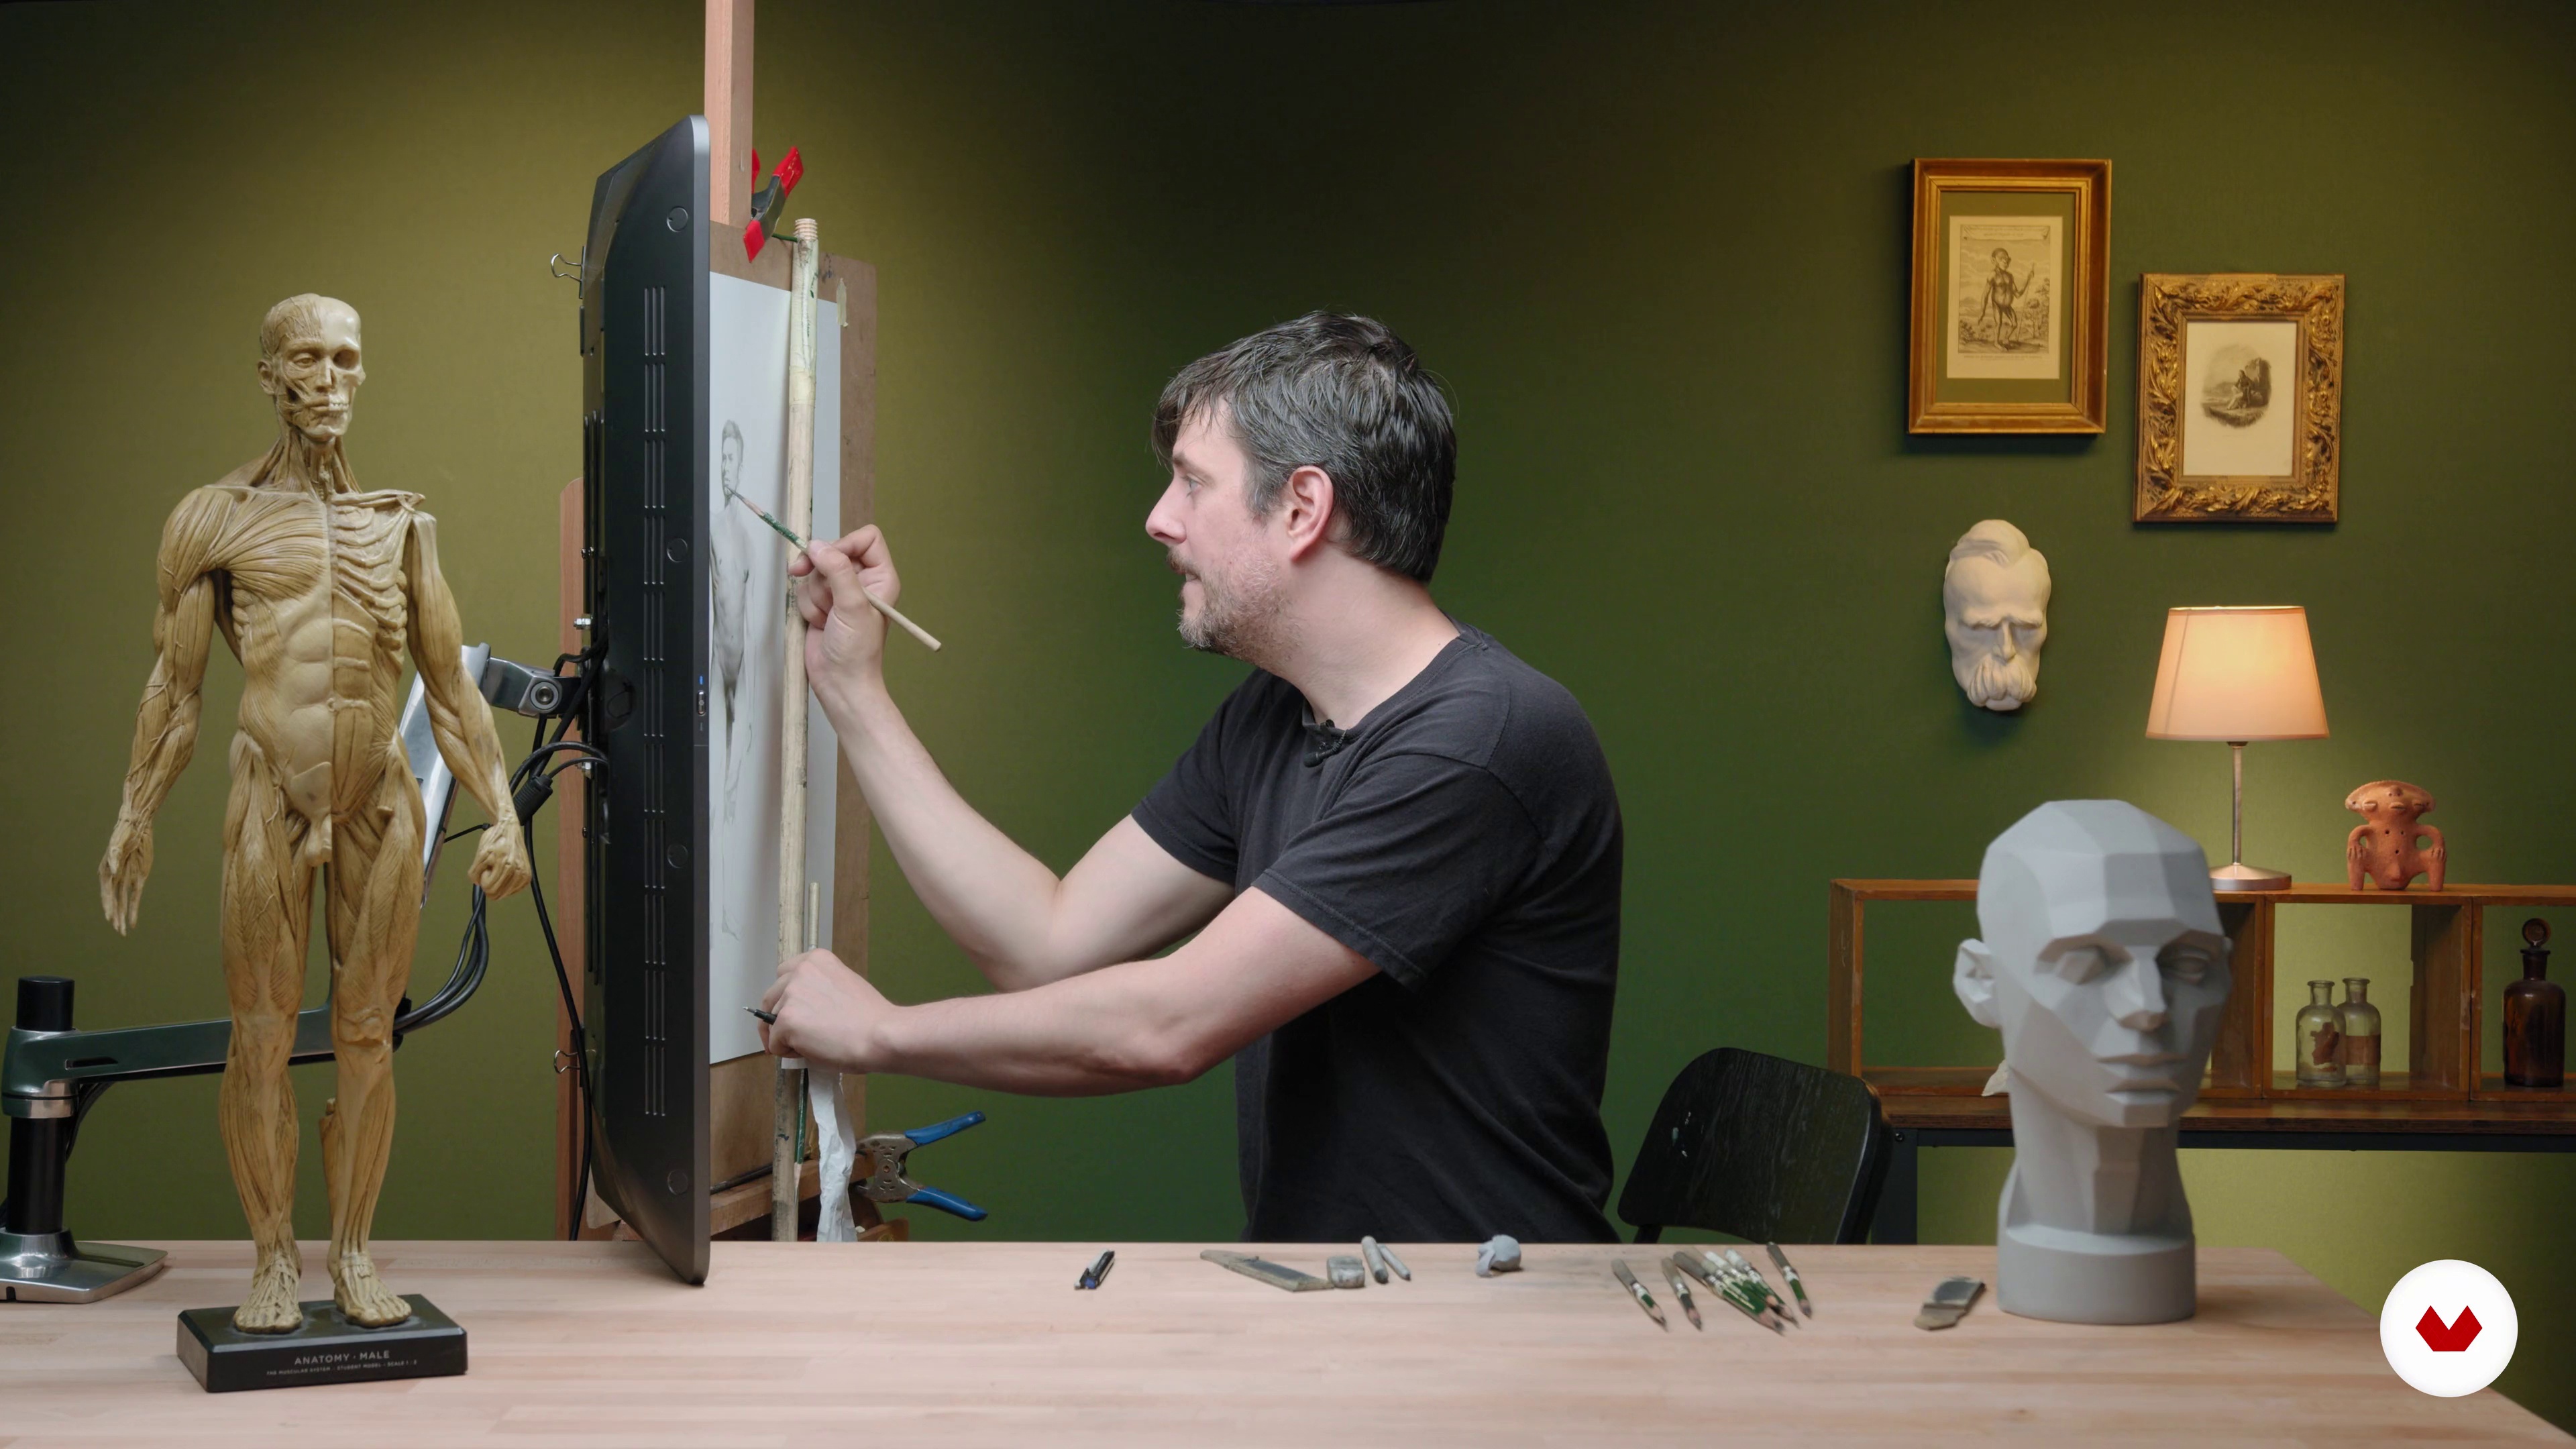
23Refinement of the drawing: we finished the head 2
We continue working on the different details, lights and shadows of the face of our drawing.
14m
 24
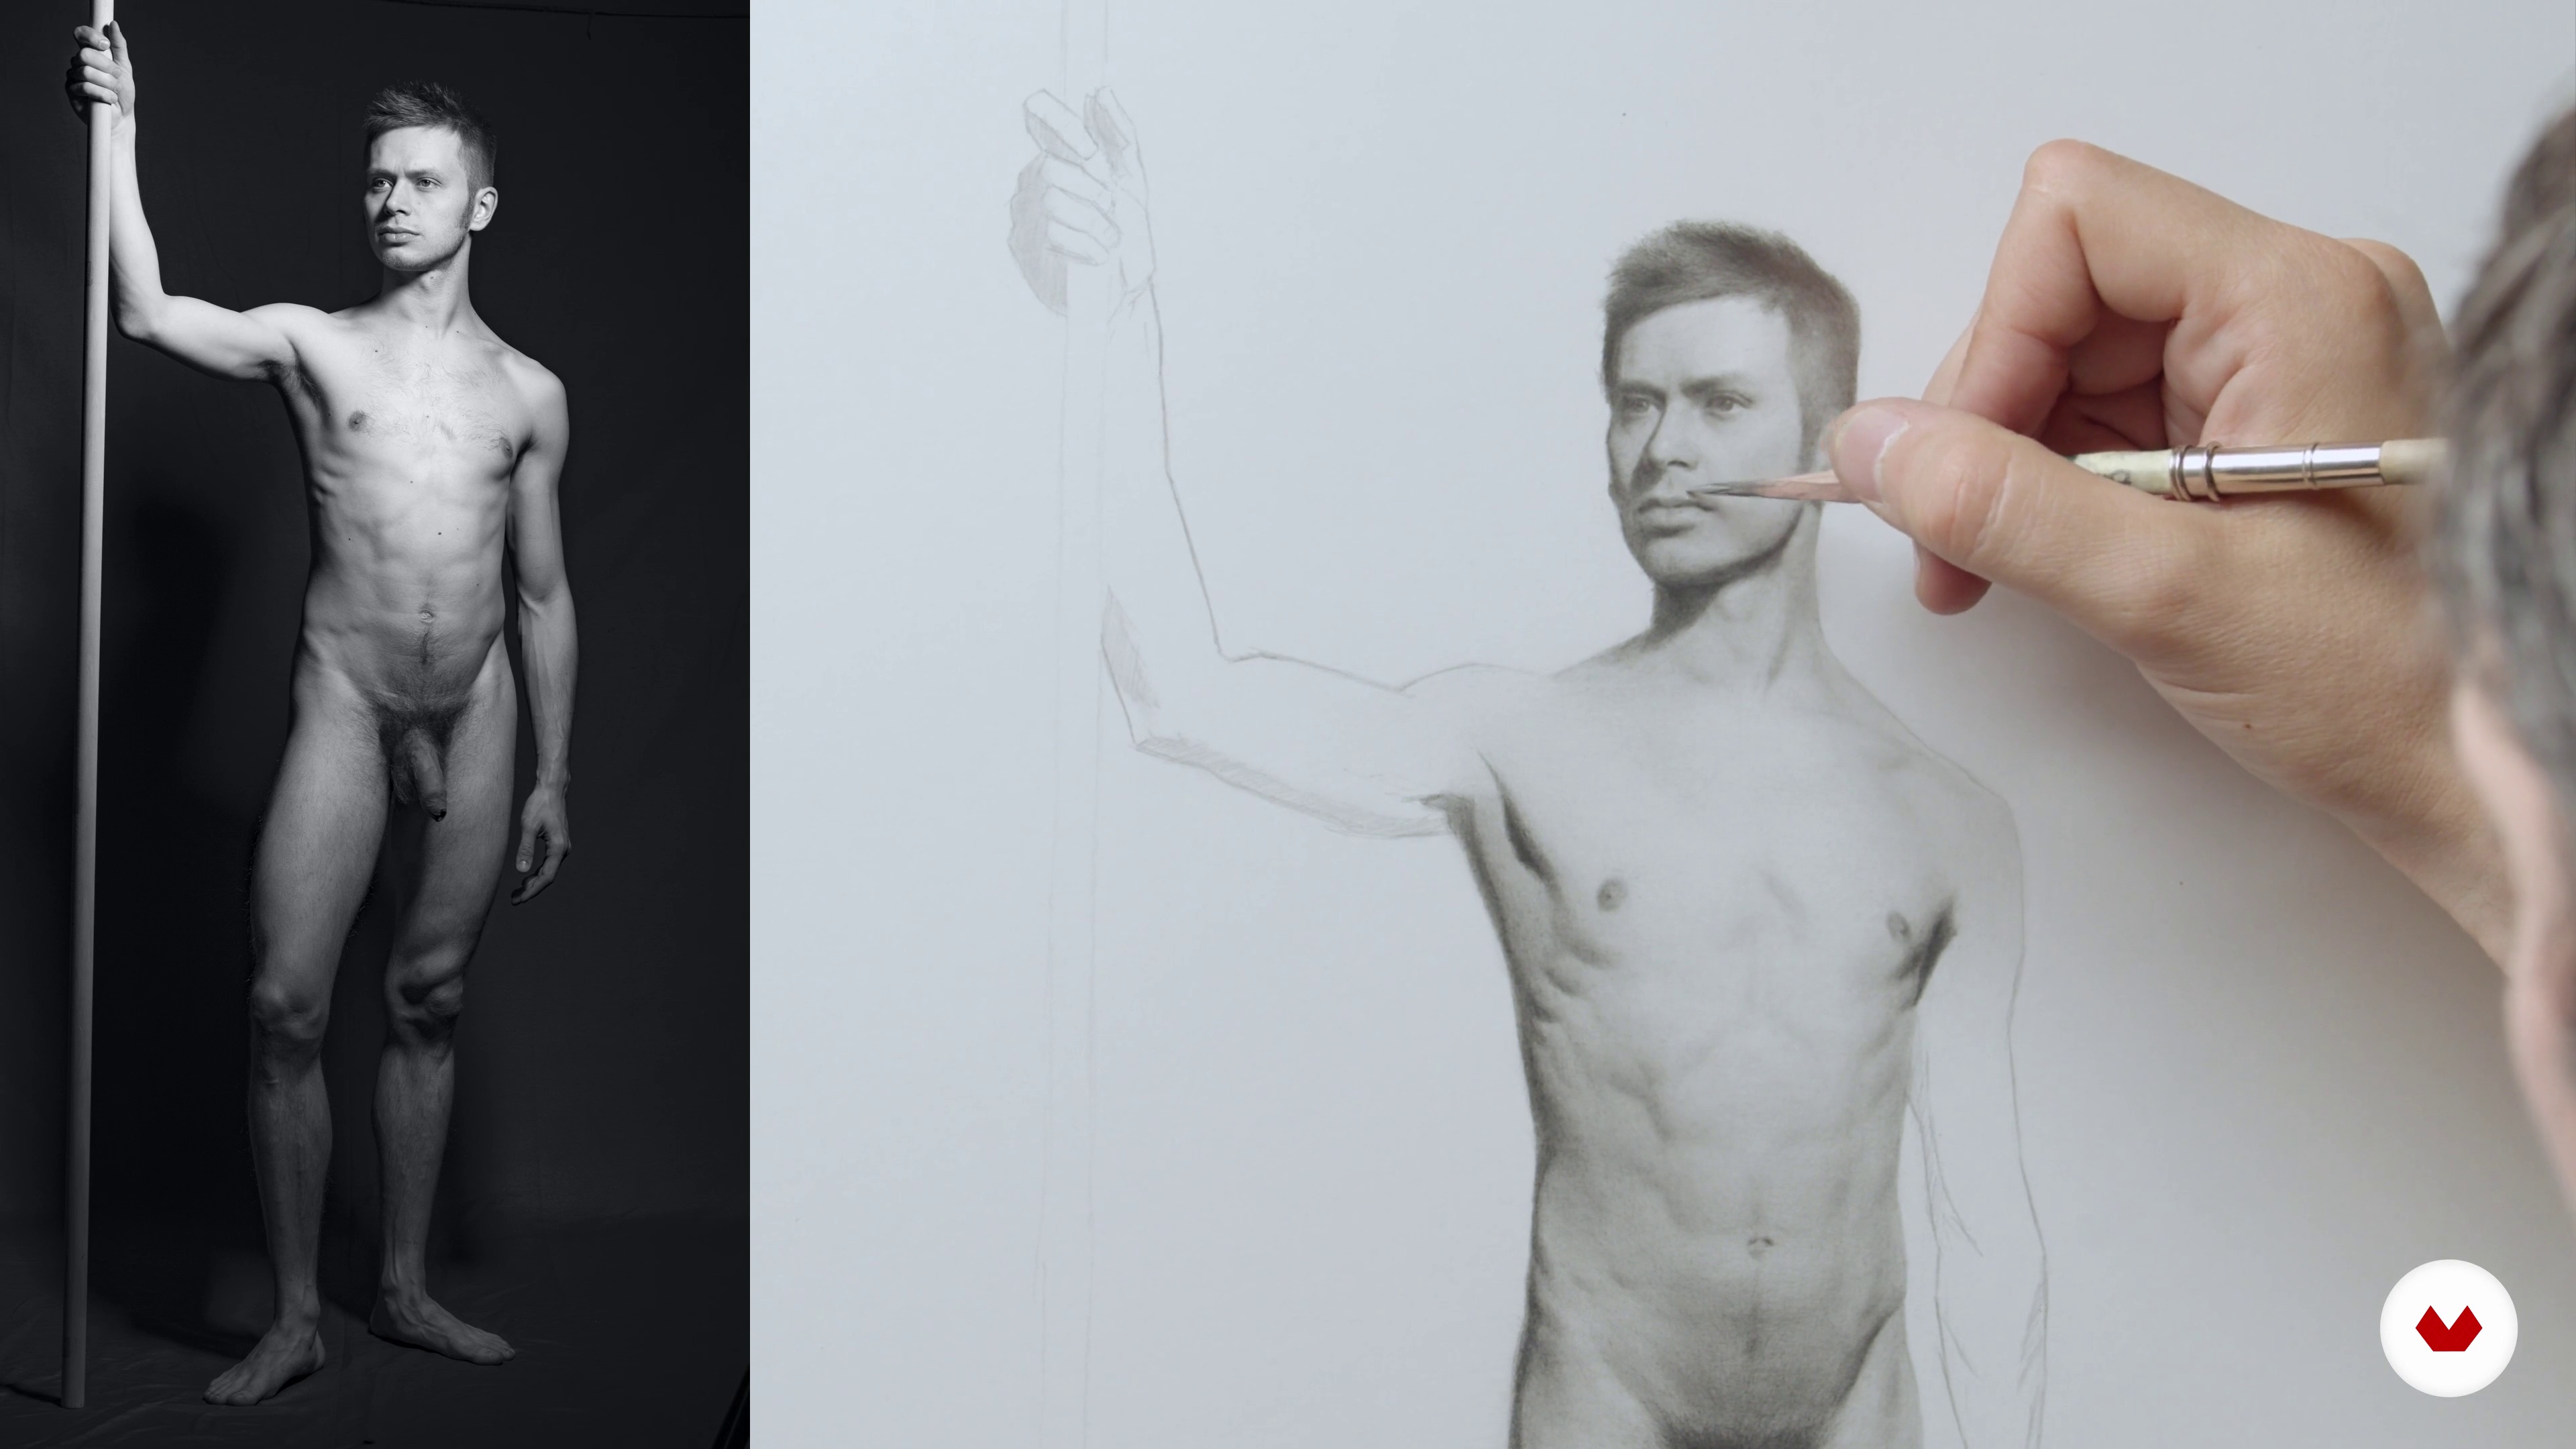
24Refinement of the drawing: we finished the head 3
We finish modeling the head and neck of our drawing.
18m
 25
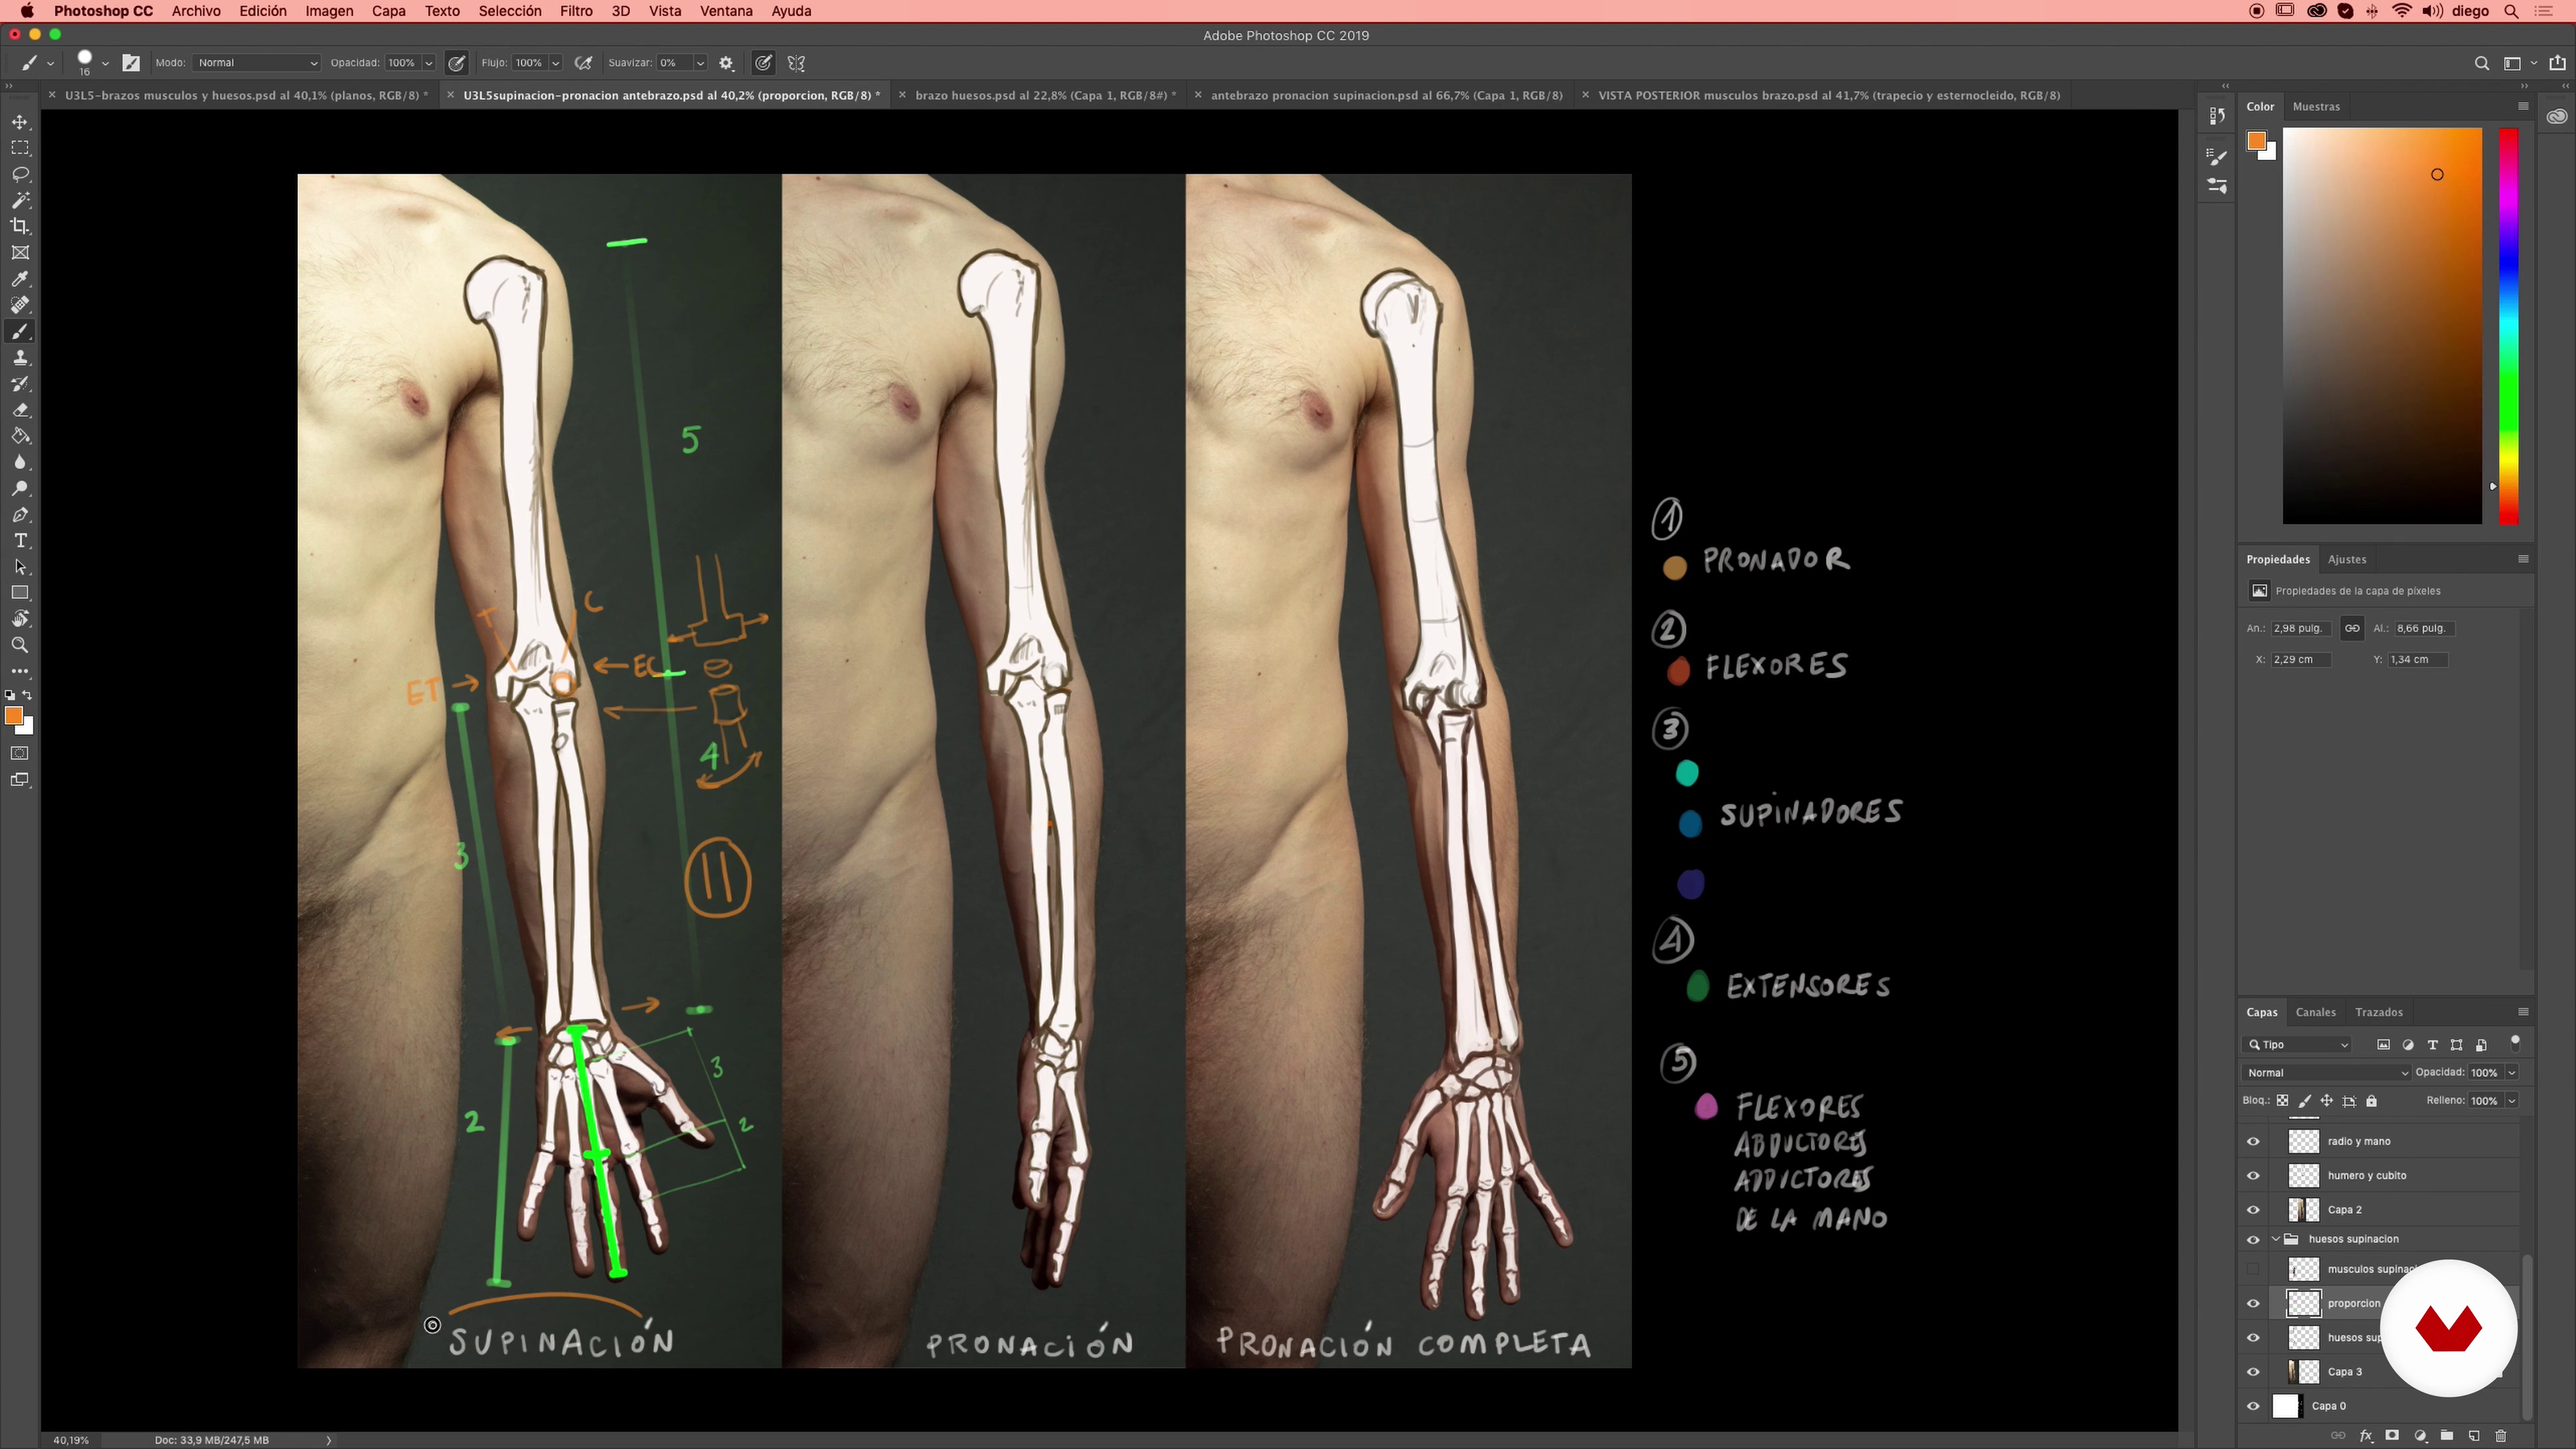
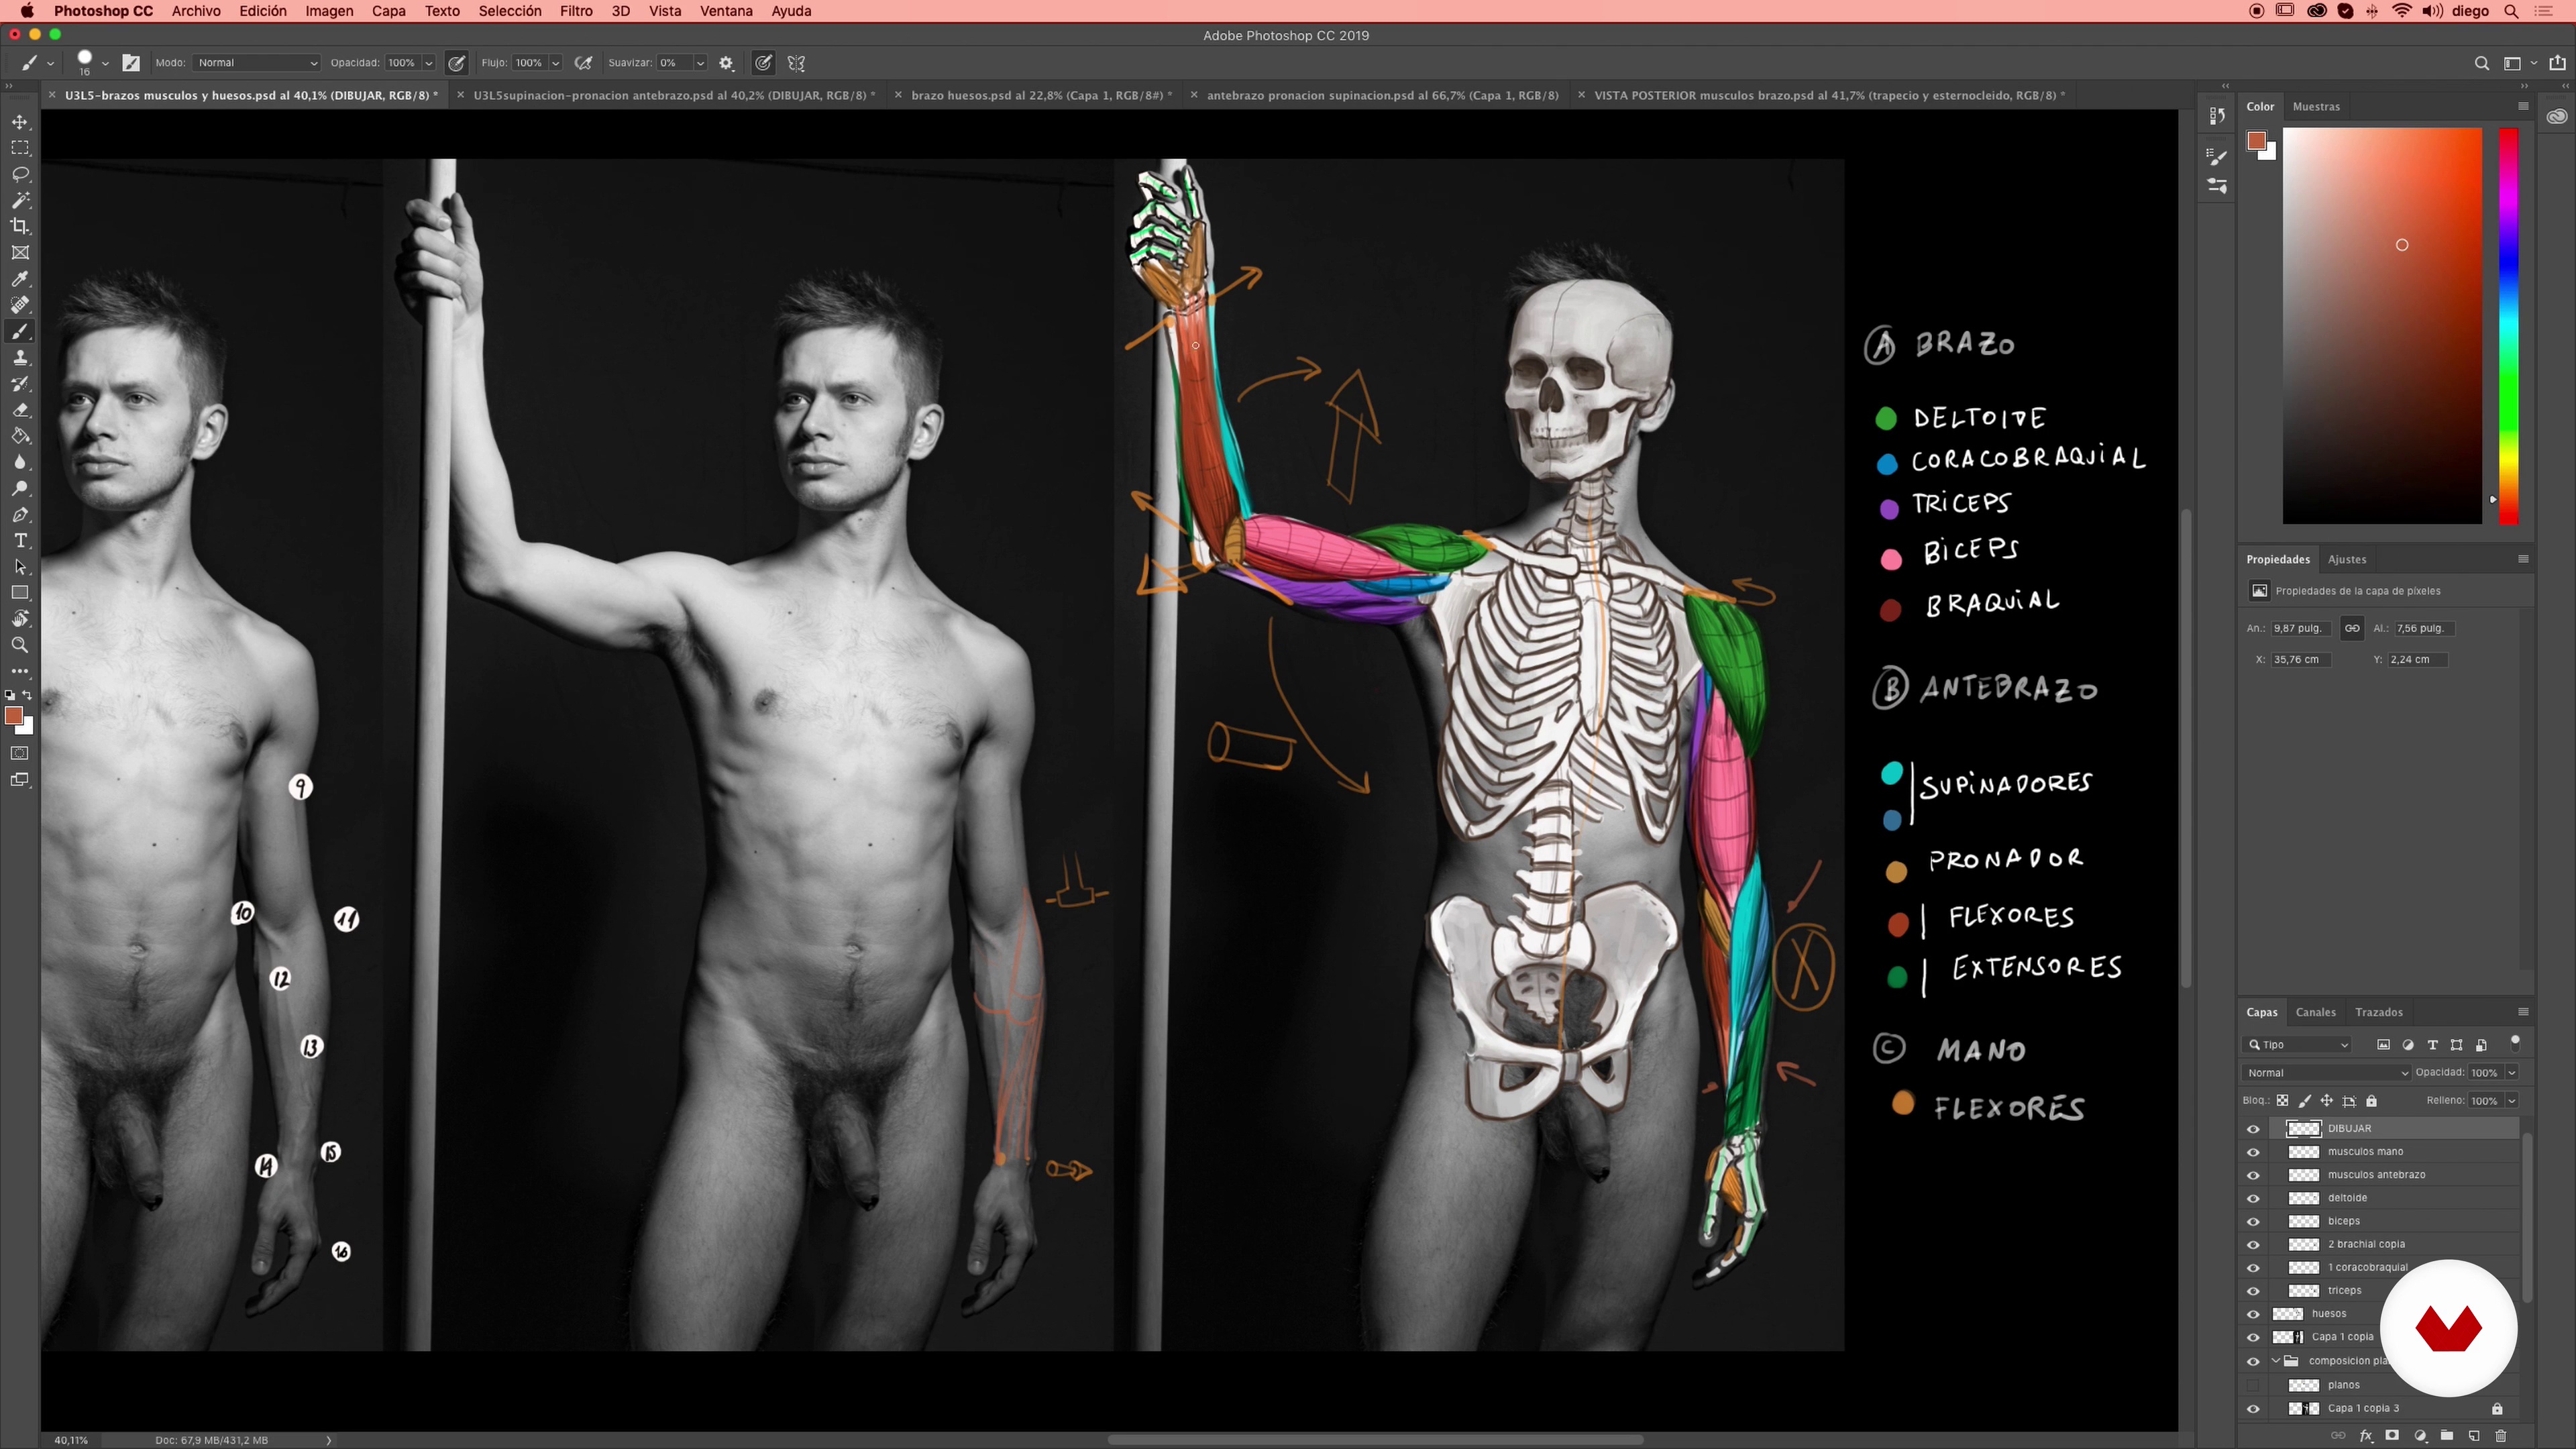
25Arm, forearm and hand: bone and muscle analysis 1
In this lesson we will learn the construction and function of the arm, forearm and hand, and we will study their bone and muscle anatomy.
16m
 26
26Arm, forearm and hand: bone and muscle analysis 2
We continue to analyze the different features and elements of the arm, forearm, and hand in our reference image.
13m
 27
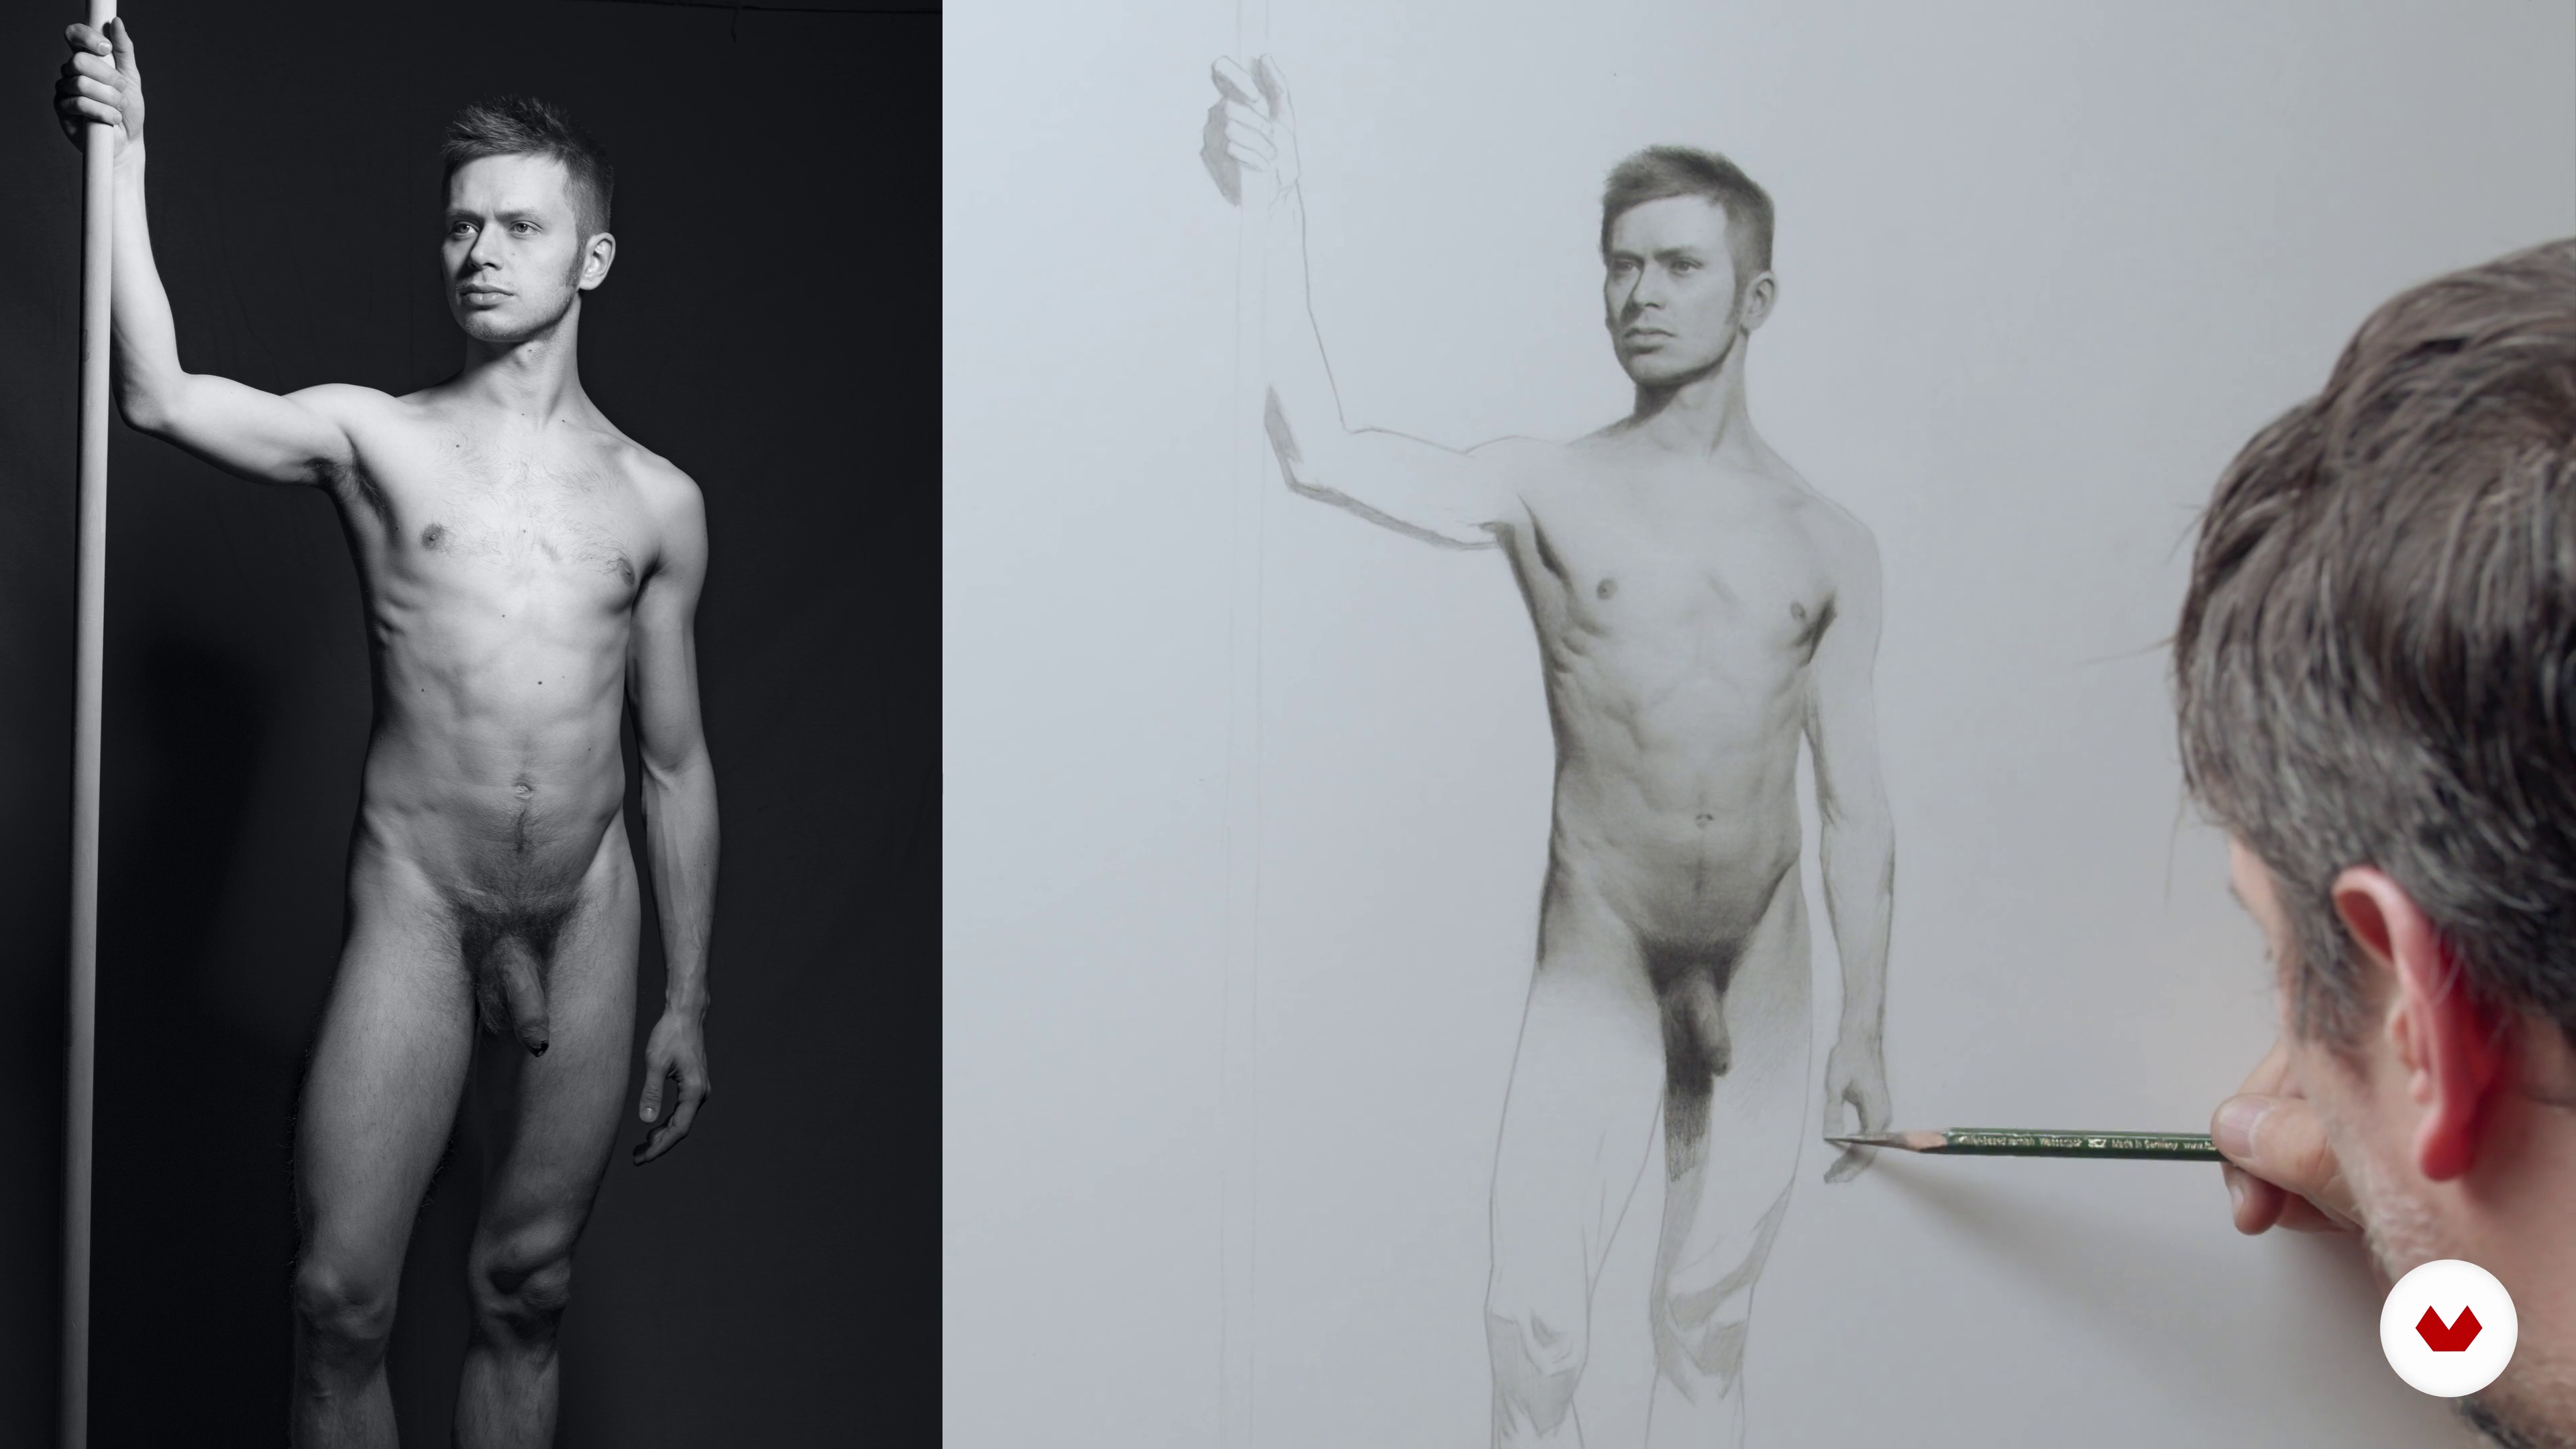
27Refinement of the drawing: we finish arm, forearm and hand 1
In this lesson we will apply what has been discussed about the construction and anatomy of the arm, forearm and hand to execute the final modeling of the drawing.
18m
 28
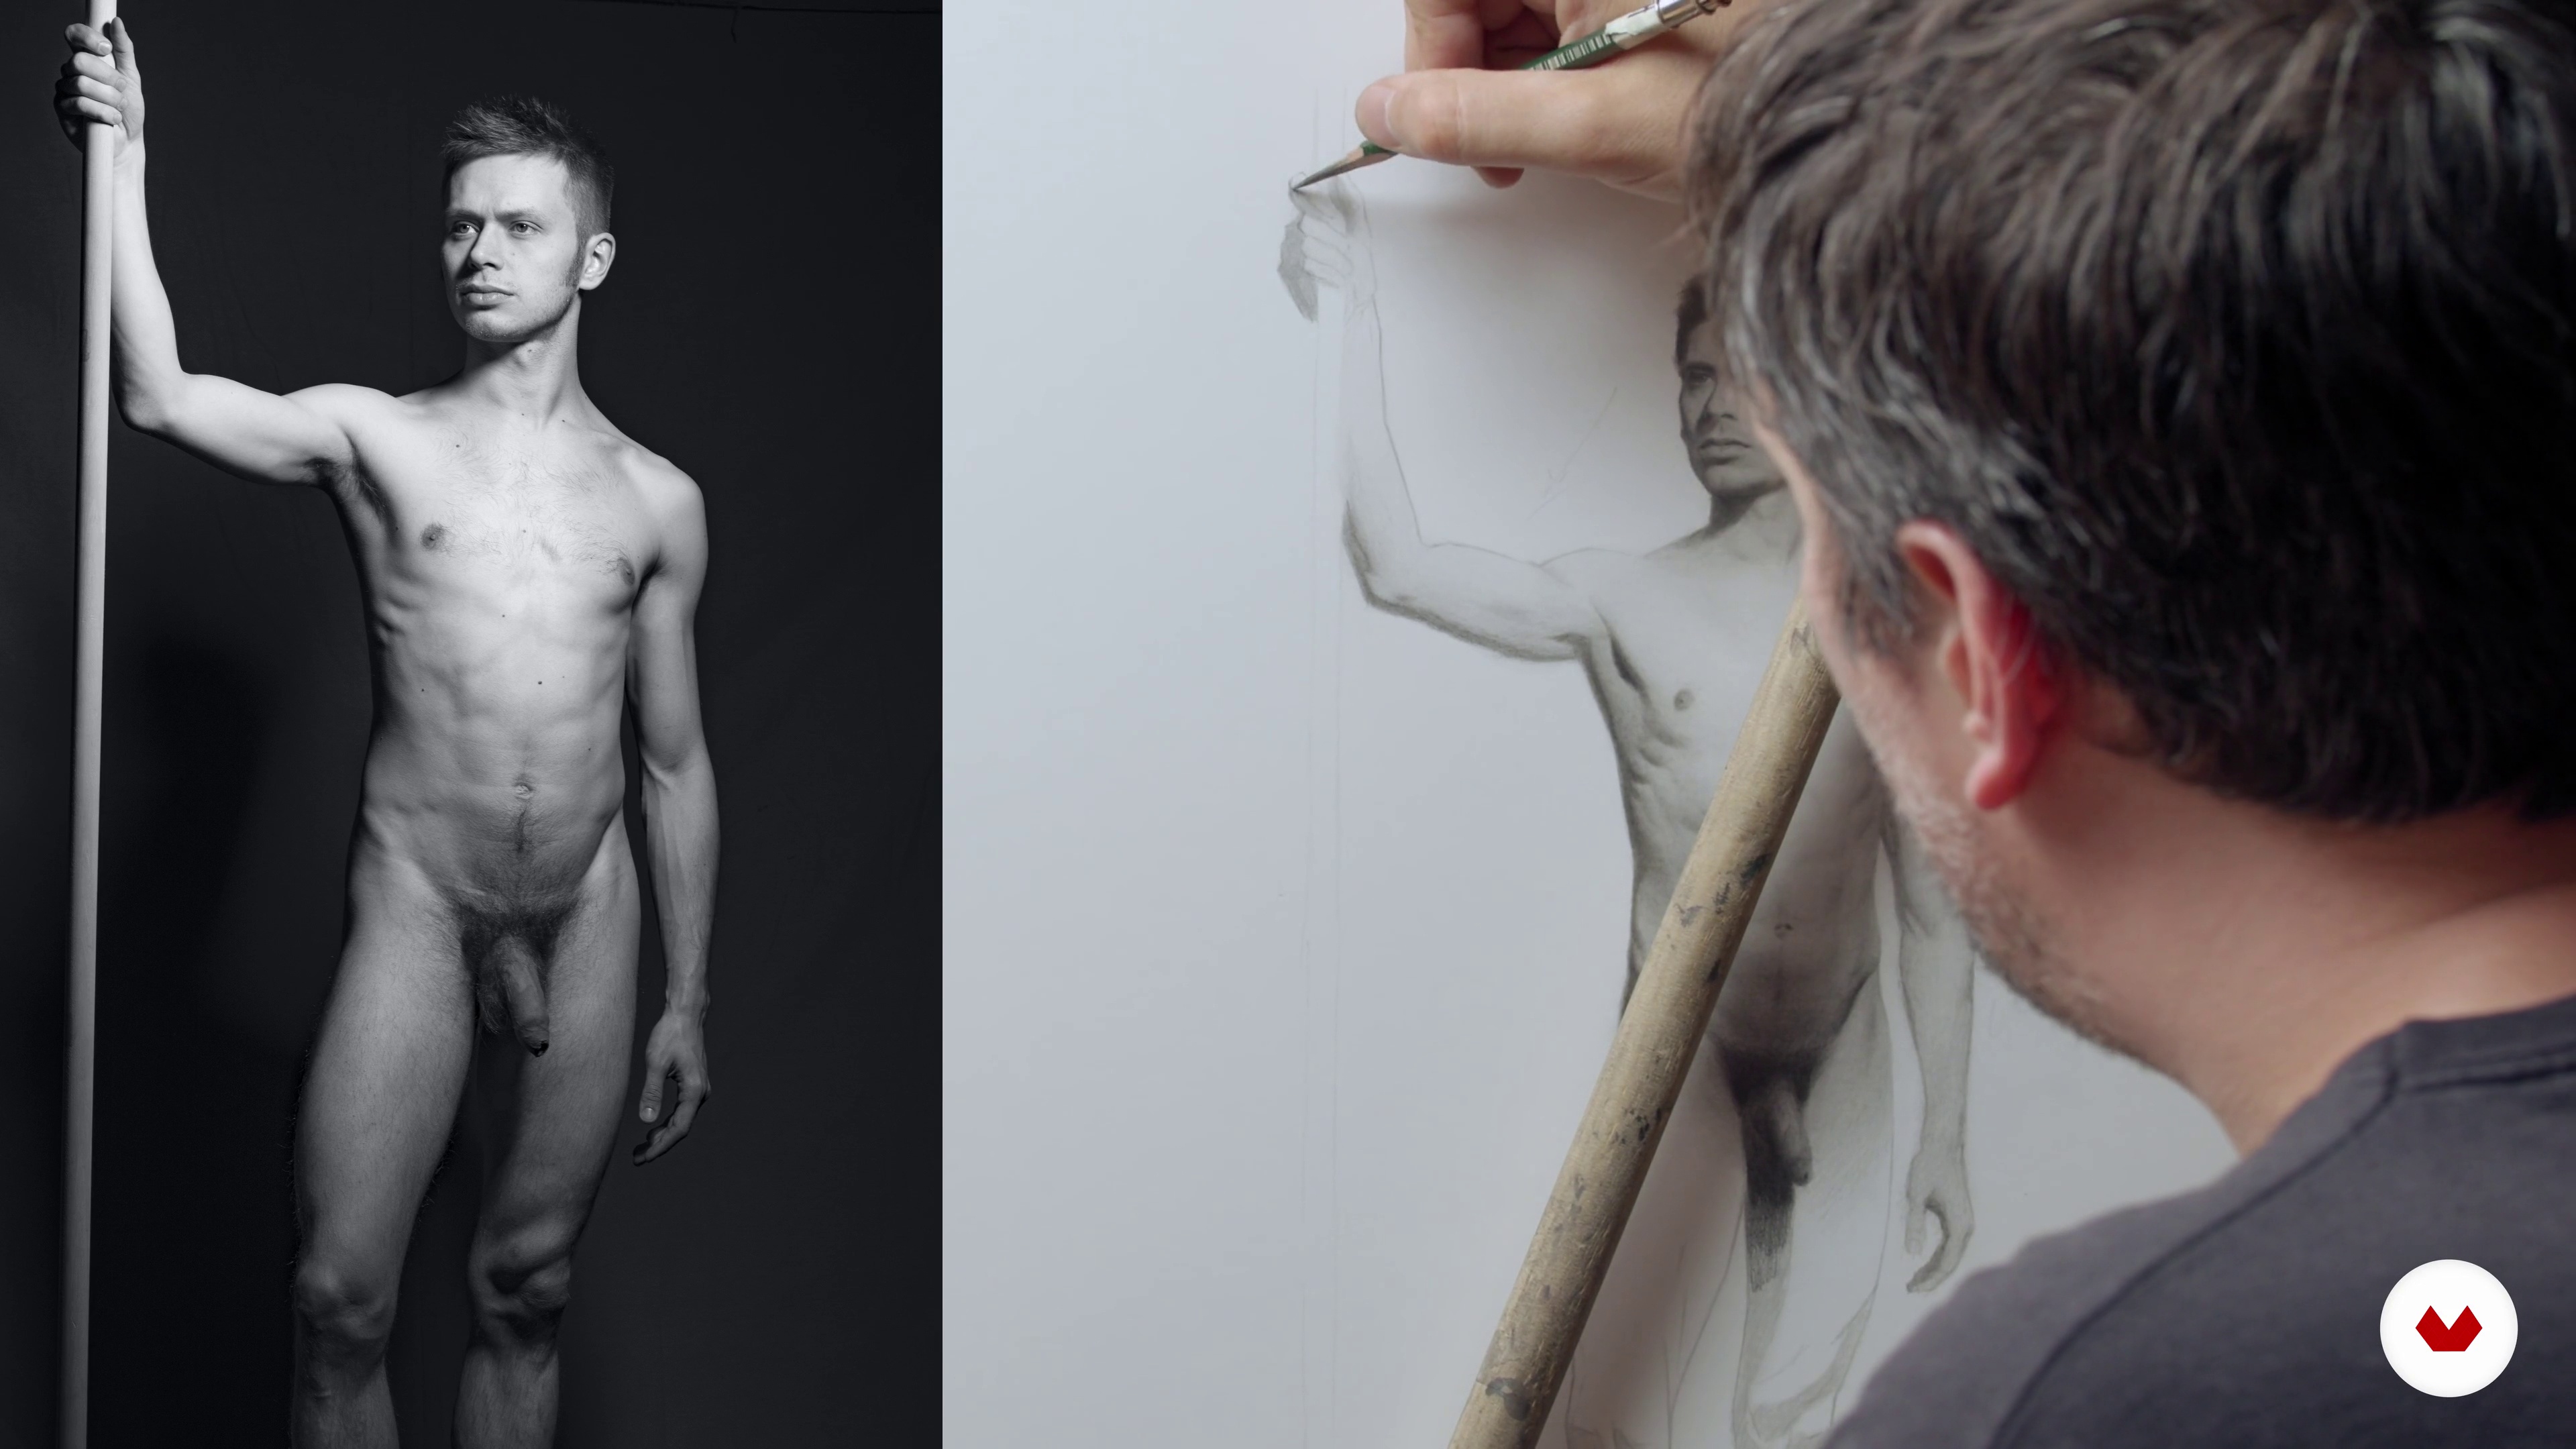
28Refinement of the drawing: we finish arm, forearm and hand 2
We continue working on the modeling of the arms, forearms and hands of our drawing.
13m
 29
29Refinement of the drawing: we finish arm, forearm and hand 3
We continue to finalize details to finish the finishing of the arms, forearms and hands.
13m
 30
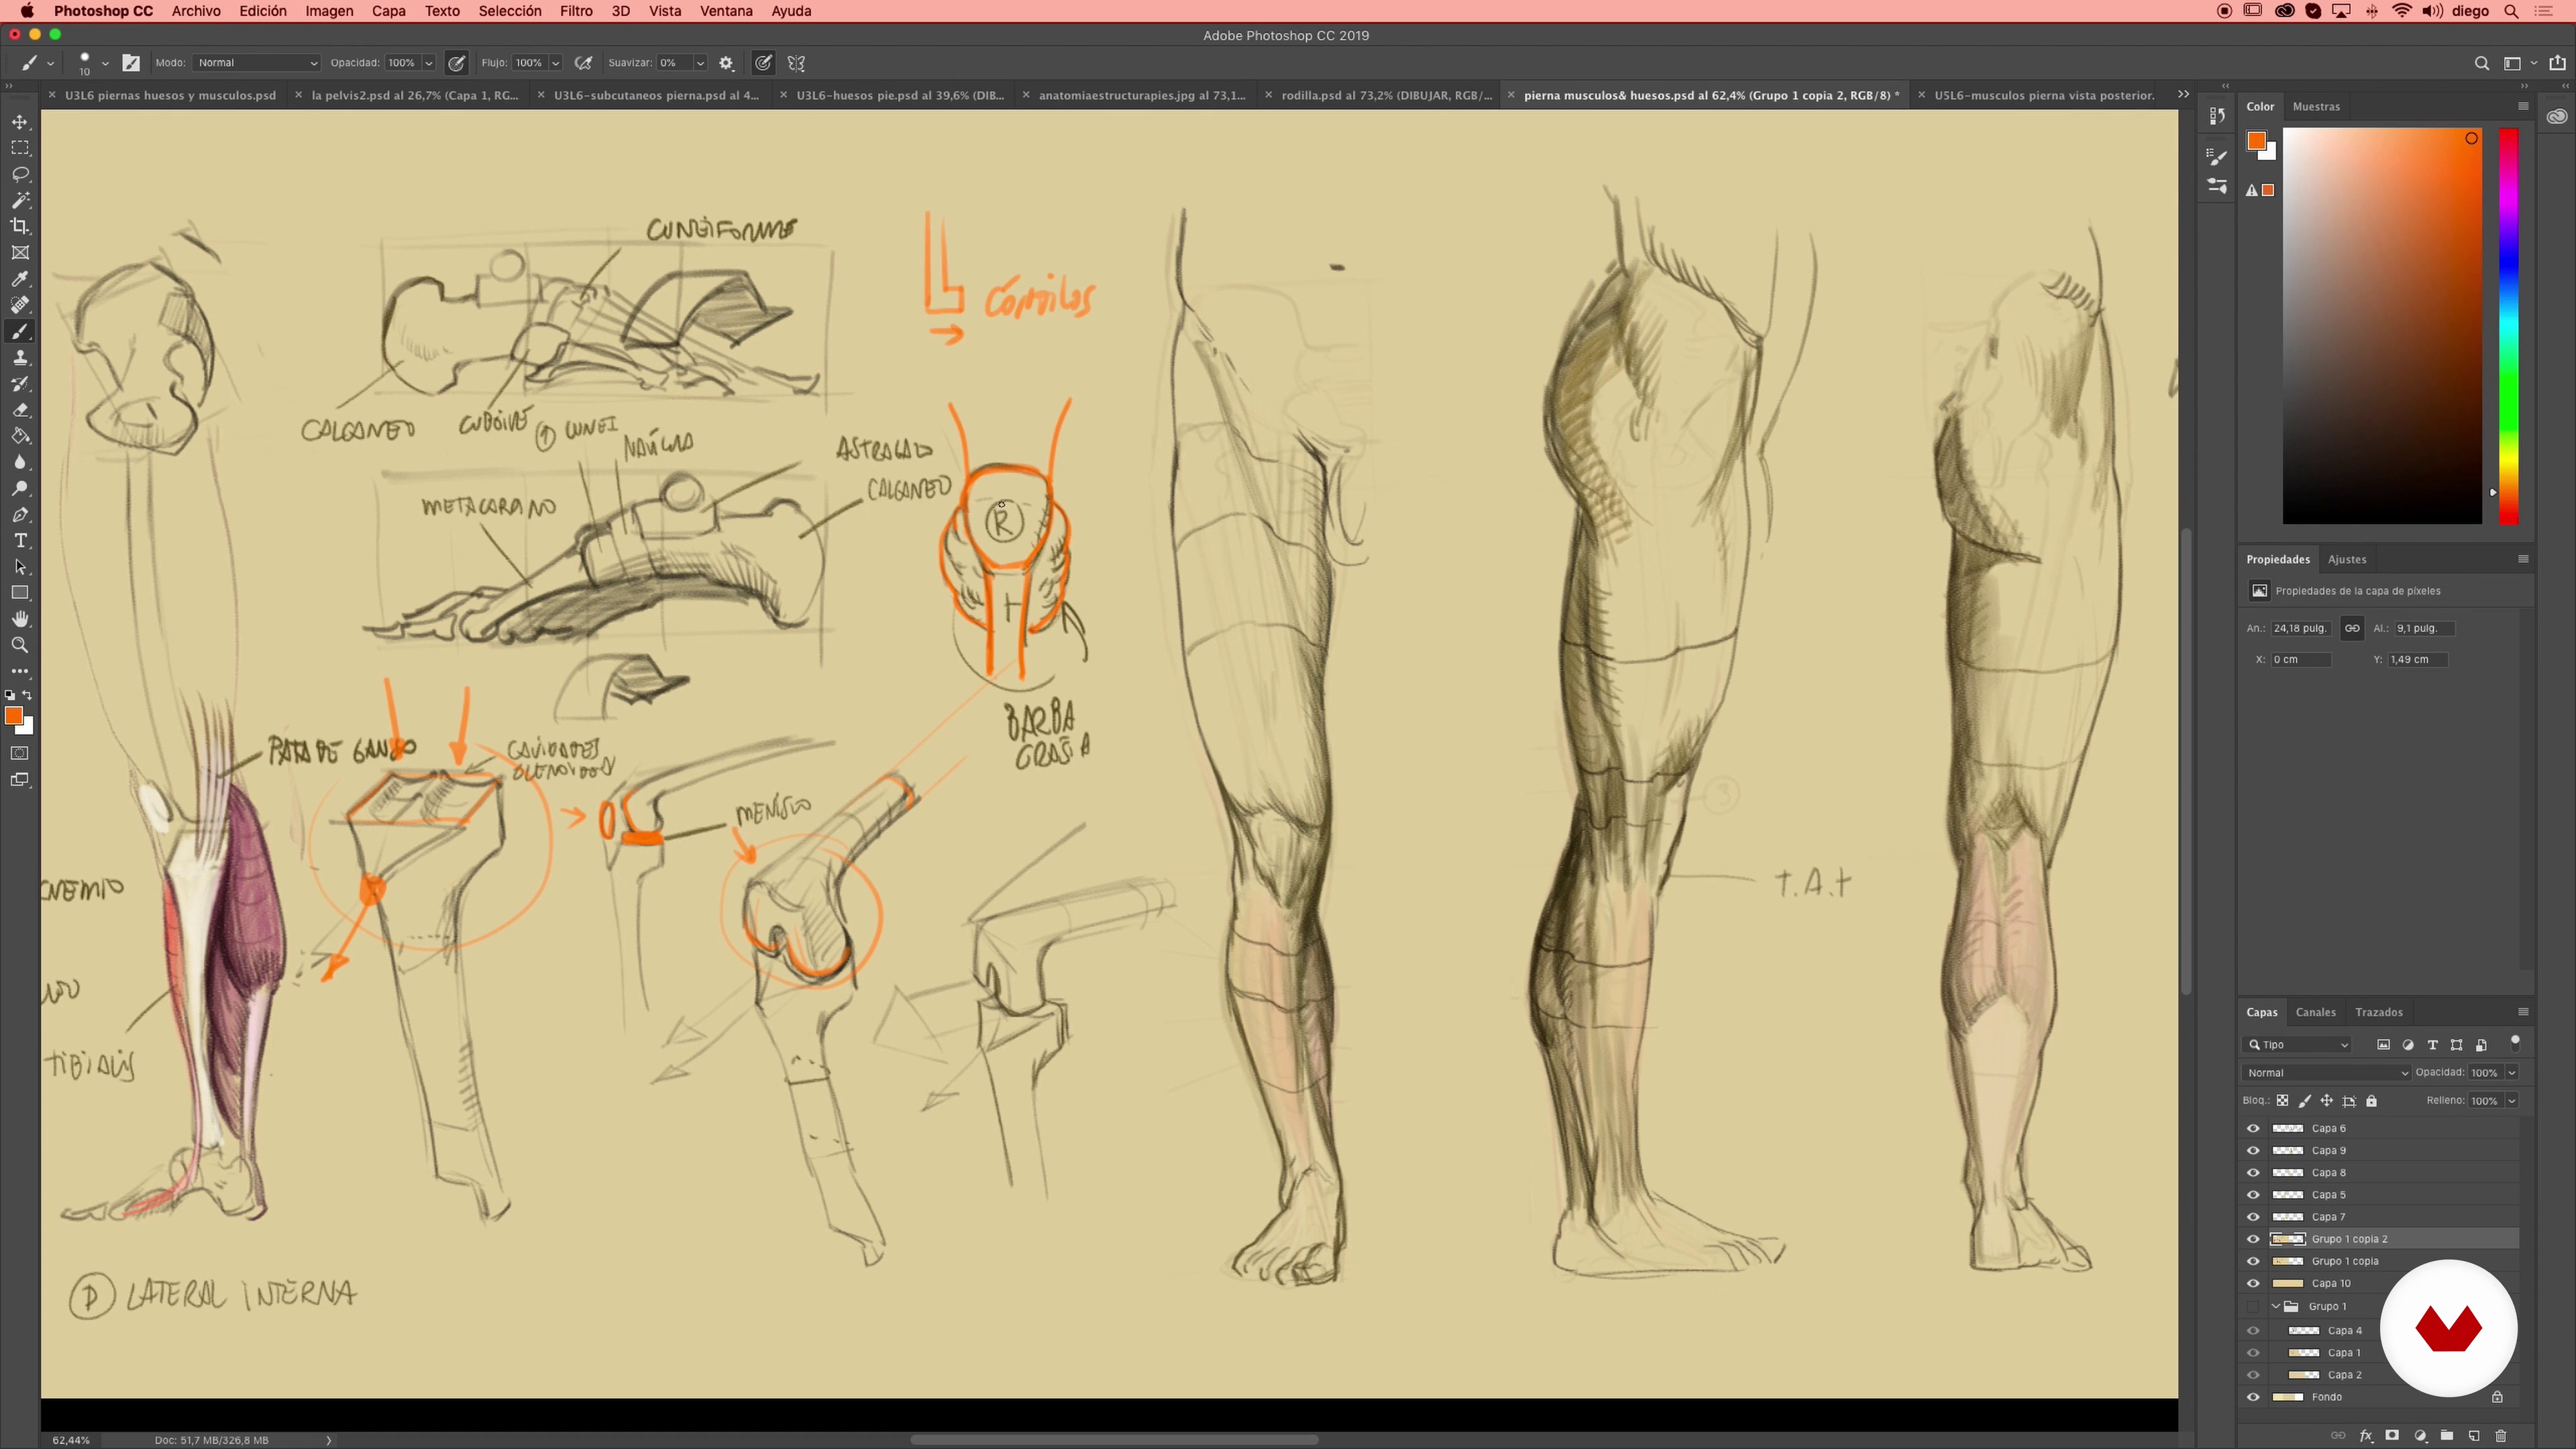
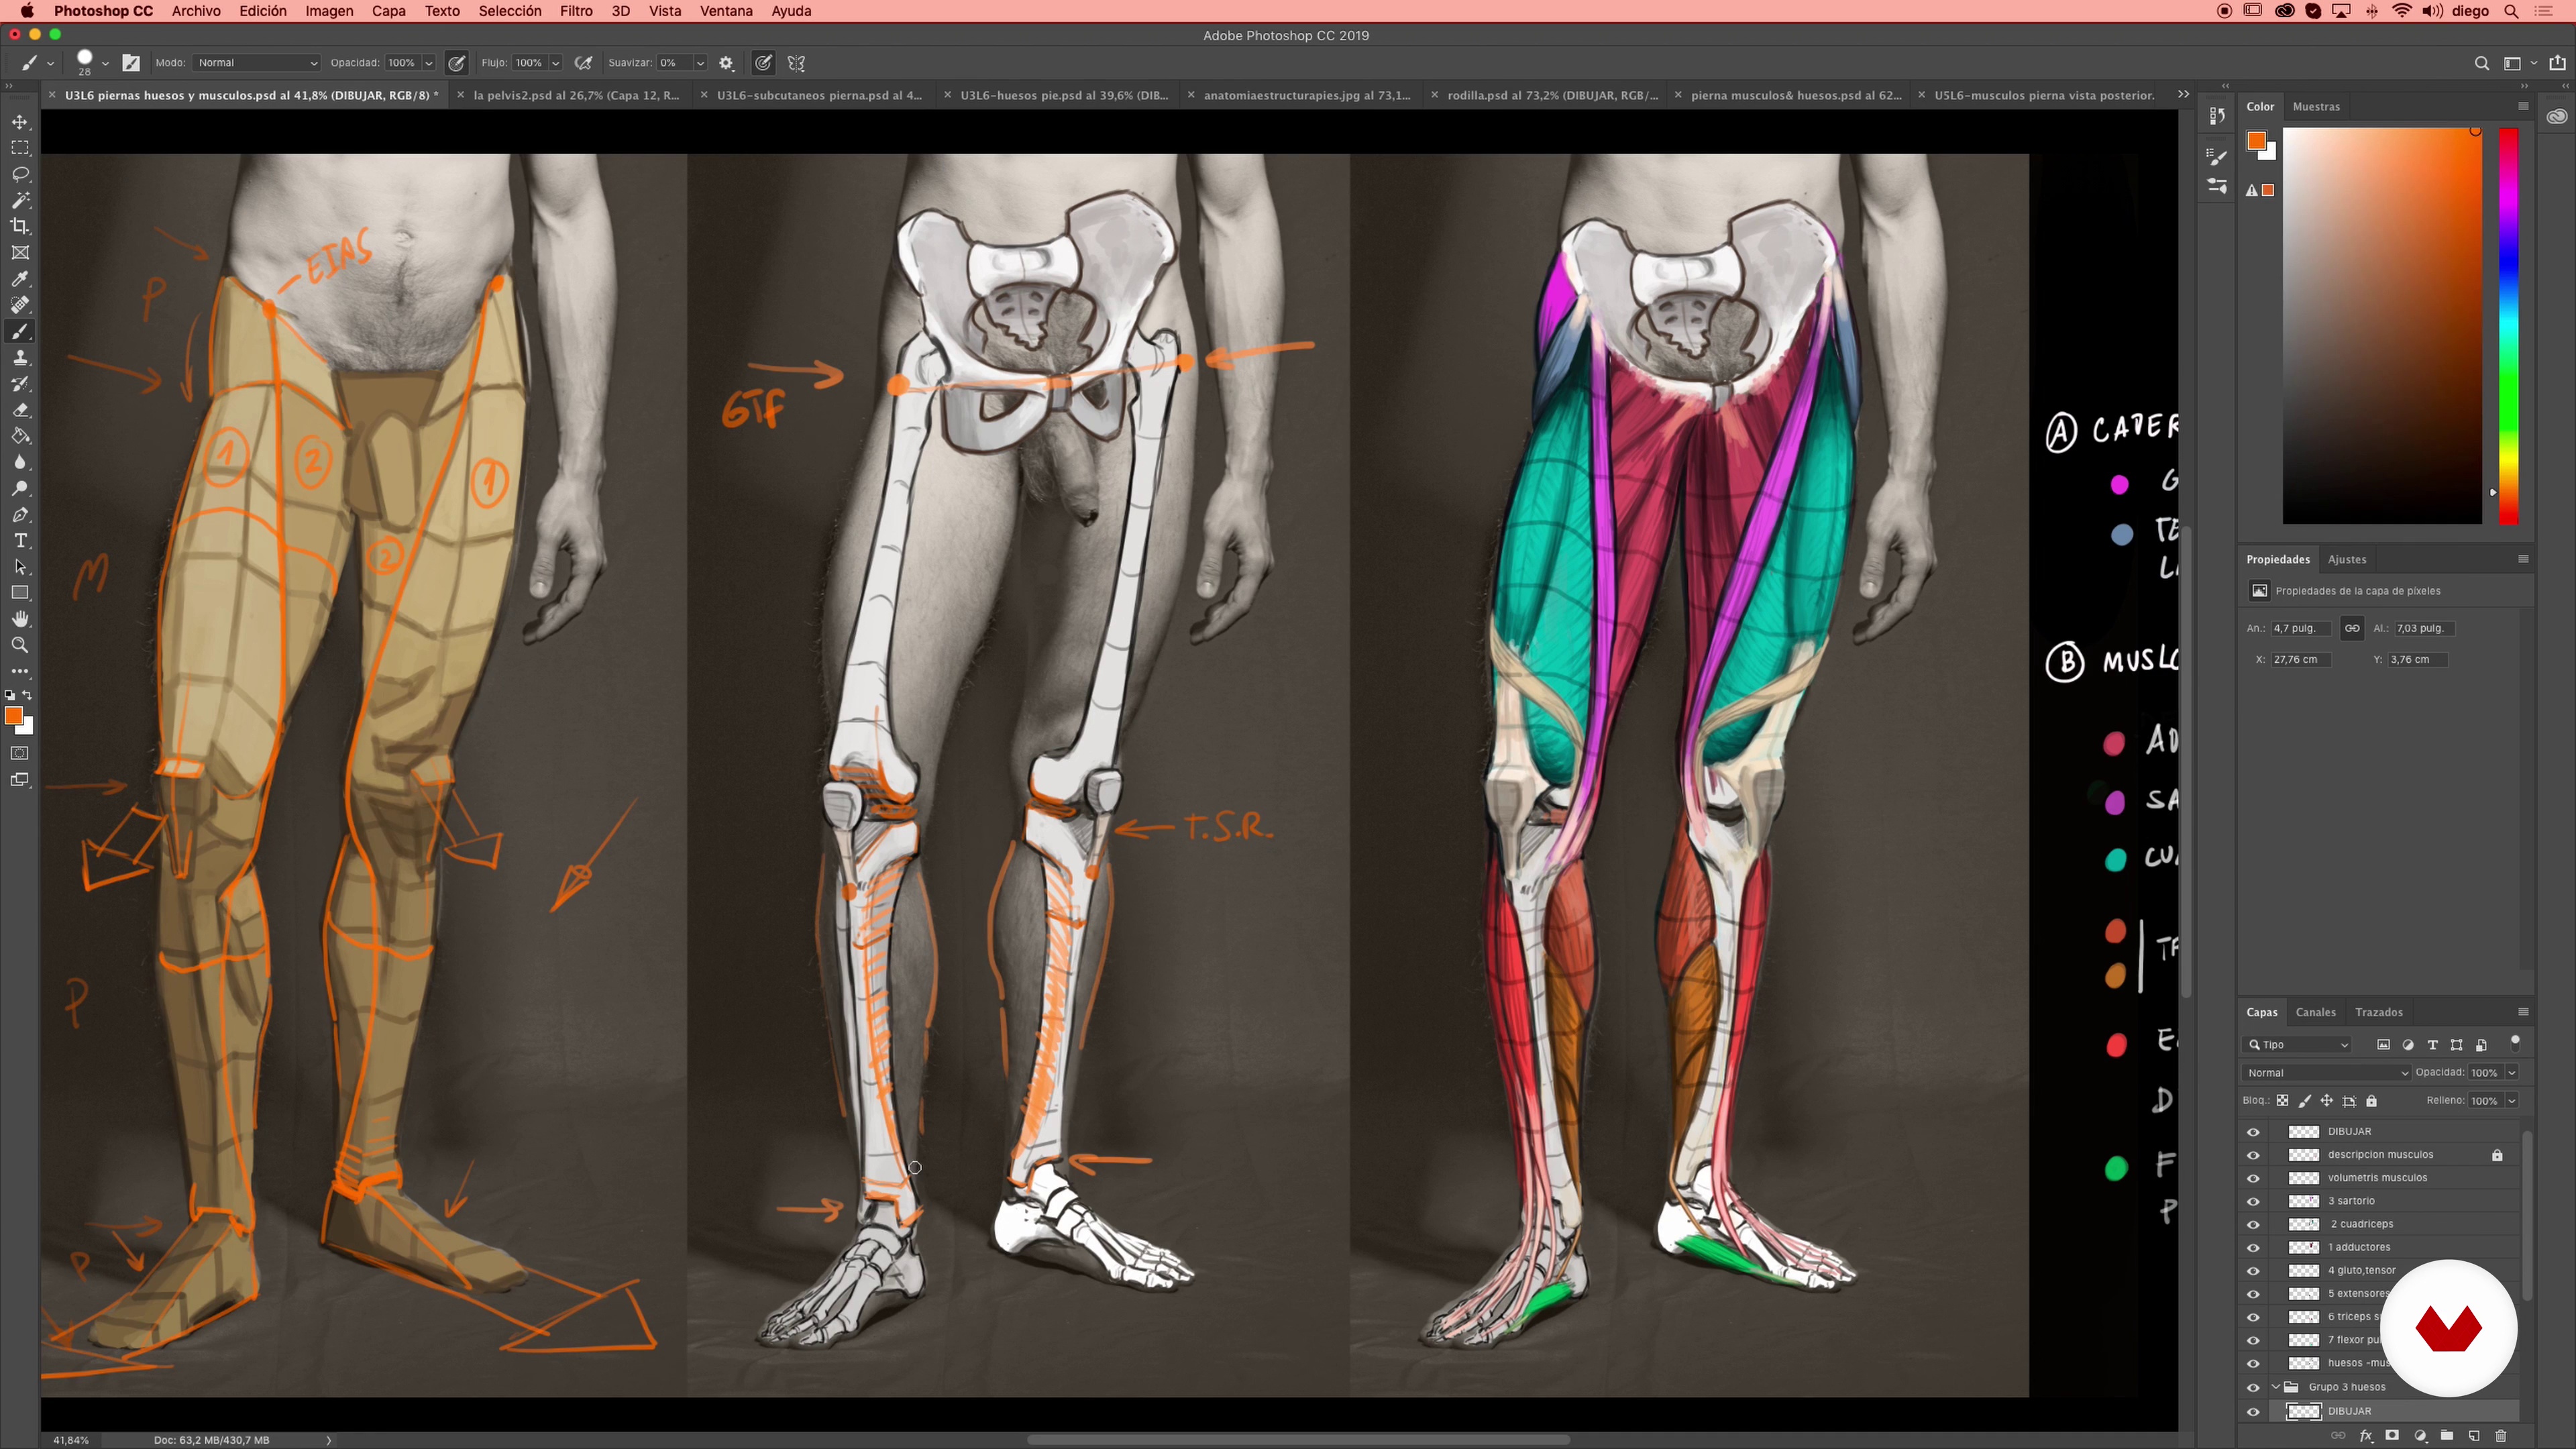
30Thigh, Leg, Foot: Bone and Muscle Analysis 1
In this lesson we will analyze the lower limb, thigh-leg-foot, through its bone and muscle structure.
16m
 31
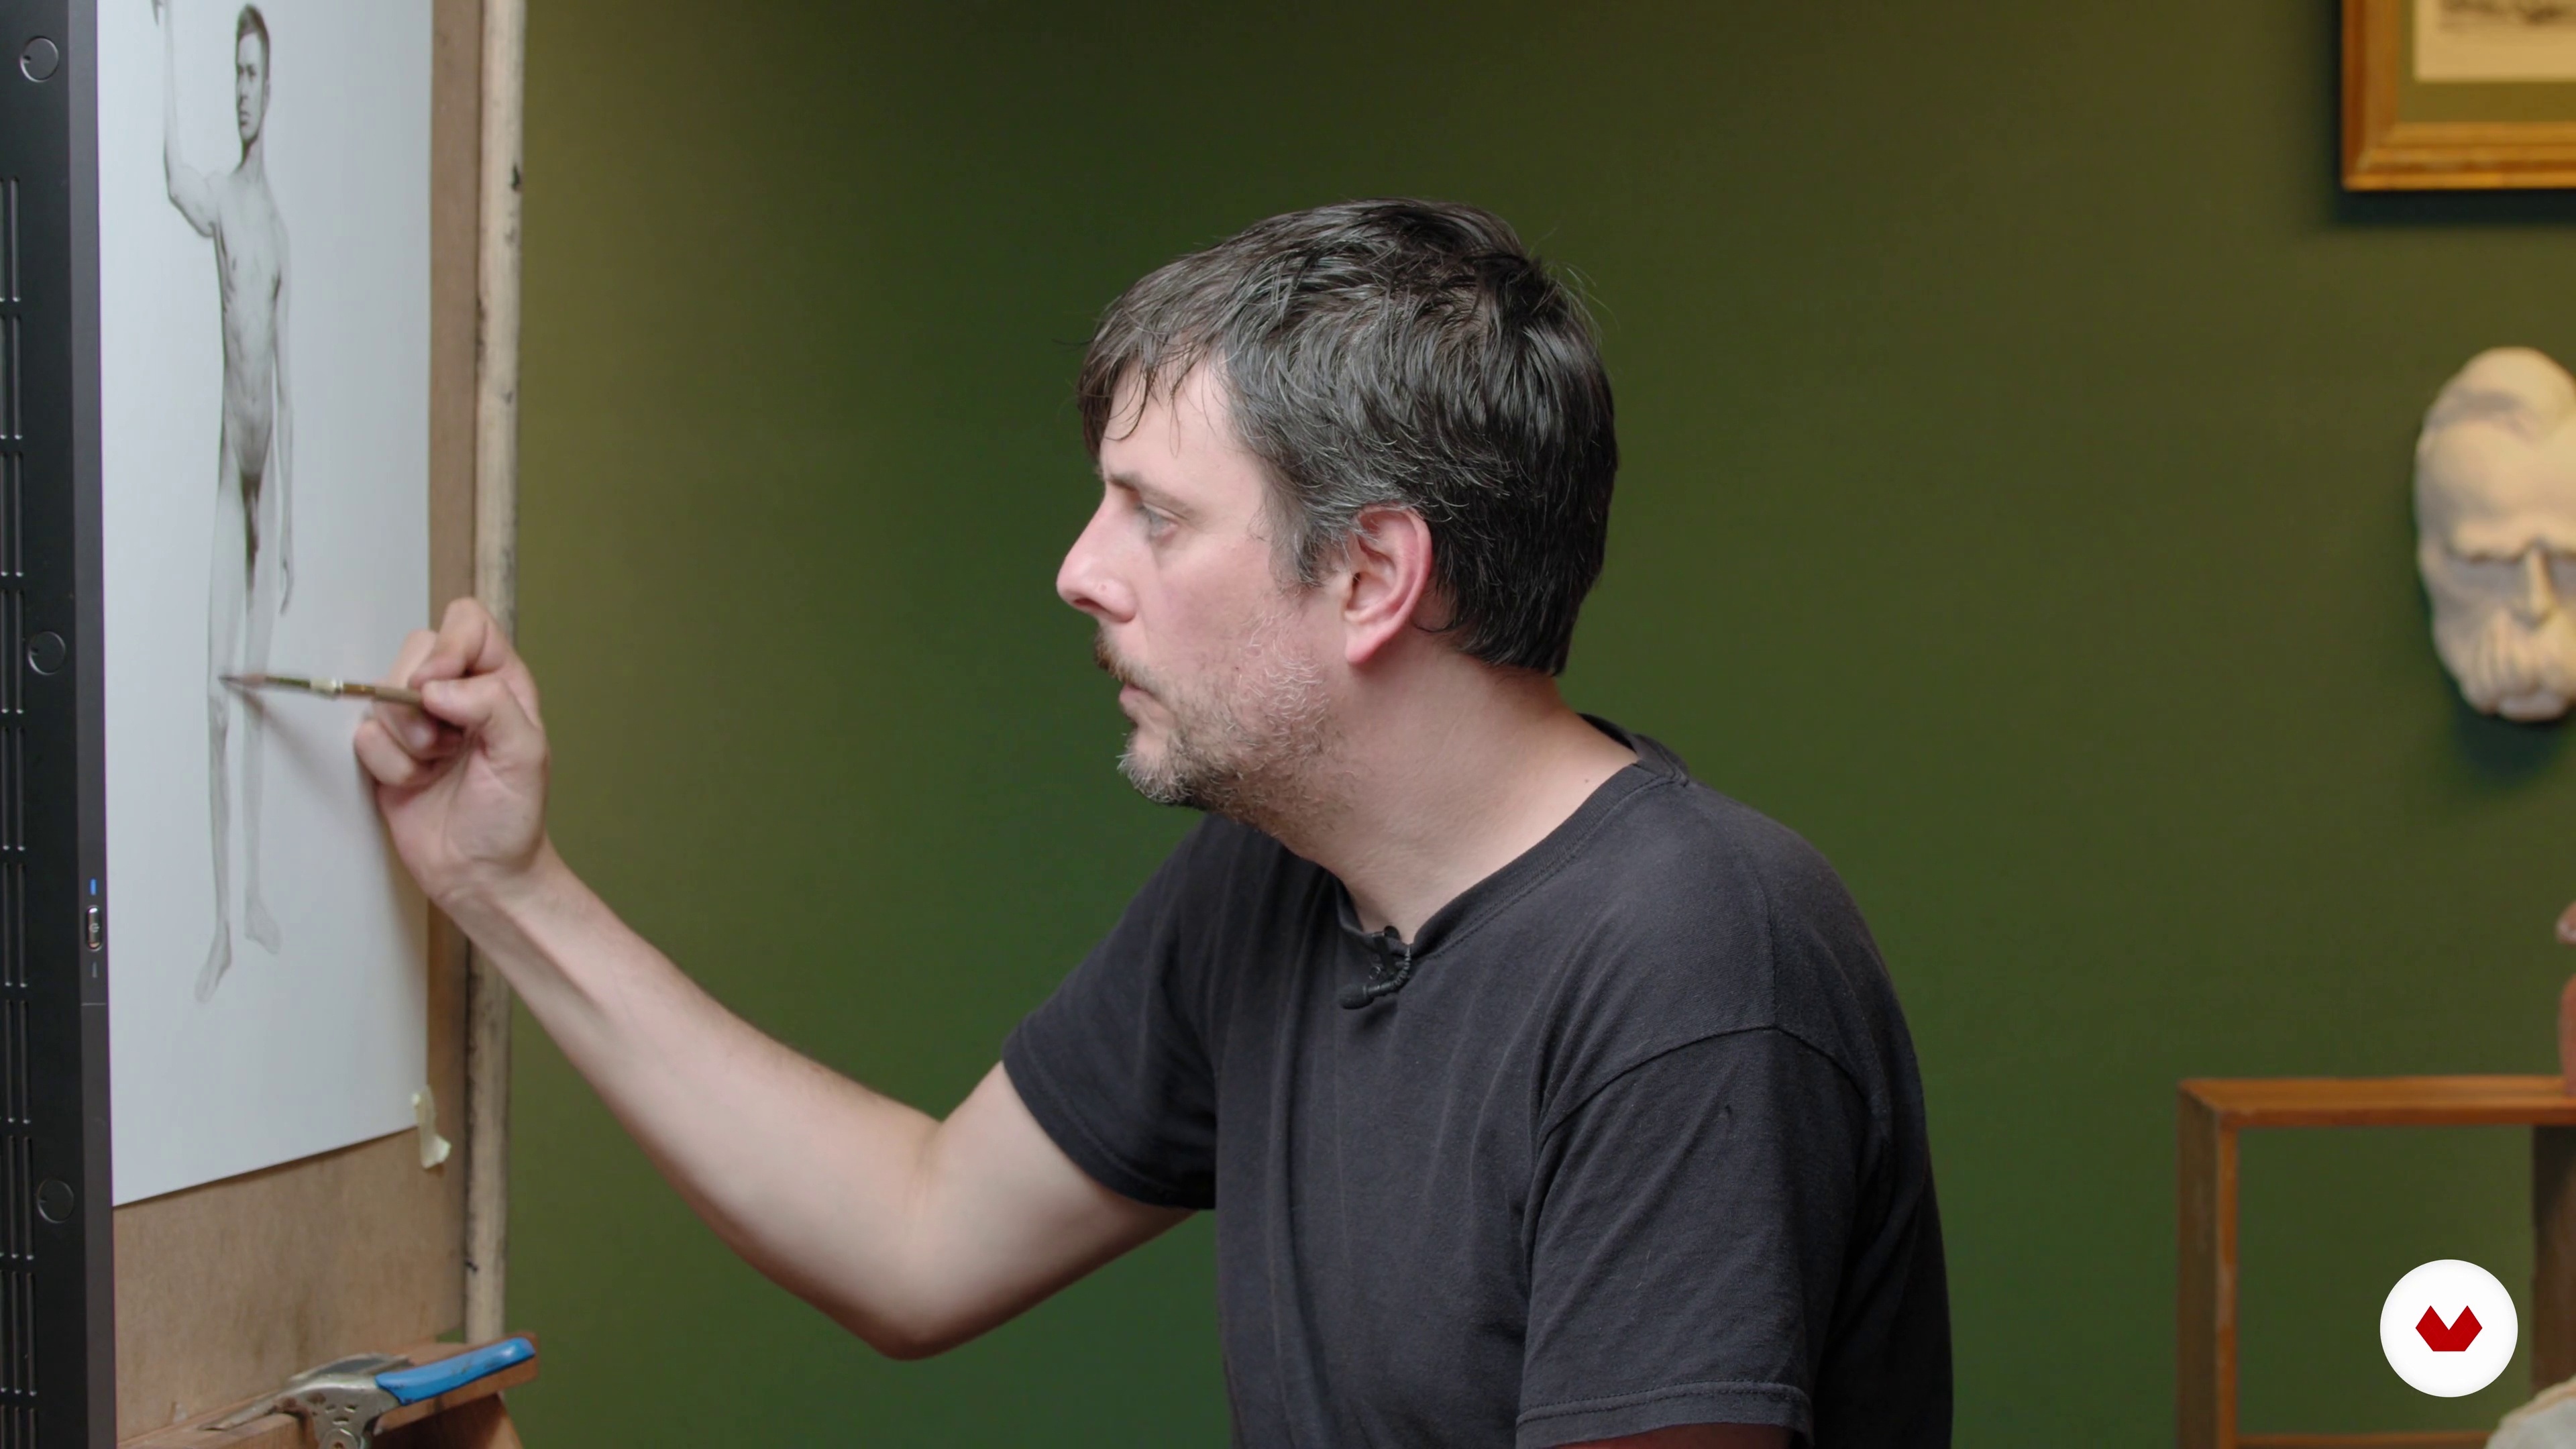
31Thigh, Leg, Foot: Bone and Muscle Analysis 2
We continue to analyze the anatomical characteristics of the thighs, legs and feet to apply this knowledge when working on our drawing.
19m
 32
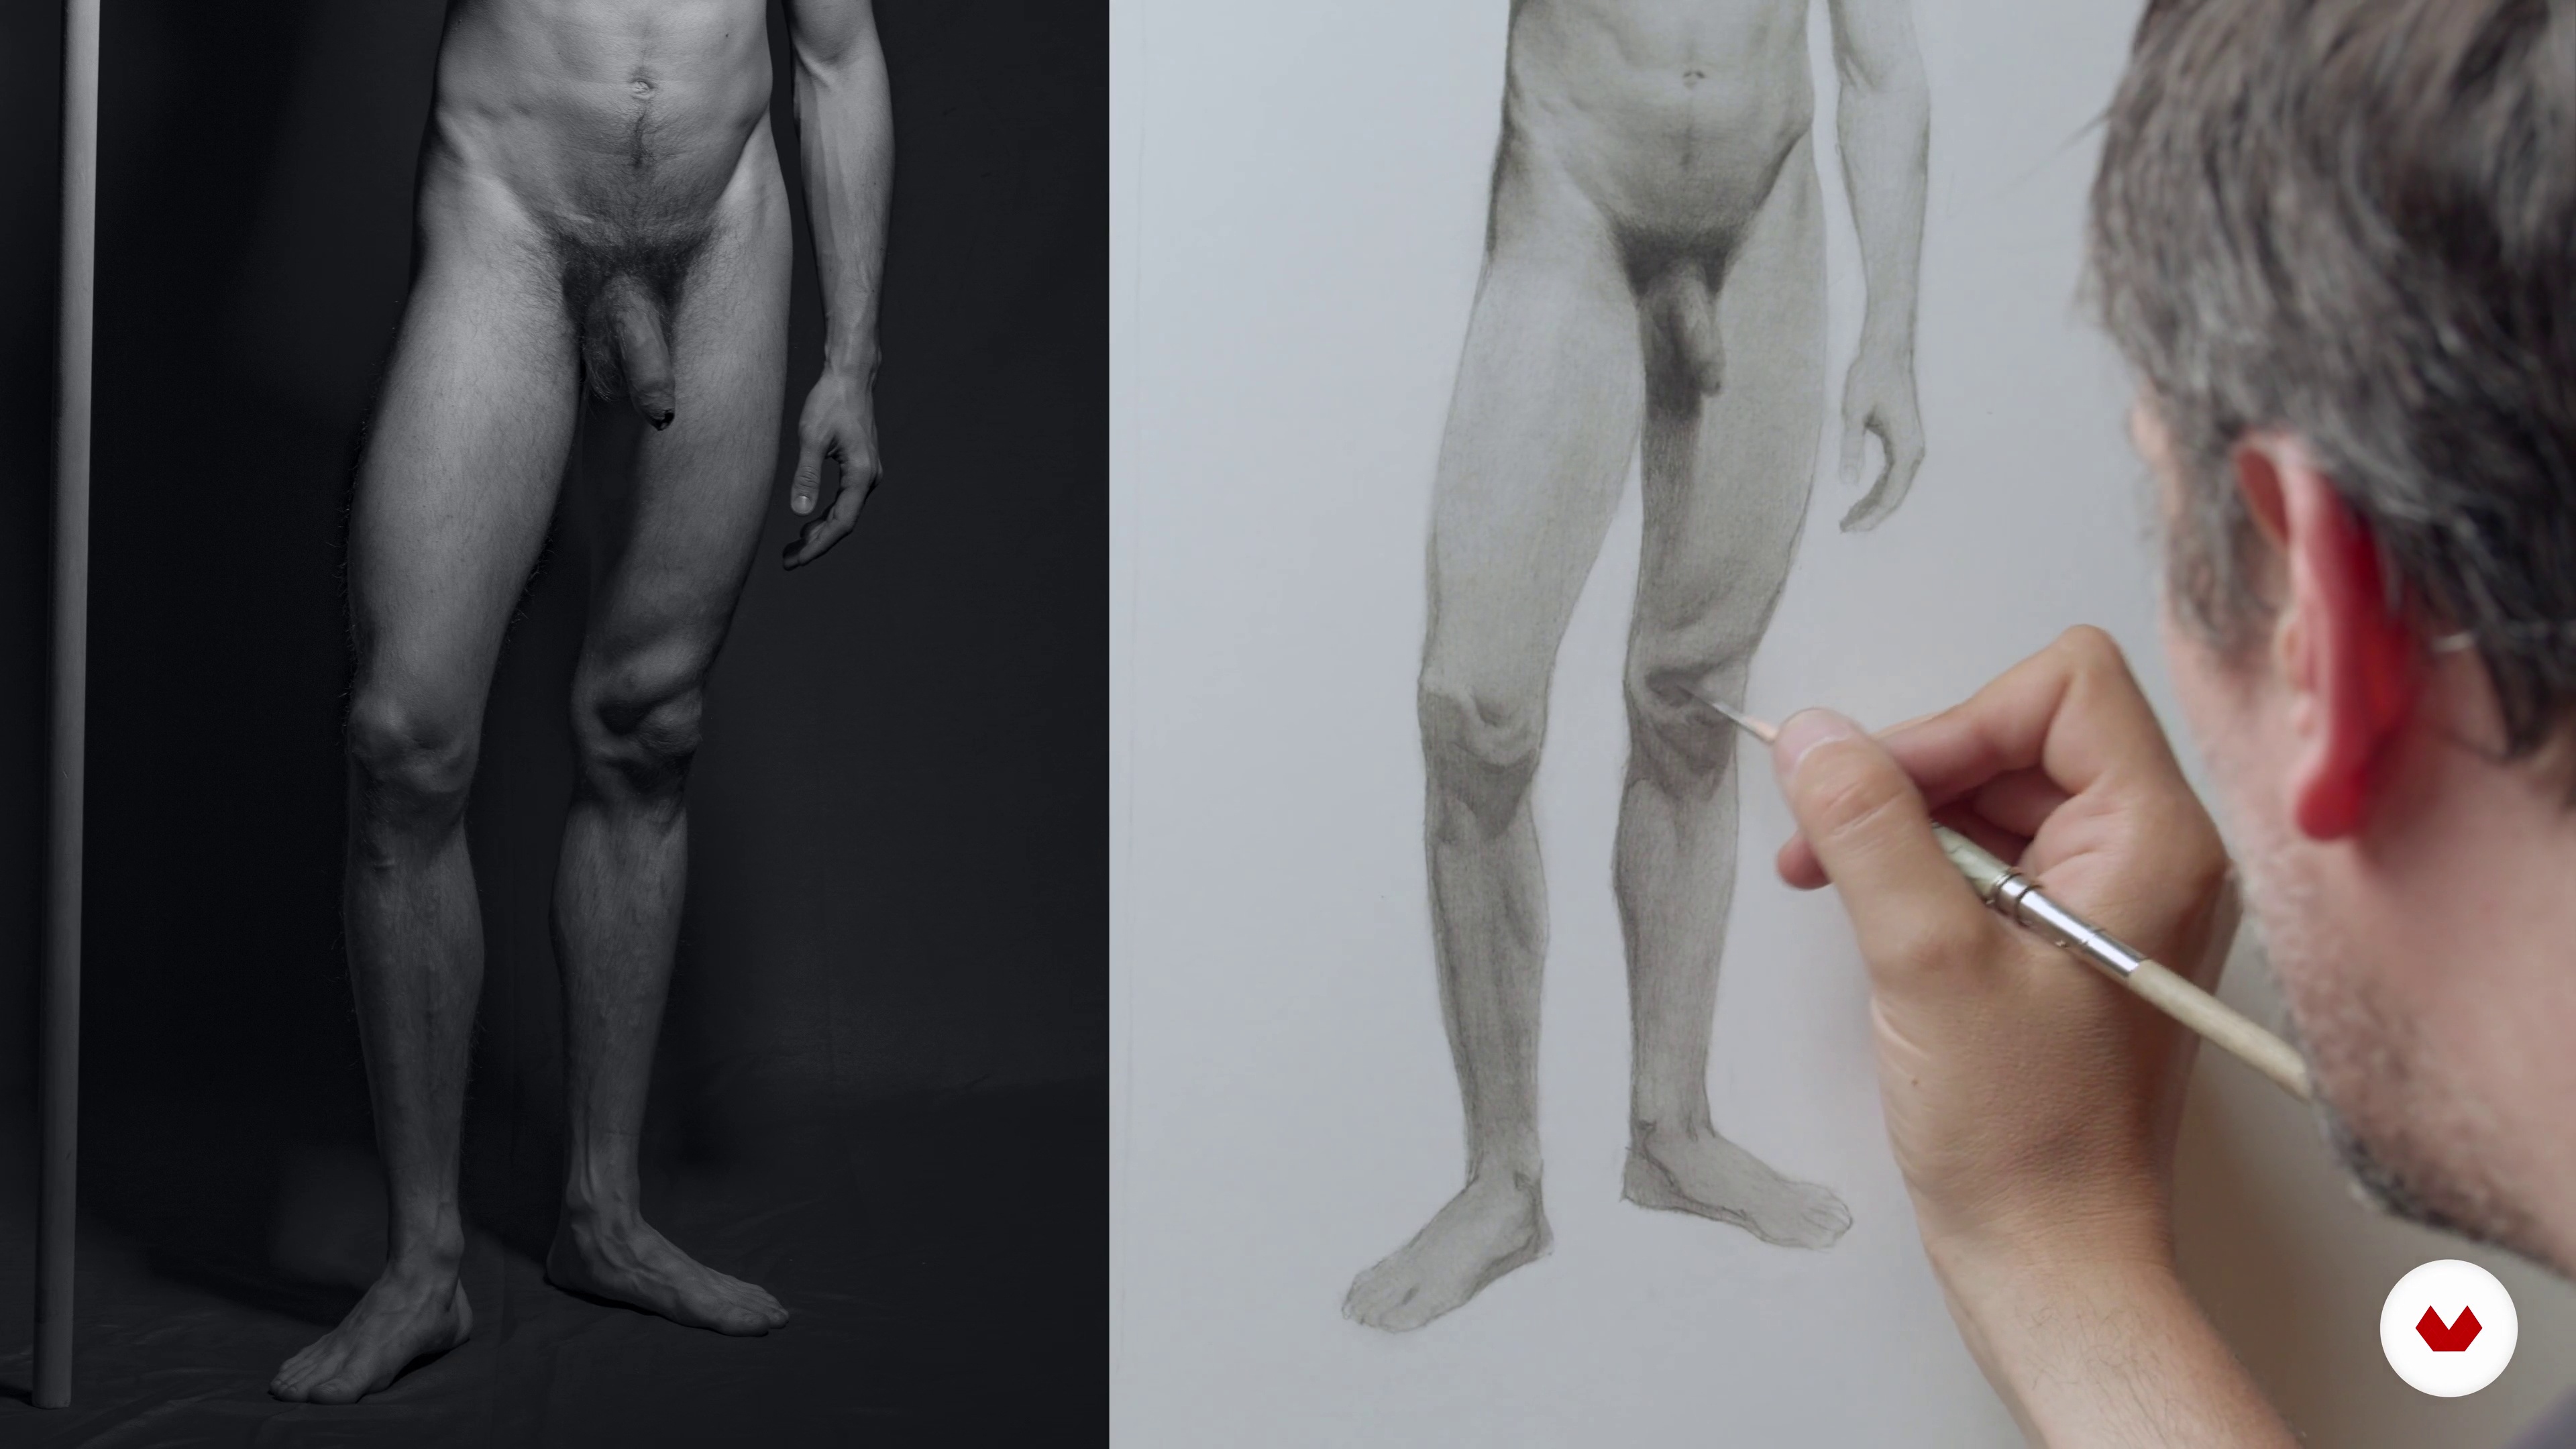
32We refine the drawing of leg 1
In this lesson we will finish the drawing of the lower limb applying the concepts learned about structure and anatomy.
18m
 33
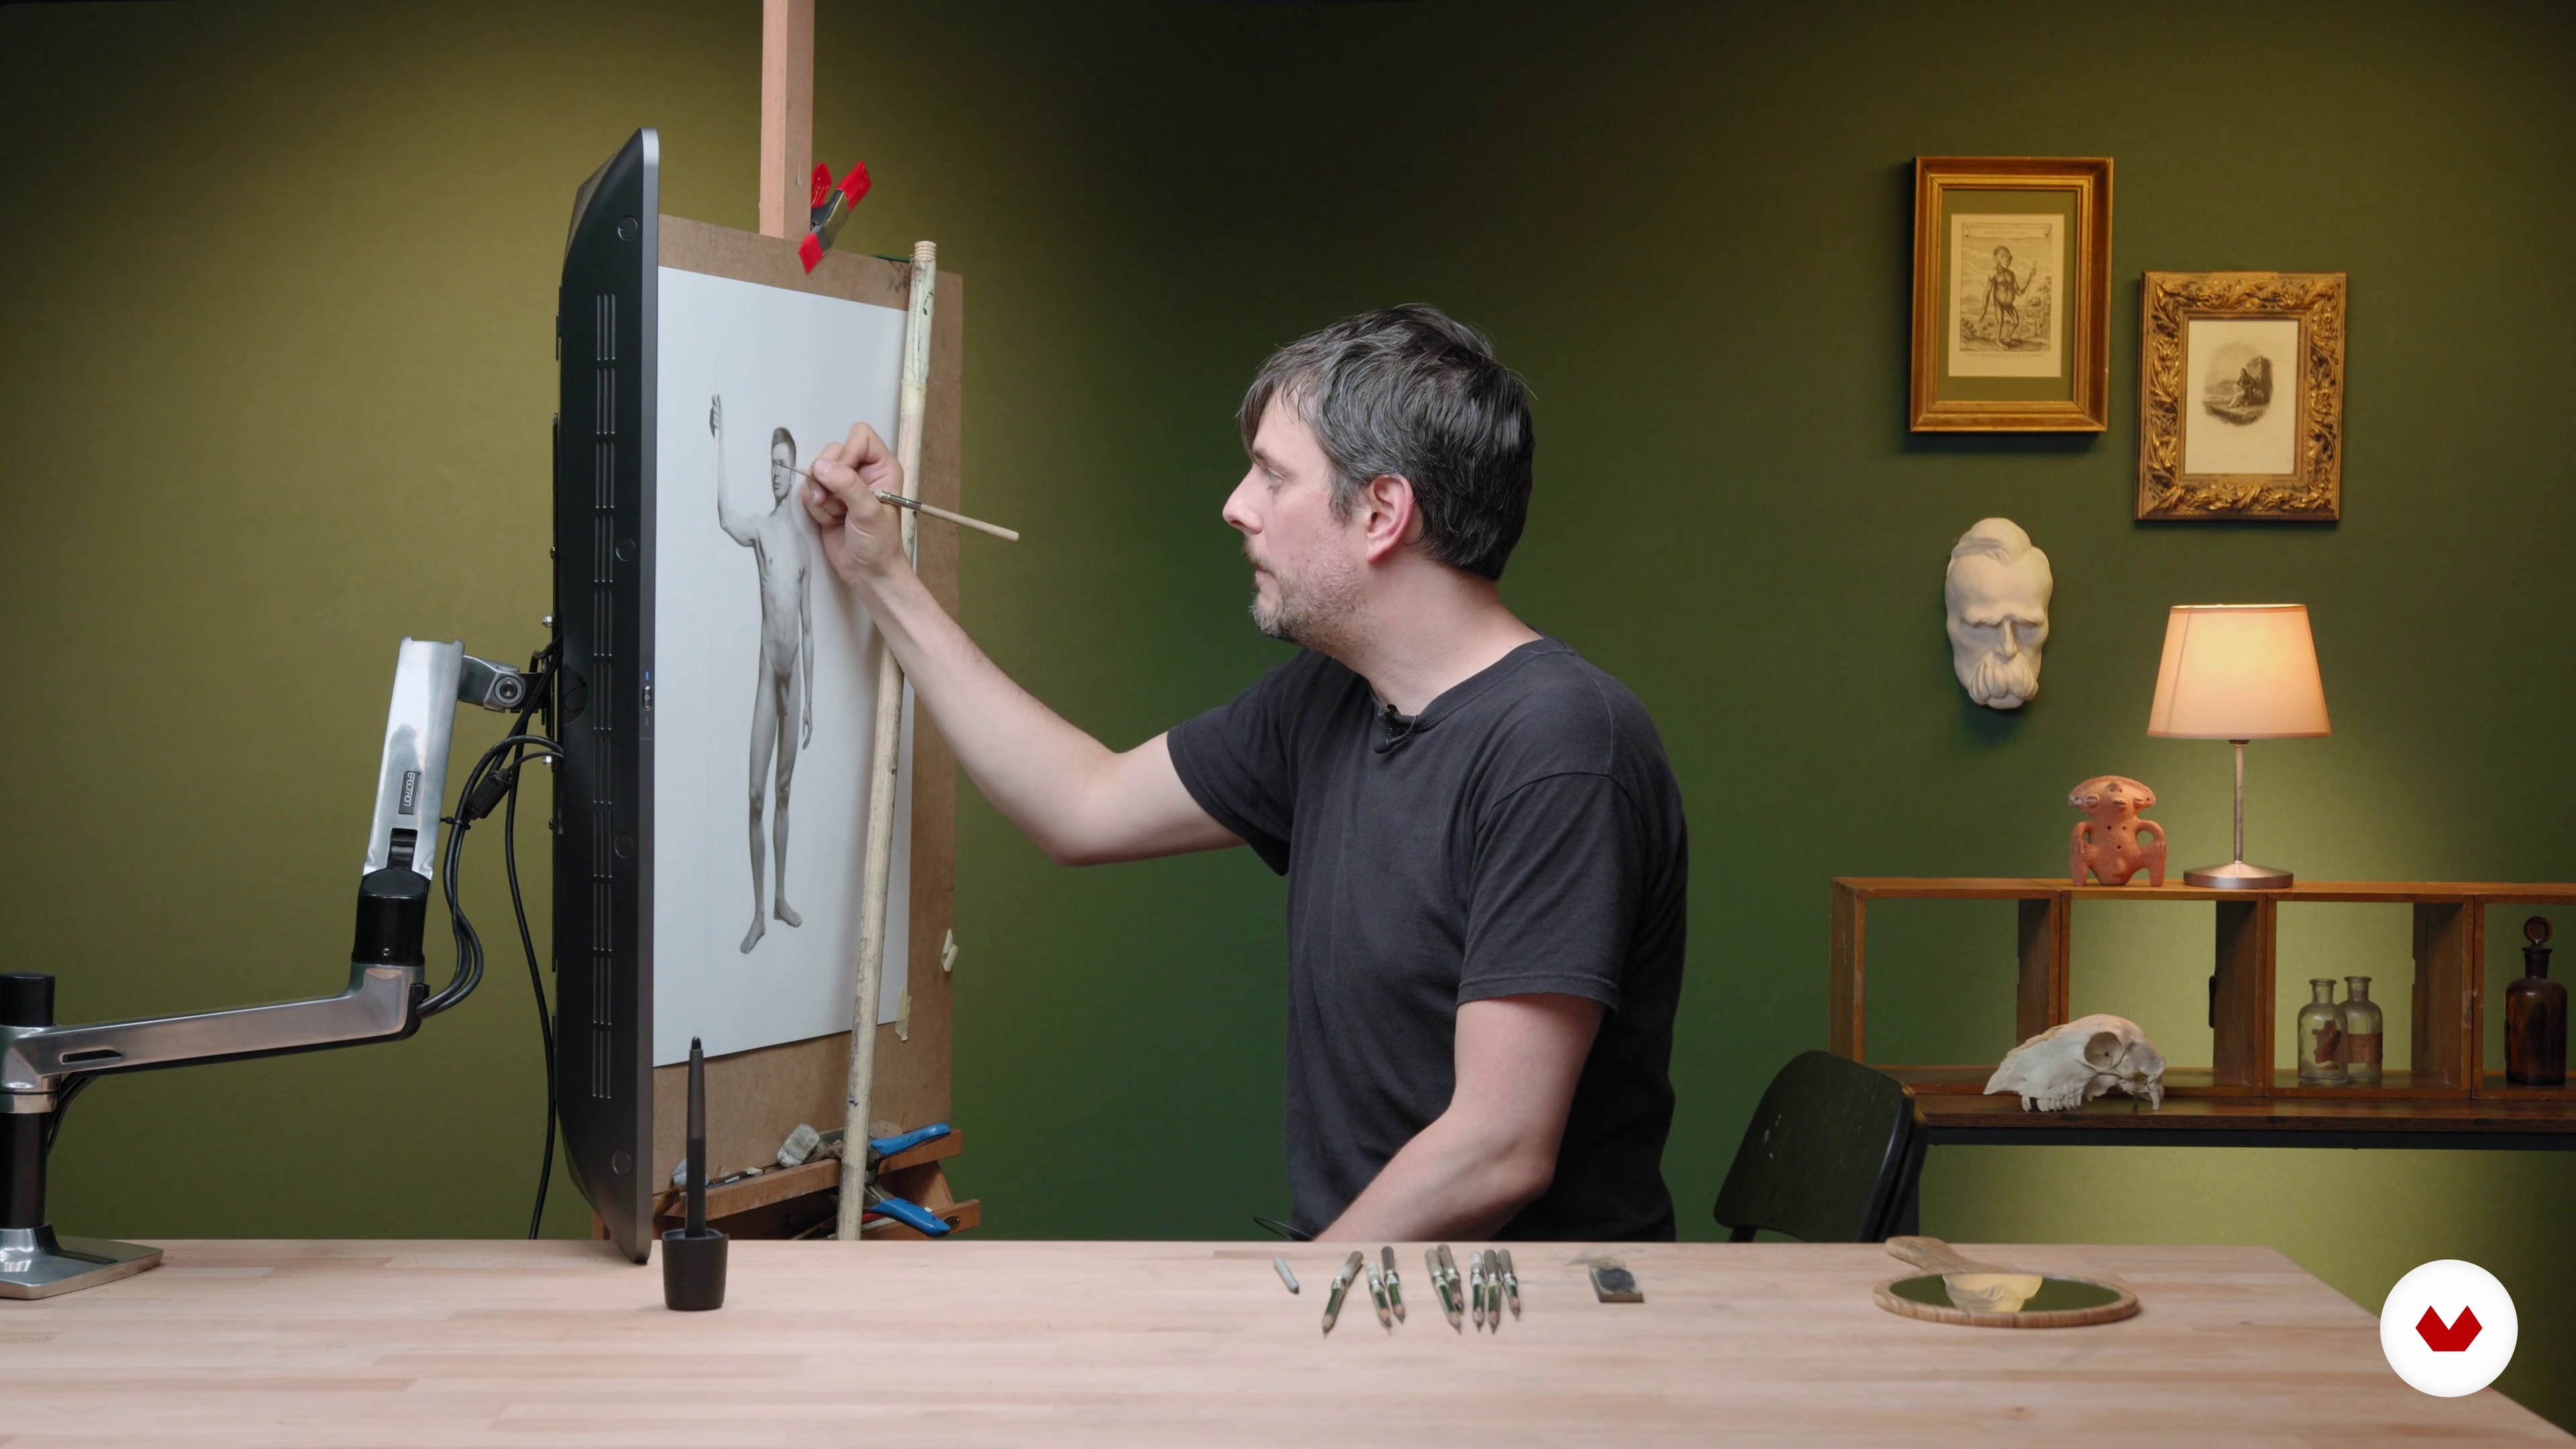
33We refine the drawing of leg 2
We continue adjusting and detailing to finalize the drawing of our model from the waist down.
17m
 34
34Final touches
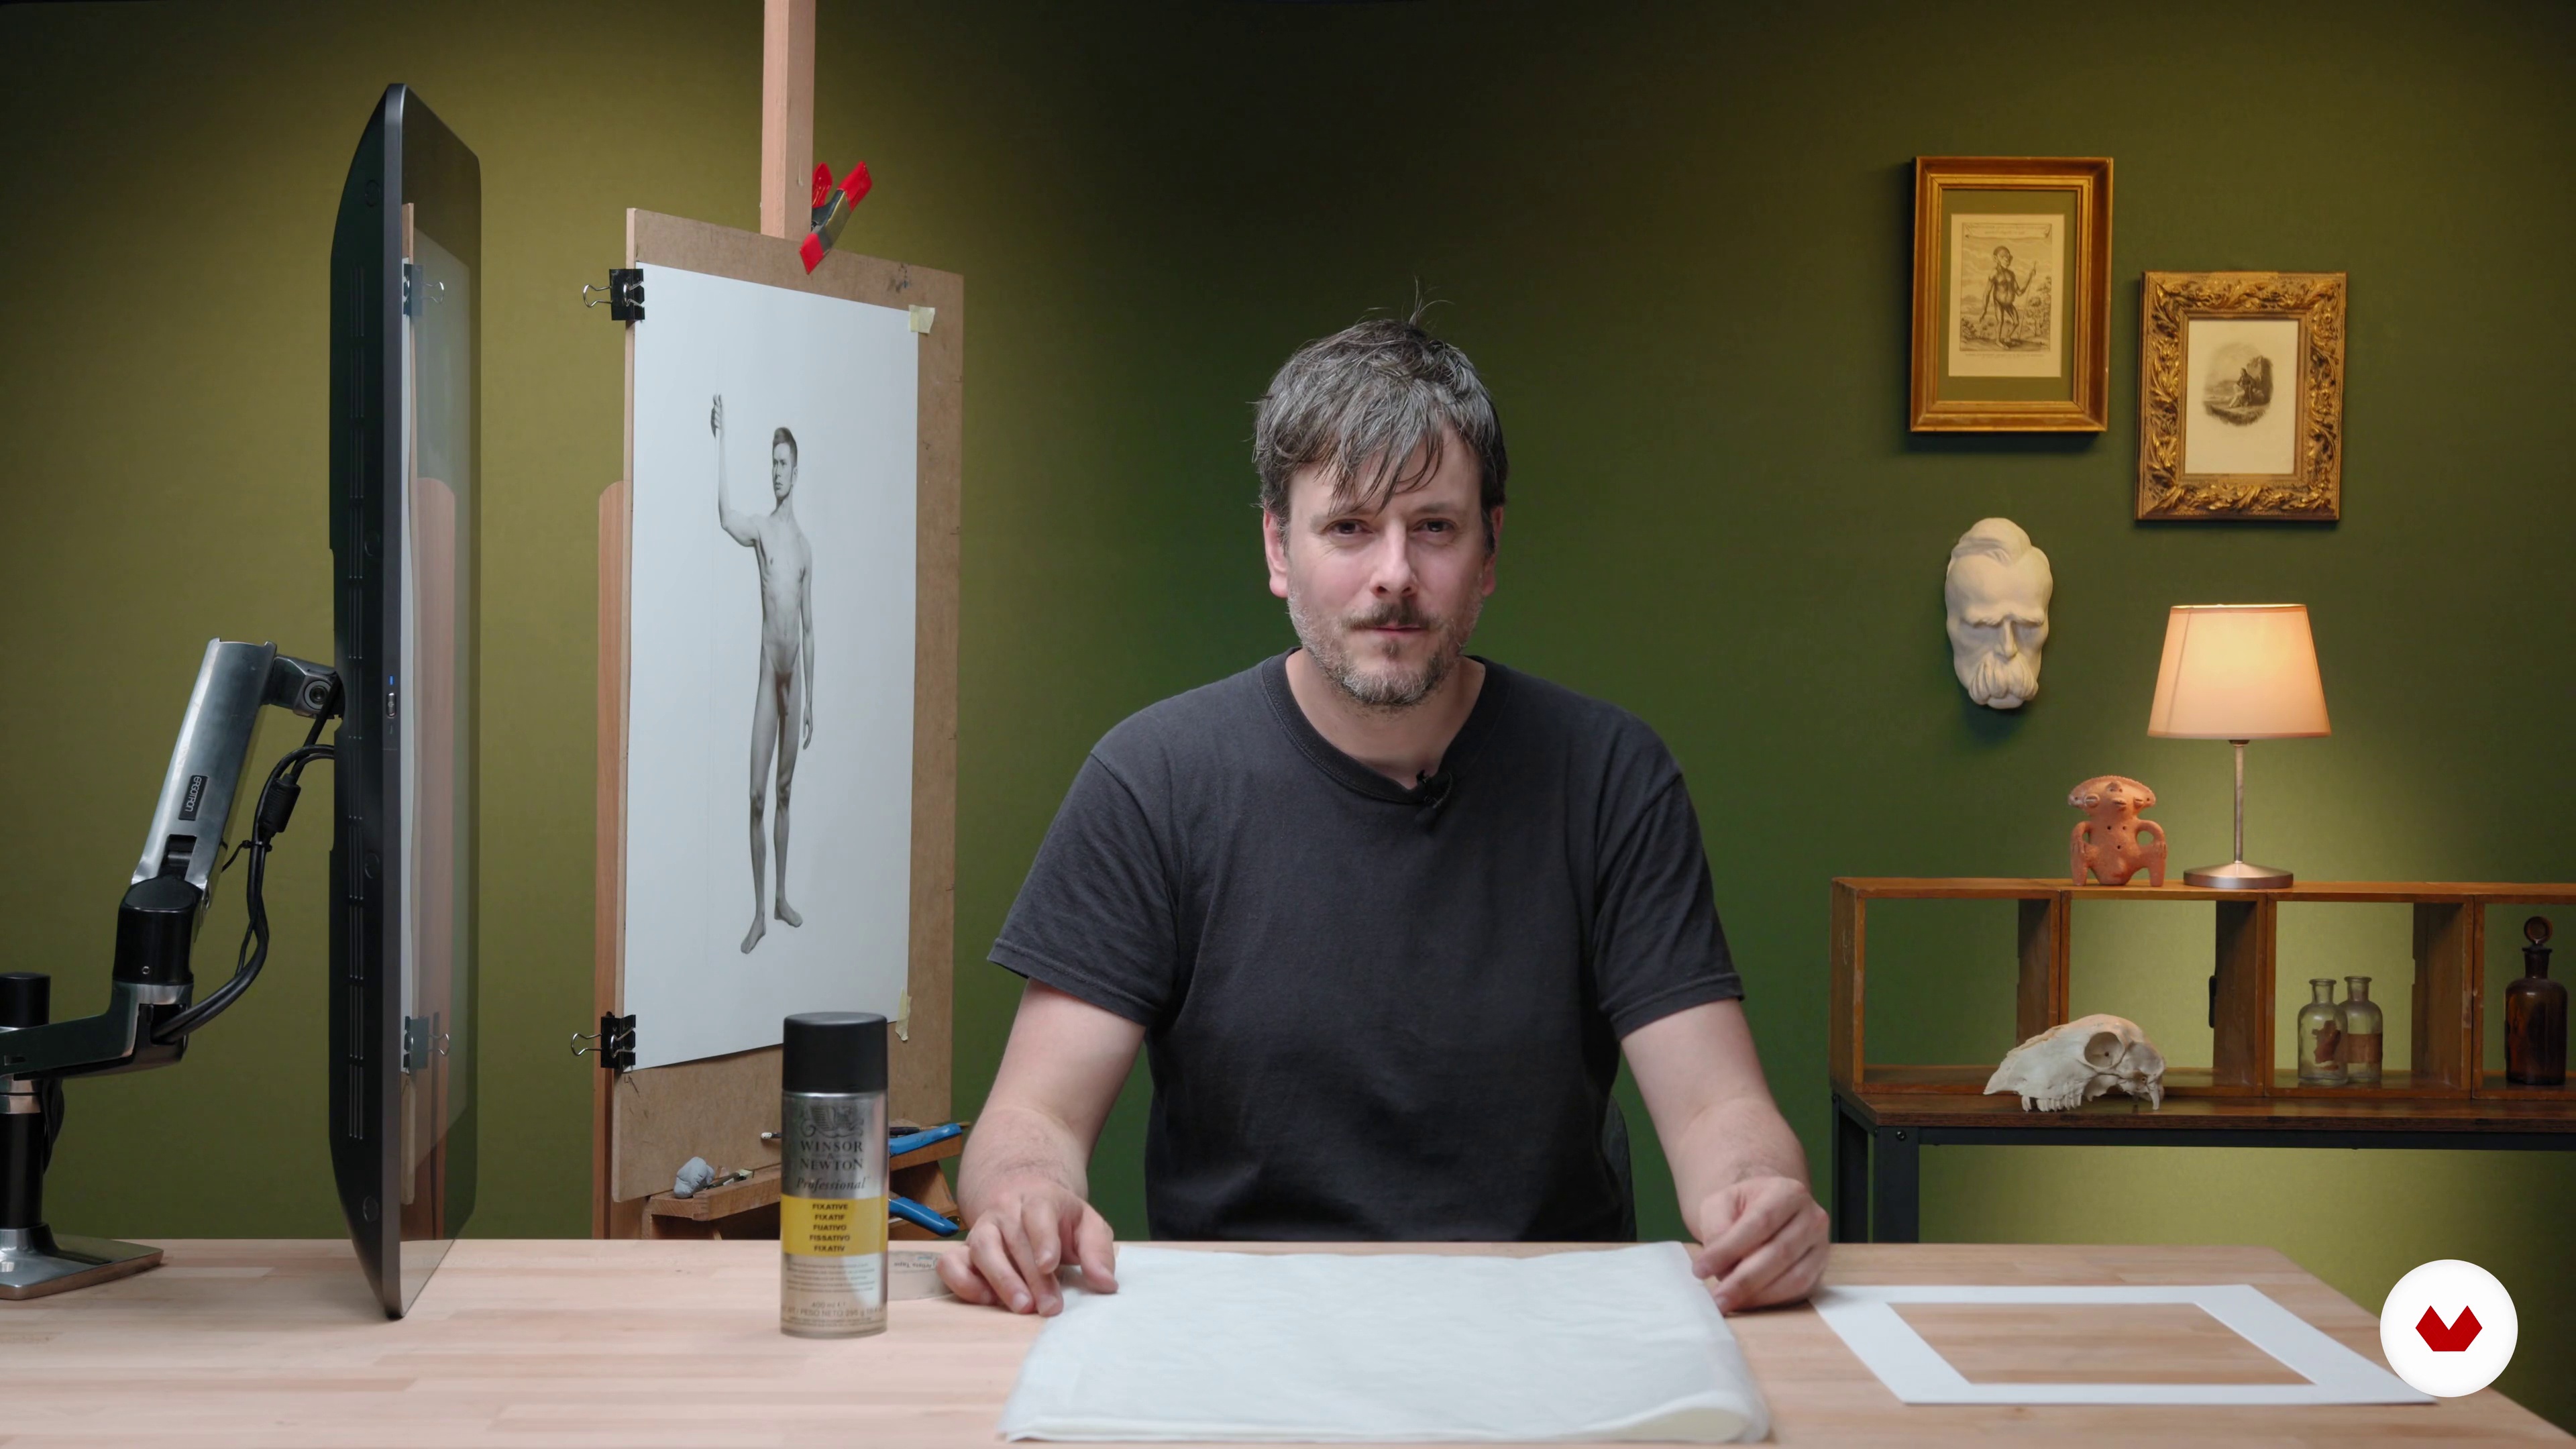
In this lesson we will make the final adjustments by reviewing the drawing as a whole. We will define some of the edges and lose others to achieve a naturalistic result and to focus the attention of the eye on the most relevant details.
14m
 35
35Conservation and farewell
With the drawing already finished, I will make some minor adjustments before commenting on some aspects for the conservation of your finished project.
3m
 4
4Materials and Basic Preparation 1
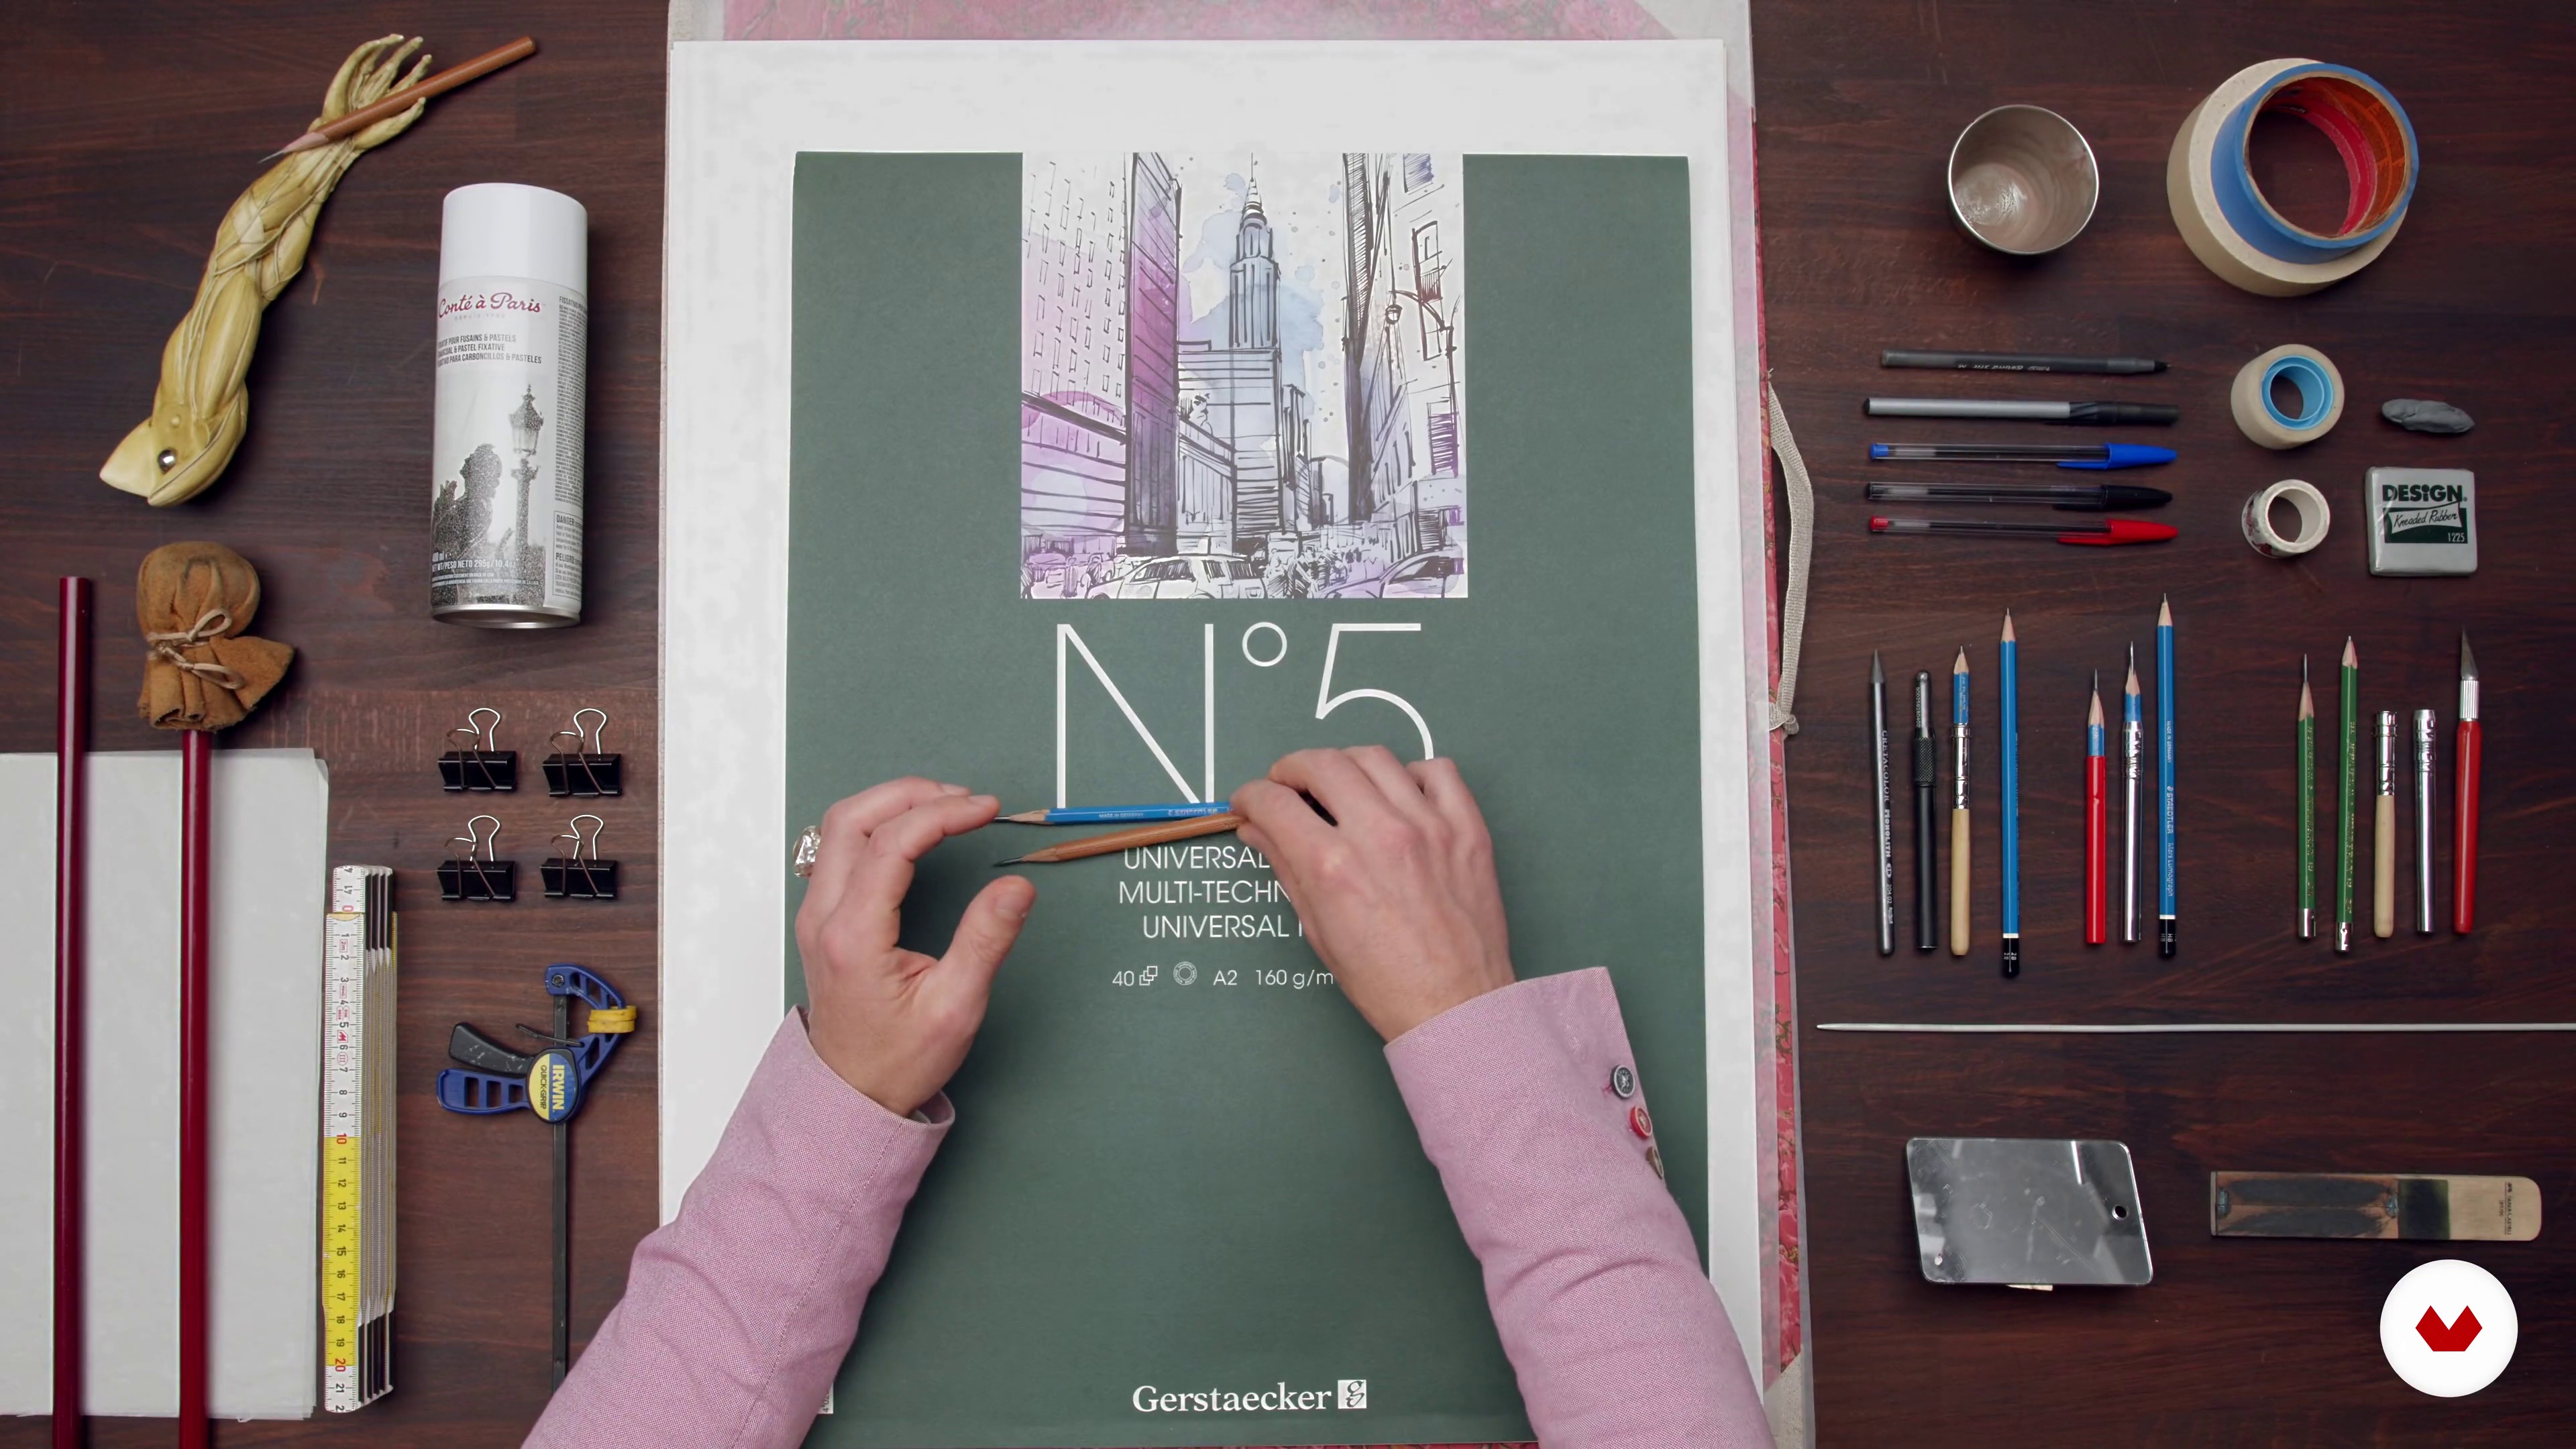
Here I am going to show you all the tools I use for my graphite drawings and demonstrate how to prepare them.
12m
 5
5Materials and Basic Preparation 2
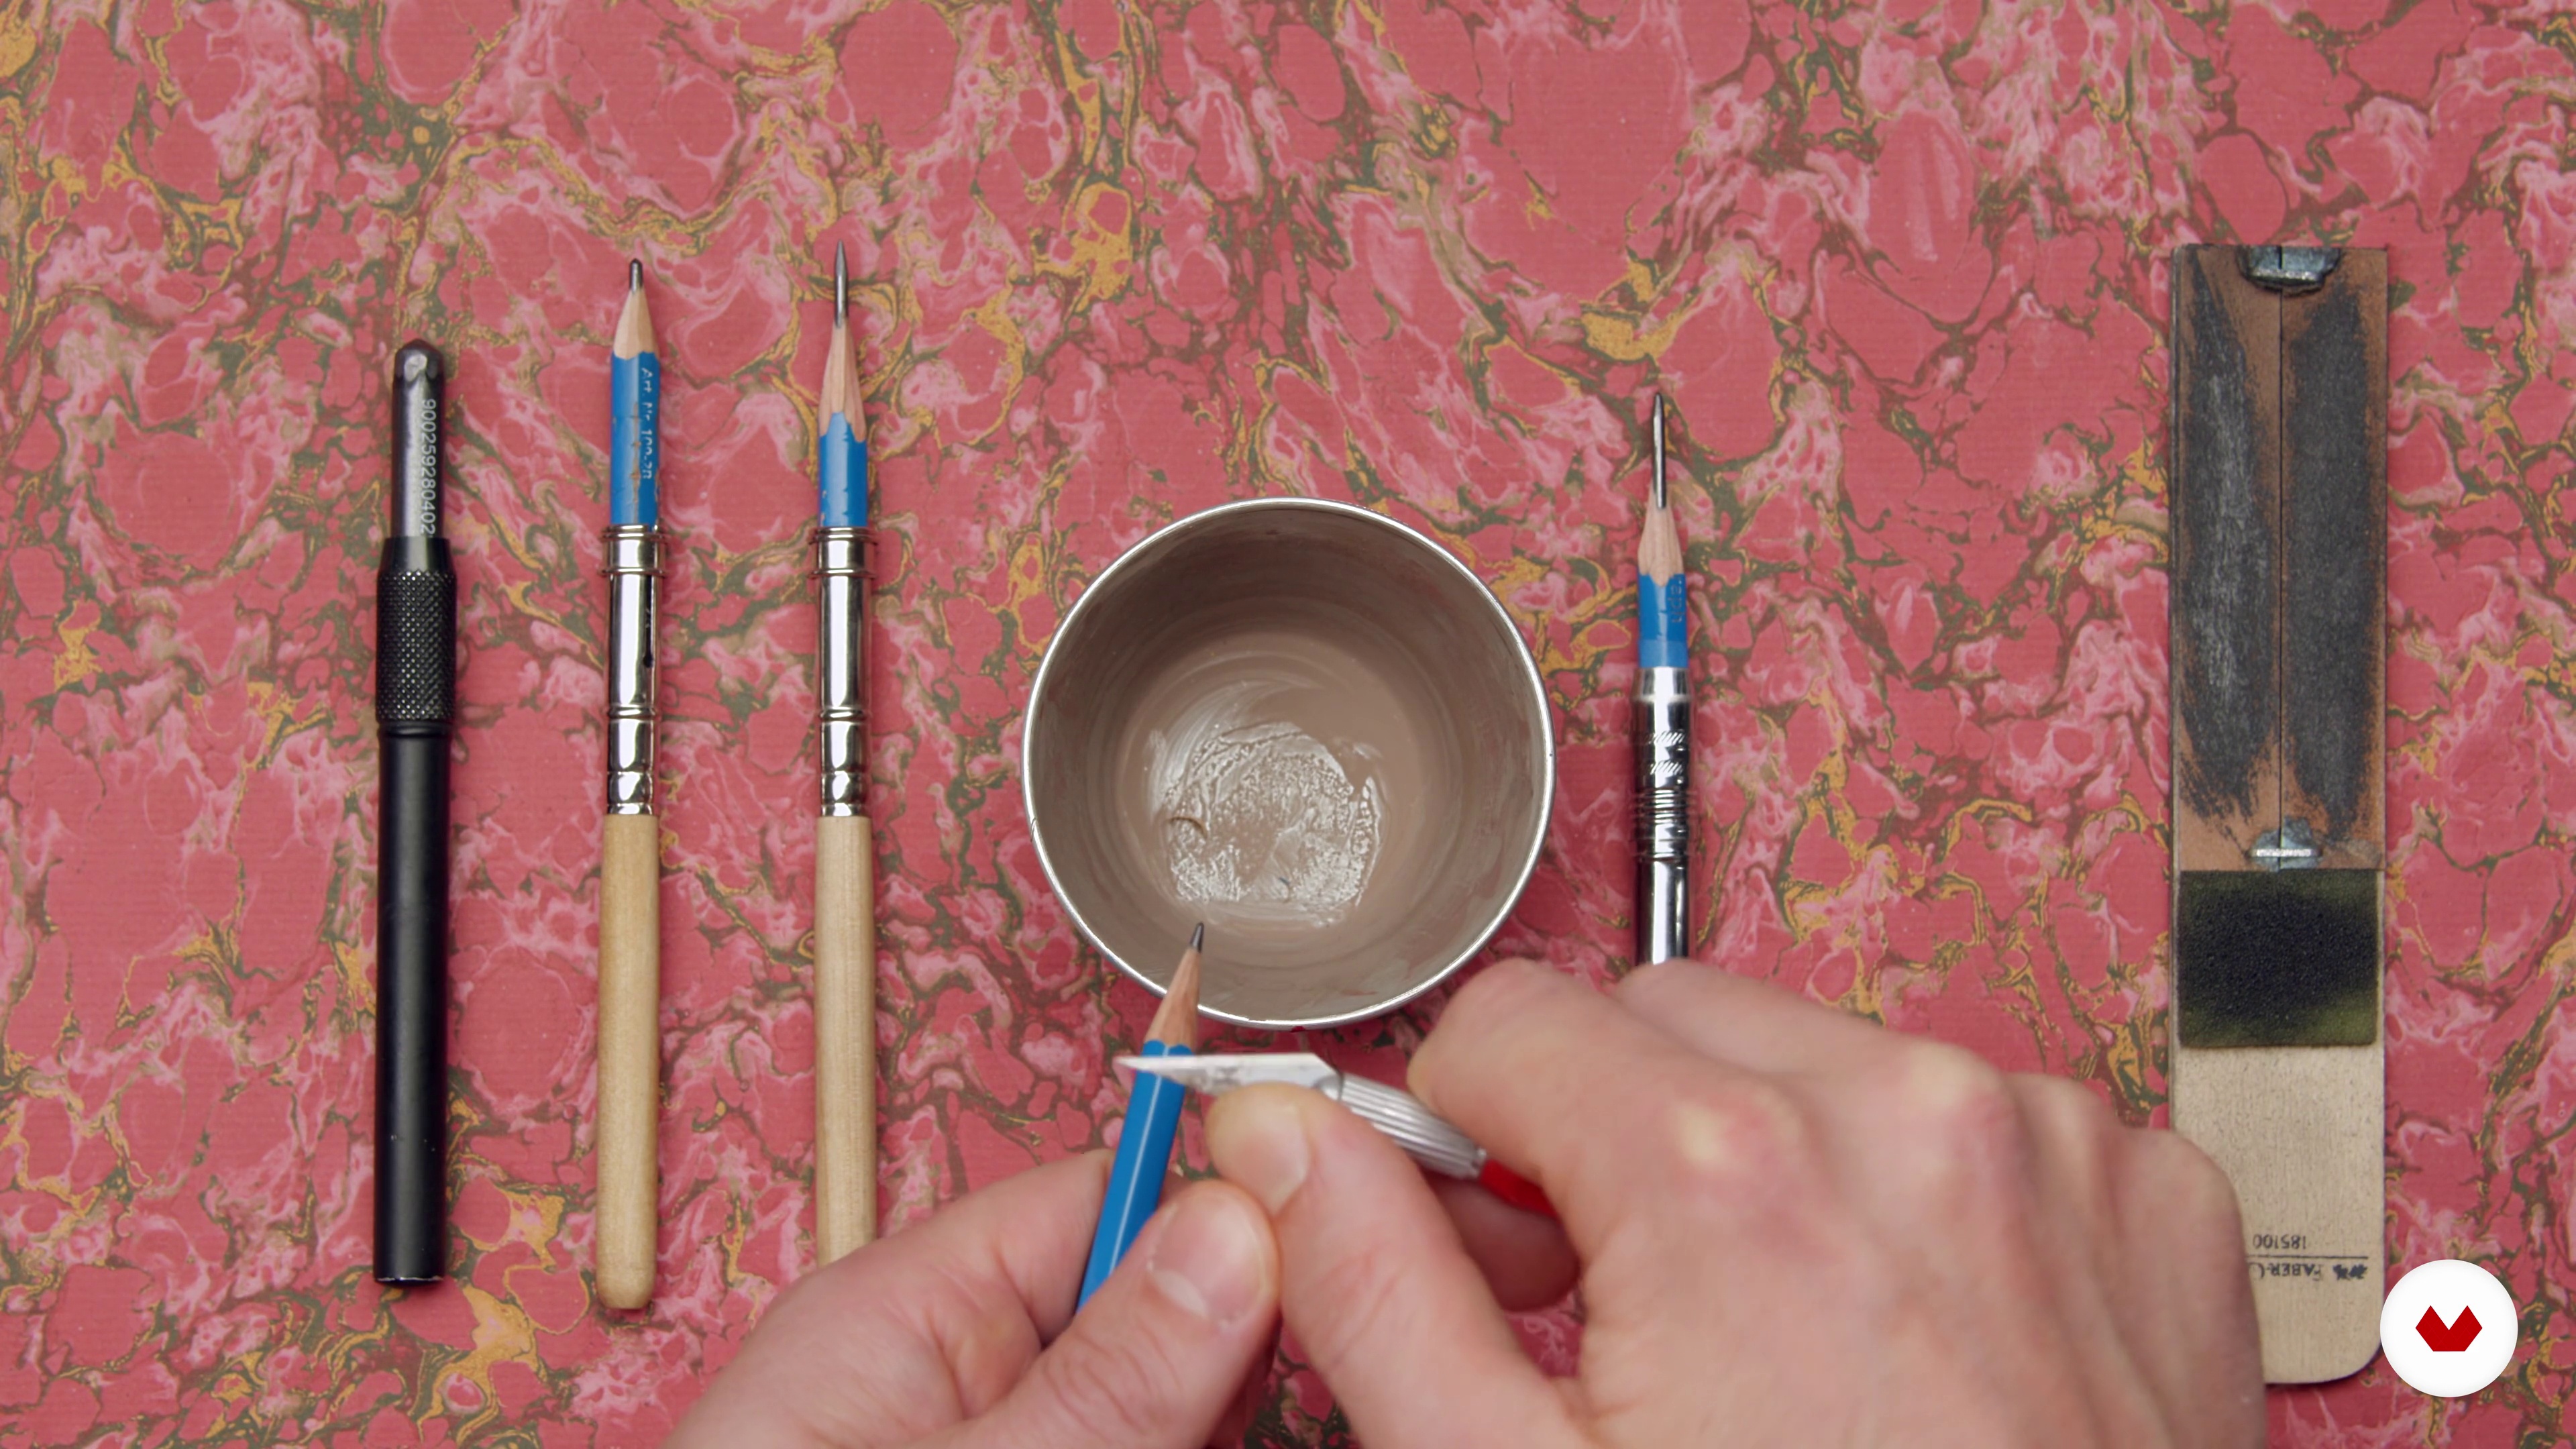
Let's discuss in further detail how I get my materials ready.
12m
 6
6Value and Value Scales
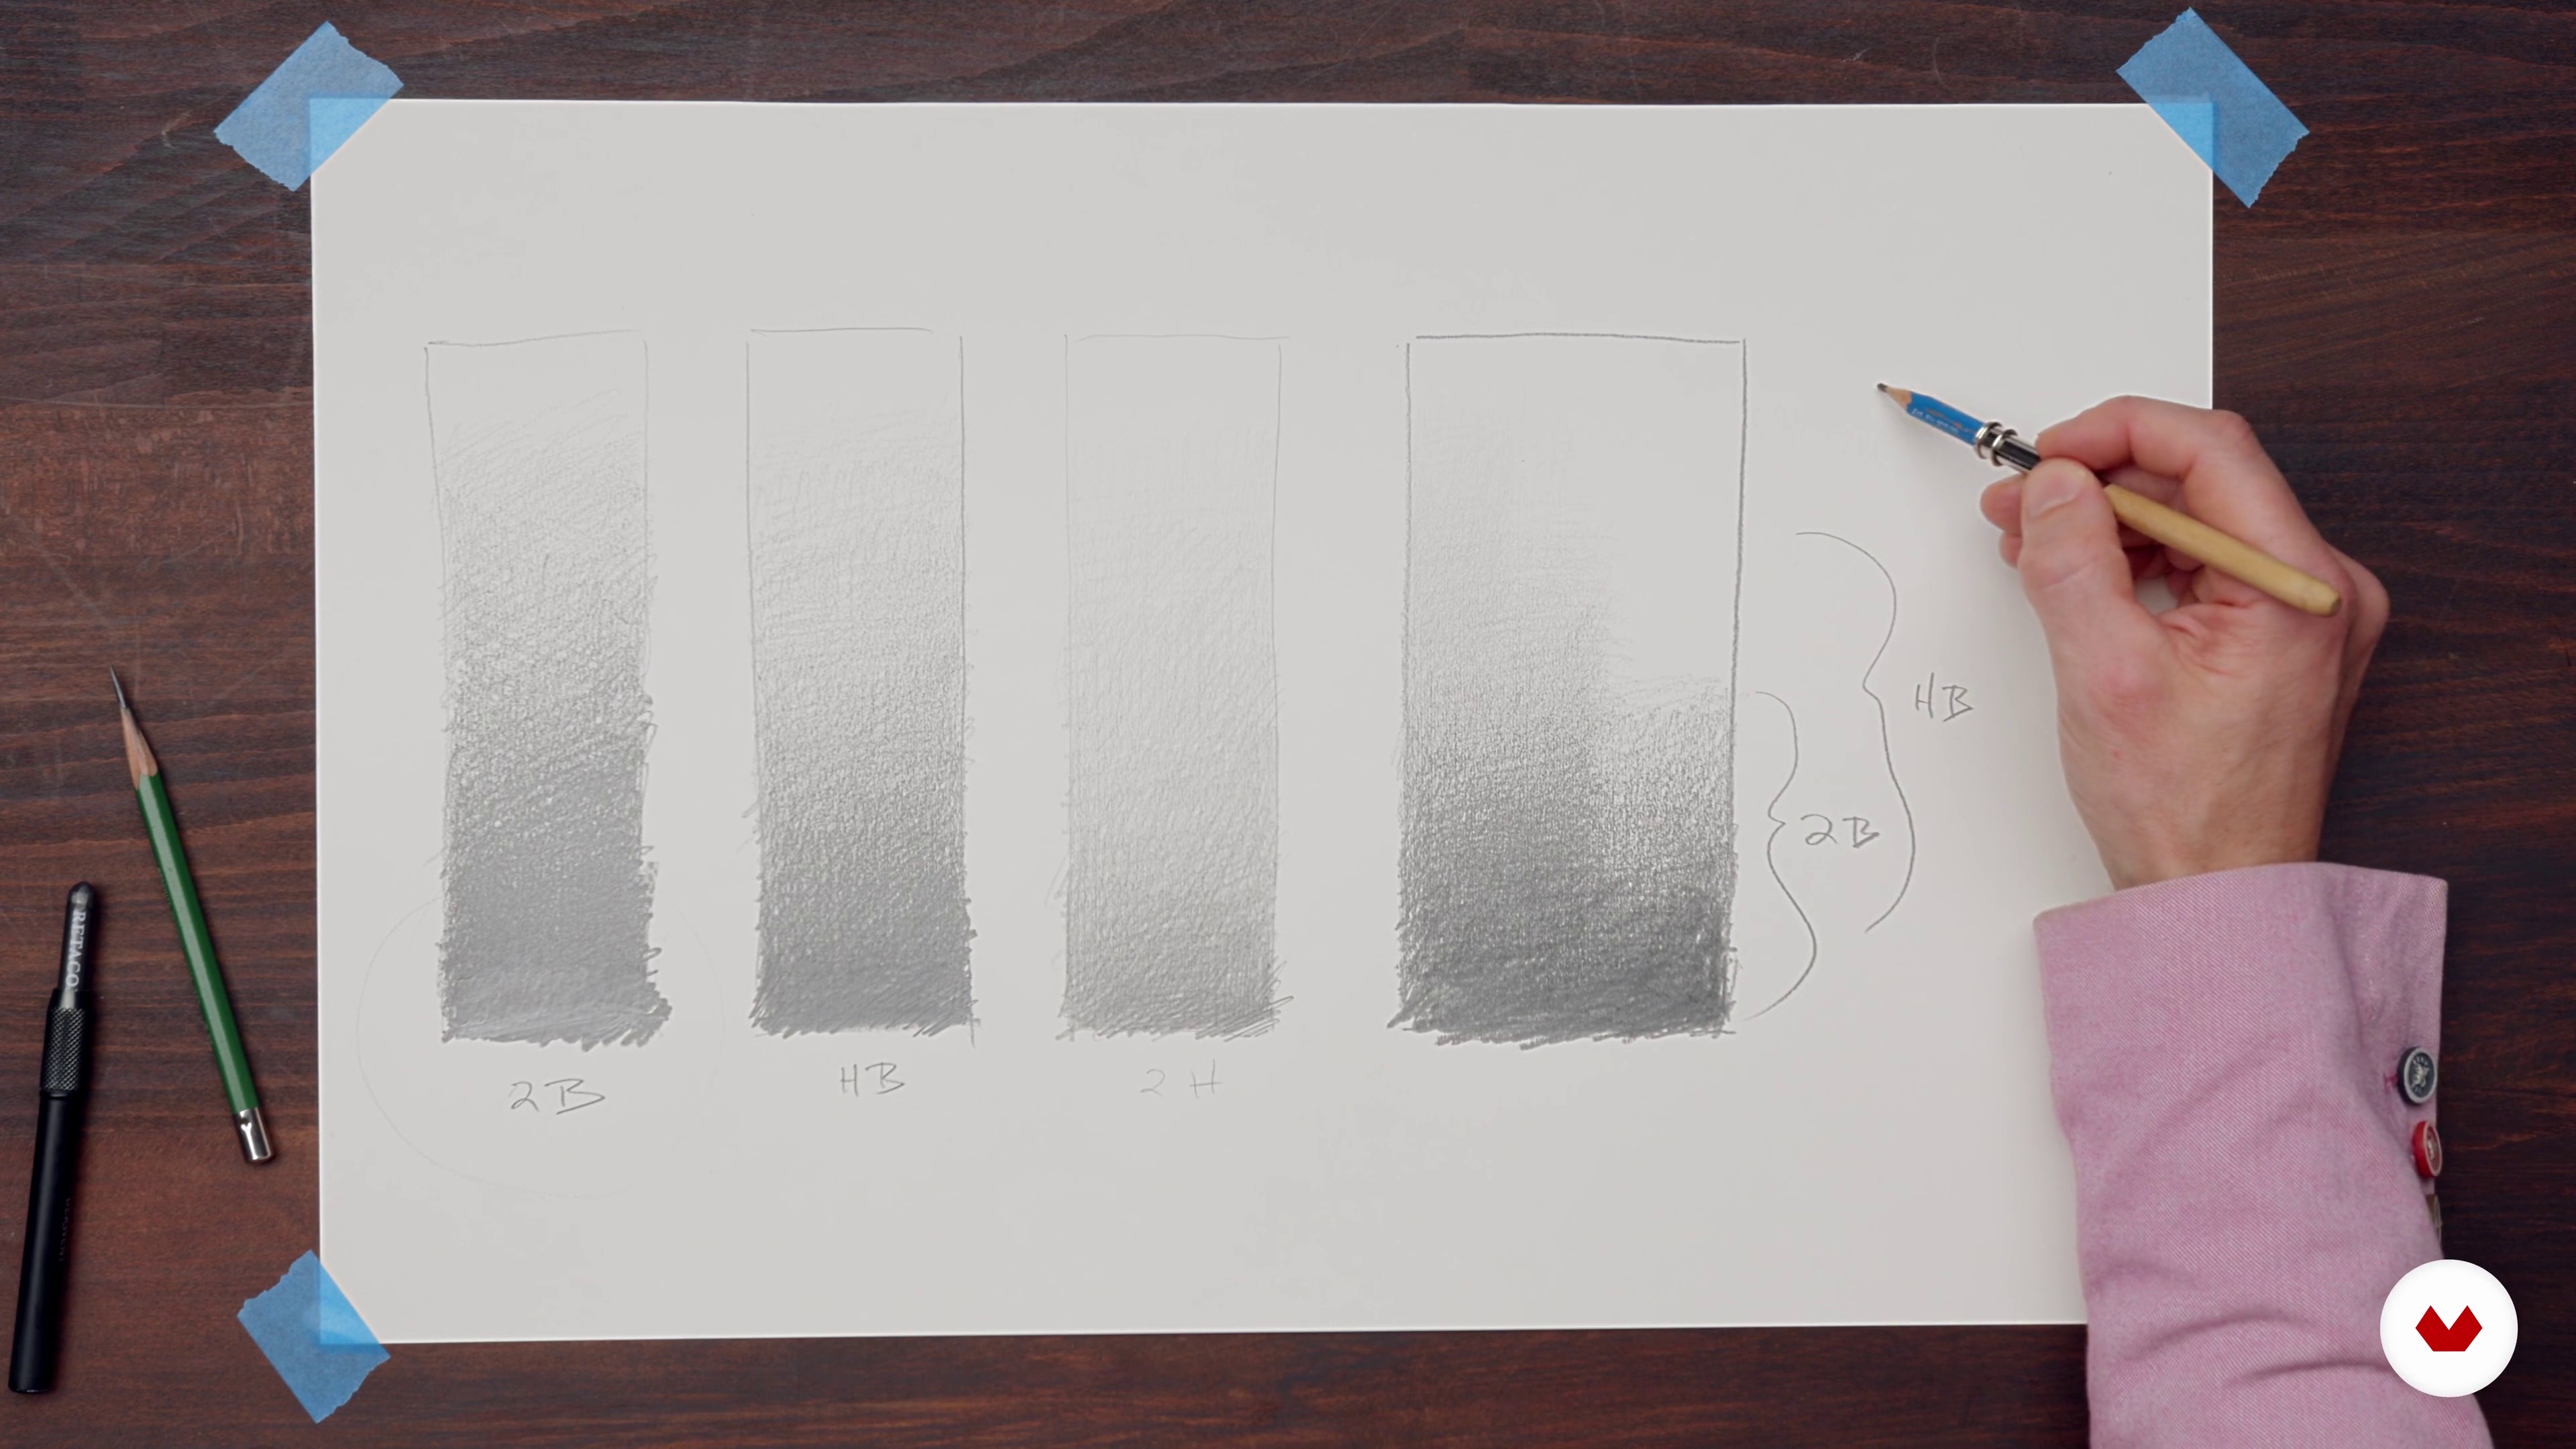
In this lesson, we will be talking all about value. We will be creating several value scales with our pencils in order to learn about their strengths and limitations. And I will also teach you a very simple yet very important technical fact of using graphite that is key to making a technically sound drawing.
17m
 7
7Light and Shadow
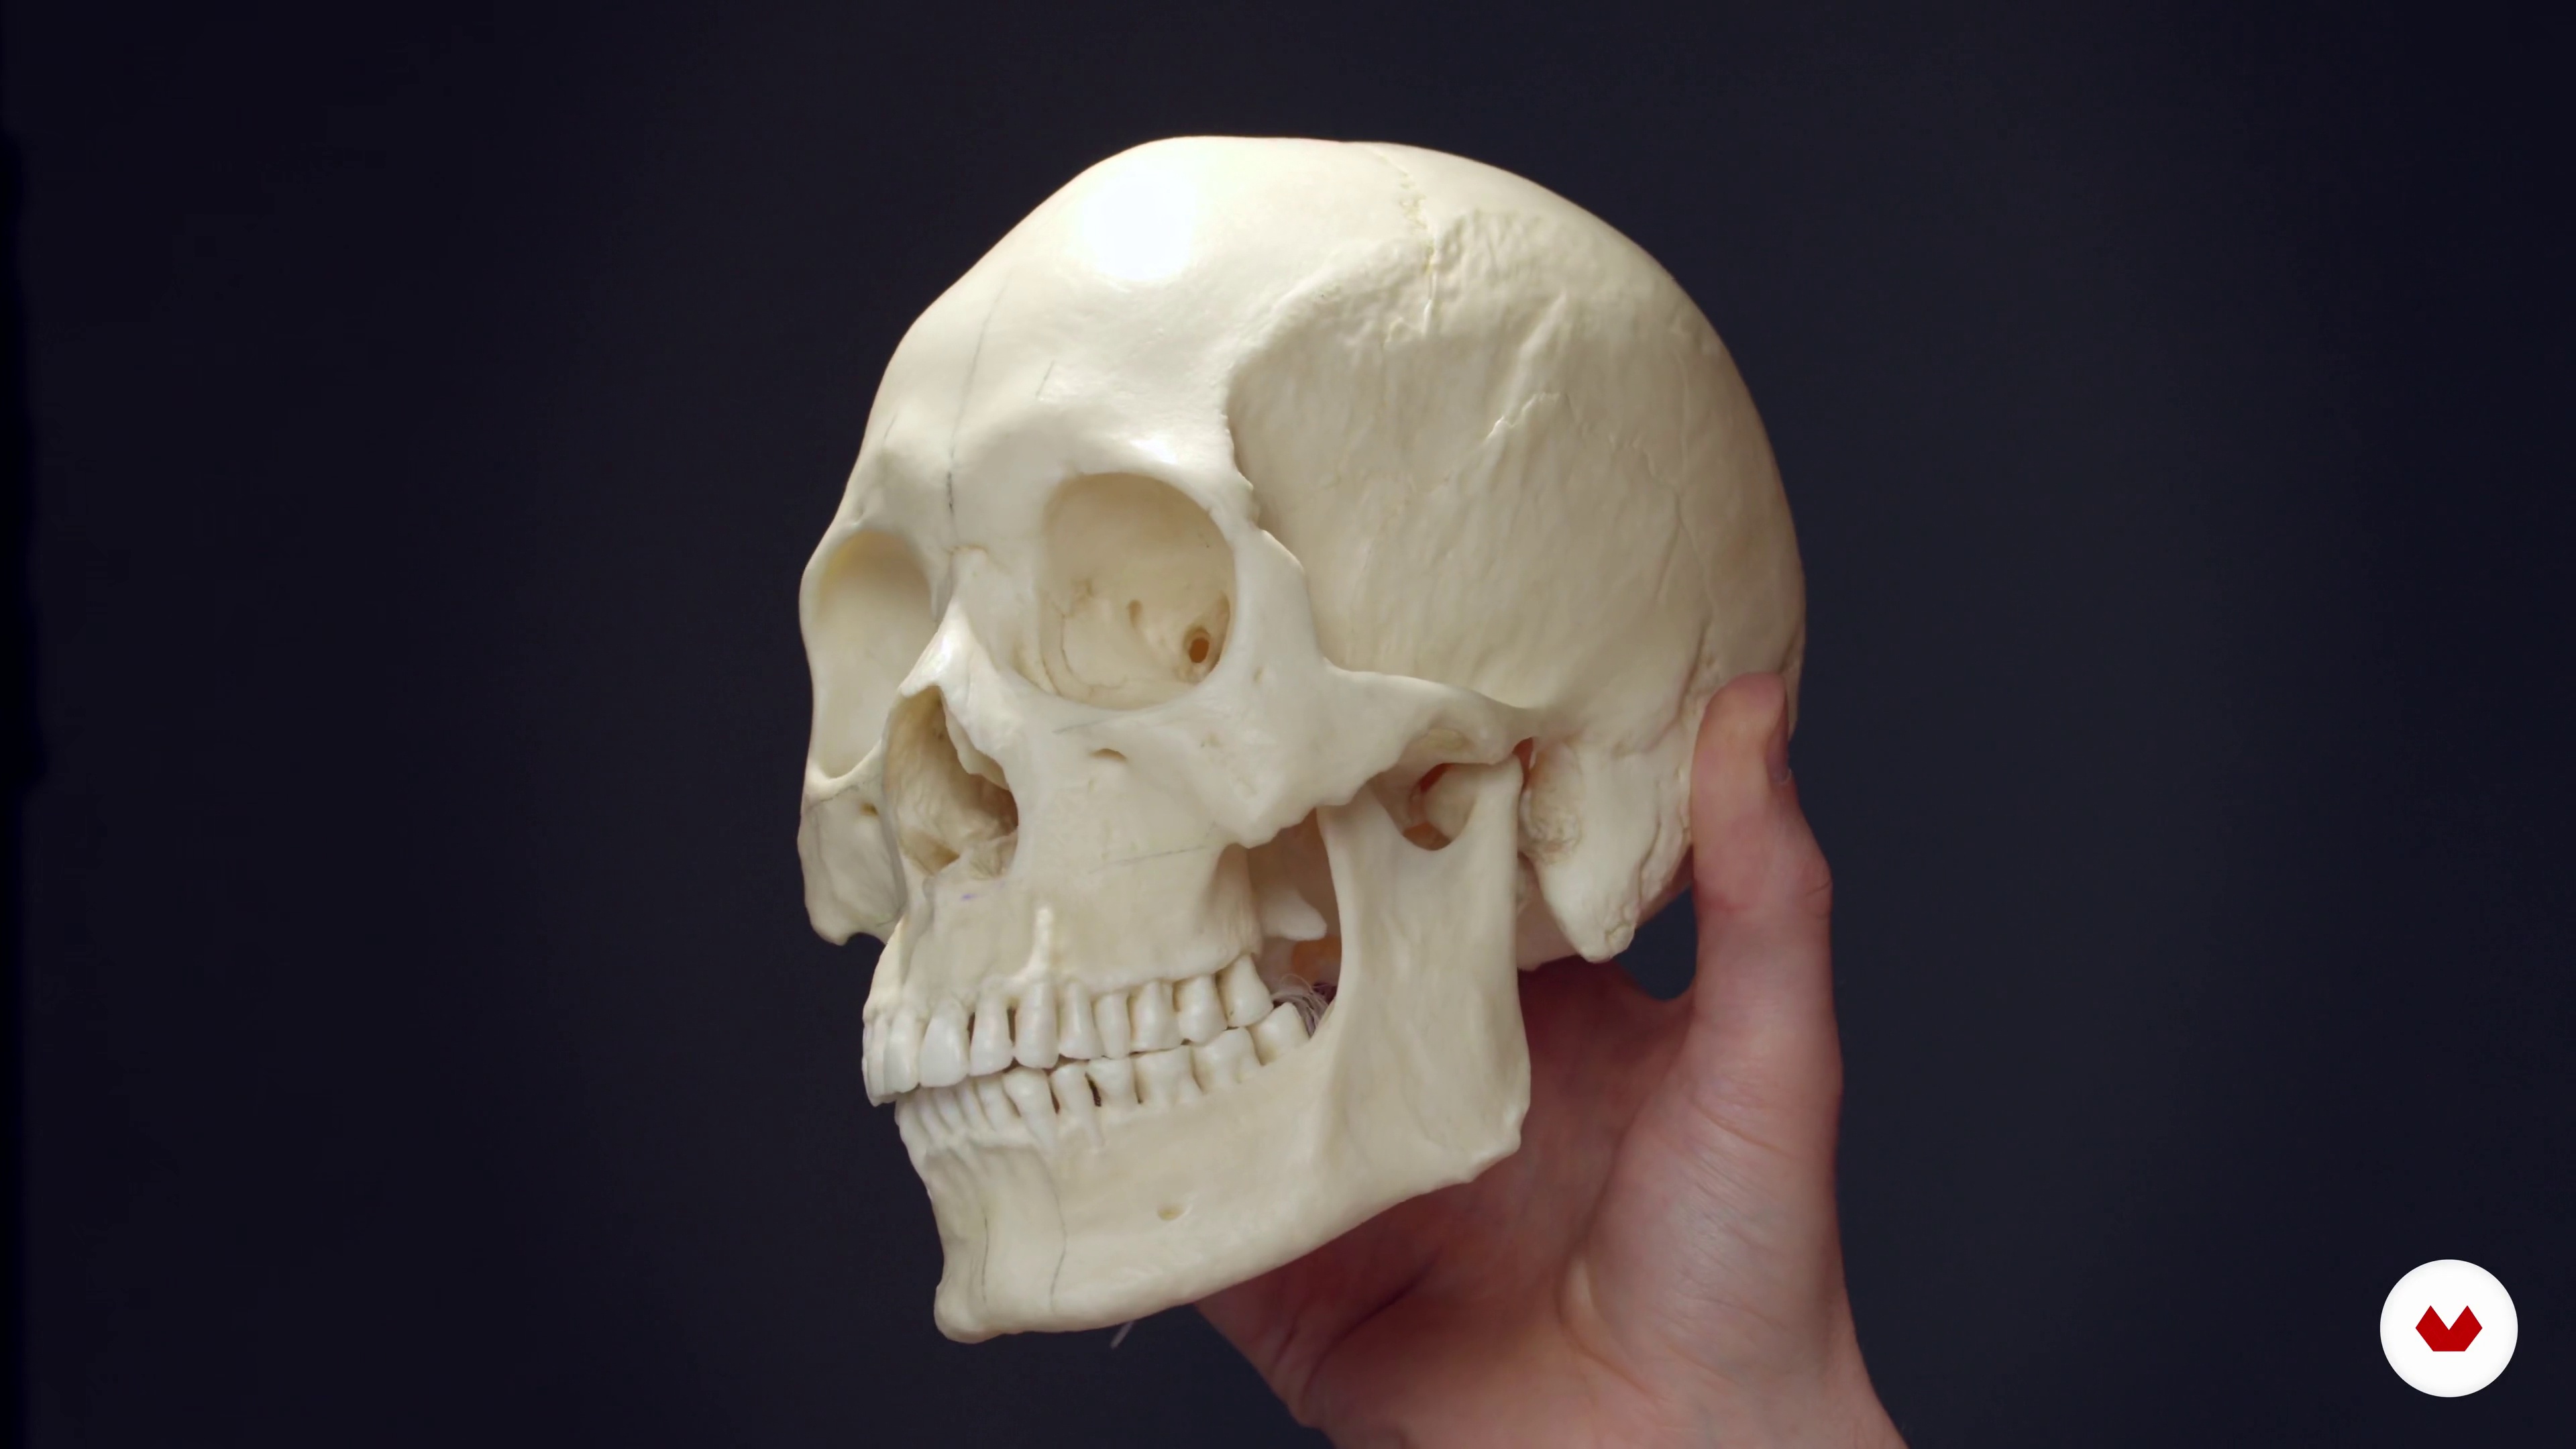
In this lesson, you will learn the differences between the light value range and the dark value range of the world, about the different types of lighting and shadows that exist, and also how reflected lights (or reflections) work.
14m
 8
8Shape Exercises
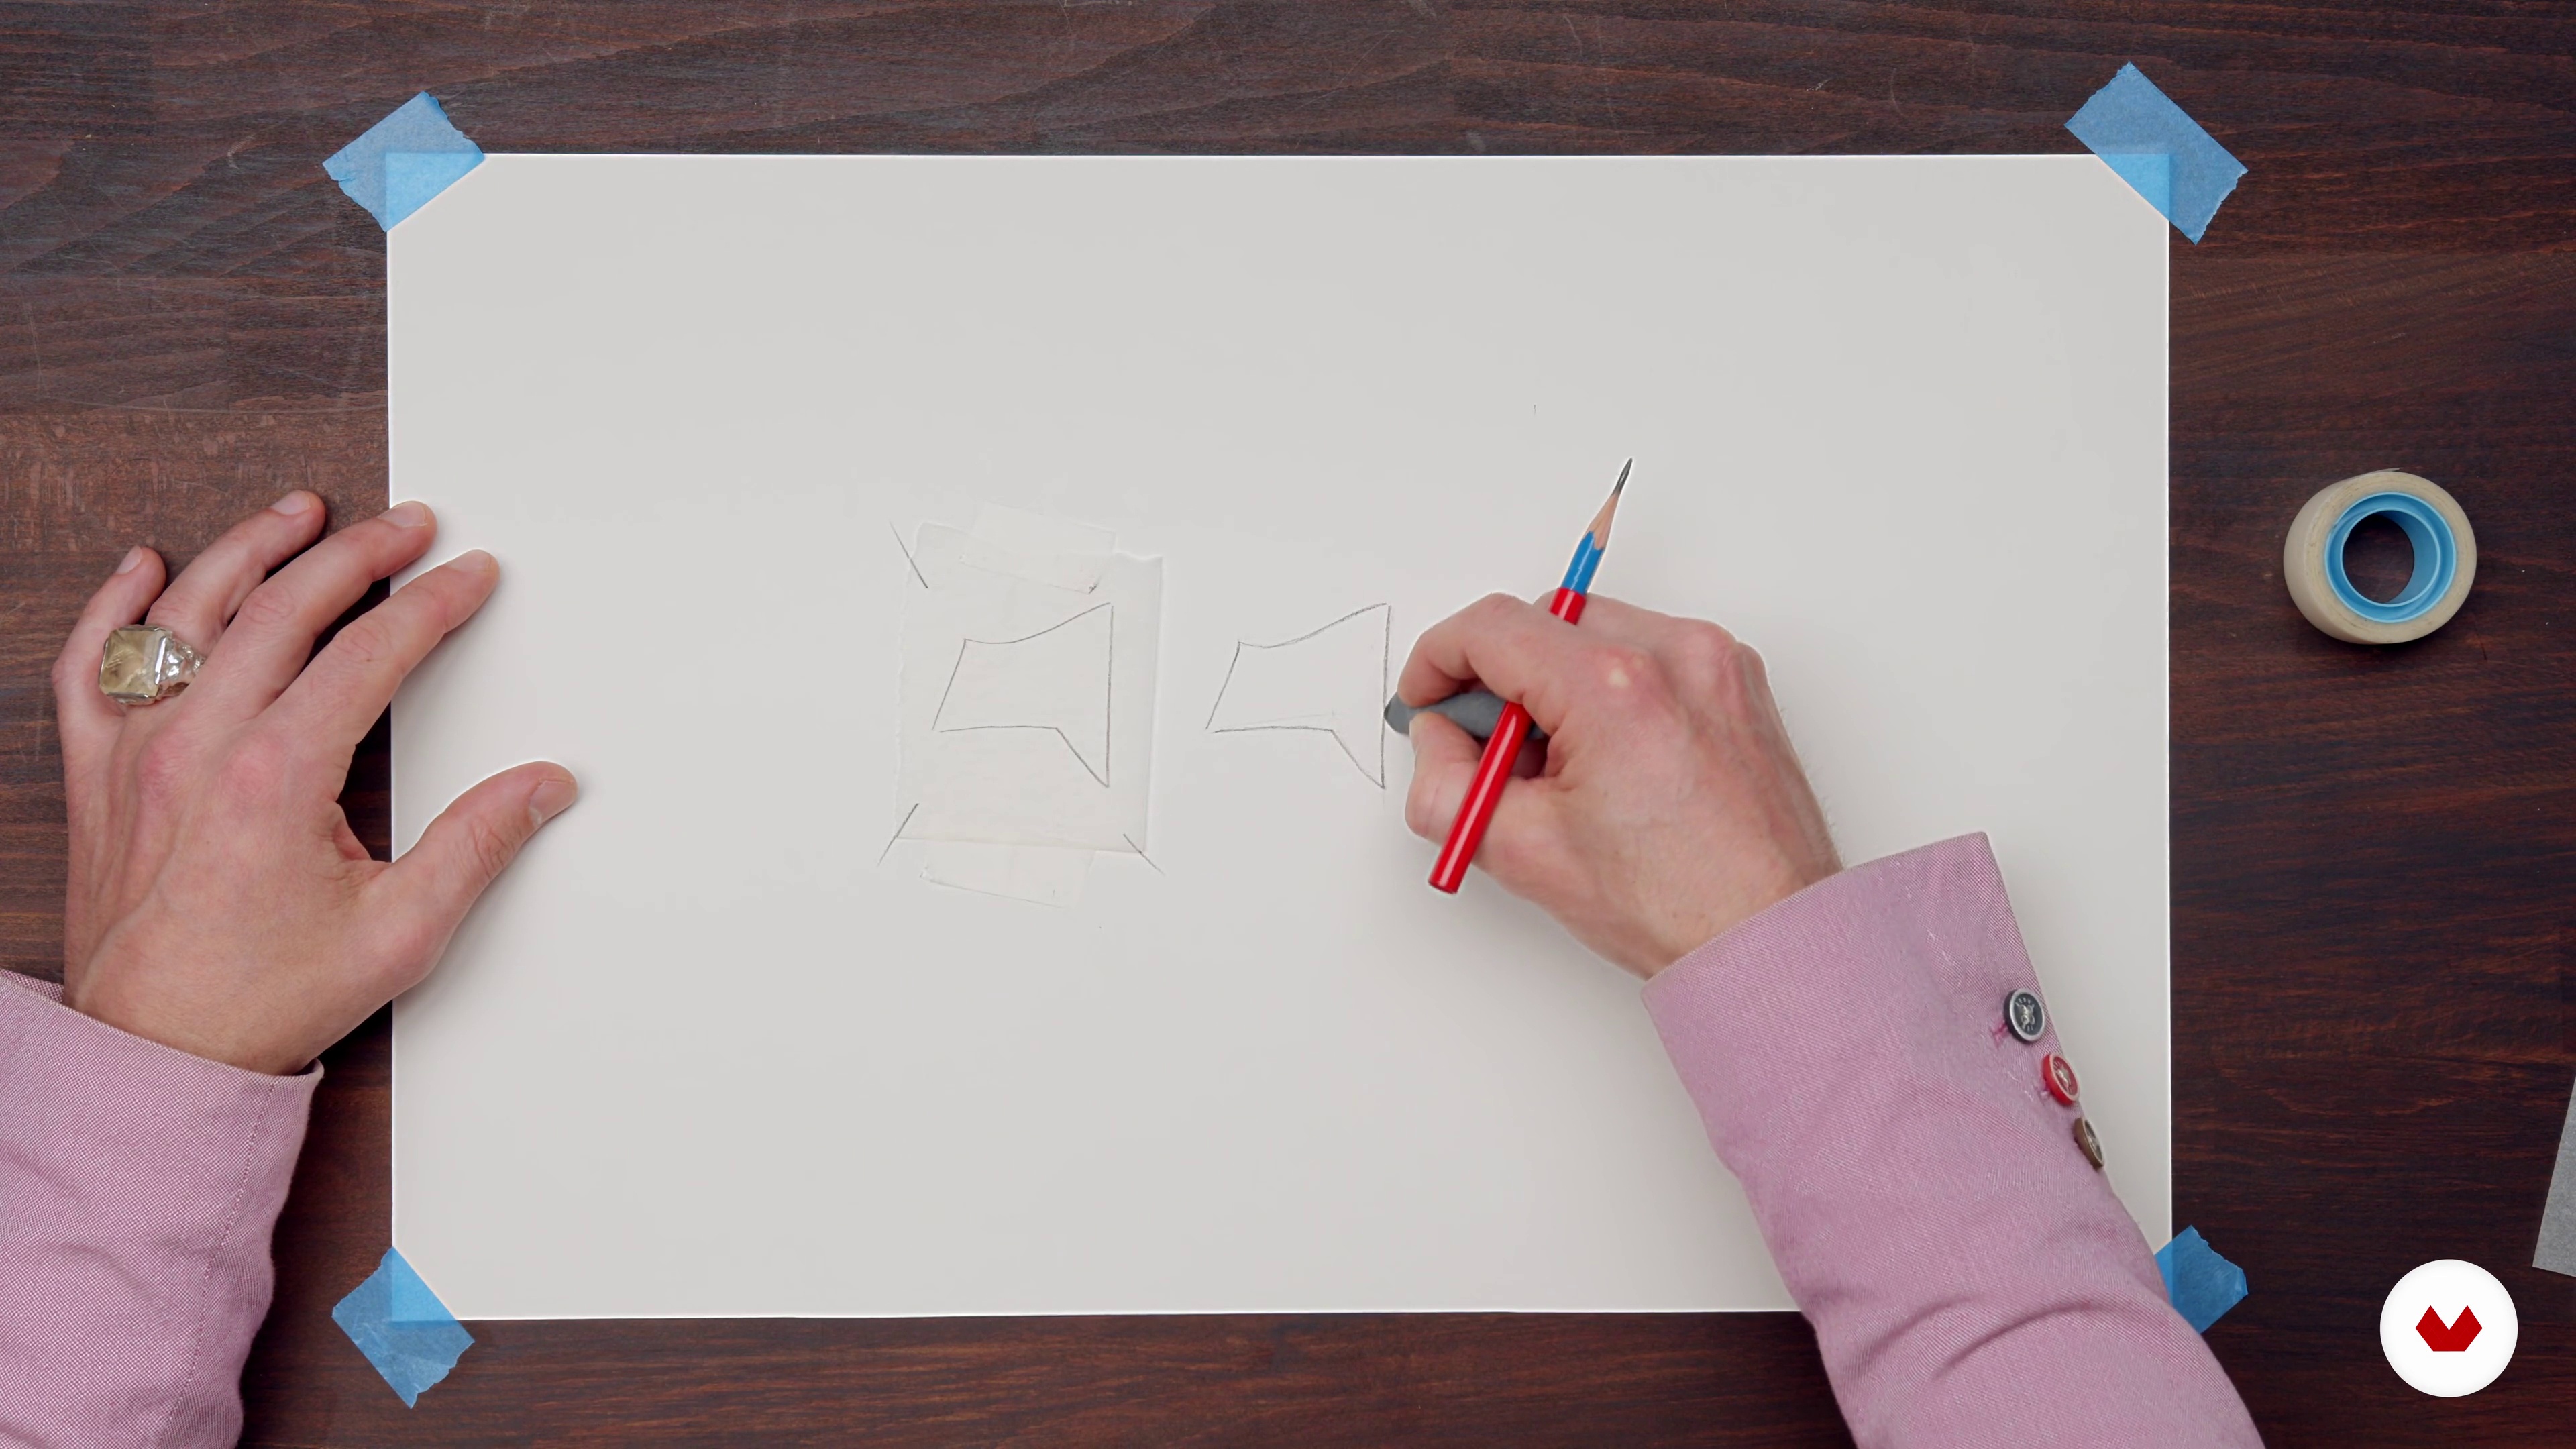
In this lesson, I will teach you what I find to be, by far, the most powerful self-learning exercise anyone can do to improve their own visual accuracy.
14m
 9
9Measuring: Do’s and Don’ts
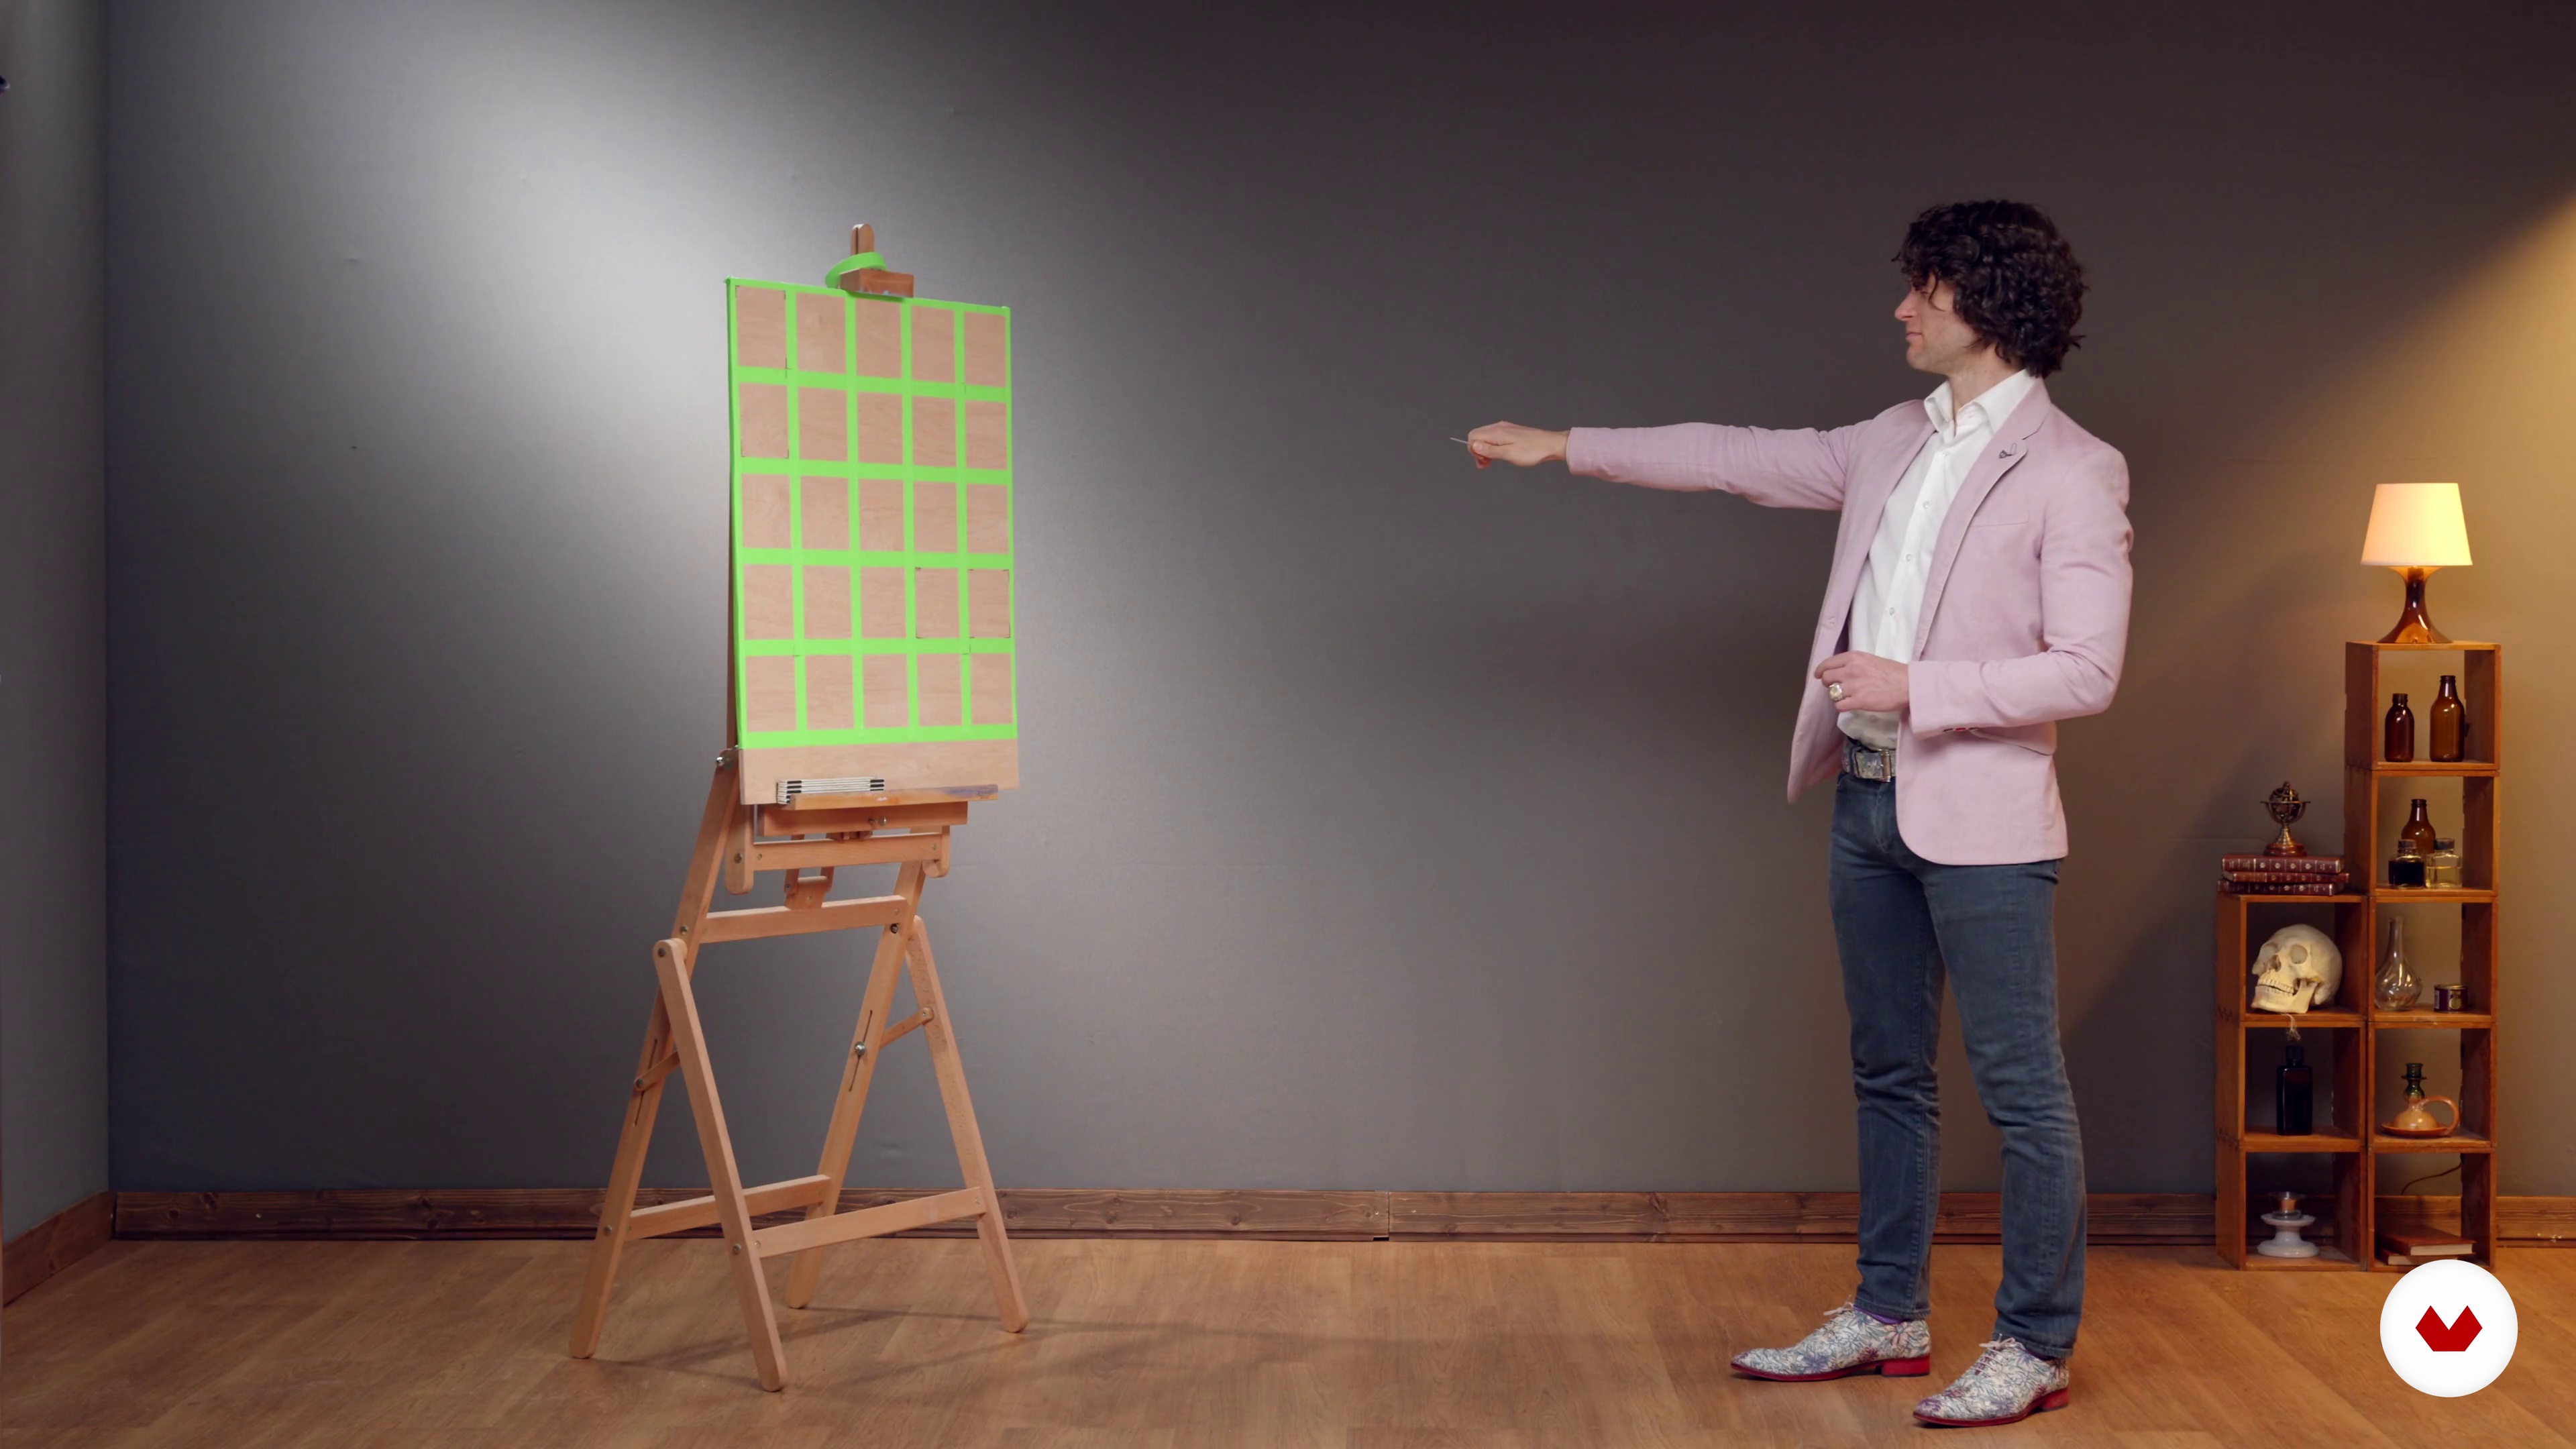
In this lesson, I will show you the proper way to measure something in space, in our case a model (but of course measuring works for anything in the physical world you would like to draw).
11m
 10
10How to Welcome the Model
Whether this will be your very first time working with the live model, or whether you have a lot of experience working from life, I would like to share with you some important notions that I have come to develop and understand over the years that often go overlooked.
5m
 11
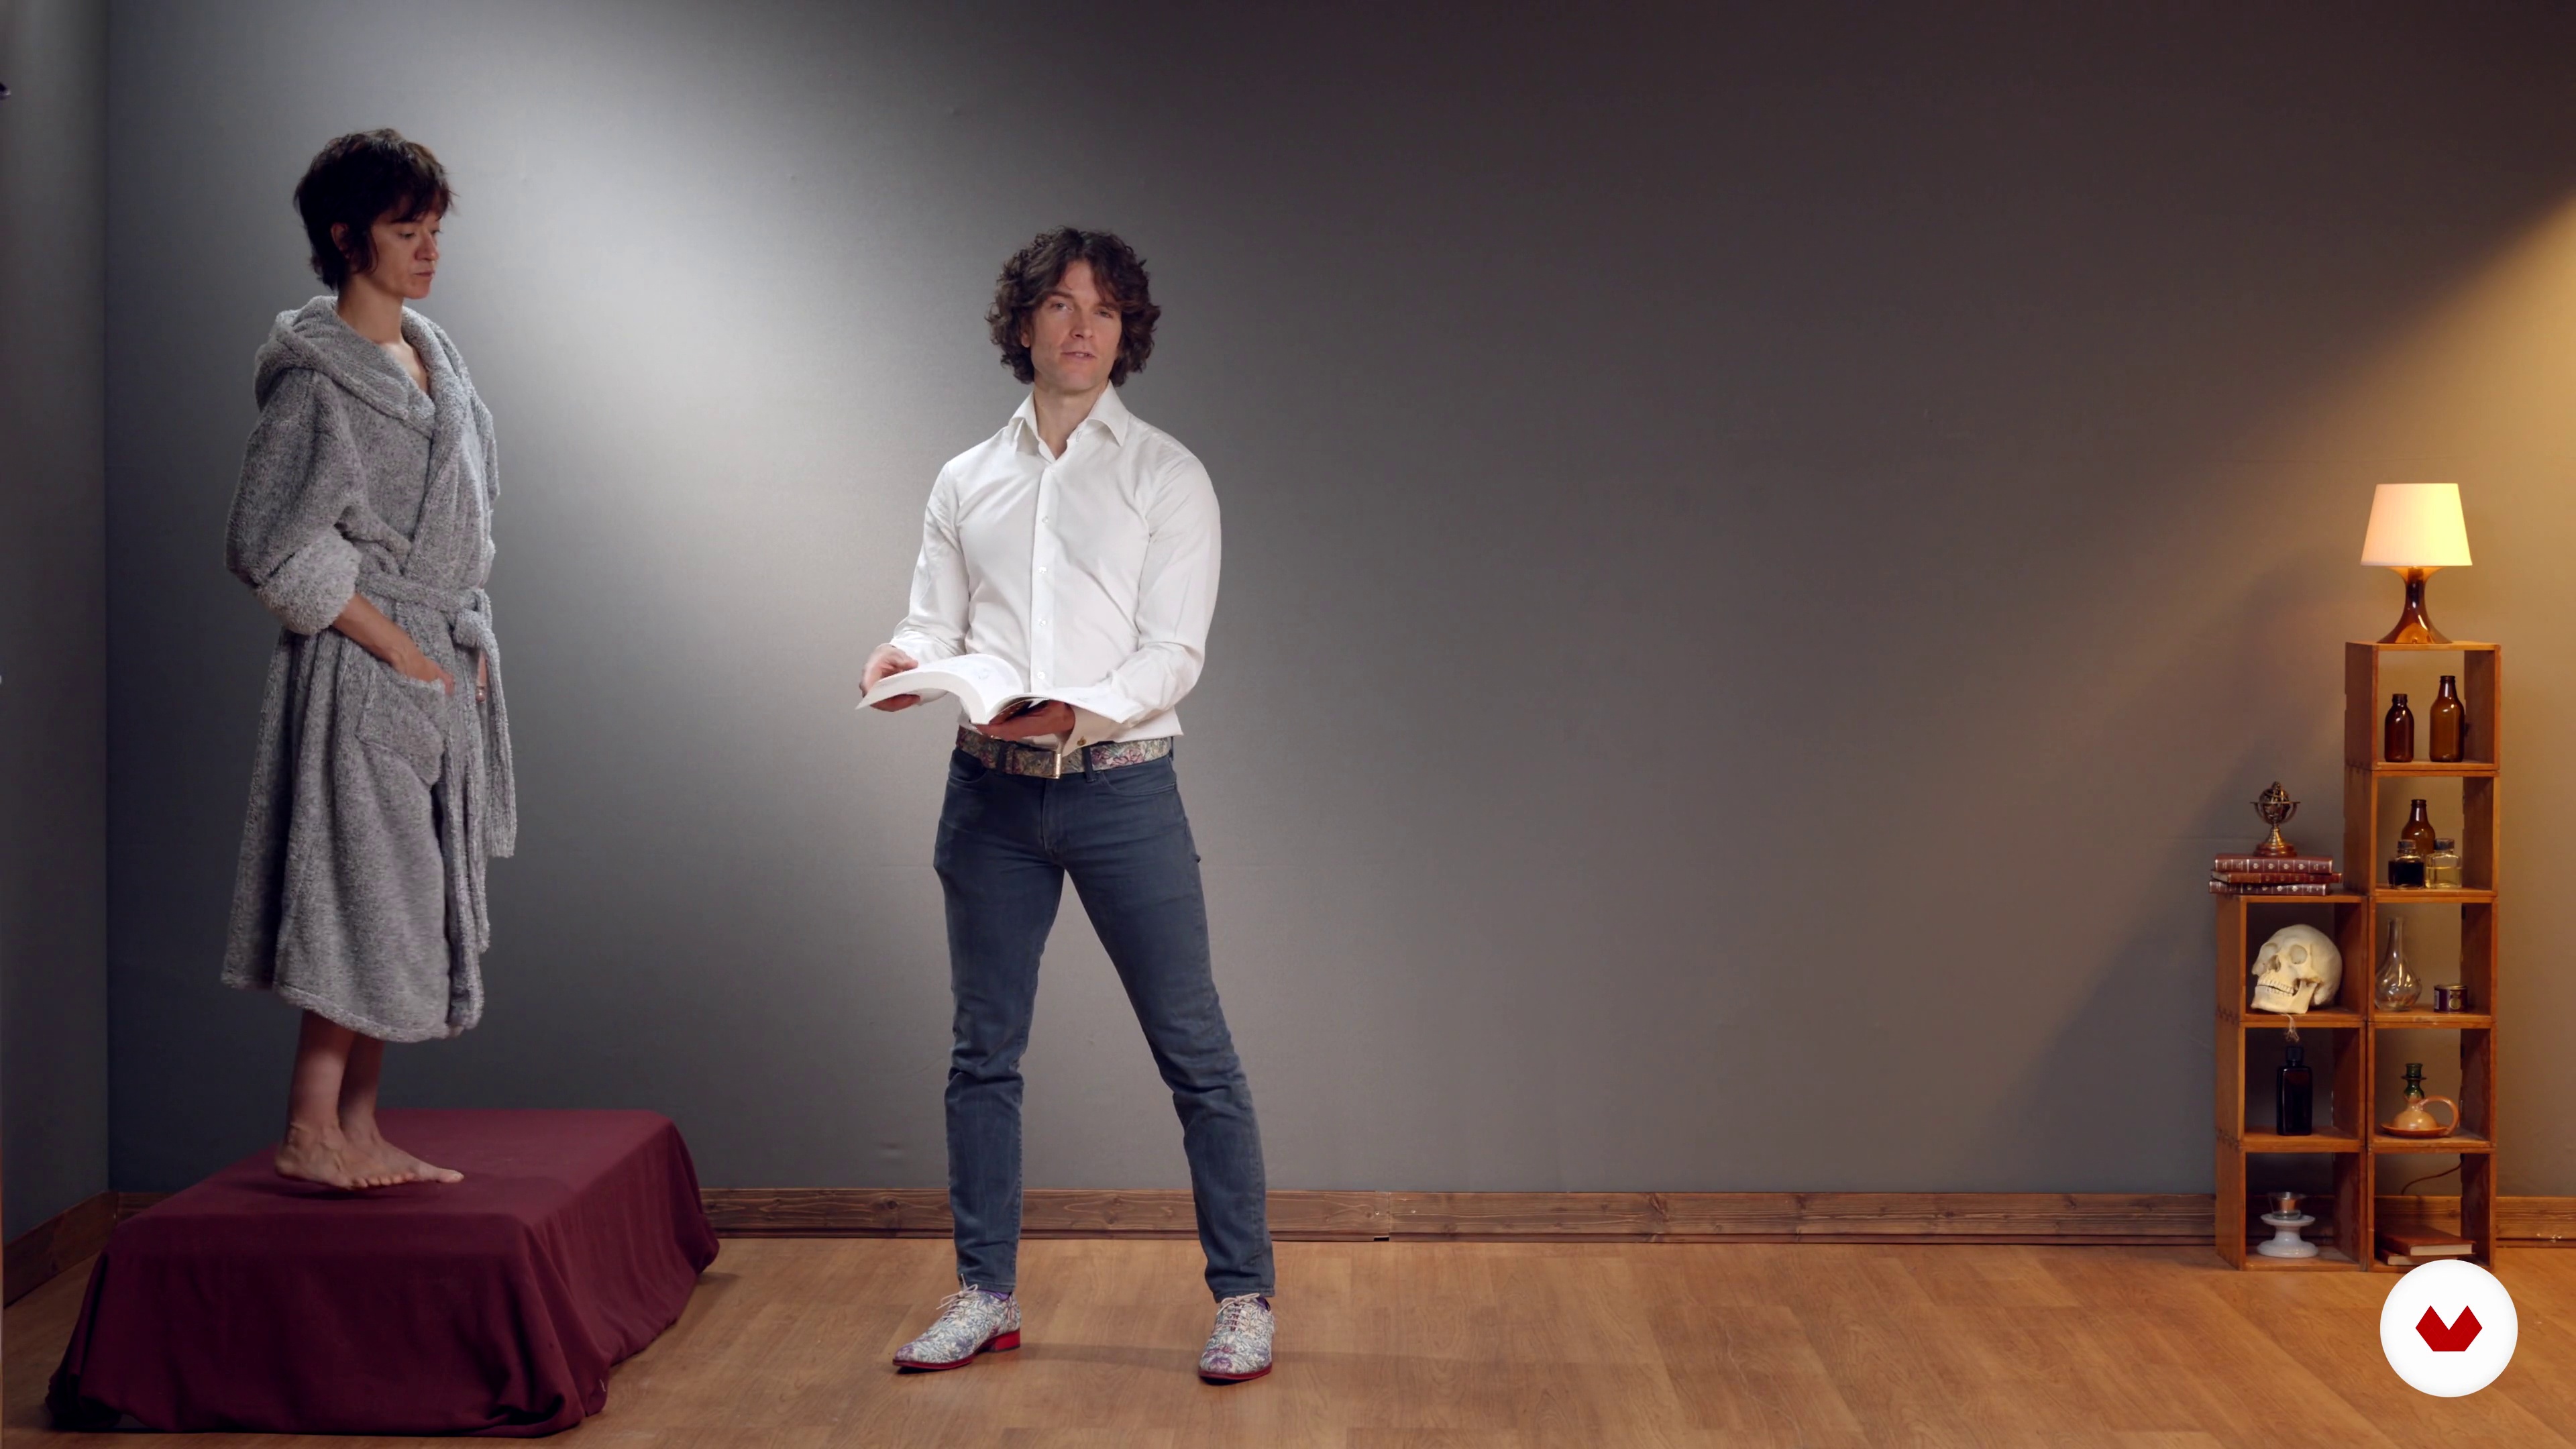
11What is Dynamic Figure Drawing?
In this lesson let’s talk about how to set a pose. I also think it’s a good idea to take a moment and distinguish a little between what we might simply call “Figure Drawing” from “Dynamic Figure Drawing.”
15m
 12
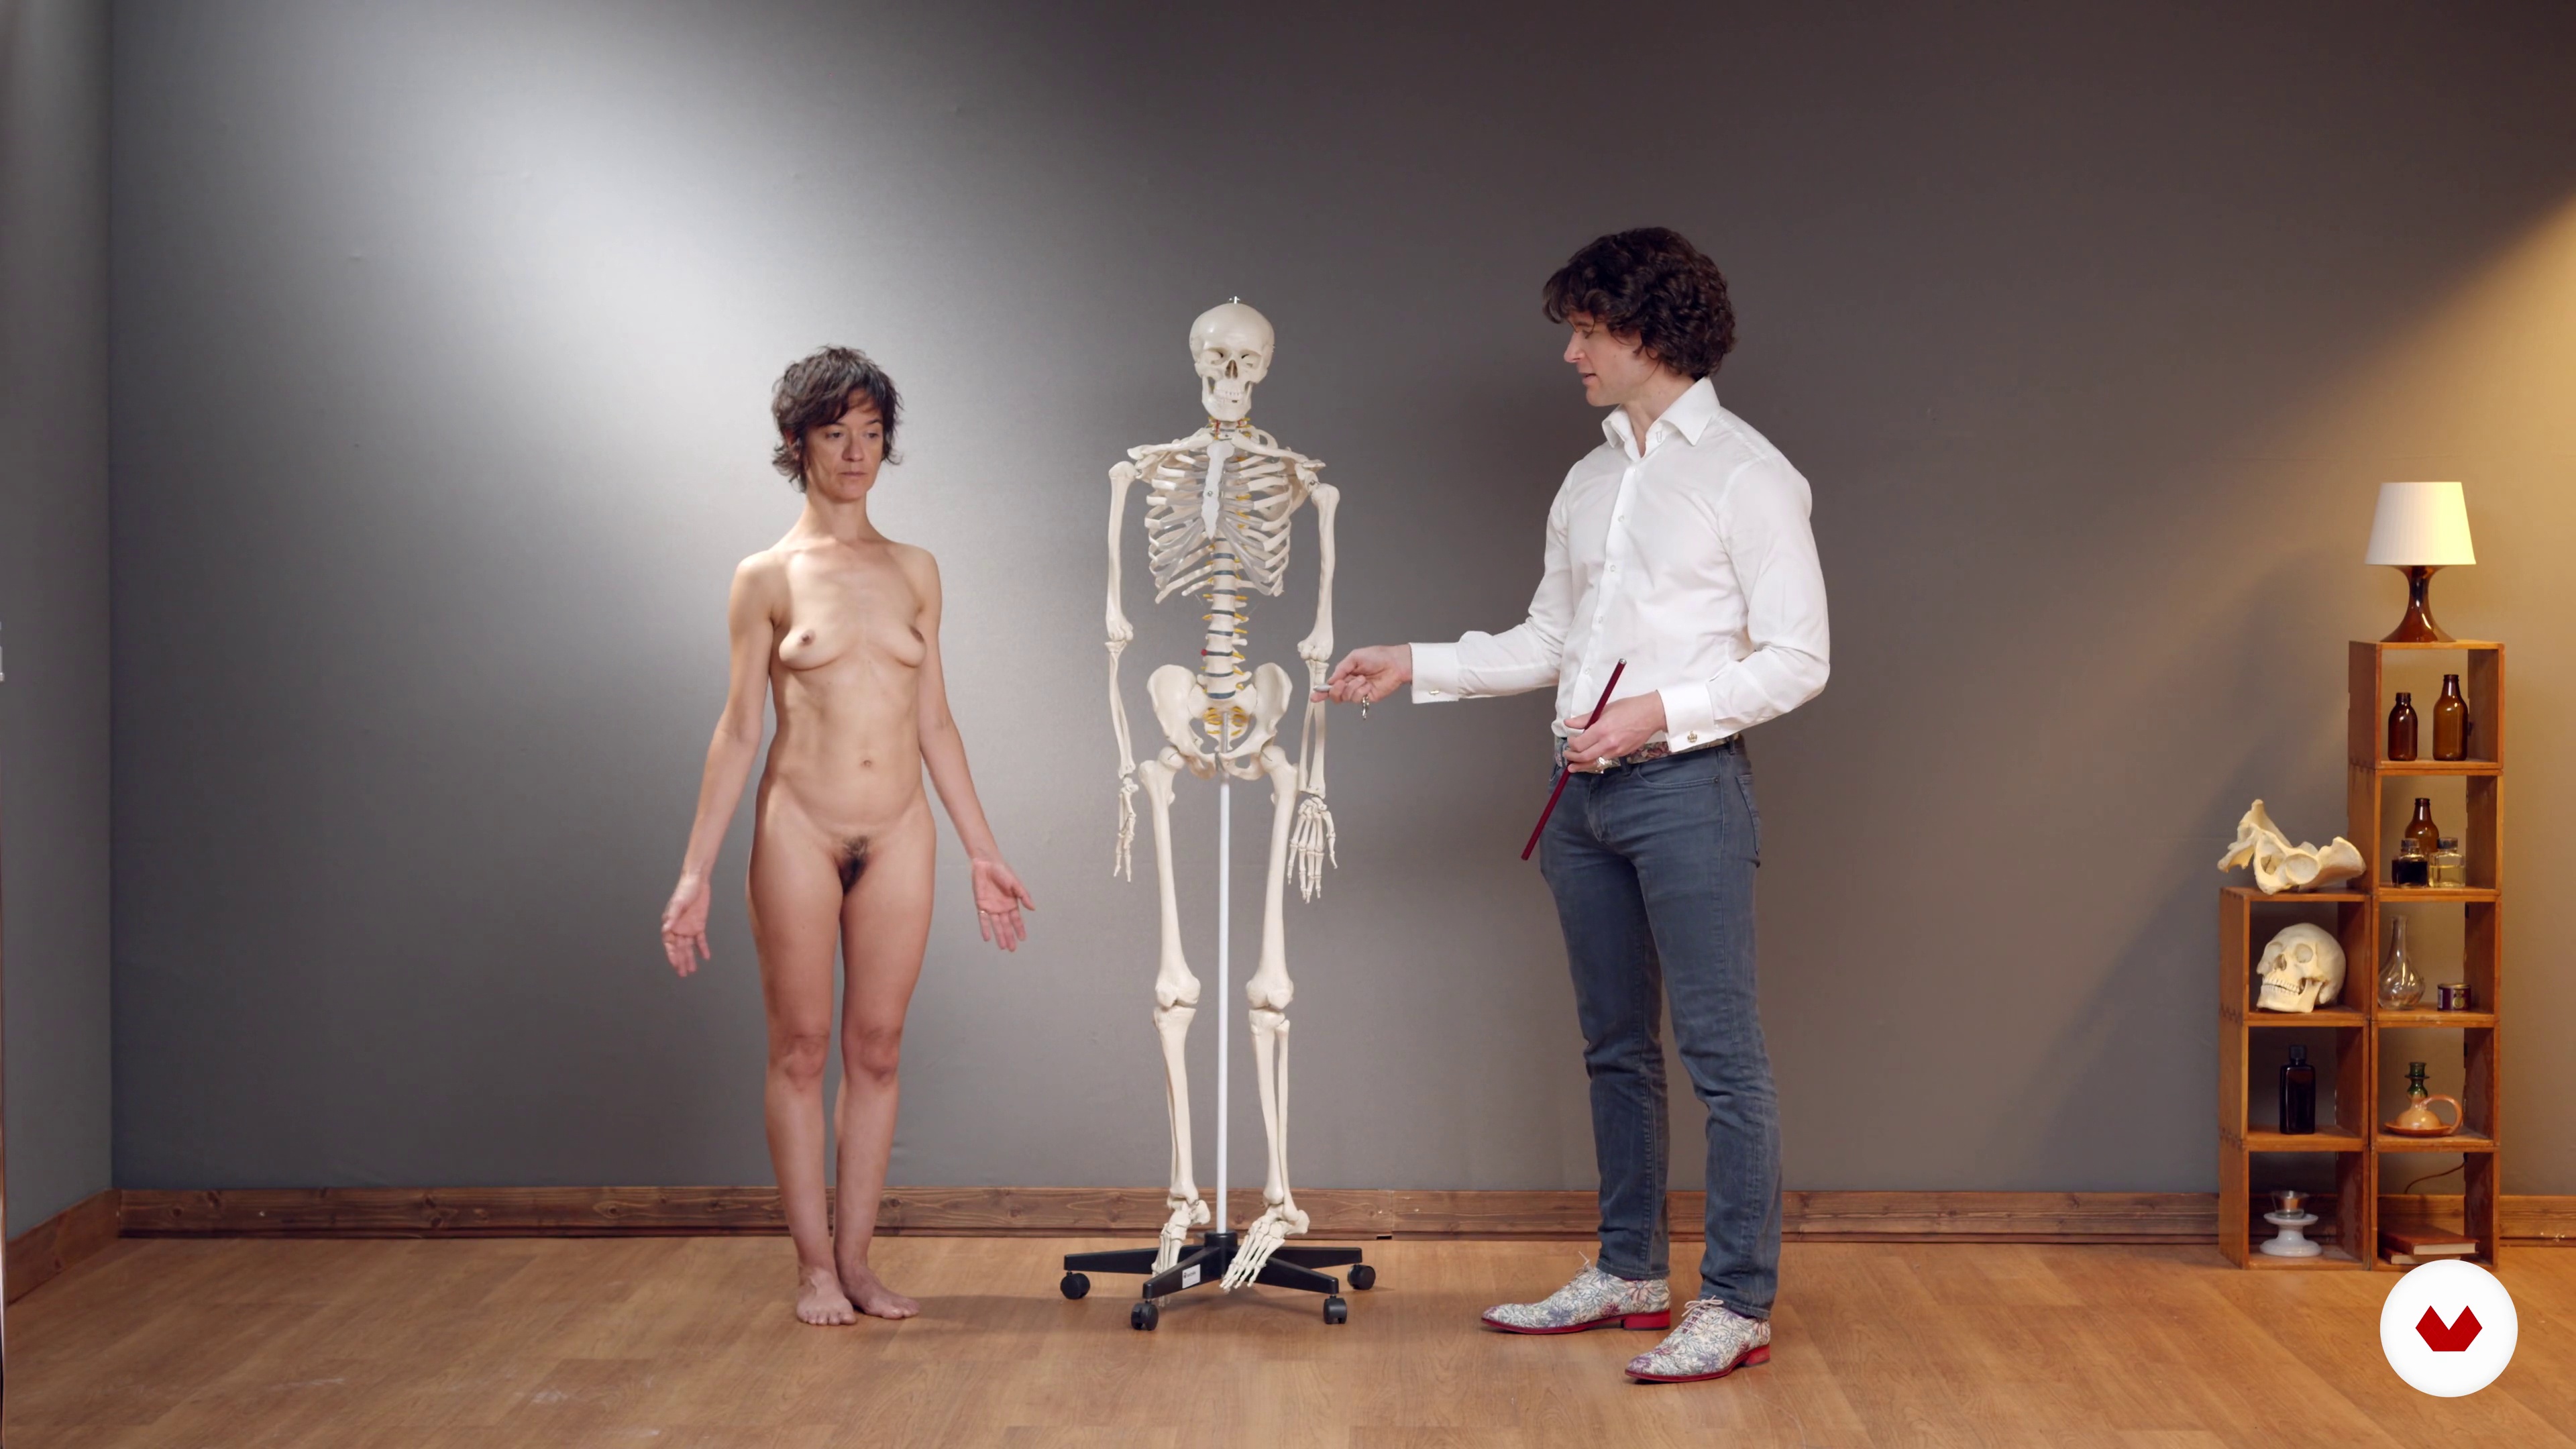
12Important Anatomy Basics 1
In this lesson, I will show you key anatomical points and lines on the live model that help us really “seize” a pose, in particular when we’re after dynamic figure drawing,
15m
 13
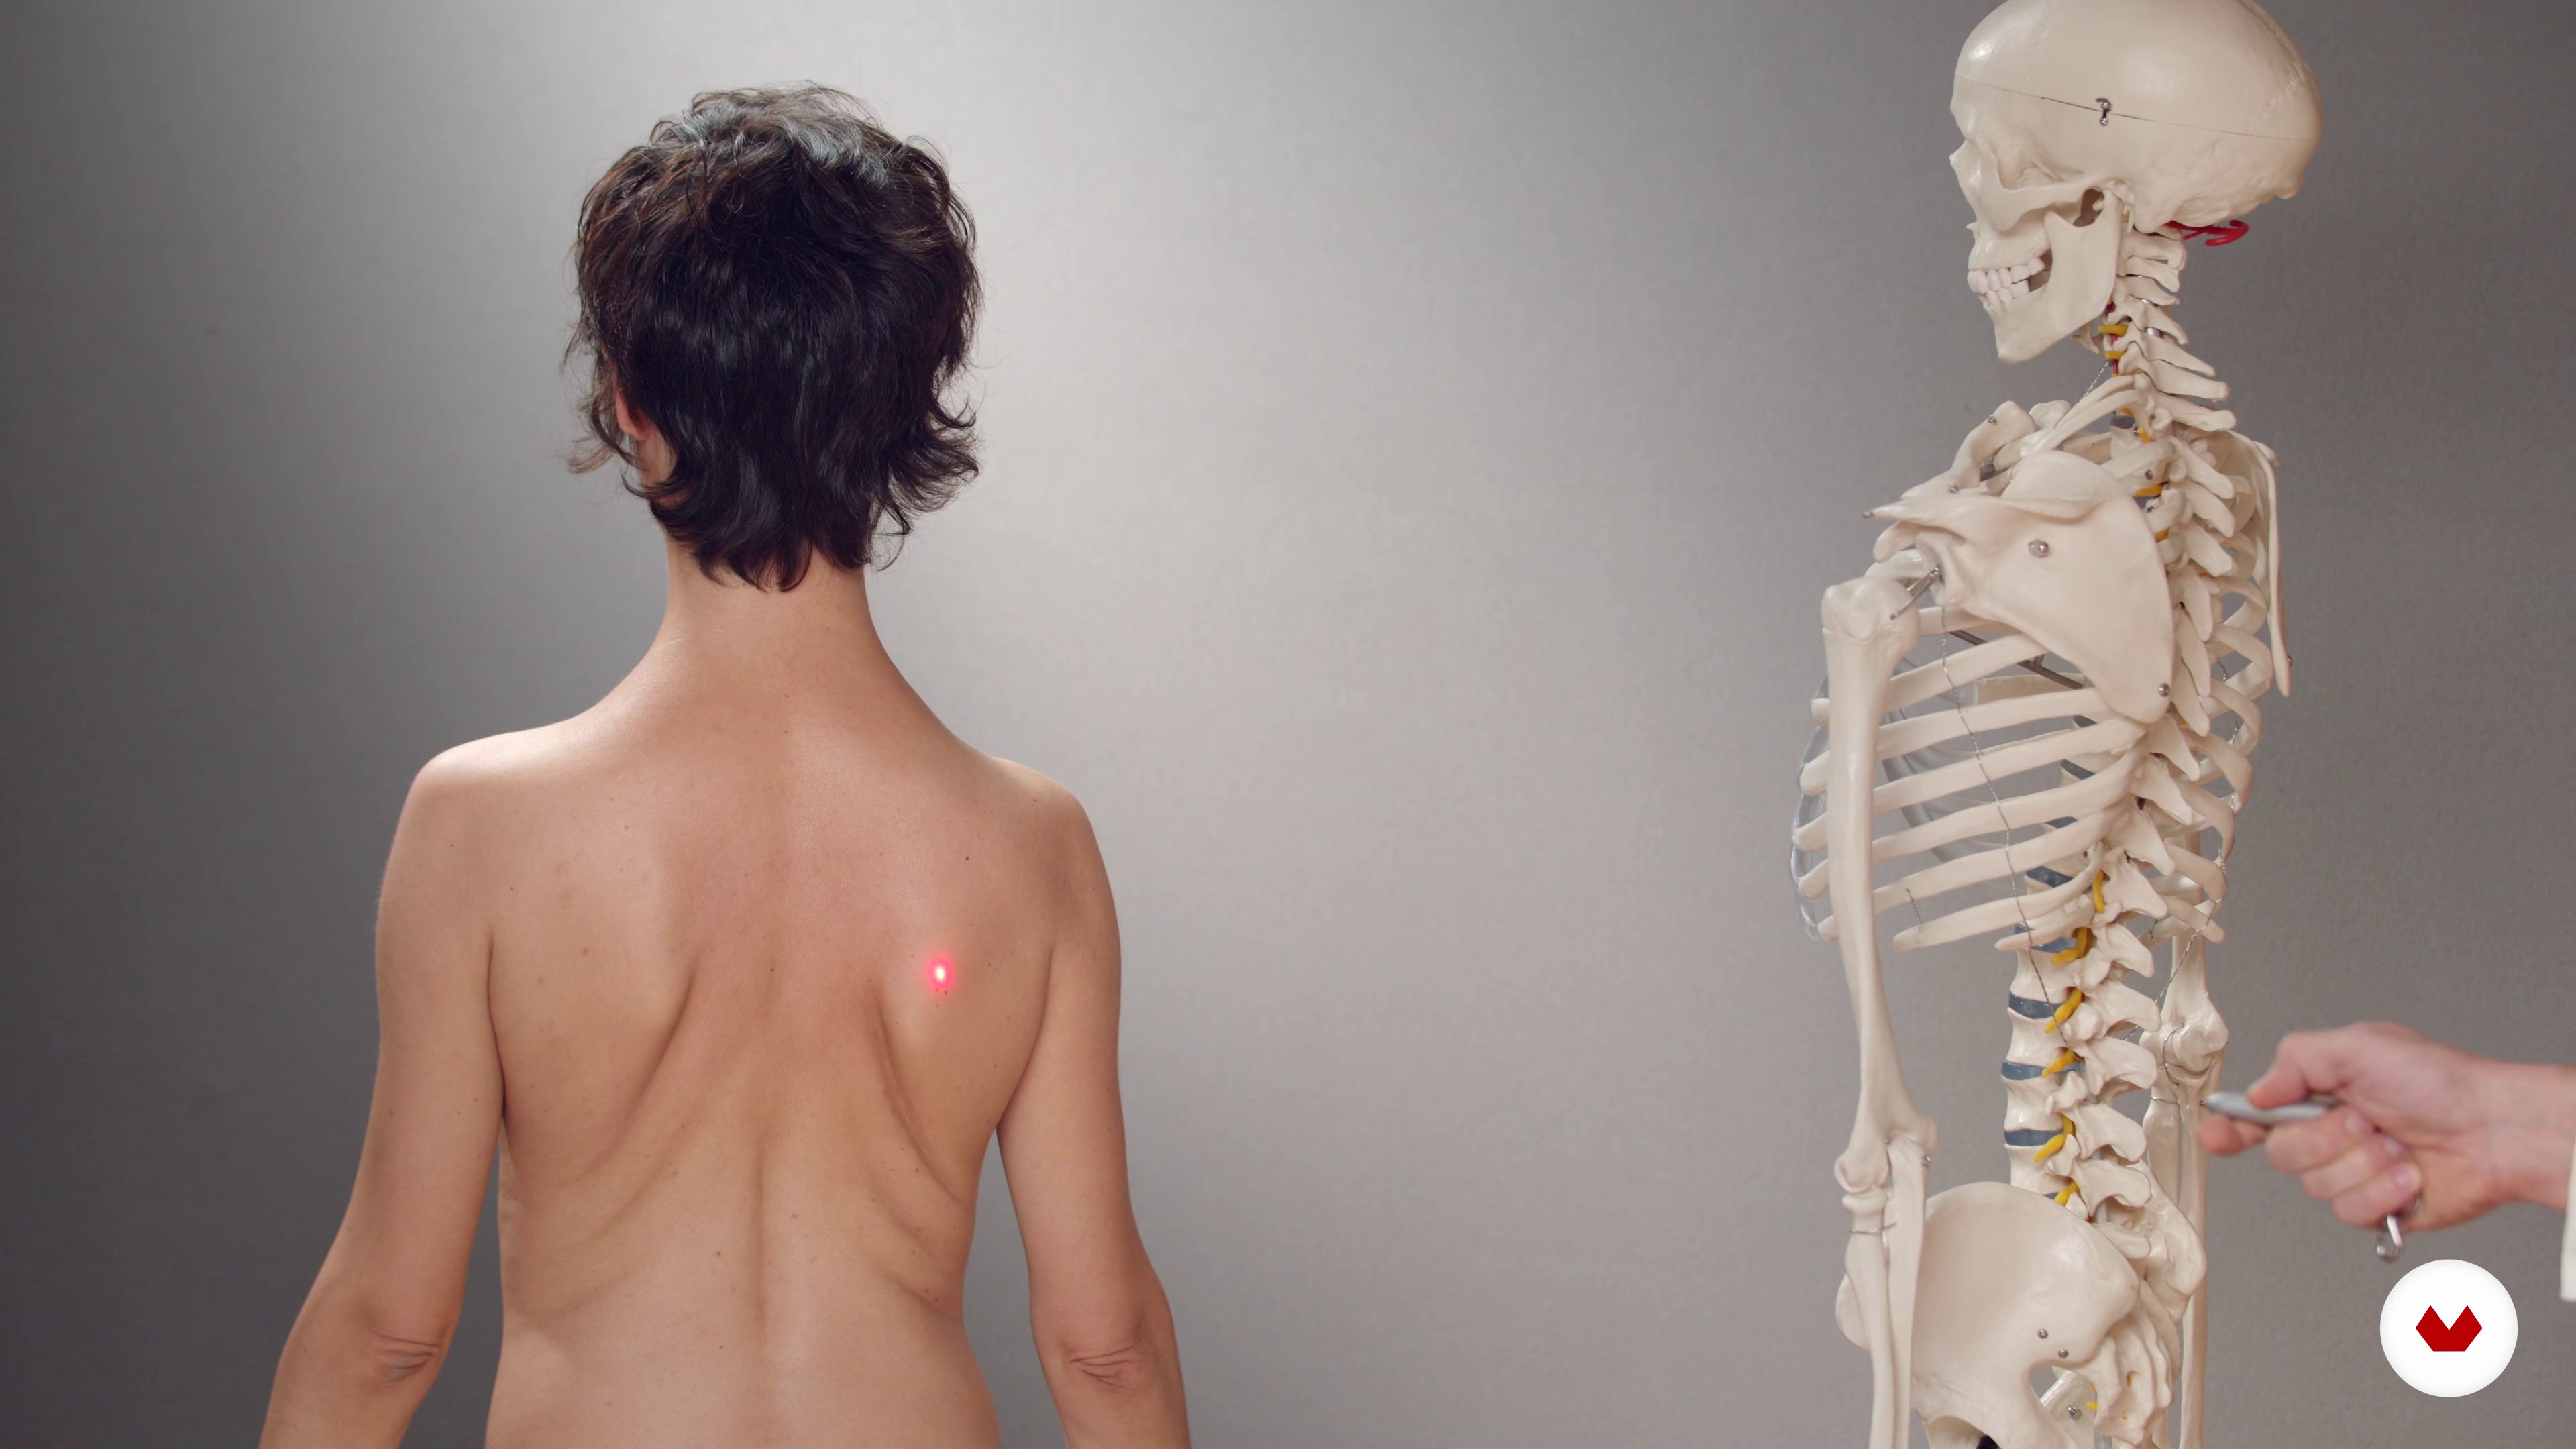
13Important Anatomy Basics 2
We are not done yet going over the fundamentals of anatomy.
16m
 14
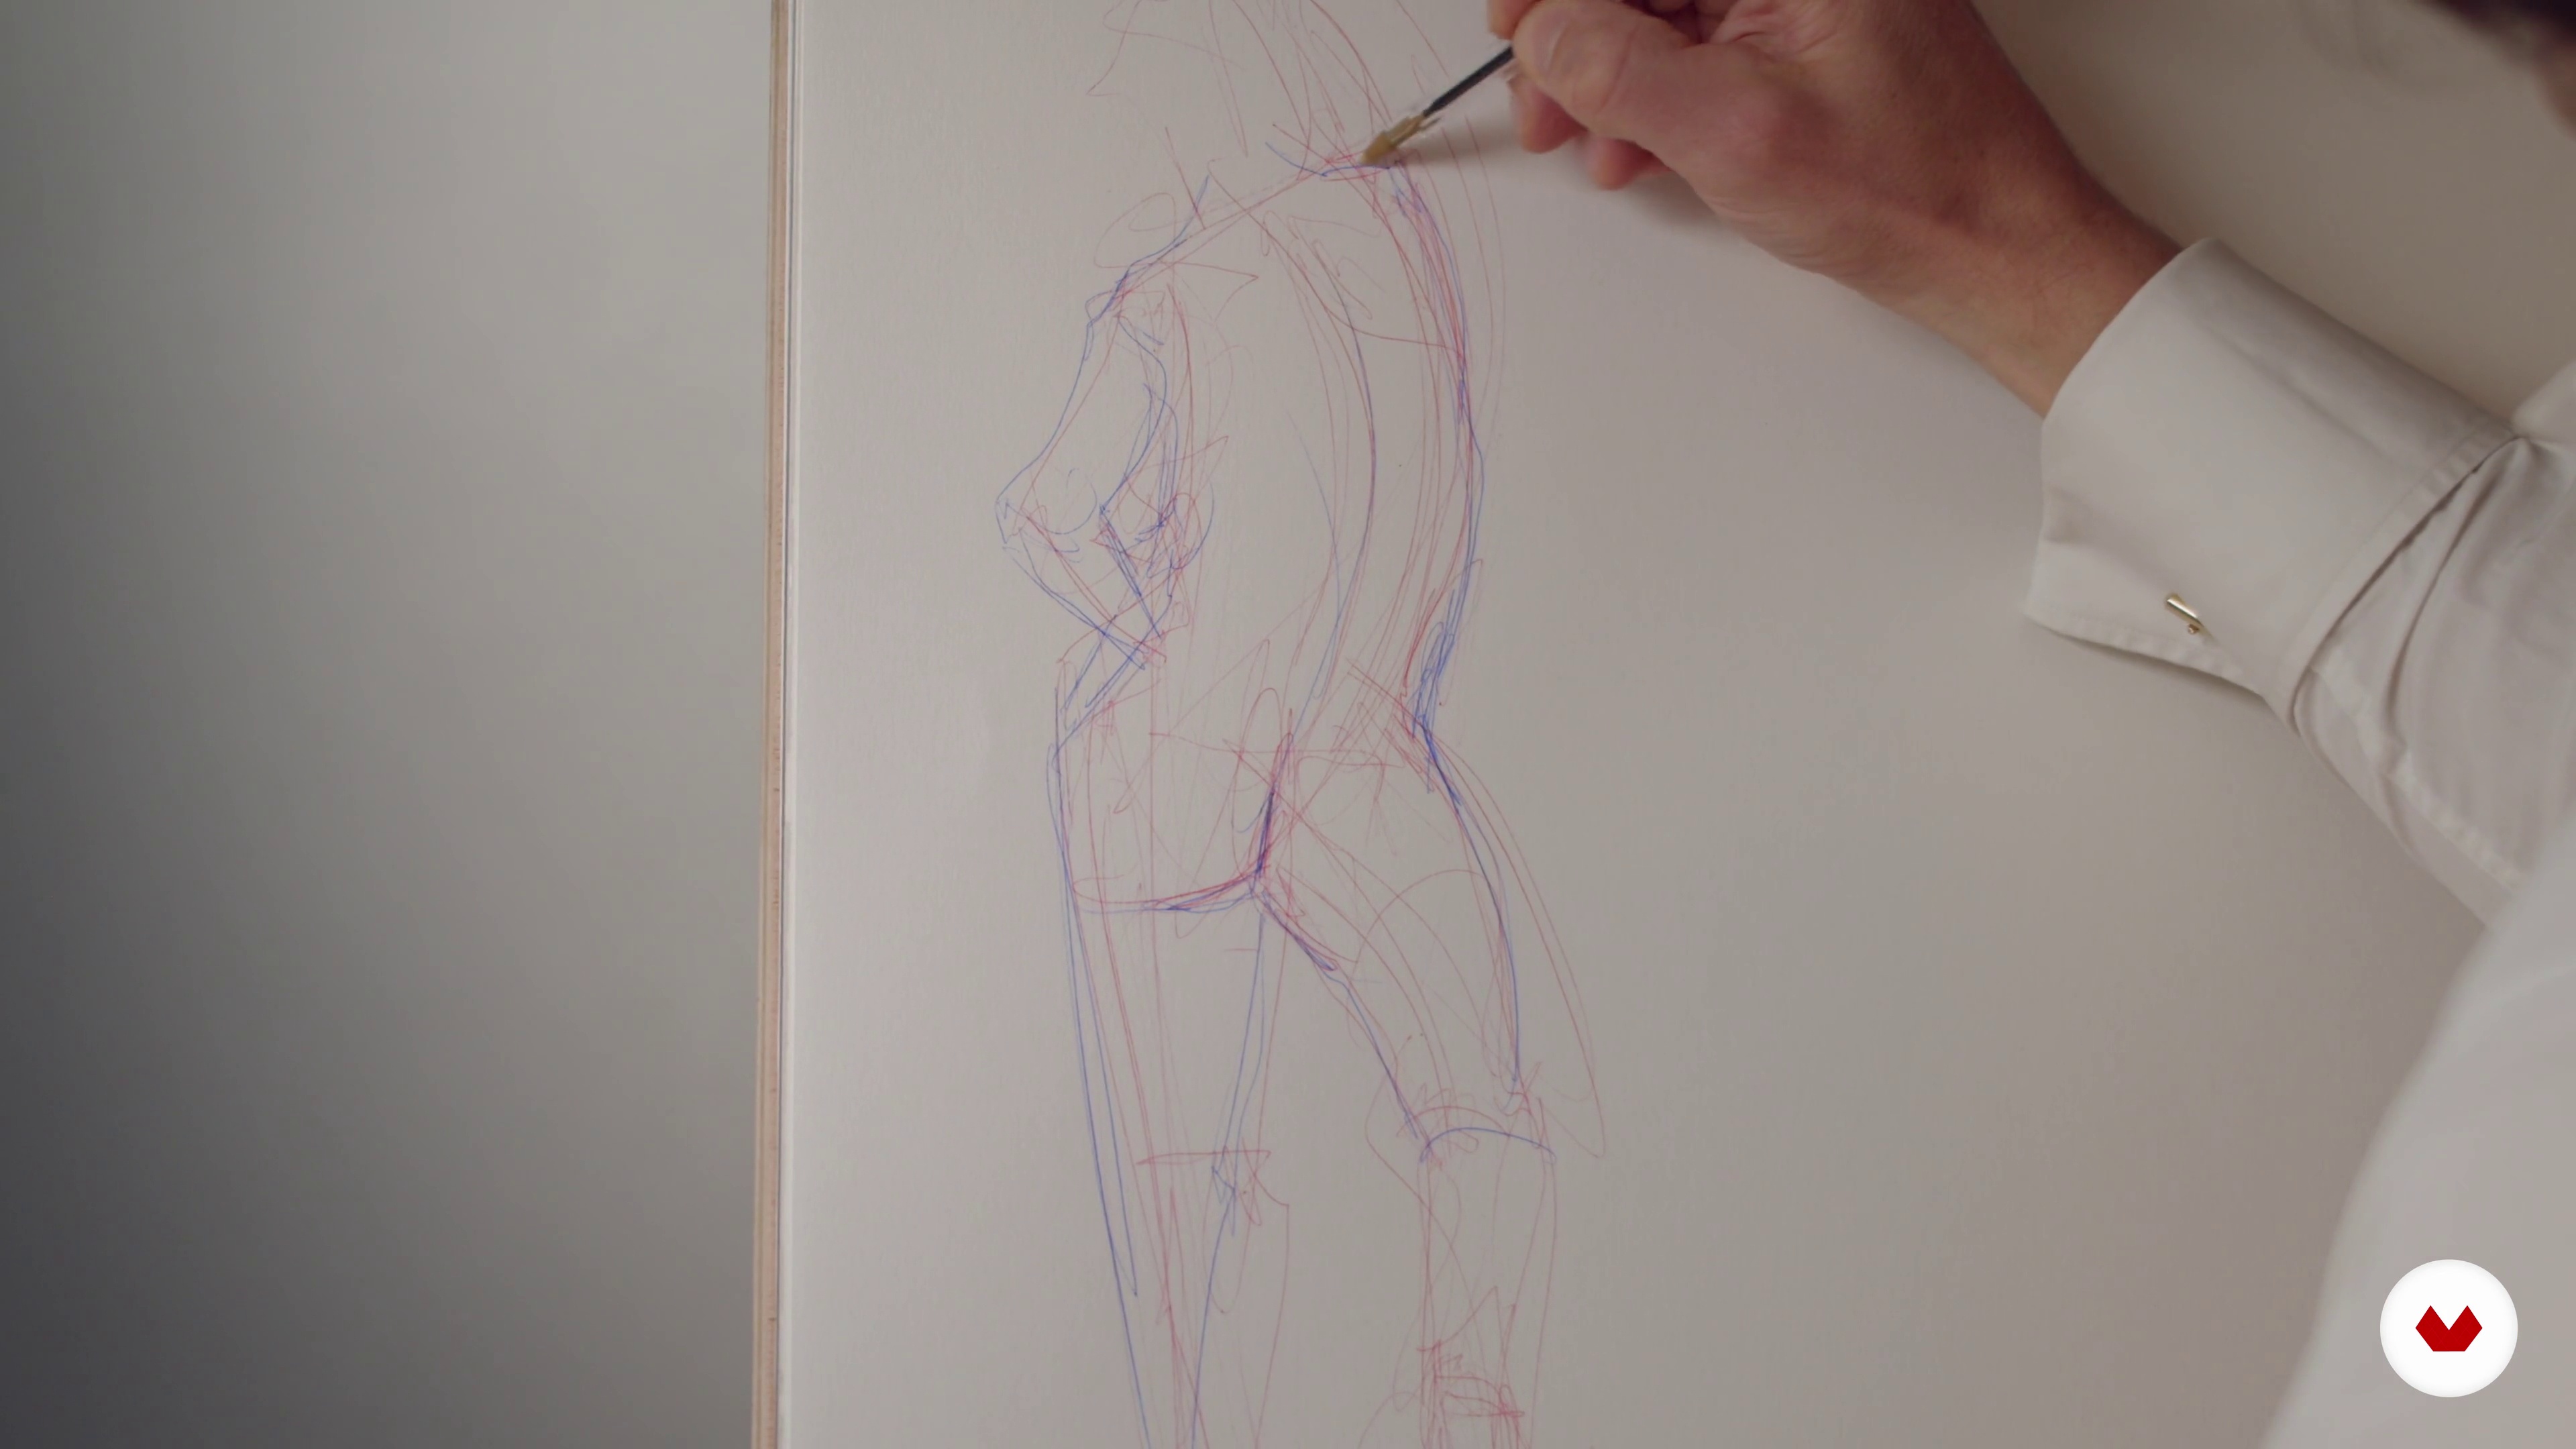
14Developing Your Visual Memory - Five Minute Exercise
In this lesson, it’s time to have some fun developing our visual memory, a skill that is rarely worked on these days, but one that is of tremendous utility when seeking the fleeting moments of dynamic poses.
8m
 15
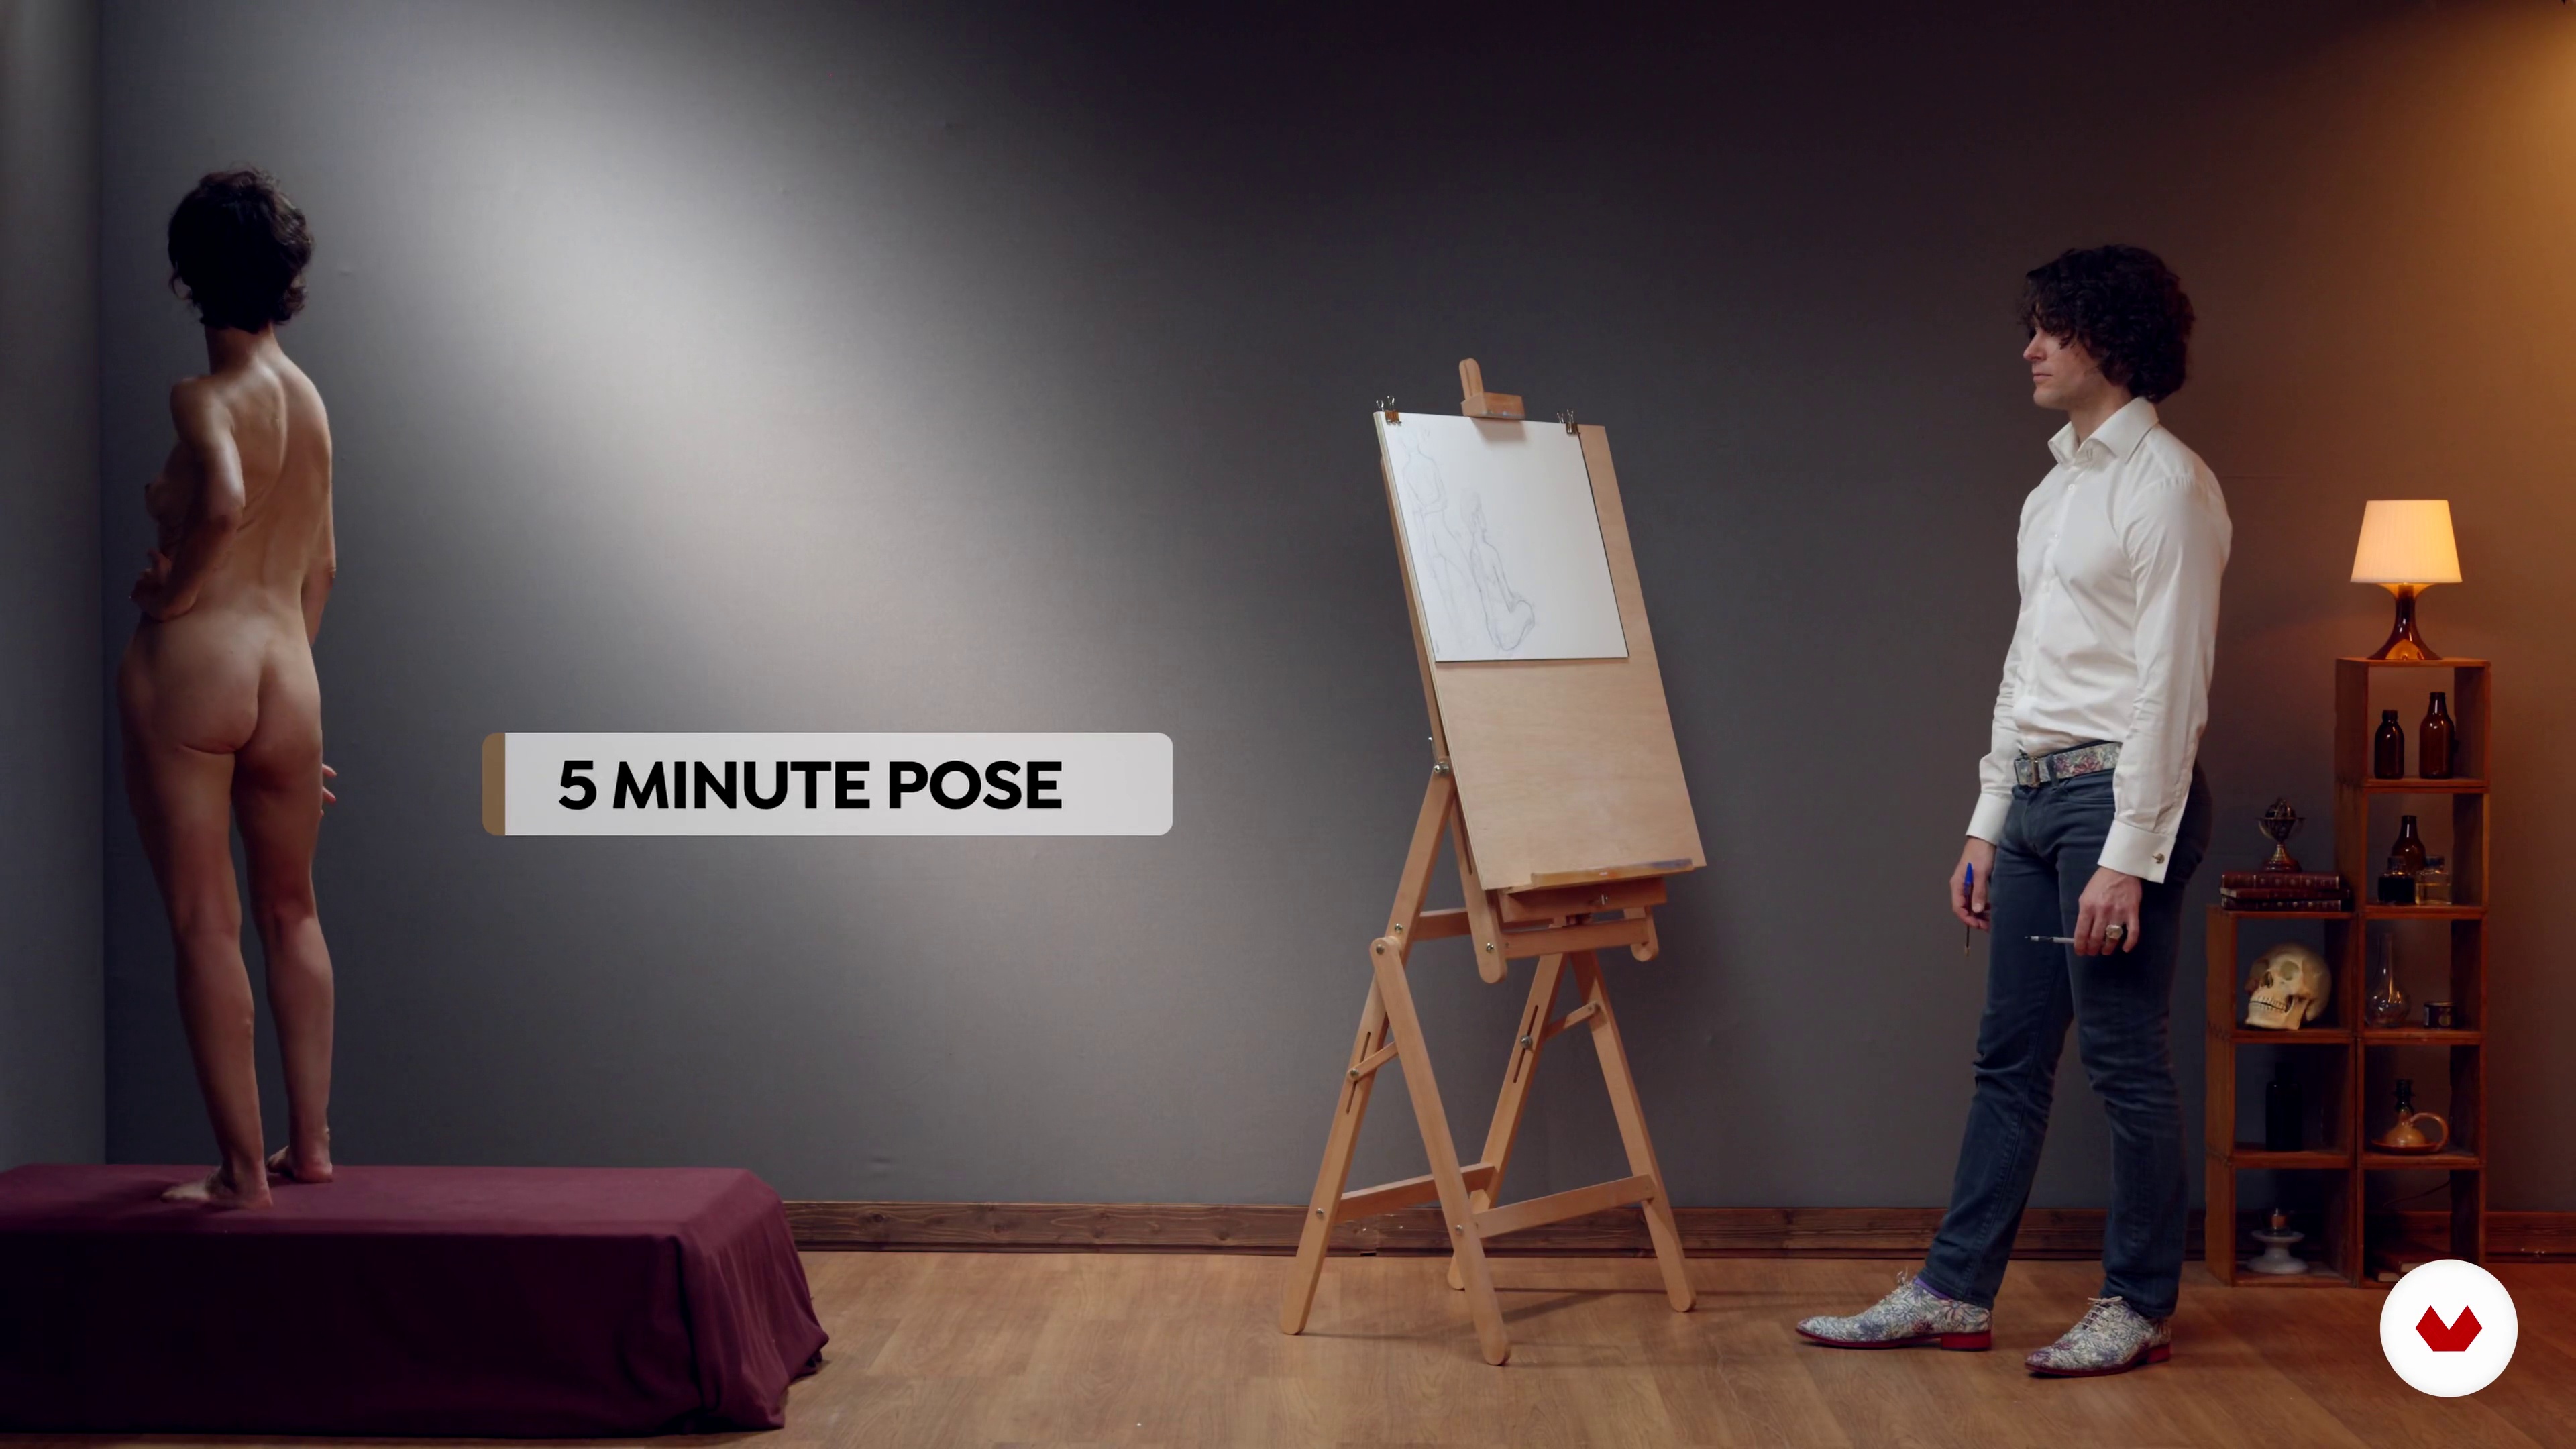
15Short Pose Sketching 1
In this lesson, which is divided into three installments, we will be sketching from the live model using various pose lengths from 5 minutes to 15 minutes. Each pose length gives us opportunities to take our sketches to different places.
14m
 16
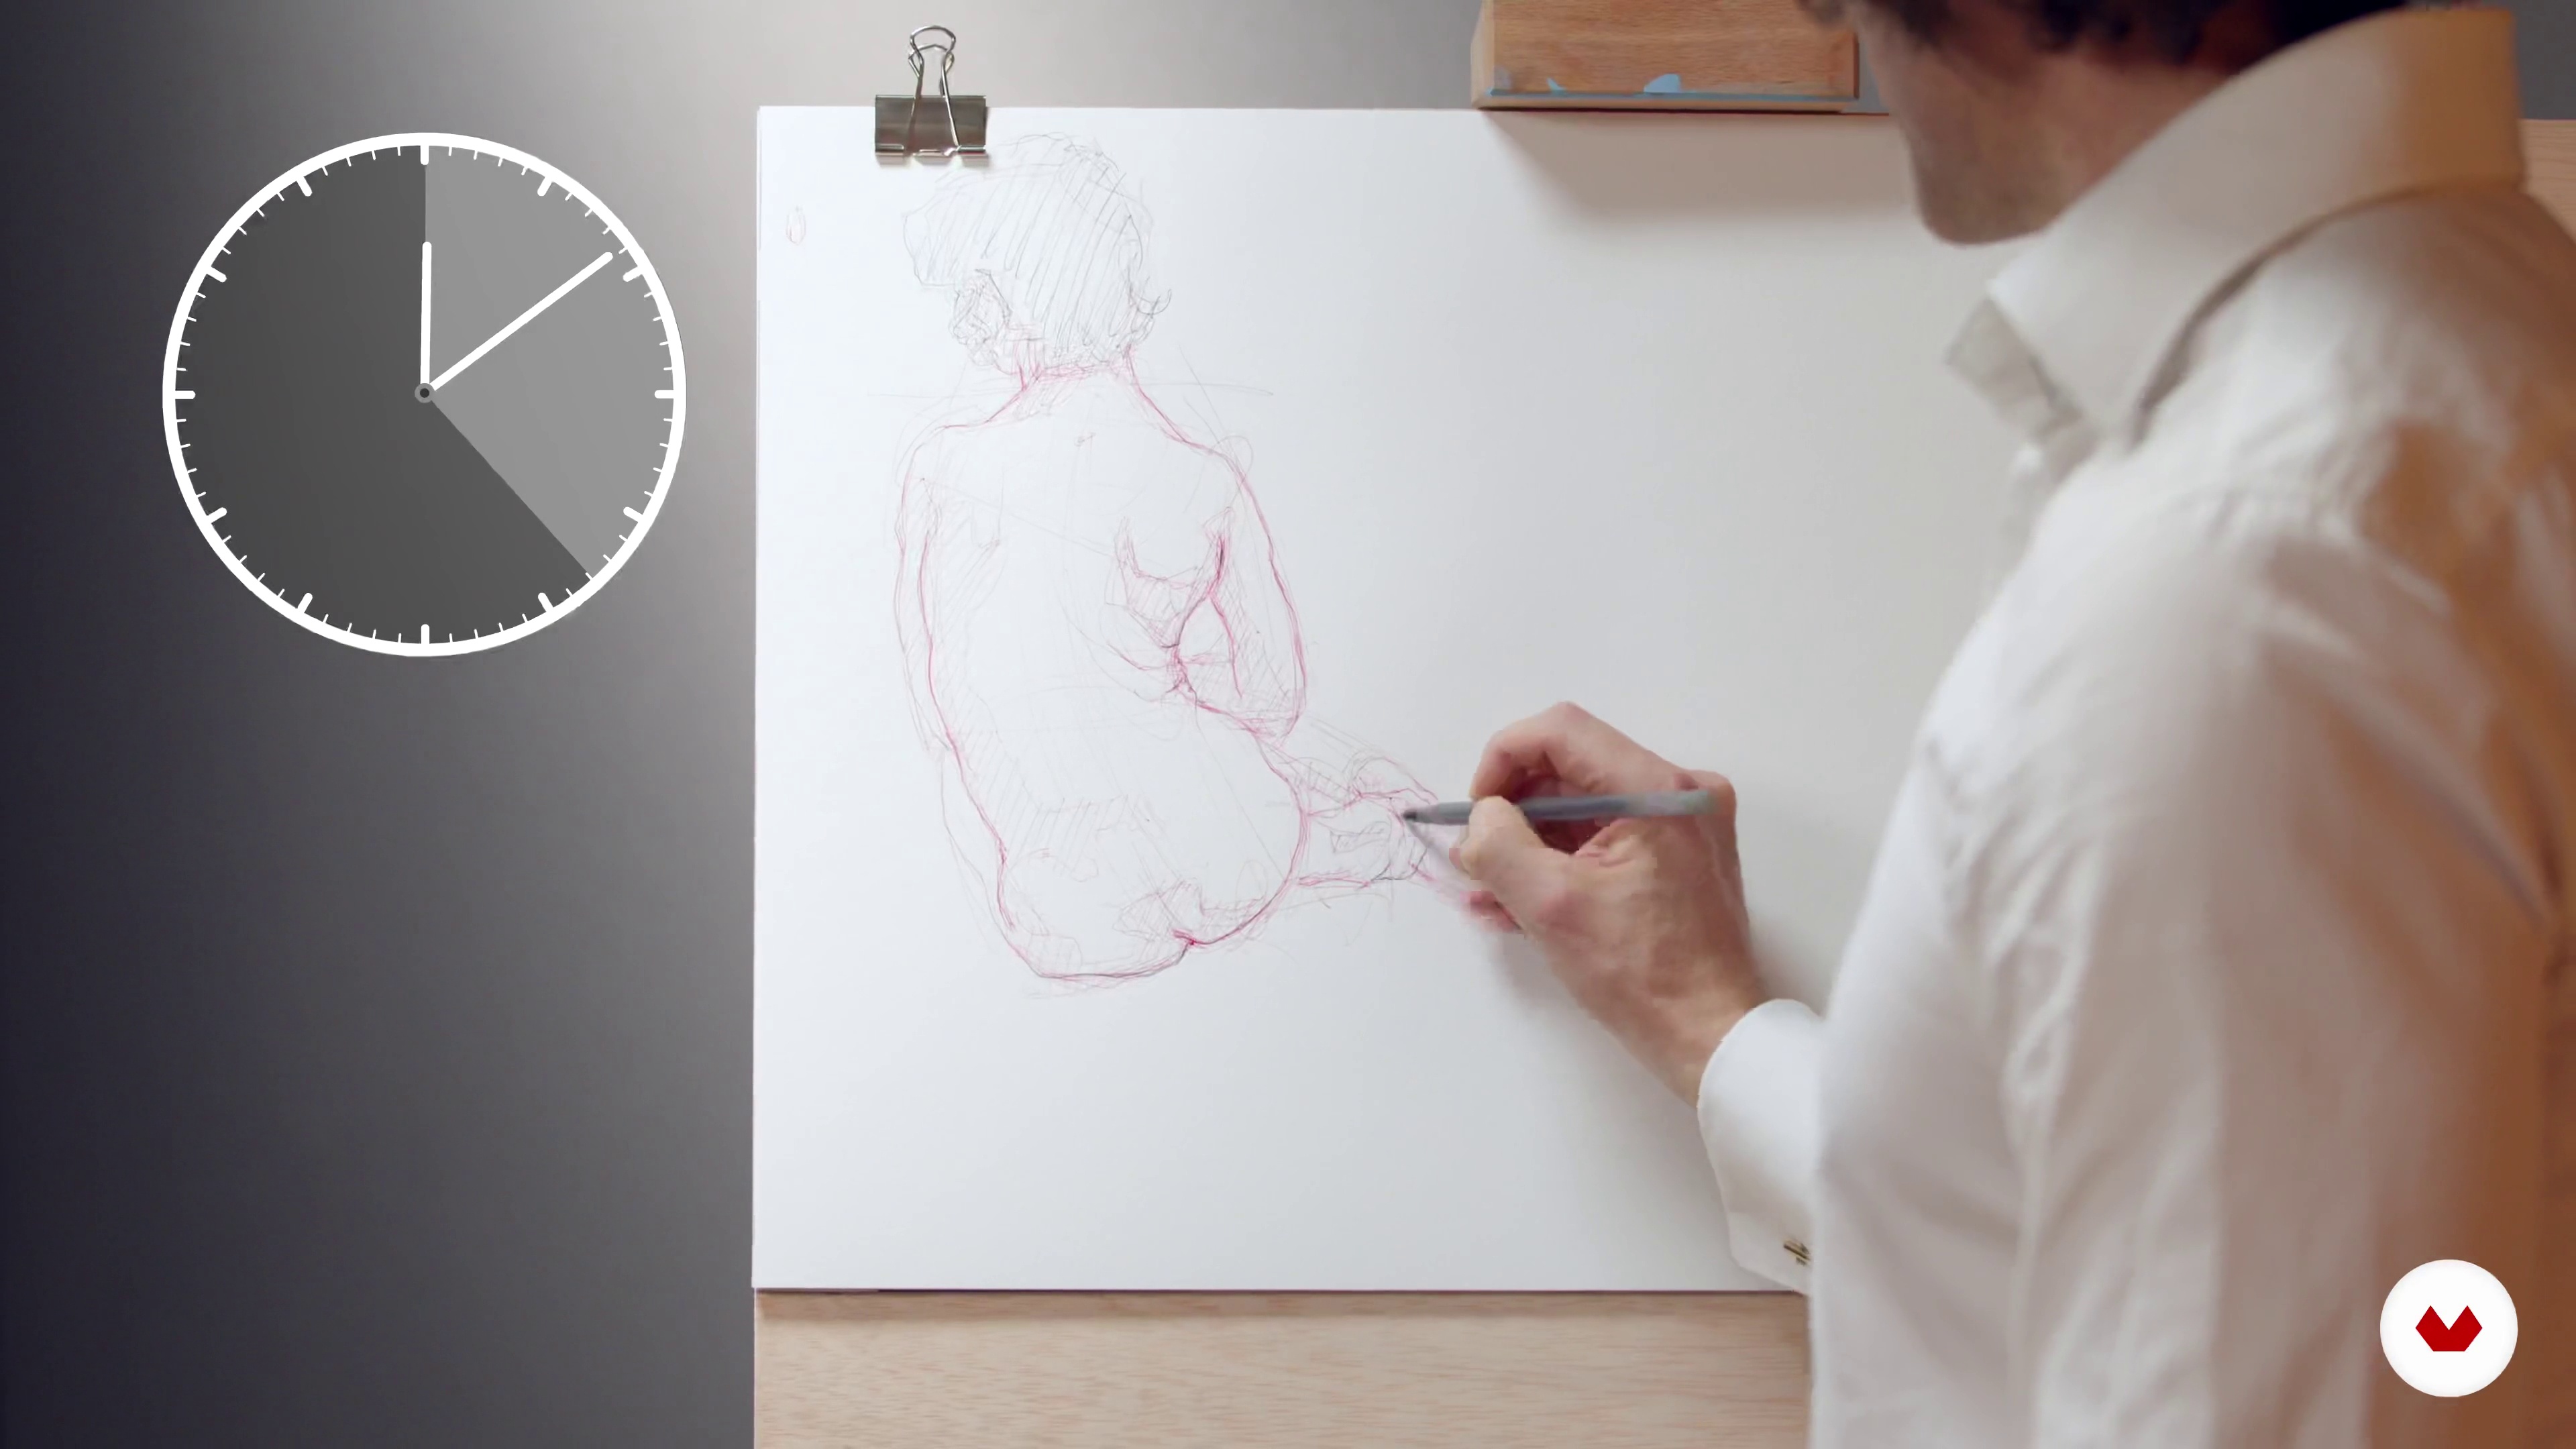
16Short Pose Sketching 2
Here, I will focus on the 10-minute pose stage.
9m
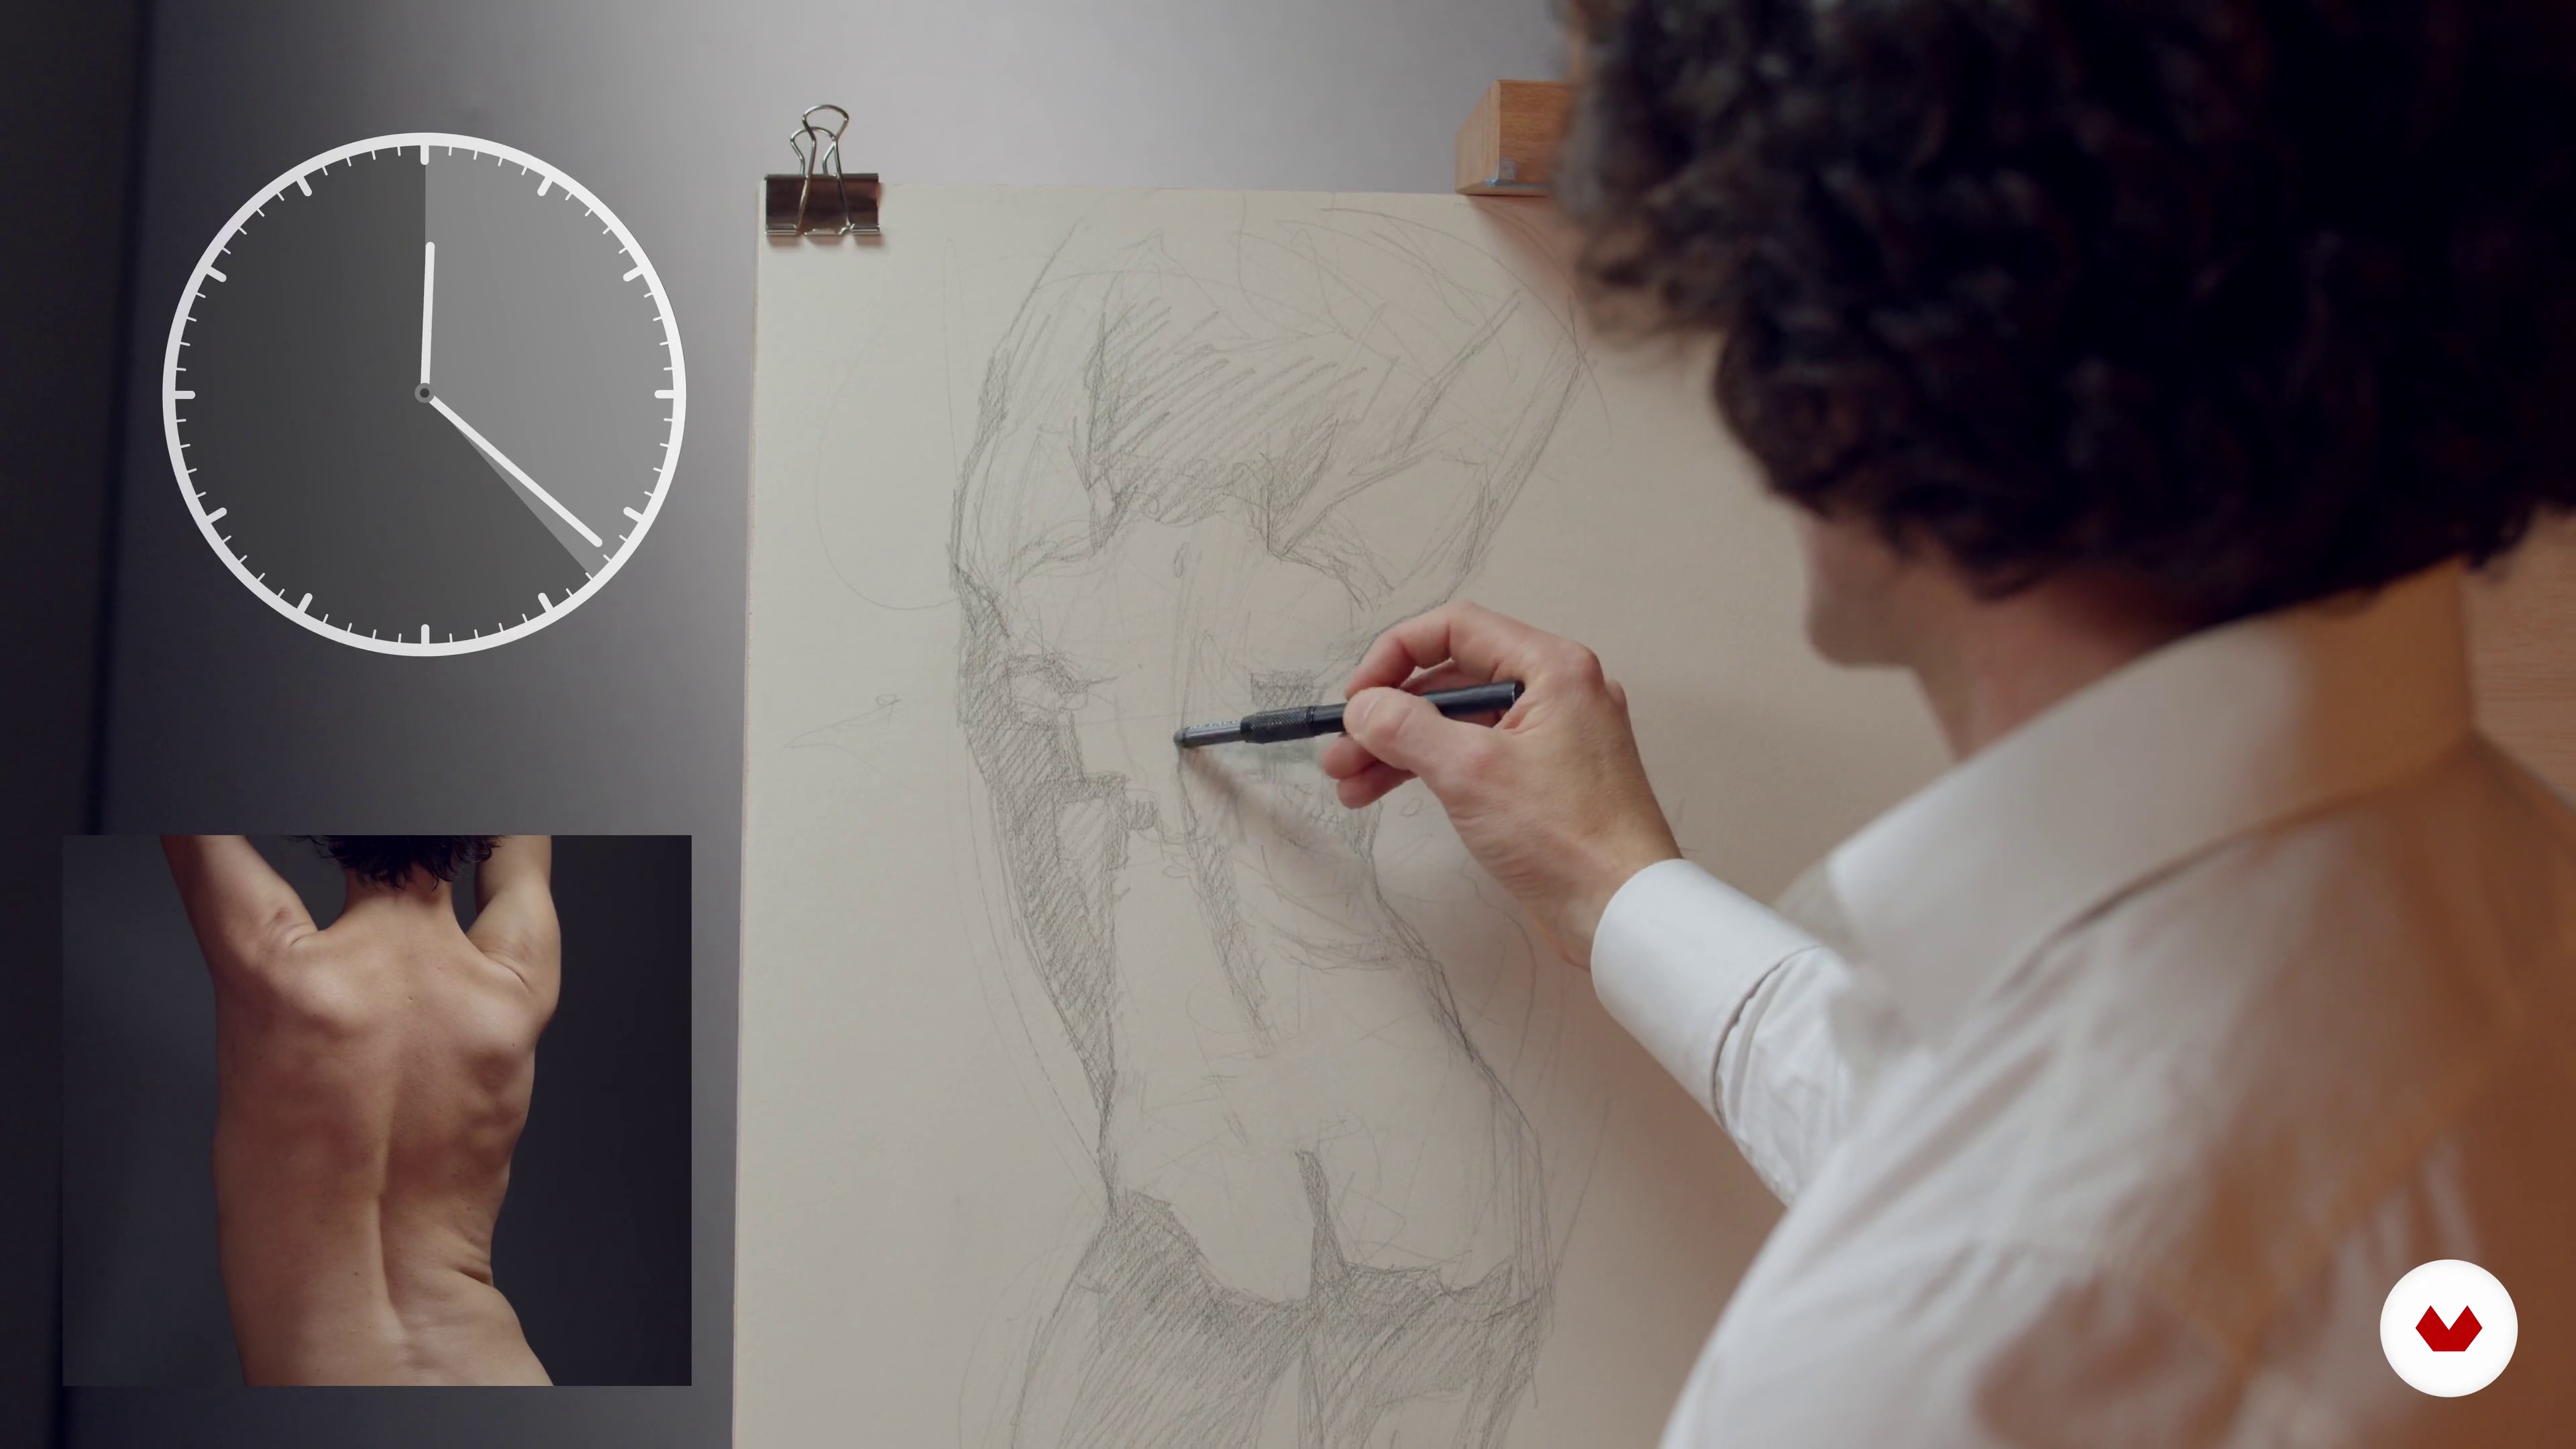
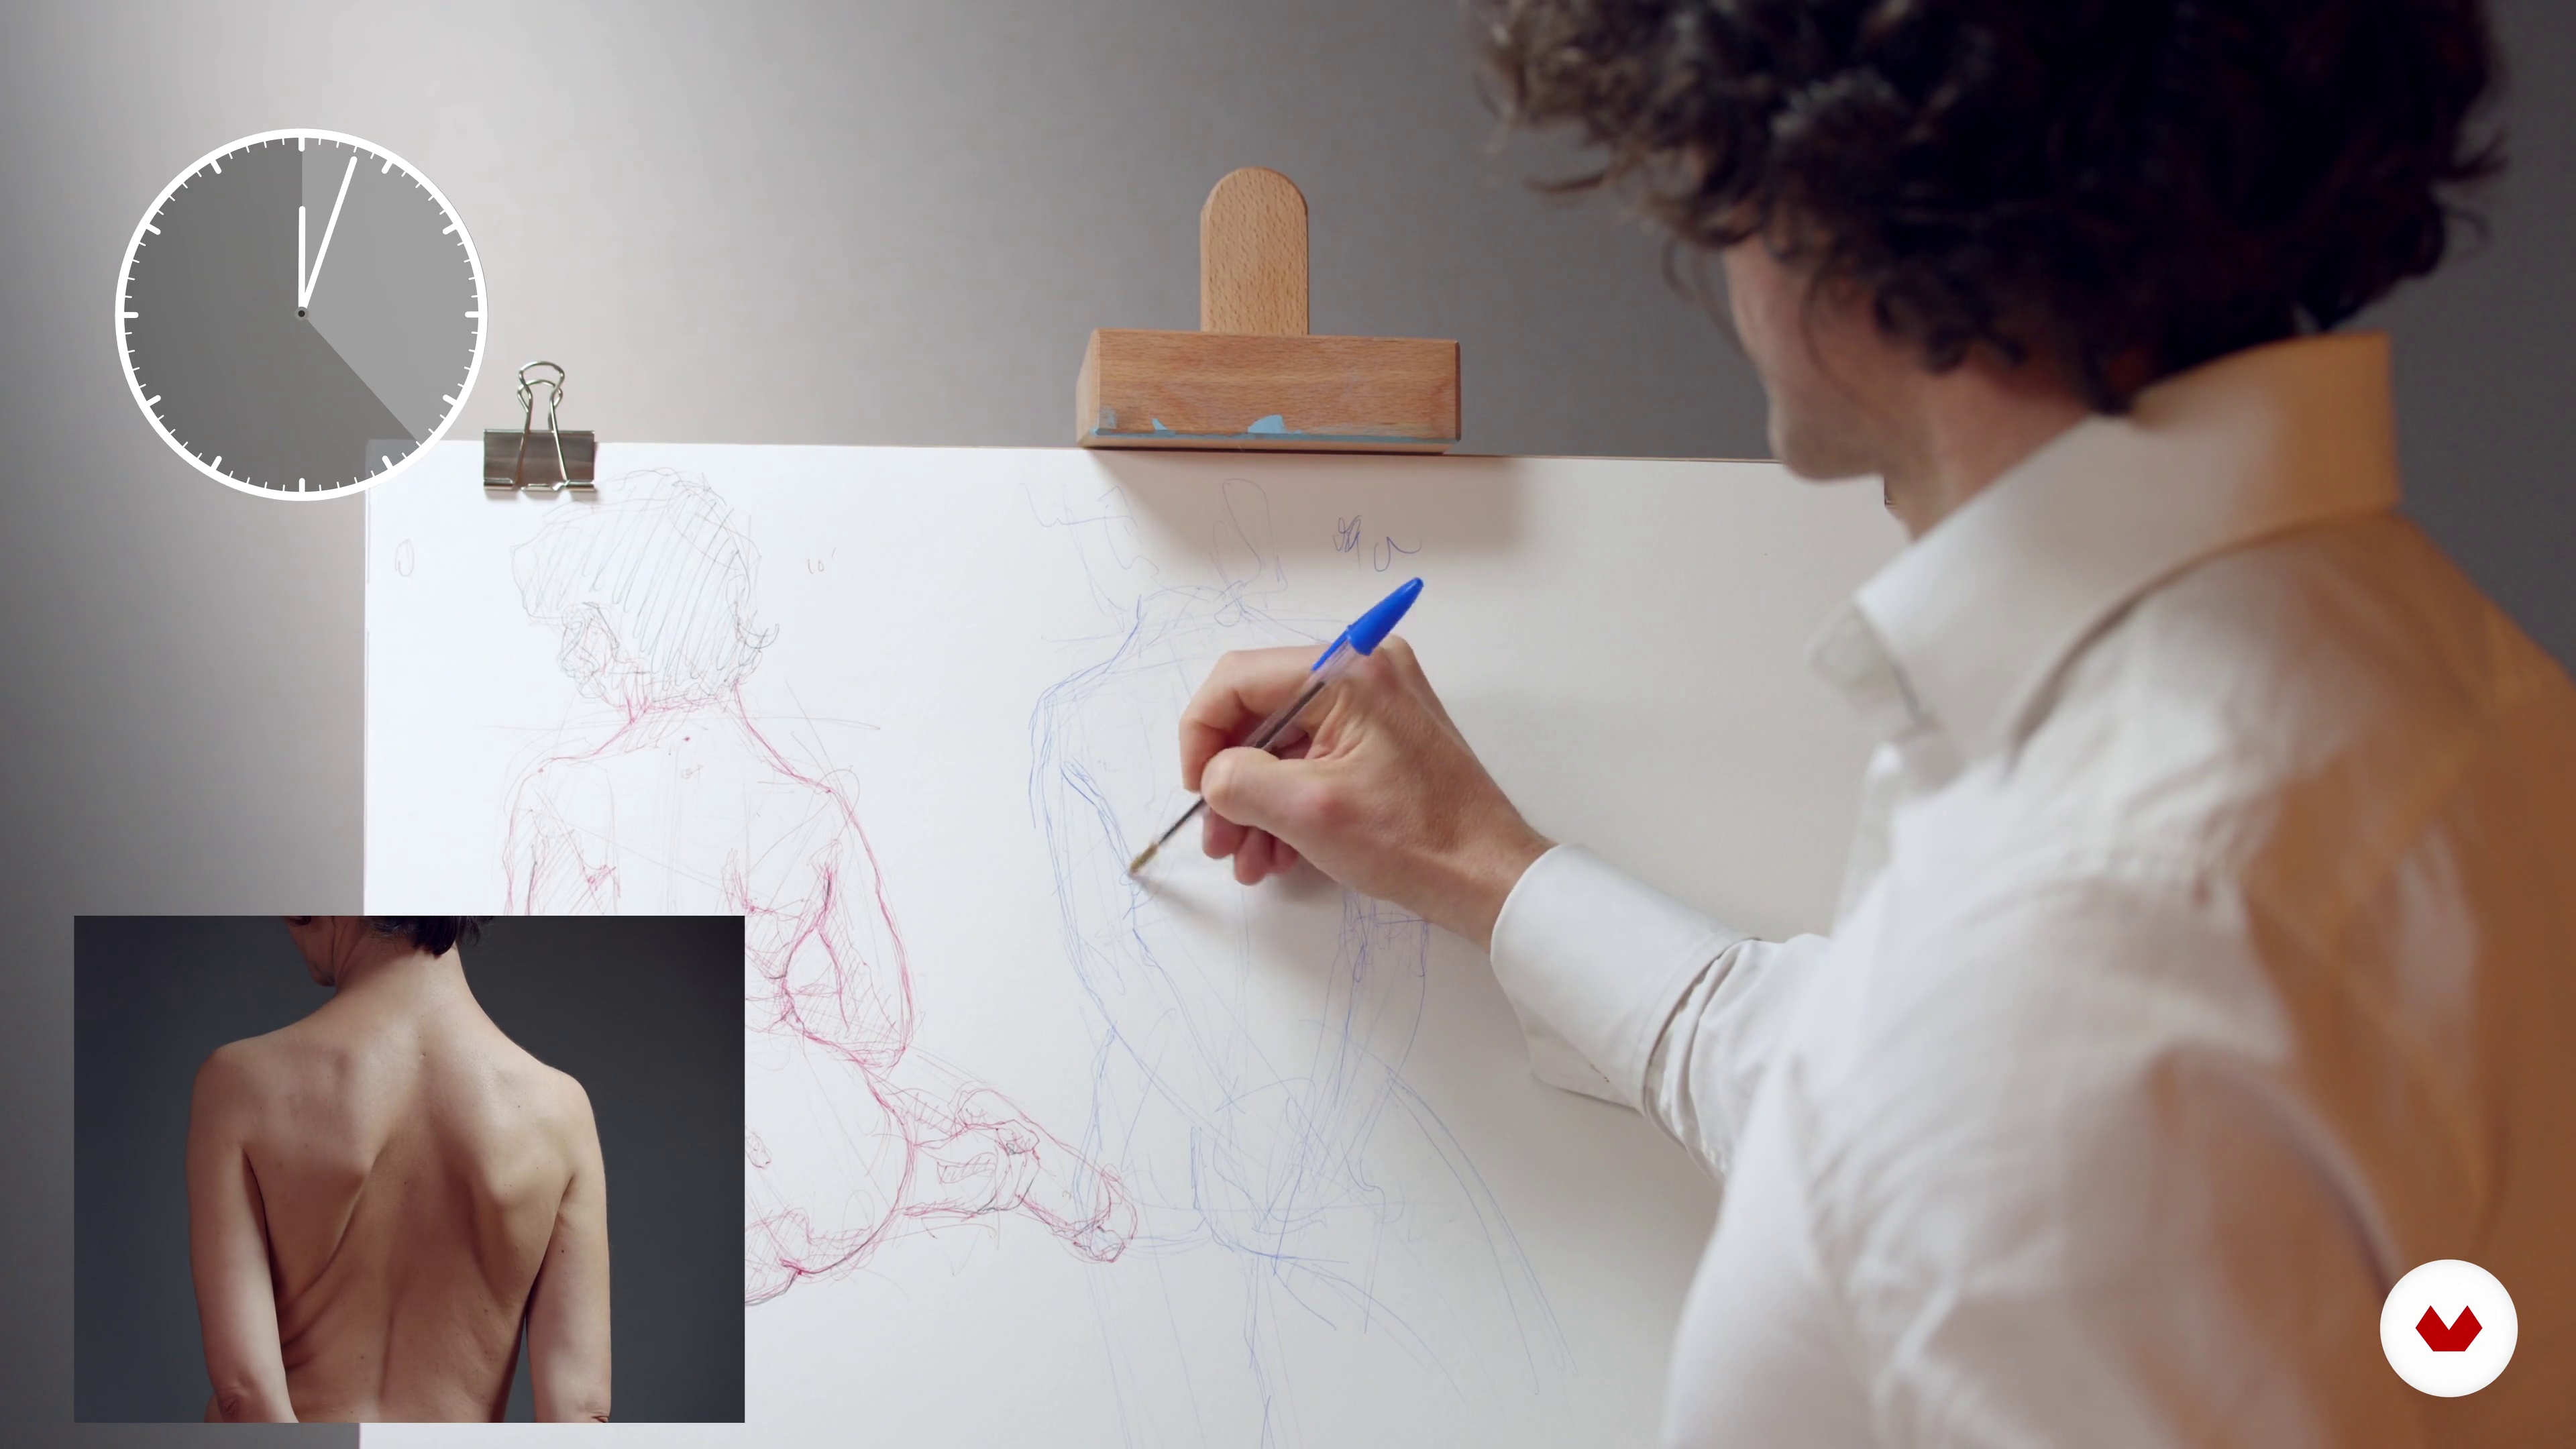 17
17Short Pose Sketching 3
We are now going to add five more minutes and work on a 15-minute sketch.
17m
 18
18Beginning the Dynamic Figure Drawing 1
This lesson will cover the first full hour of the drawing: choosing the pose (and why), talking about how the light falls on your model, beginning the drawing, and managing your time.
19m
 19
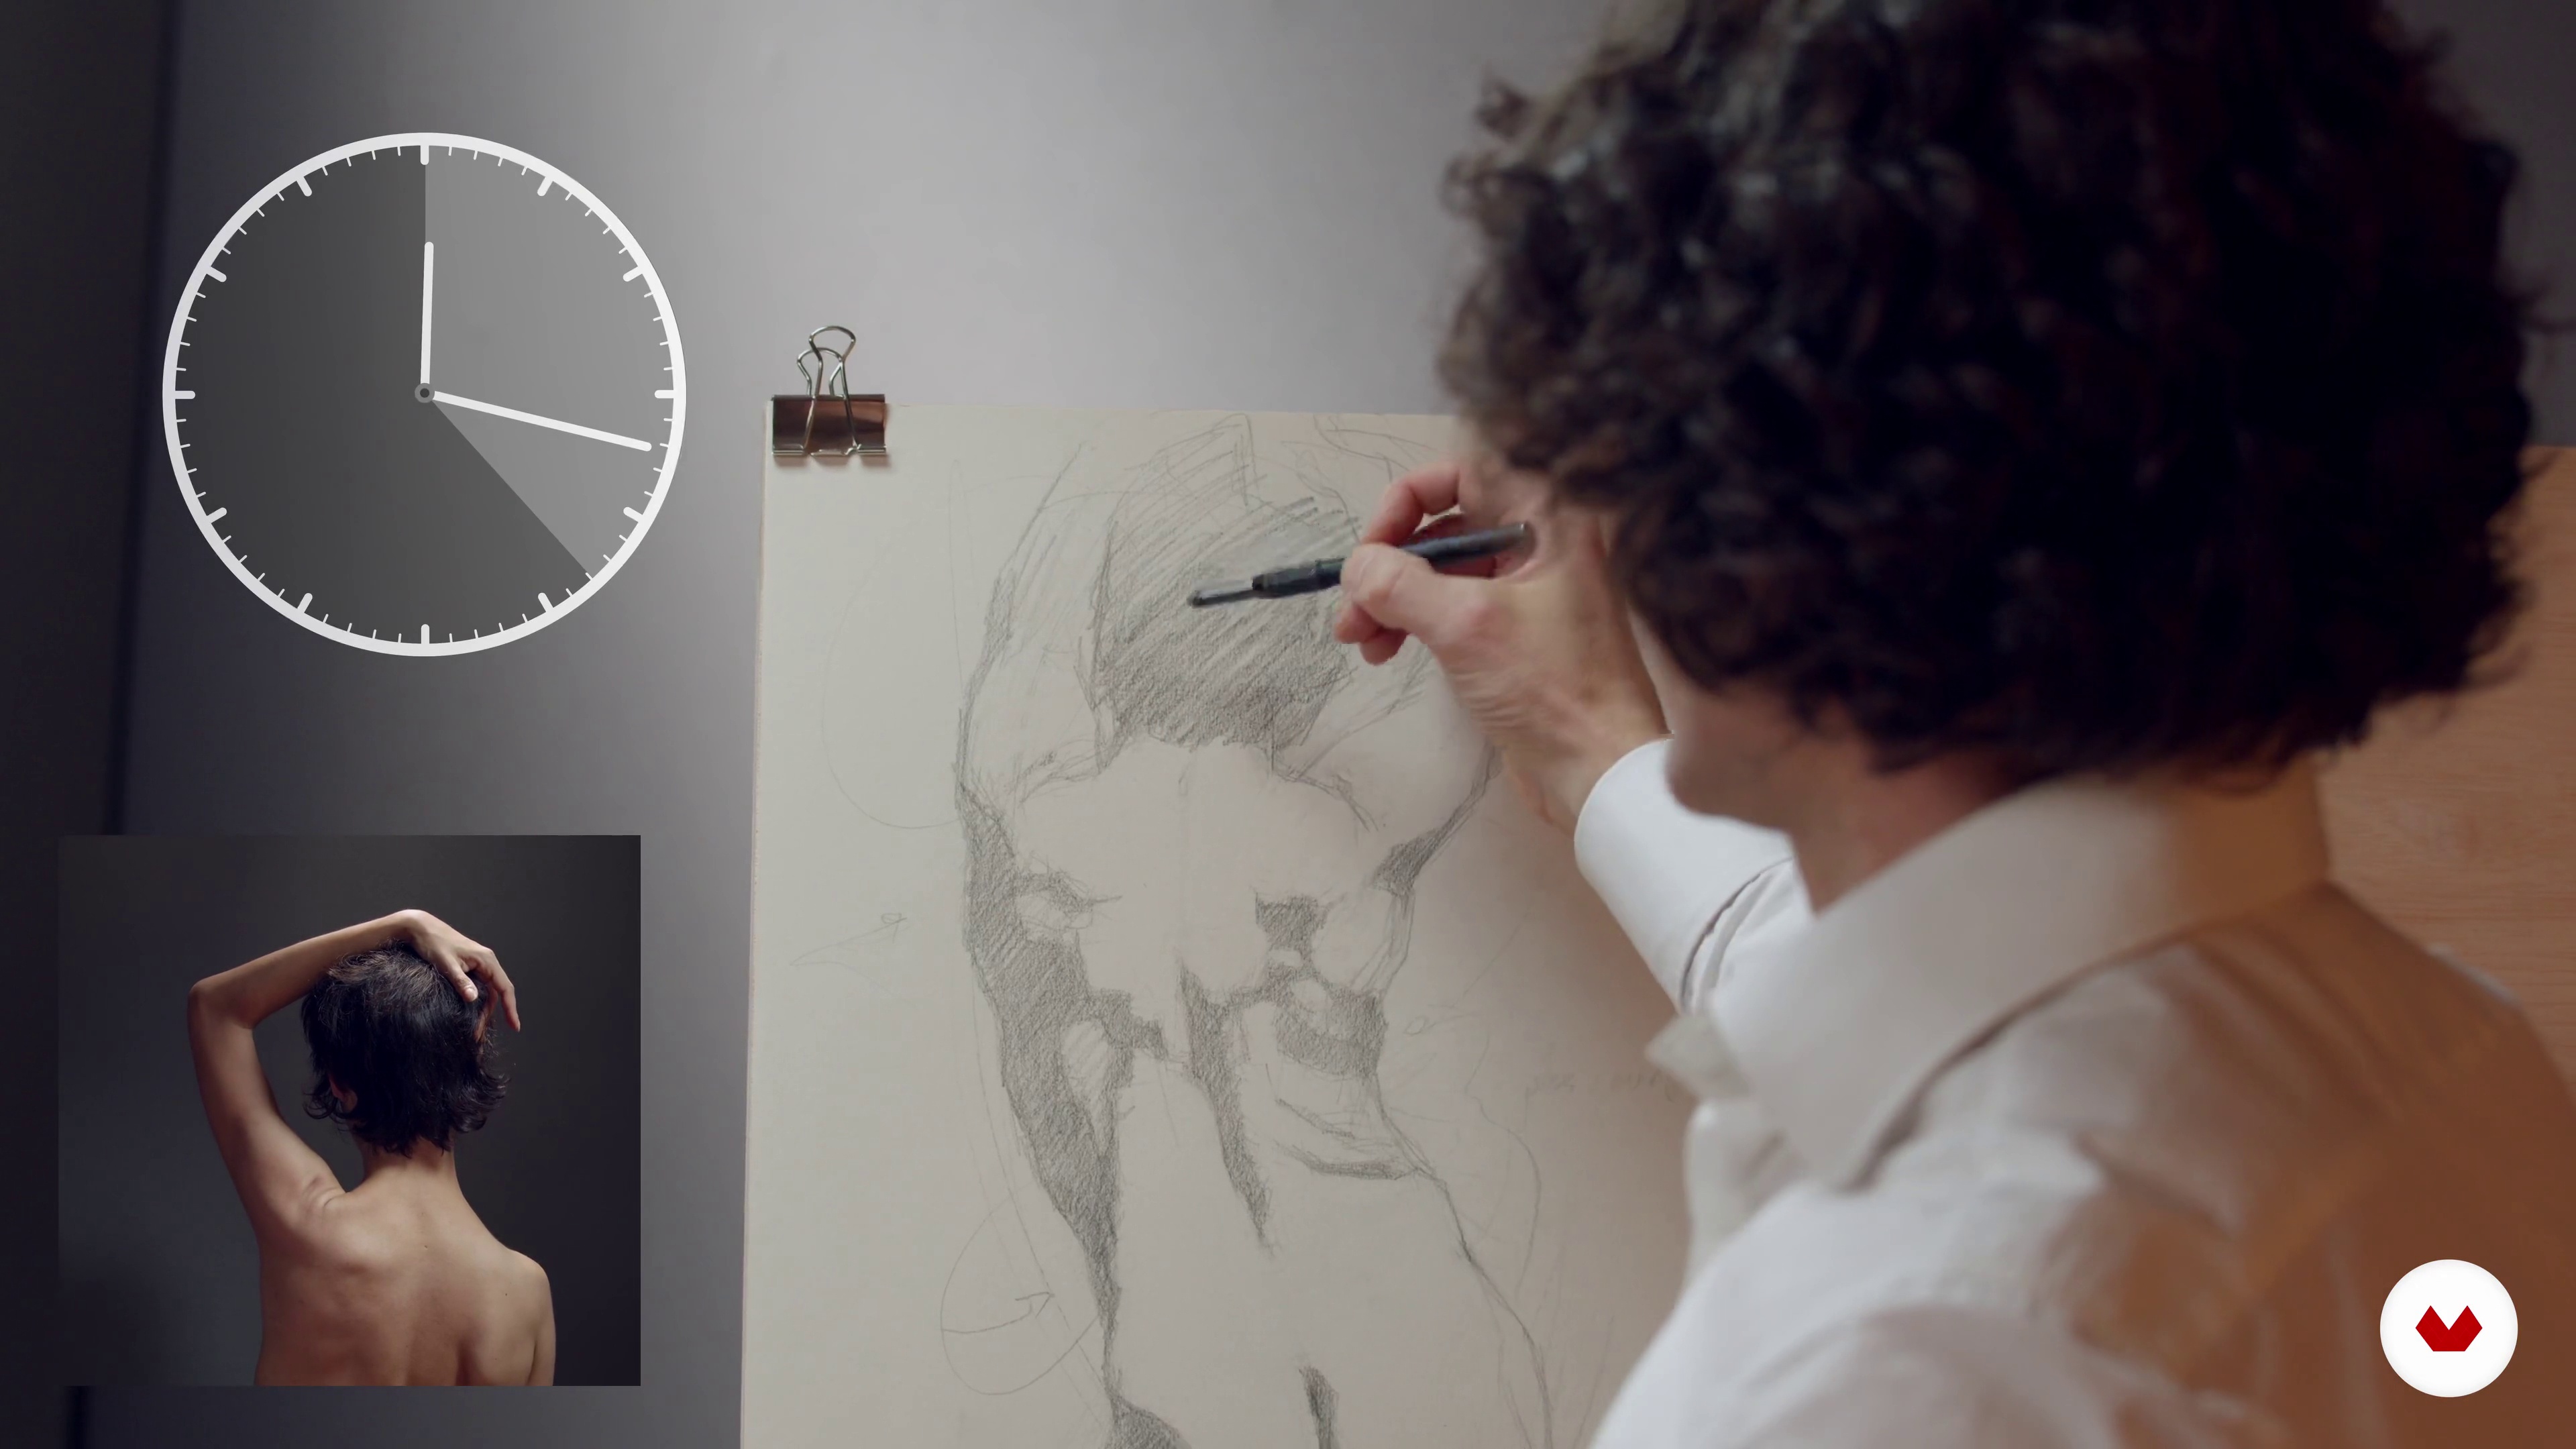
19Beginning the Dynamic Figure Drawing 2
Round one is in the books. At this stage, we should focus on asses the proportions and shape of the sketch.
20m
 20
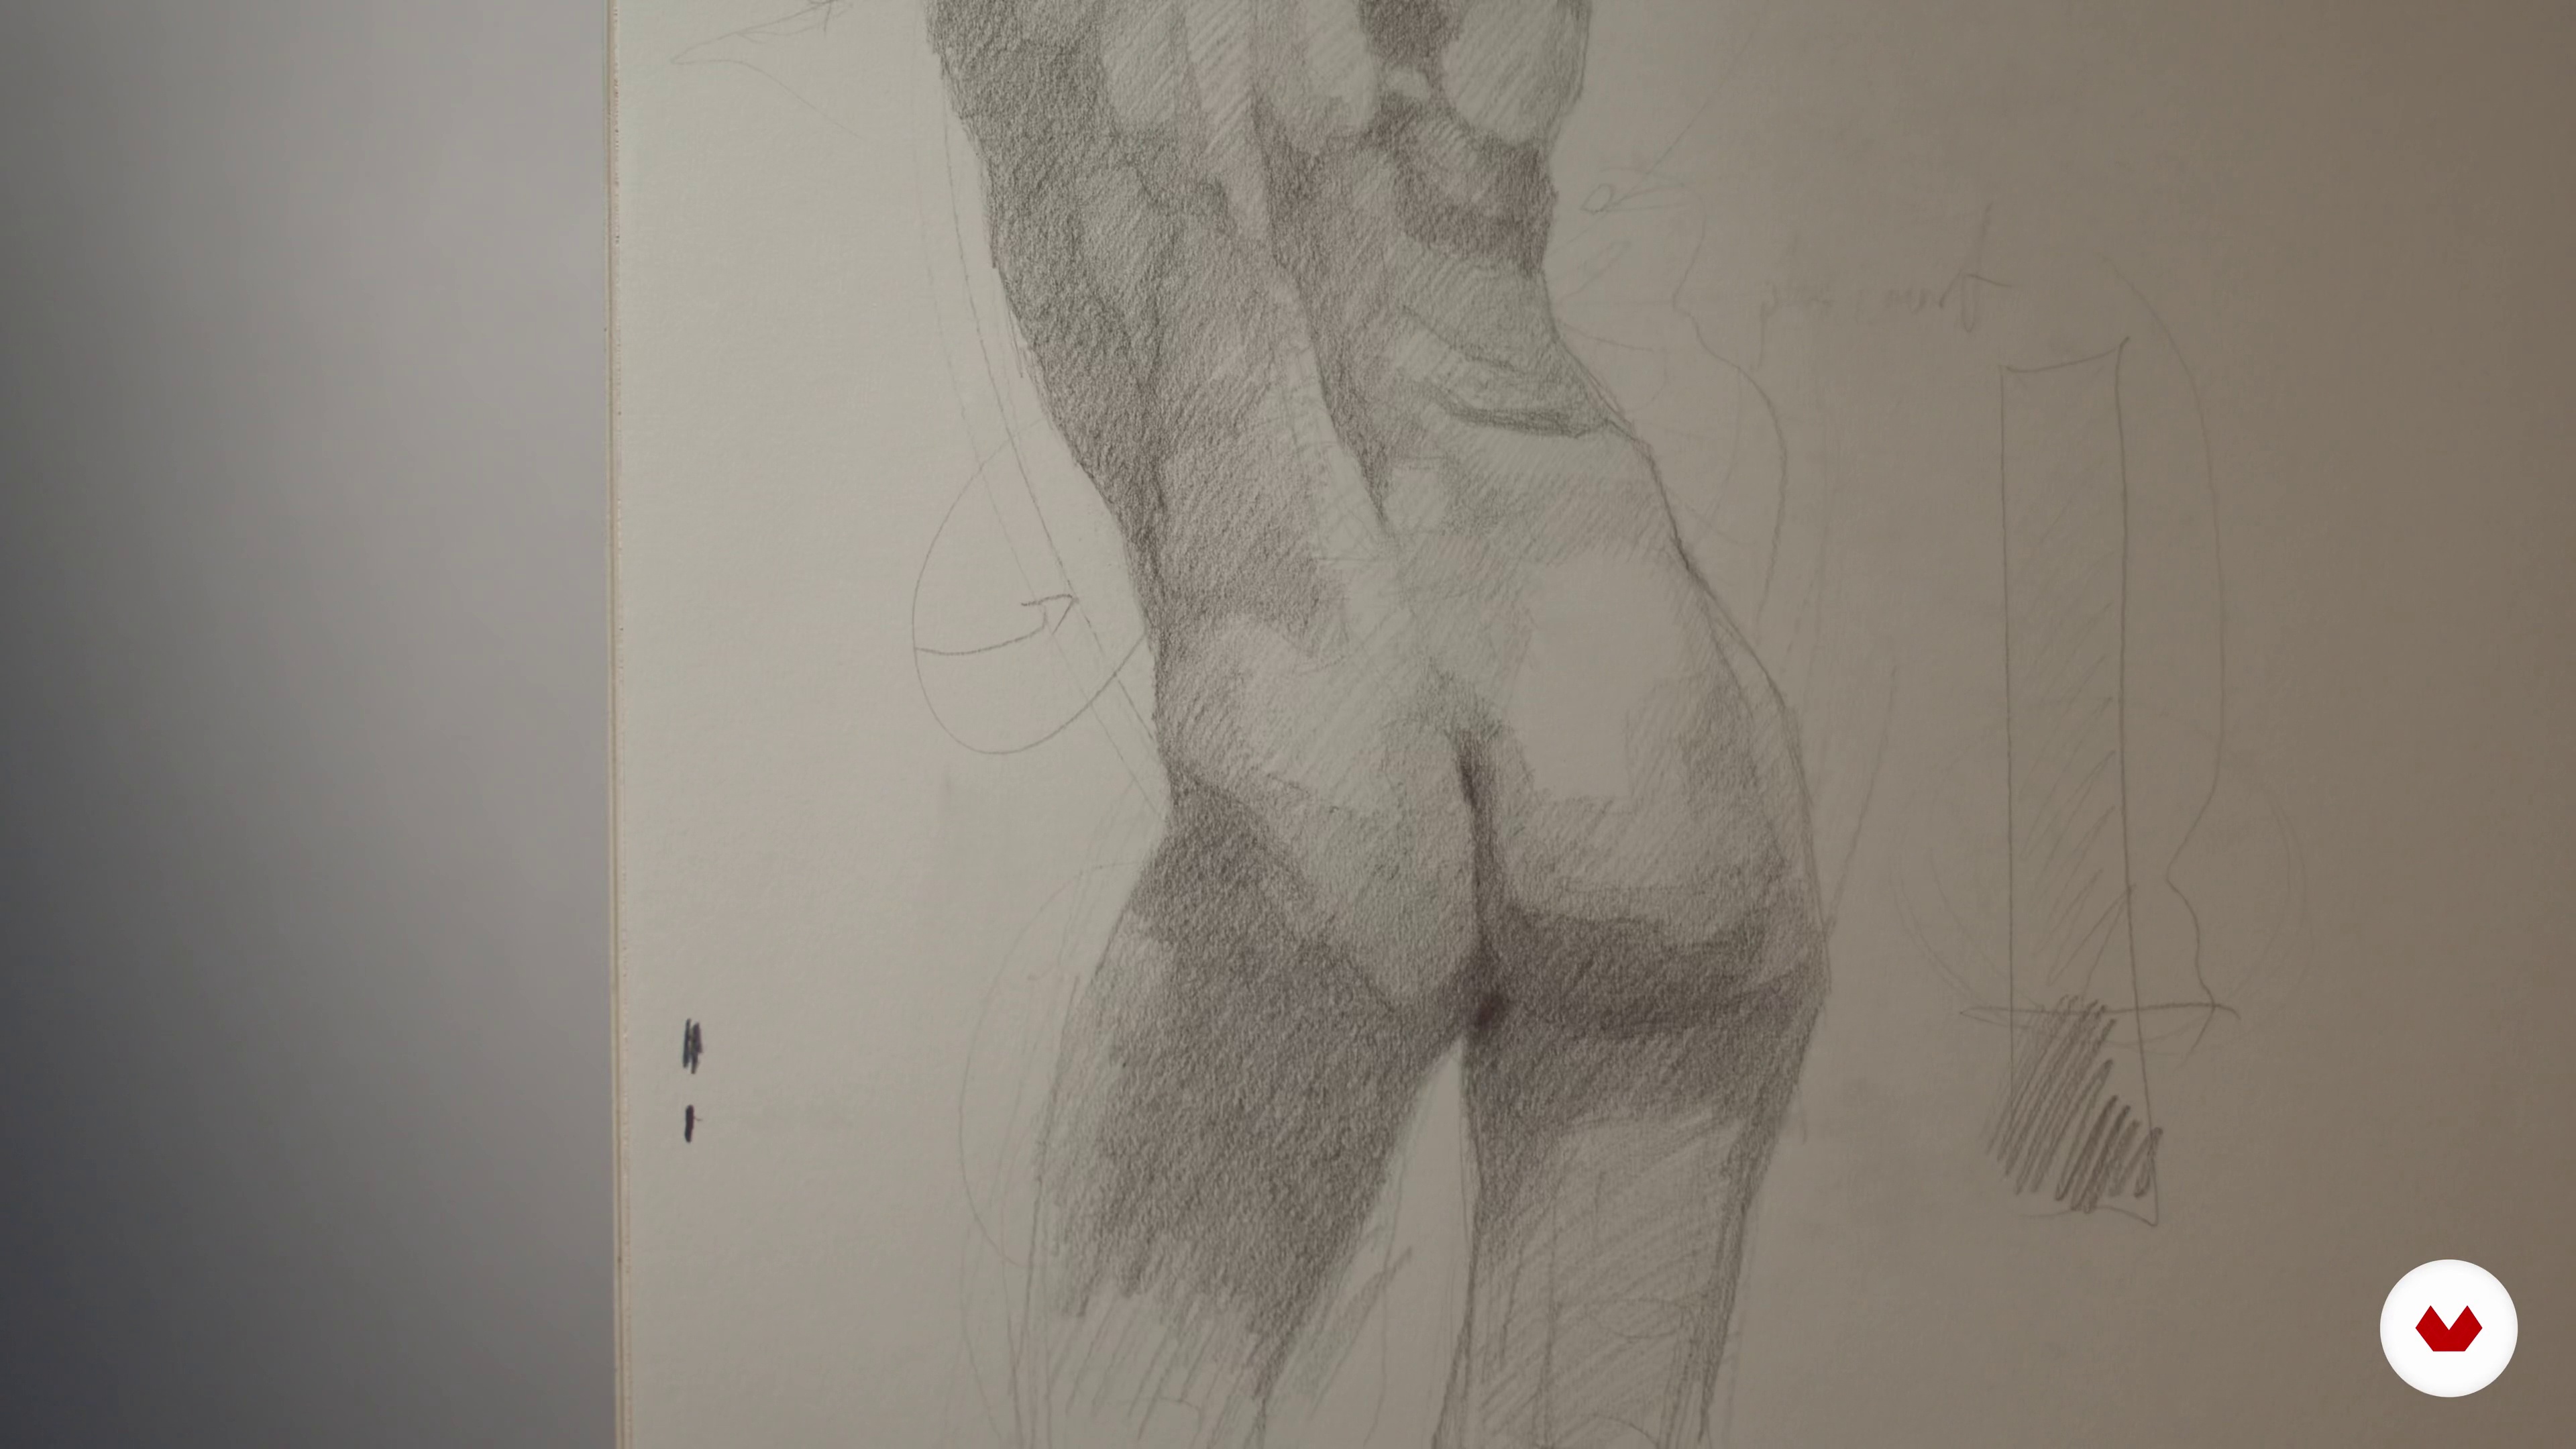
20The Halfway Point 1
In this lesson, we get to the halfway point of the drawing. This is an important stage of the work and some important decisions are made. I will teach you about beginning rendering, and how to manage the remaining model time.
19m
 21
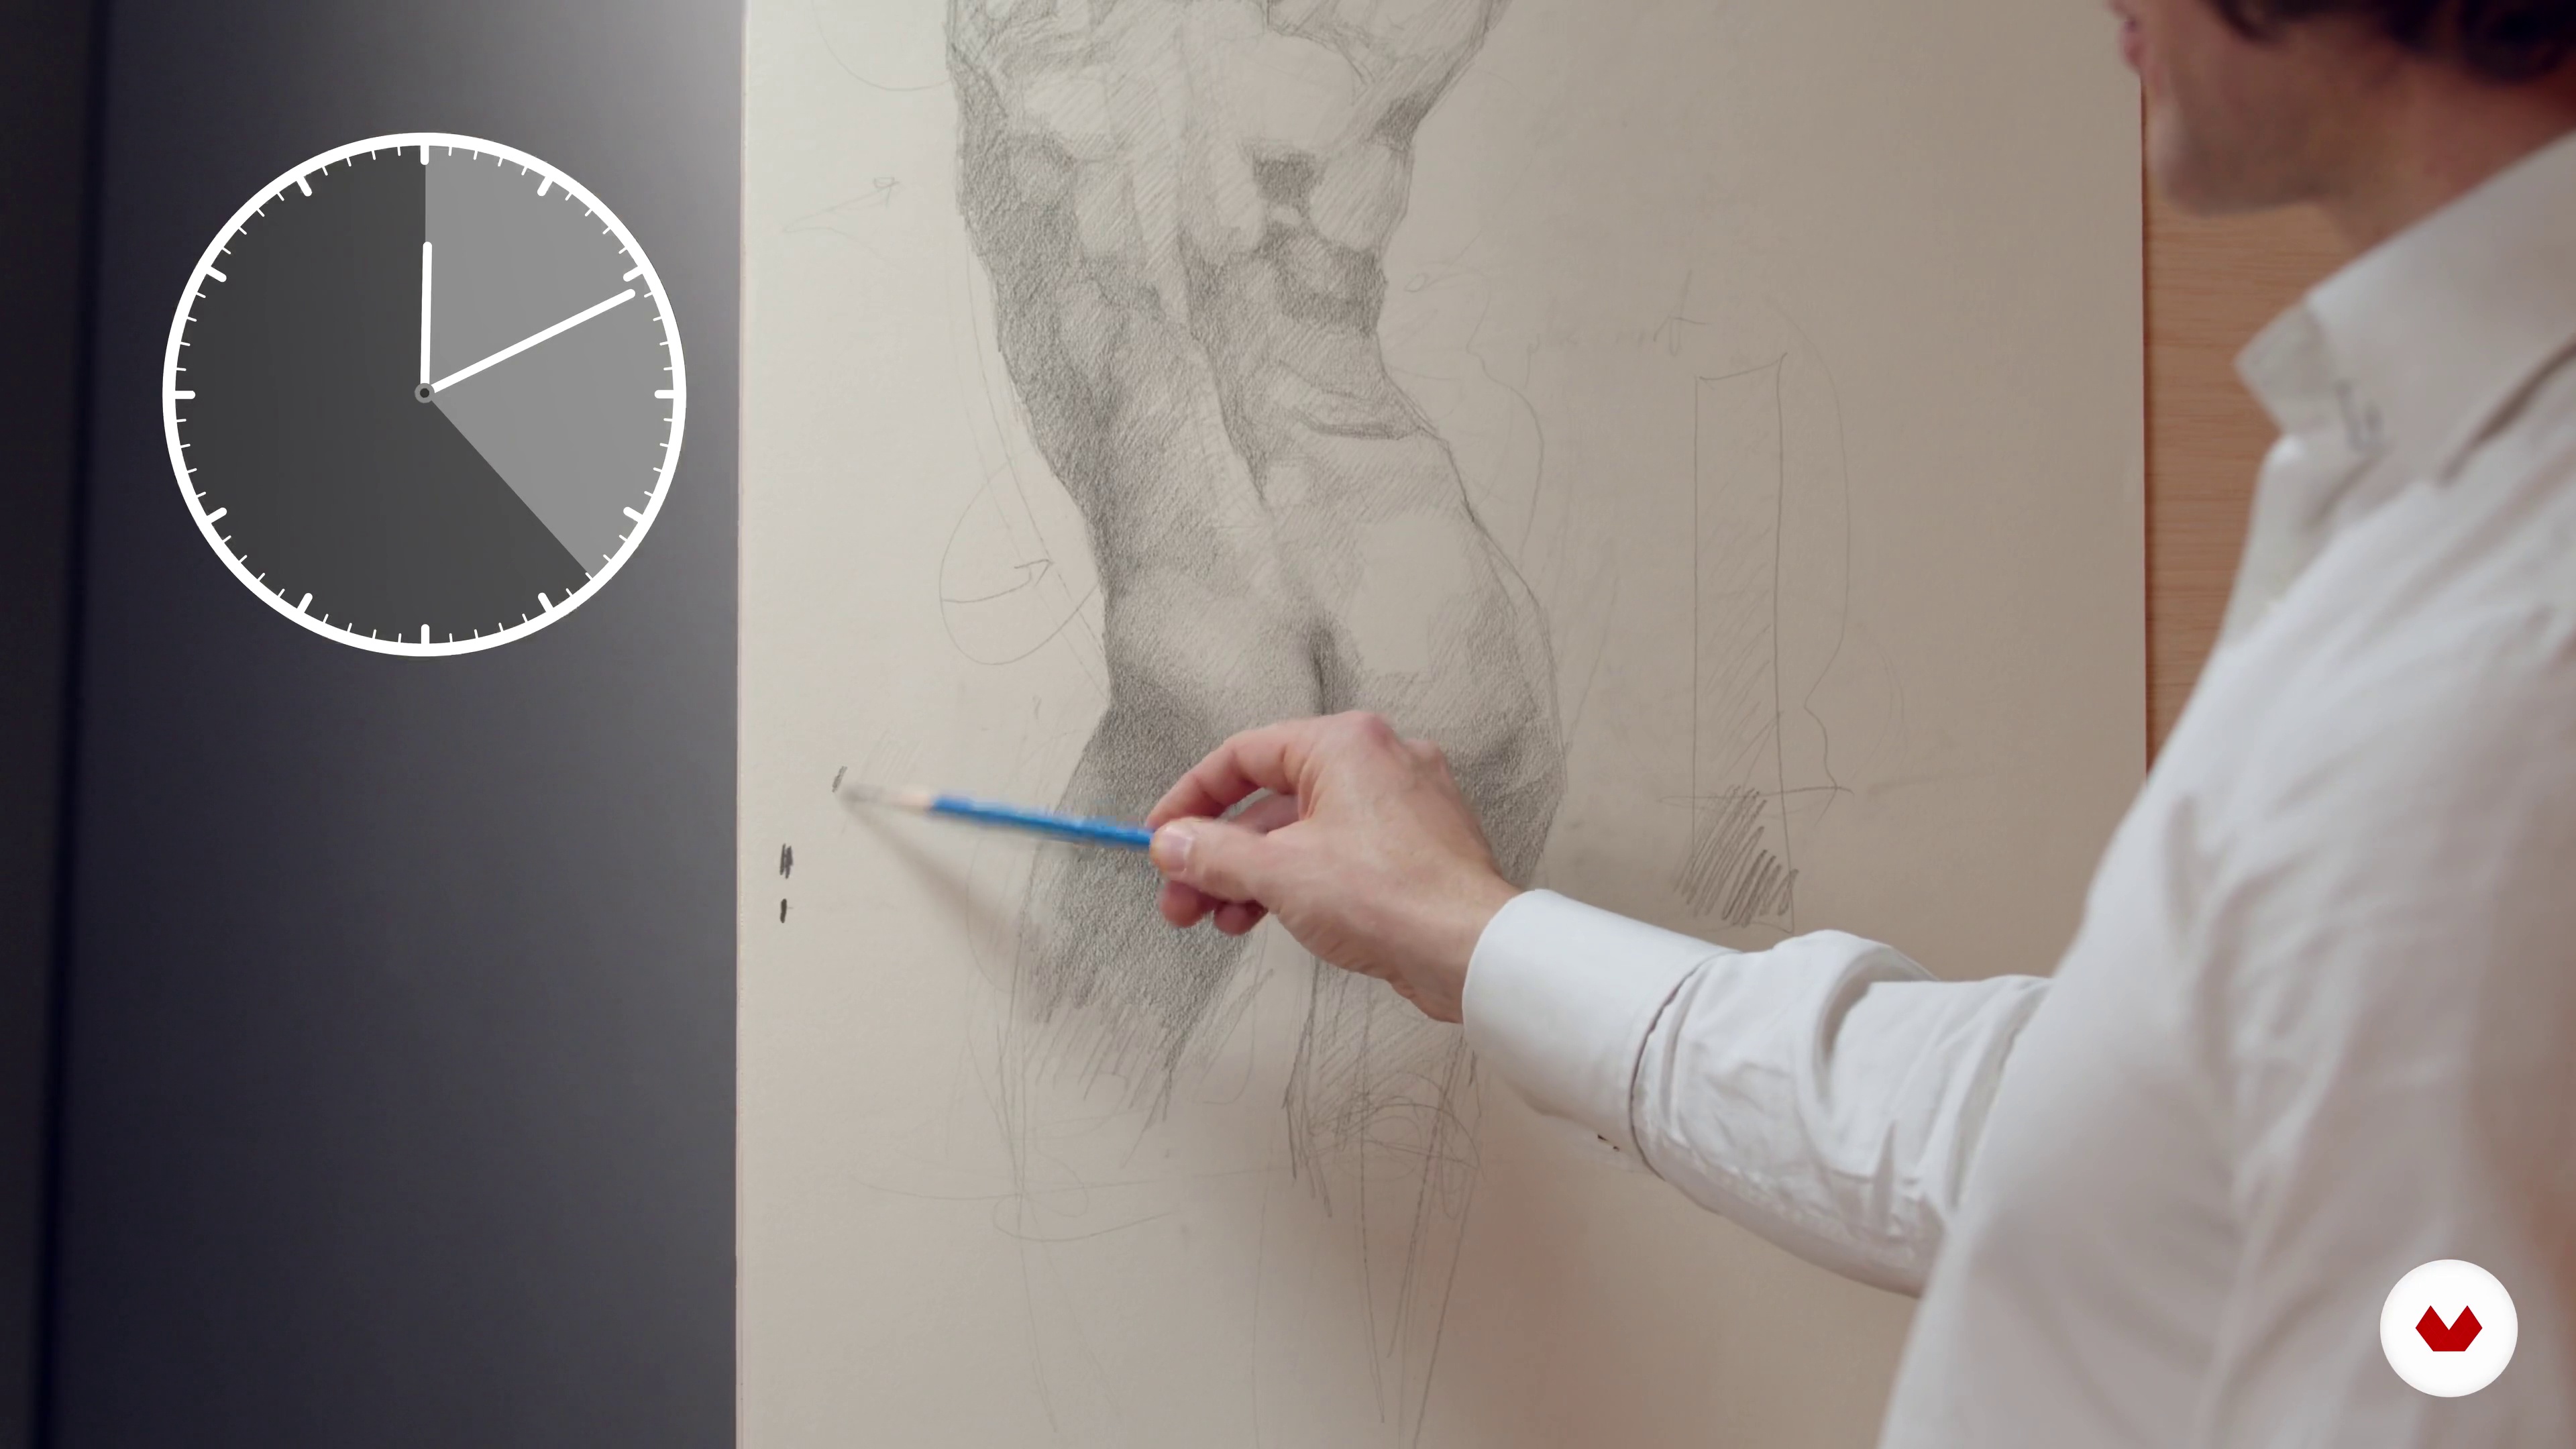
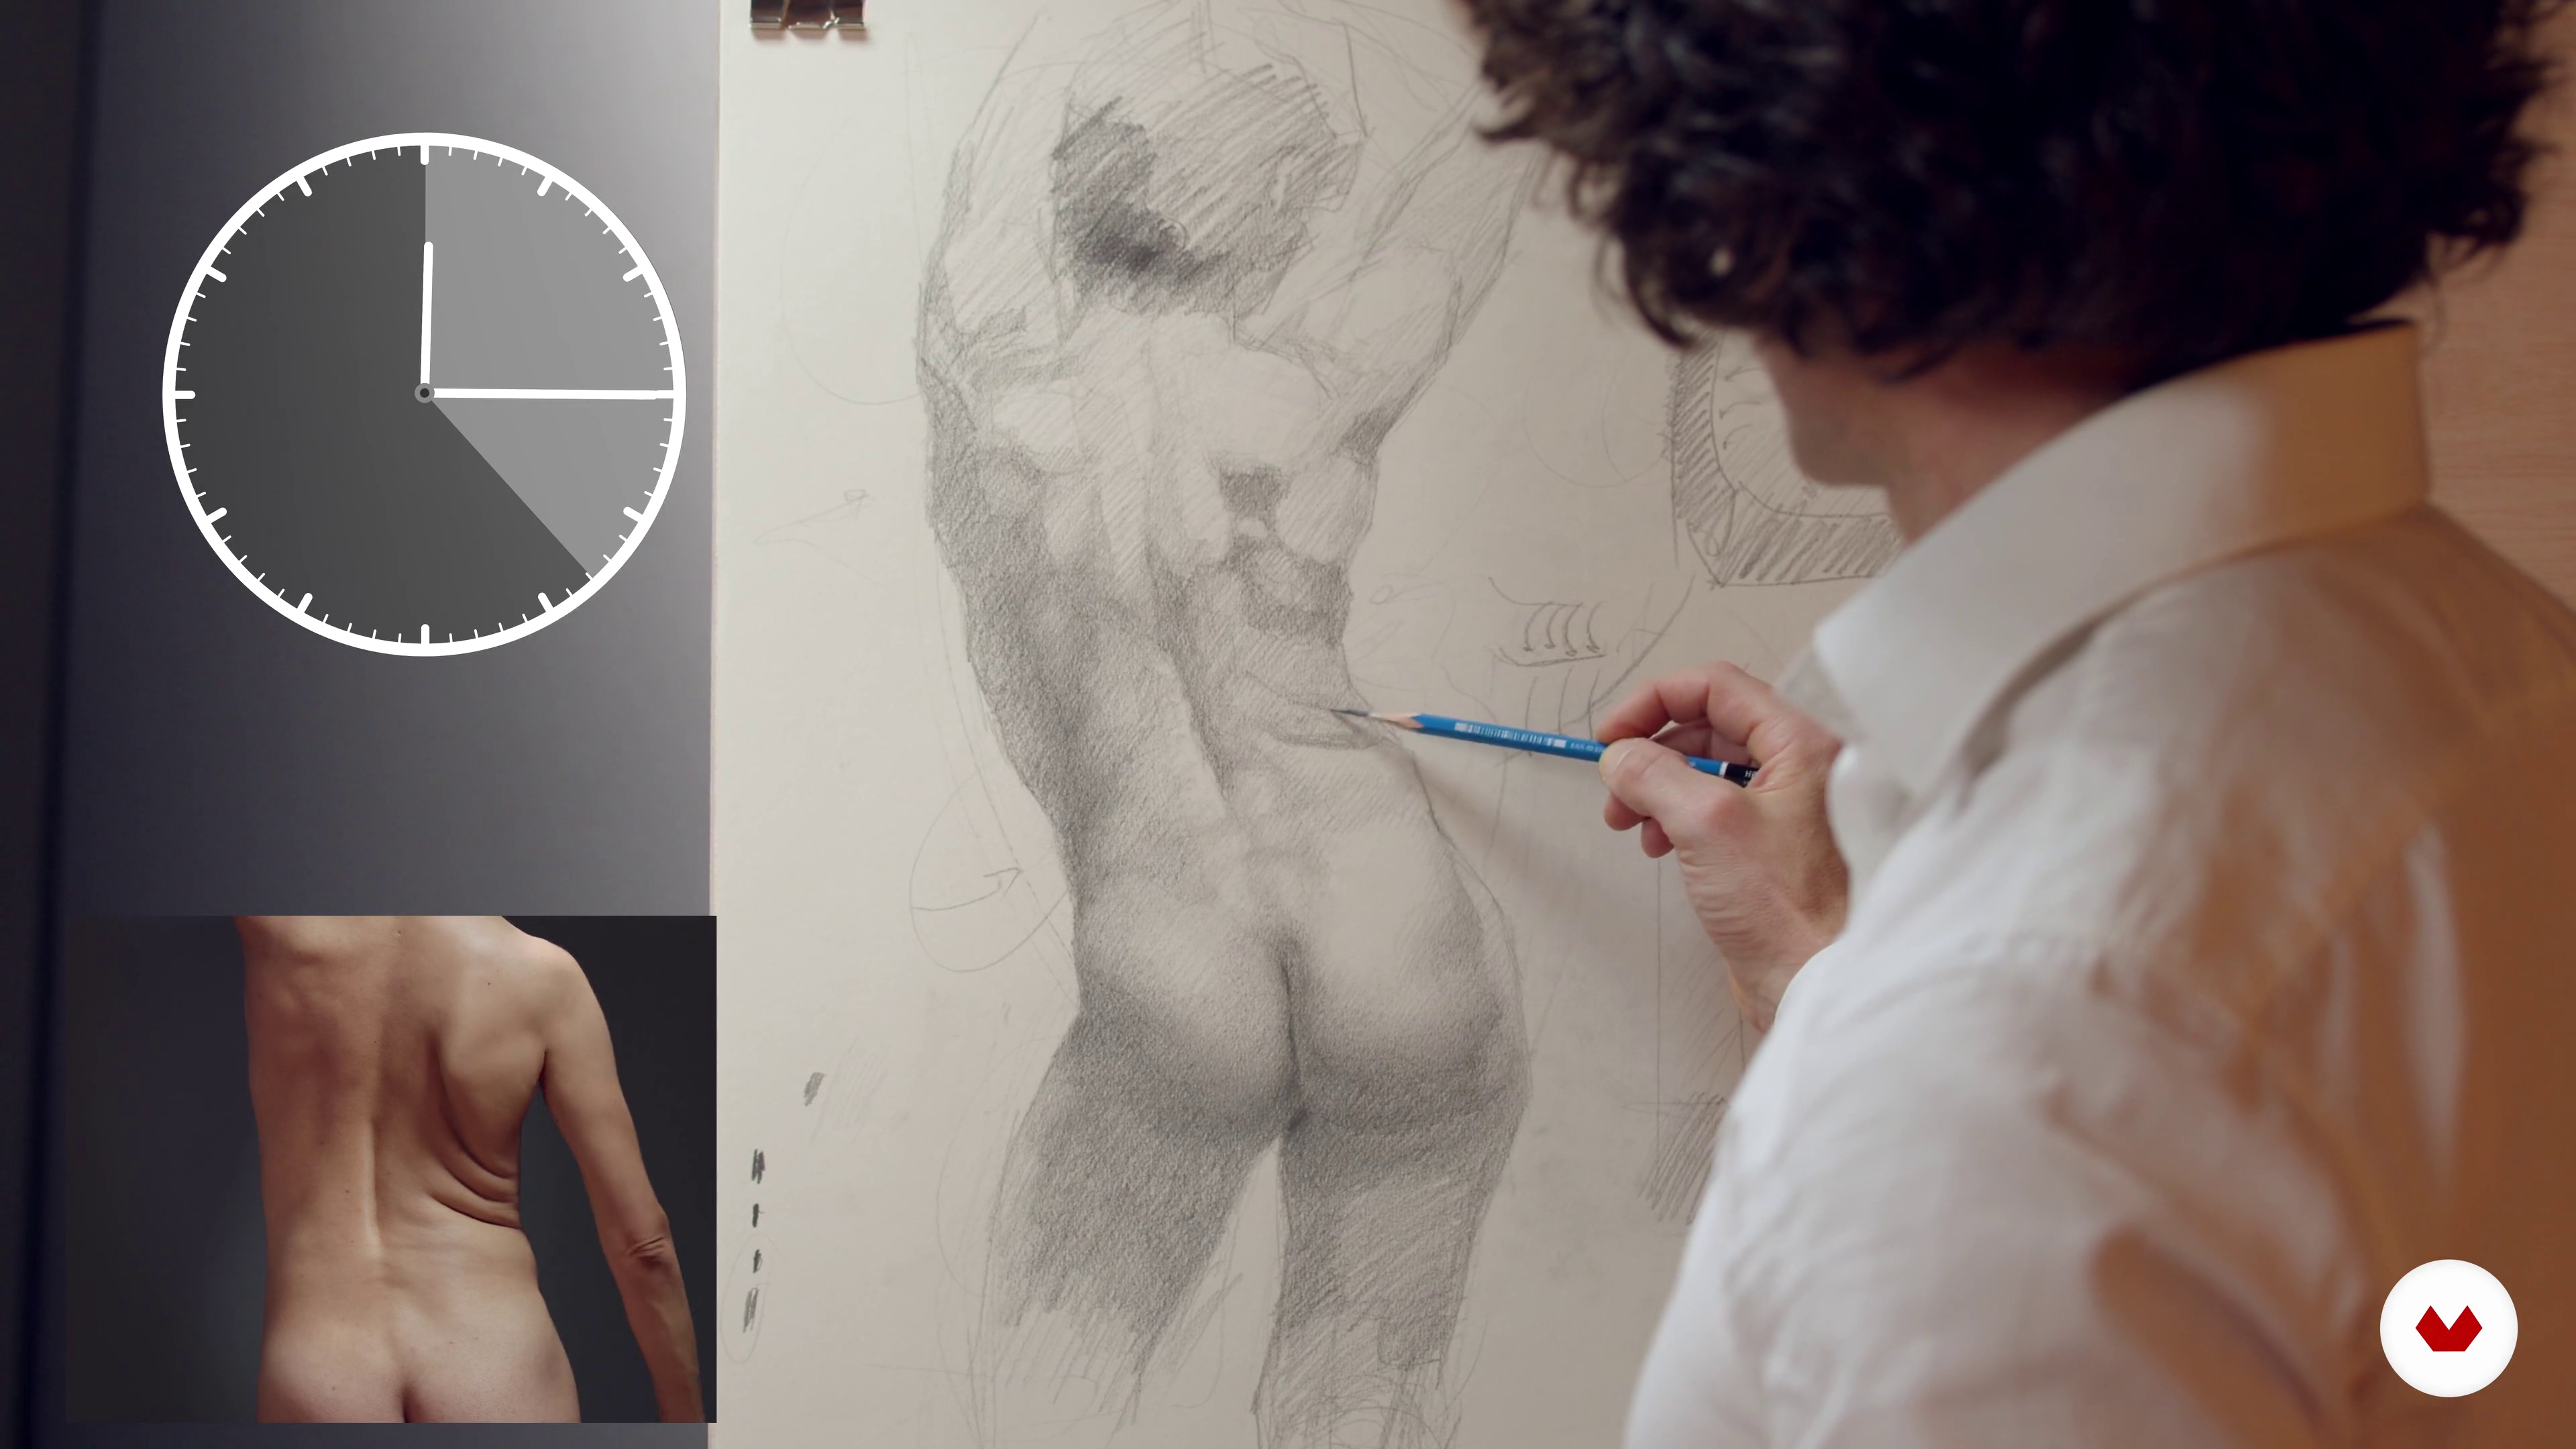
21The Halfway Point 2
We can gather tons of valuable information when the model breaks the pose.
19m
 22
22Finishing the Drawing 1
This third and last lesson of the unit, which I have divided into five parts, is all about the strength and delicacy of rendering, and the choices made in terms of edges and finish.
19m
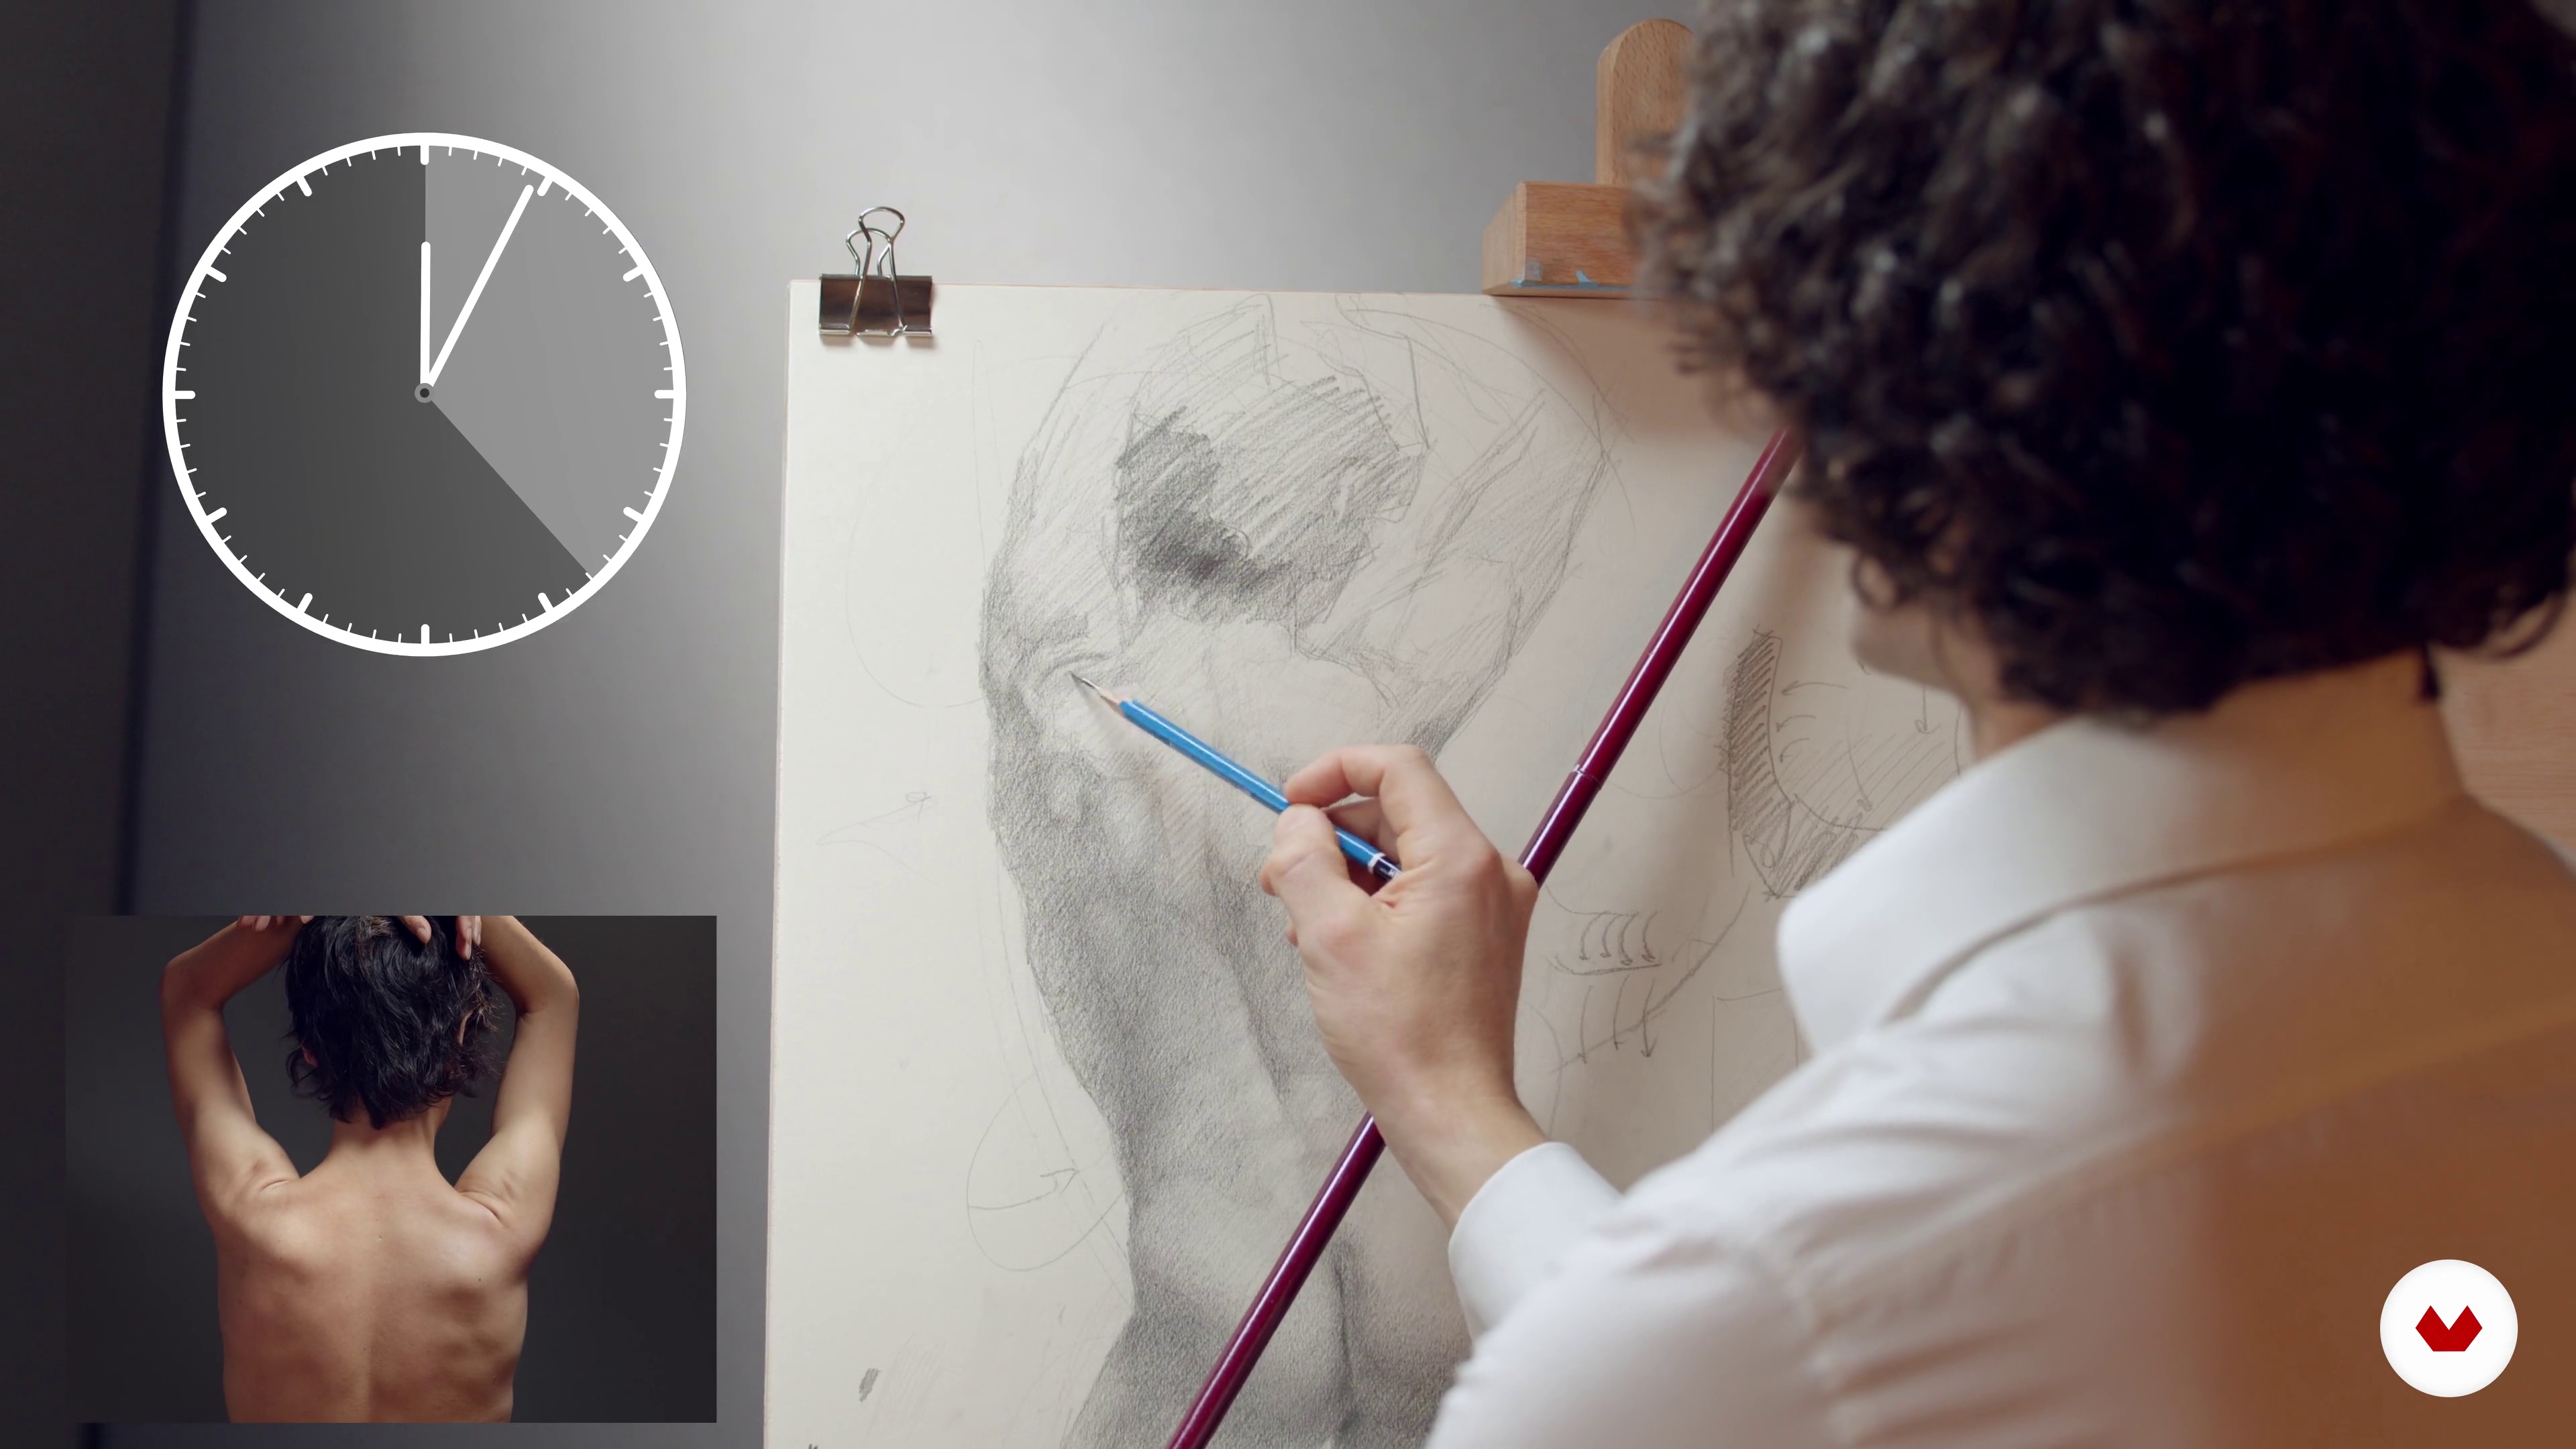 23
23Finishing the Drawing 2
The 7-minute break is over and we are back to work.
17m
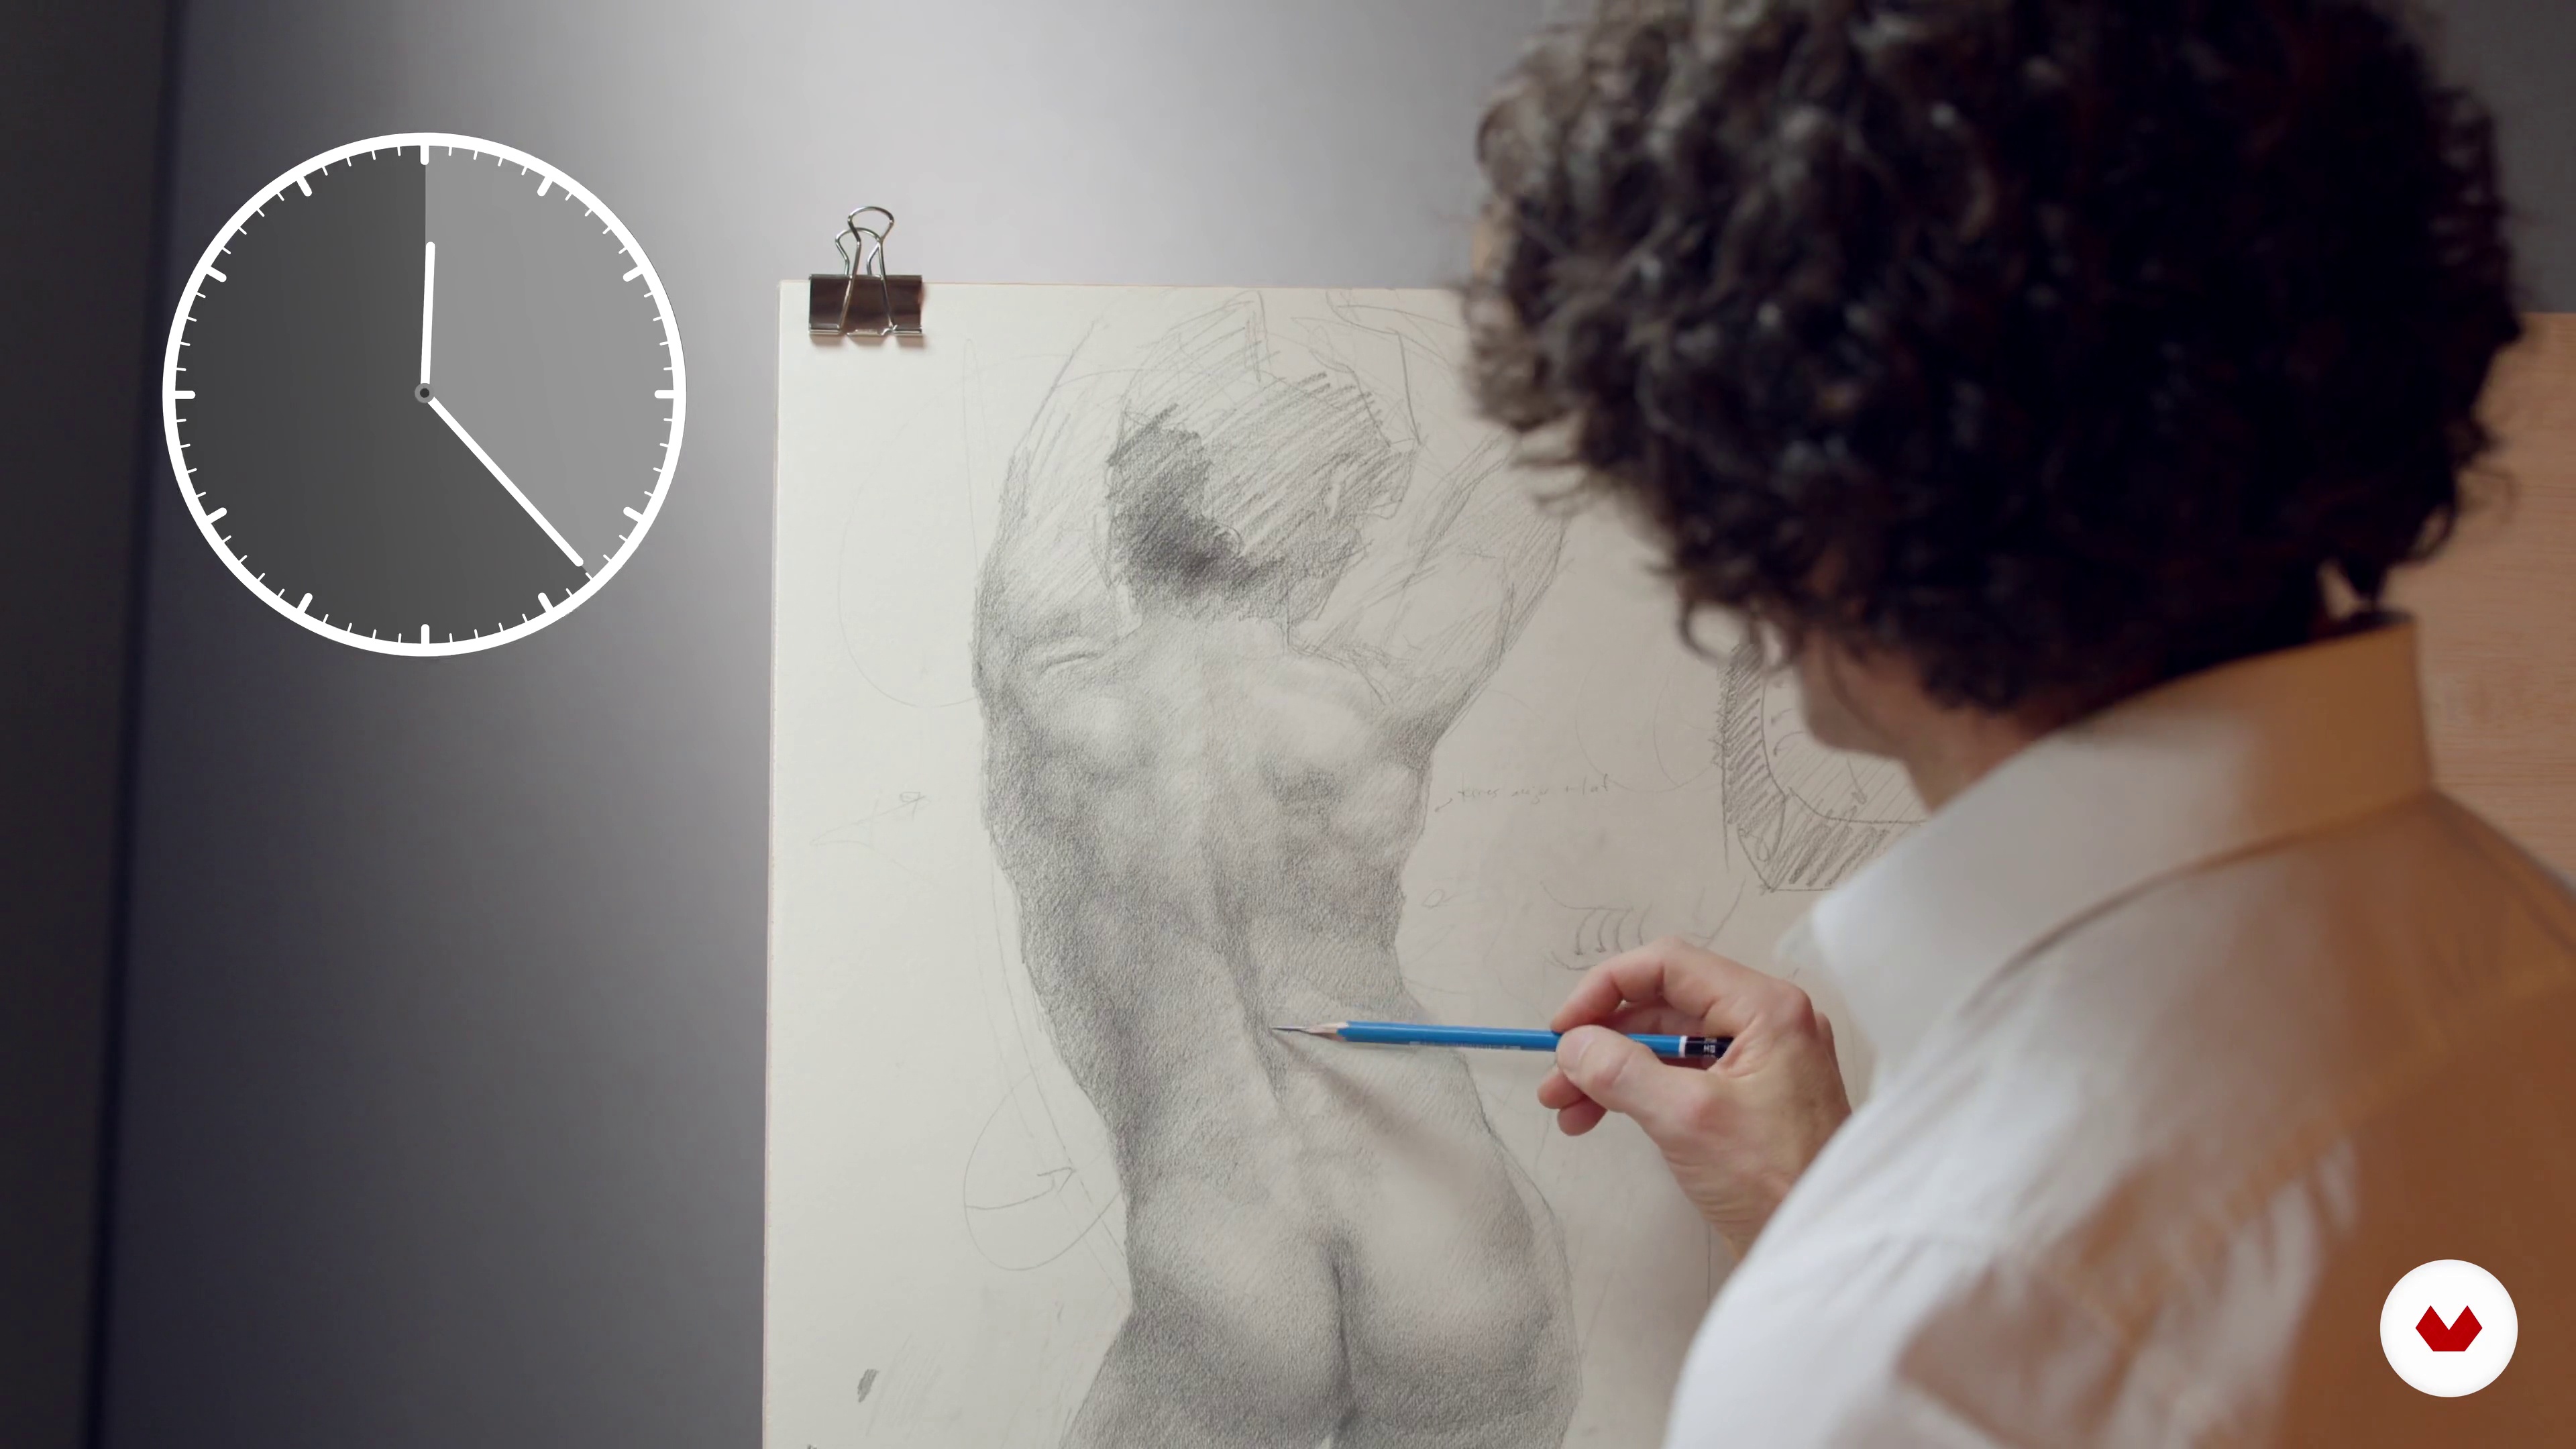 24
24Finishing the Drawing 3
Another 7-minute break is over and we will focus now on the horizontal and vertical planes of the model and the sketch.
20m
 25
25Finishing the Drawing 4
This is the last round, time to work on the areas that need detailing.
19m
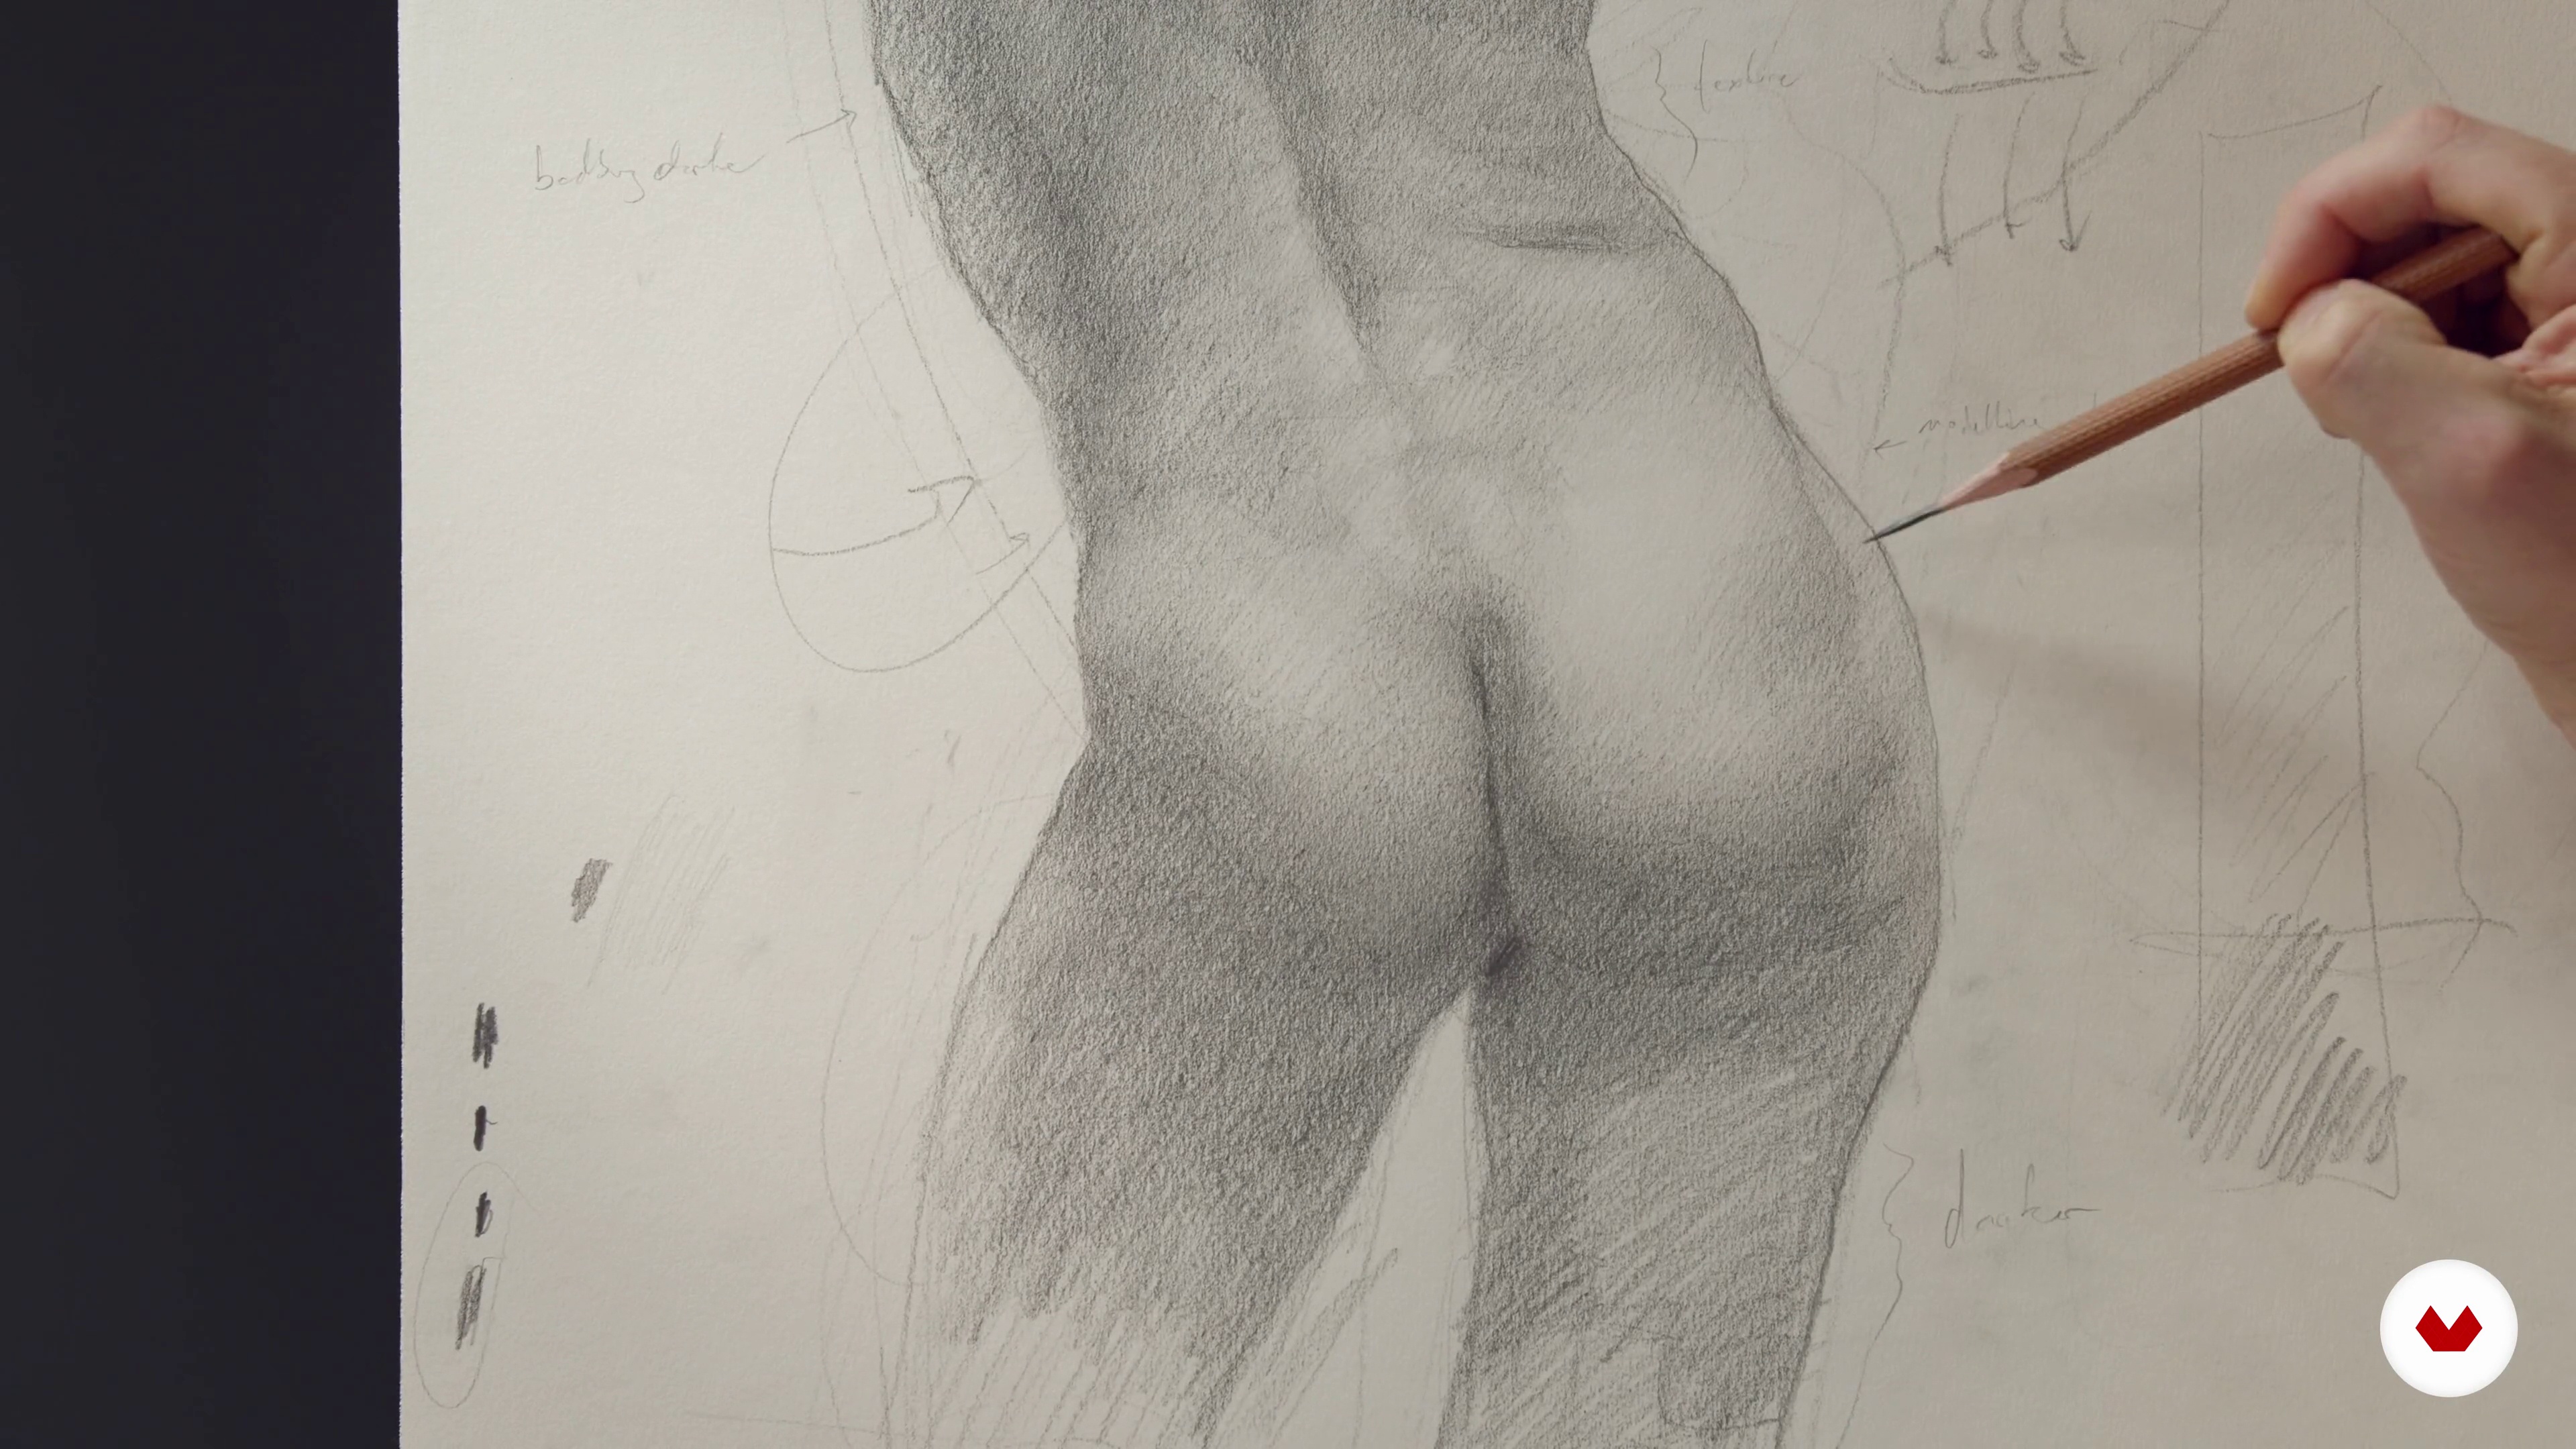 26
26Finishing the Drawing 5
There are still some edges and contours that need detailing. Let's clean them up.
8m
 27
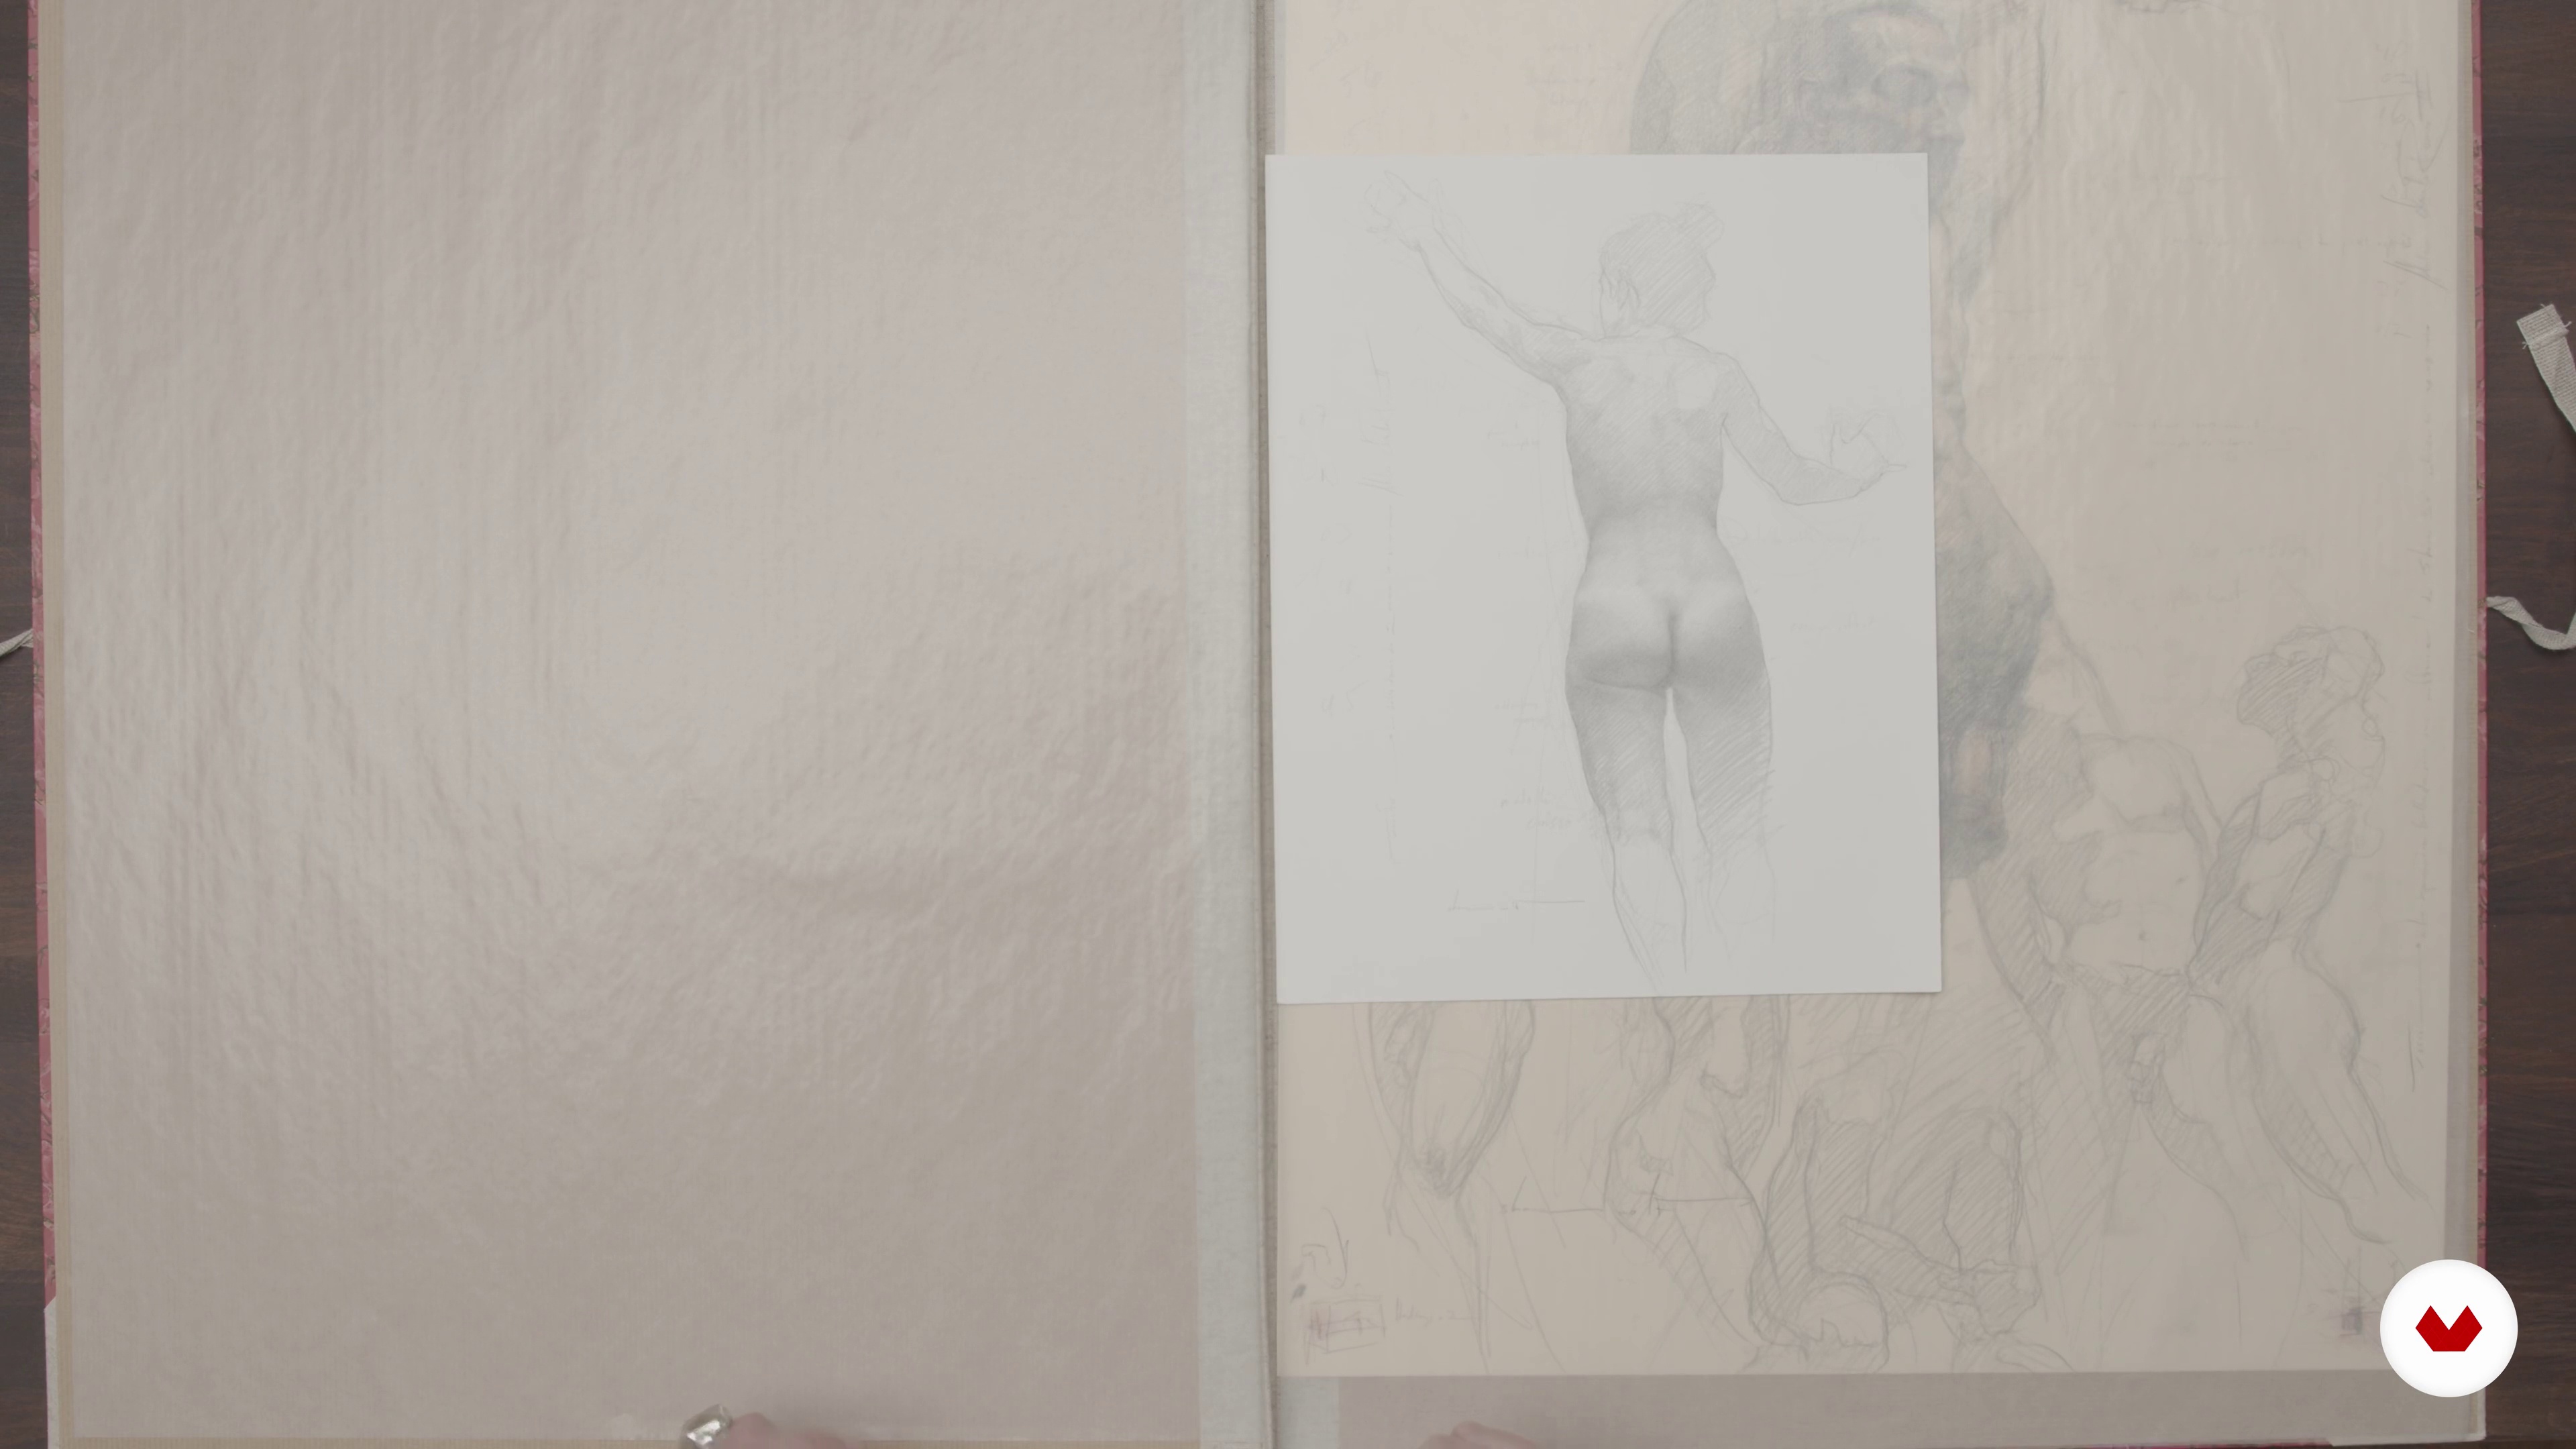
27How to Take Care of Your Drawing
In this lesson, we will talk about how to protect your drawing as well as creating a certificate of authenticity for it.
4m
 28
28Continue to Work from Life
So how do you continue to improve your dynamic figure drawing skills? In this lesson, I will talk to you about numerous ways to do so.
10m
 29
29Copy, Copy, Copy!
In this lesson, I will tell you about the importance of copying other works of art, whether via reproductions or directly in museums. I will also outline some very important legal notions one needs to know before proceeding with a copy.
7m
What is this course's project?
Create a comprehensive anatomical drawing portfolio demonstrating mastery over anatomical details, dynamic figure representation, and various artistic techniques. Deliver detailed studies of extremities, expressive charcoal art, realistic full-body depictions, and dynamic movement illustrations, showcasing artistic growth.
Who is this specialization for?
Aspiring artists eager to master anatomical drawing, enhance technical skills, and deepen their understanding of the human body will find this specialization ideal. Gain proficiency in various techniques, from graphite and charcoal to capturing dynamic movement, advancing artistic expression.
Requirements and materials
No extensive prior knowledge is required. Basic necessities include a set of pencils, graphite, and charcoal, along with a sketchbook or drawing paper. Having an interest in anatomy and a desire to improve drawing skills will enhance the experience.
Reviews
- 4 days ago
Me encanto el curso muy buenos principios para un principiante
- 21 days ago
buena explicacion
- 28 days ago
super facil de entender y una muy buena explicacion
- 29 days ago
Very good and informative courses
- 2 months ago
Curso bastantante com diversas abordagens que se complementam
Select to get to know your teachers in this specialization course


What to expect from this specialization course
Learn at your own pace
Enjoy learning from home without a set schedule and with an easy-to-follow method. You set your own pace.
Learn from the best professionals
Learn valuable methods and techniques explained by top experts in the creative sector.
Meet expert teachers
Each expert teaches what they do best, with clear guidelines, true passion, and professional insight in every lesson.
Certificates
PLUSIf you're a Plus member, get a custom certificate for every specialization course. Share it on your portfolio, social media, or wherever you like.
Get front-row seats
Videos of the highest quality, so you don't miss a single detail. With unlimited access, you can watch them as many times as you need to perfect your technique.
Share knowledge and ideas
Ask questions, request feedback, or offer solutions. Share your learning experience with other students in the community who are as passionate about creativity as you are.
Connect with a global creative community
The community is home to millions of people from around the world who are curious and passionate about exploring and expressing their creativity.
Watch professionally produced courses
Domestika curates its teacher roster and produces every course in-house to ensure a high-quality online learning experience.
FAQs
Yes, this life drawing course is designed for intermediate artists who already have basic drawing skills and want to deepen their understanding of figure drawing, anatomy, and working from life.
You will need graphite pencils (various hardness), kneaded eraser, sandpad or X-Acto knife for sharpening, pencil extenders, tracing paper, Canson Mi-Teintes or similar art paper, tape, spray fixative, mahl stick, and an archival folder for storing artwork.
You will learn advanced life drawing techniques, how to work with live models, analyze figure proportions, render value and shadow, select appropriate materials, and improve observational accuracy for realistic figure sketches.
No prior experience with live models is required, but you should have a foundation in basic drawing skills. The course guides you through model sessions, pose setup, and respectful collaboration with models.
Yes, the course teaches how to select graphite pencil hardness, choose appropriate art paper, and use tools like pencil extenders and sandpads for optimal drawing results.
Yes, you’ll practice grid and visual comparison methods, use measuring tools, and apply exercises to enhance shape copying, proportion accuracy, and visual memory.
You’ll learn to construct value scales, blend and layer graphite, separate light and shadow, and use techniques like rim and crest lighting for realistic form modeling.