
Explore contemporary jewelry techniques with metal, ceramics, natural fibers, embroidery and 3D printing to create unique parts
Immerse yourself in the world of contemporary jewelry by exploring a variety of techniques and materials that will allow you to create unique accessories. Learn to work with metal, ceramics, natural fibers, and embroidery, developing essential skills such as cutting, filing, and soldering metal pieces. Discover how to fuse textile materials with metal to create unique pieces and experiment with modeling and glazing ceramics for jewelry. With Claudia Betancourt, Sofia Goschen, and Pimienta Joyería, you will acquire knowledge that will help you create a collection inspired by organic shapes and with a handcrafted identity.
Technology also plays an important role in this creative journey. Develop digital design skills using 3D modeling software and resin printing techniques. Mariana Romero Laspiur will guide you in the creation of 3D printed pieces, from design to post-production. This integrative approach of tradition and innovation will broaden your creative and technical vision, consolidating a unique personal style. Upon completion, you will have an original design proposal that reflects your identity as a creator, applicable in artistic, commercial, or editorial contexts.
What will you learn in this specialization?
 1
1Introduction
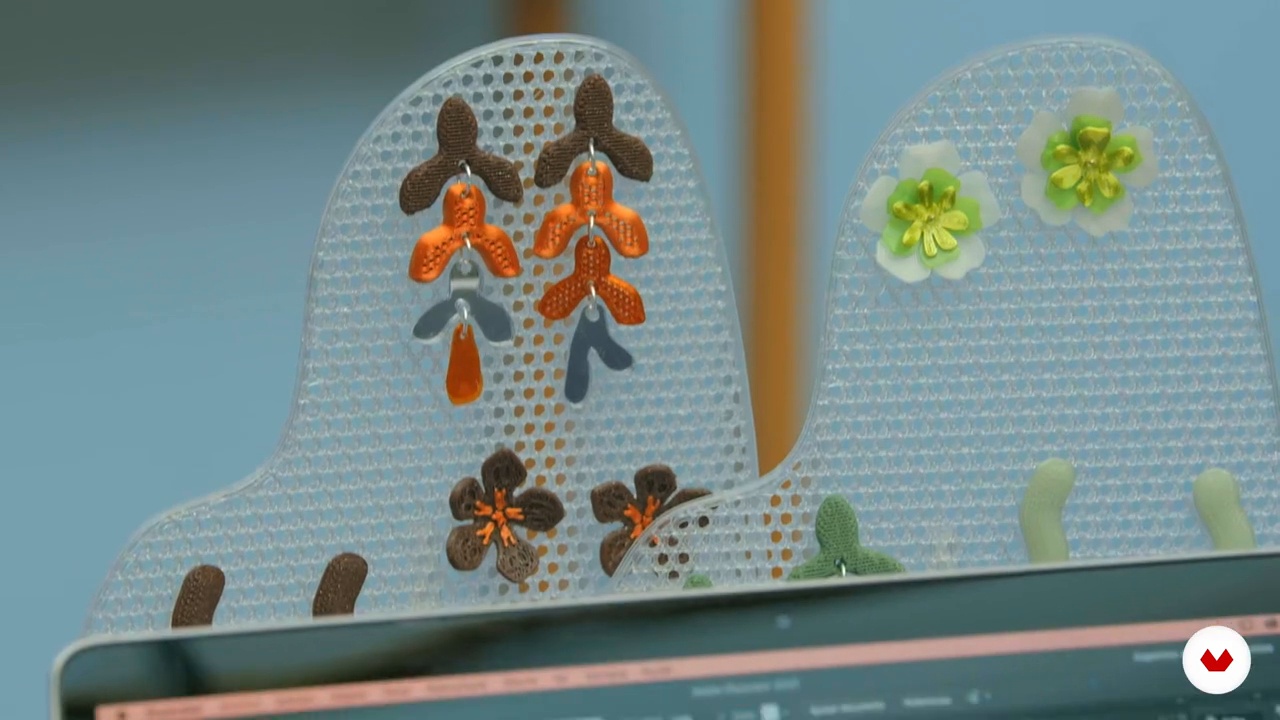
In this lesson, you'll discover jewelry as a living language. You'll play with materials, techniques, and symbolism to create pieces that not only embellish, but also tell stories, connect with roots, and reinvent art from a personal and contemporary perspective.
2m
 2
2Influences | VATTEA
In this lesson, we'll show you what inspires us and some of the inspirations we use to design our pieces.
8m
 3
3Influences | Pimienta Joyería
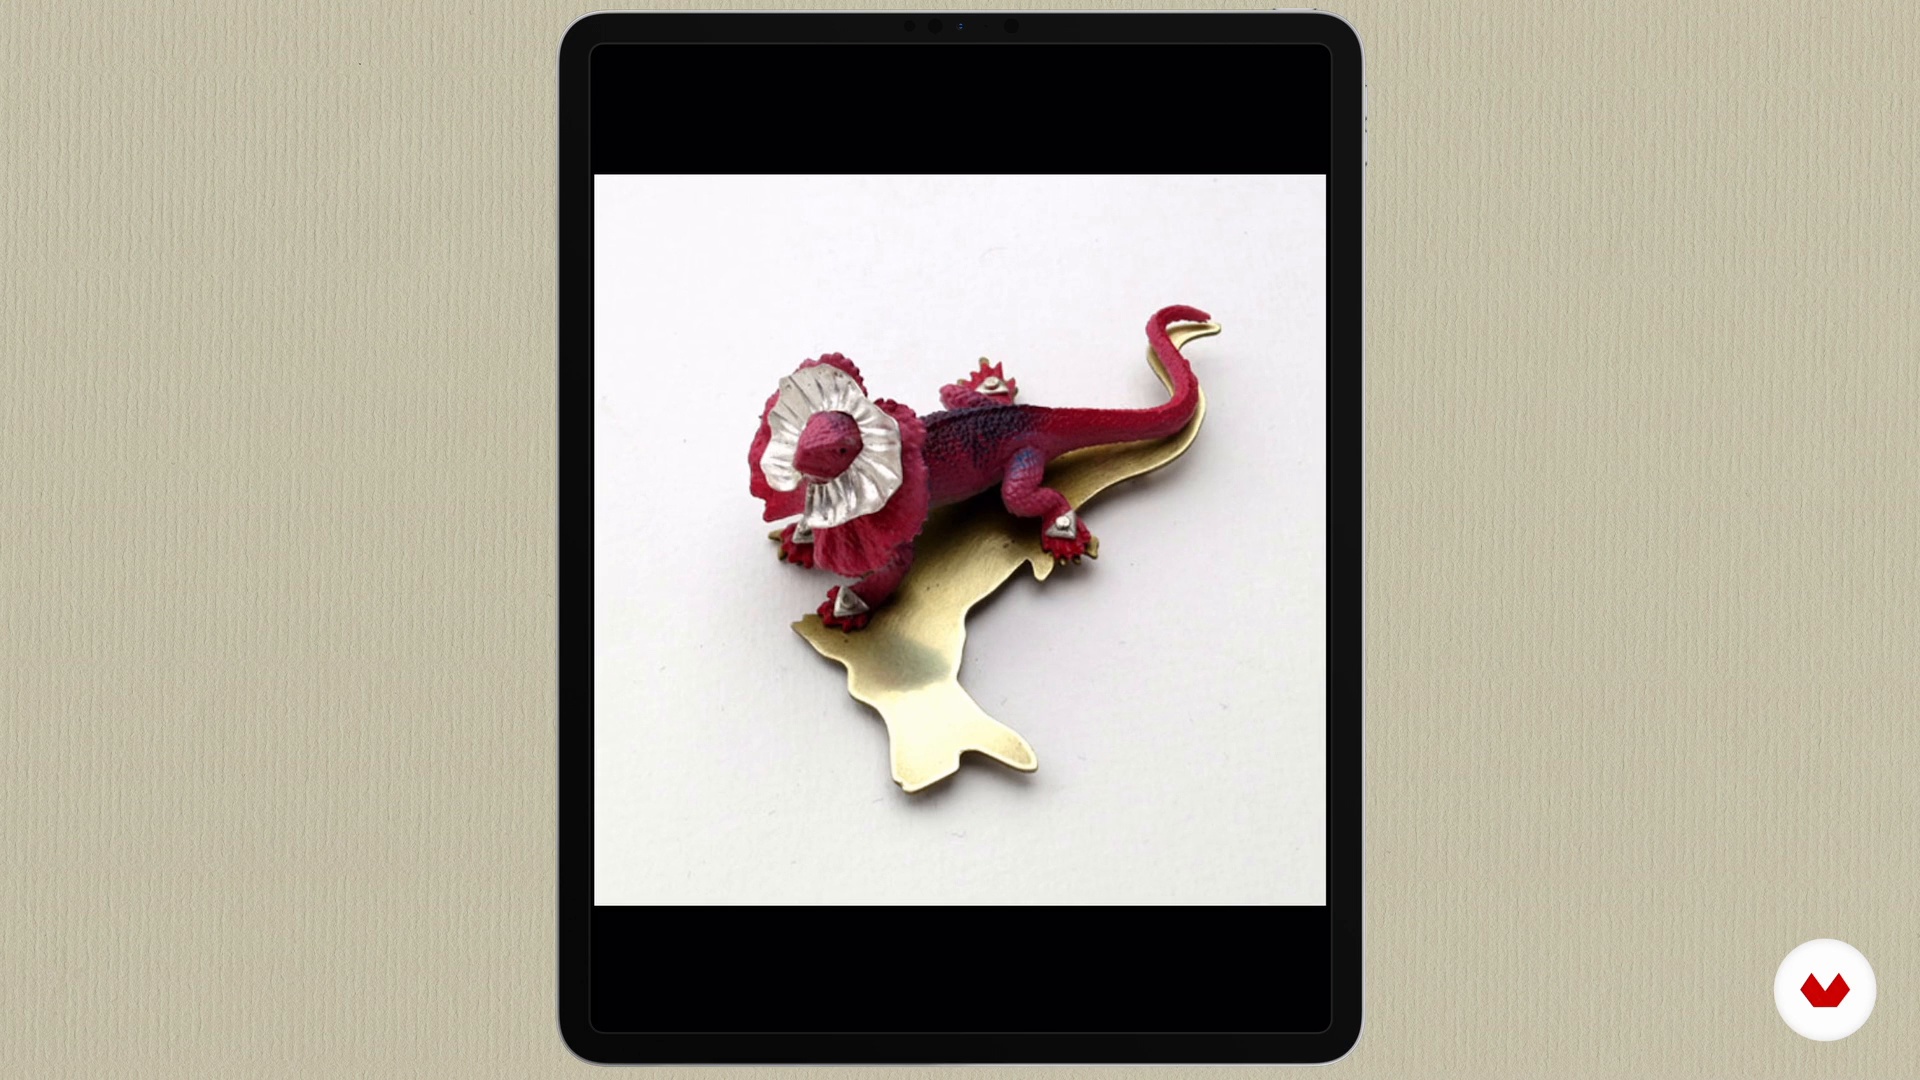
Now that you know me, I'm going to show you the people and sources of inspiration that help me design my pieces.
10m
 4
4Influences | Mercedes Salazar
In this lesson, I'll tell you a few things about myself, and you'll learn where my love for jewelry and artisanal techniques comes from.
18m
 5
5Influences | Julieta Alvarez
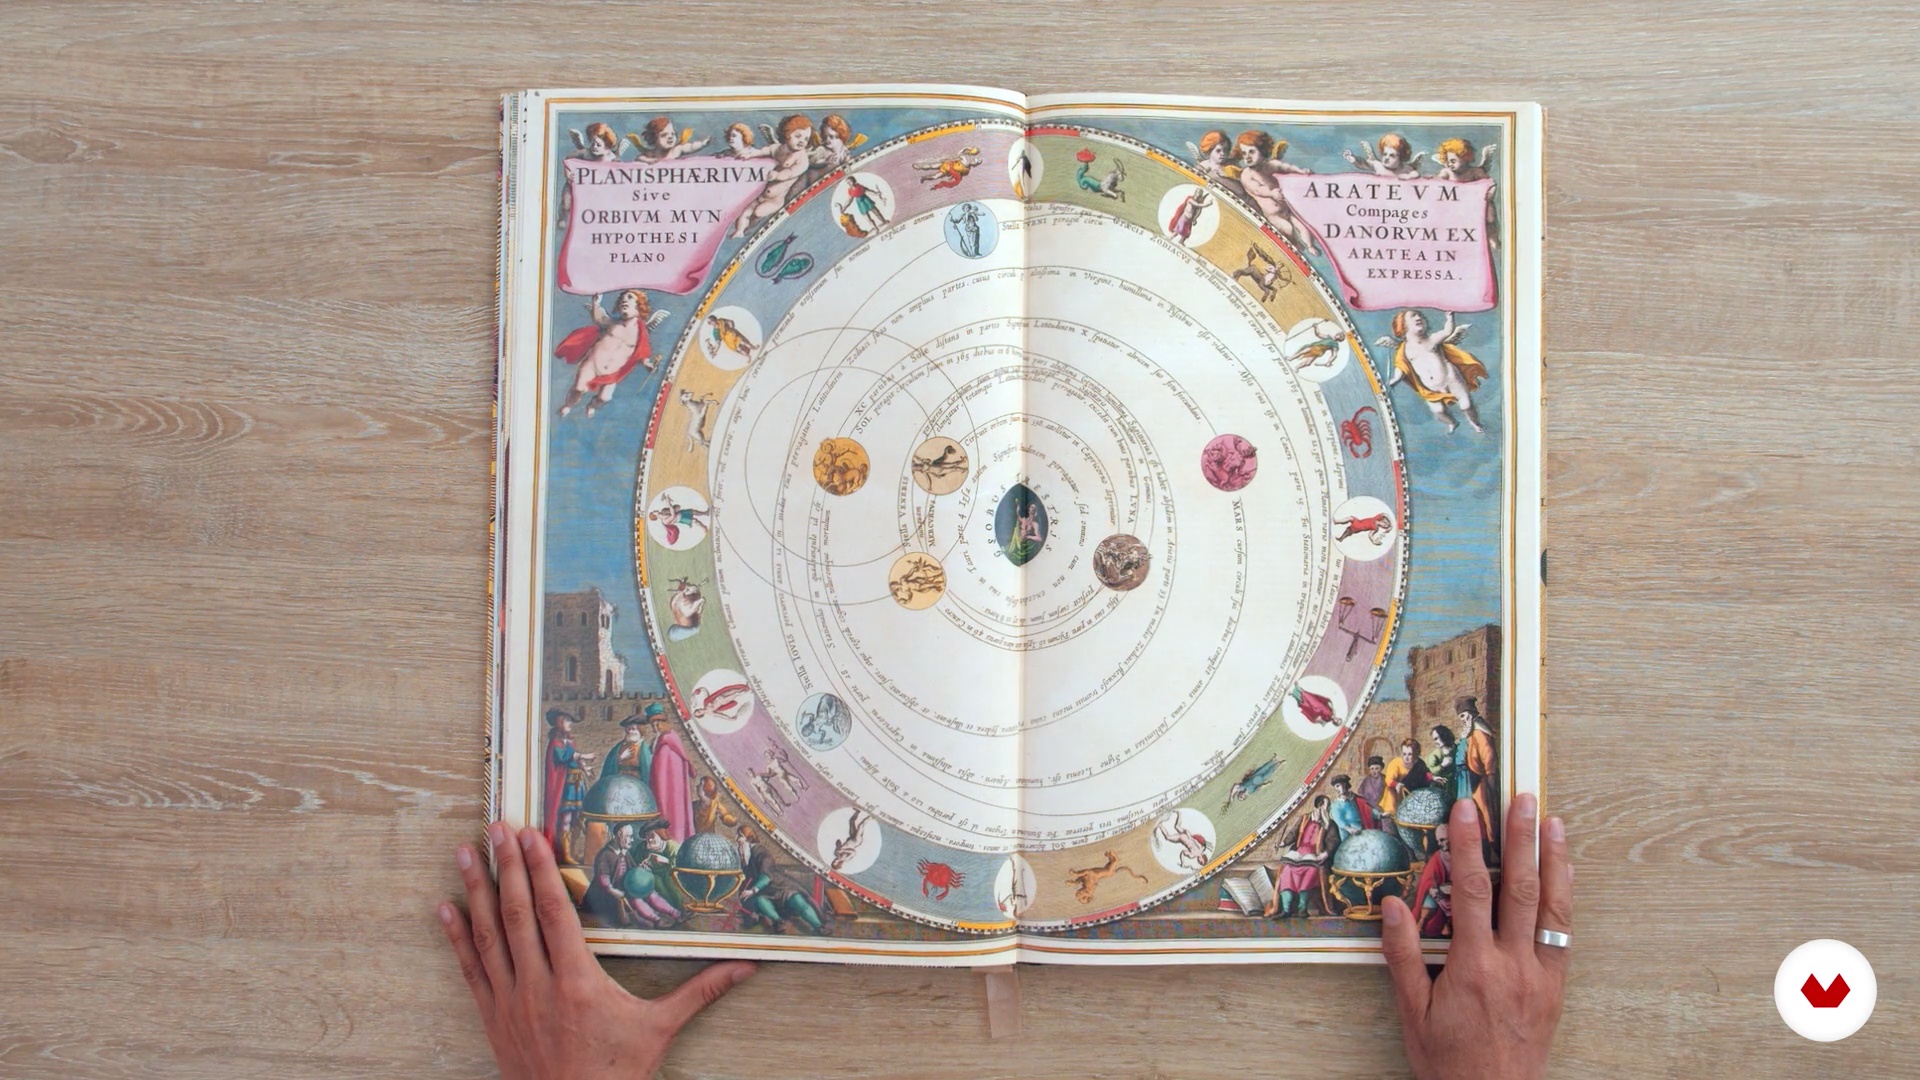
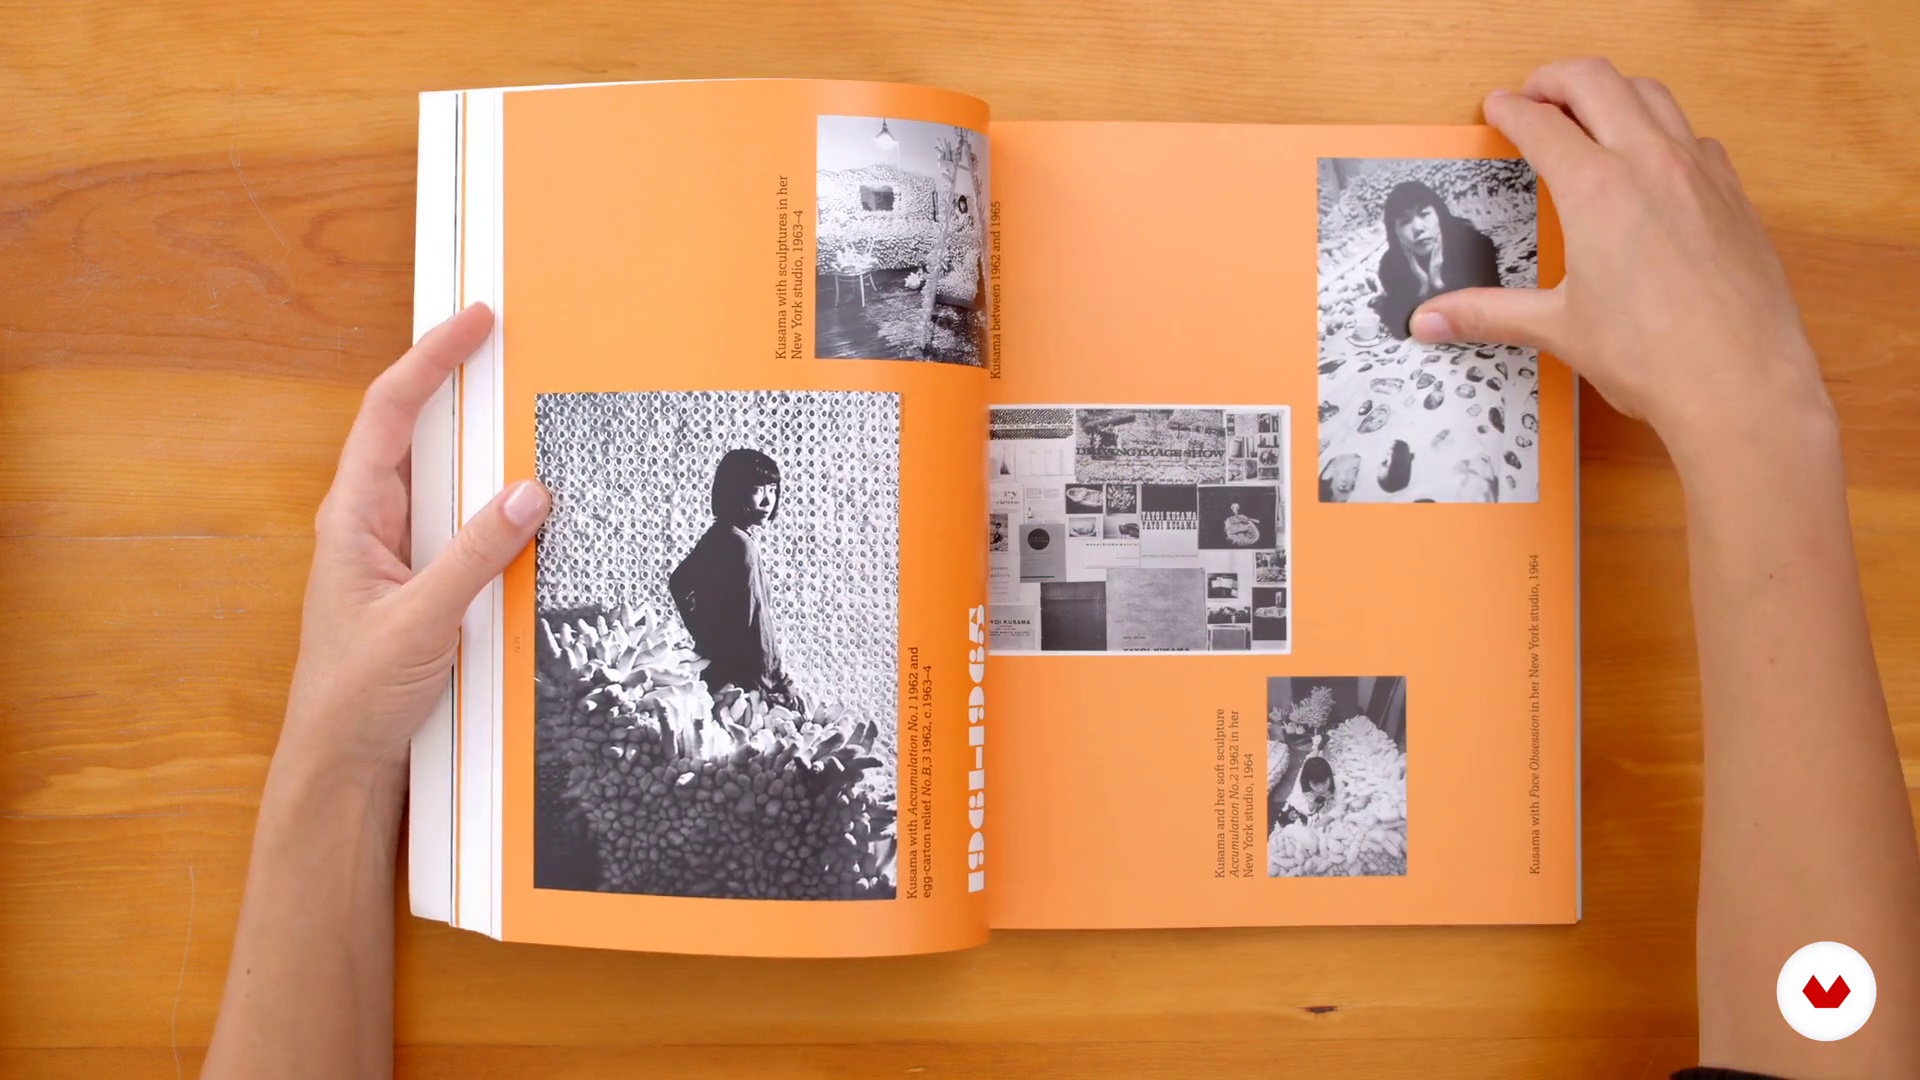
In this video, I'll share the main influences in my career, both within and outside the world of ceramics. I'll tell you about the artists and creators, both national and international, who introduce me to new worlds, ideas, and inspiring ways of life. I'll show you, through my favorite books, what draws me to them and what inspiration they provide me every day when I create.
7m
 6
6Influences | Mariana Romero Laspiur
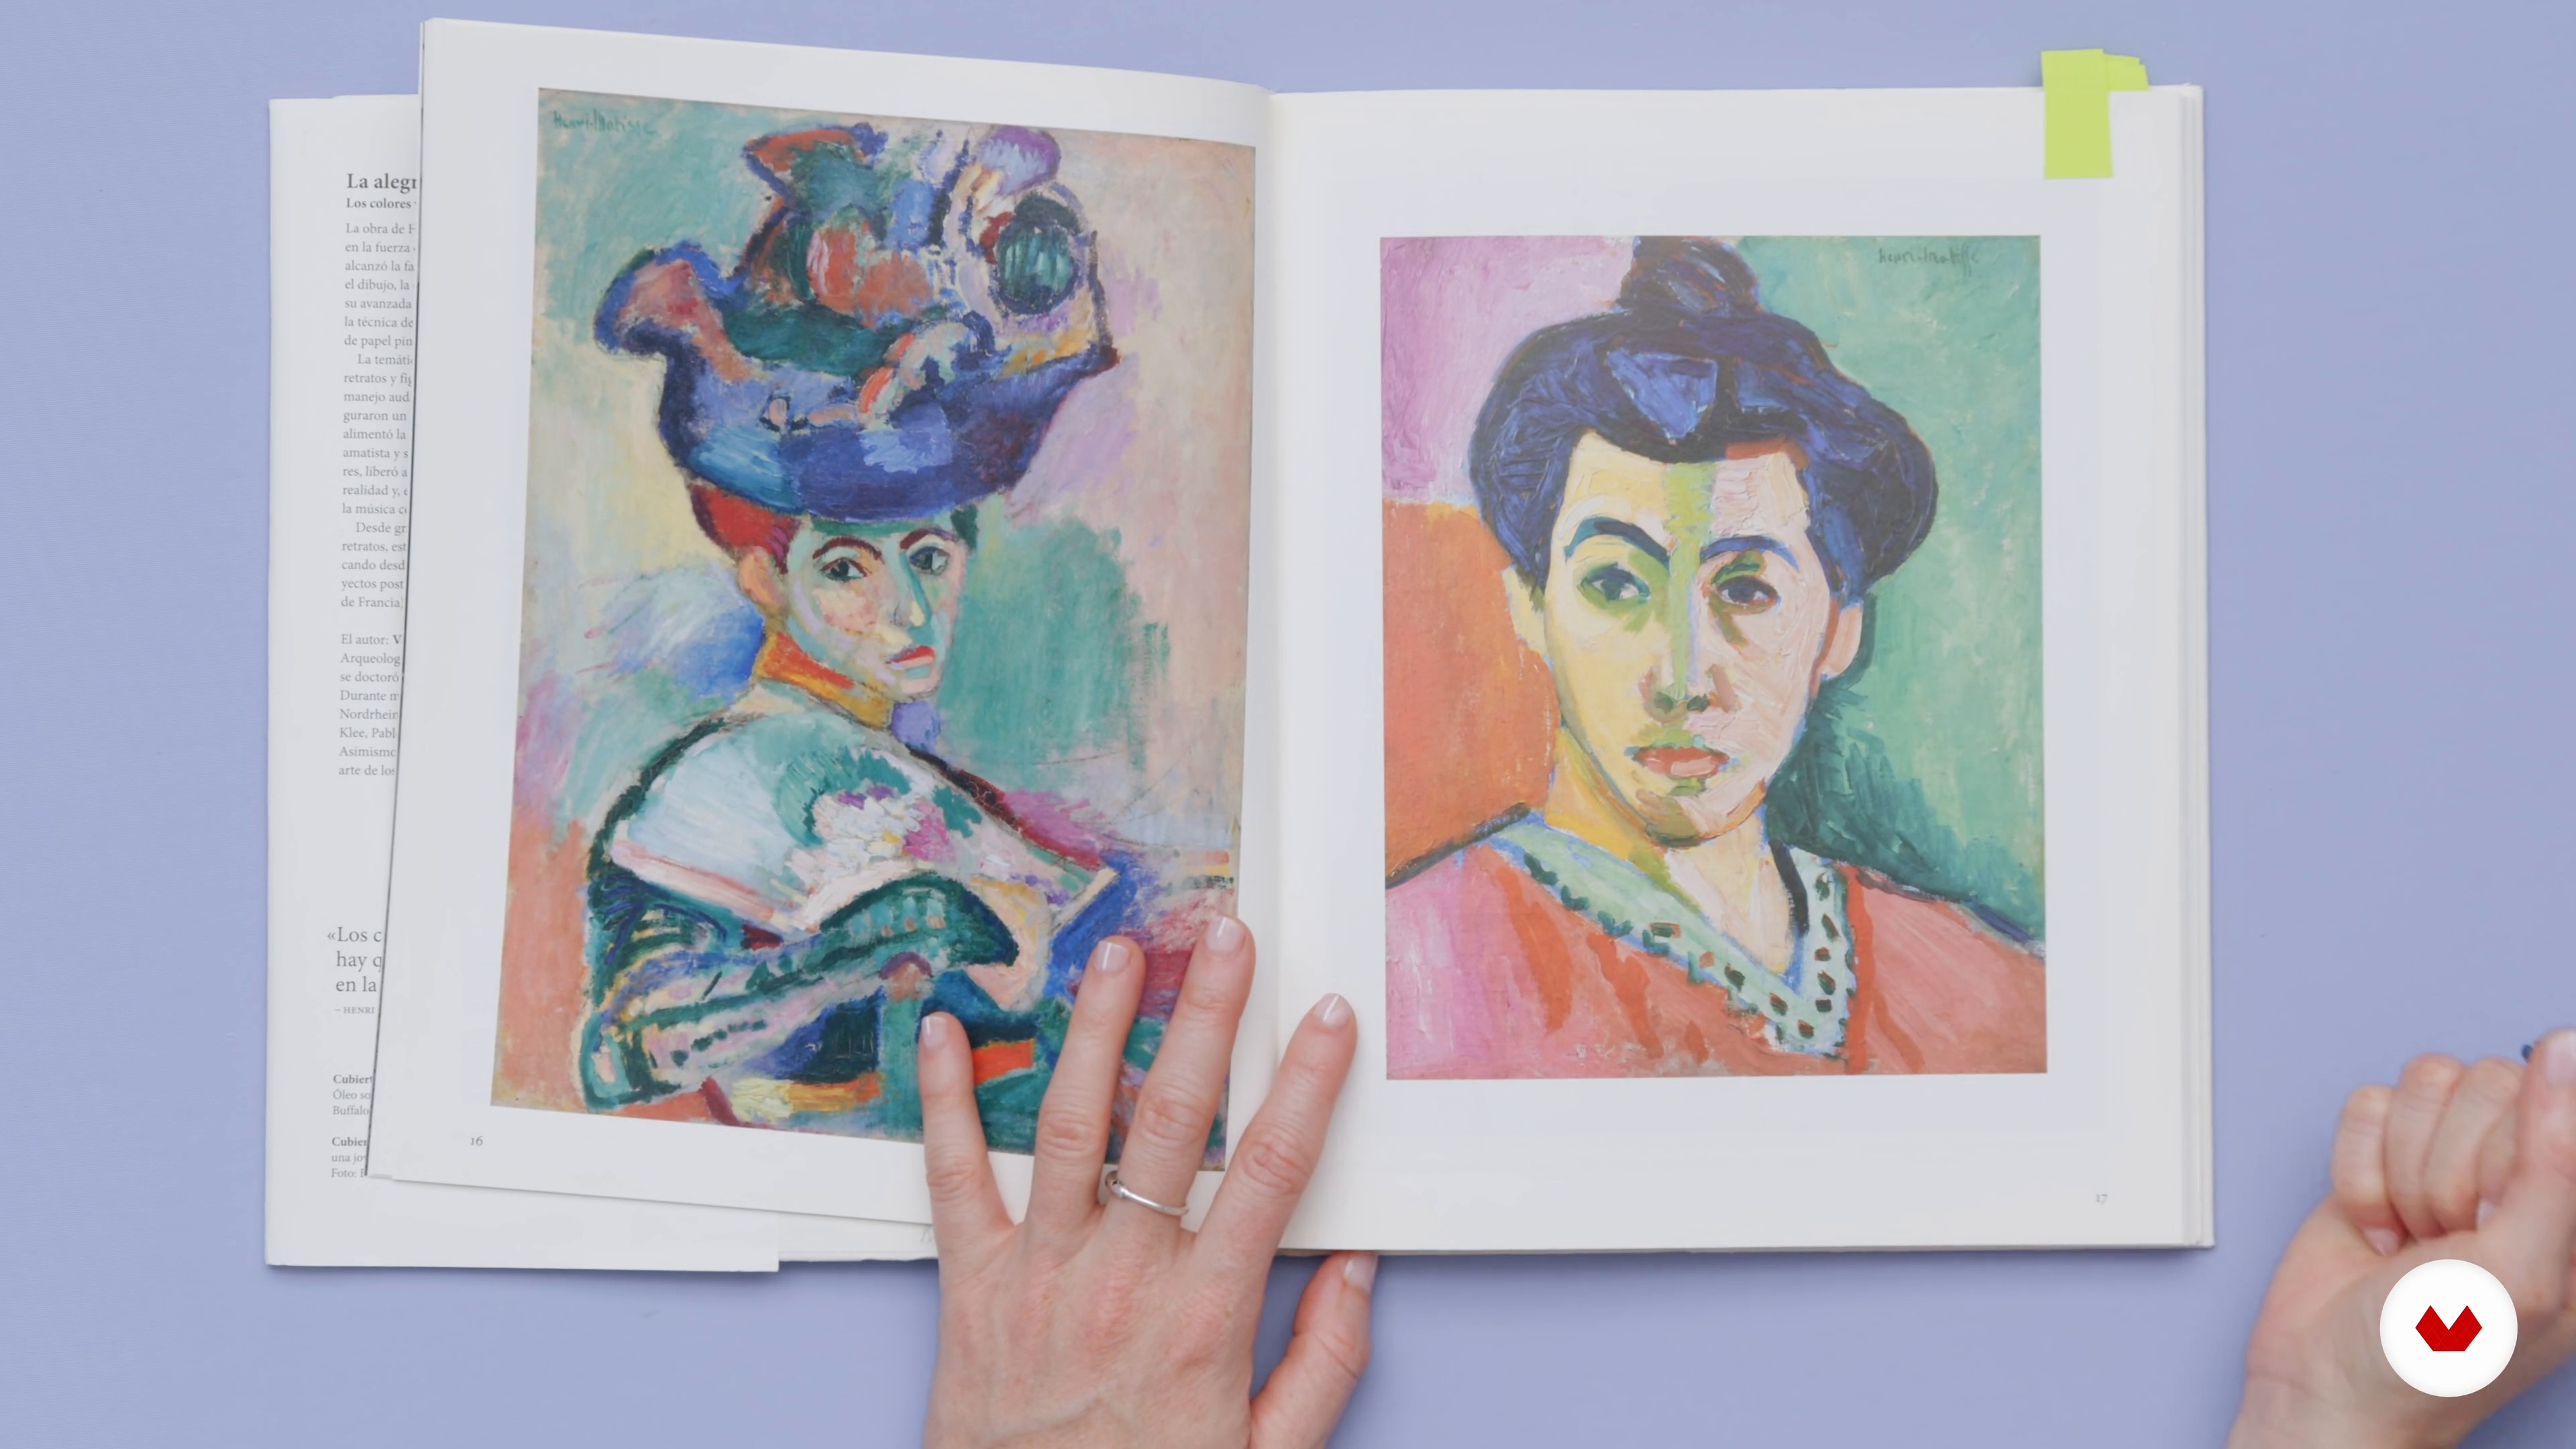
Aside from natural elements, my main influences are art and fashion. Matisse and Schiaparelli are examples of artists who inspire me. In this lesson, I'll tell you about them.
9m
 3
3Tools and materials
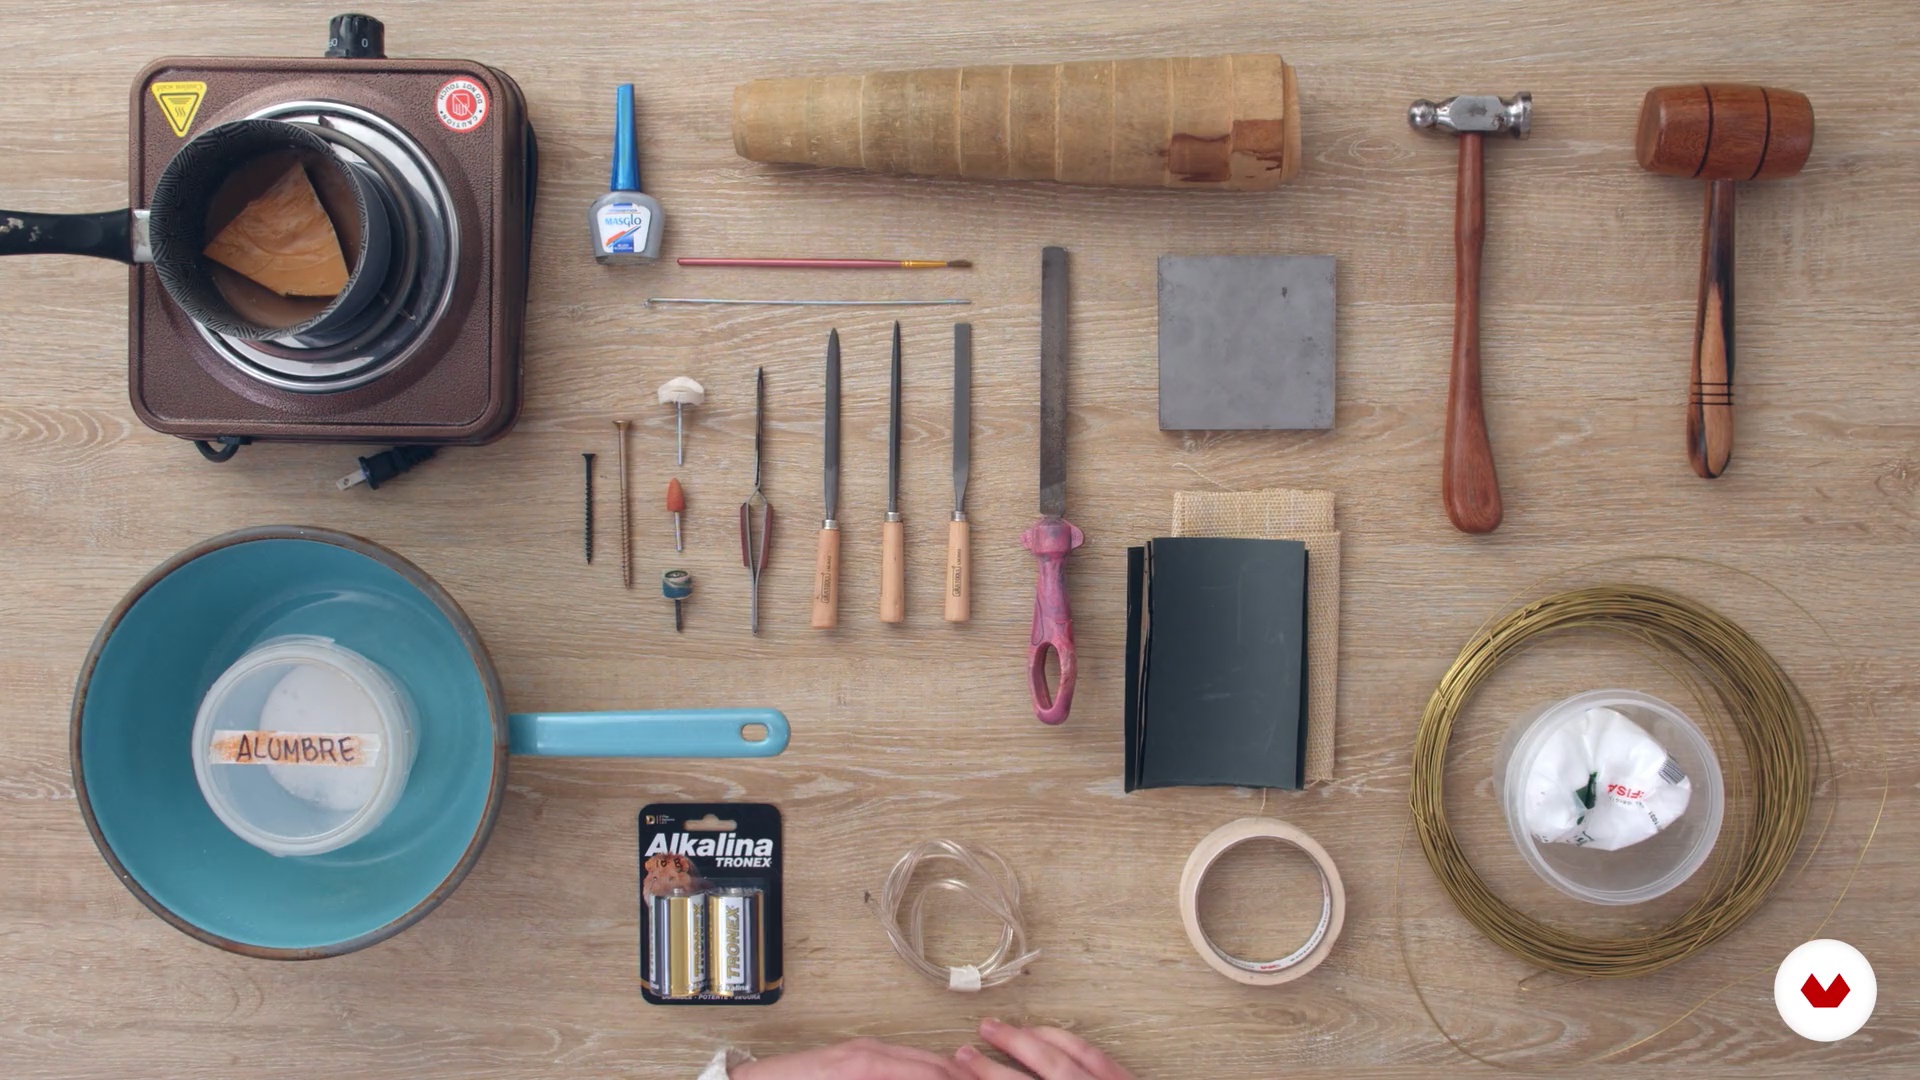
In this lesson, we'll show you the metals and tools you'll need and how to organize your workspace to start creating.
8m
 4
4Mood board and sketch
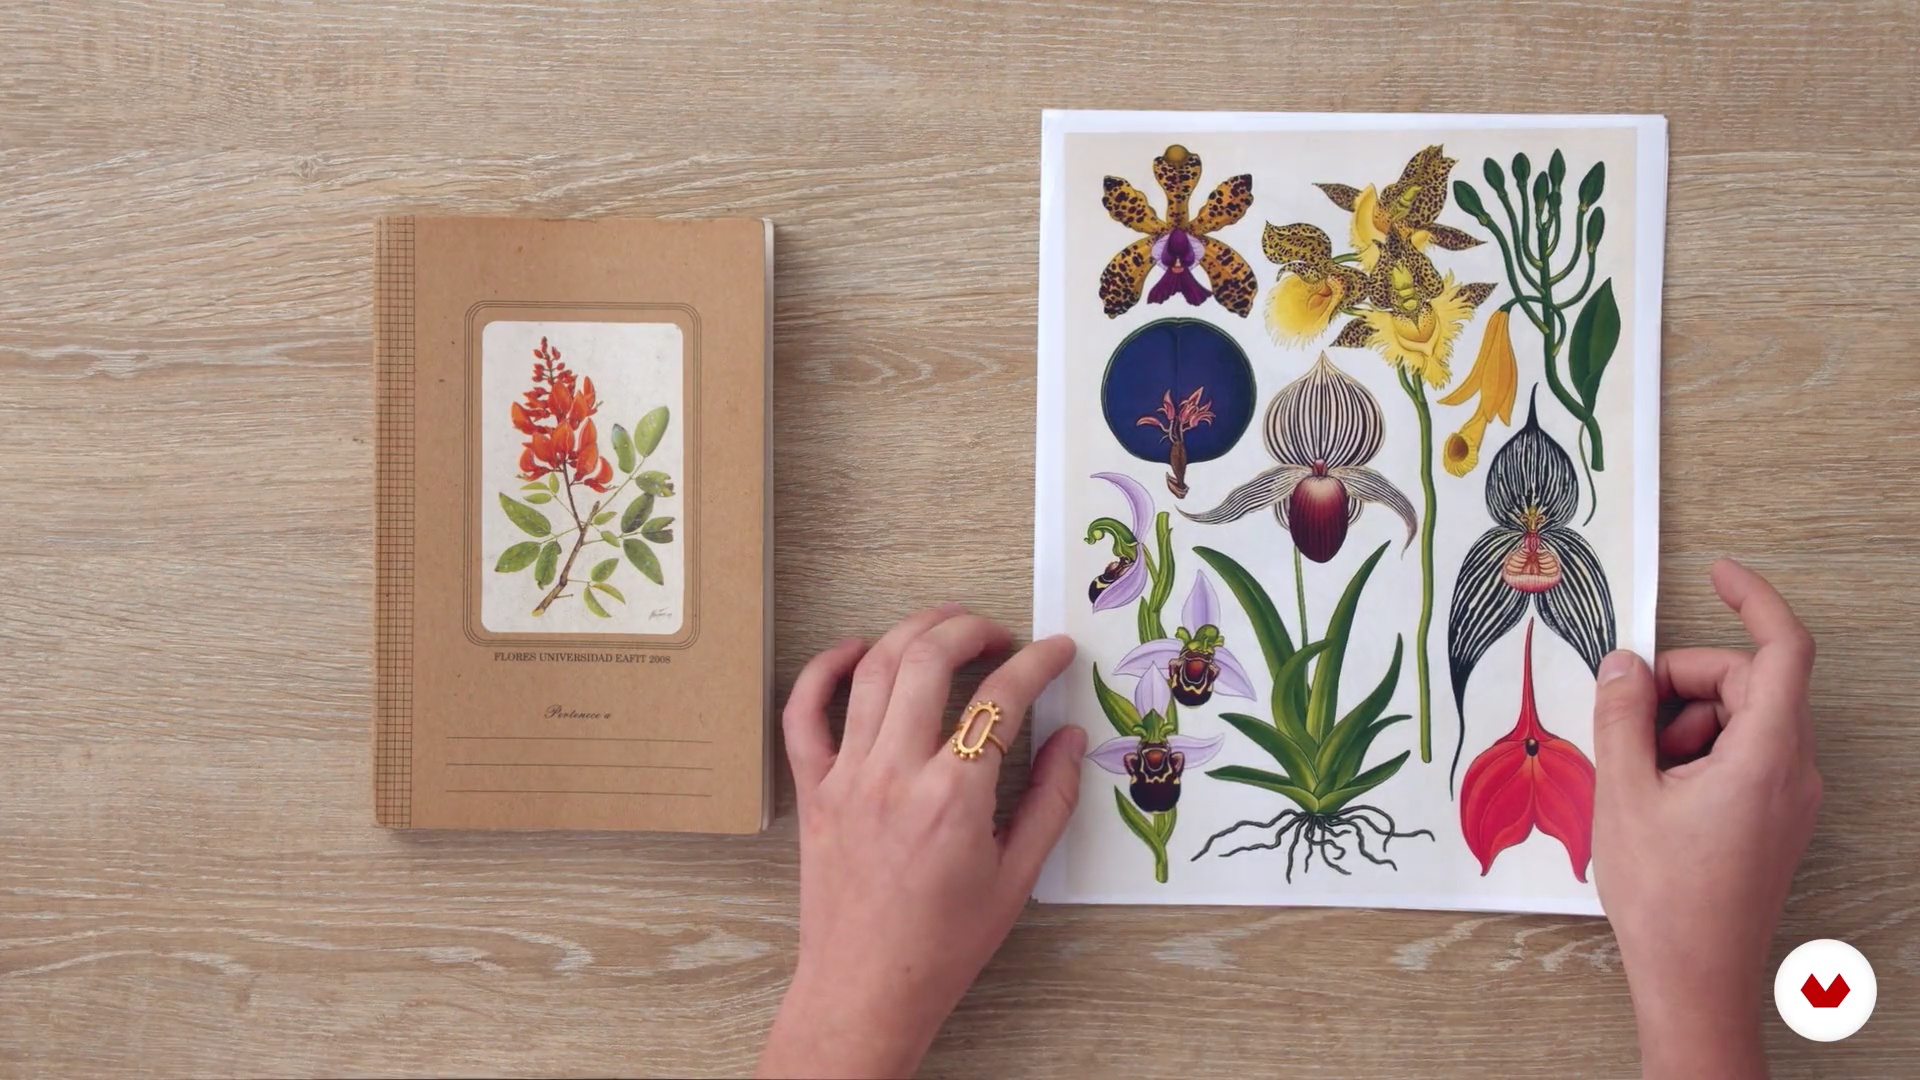
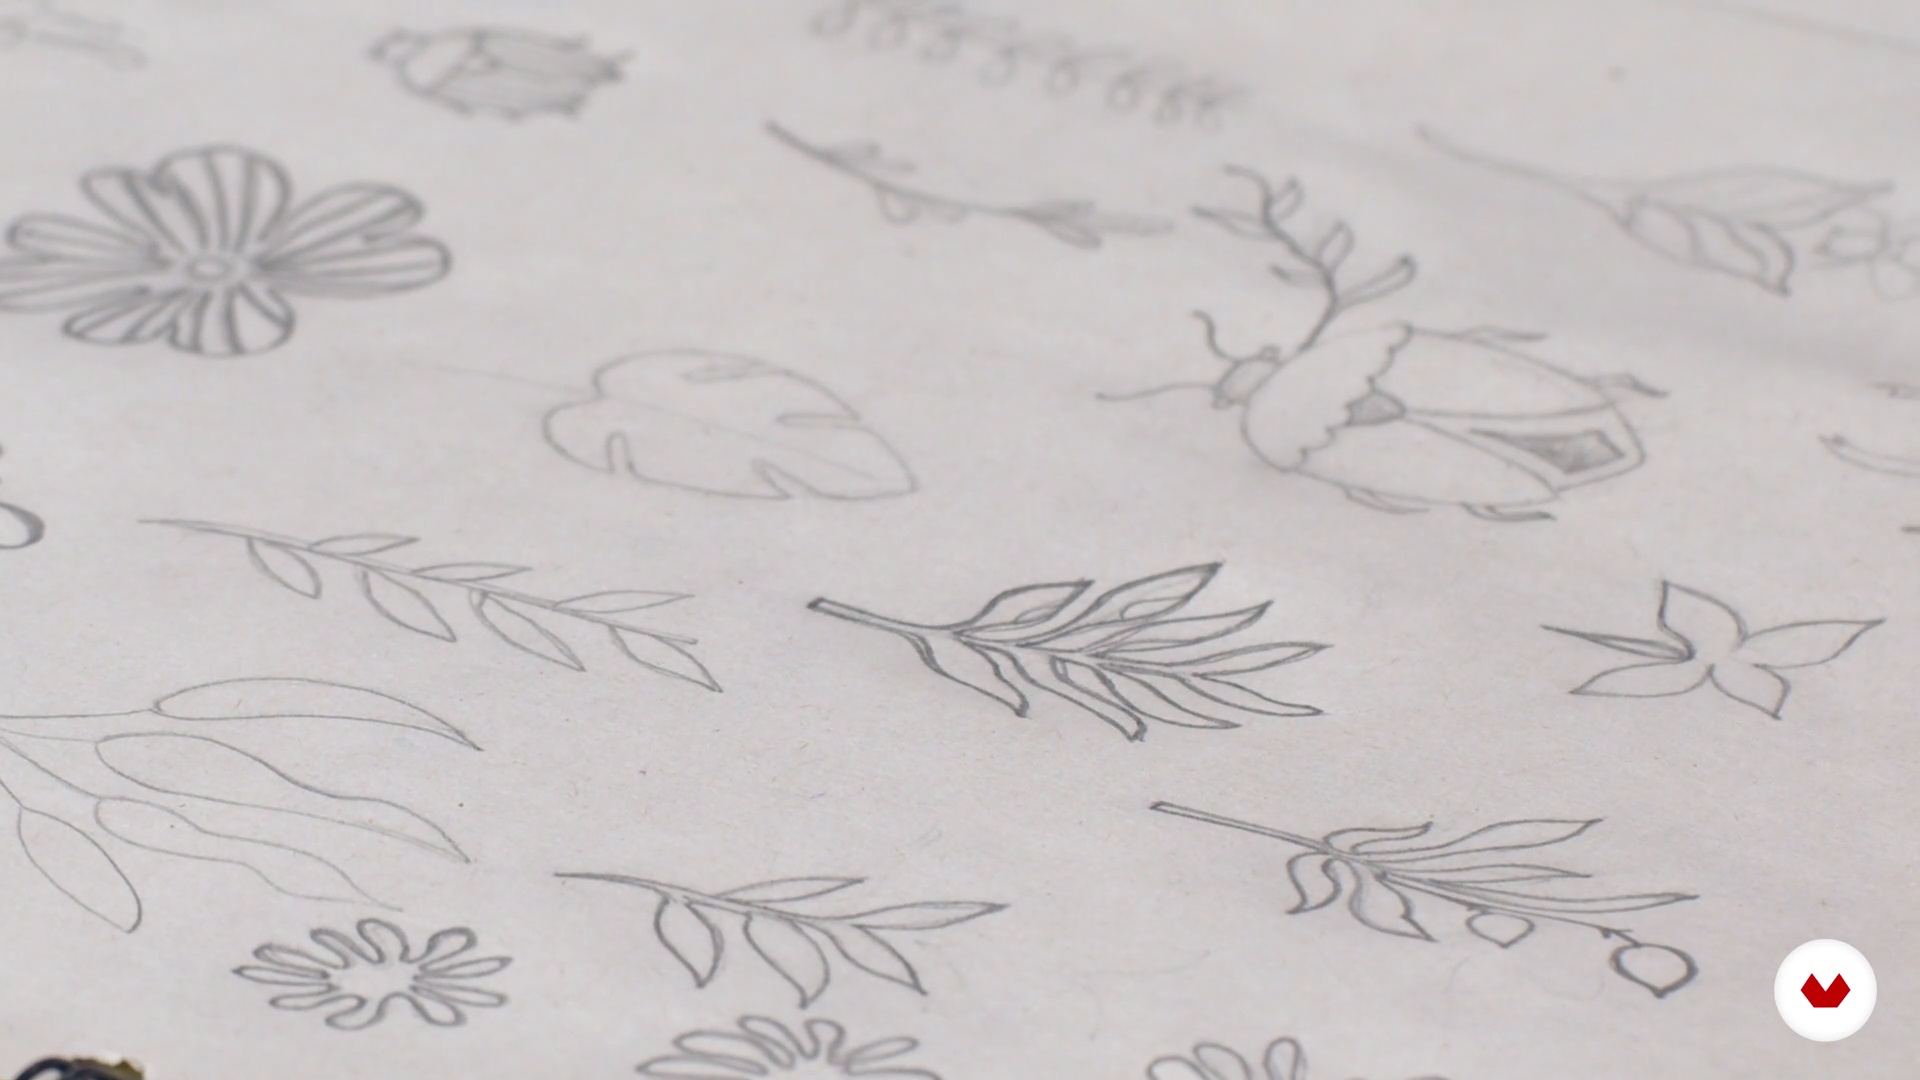
It's time to create! Here we'll select the images that inspire us to create the mood board. We'll show you how we begin conceptualizing a collection by making the initial sketches.
13m
 5
5Bringing our collection to life
It's time to choose the pieces for the collection and start defining their sizes and shapes.
3m
 6
6Preparation of materials and equipment
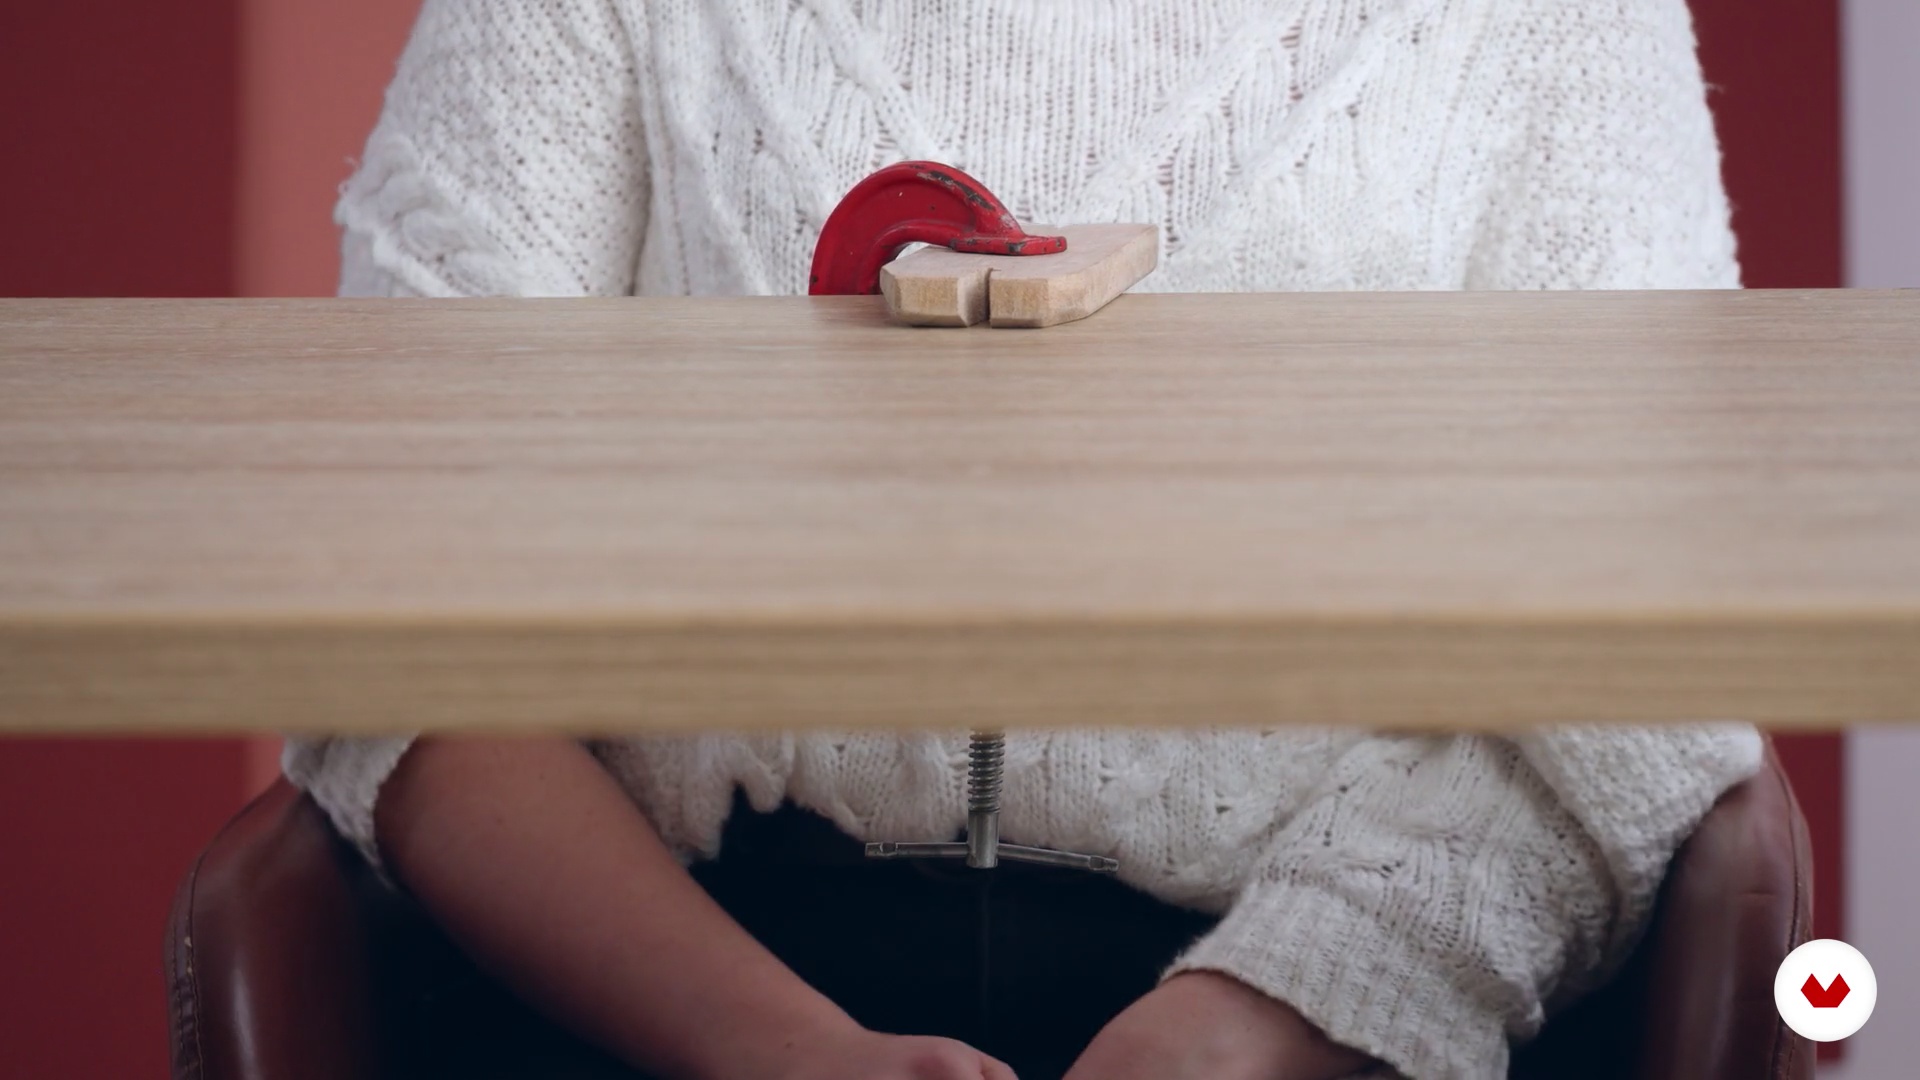
We'll teach you how to prepare the metal sheets for gluing the templates, what blades you might need, and how to install the blade line and lubricate it for a better cut.
8m
 7
7Learning to use the hacksaw
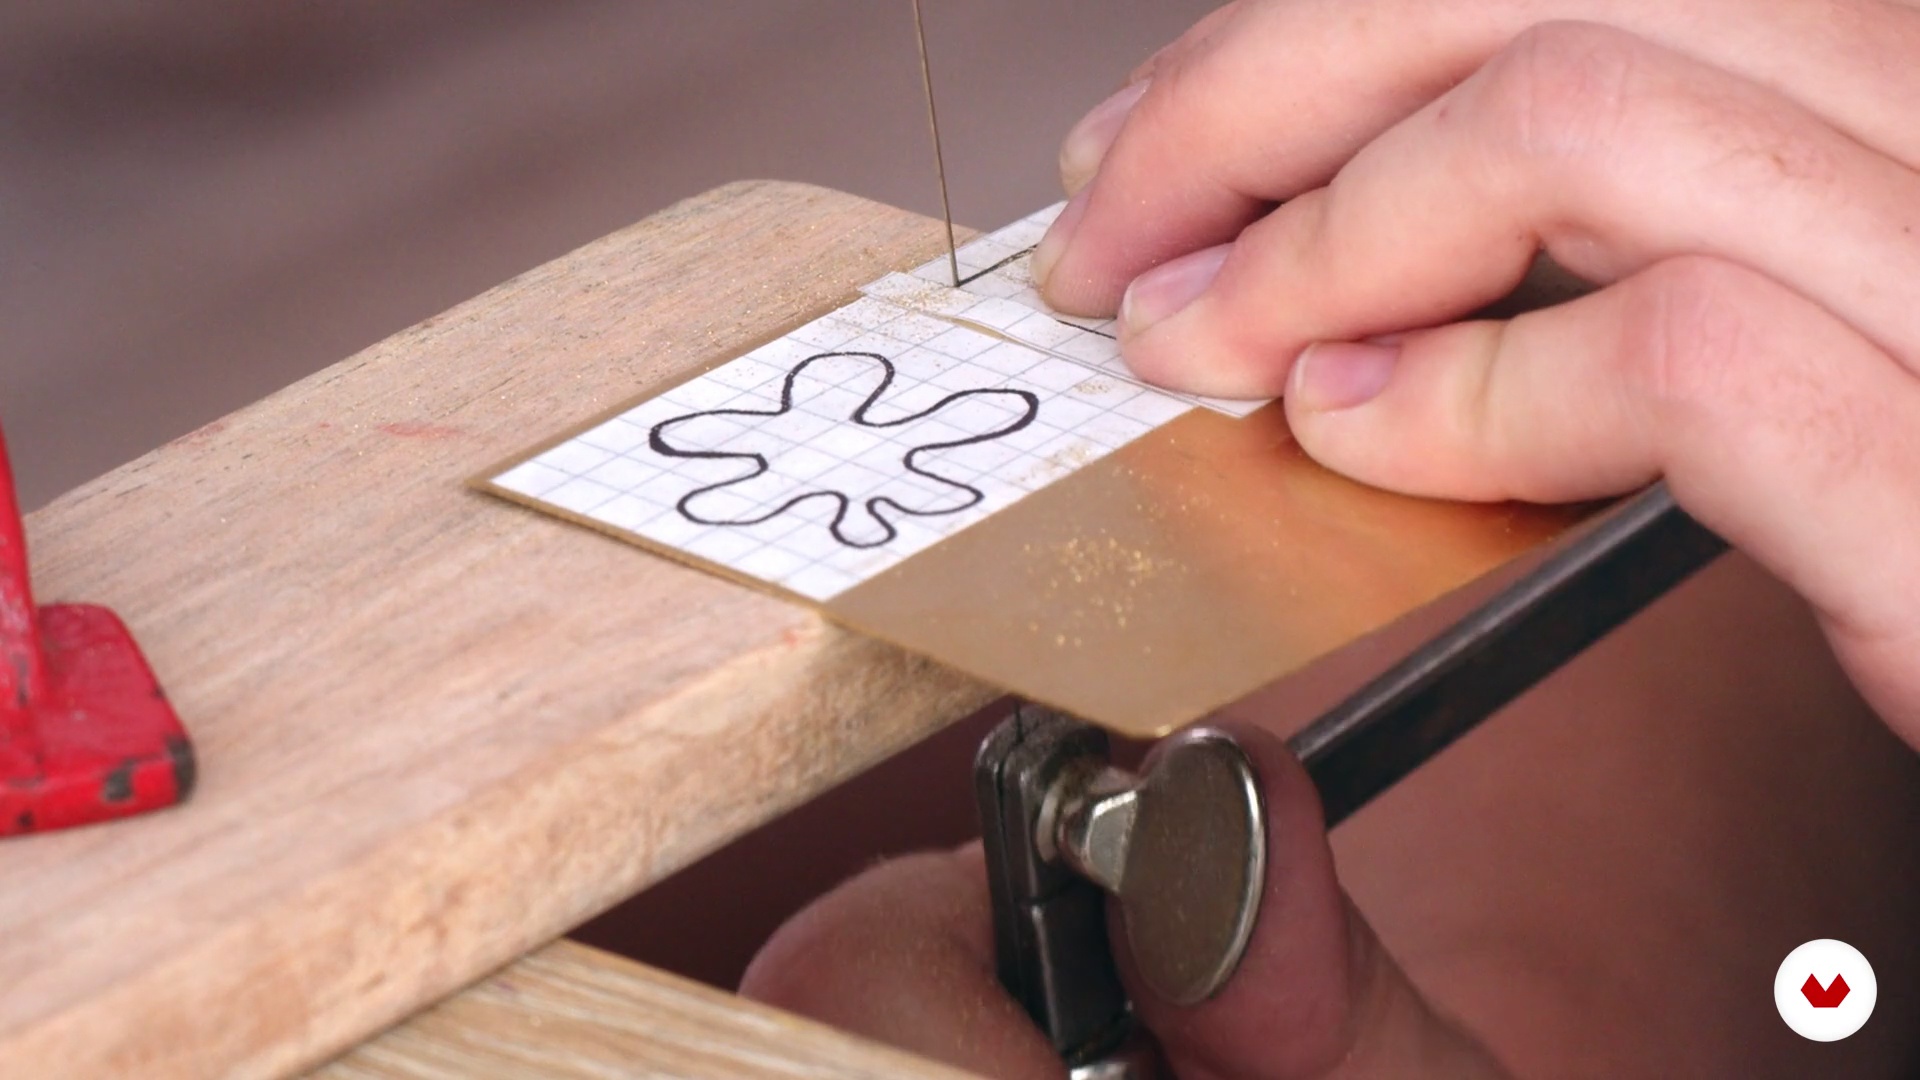
Before you cut your final pieces, it's best to practice with basic pieces to gain confidence and familiarize yourself with the tools. Here's how to do it.
13m
 8
8Draft parts 1
With the jigsaw, jigsaw, and templates ready, it's time to start jigsawing and start letting your pieces take shape.
16m
 9
9Draft pieces 2
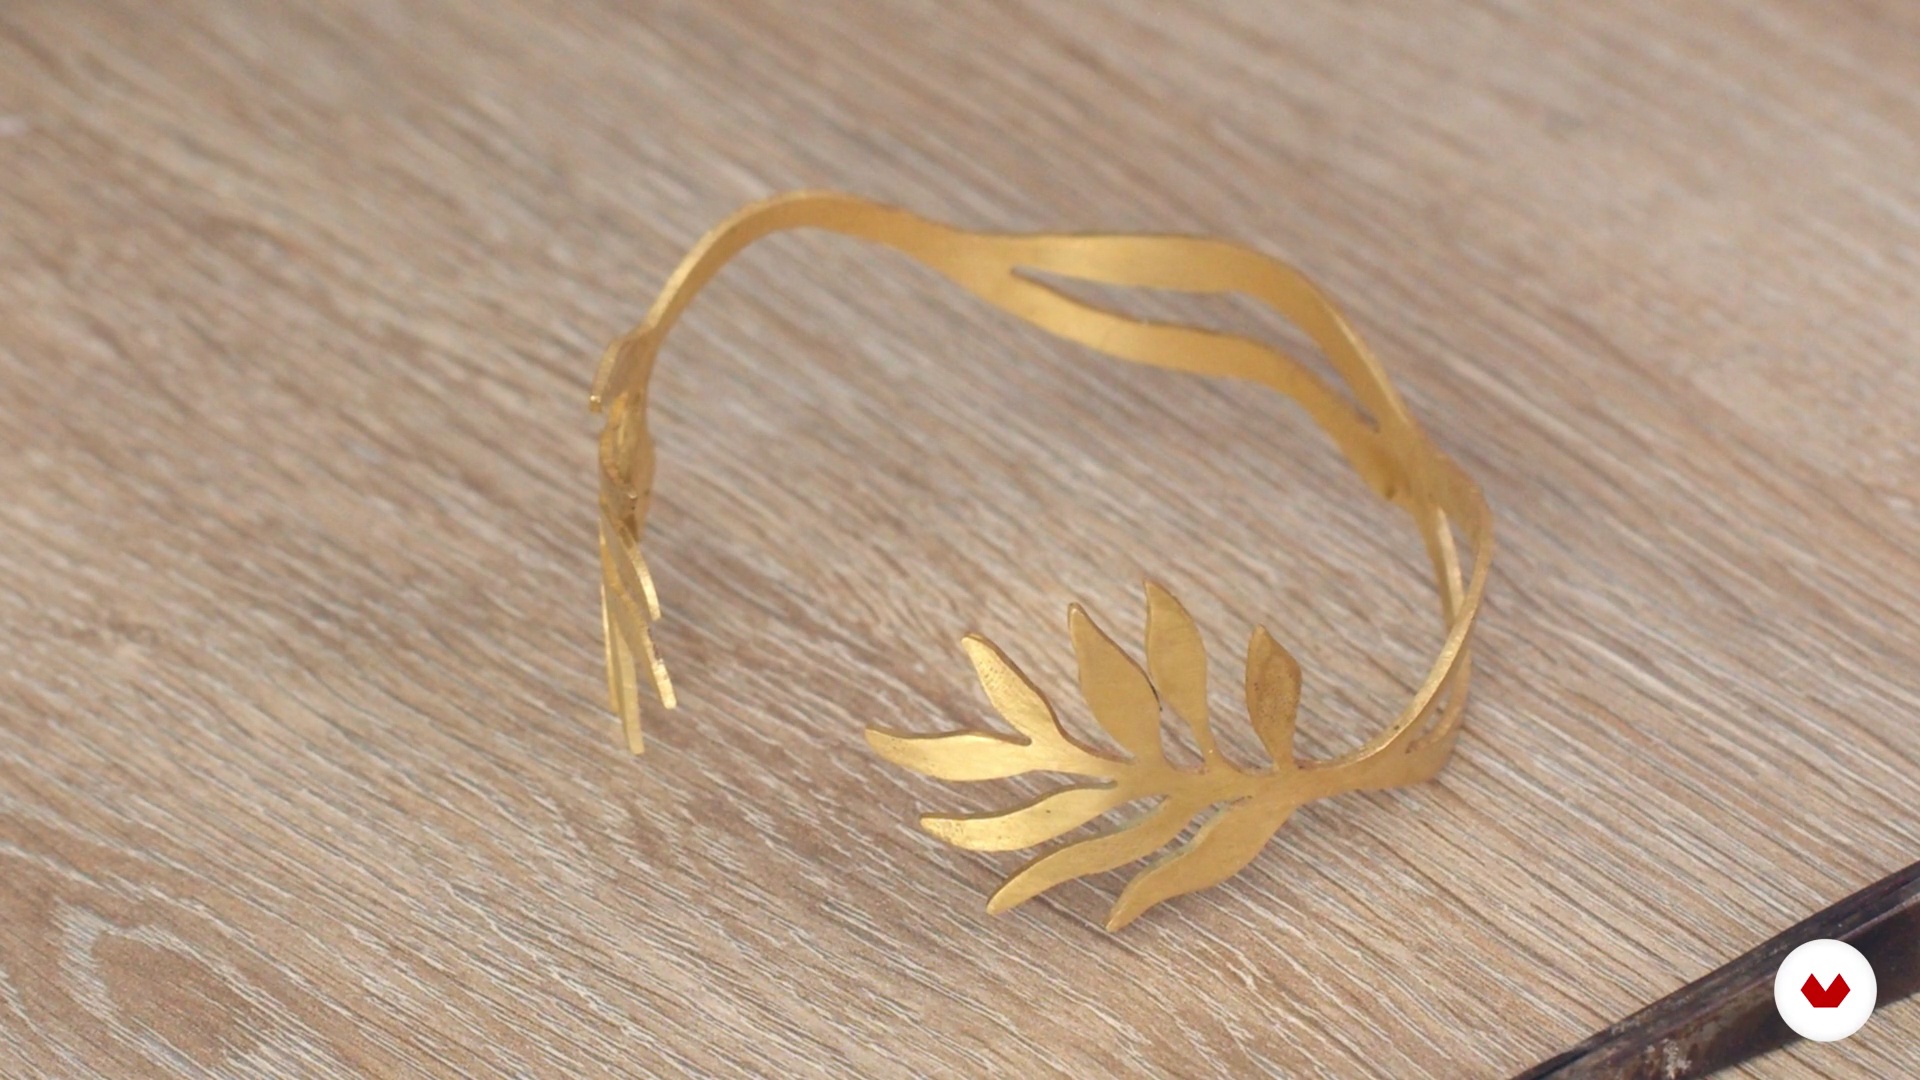
Now we'll shape the piece, then polish and clean it. We recommend reviewing the attached documents; there you'll find a template that will help you make your ball and shape your bracelet.
9m
 10
10Preparation of parts for engraving
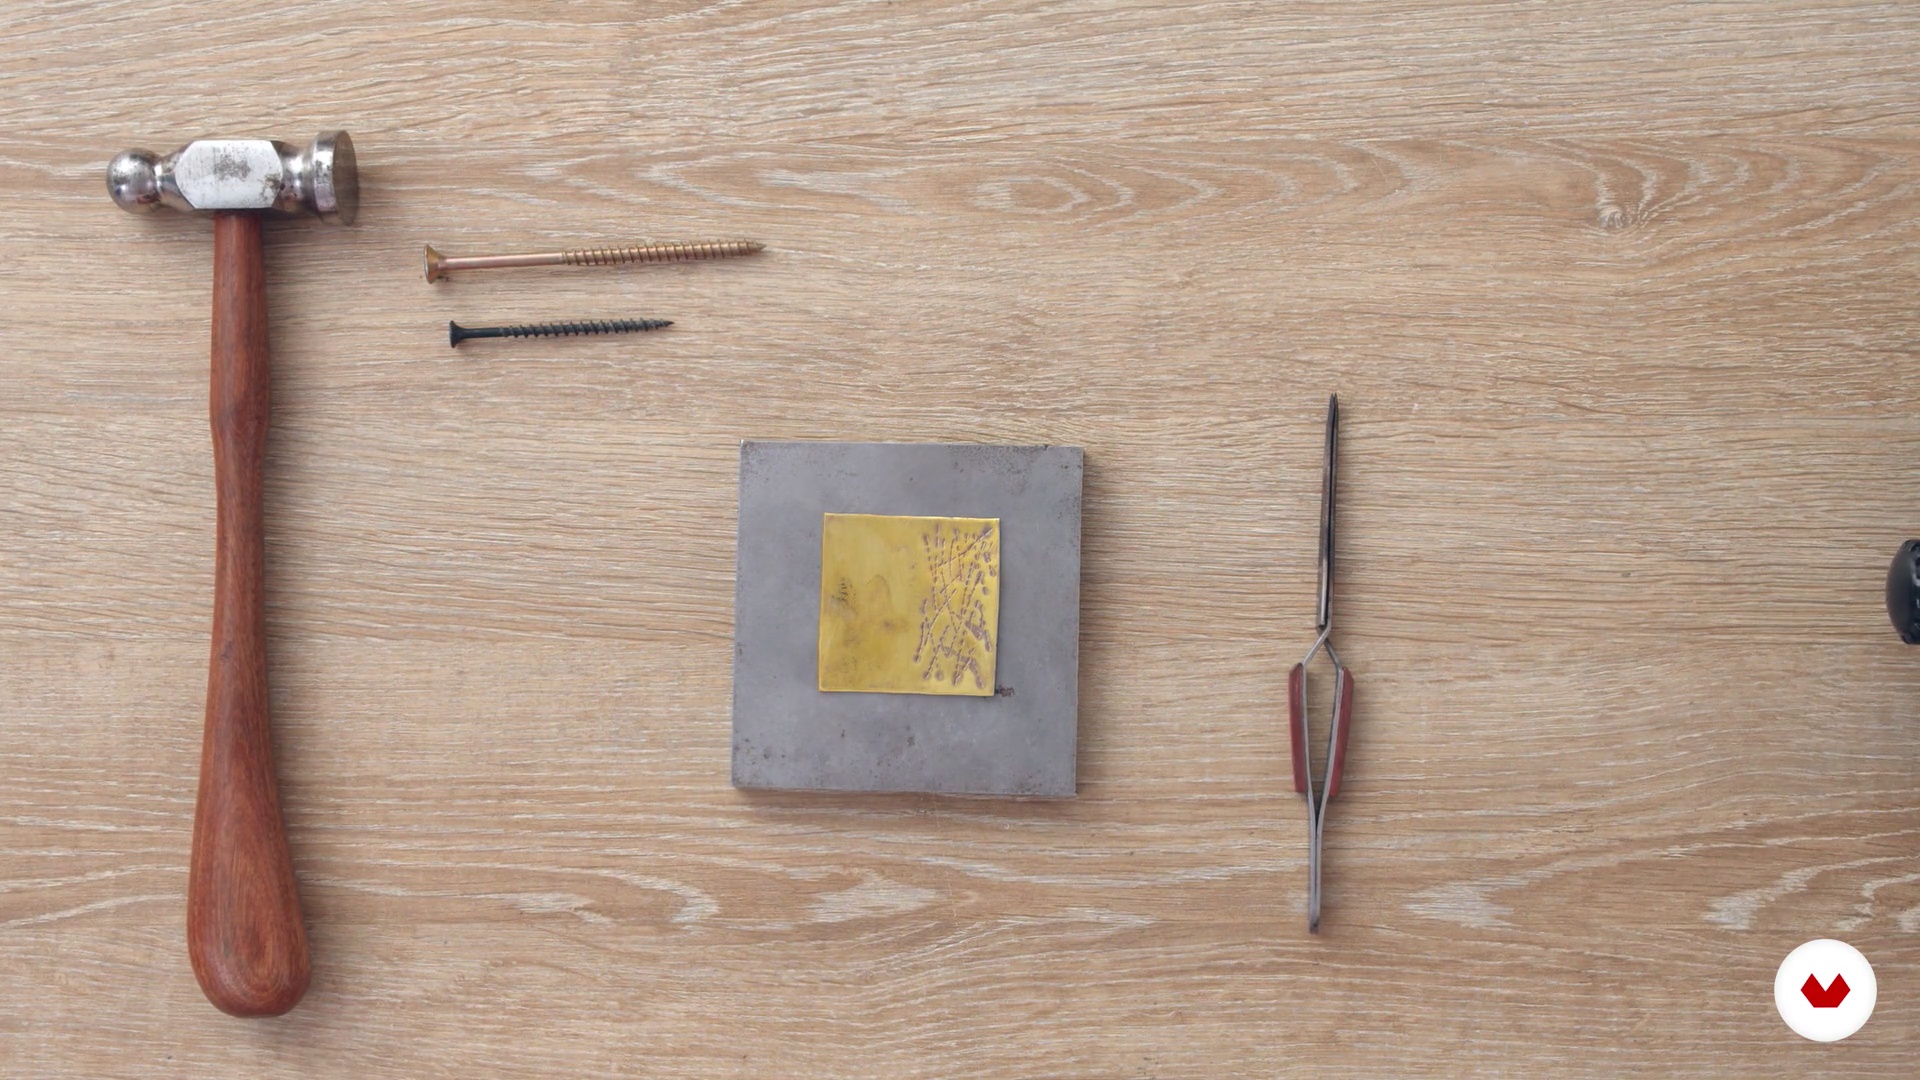
Once the pieces are openwork, you can further customize them. We'll teach you basic engraving techniques with extensive applications. In this lesson, we'll get everything ready to engrave the pieces.
9m
 11
11Preparation of the circuit and engraving of the parts
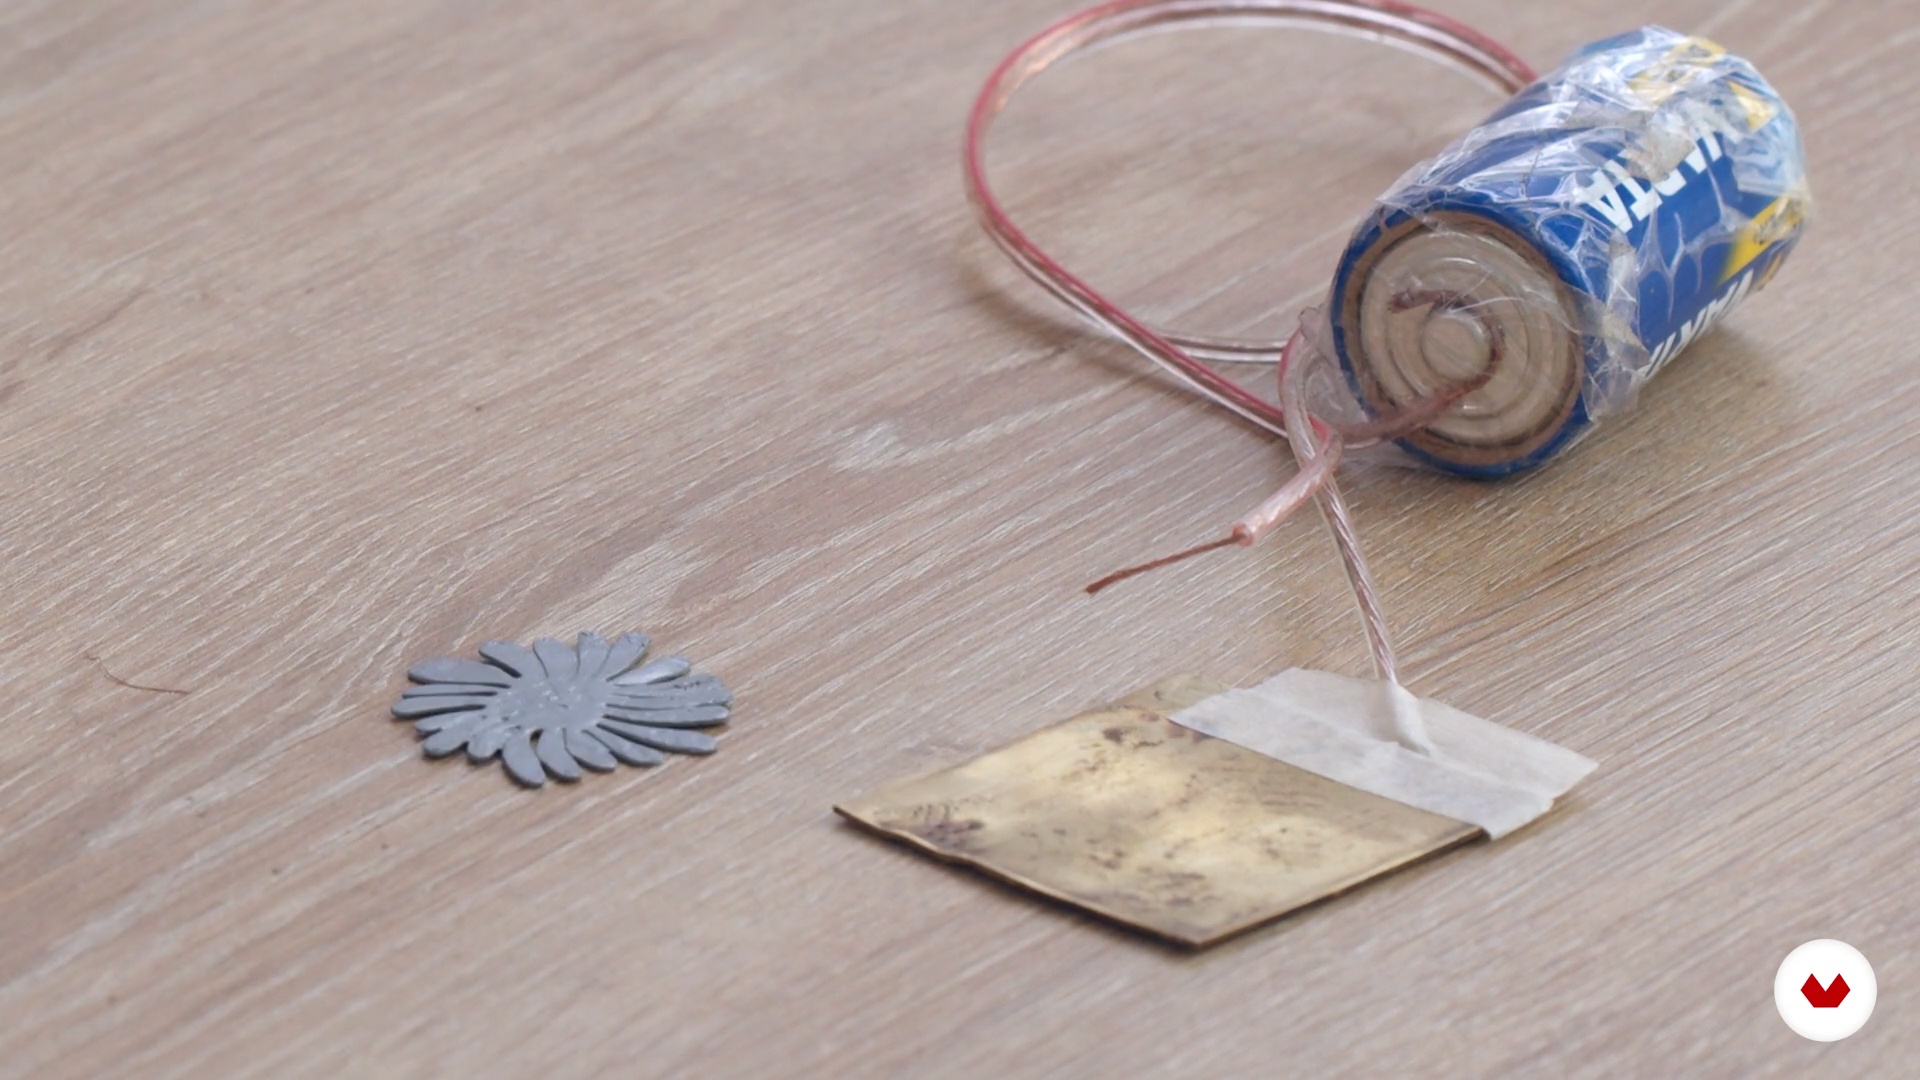
Here you'll learn how to create the circuit and engrave it. We'll explain why engraving is a great way to personalize your pieces.
11m
 12
12Hooks, rings and assemblies
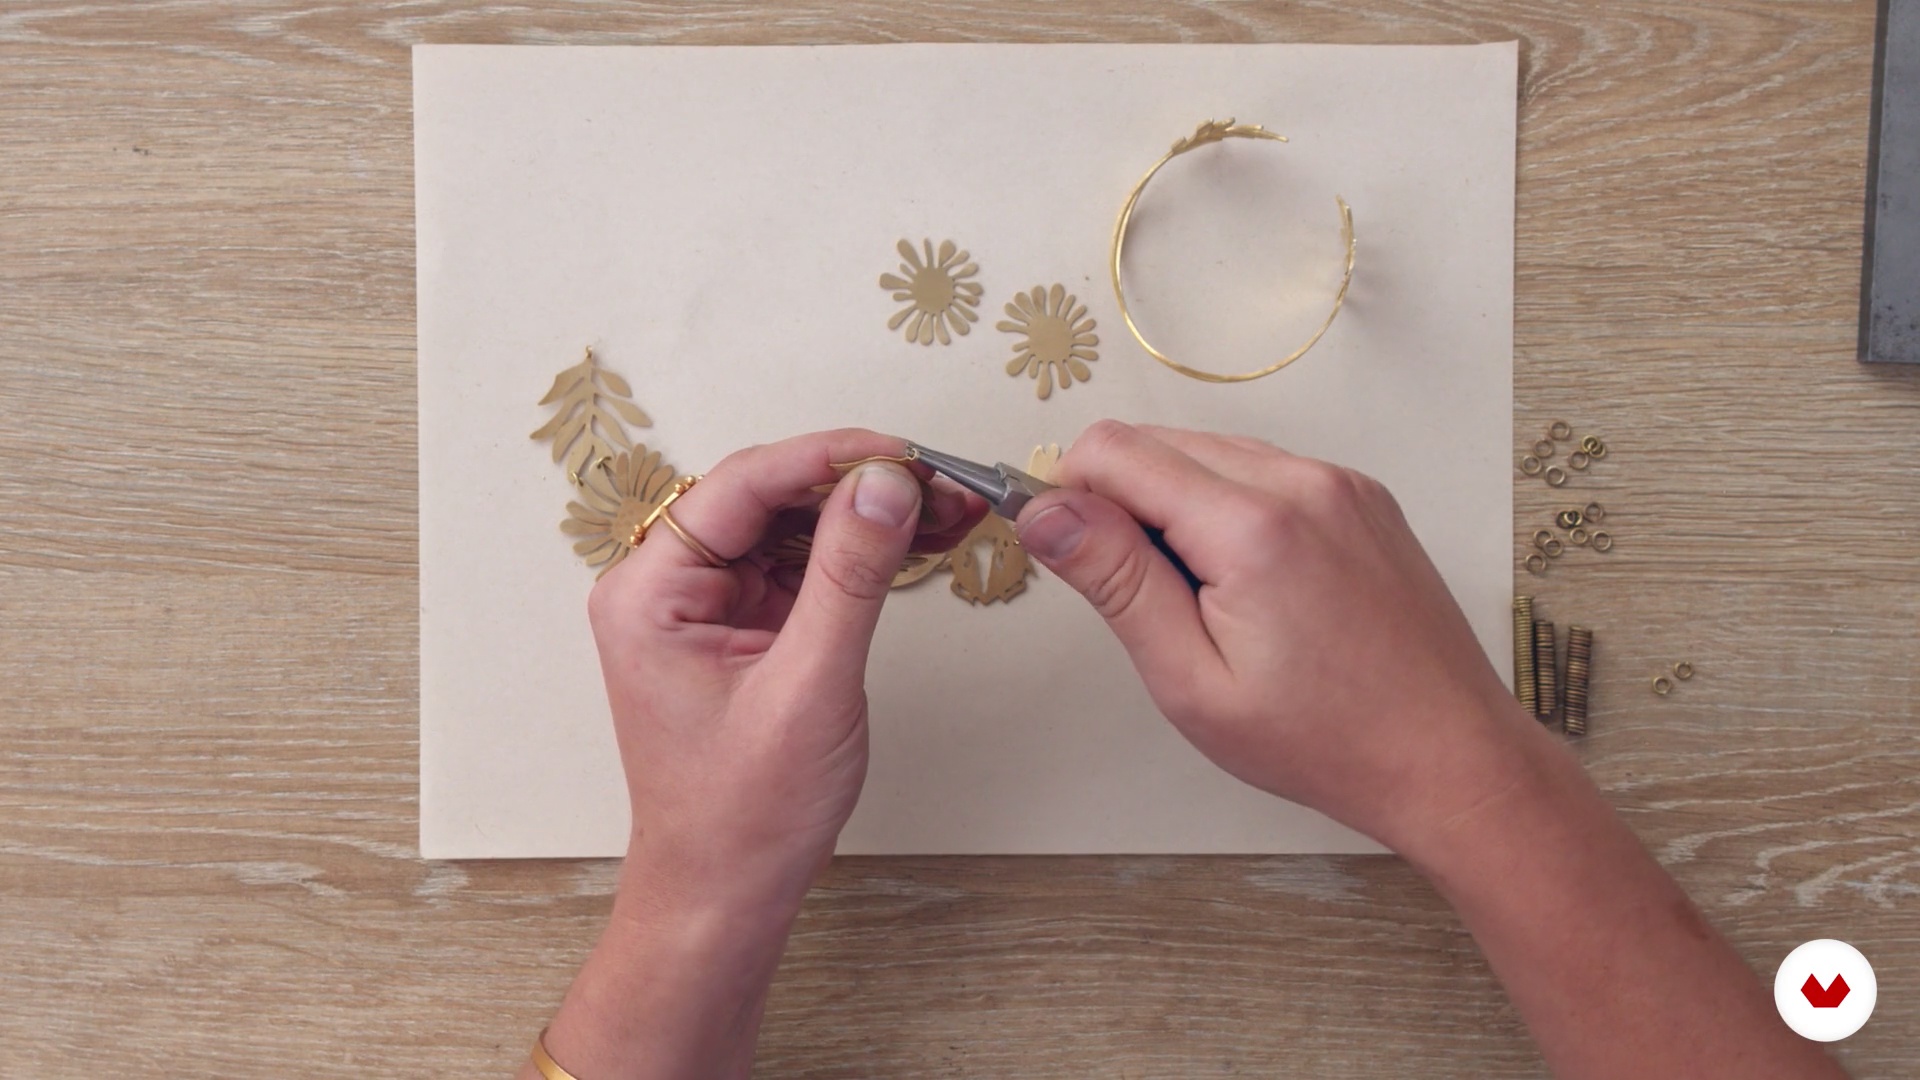
Here you'll learn how to make earring hooks and jump rings to assemble different pieces. With these accessories, you can create more elaborate designs.
18m
 13
13Other materials to complement your pieces
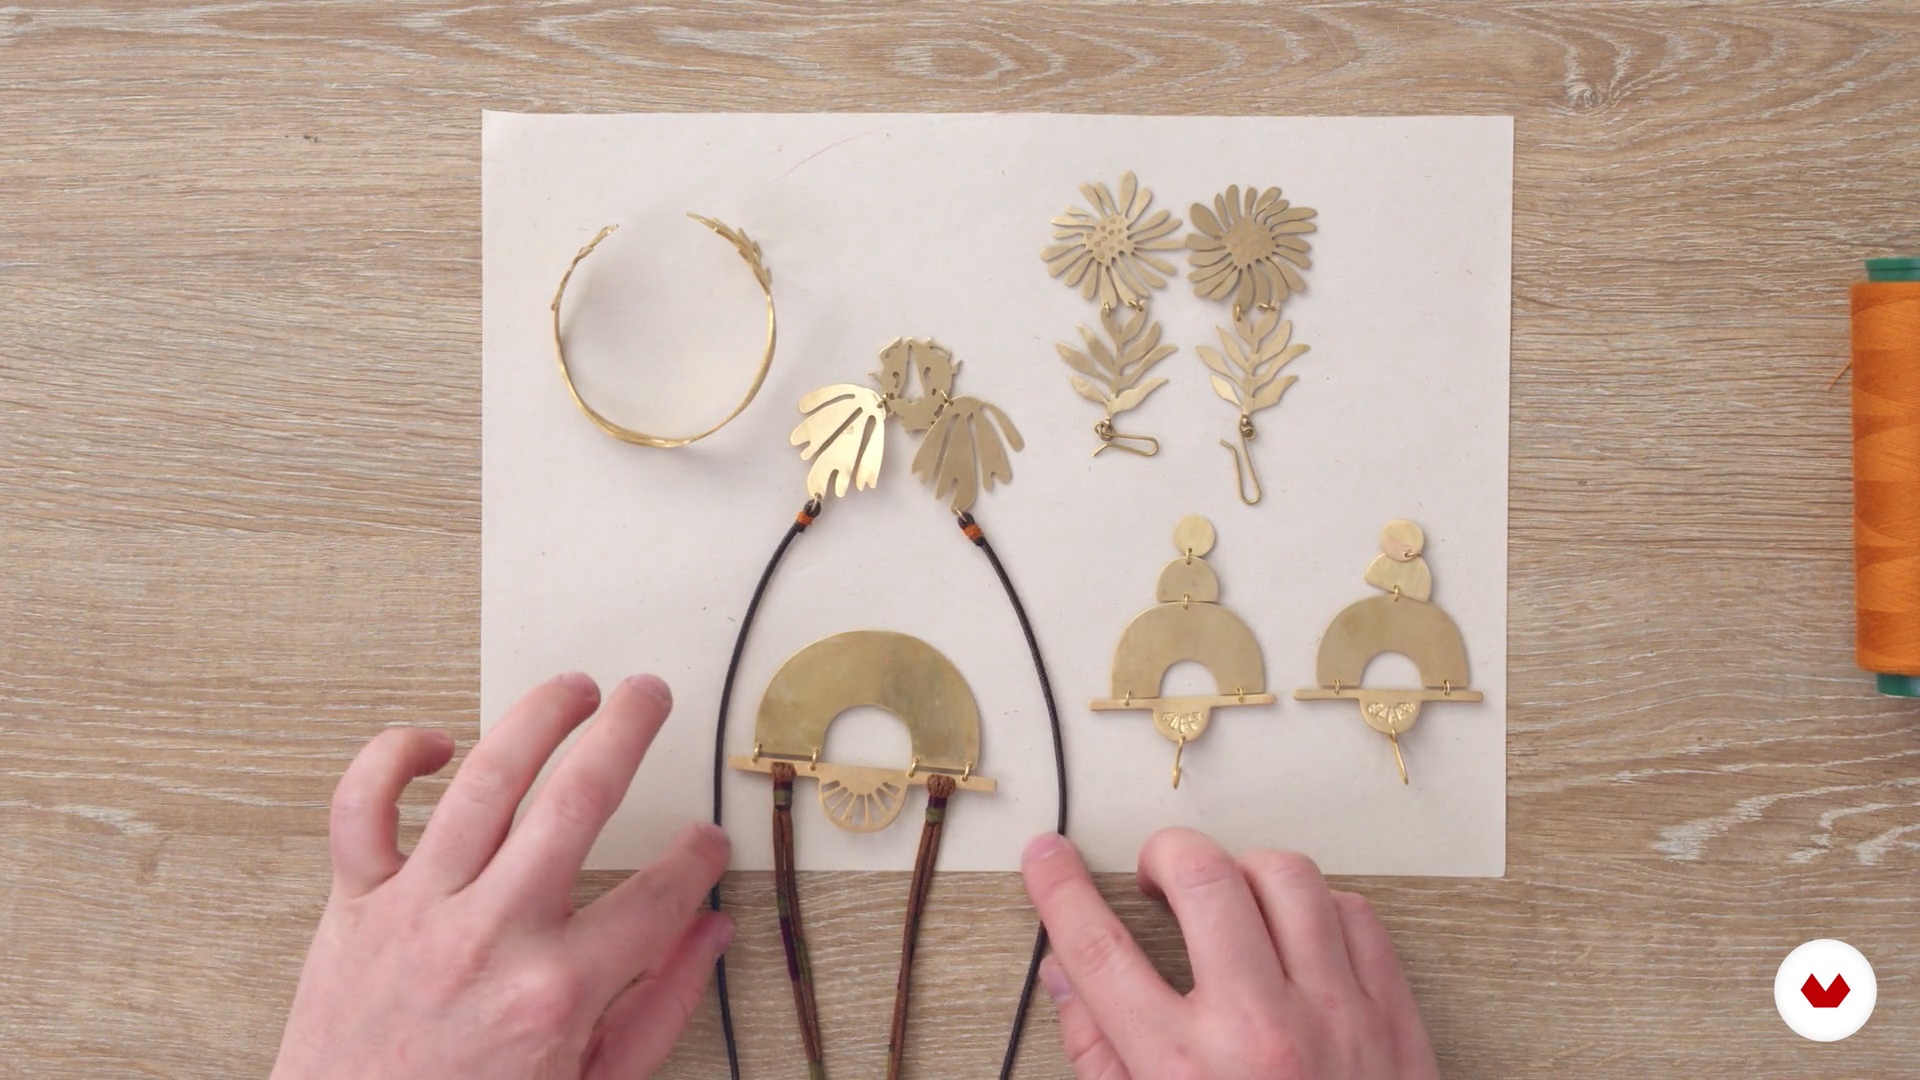
We'll show you how you can complement your pieces using other materials.
11m
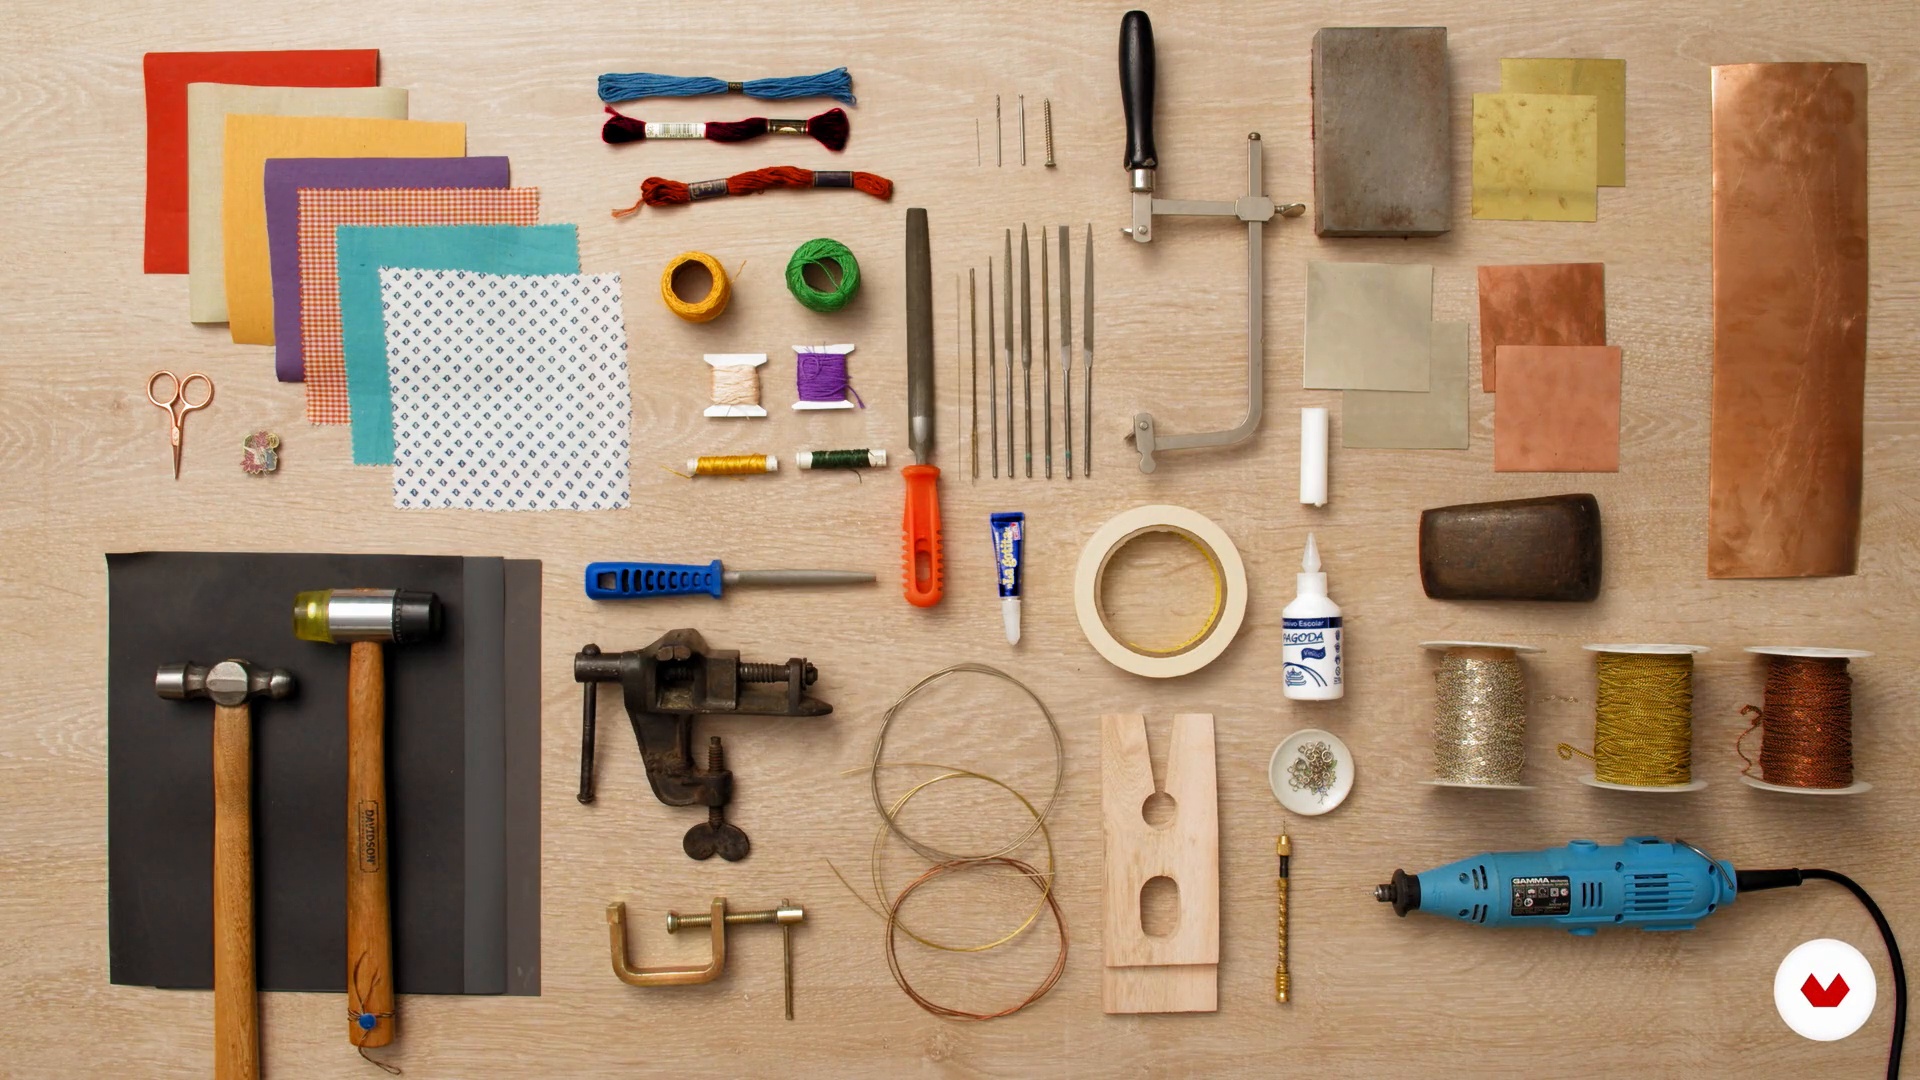 3
3Tools and Materials
I'll start by showing you the tools and materials you'll need to put this technique into practice.
7m
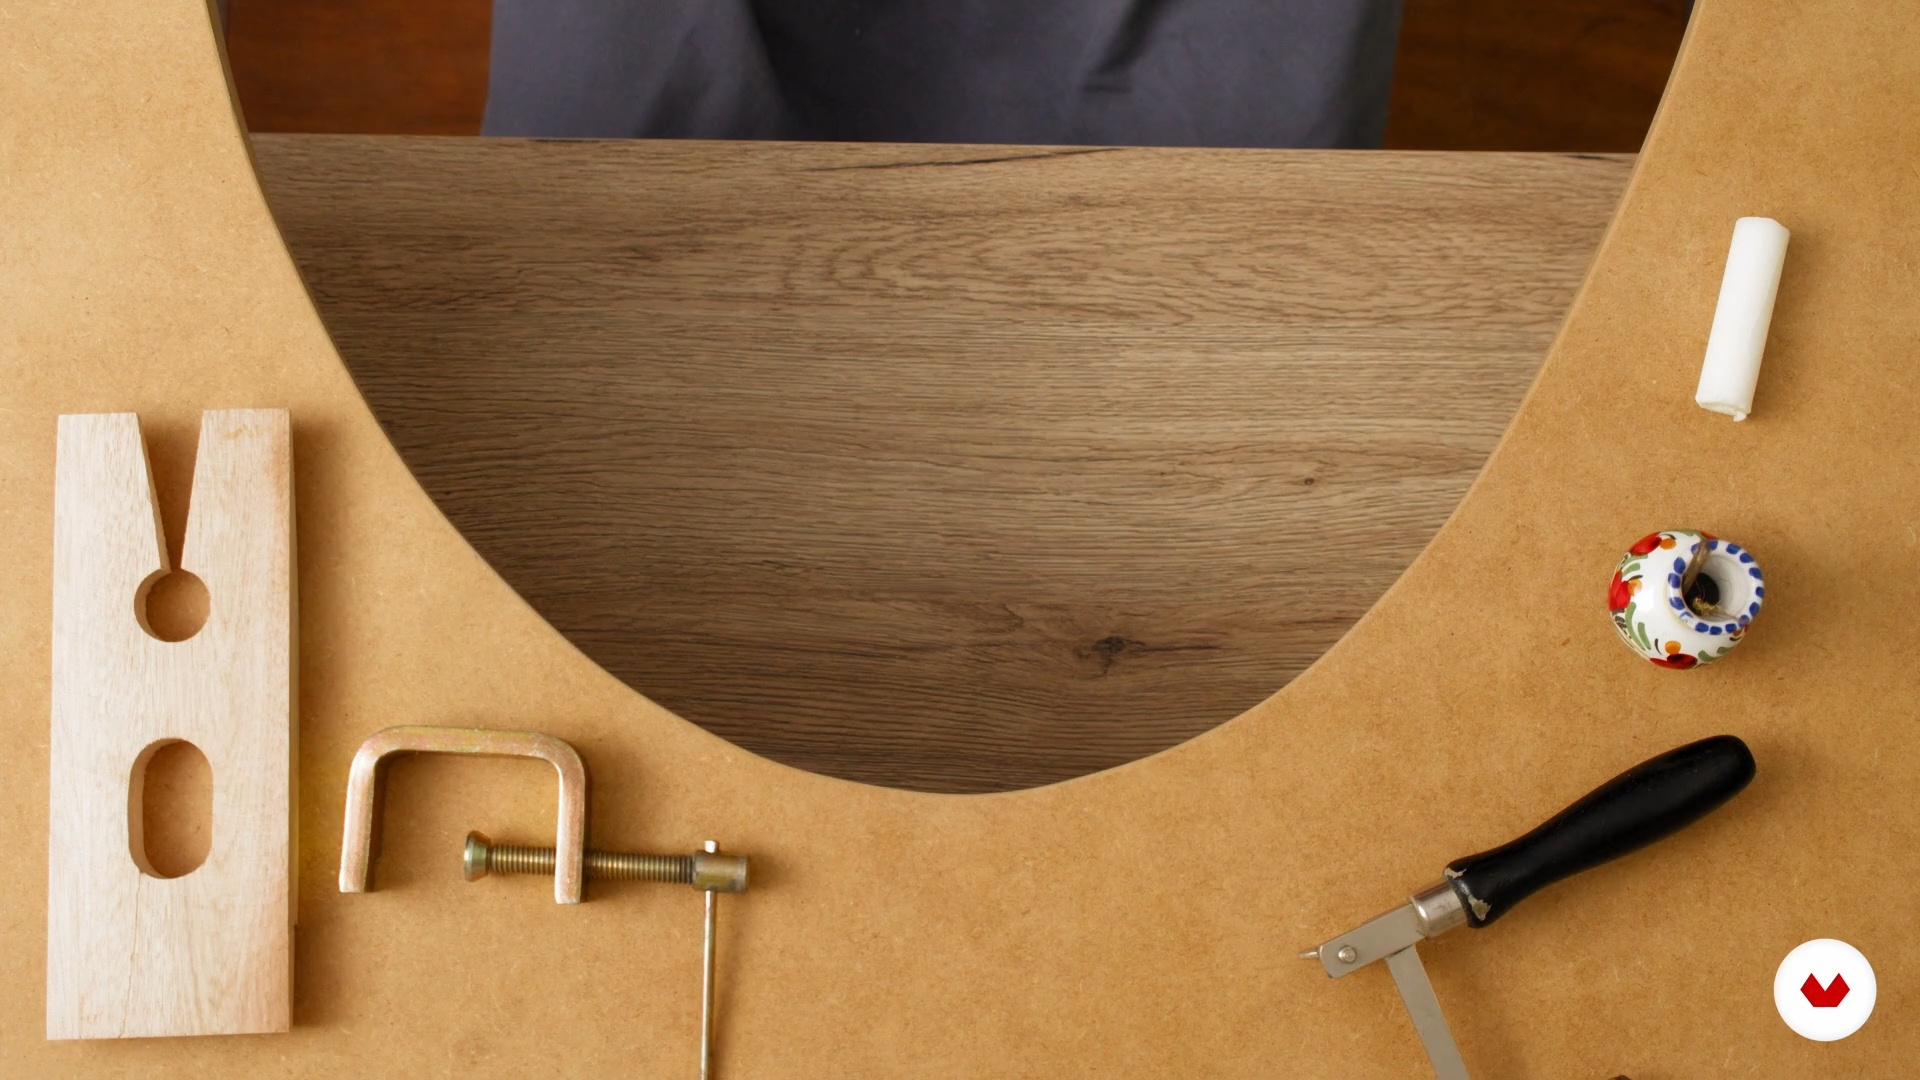 4
4The Workspace
Here I'll show you how to get your workbench in shape to make tasks easier, protect your posture and eyesight, and prevent damage to your project. I'll also teach you how to properly prepare your tools for use.
4m
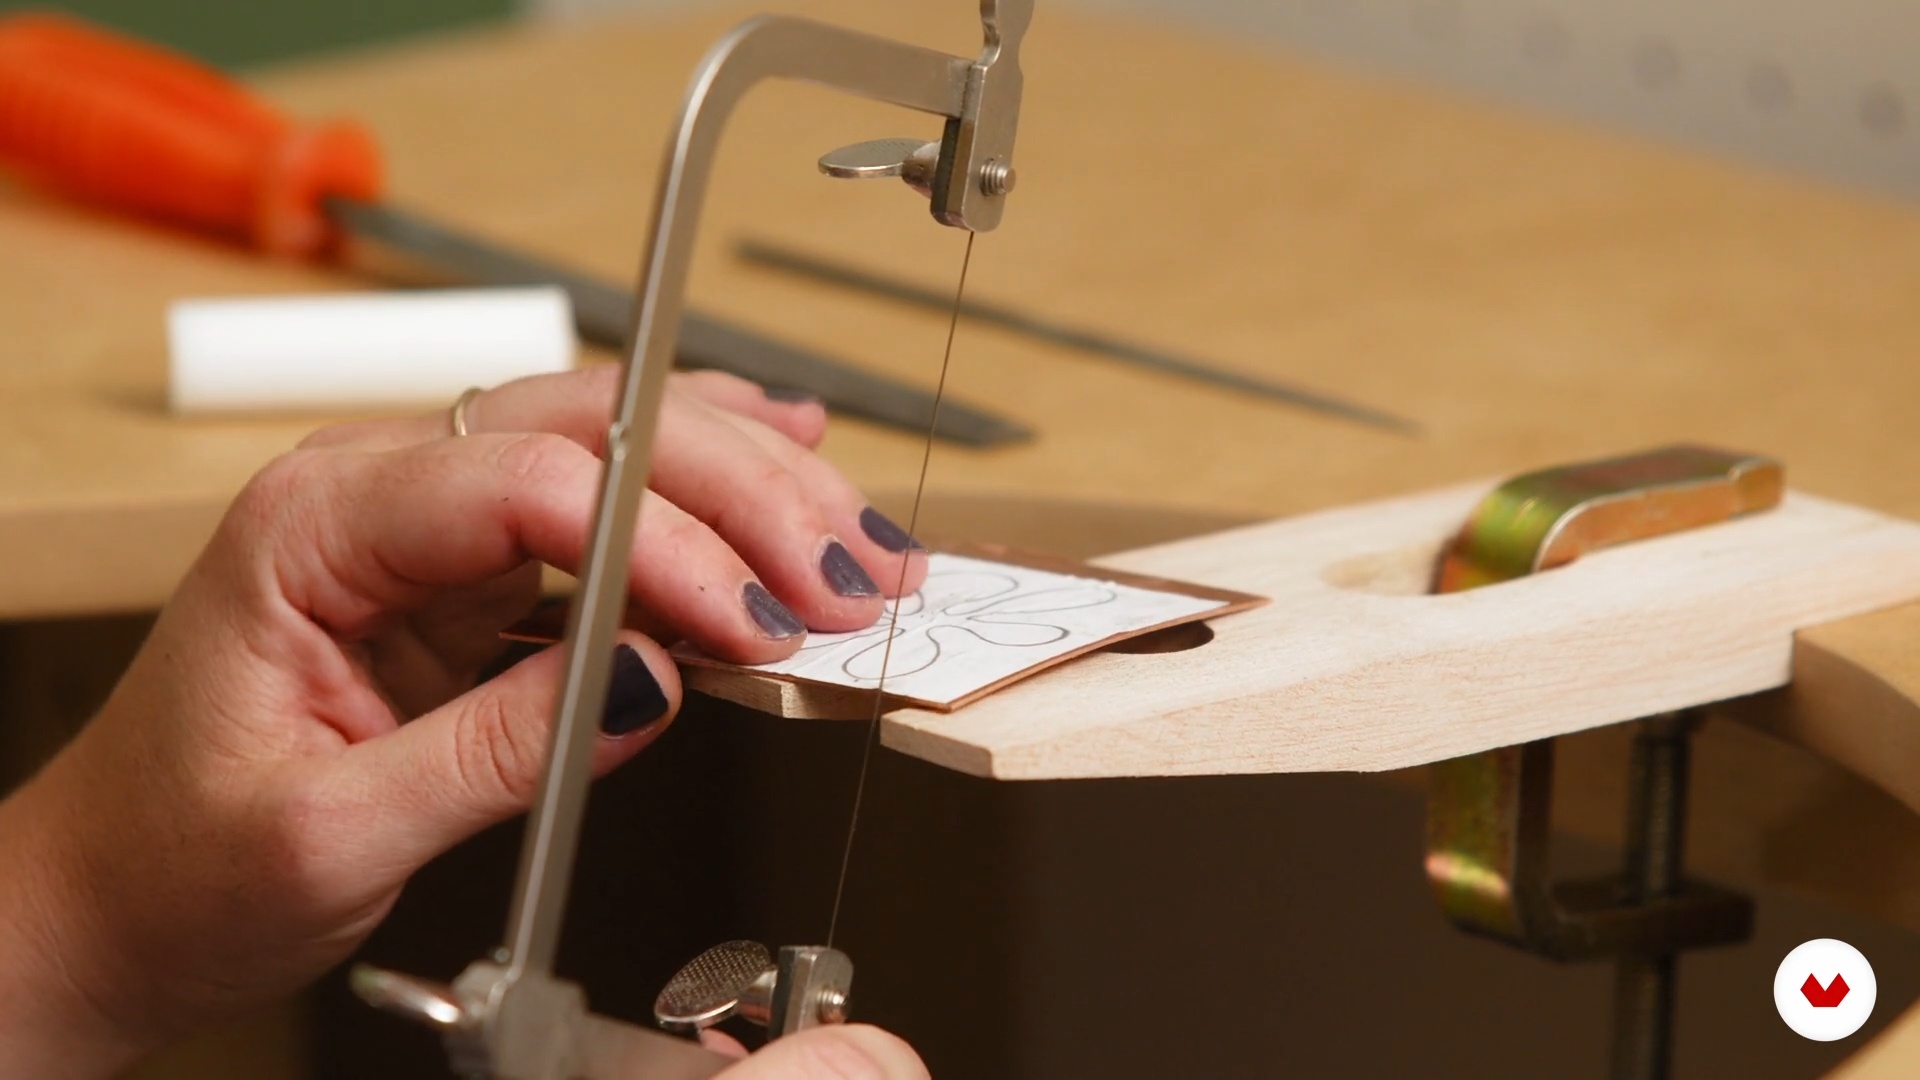 5
5The Basics of Metalworking
Now that you have the space and tools ready, it's time to start working with metal! Below, I'll explain how to make different types of sheet metal cuts so you can work with confidence.
16m
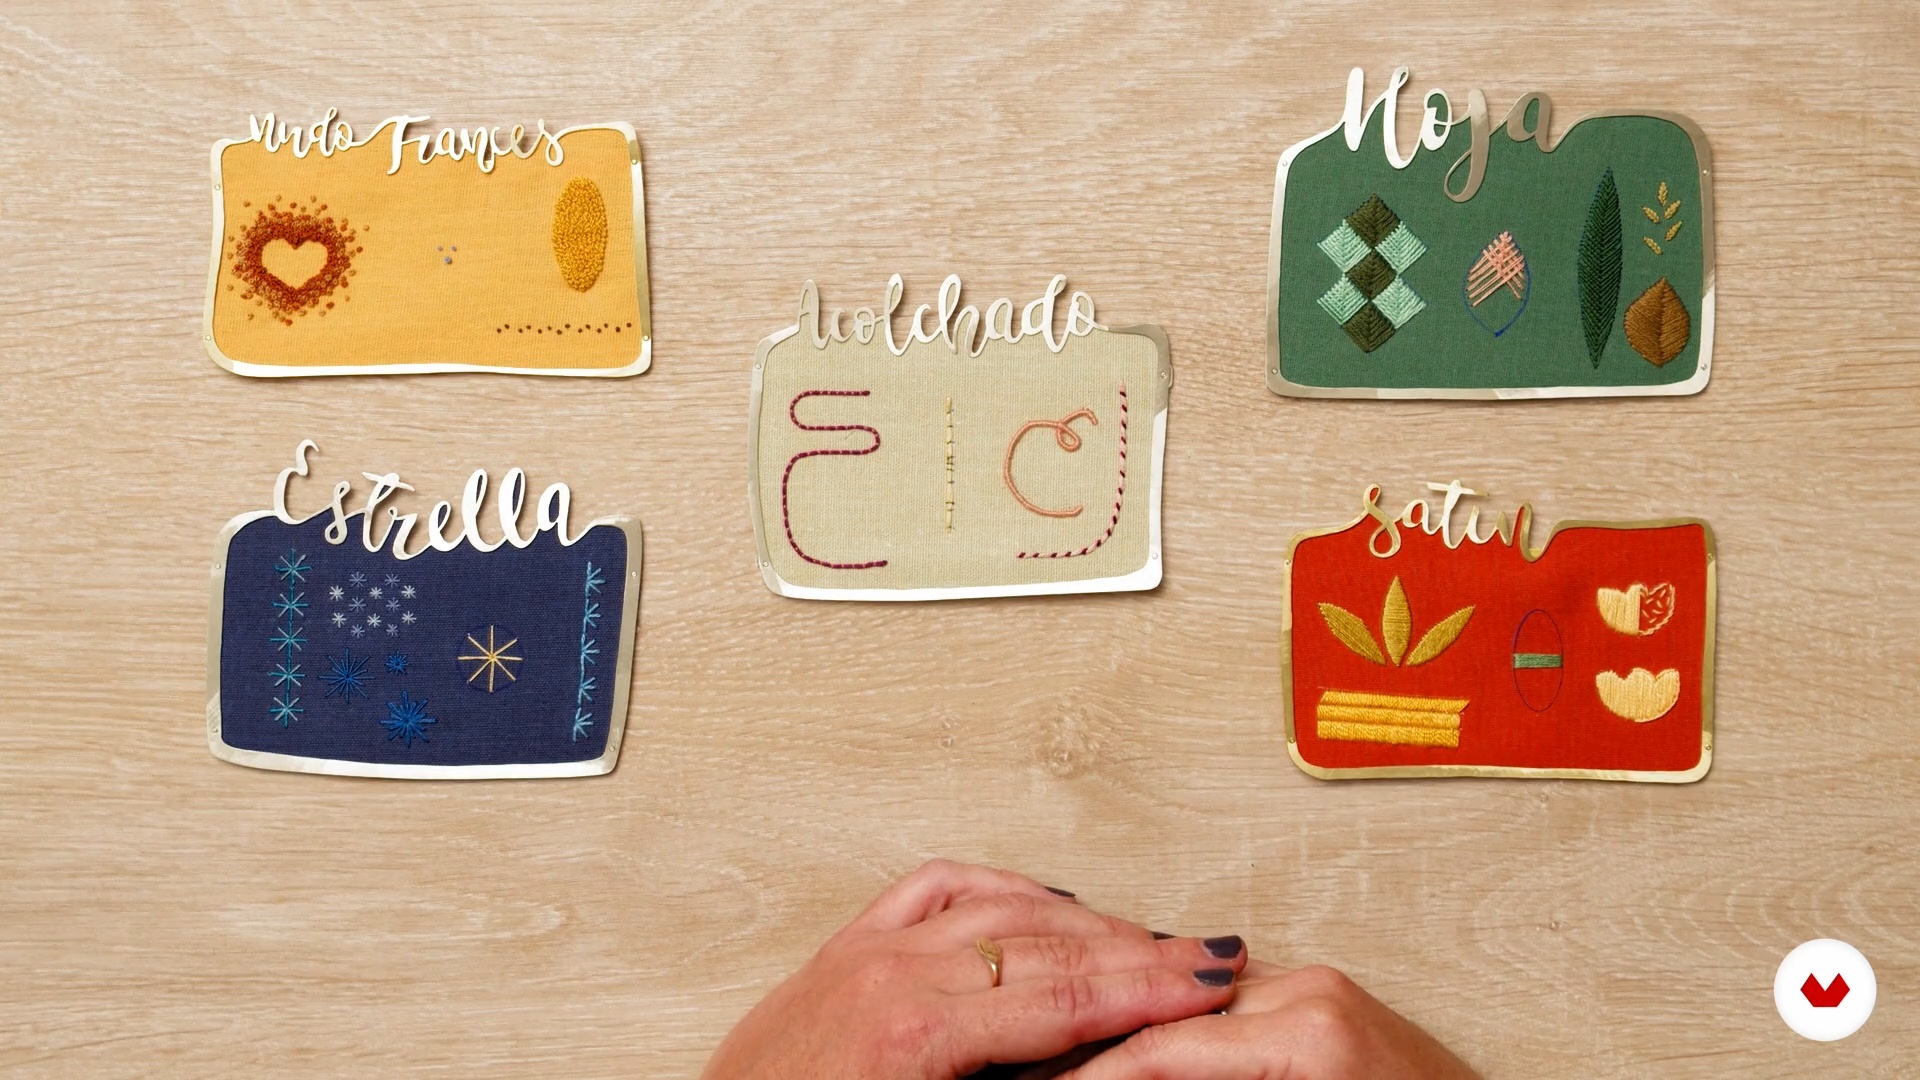 6
6The Basic Stitches for Embroidering
In this lesson, I'll explain some basic embroidery stitches so you can apply, combine, and add your own touch to your project.
13m
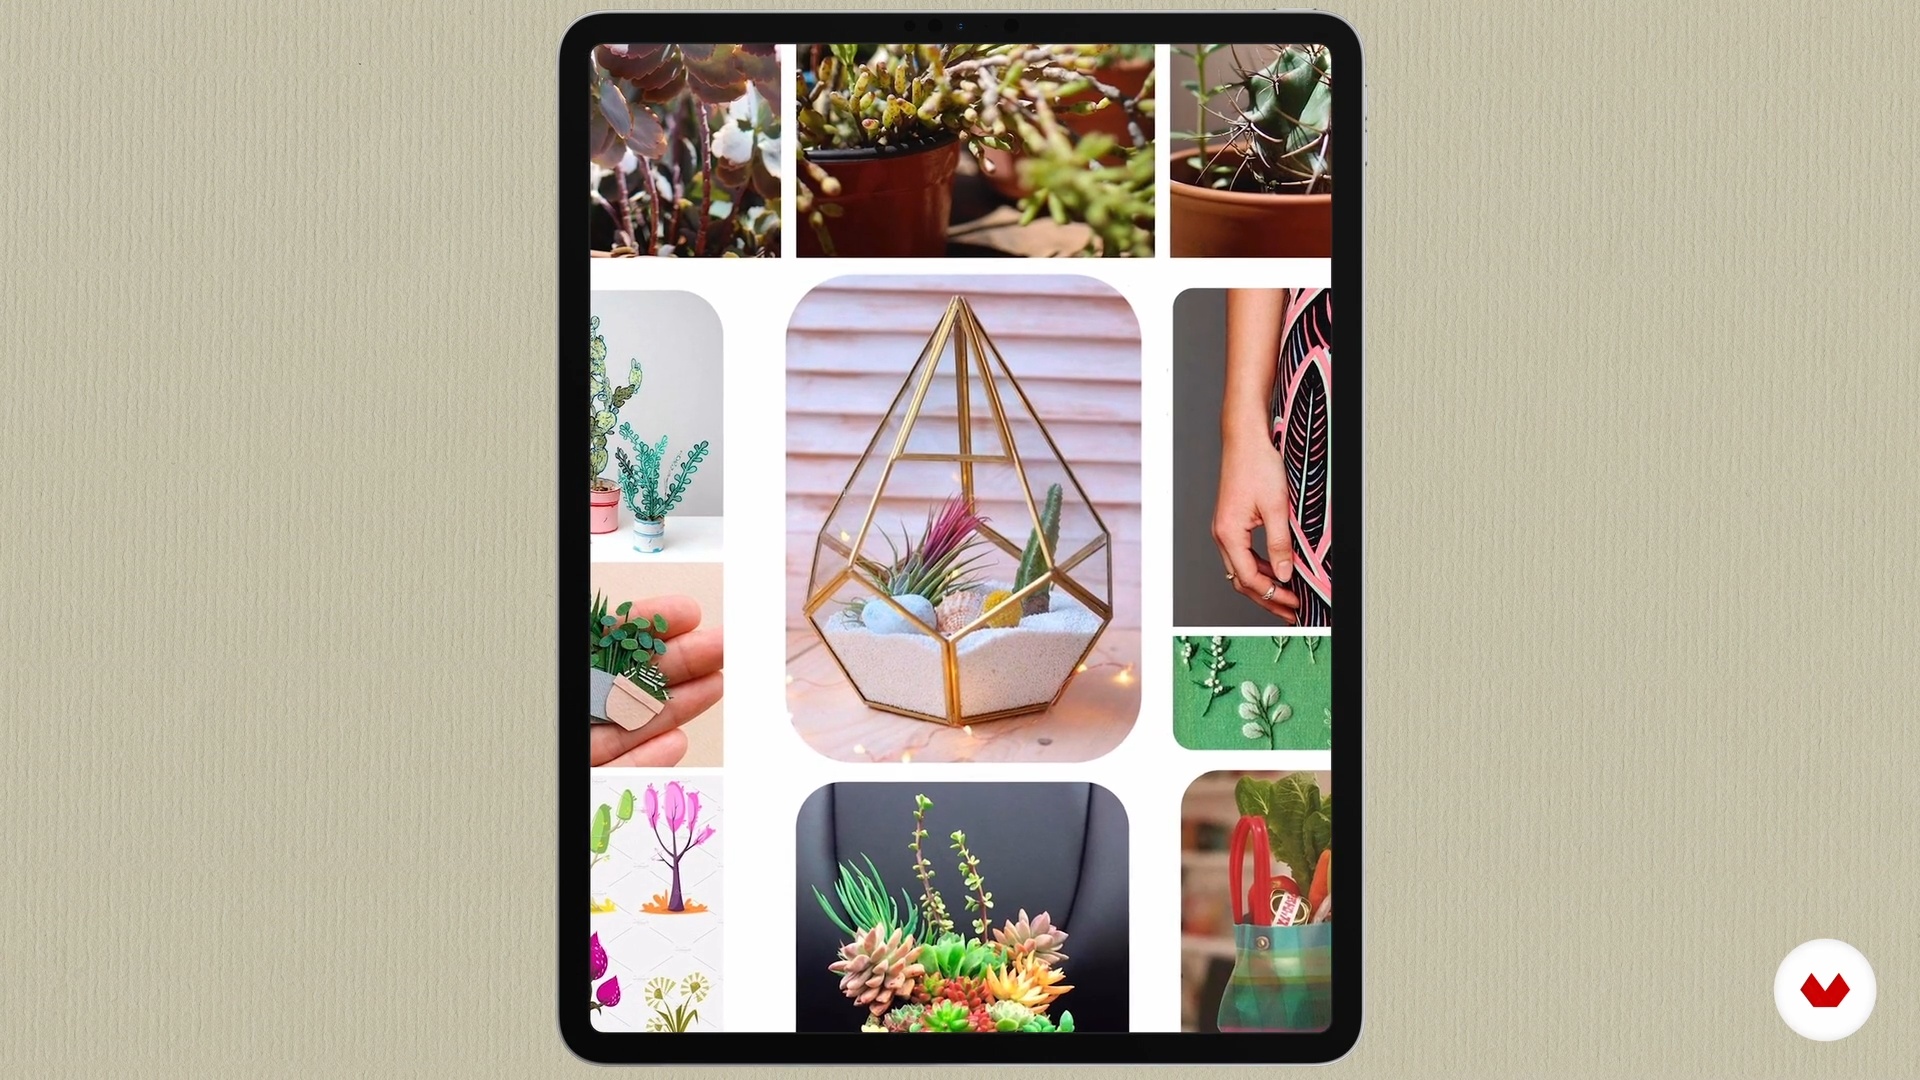 7
7Generating Ideas
When it comes to finding inspiration for new designs, we all have different sources. In this lesson, I'll show you the main sources of inspirational images I consult for this process.
3m
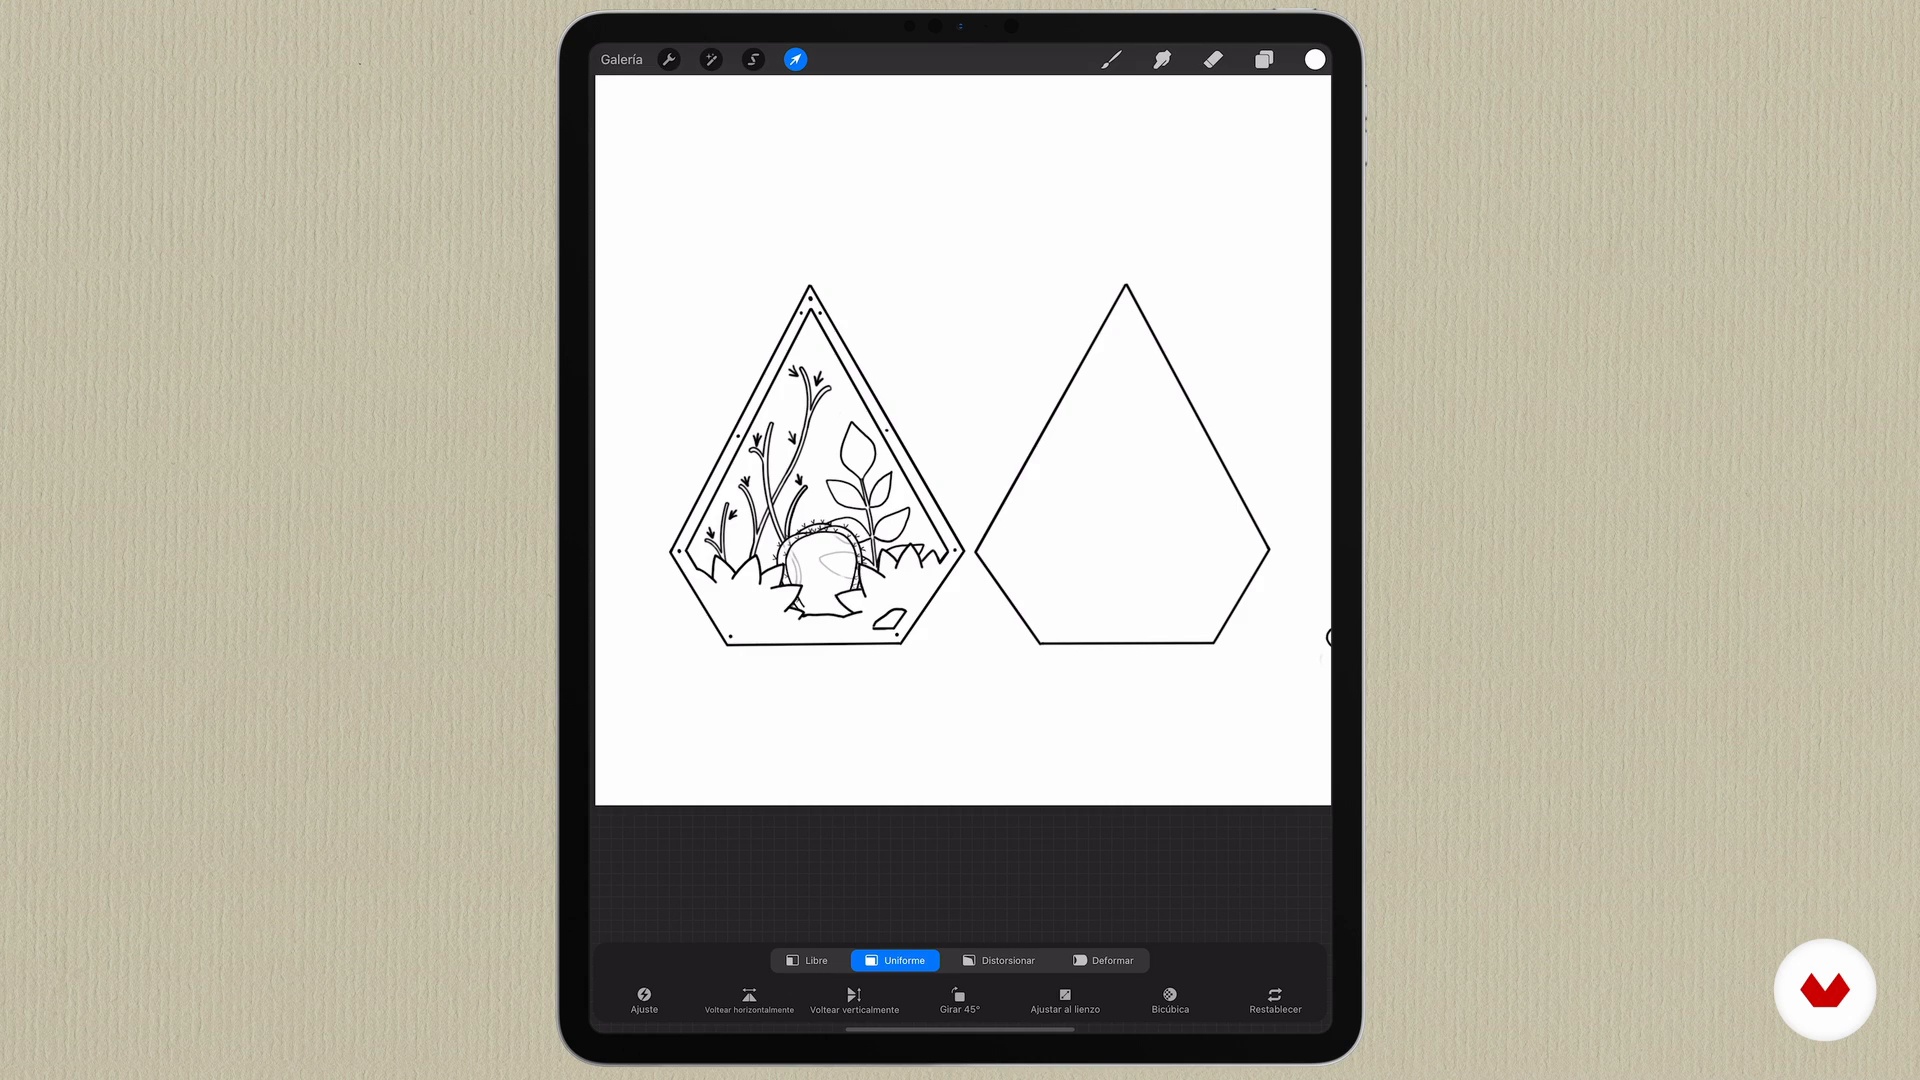 8
8Creating the Design
It's time to put together the design! Next, I'll show you how you can turn the trigger images you found into your own design.
5m
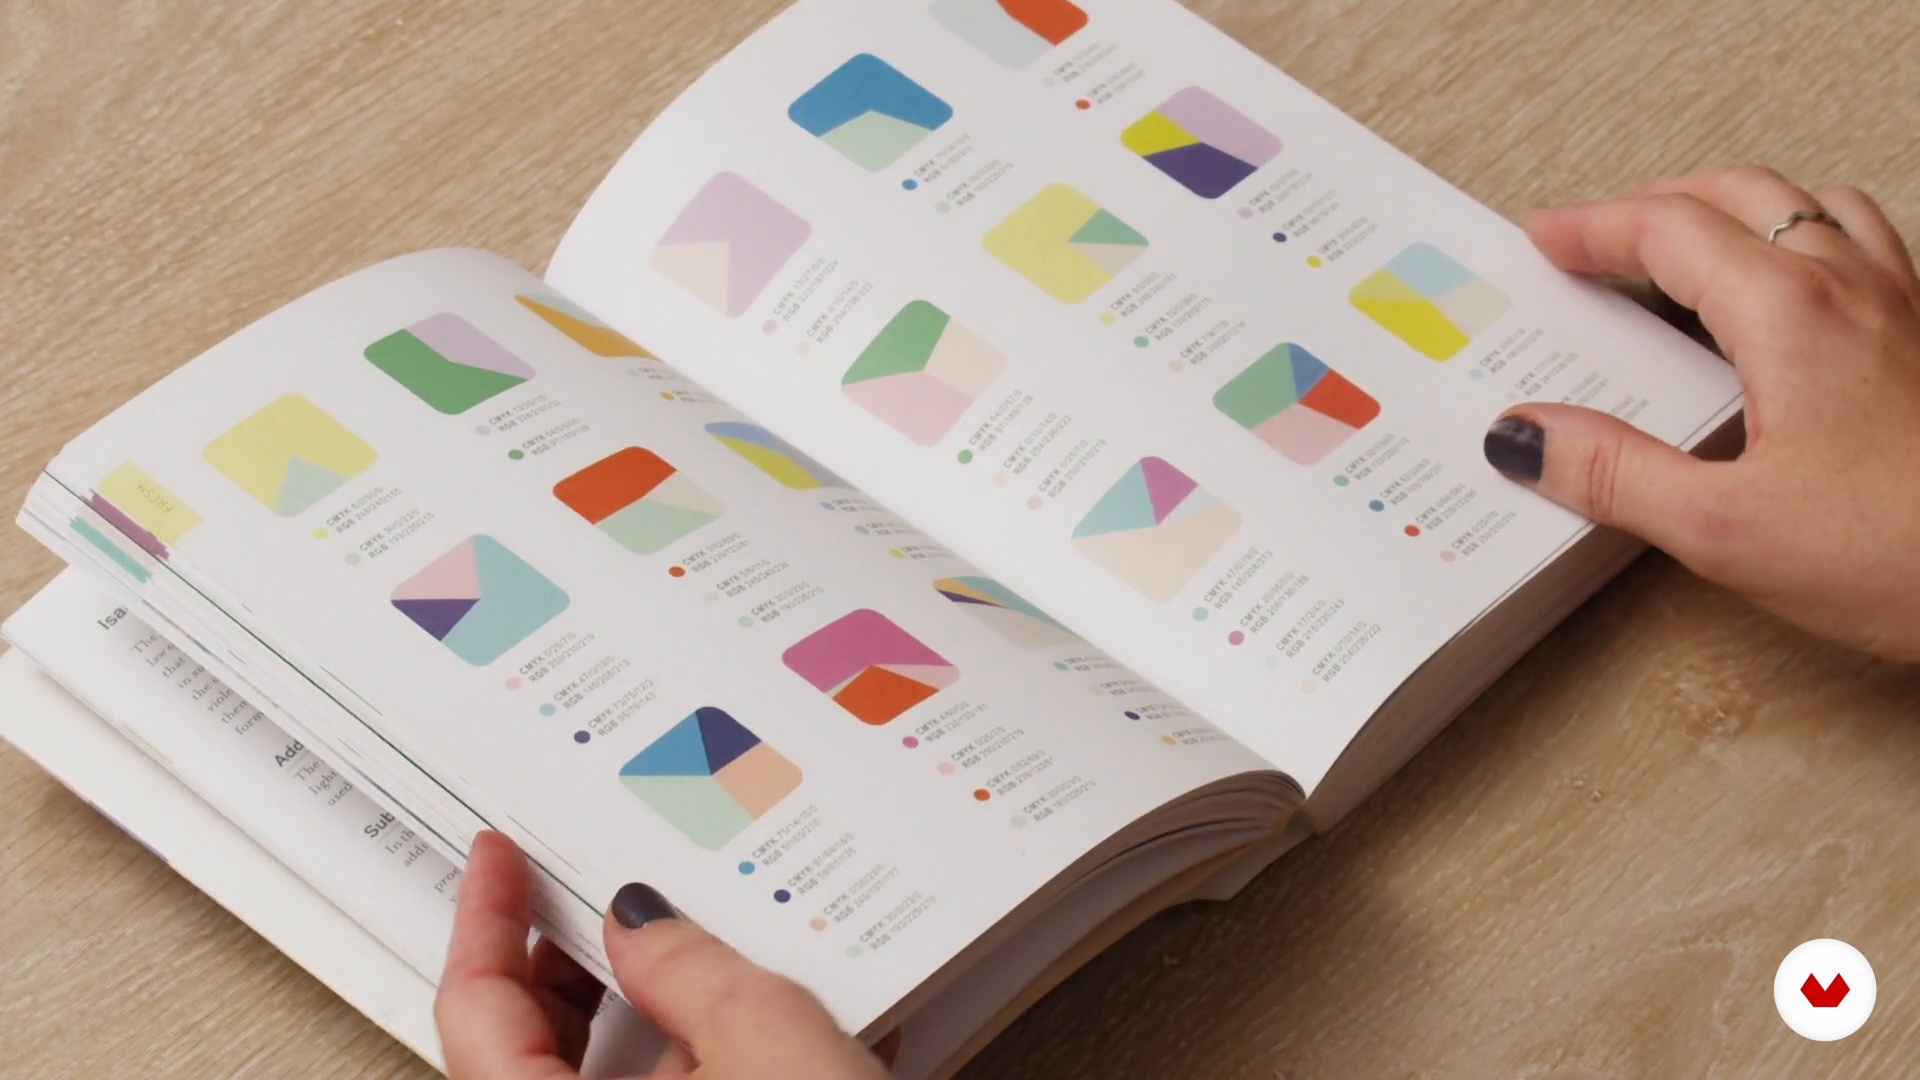 9
9The Color Palette
We've got the design, now we need to add color! So, in this lesson, I'm going to show you some tools to make choosing a color palette easier.
6m
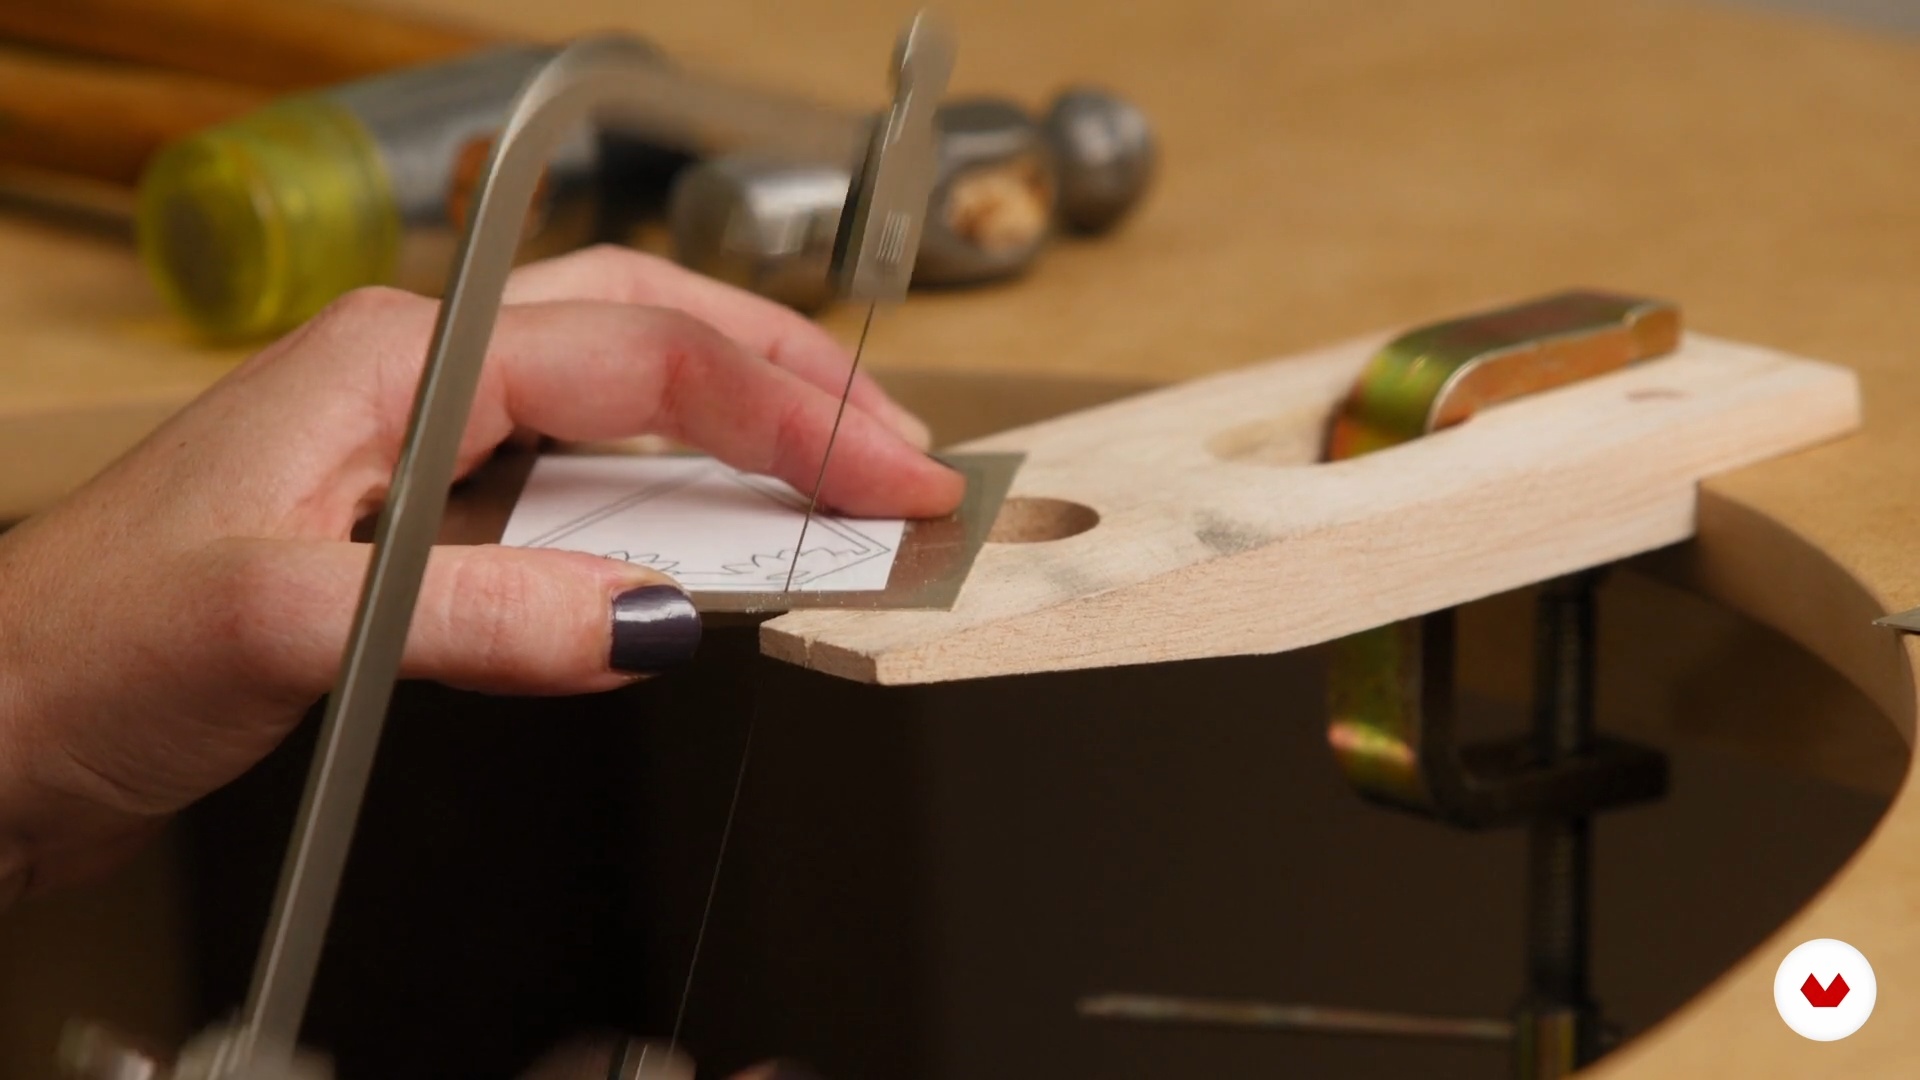 10
10The Outer Fretwork
First, I'll perform the exterior framing of both the frame and the structural member. Then, I'll show you how to match them up and drill the holes for the rivets.
6m
 11
11The Inner Fretwork
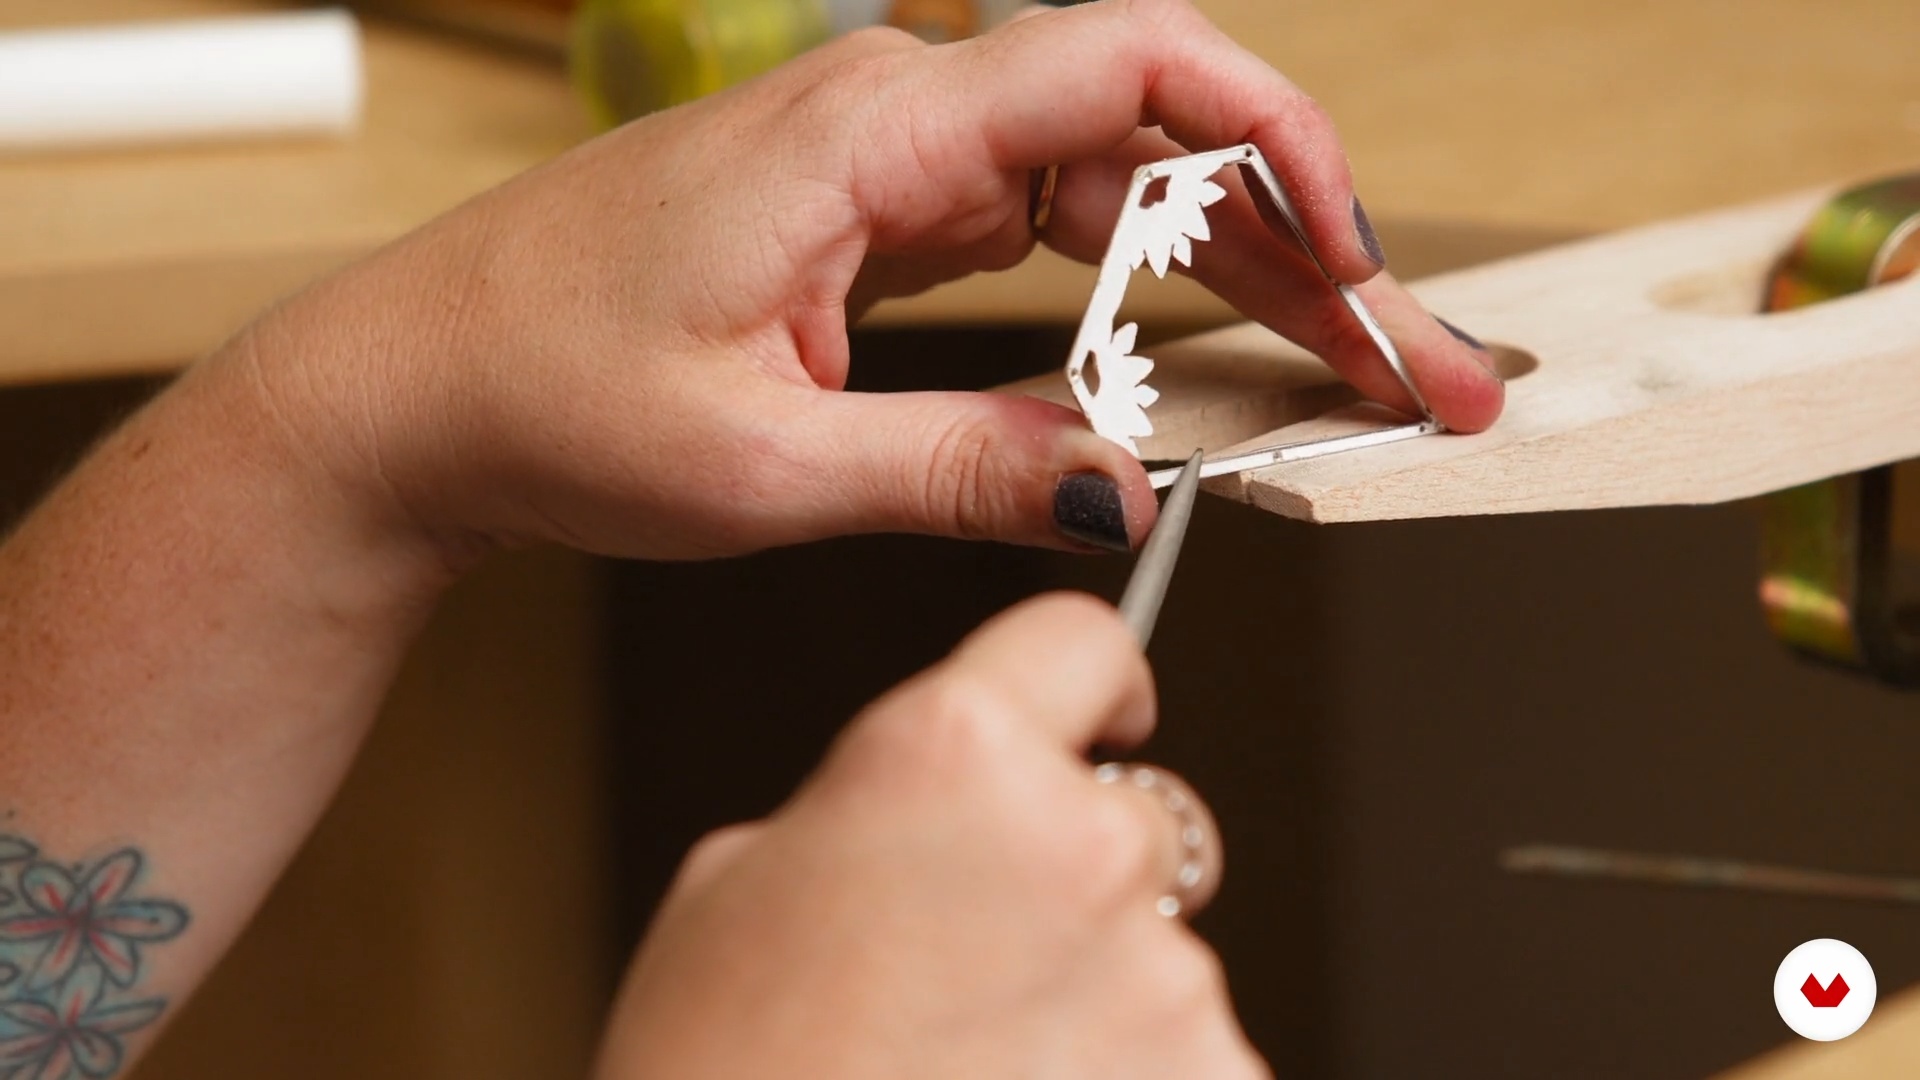
Ready, I now have two identical pieces of metal. Now it's time to make the necessary interior holes to assemble the frame.
9m
 12
12Sanding and Finishing
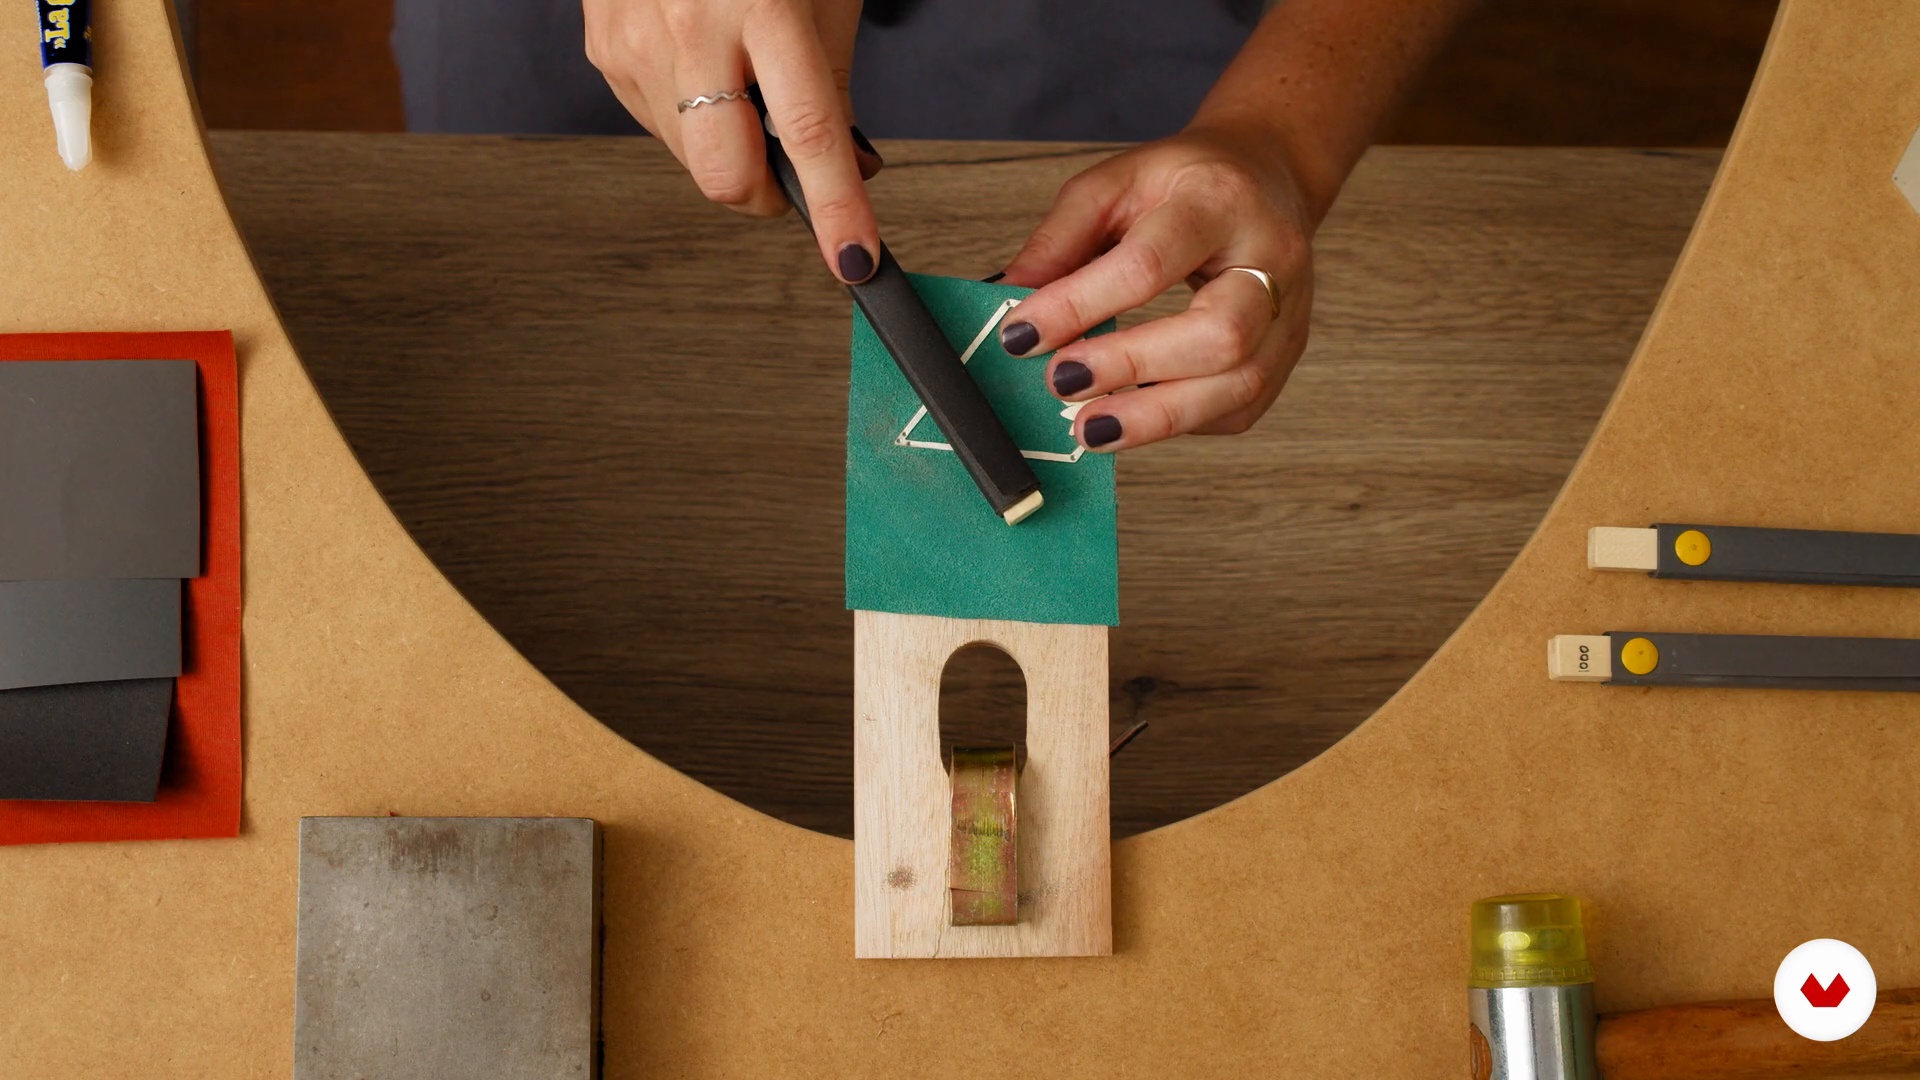
Now that I have both pieces cut out, I'll show you how to finish them properly by flattening and sanding them. I'll finish by gluing the fabric.
8m
 13
13The Embroidery
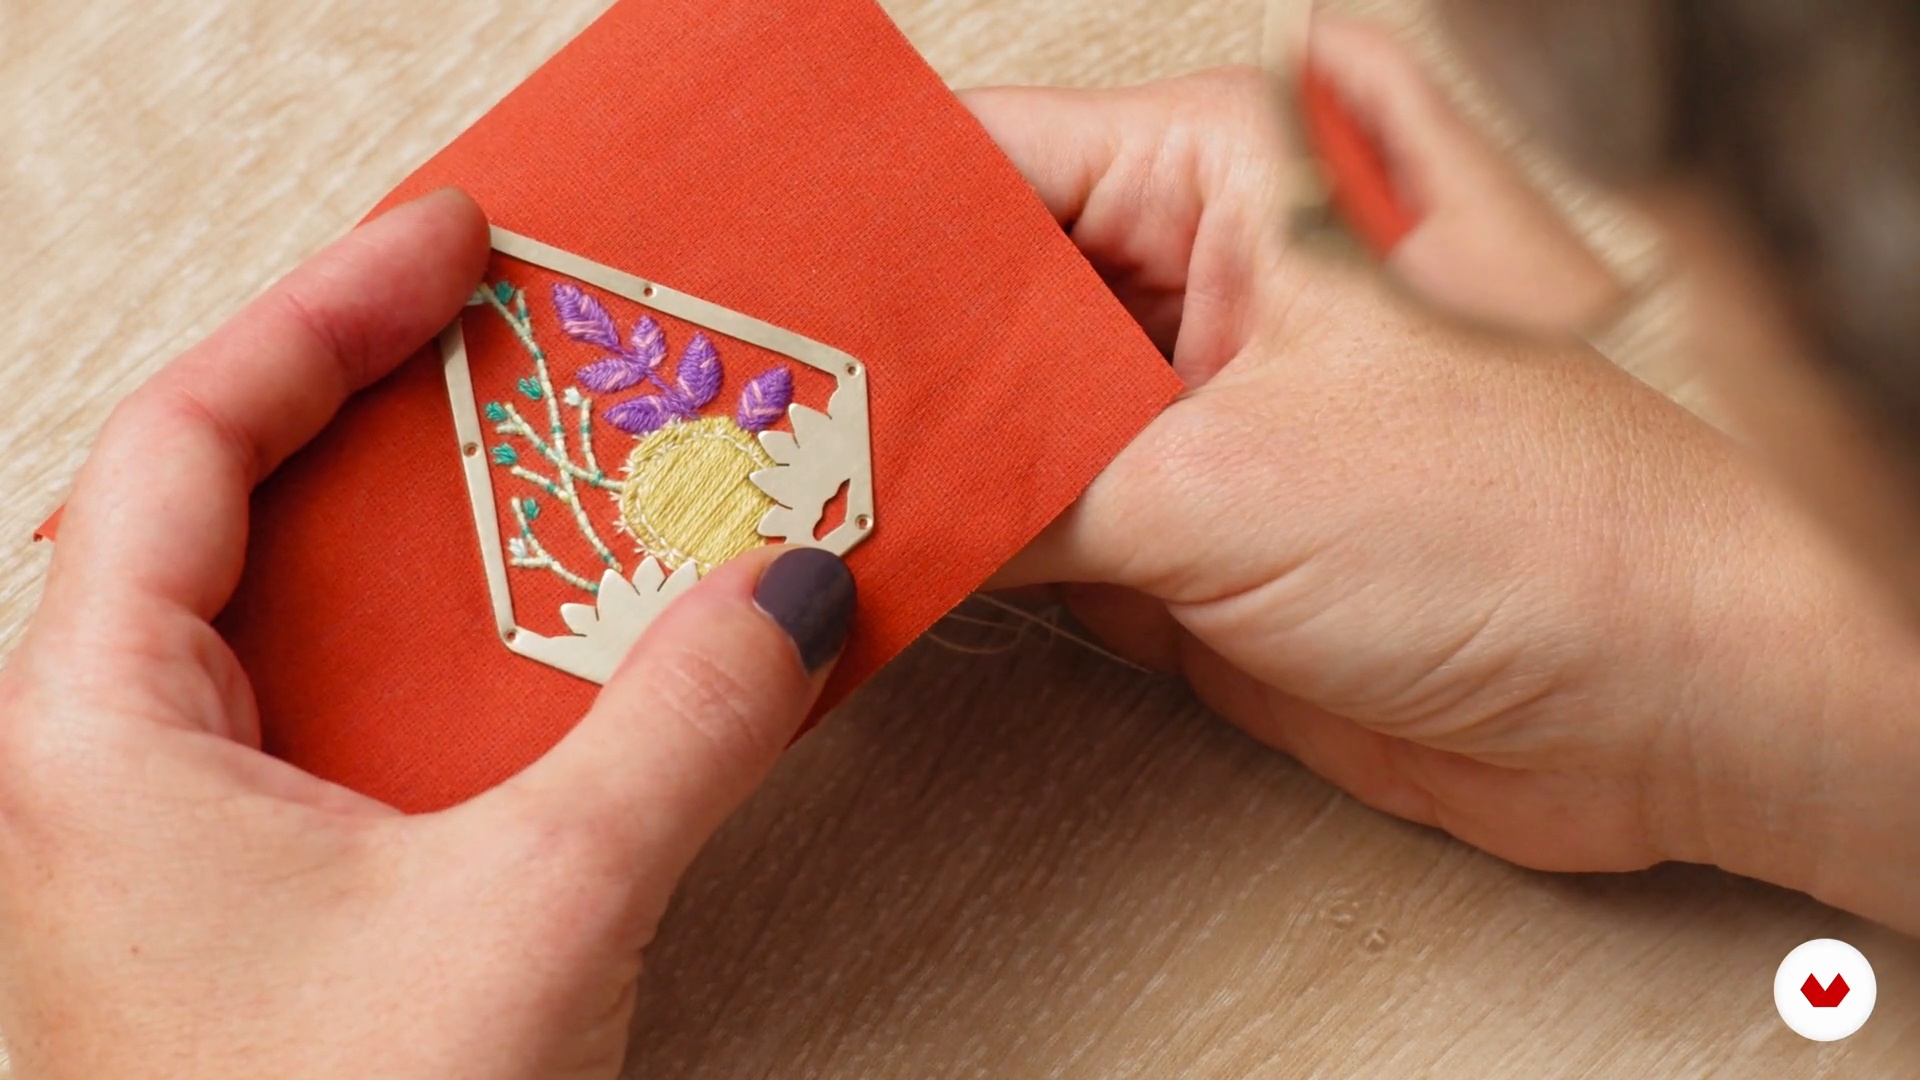
With the metal pieces finished, sanded, and super neat, it's time to start working with thread and color on the project.
17m
 14
14The Riveting and the Final Details
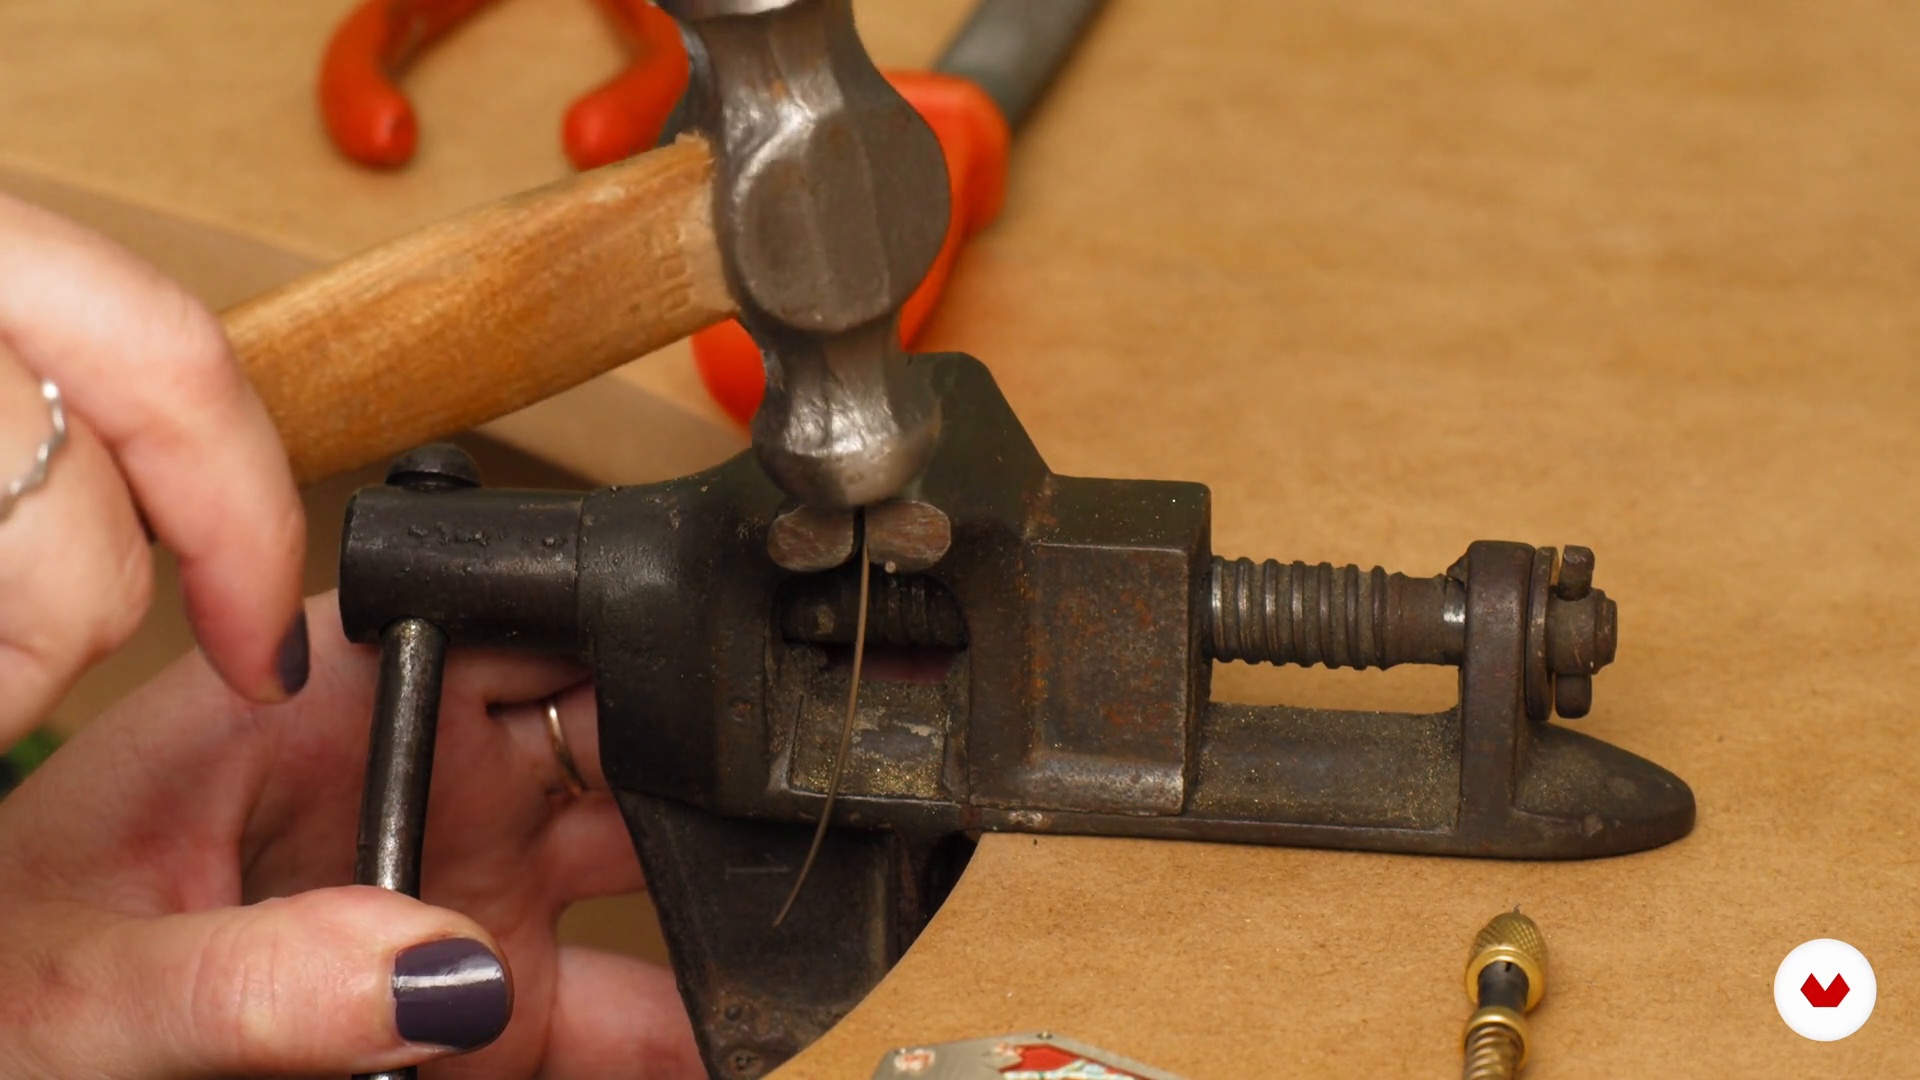
Now that the metalwork and embroidery are finished, it's time to put them together. To do this, I'll show you how to make and attach the rivets, giving you some tips to ensure a neat and professional result.
8m
 15
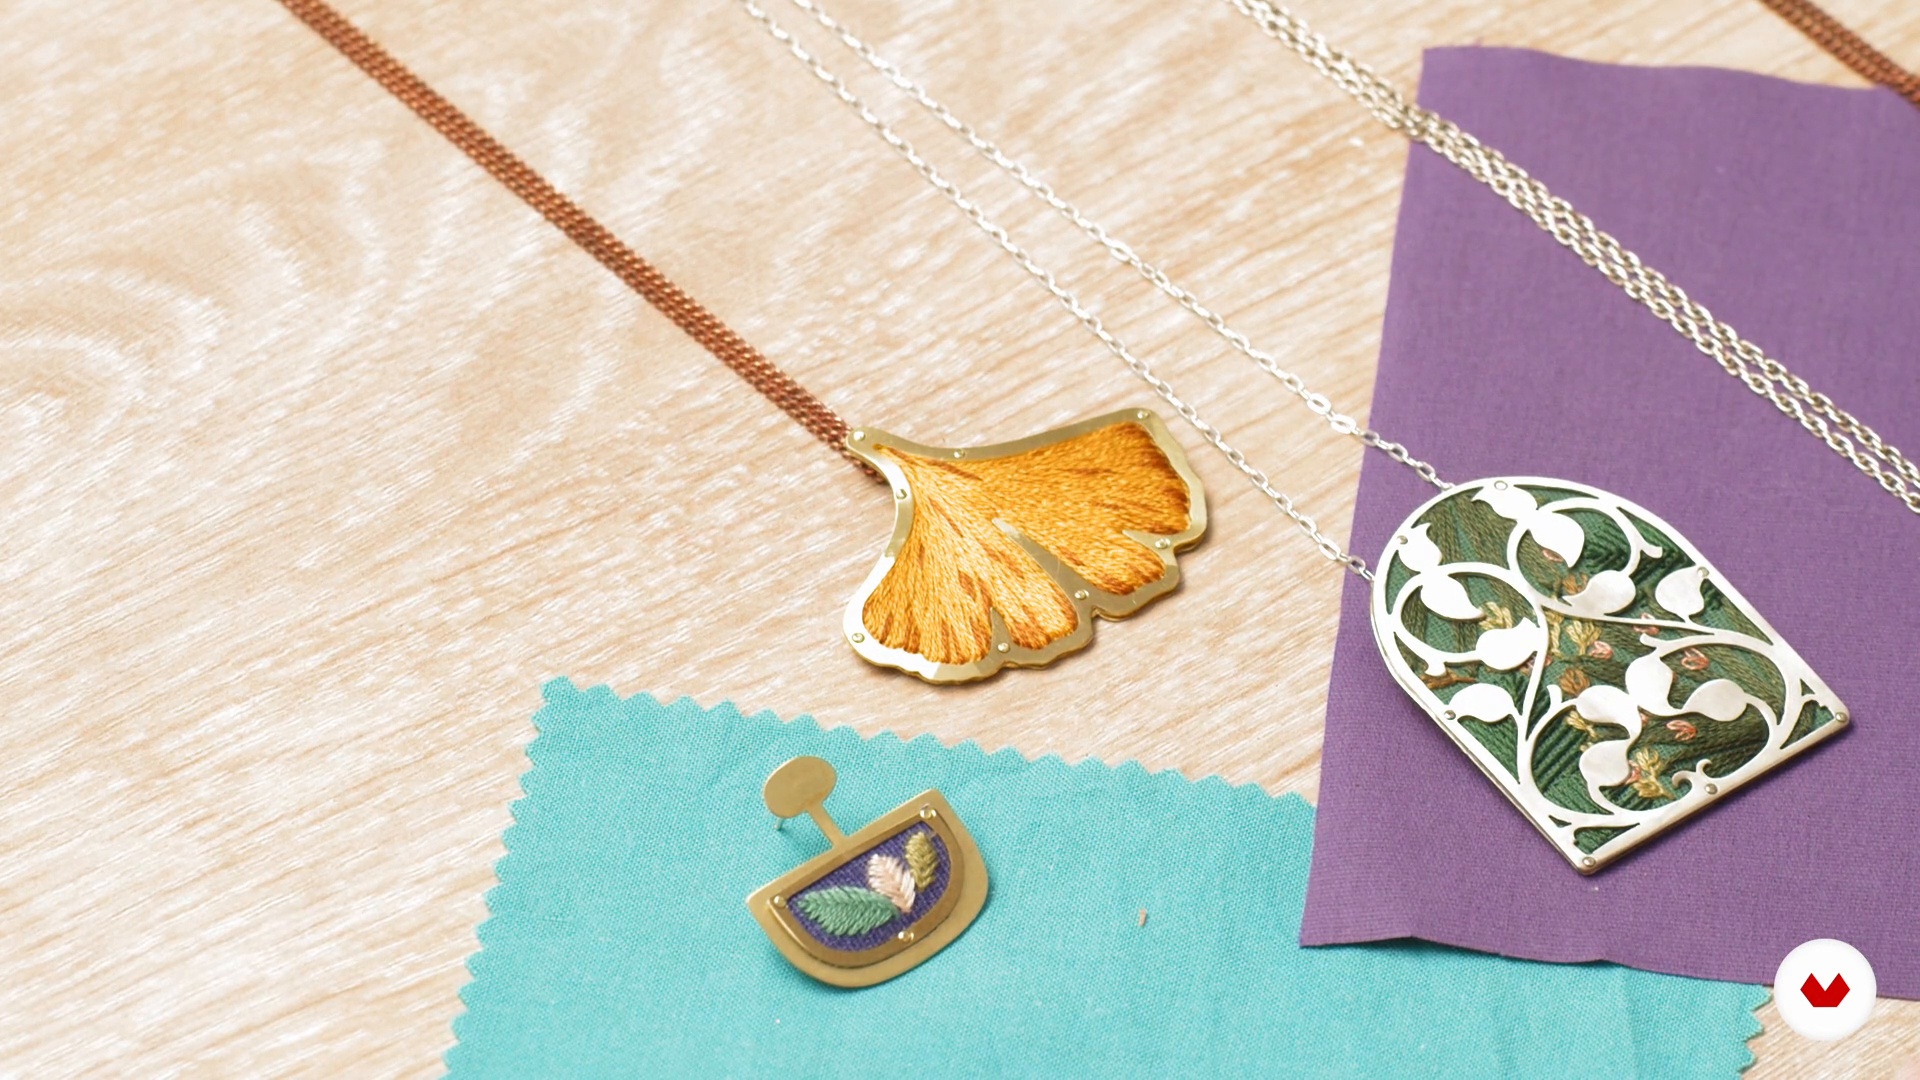
15Care Tips and Other Applications
Finally, I wanted to share some tips you can take with your project to make it last longer. I'll also give you some examples of other ways to apply this technique.
6m
 4
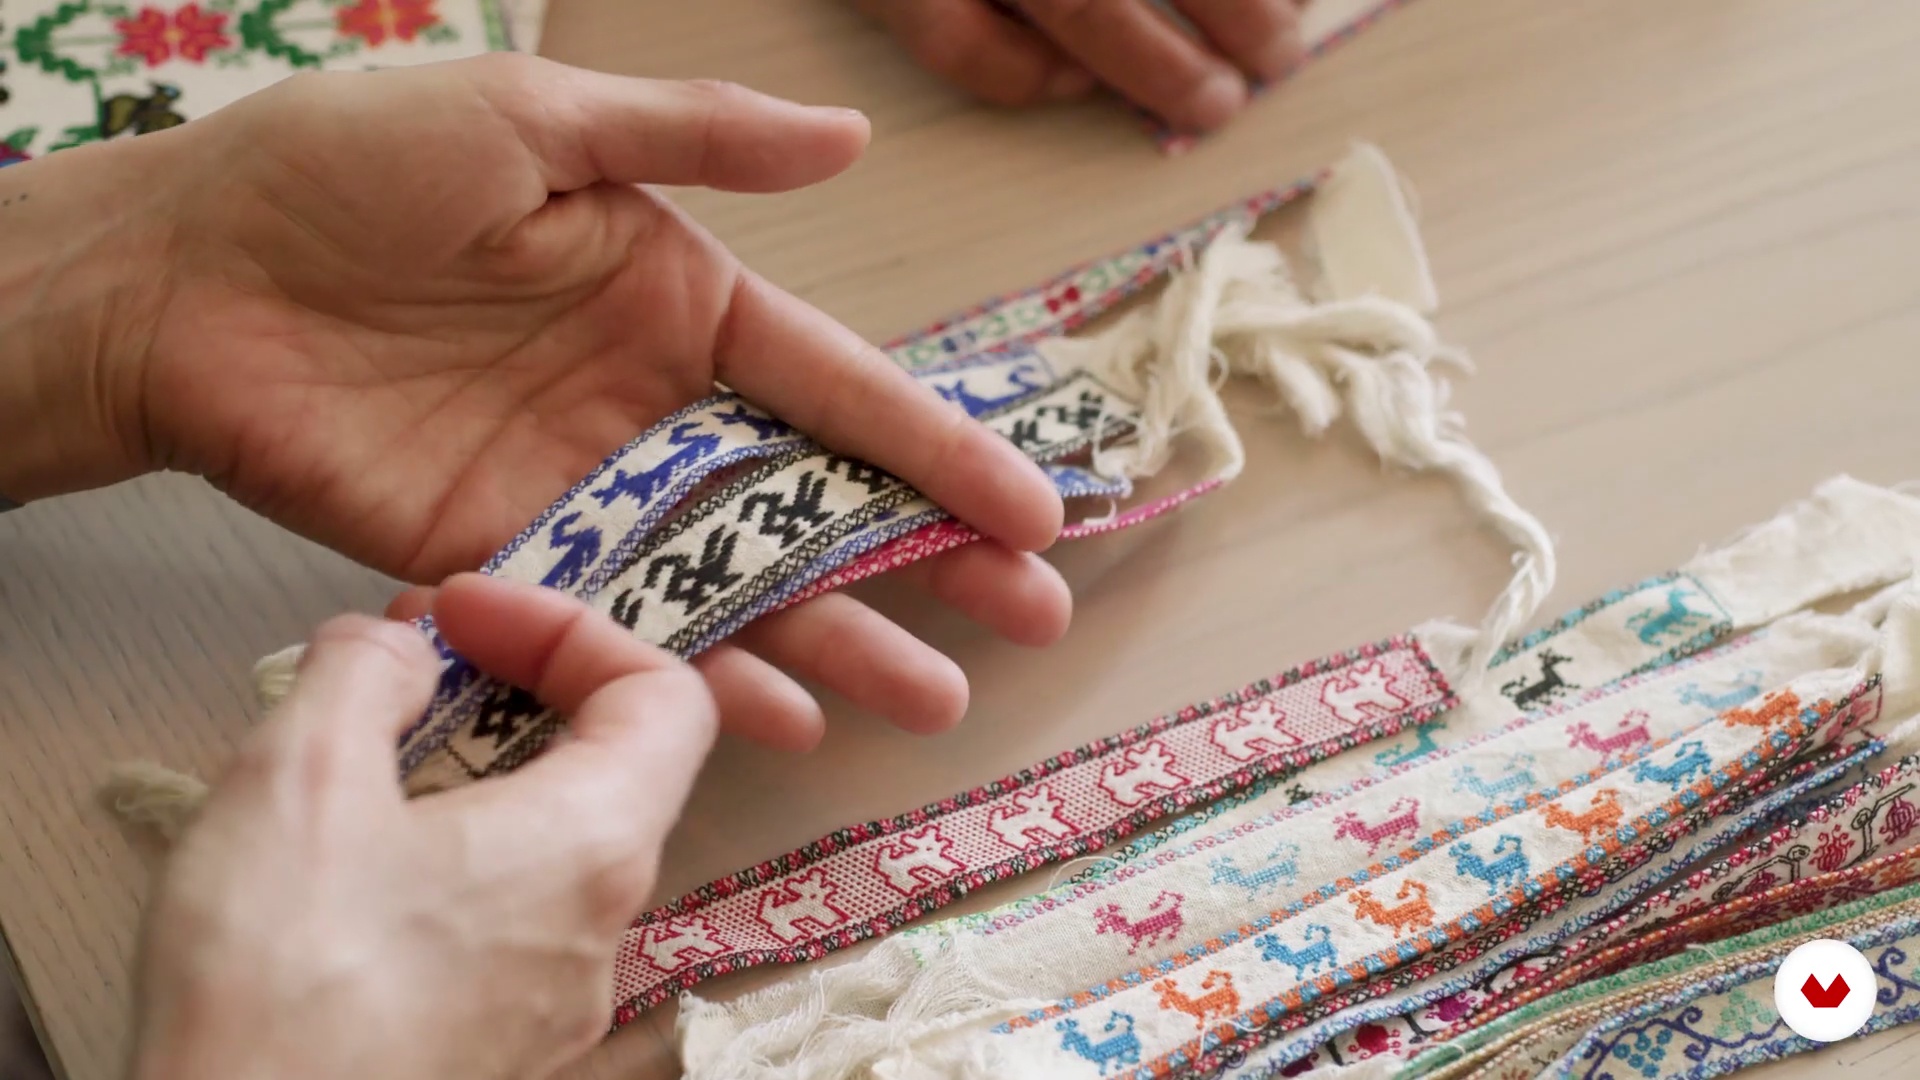
4Introduction to Artisan Jewelry
In this lesson, I'll talk about the world of jewelry. For me, it's a world that's part of human expression. There's no distinction between imagination and the possibility of materializing an idea using expensive or recycled materials. Jewelry is alive, in the midst of transformation, and responds to a clear human need to protect or beautify.
2m
 5
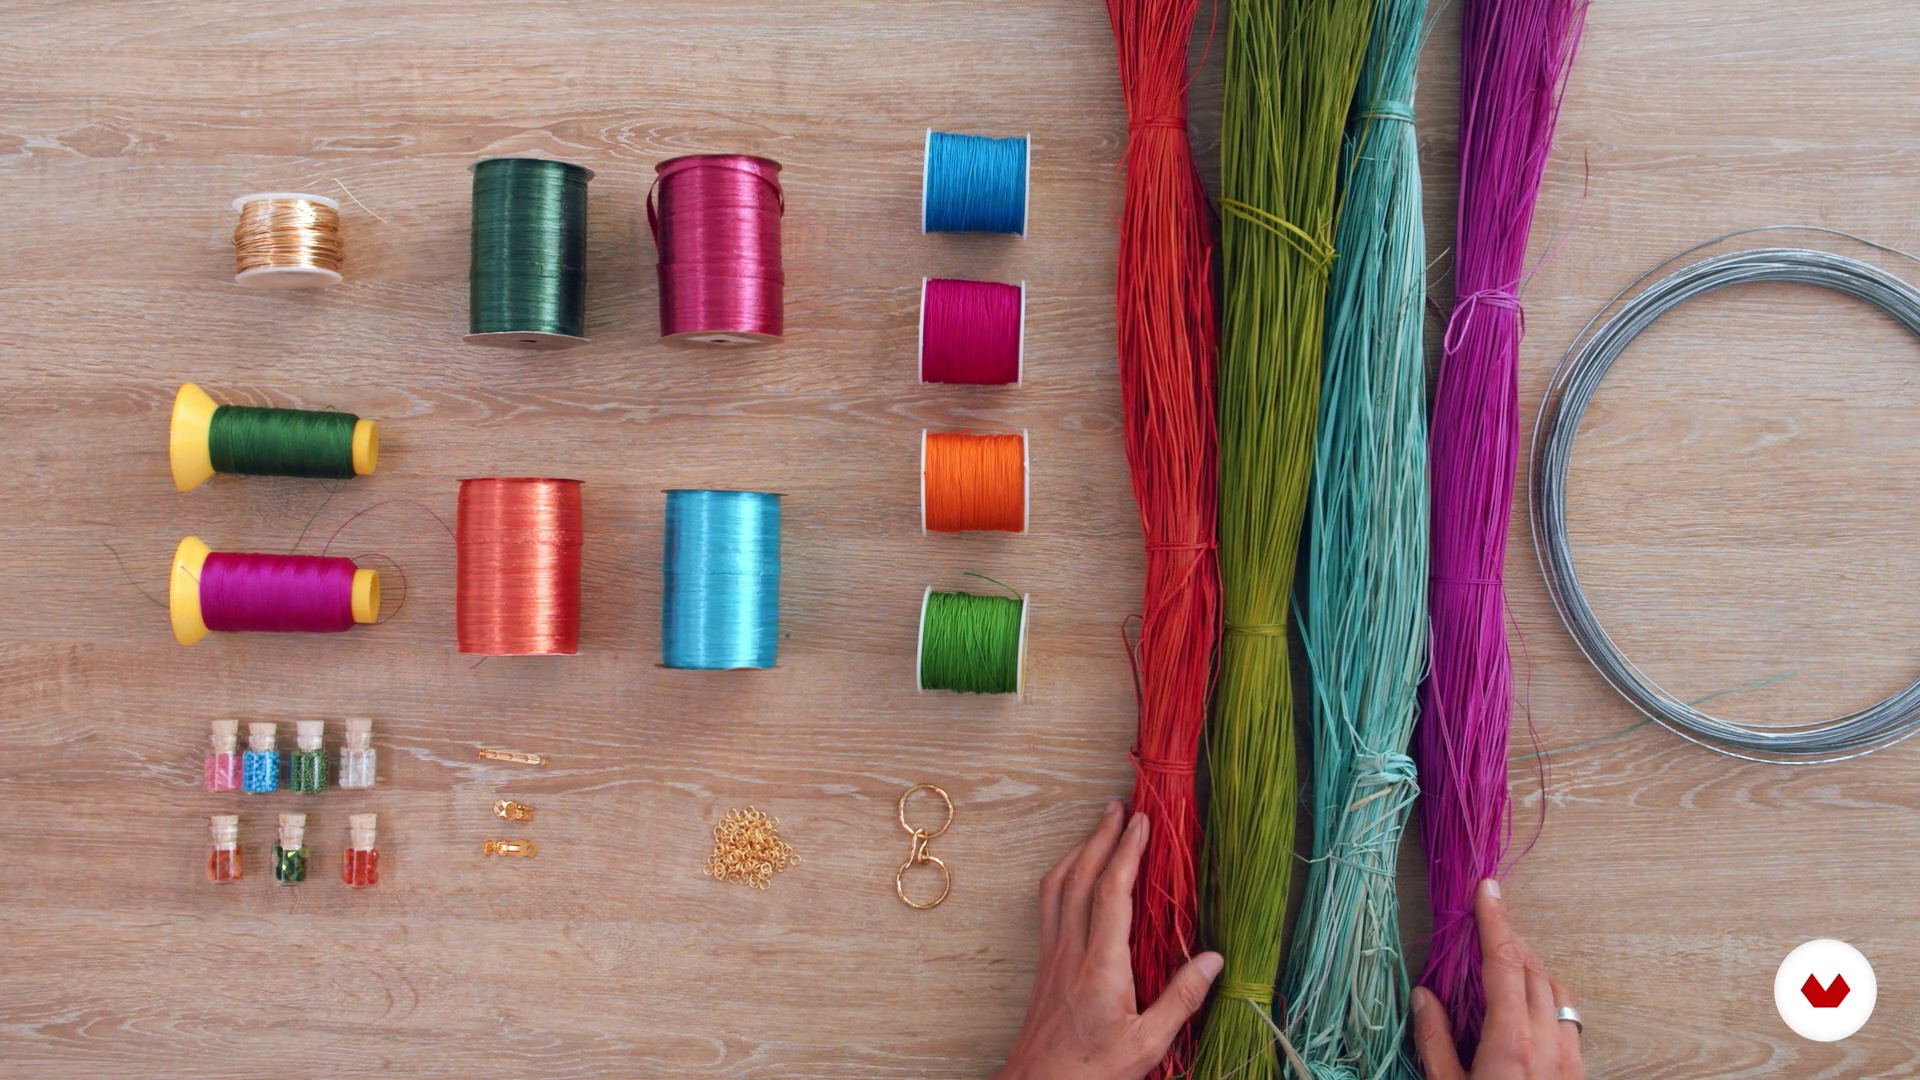
5Materials and Tools in Modern Jewelry
Now I want to tell you about the materials and tools we'll be using in this course. Having them is very important for you to complete the project.
4m
 6
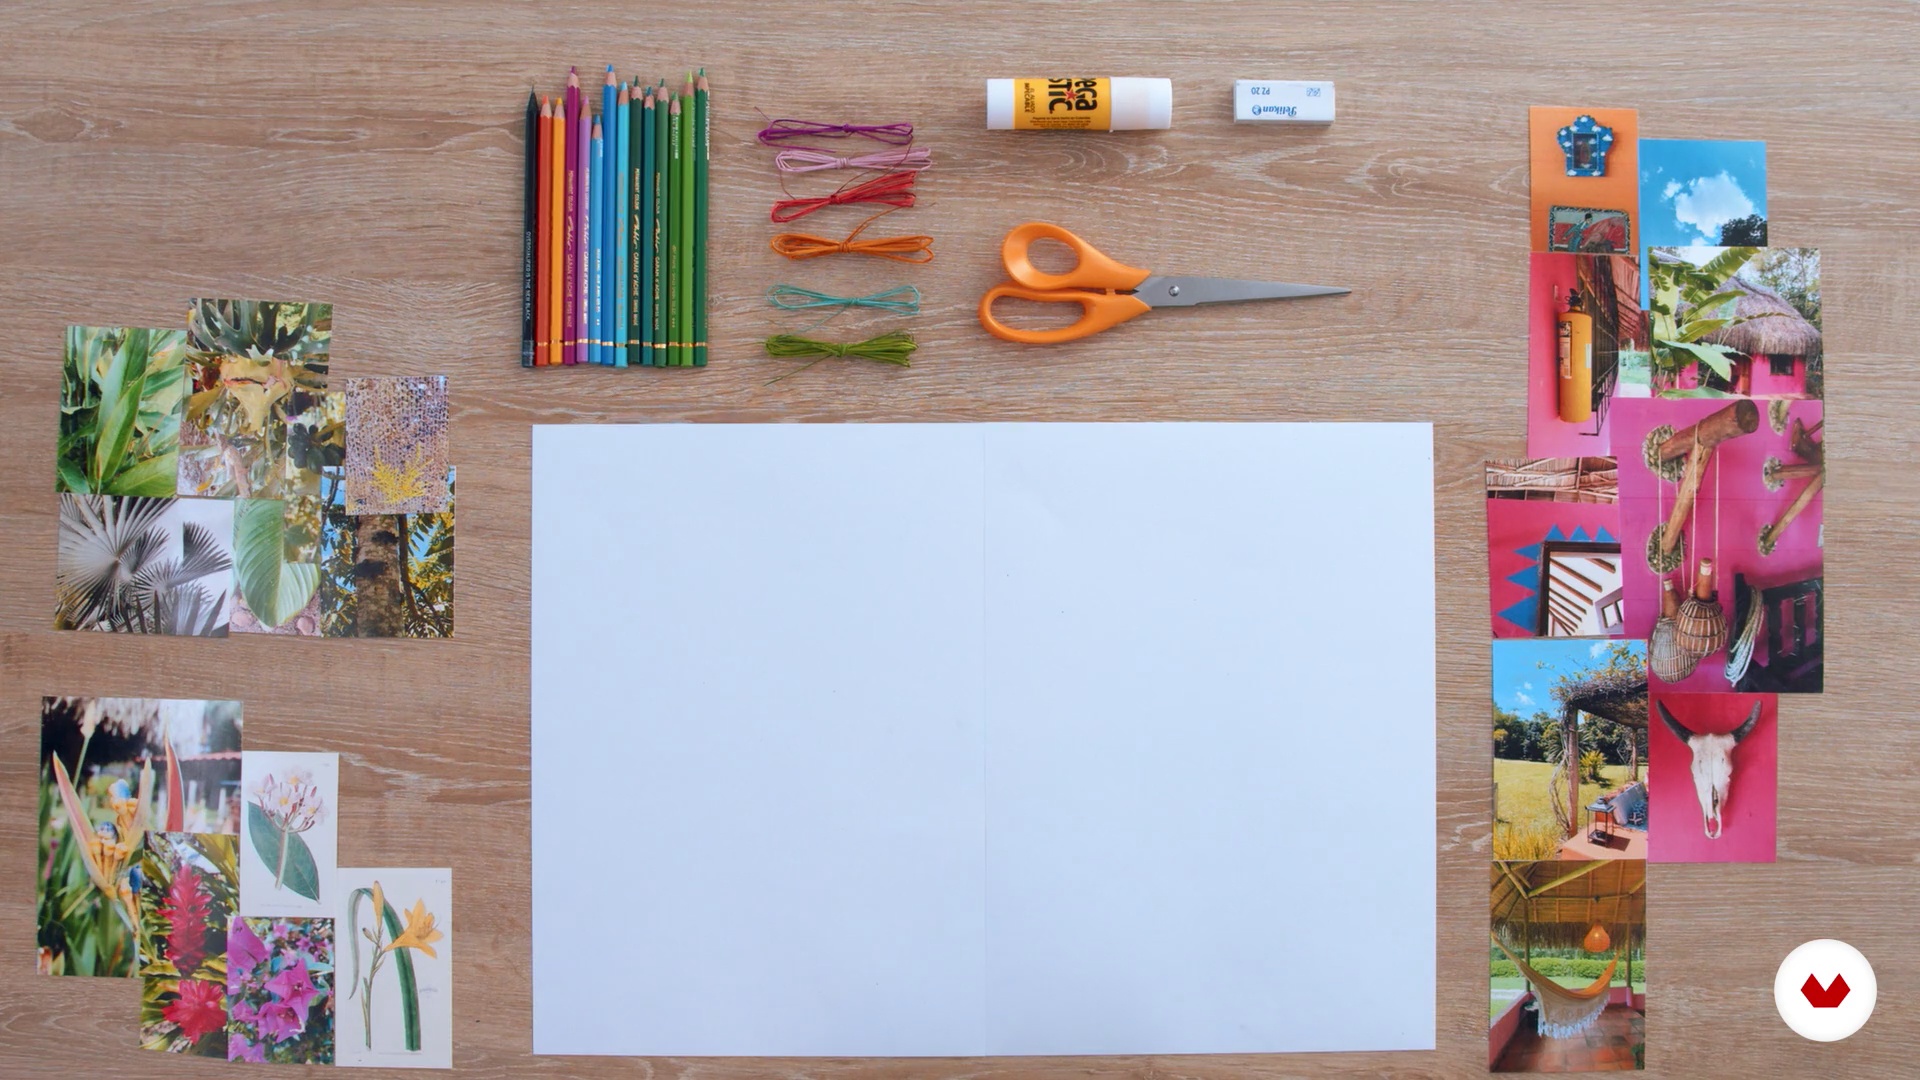
6Conceptualization: The Idea of the Collection
In this lesson, I'll explain the different steps you can take to transform an idea, a thought, or even a feeling into a collection. I'll give you some tips that will make this process easy and fun.
13m
 7
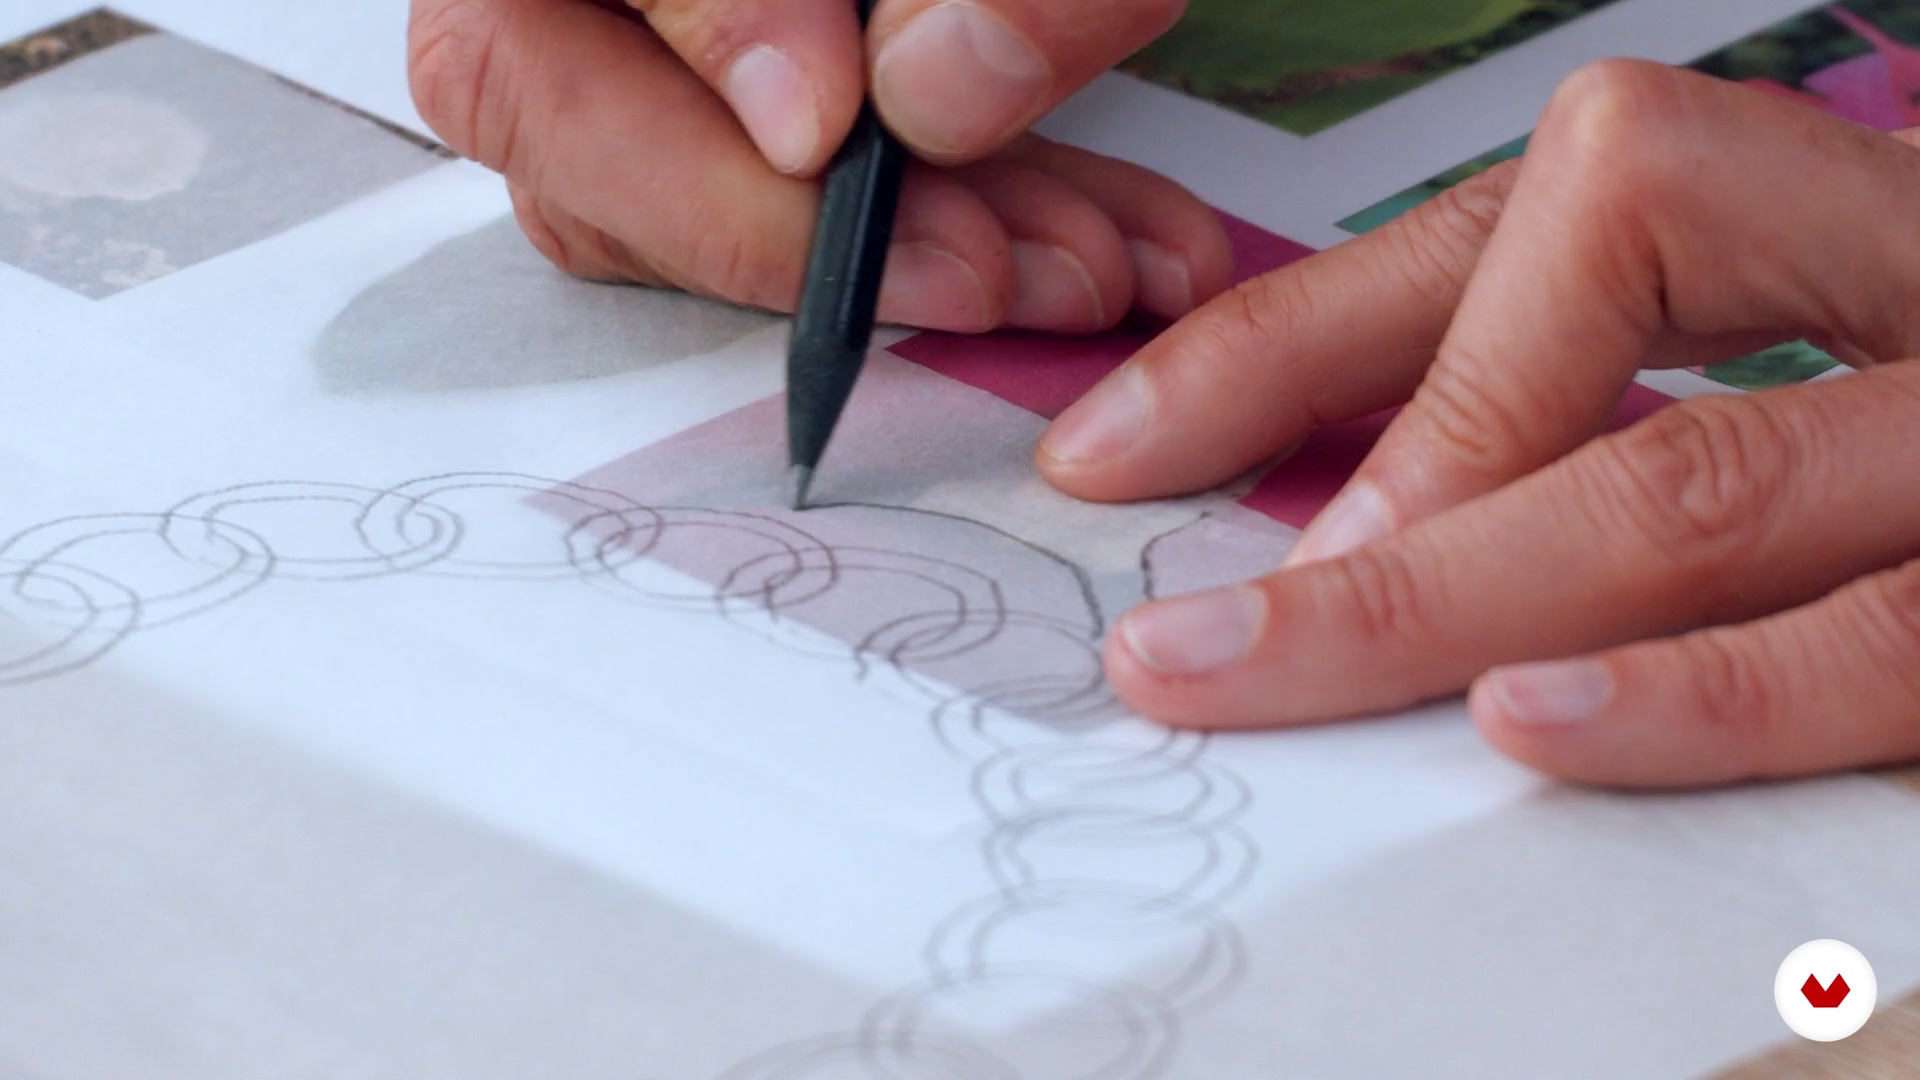
7Collection Silhouettes and Designs
In this lesson, you'll learn how to transform the ideas and images on your mood board into shapes and silhouettes that can be turned into handmade treasures.
12m
 8
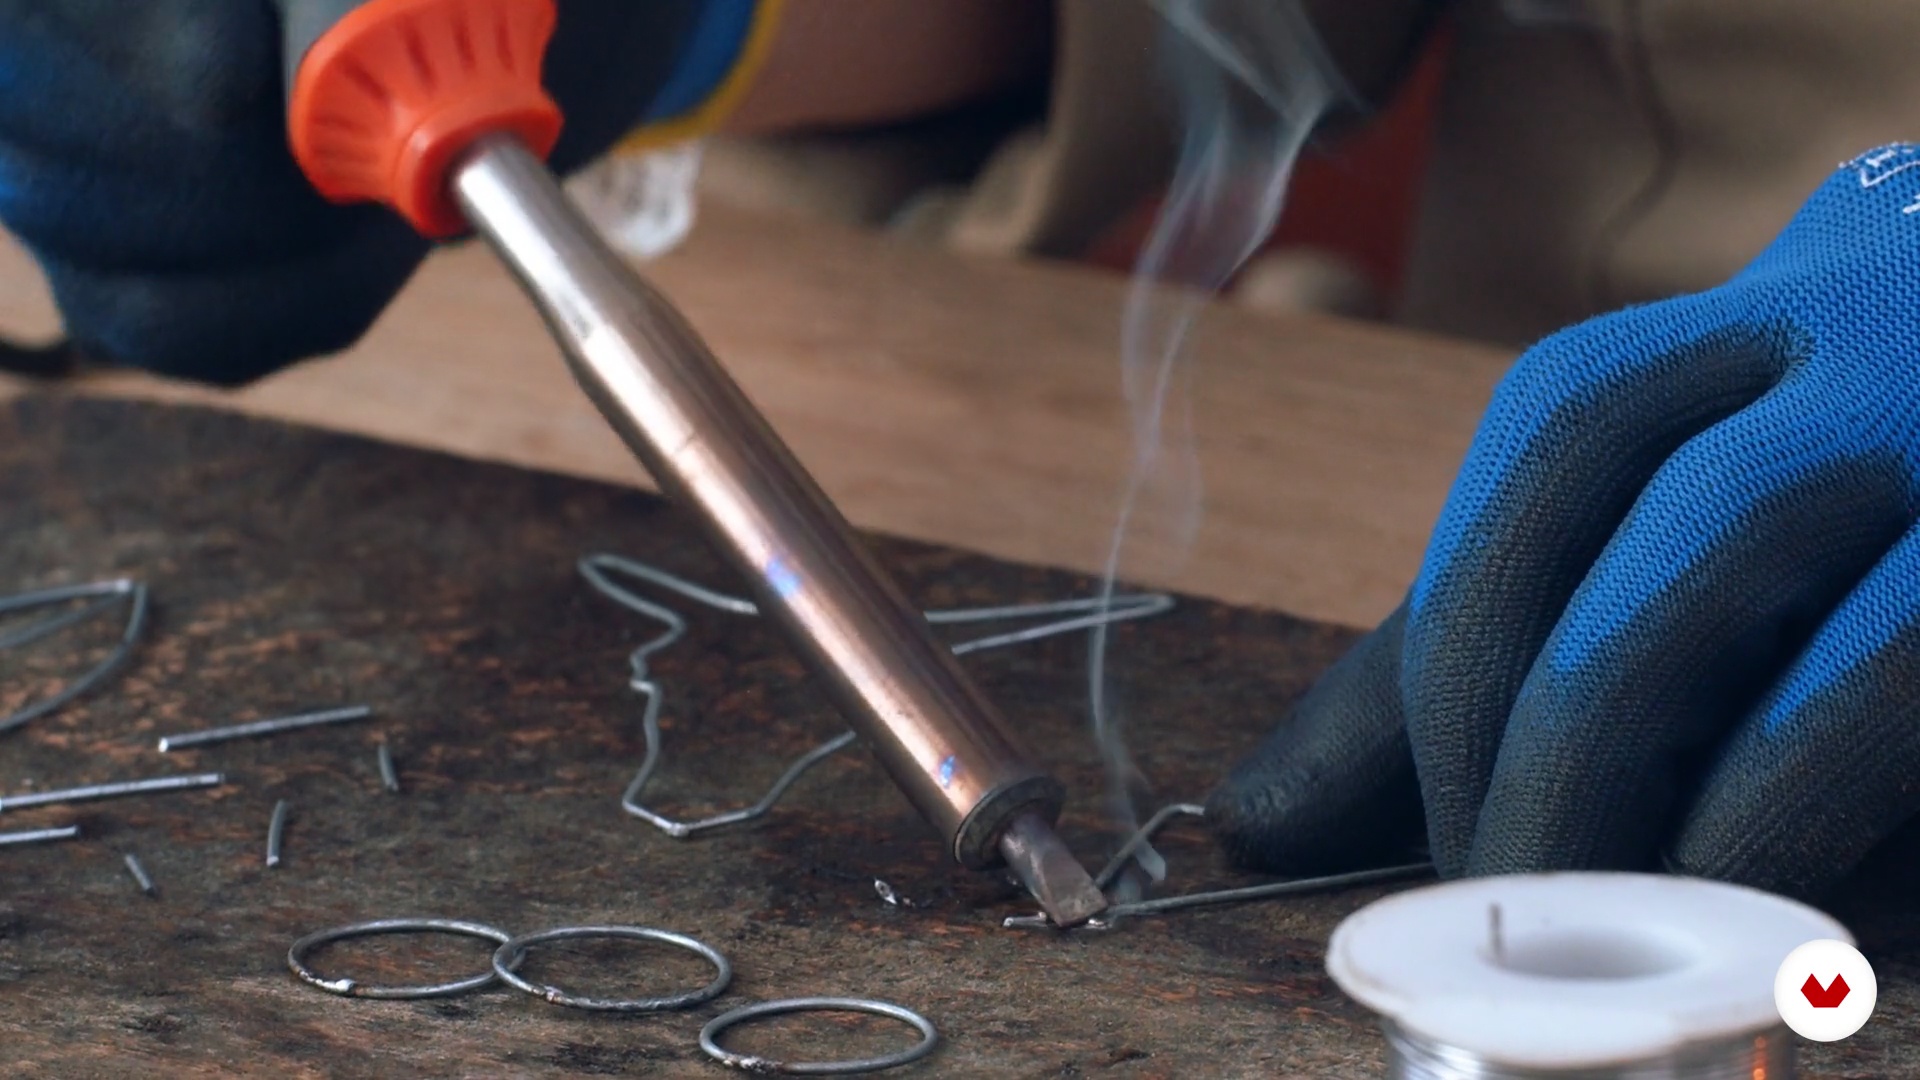
8Wire Structures
In this lesson, you'll learn how to make the wire structures you need to weave your treasures from iraca palm.
13m
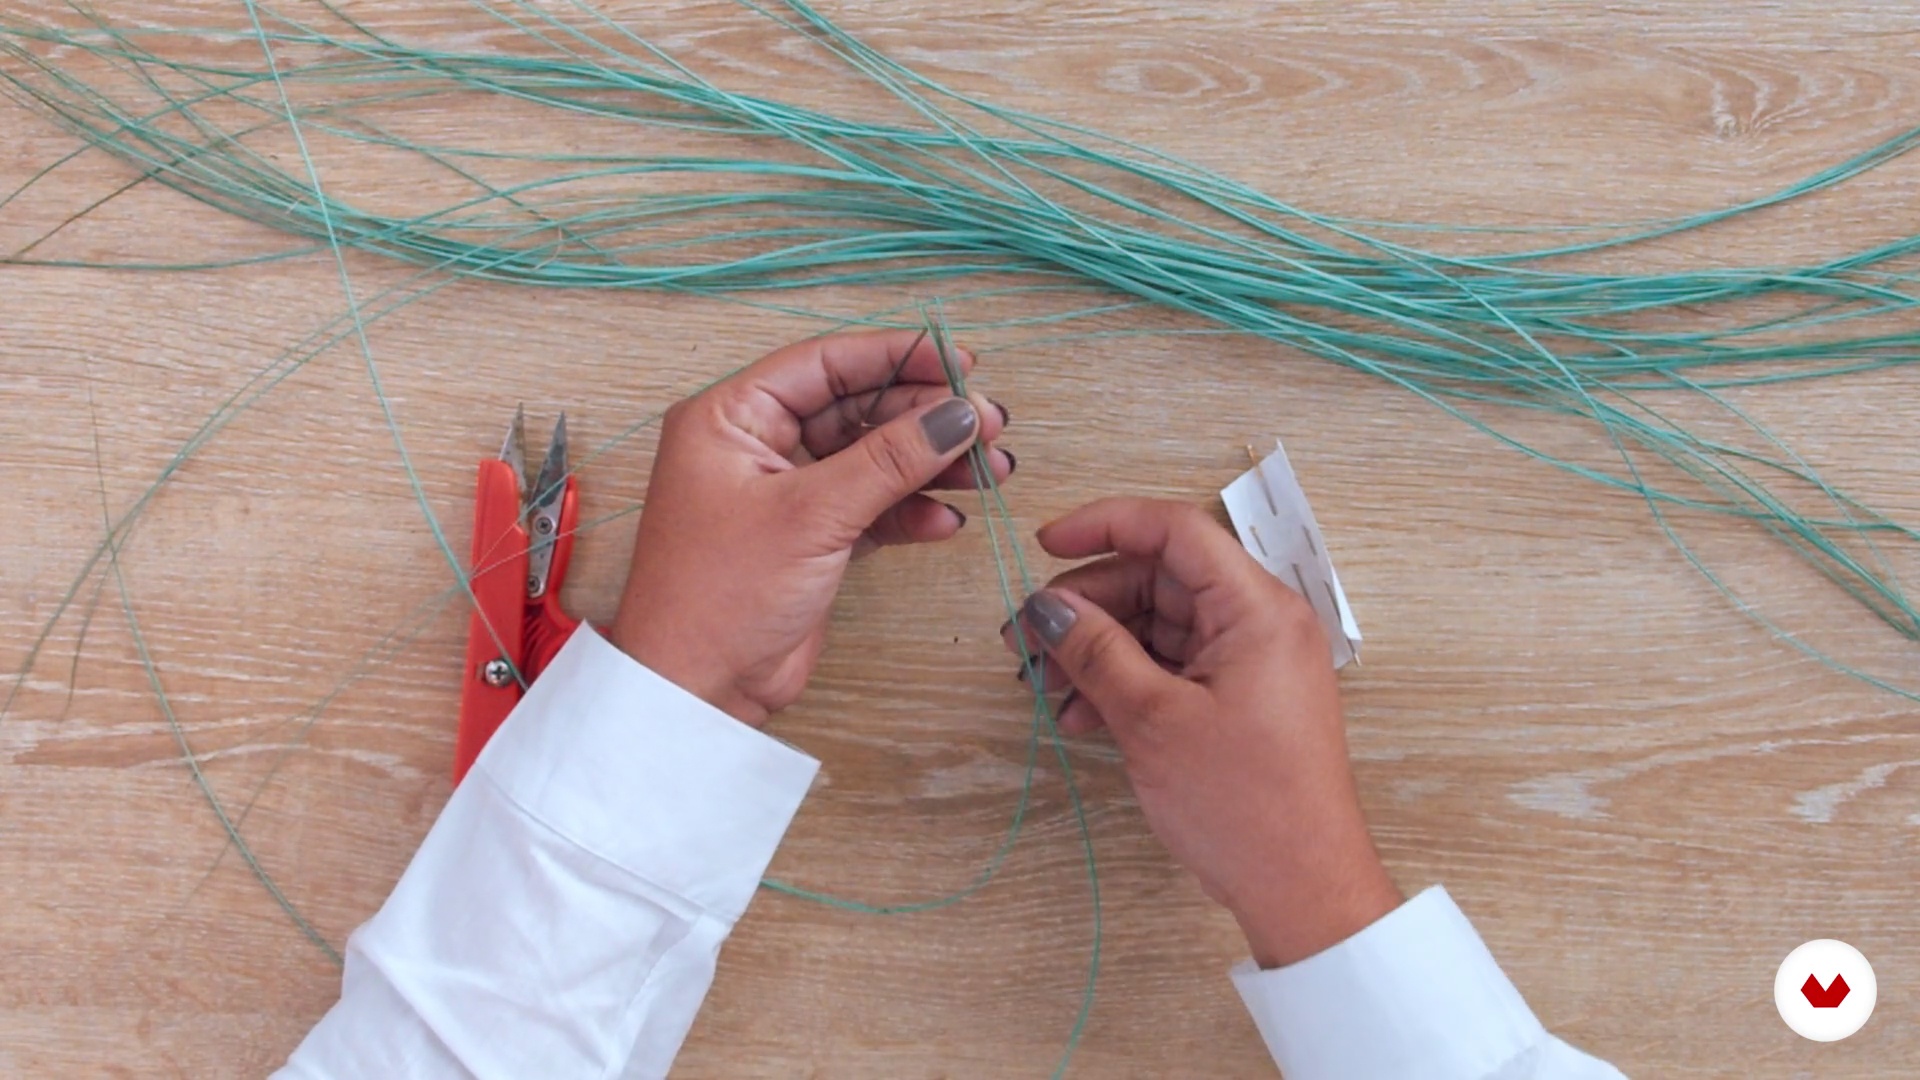 9
9Learn to Weave with Fibers
Here you'll learn different ways to weave with palm leaves to create beautiful patterns that will inspire you in the world of handcrafted jewelry.
16m
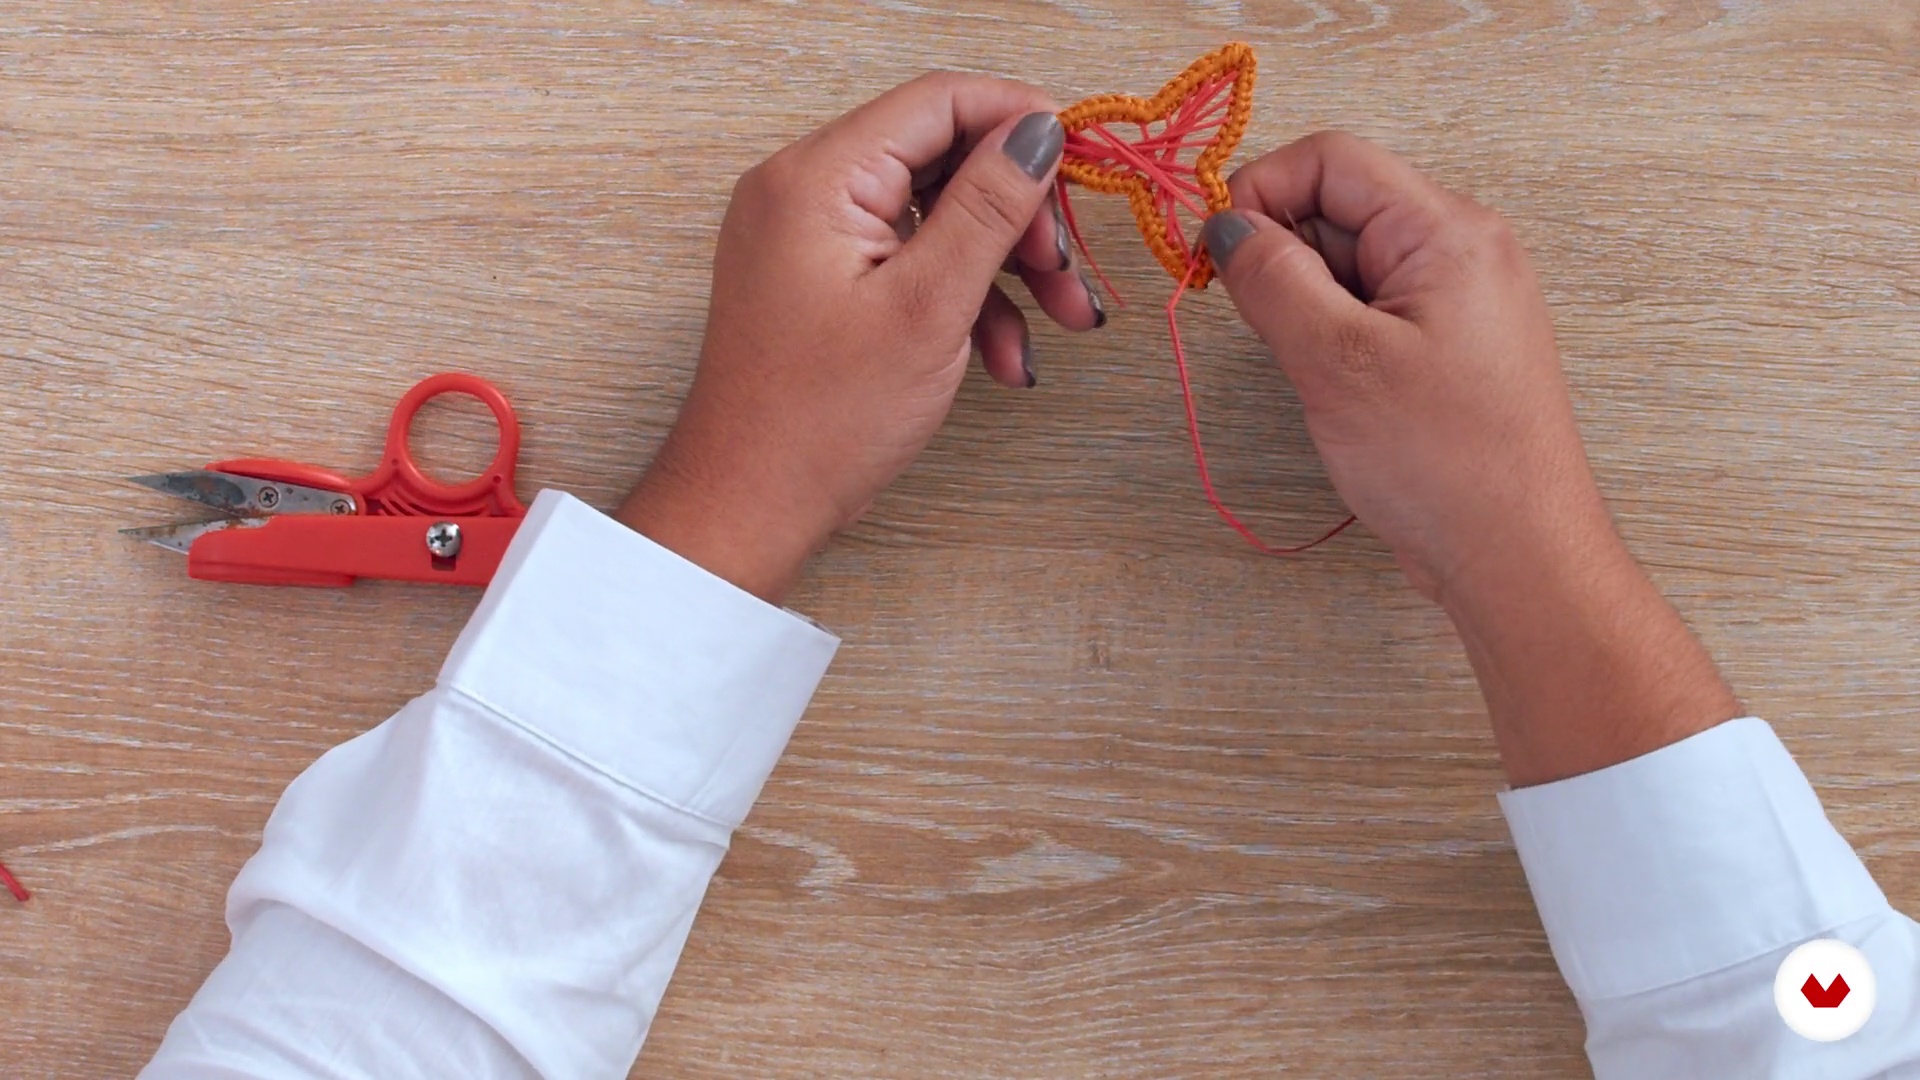 10
10Knit the Collection Pieces
Now I'm going to teach you how to weave the straw earrings for your project.
12m
 11
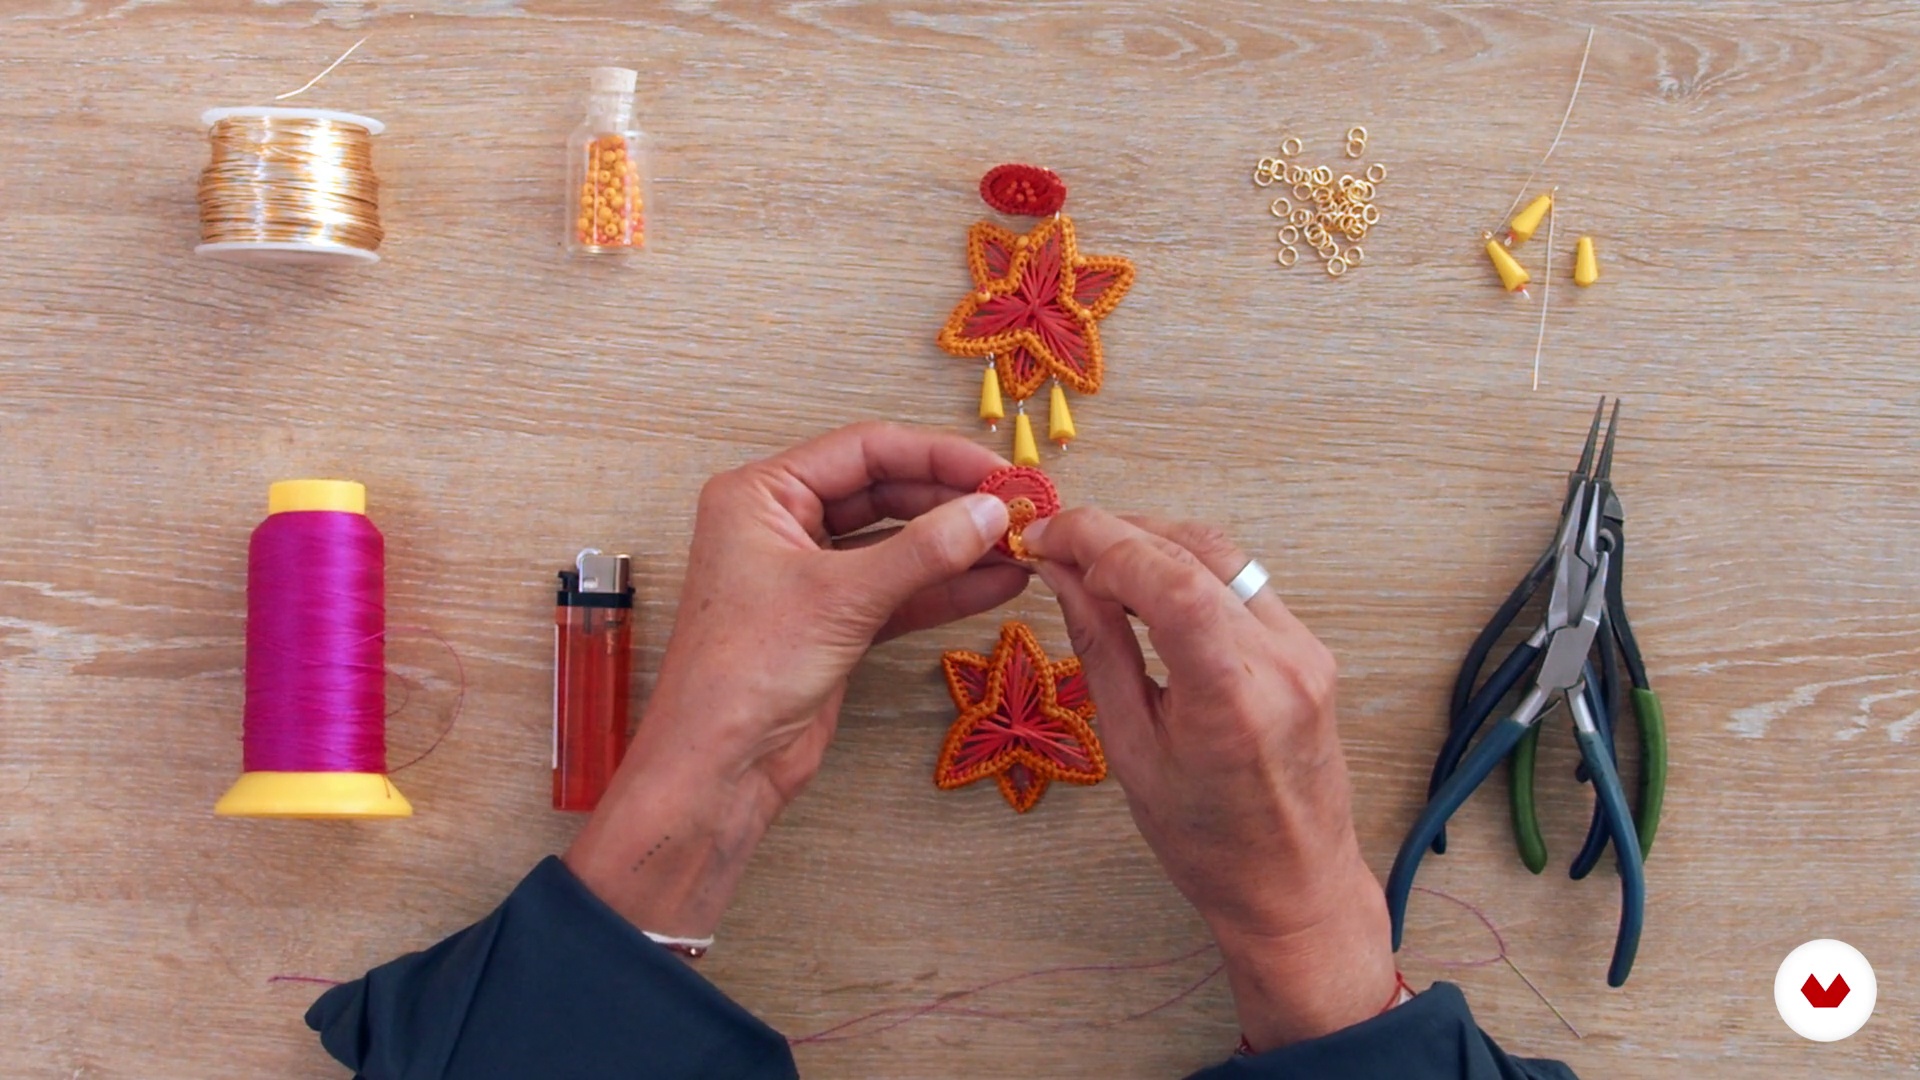
11Assembling the Woven Pieces
In this lesson we will assemble the necklace, then the brooch, and finally the earrings.
19m
 12
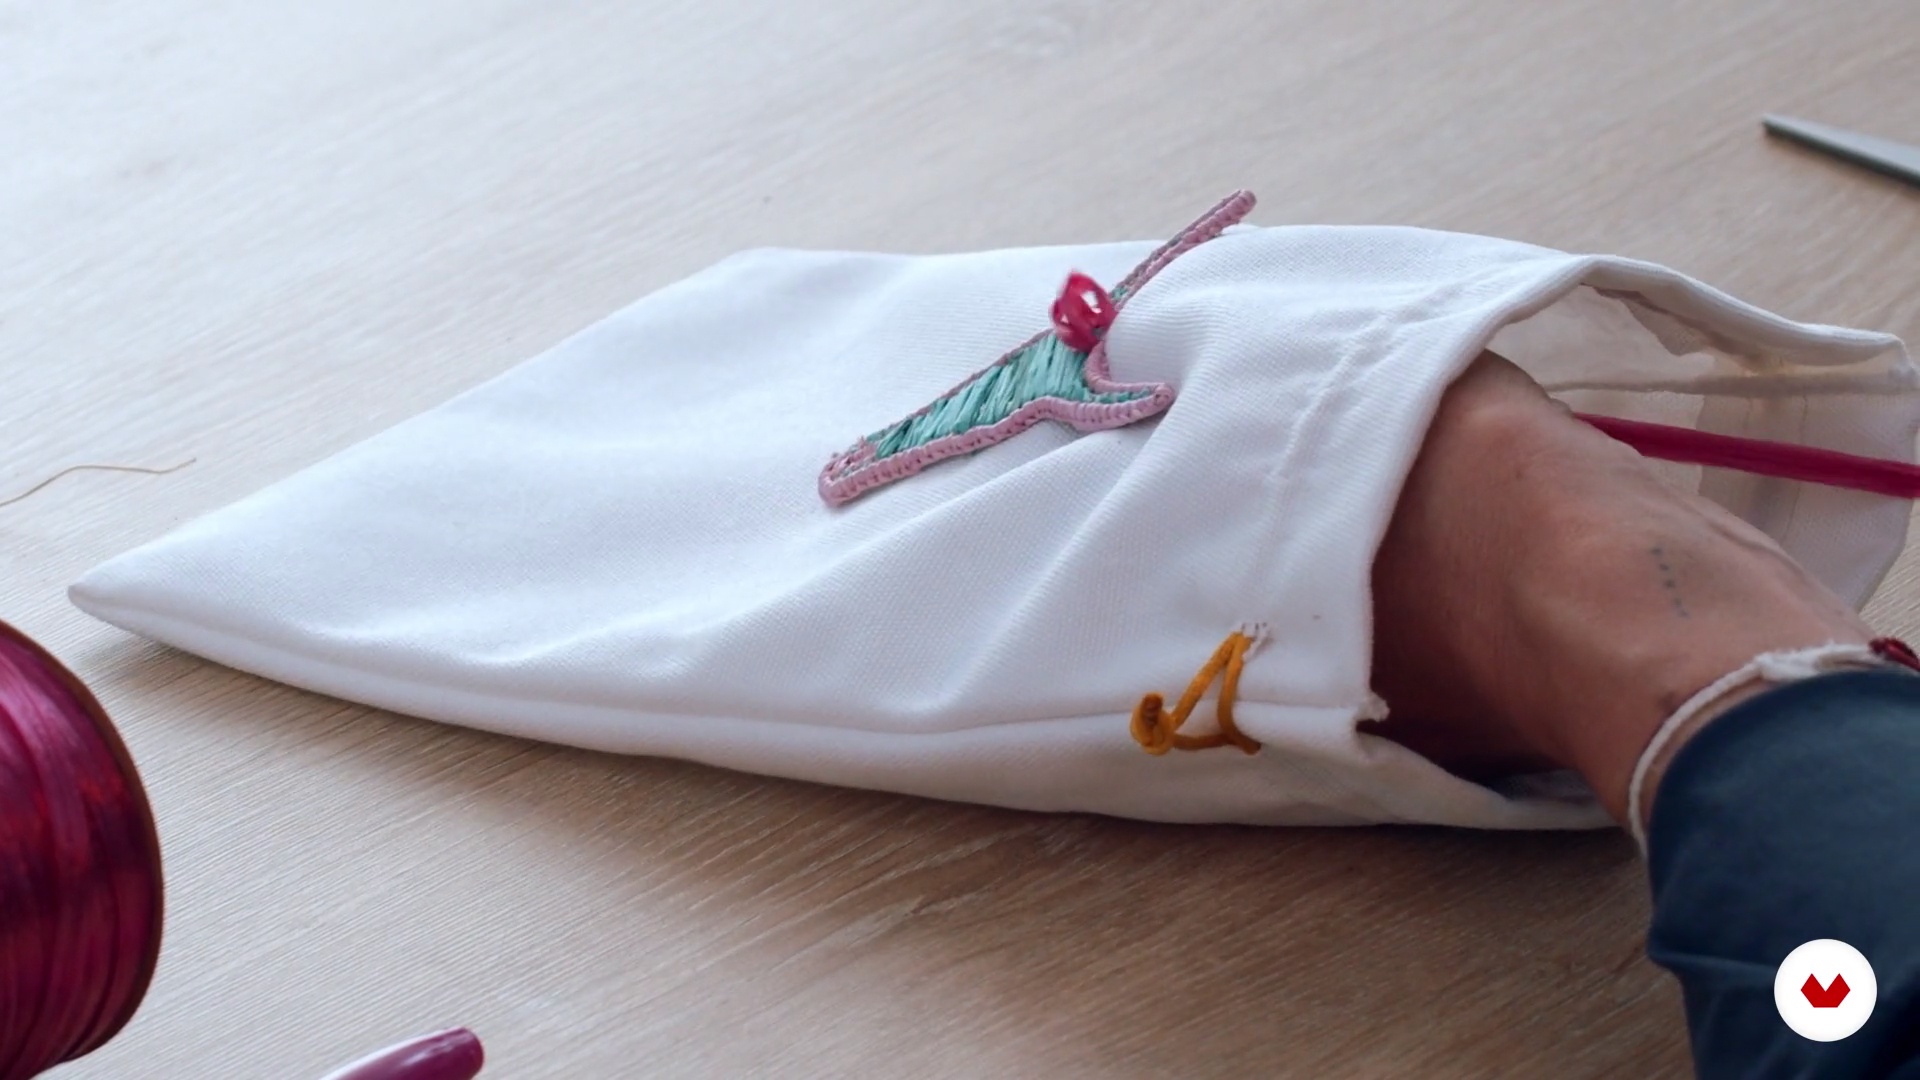
12Turn These Treasures into Jewelry, Packaging
In this lesson, you'll learn some ways to embellish your designs. I'll show you how to use your creativity to invent ways to package your accessories. This is a very exciting part of the course.
17m
 13
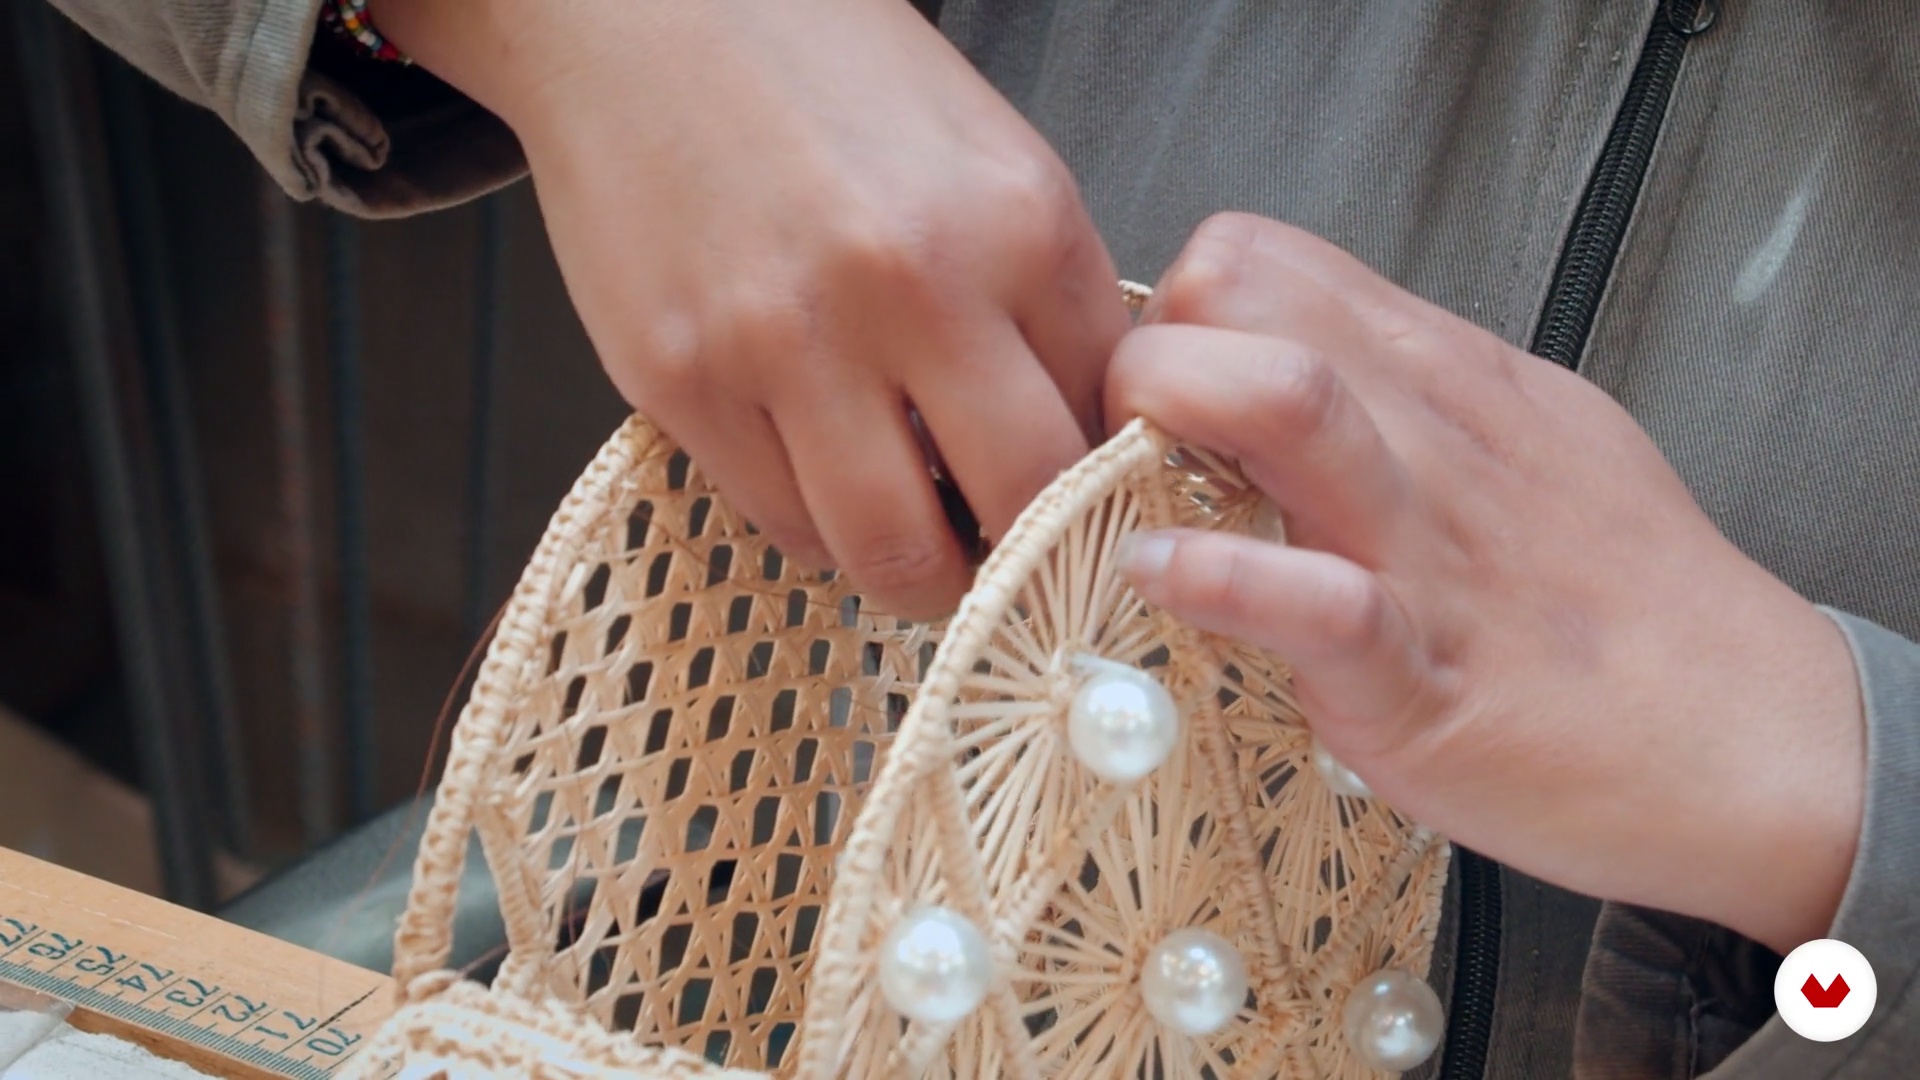
13Final Advice
Here I'll give you some tips to make your introduction to the jewelry world as magical as it has been for me.
6m
 4
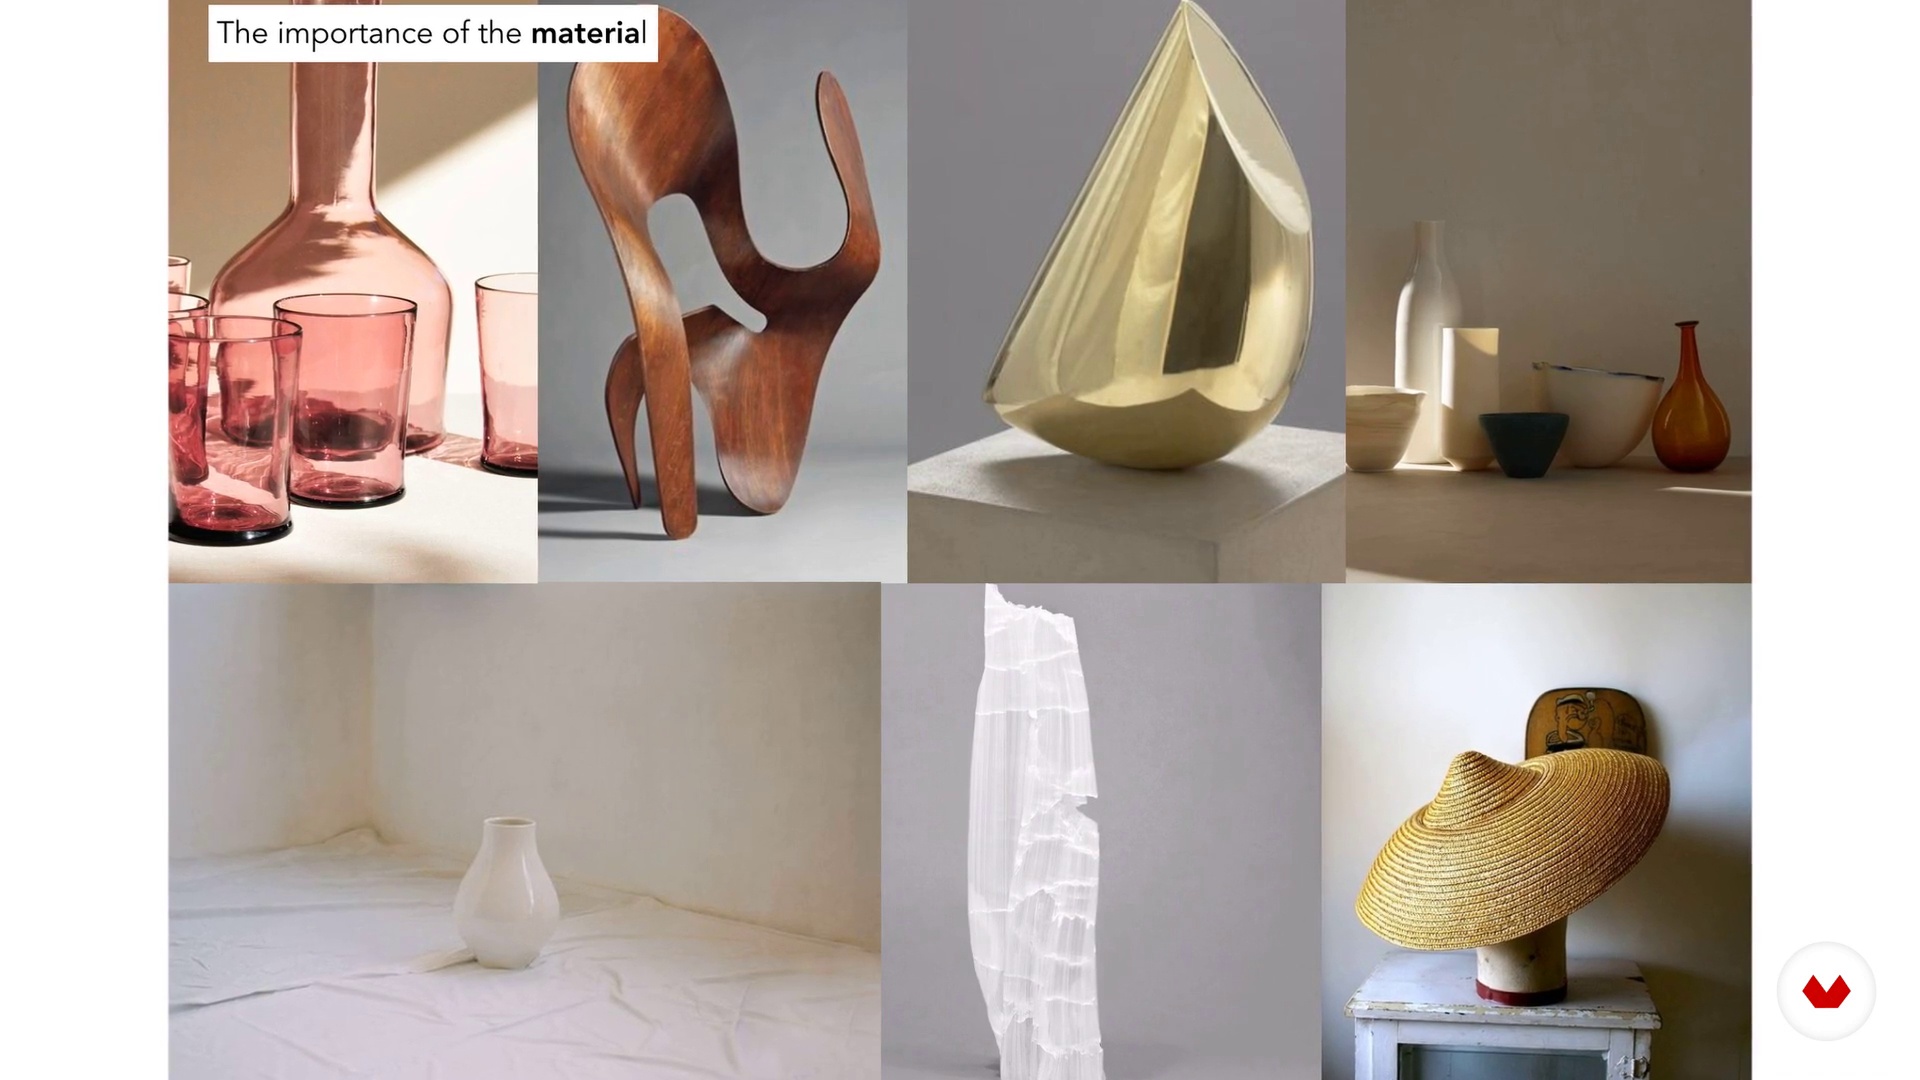
4Mood board Inspiration.
Look for ideas, references and inspiration. Search books, social media, documentaries, or any space around you for the collection's . The essential idea from which the collection will be based. From that starting point, I'll explain how to create a mood board with images, words, scraps of materials, or any other material that will guide us in the graphic definition of our collection ideas or concepts.
4m
 5
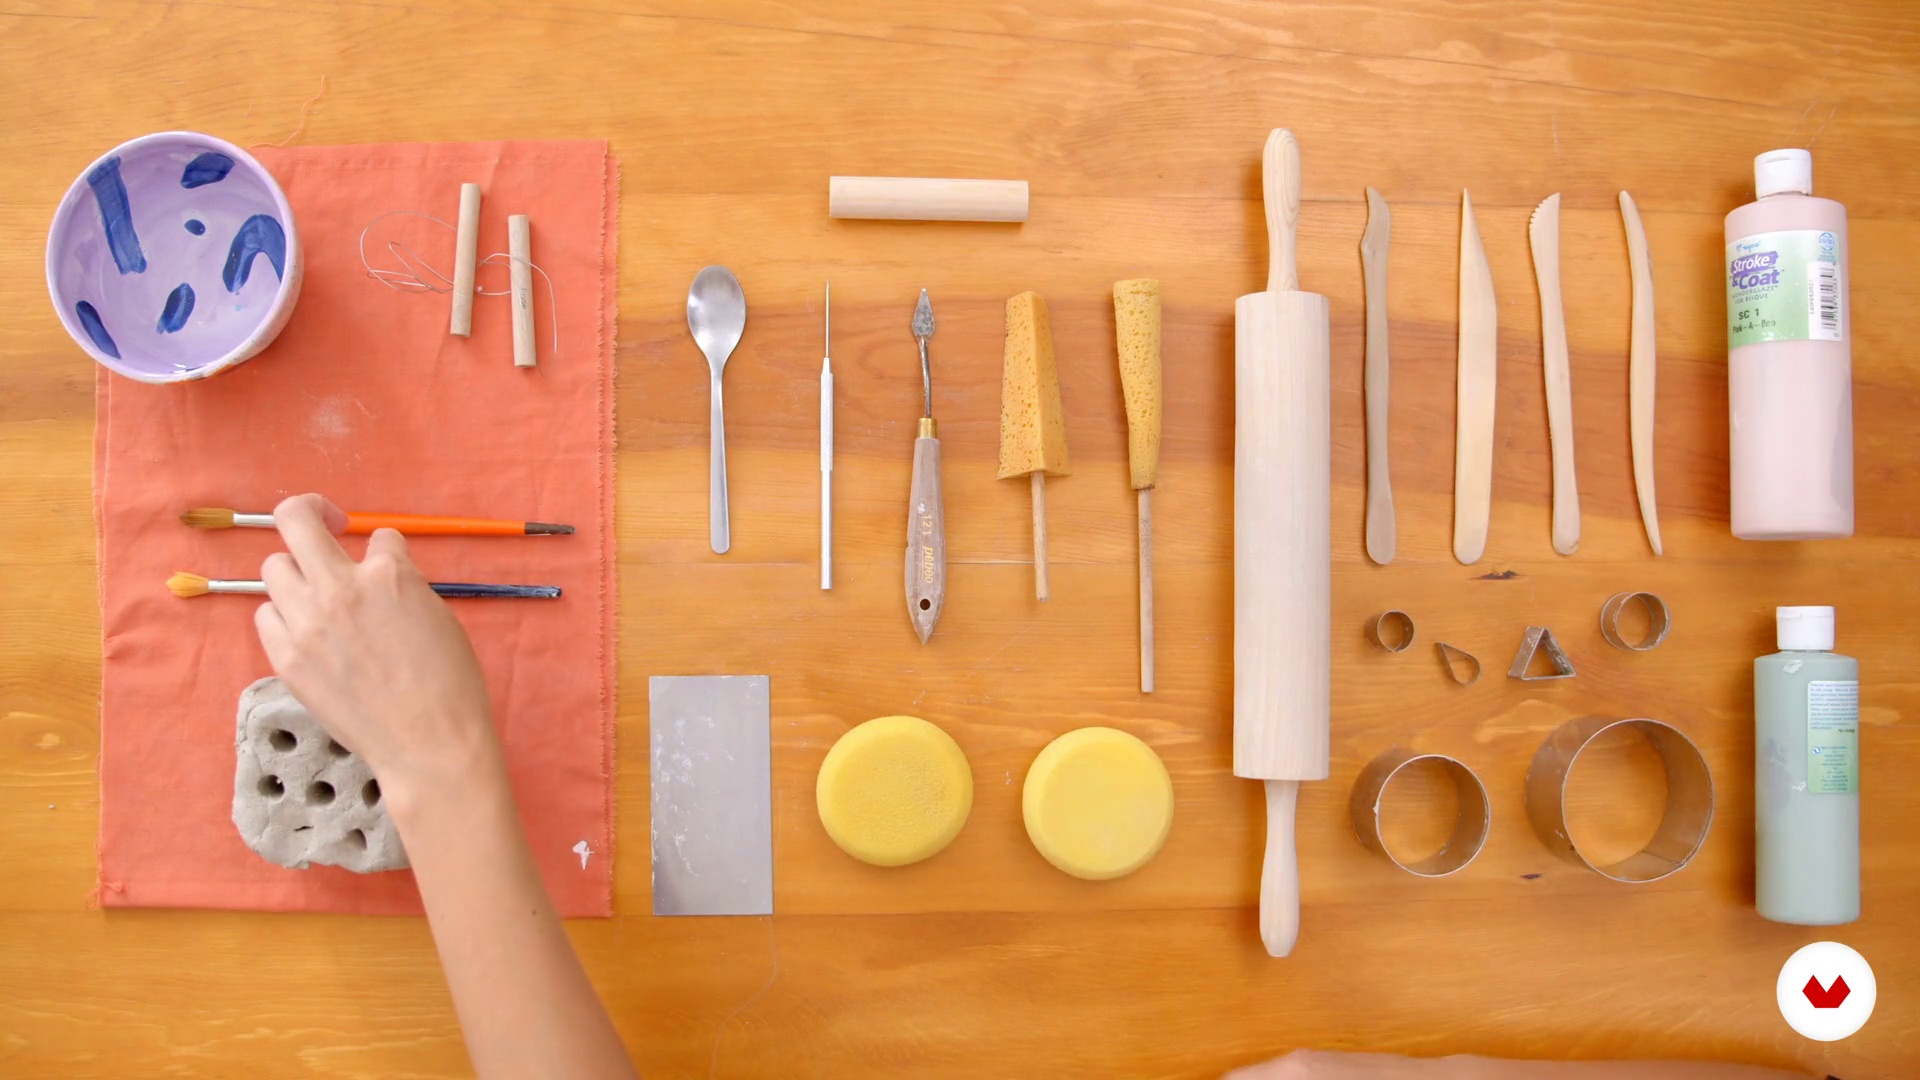
5materials
In this first phase, I will explain the materials and all the necessary tools, as well as the characteristics of each one.
4m
 6
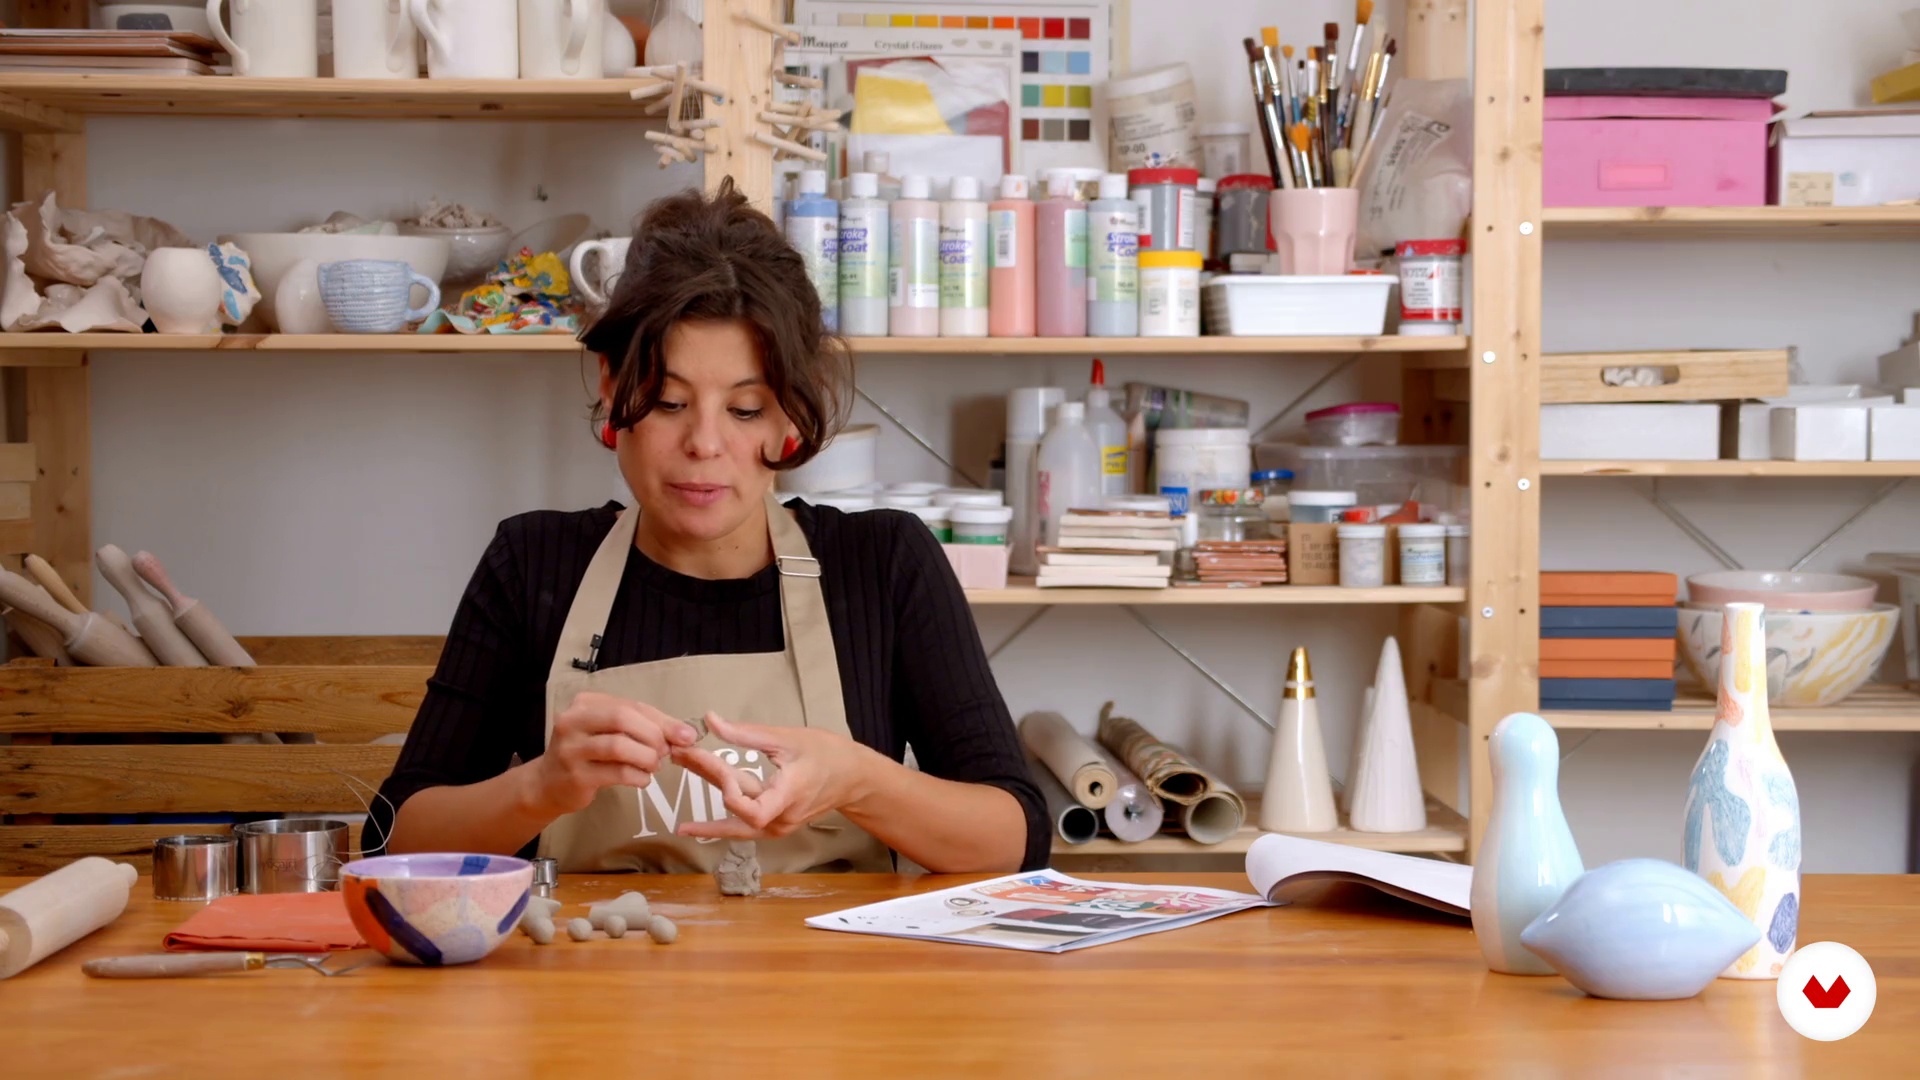
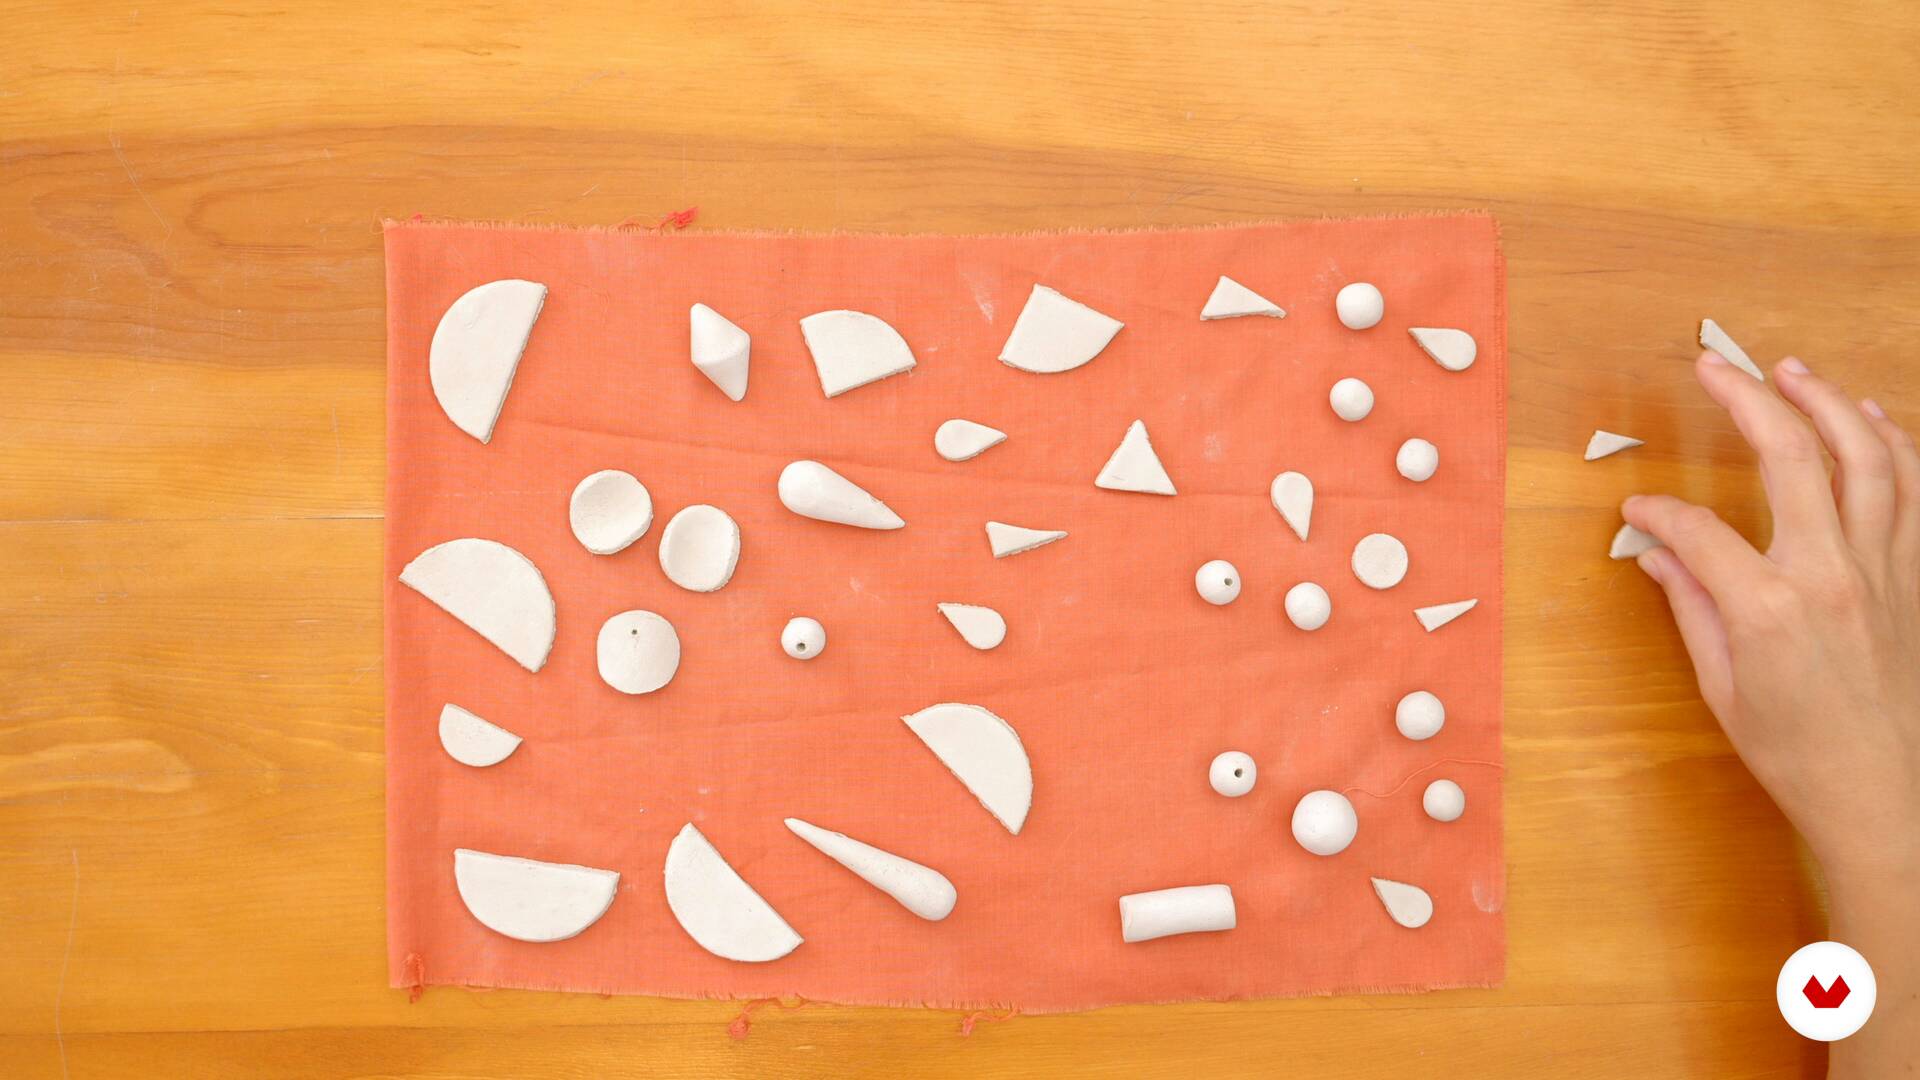
6Clay modeled sketches. Creativity.
We've now clarified and organized our inspirations and ideas. And we have the table with all the materials and tools ready for us to begin. Everything invites us to get our hands dirty, and that's exactly what we're going to do. In this video, we're going to create the first sketches of our pieces, and to do so, we need to give our hands as much freedom as we can. It's important to be flexible and know that we can take the concept and transform it with complete freedom when it comes to sketching and imagining the jewelry pieces for your collection. You'll sketch various sizes, formats, profiles, and views of the pieces.
16m
 7
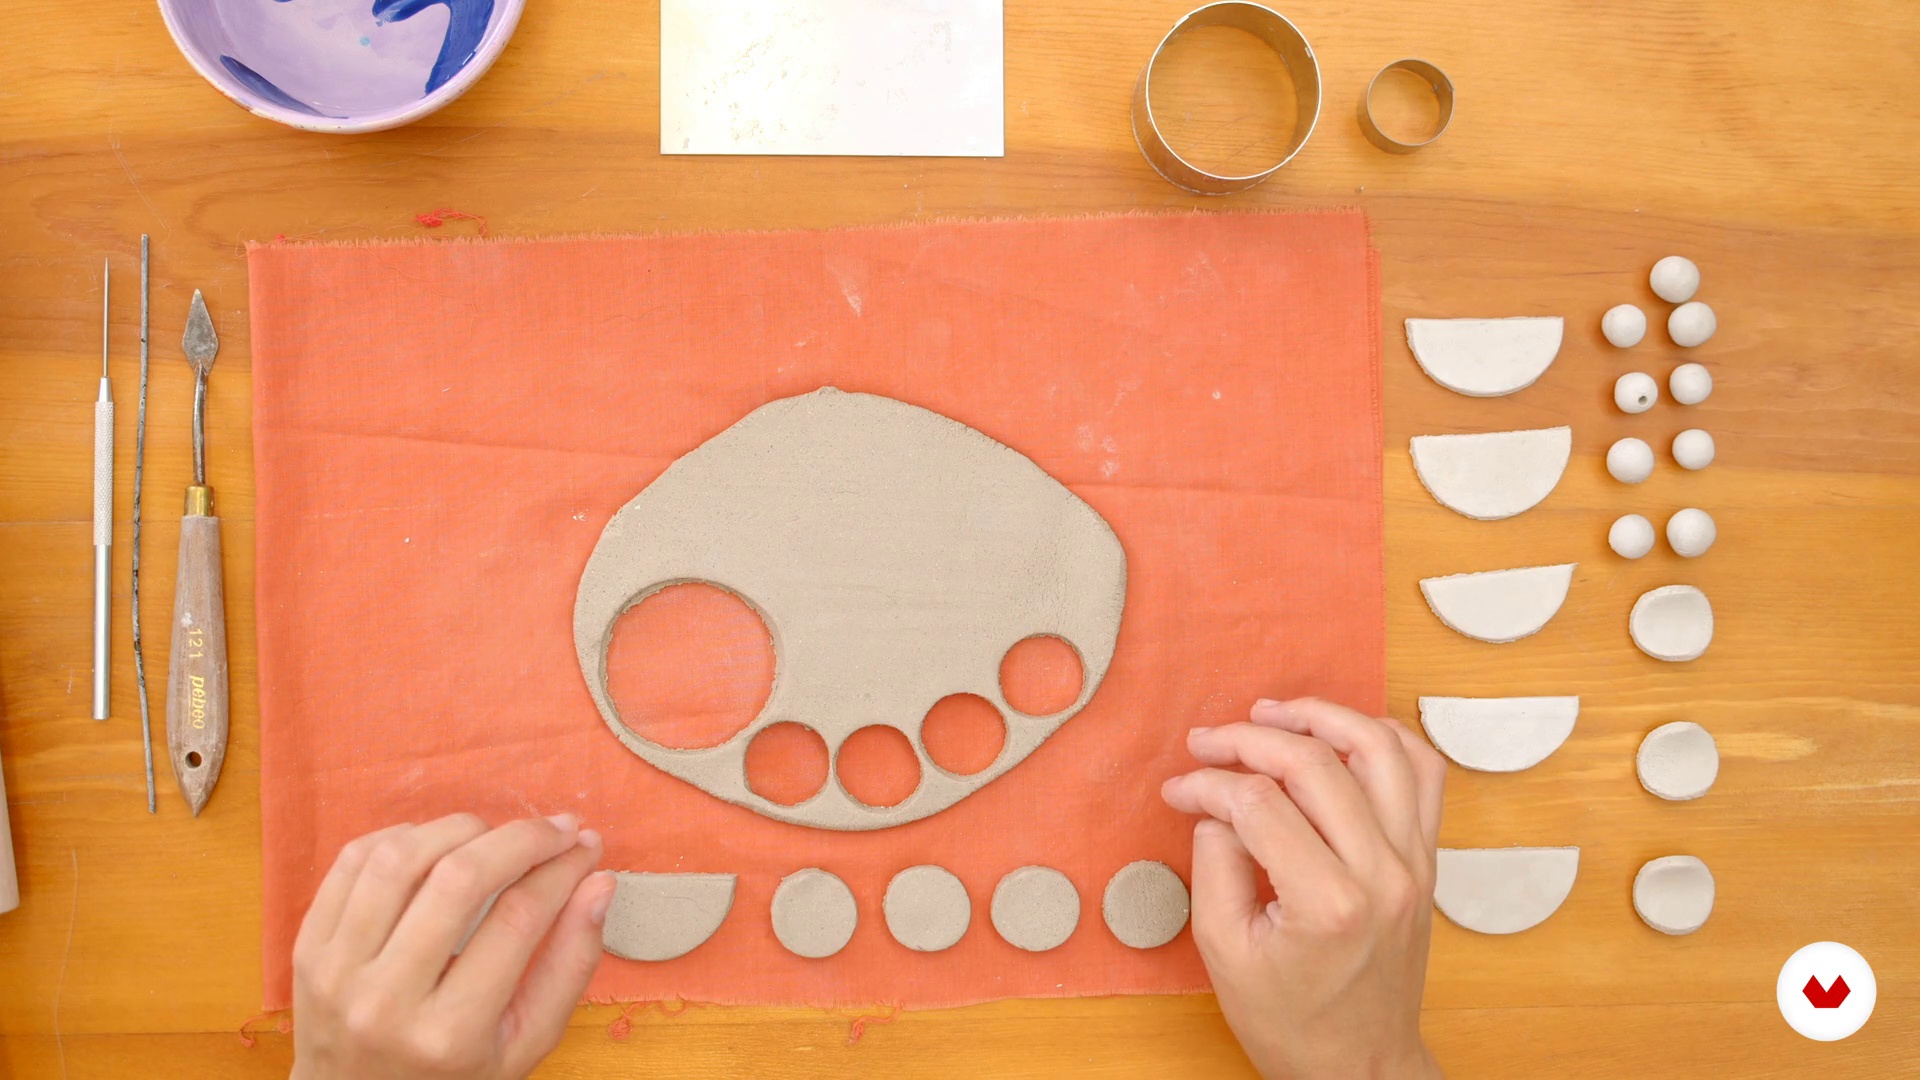
7Structure ideas and shape the collection
In this video, with all the pieces outlined, you're left to choose and fine-tune your favorites. The next step is to structure the collection and determine the pieces: a bracelet, a pendant, and a pair of earrings.
3m
 8
8Modeling. Basic techniques
Pinching, swatching, and squeezing—I'm going to teach you the basic modeling techniques. I'll do this after you've let your imagination run wild with the pieces so you don't censor your creativity one bit. Now we'll do a brief exercise with each of these techniques, and with that first experience, you'll be able to create jewelry from a new perspective. In this lesson, I'll also talk about types of clay and the entire ceramic process.
6m
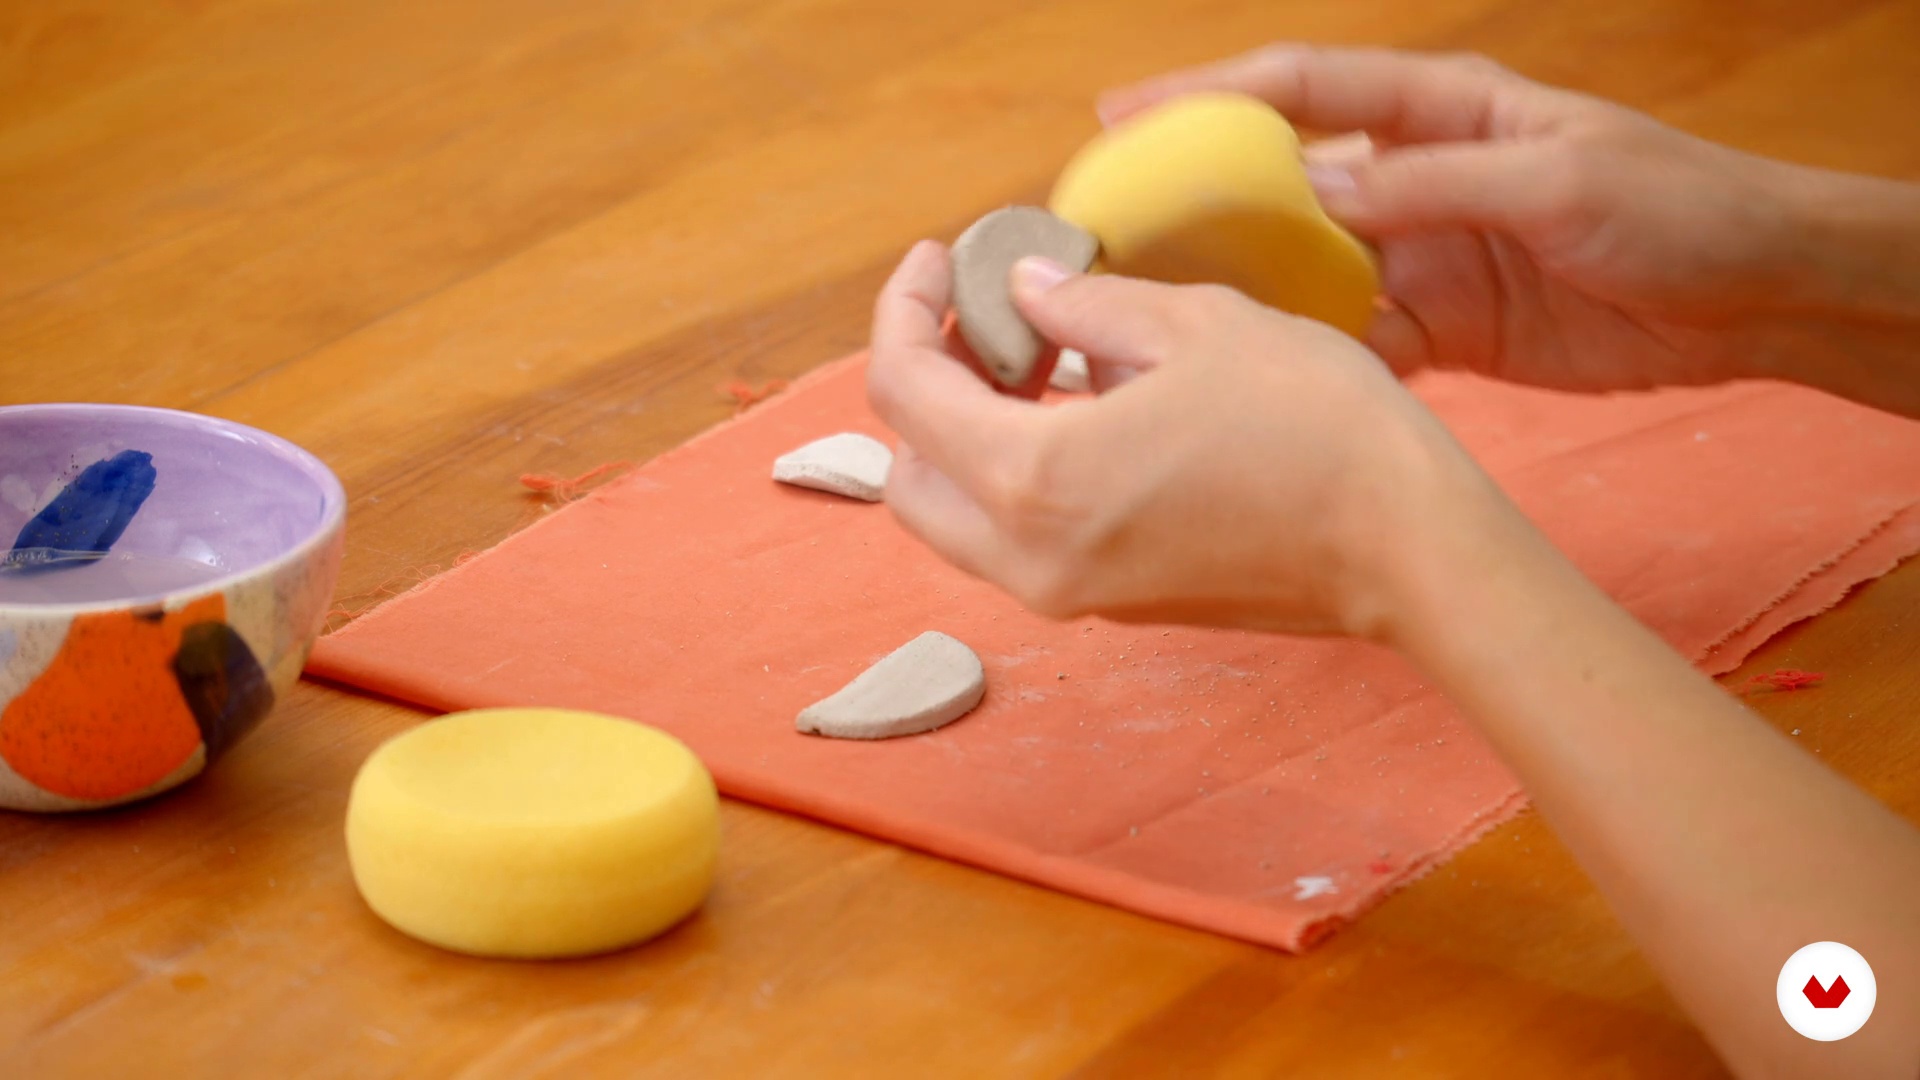 9
9Sponged and dried
Once the piece is modeled, you'll sponge and finish the pieces. Meanwhile, I'll explain drying times, tricks, and final textures that can be applied with a punch or other tools.
3m
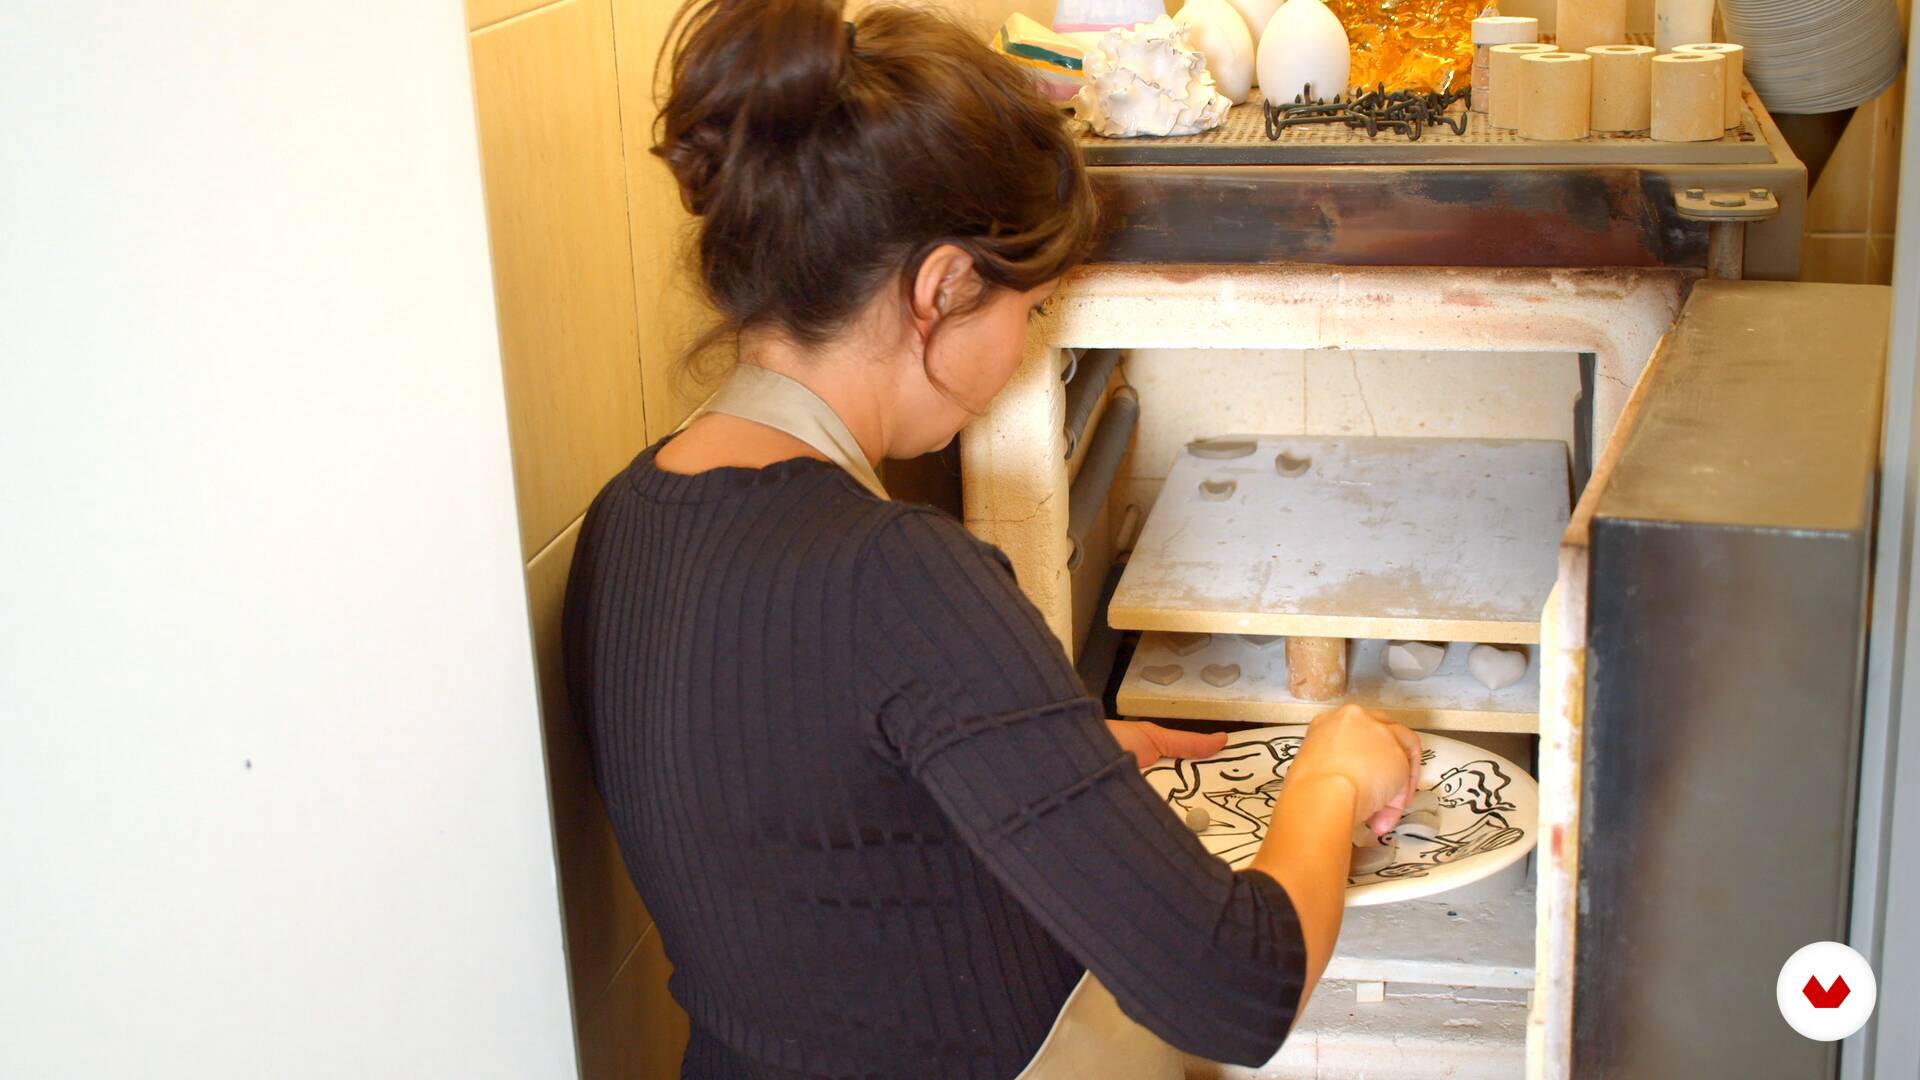 10
10Cooking in the ceramic kiln
It's time for you to learn about the ceramic kiln. In this video, I'll explain everything about them, how they work, and how you can rent firings. We'll talk about the temperature curve, and finally, you'll learn how to maximize the kiln space and the many "magical" events that take place inside.
4m
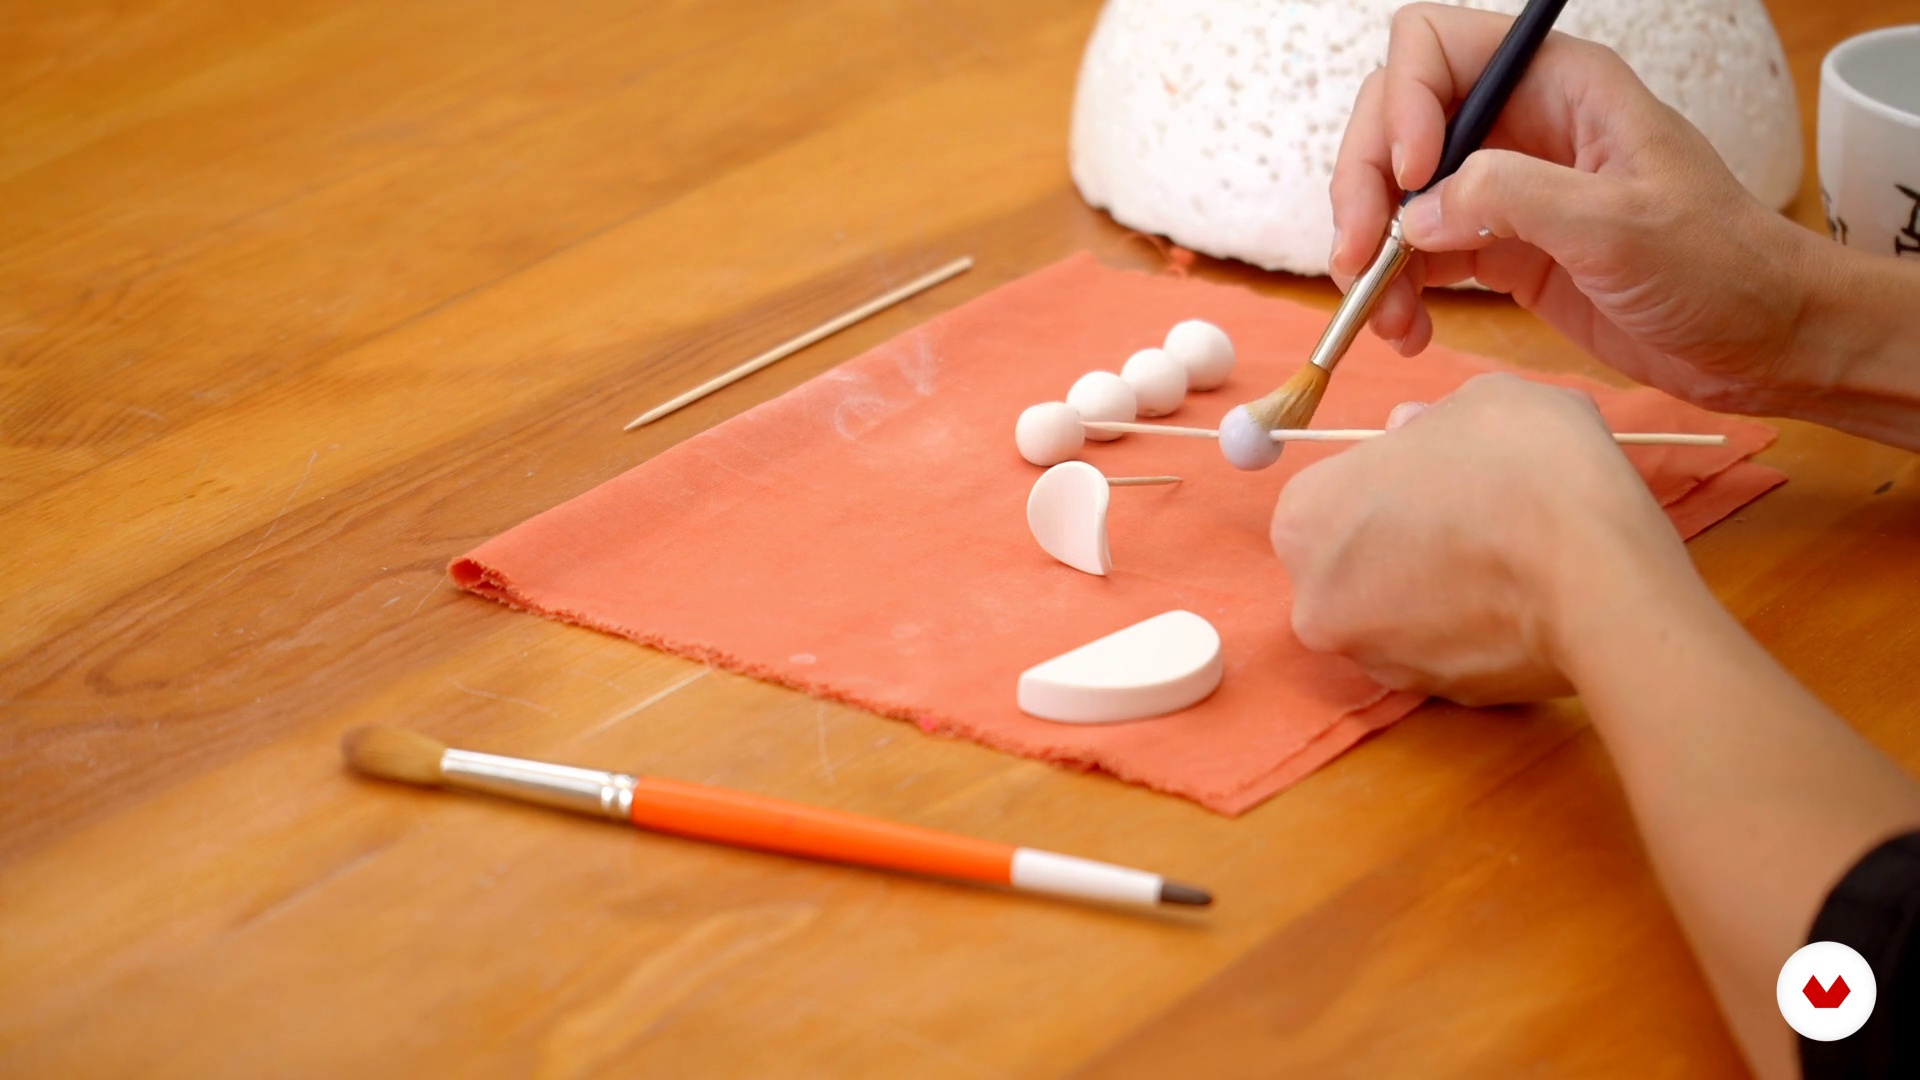 11
11Enamel. Techniques and ideas.
For many, this is the most fun phase: the coloring begins! Once the pieces are bisque-fired, I'll explain the types of glazes: powder, suspension, and luster, as well as the firing times, temperatures, and more. I'll also share how to apply them and many techniques for creating original finishes.
10m
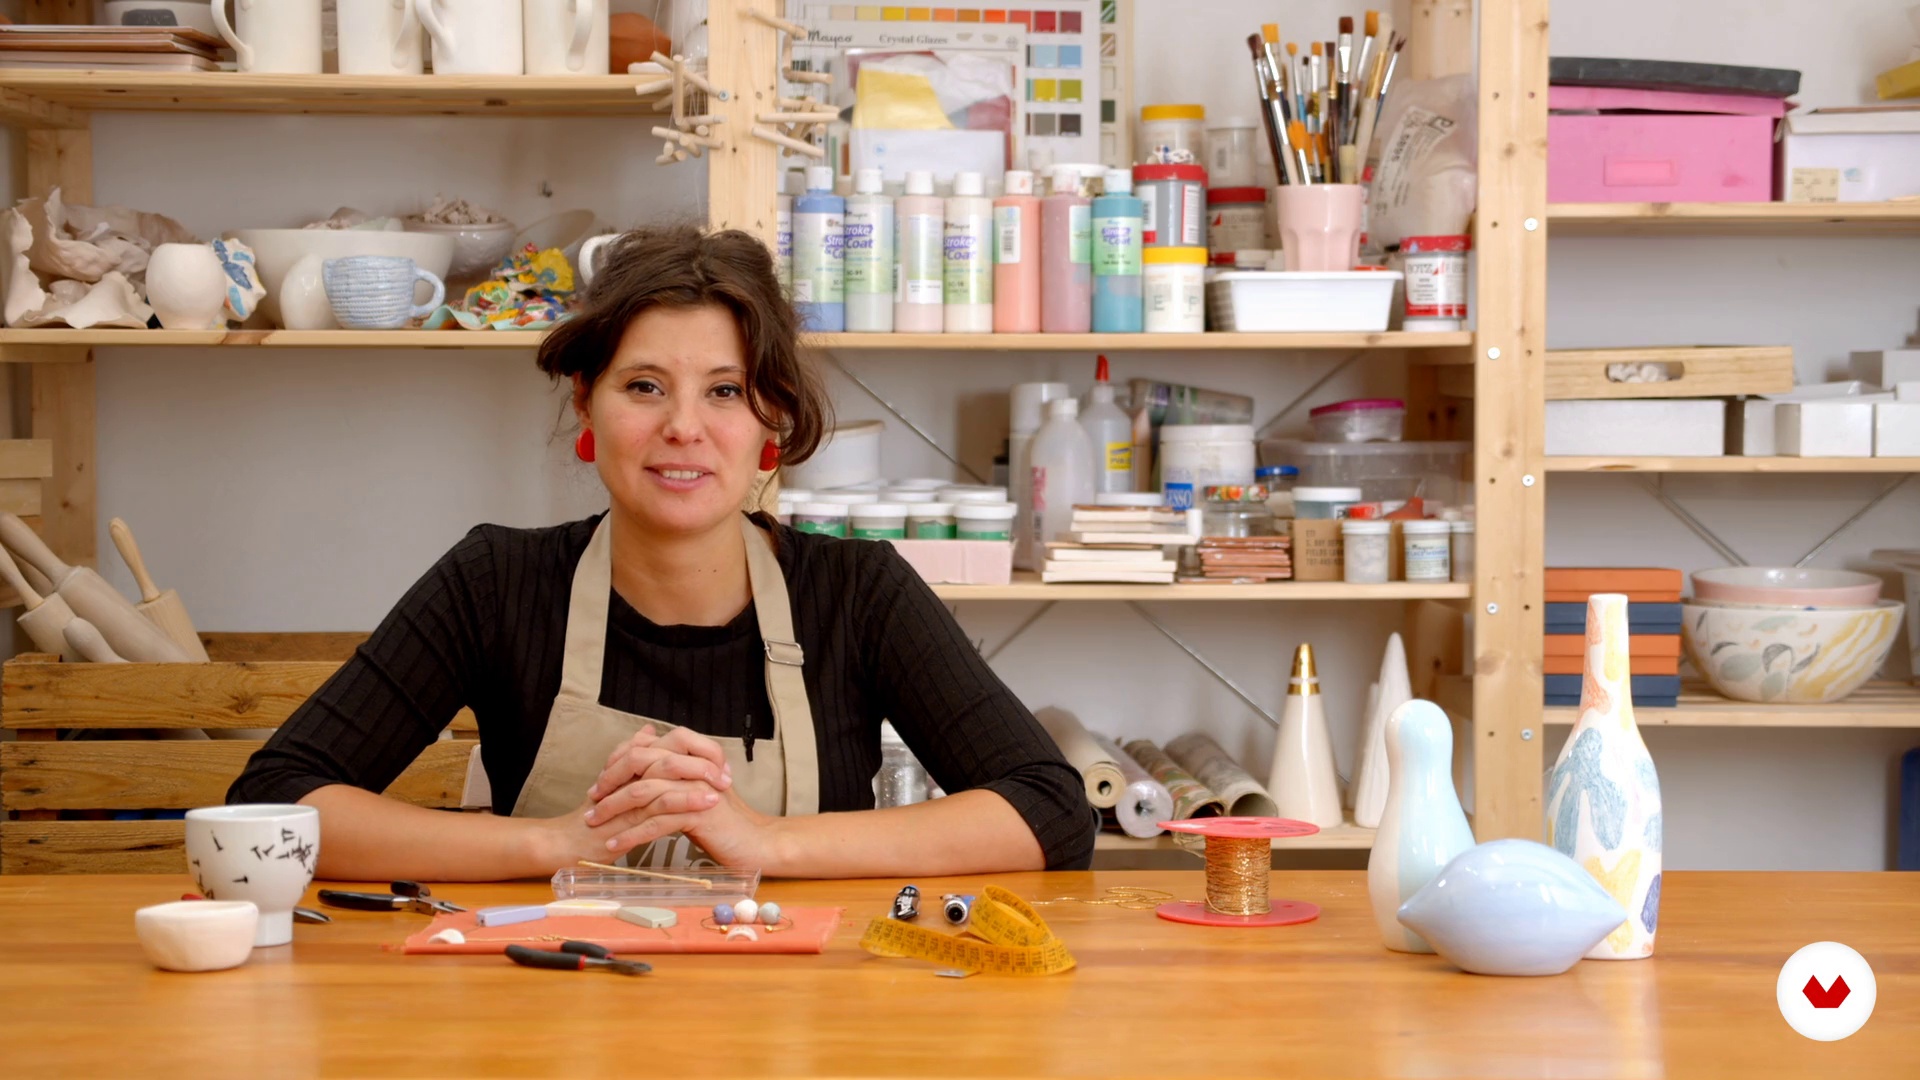 12
12Application of fittings
It's time to design the application of the fittings. I'll show you many, and we'll research and brainstorm possible applications. I'll explain how to apply them, how to glue them, and all the tricks involved.
4m
 13
13How to take care of the pieces
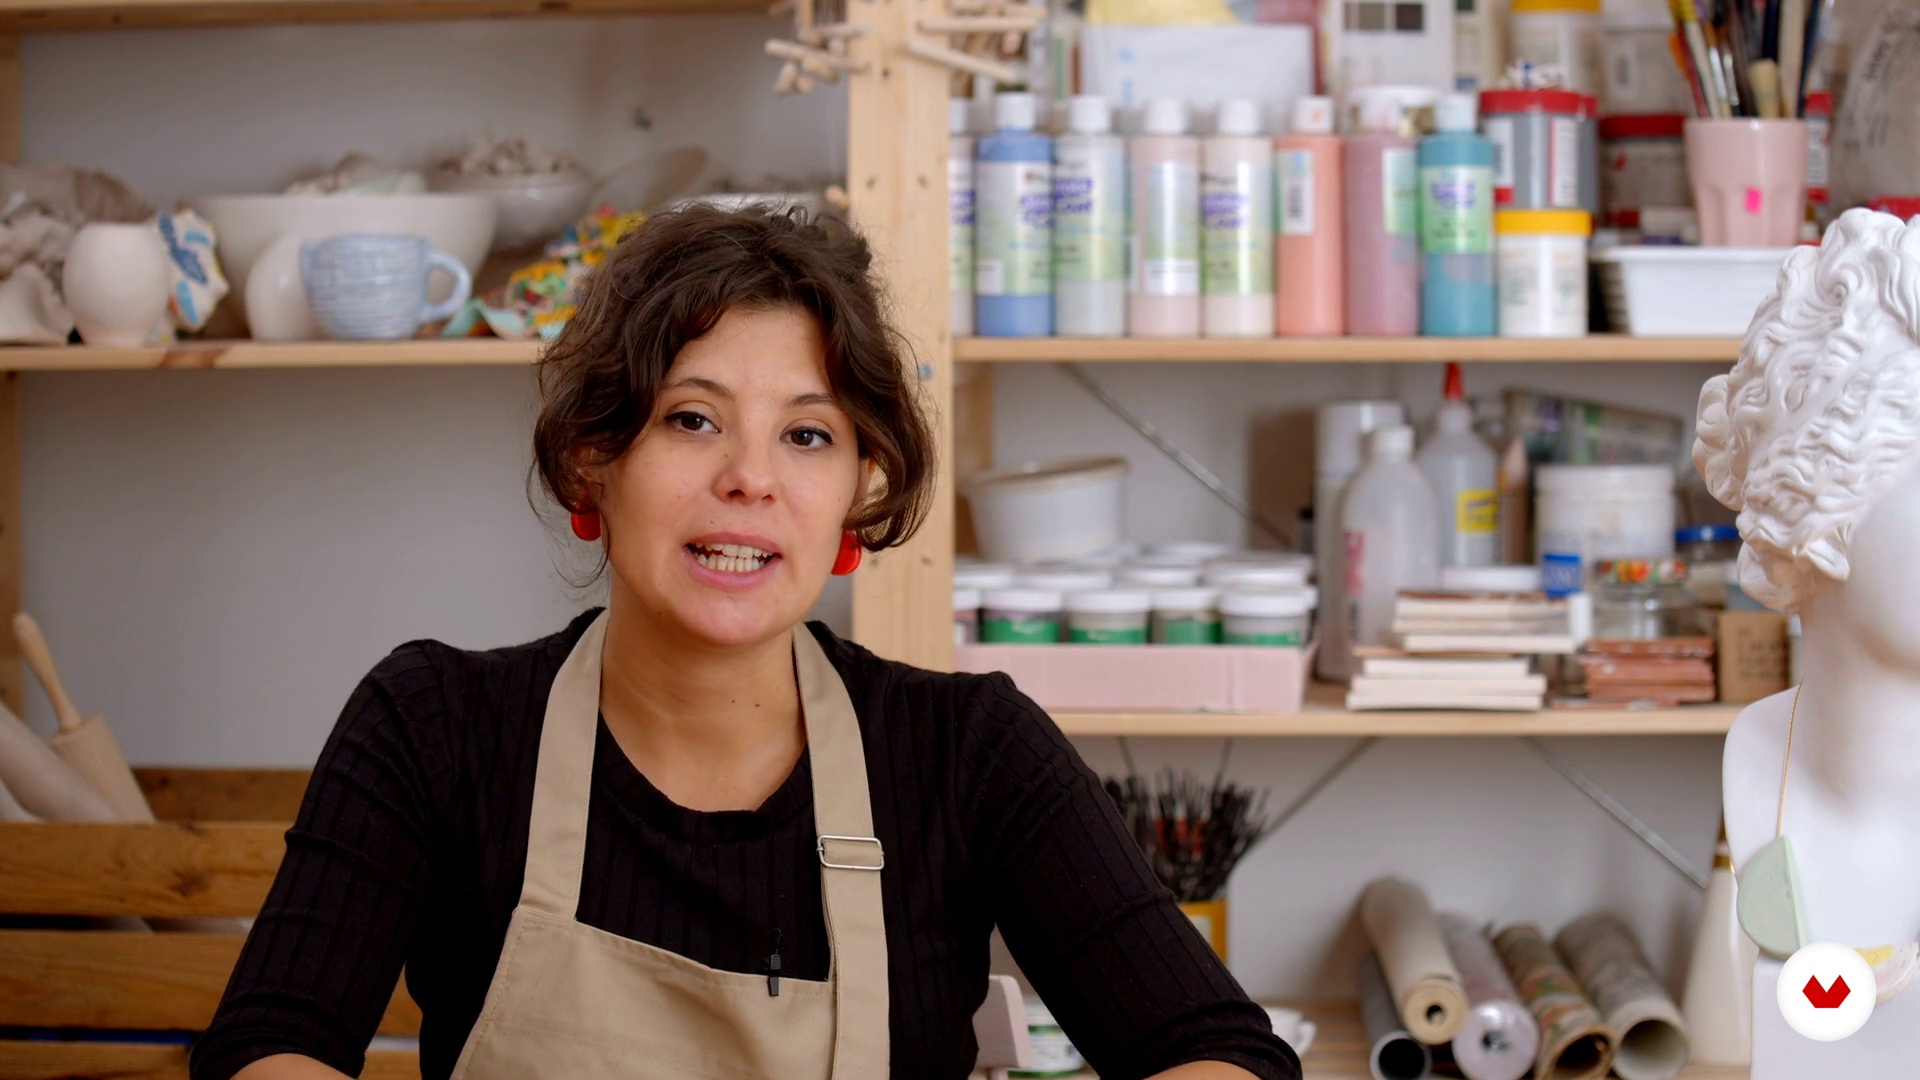
At this point, you'll already know a lot about ceramic jewelry and will have a thousand new sensations and impressions about this world. But I'm sure there was something you already knew before starting this course: ceramics are delicate and must be protected when moving them. That's right, in this video I'll tell you how to care for your jewelry so it lasts forever.
3m
 14
14Packaging and shipping security advice
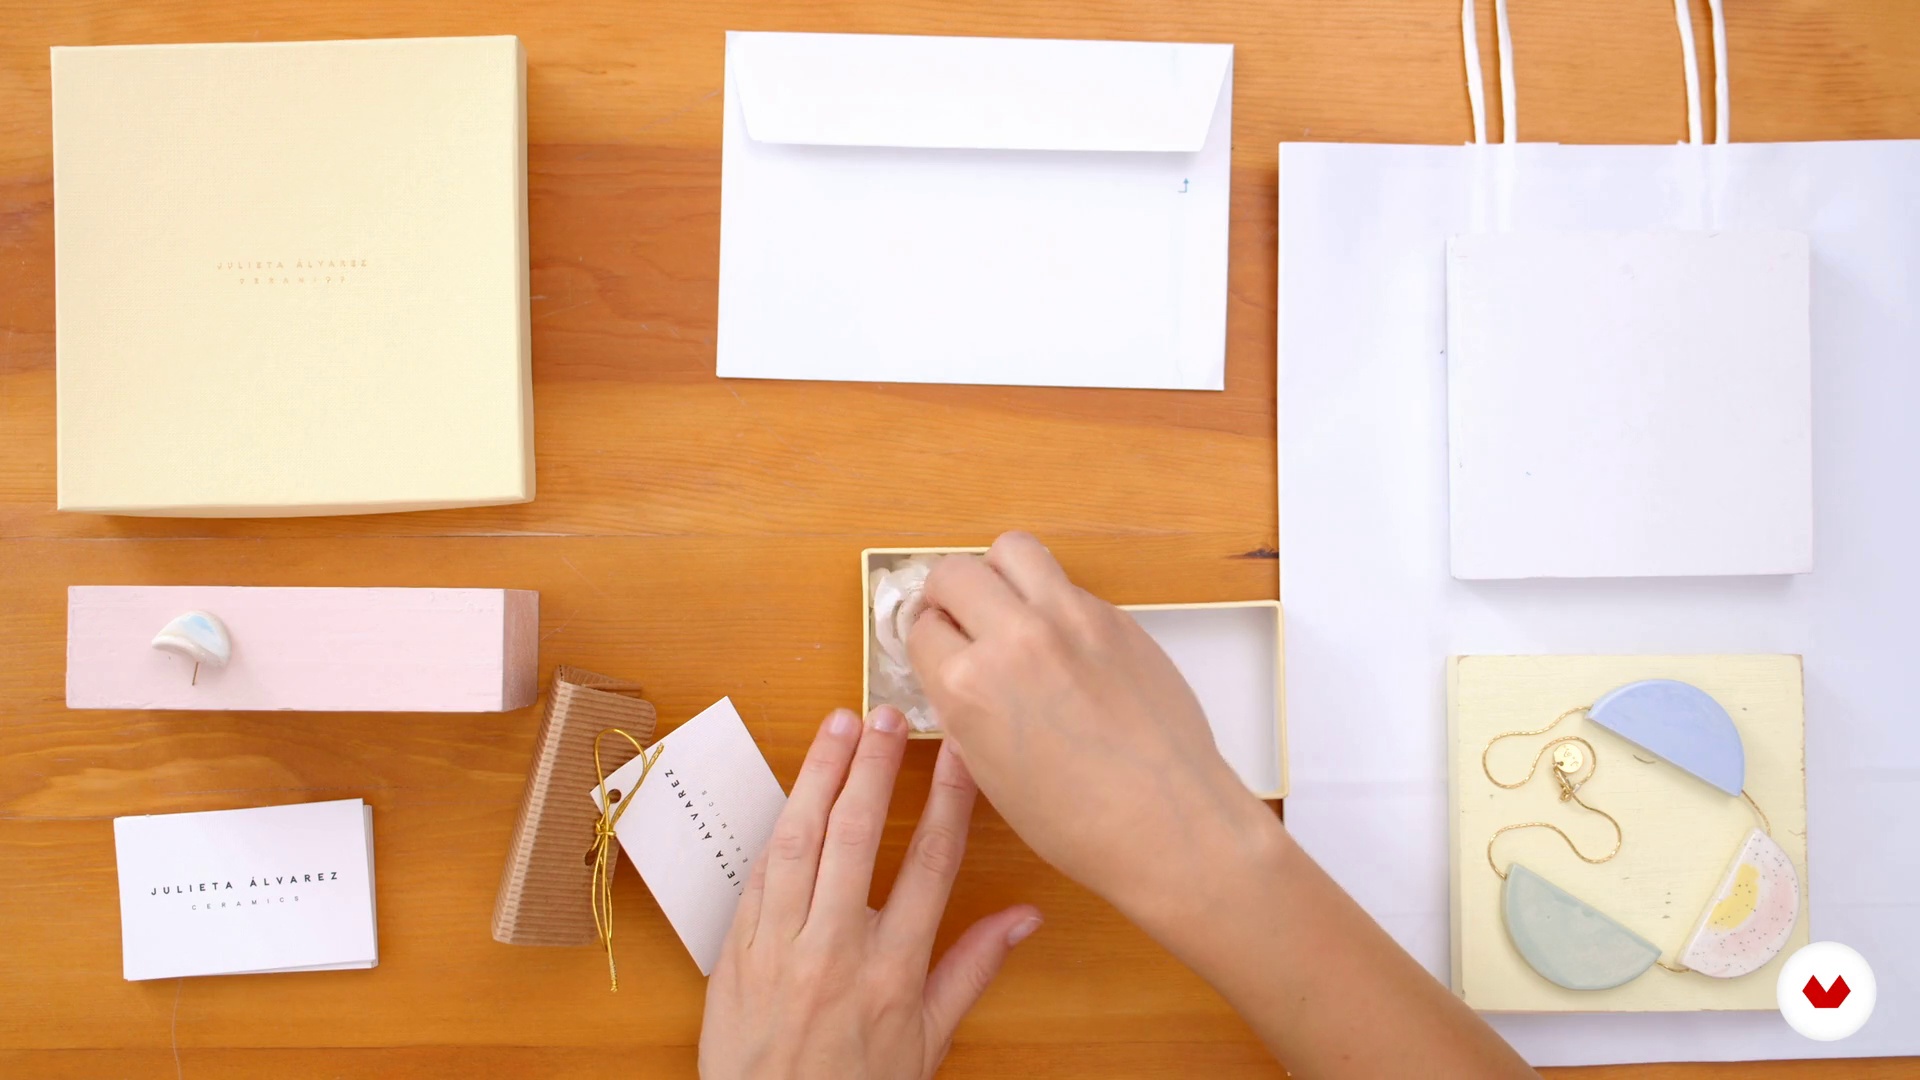
We often need to ship or transport parts, as well as present them in the best possible way. In this lesson, I'll show you how to prepare a package, taking into account edges and curves, maximizing space, and, above all, protecting it with materials to prevent breakage.
5m
 3
33D printing applied in jewelry
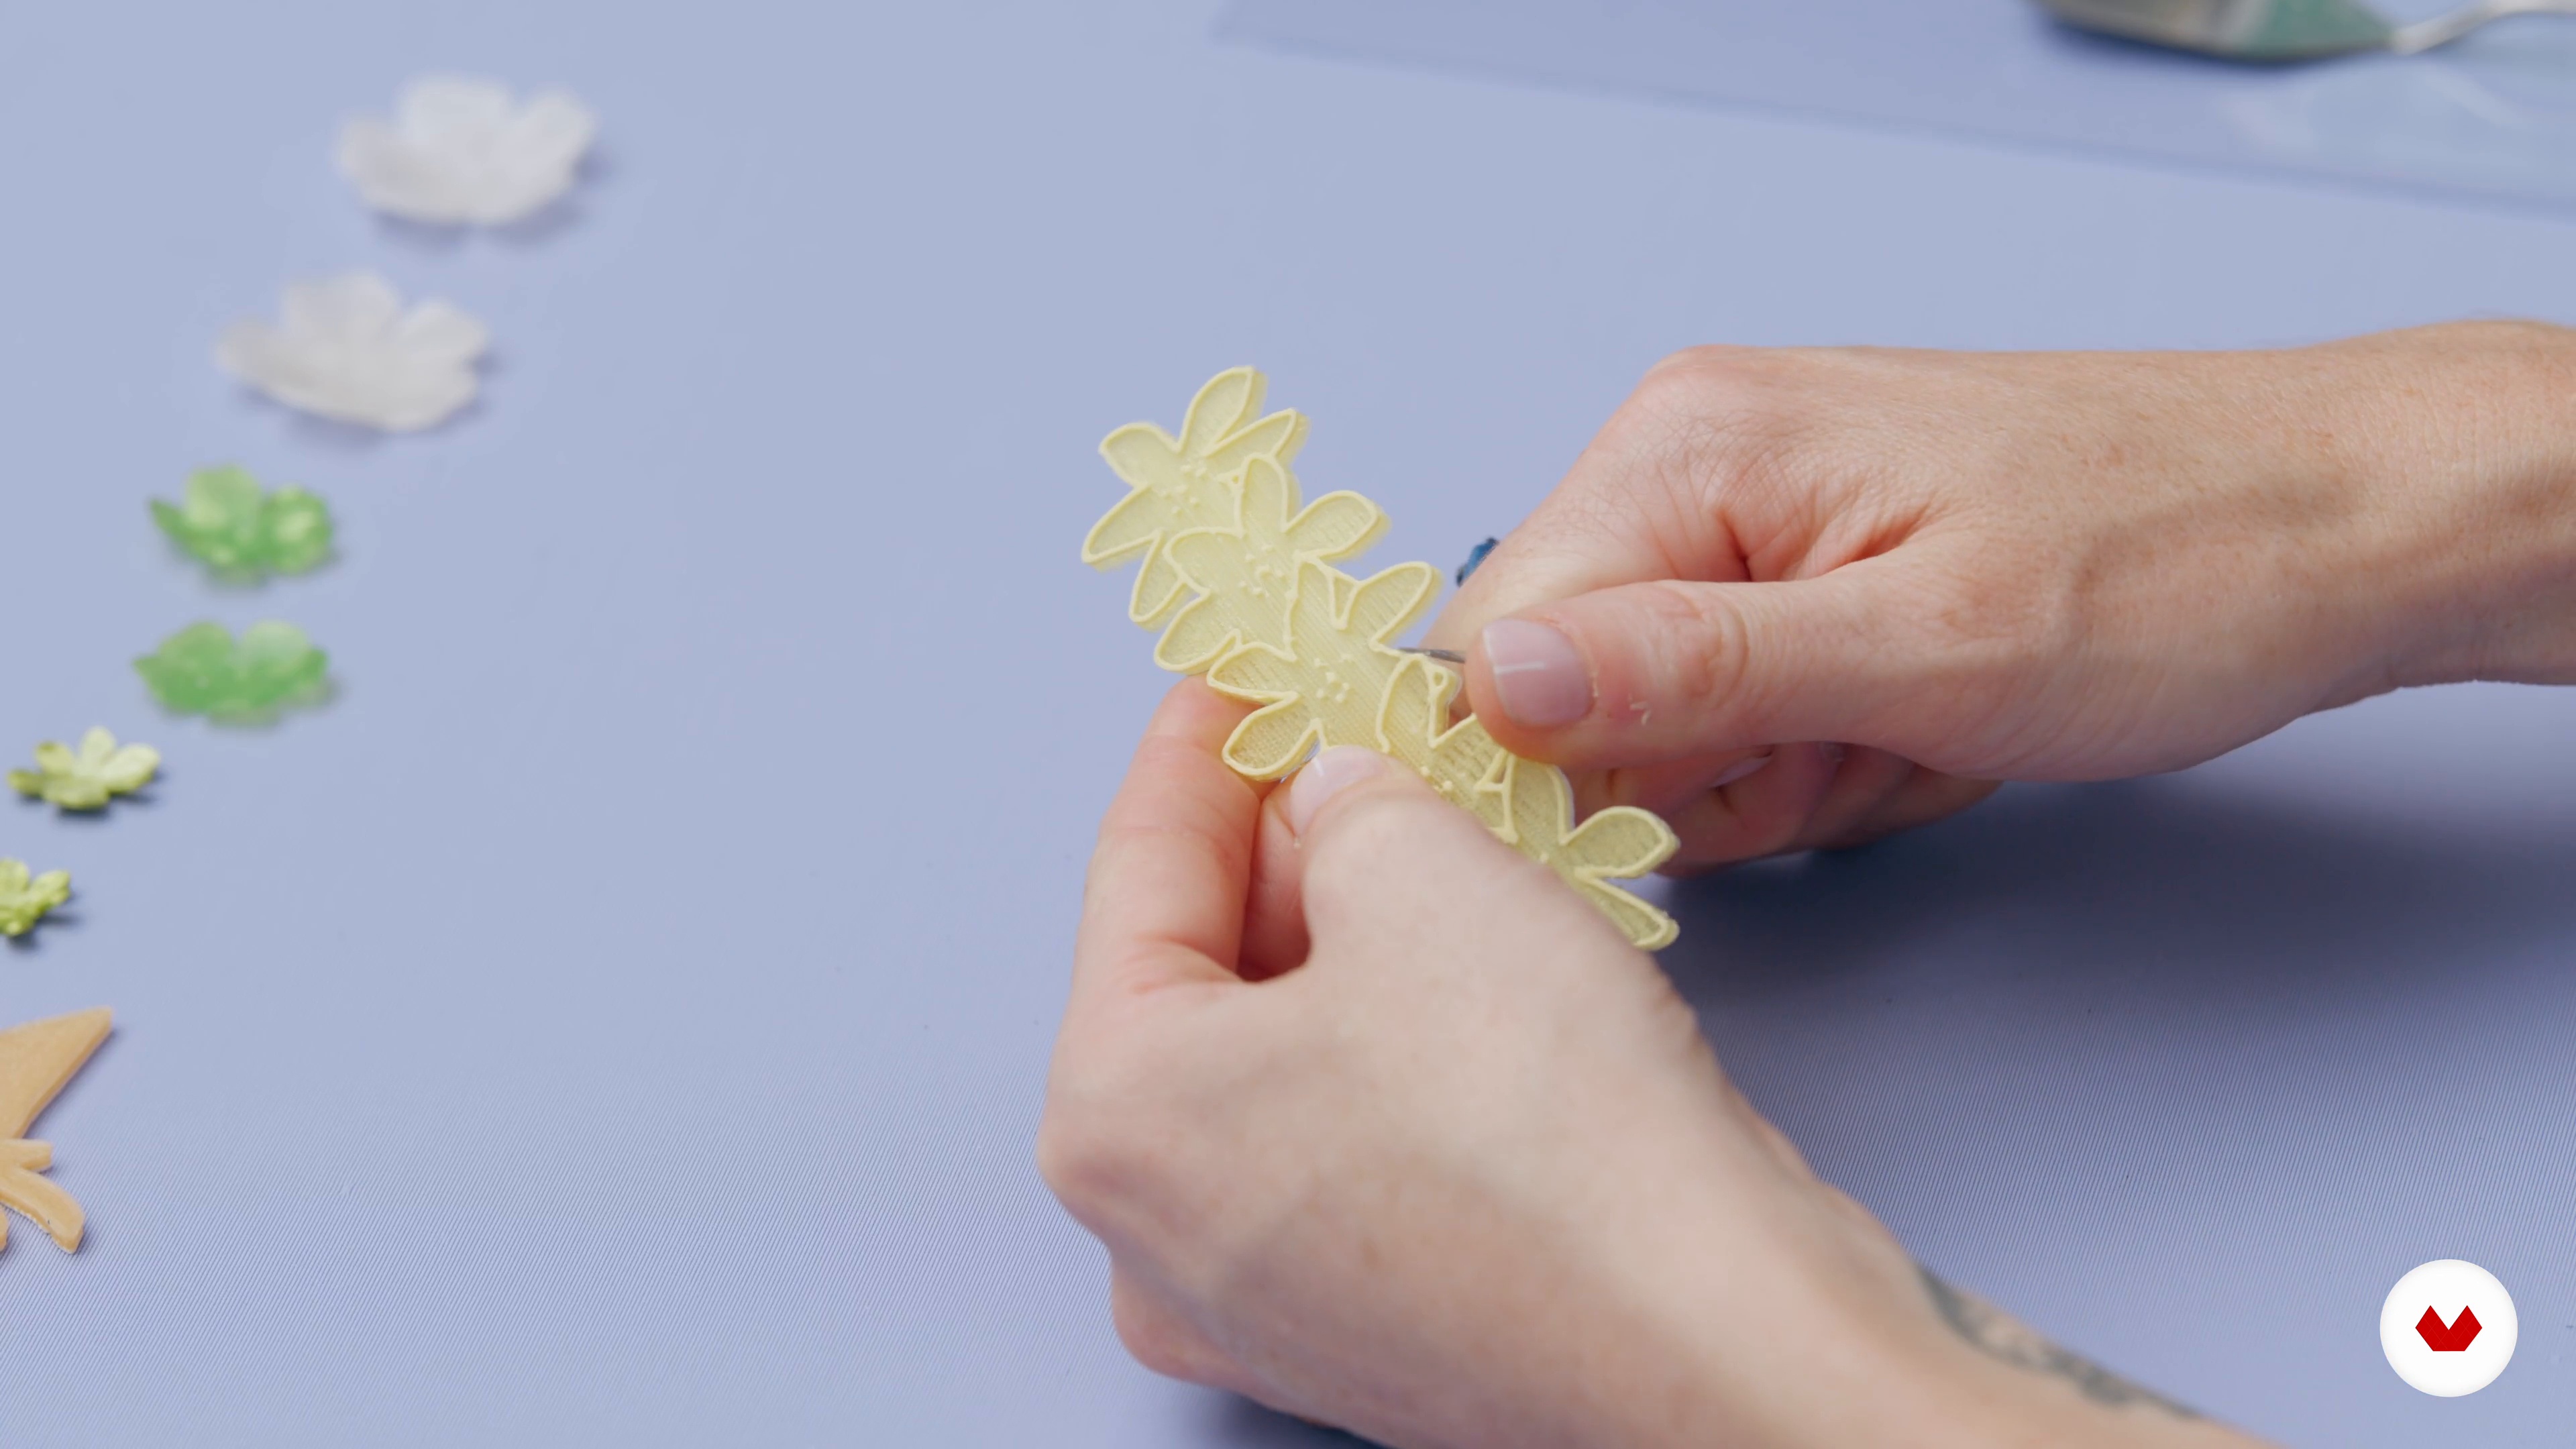
In this lesson, I'll give you an introduction to 3D printing applied to jewelry and fashion. I'll also show you examples of different designers working with the technique.
3m
 4
4Materials and tools
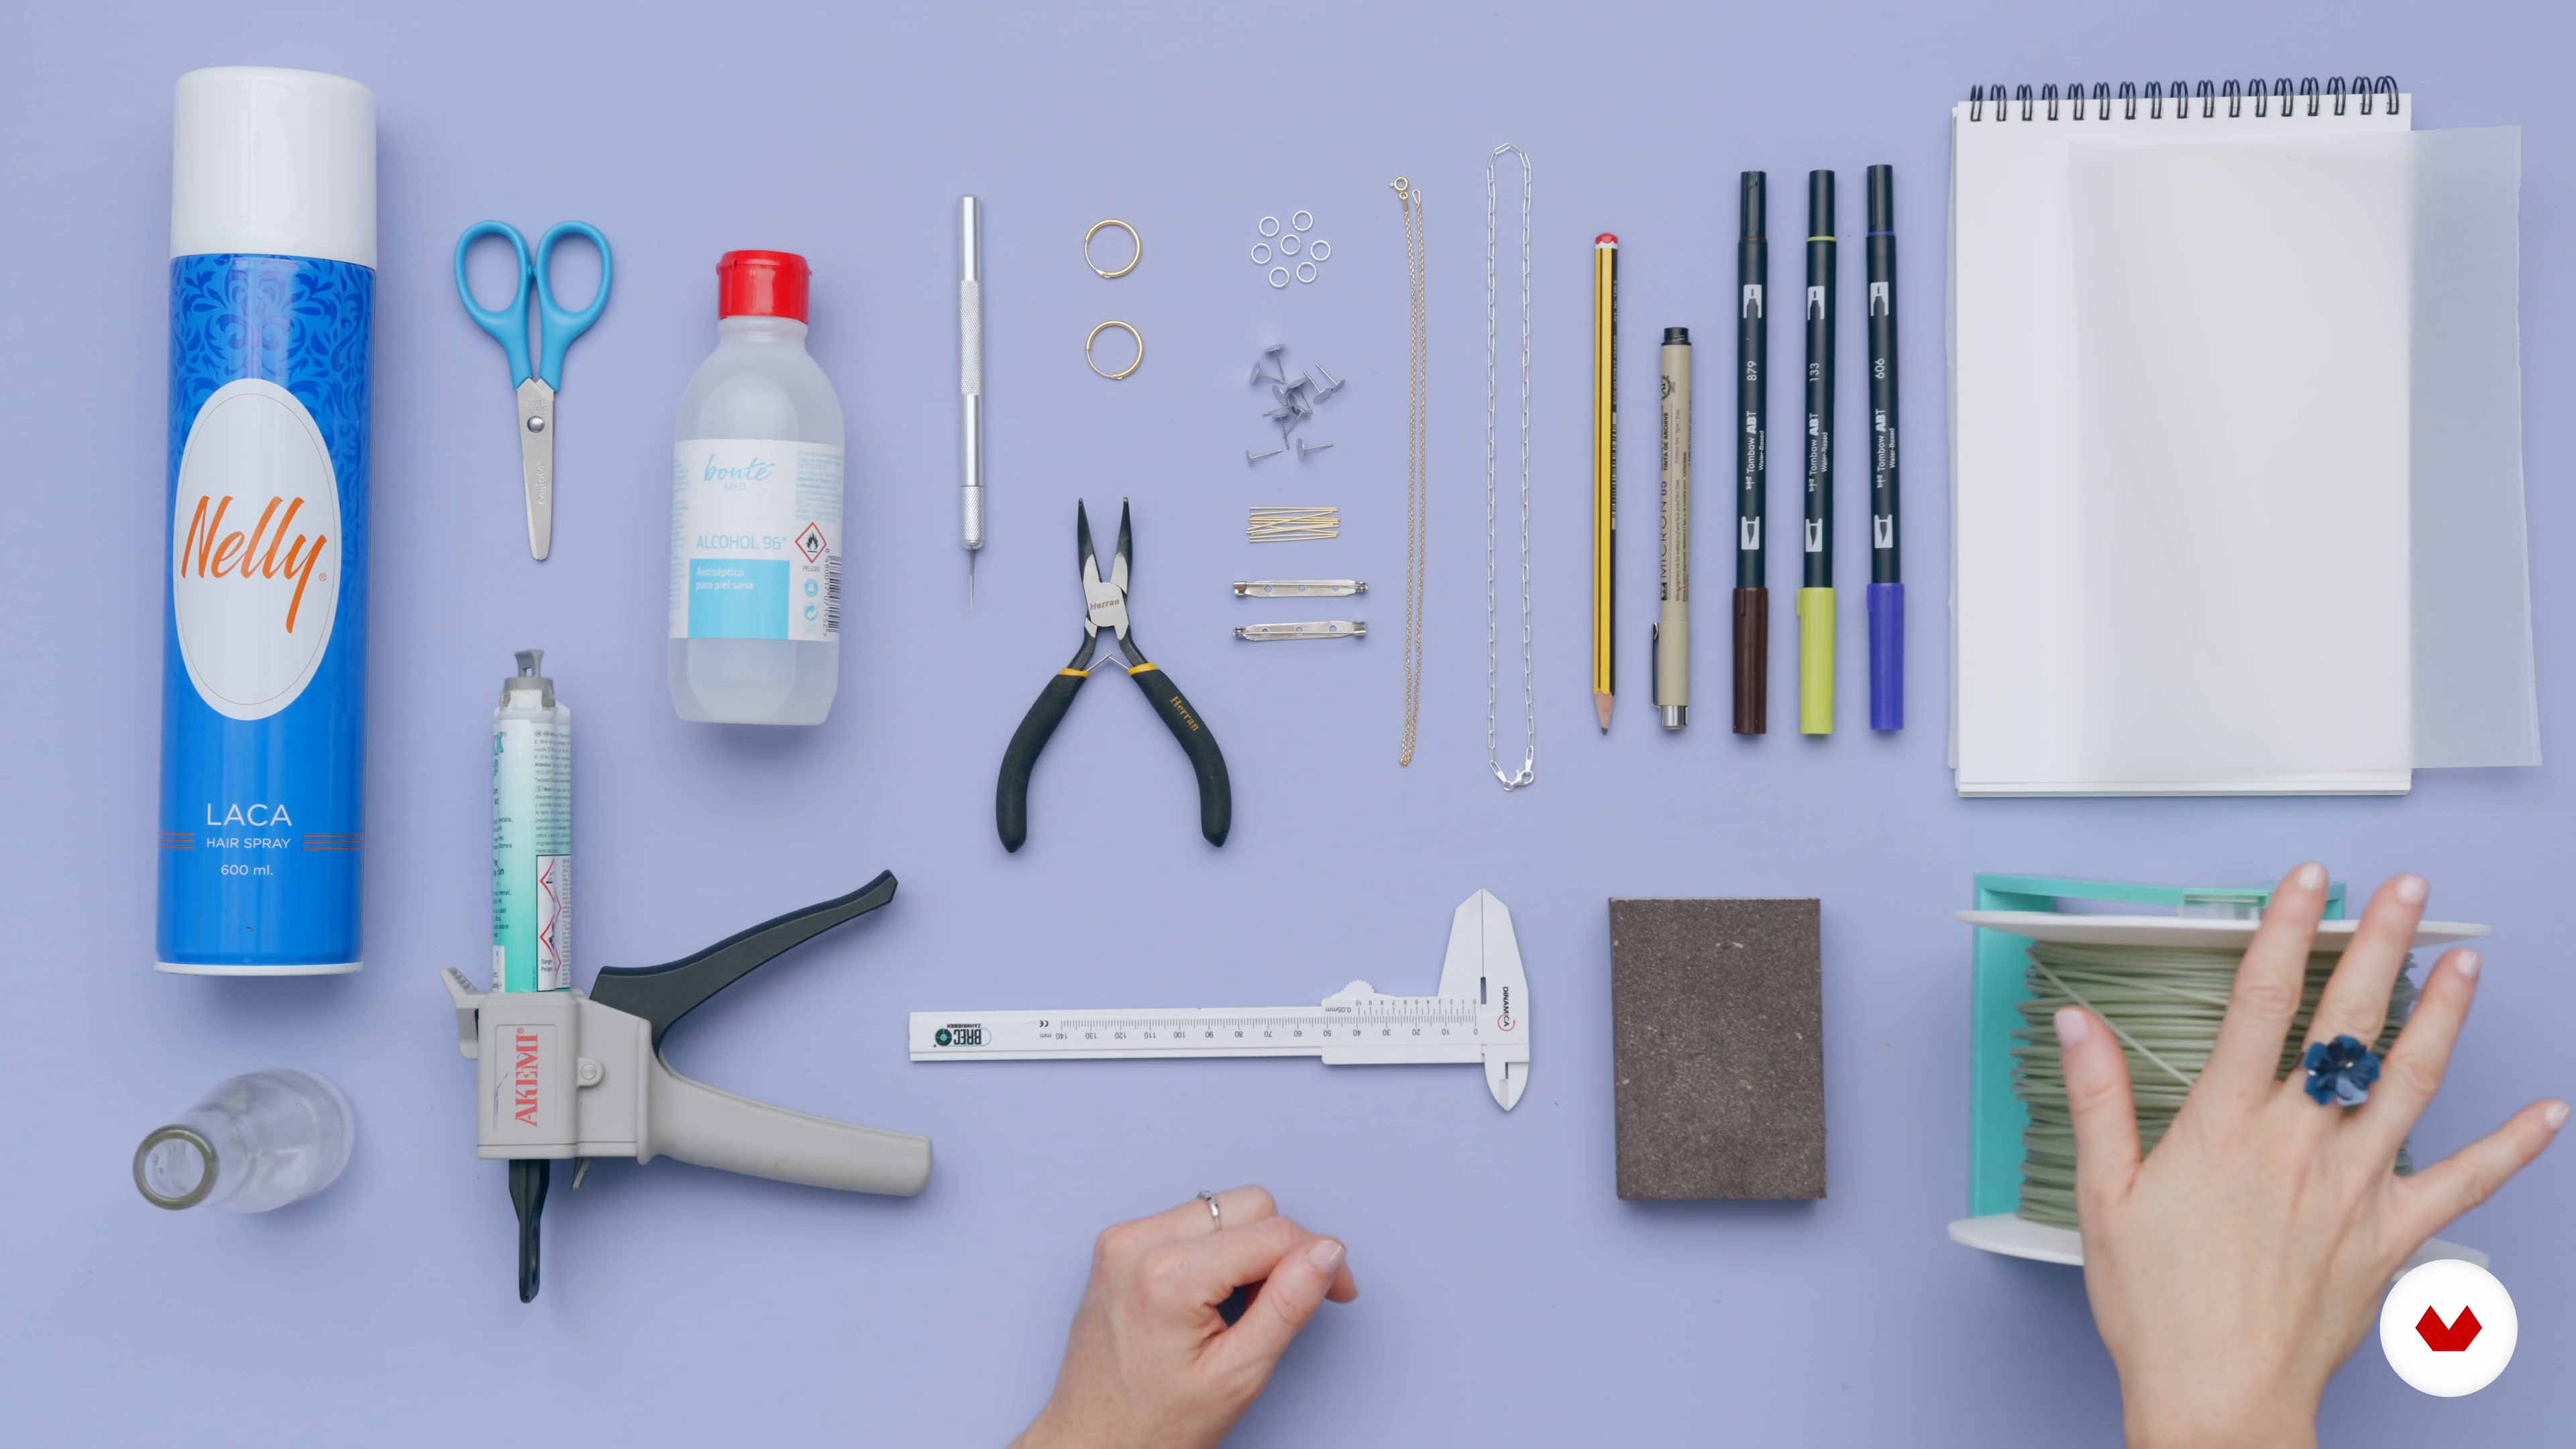
Next, I'll give you an introduction to 3D printing, showing you the different materials used and the finishes we can achieve.
5m
 5
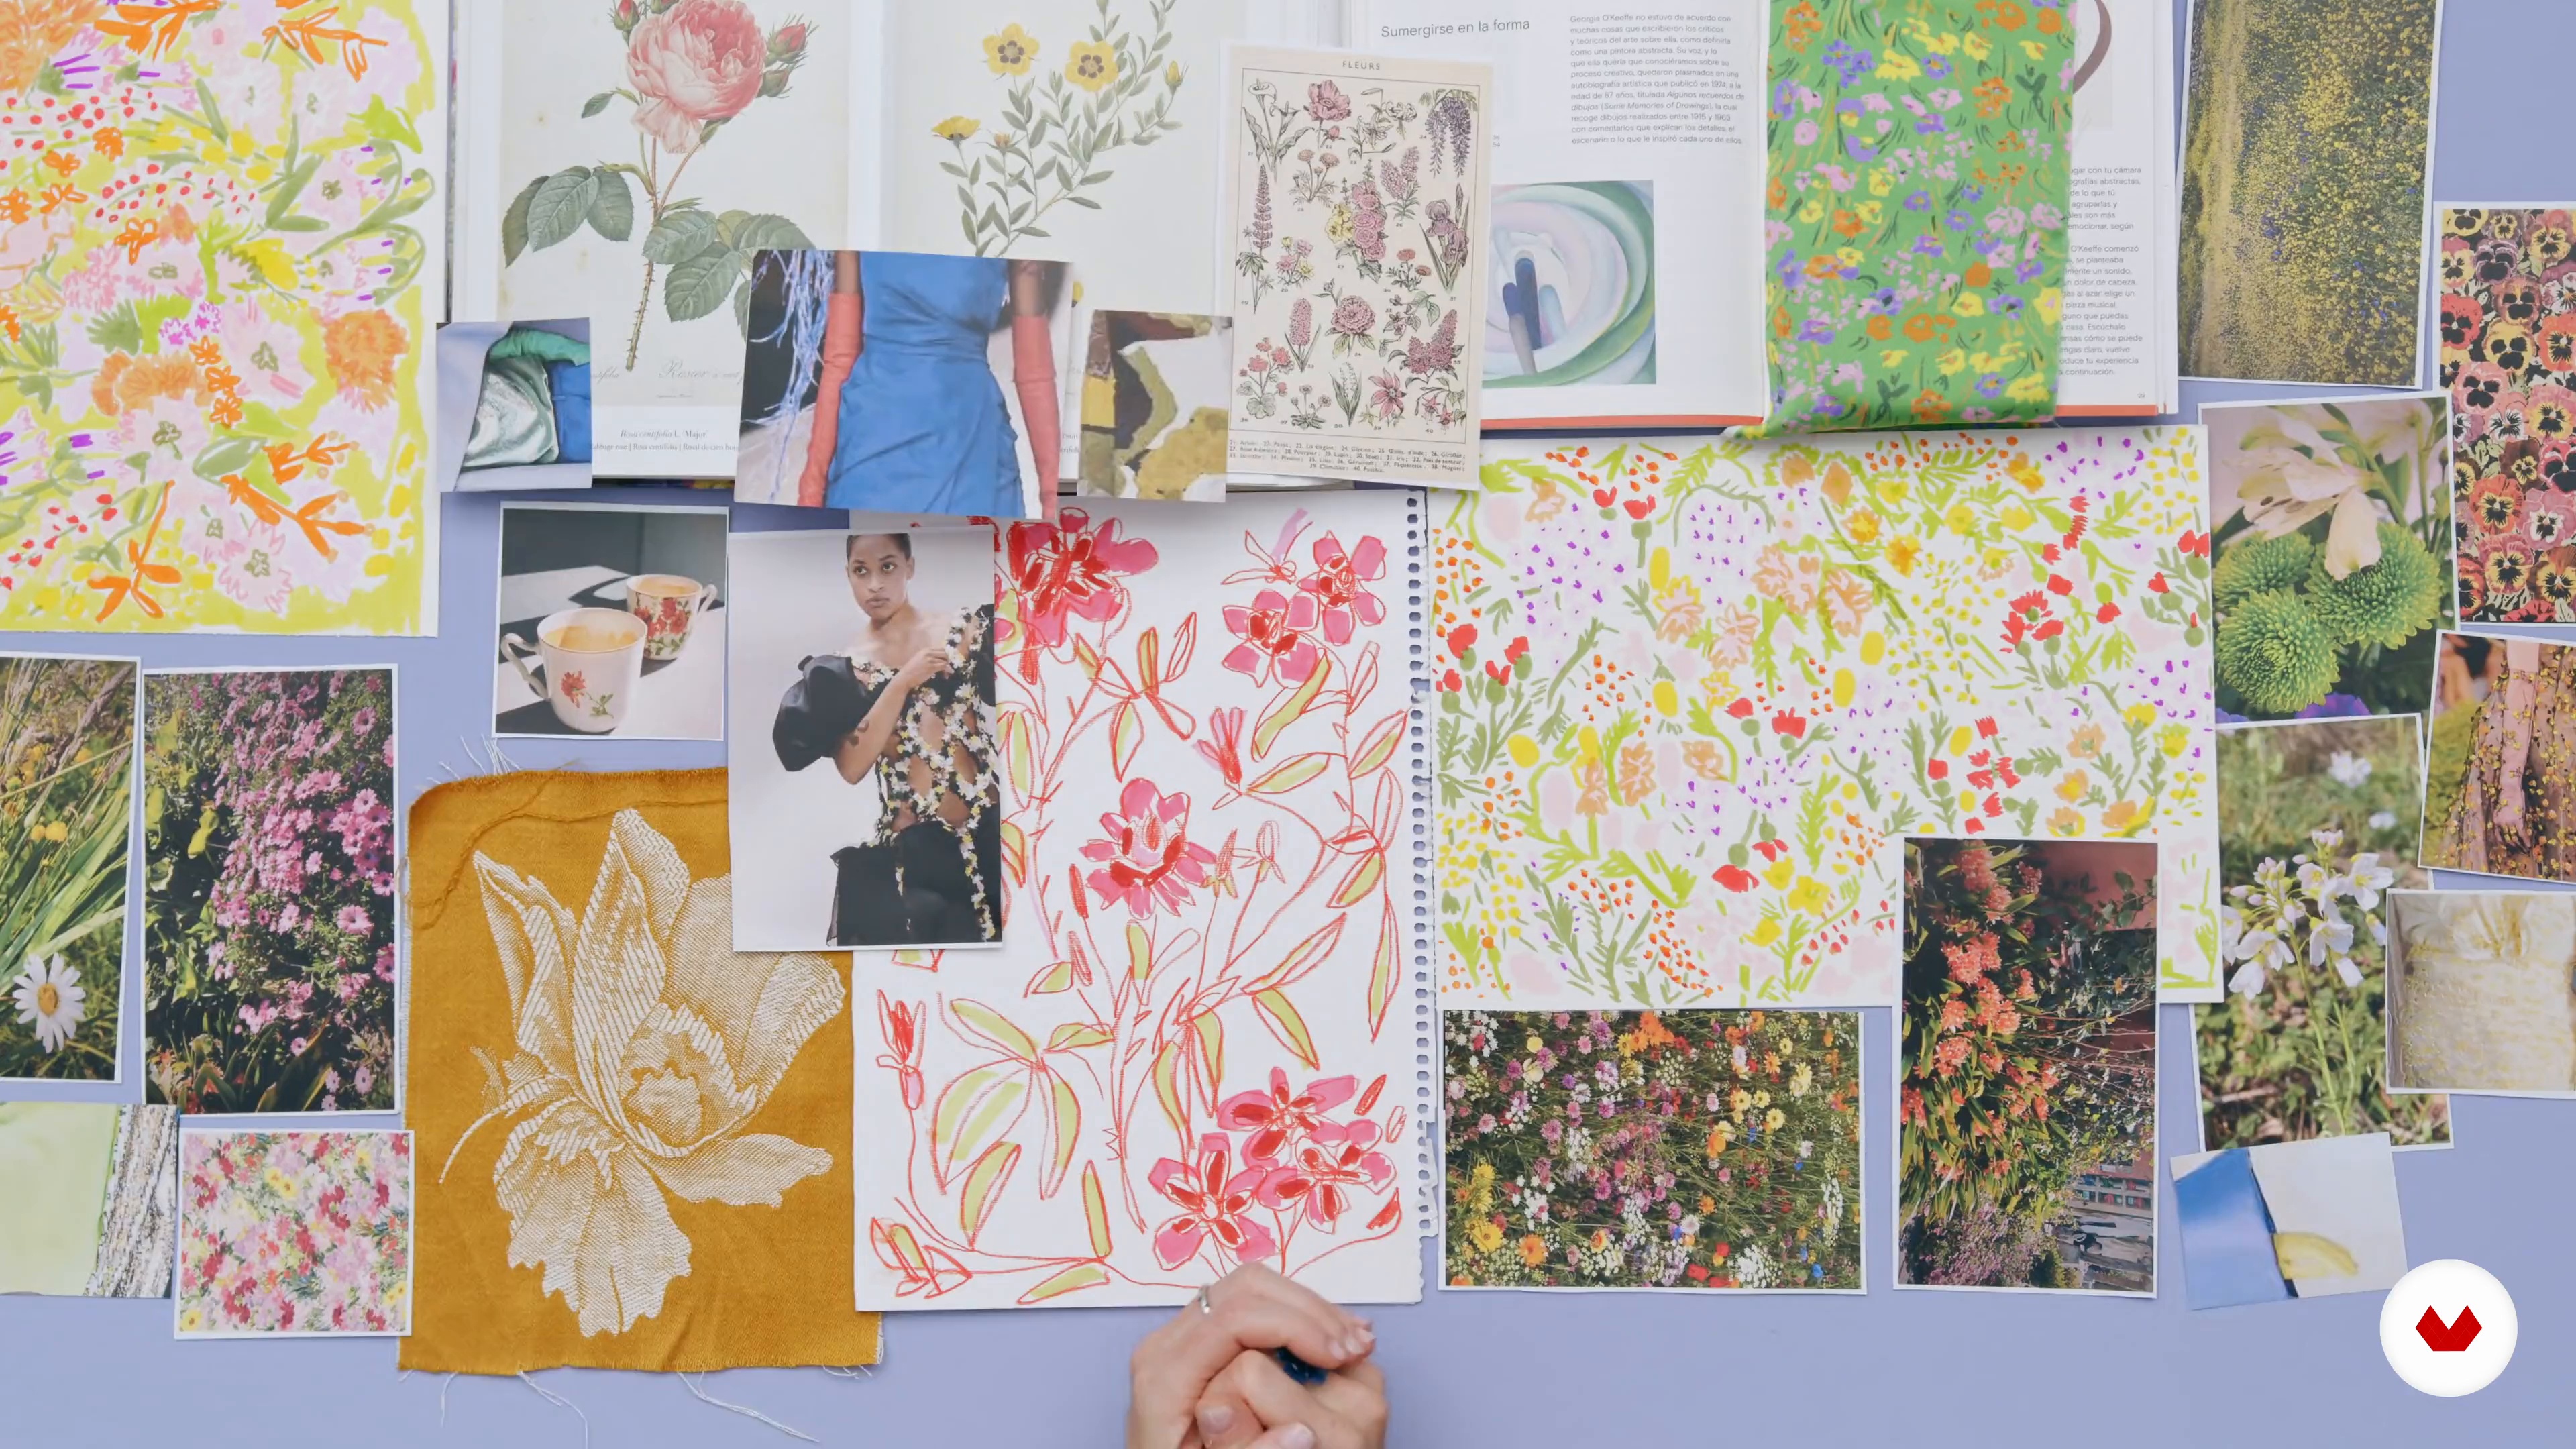
5Mood board
It's time to brainstorm ideas and concepts to create our inspiration board for the collection. In this lesson, I'll teach you how to create a mood board to organize them.
5m
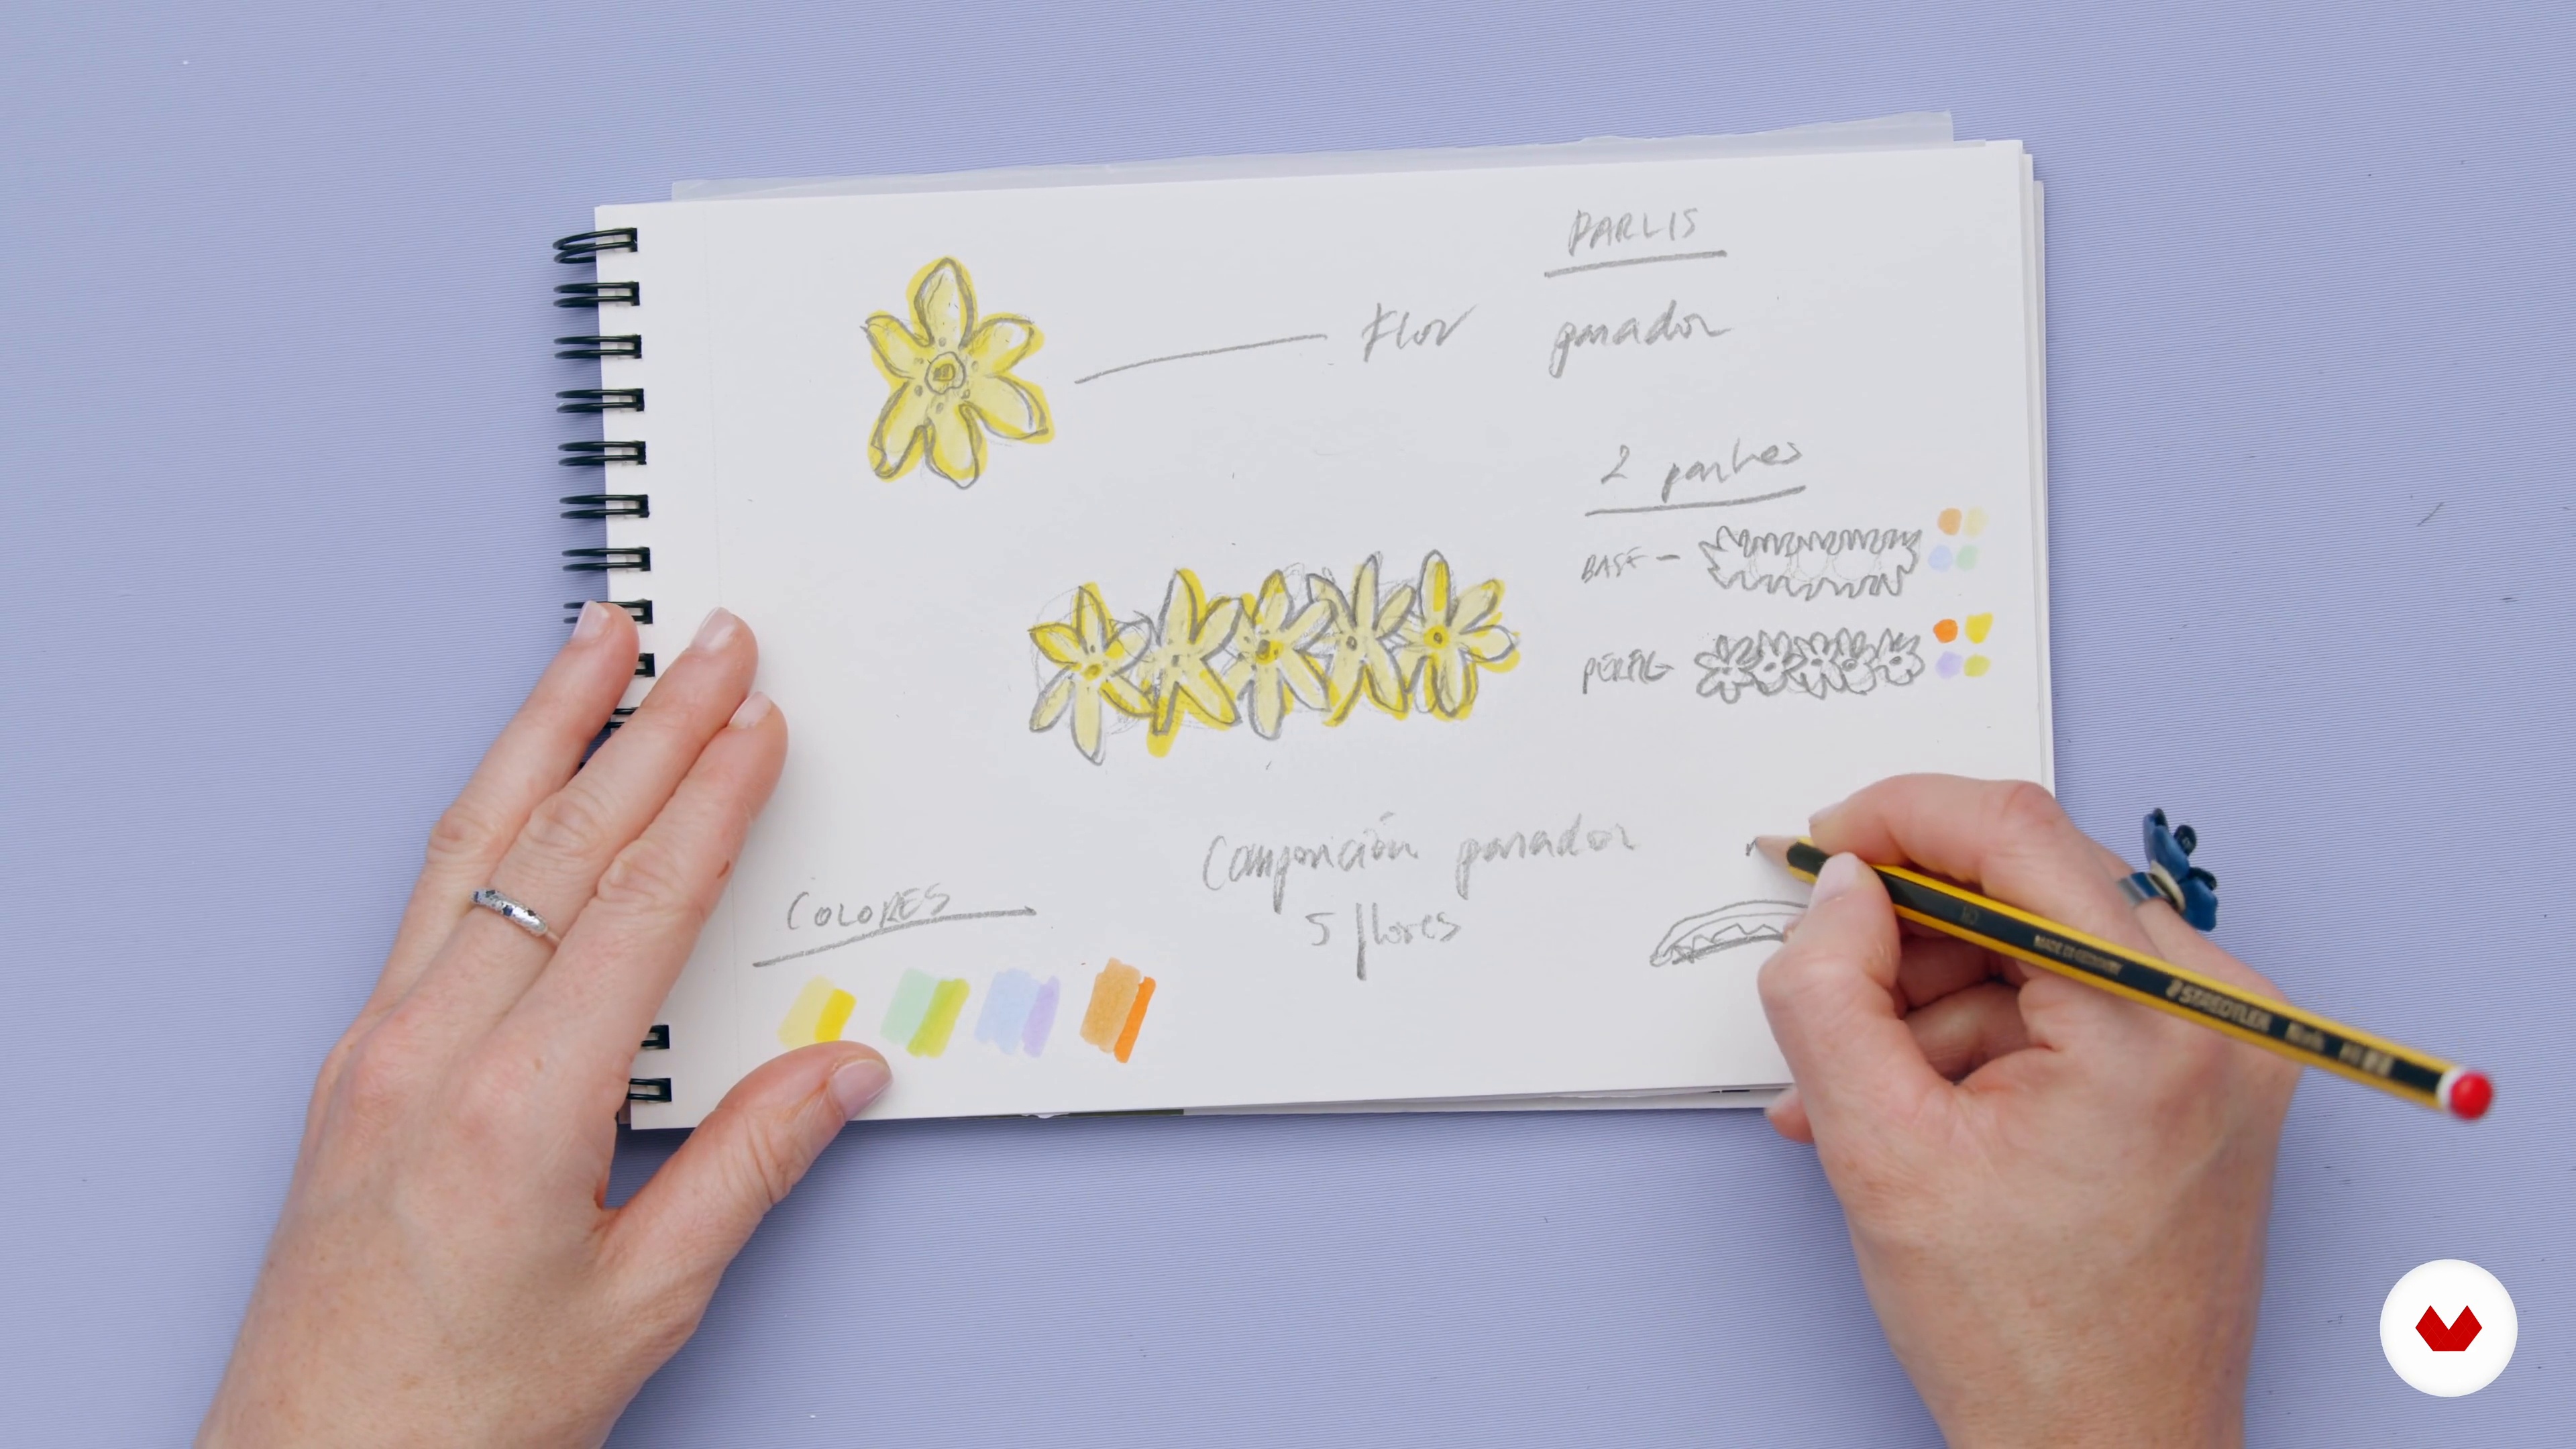 6
6Collection Design 1
In this lesson, I'm going to teach you how to create the shapes and structures of the models that will be part of the collection I'm going to create.
18m
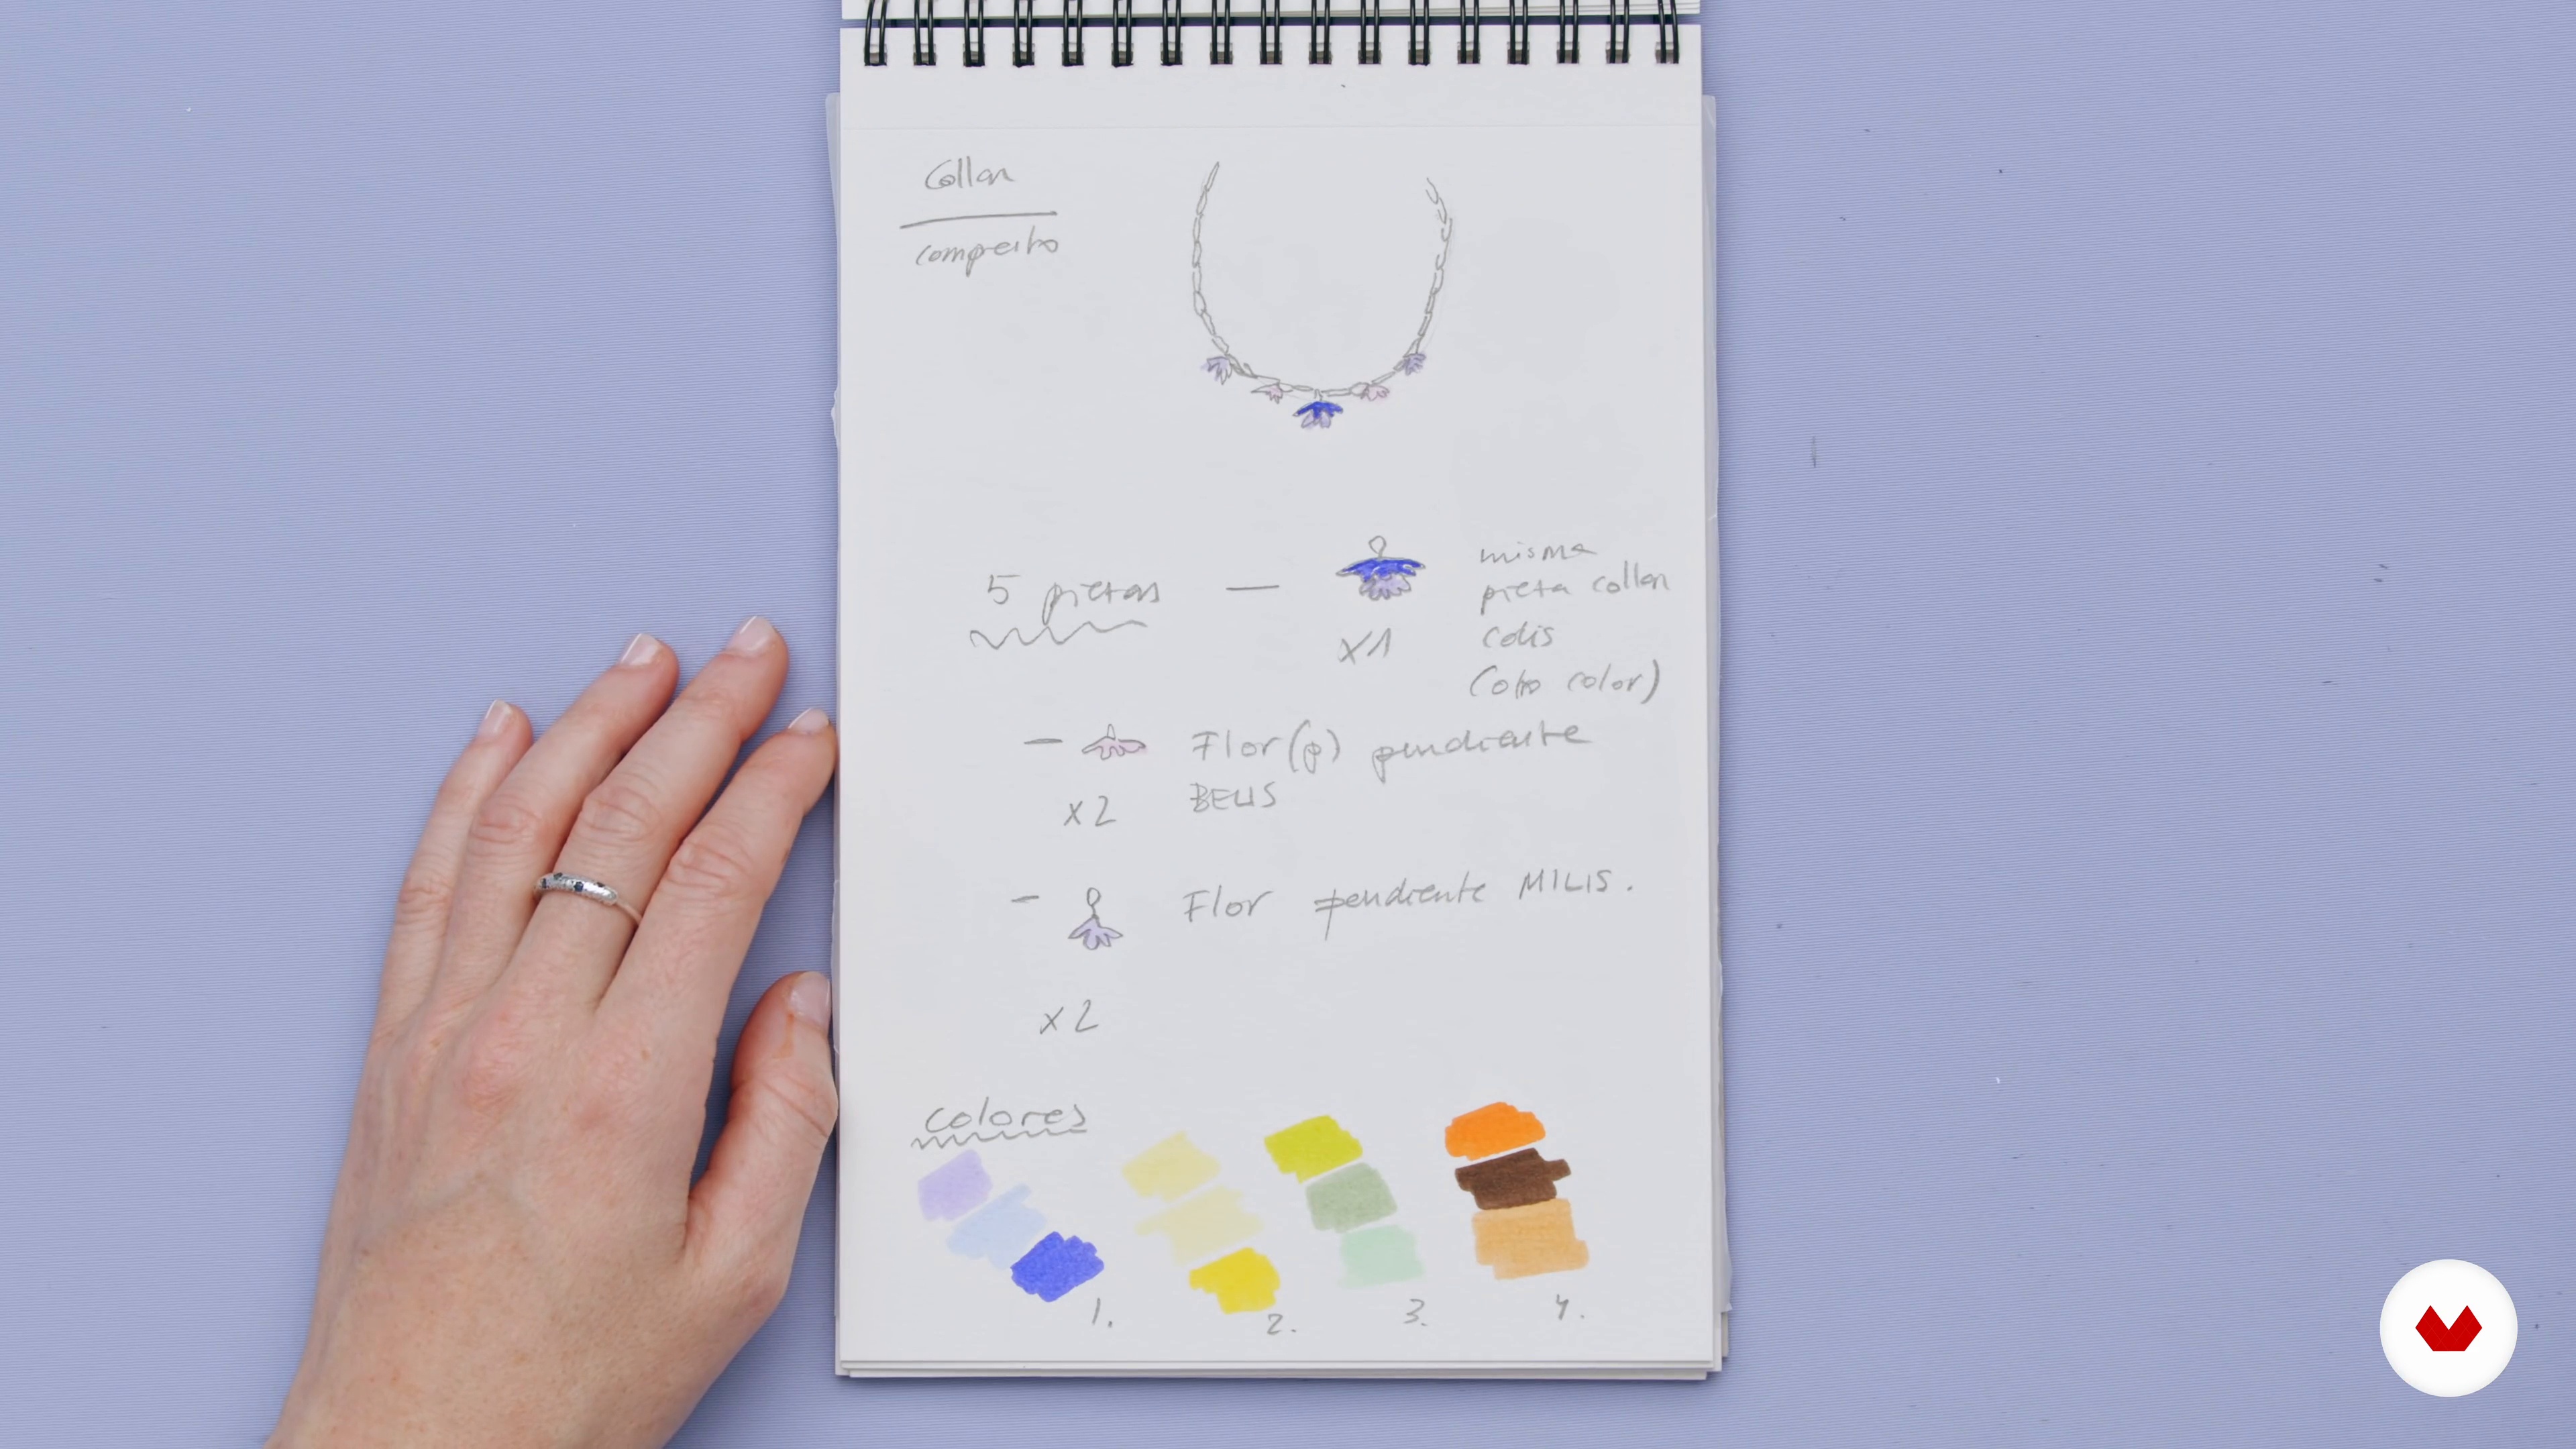 7
7Collection Design 2
After finishing the designs, I'll show you the mockups I created for the pieces that will complete my collection.
5m
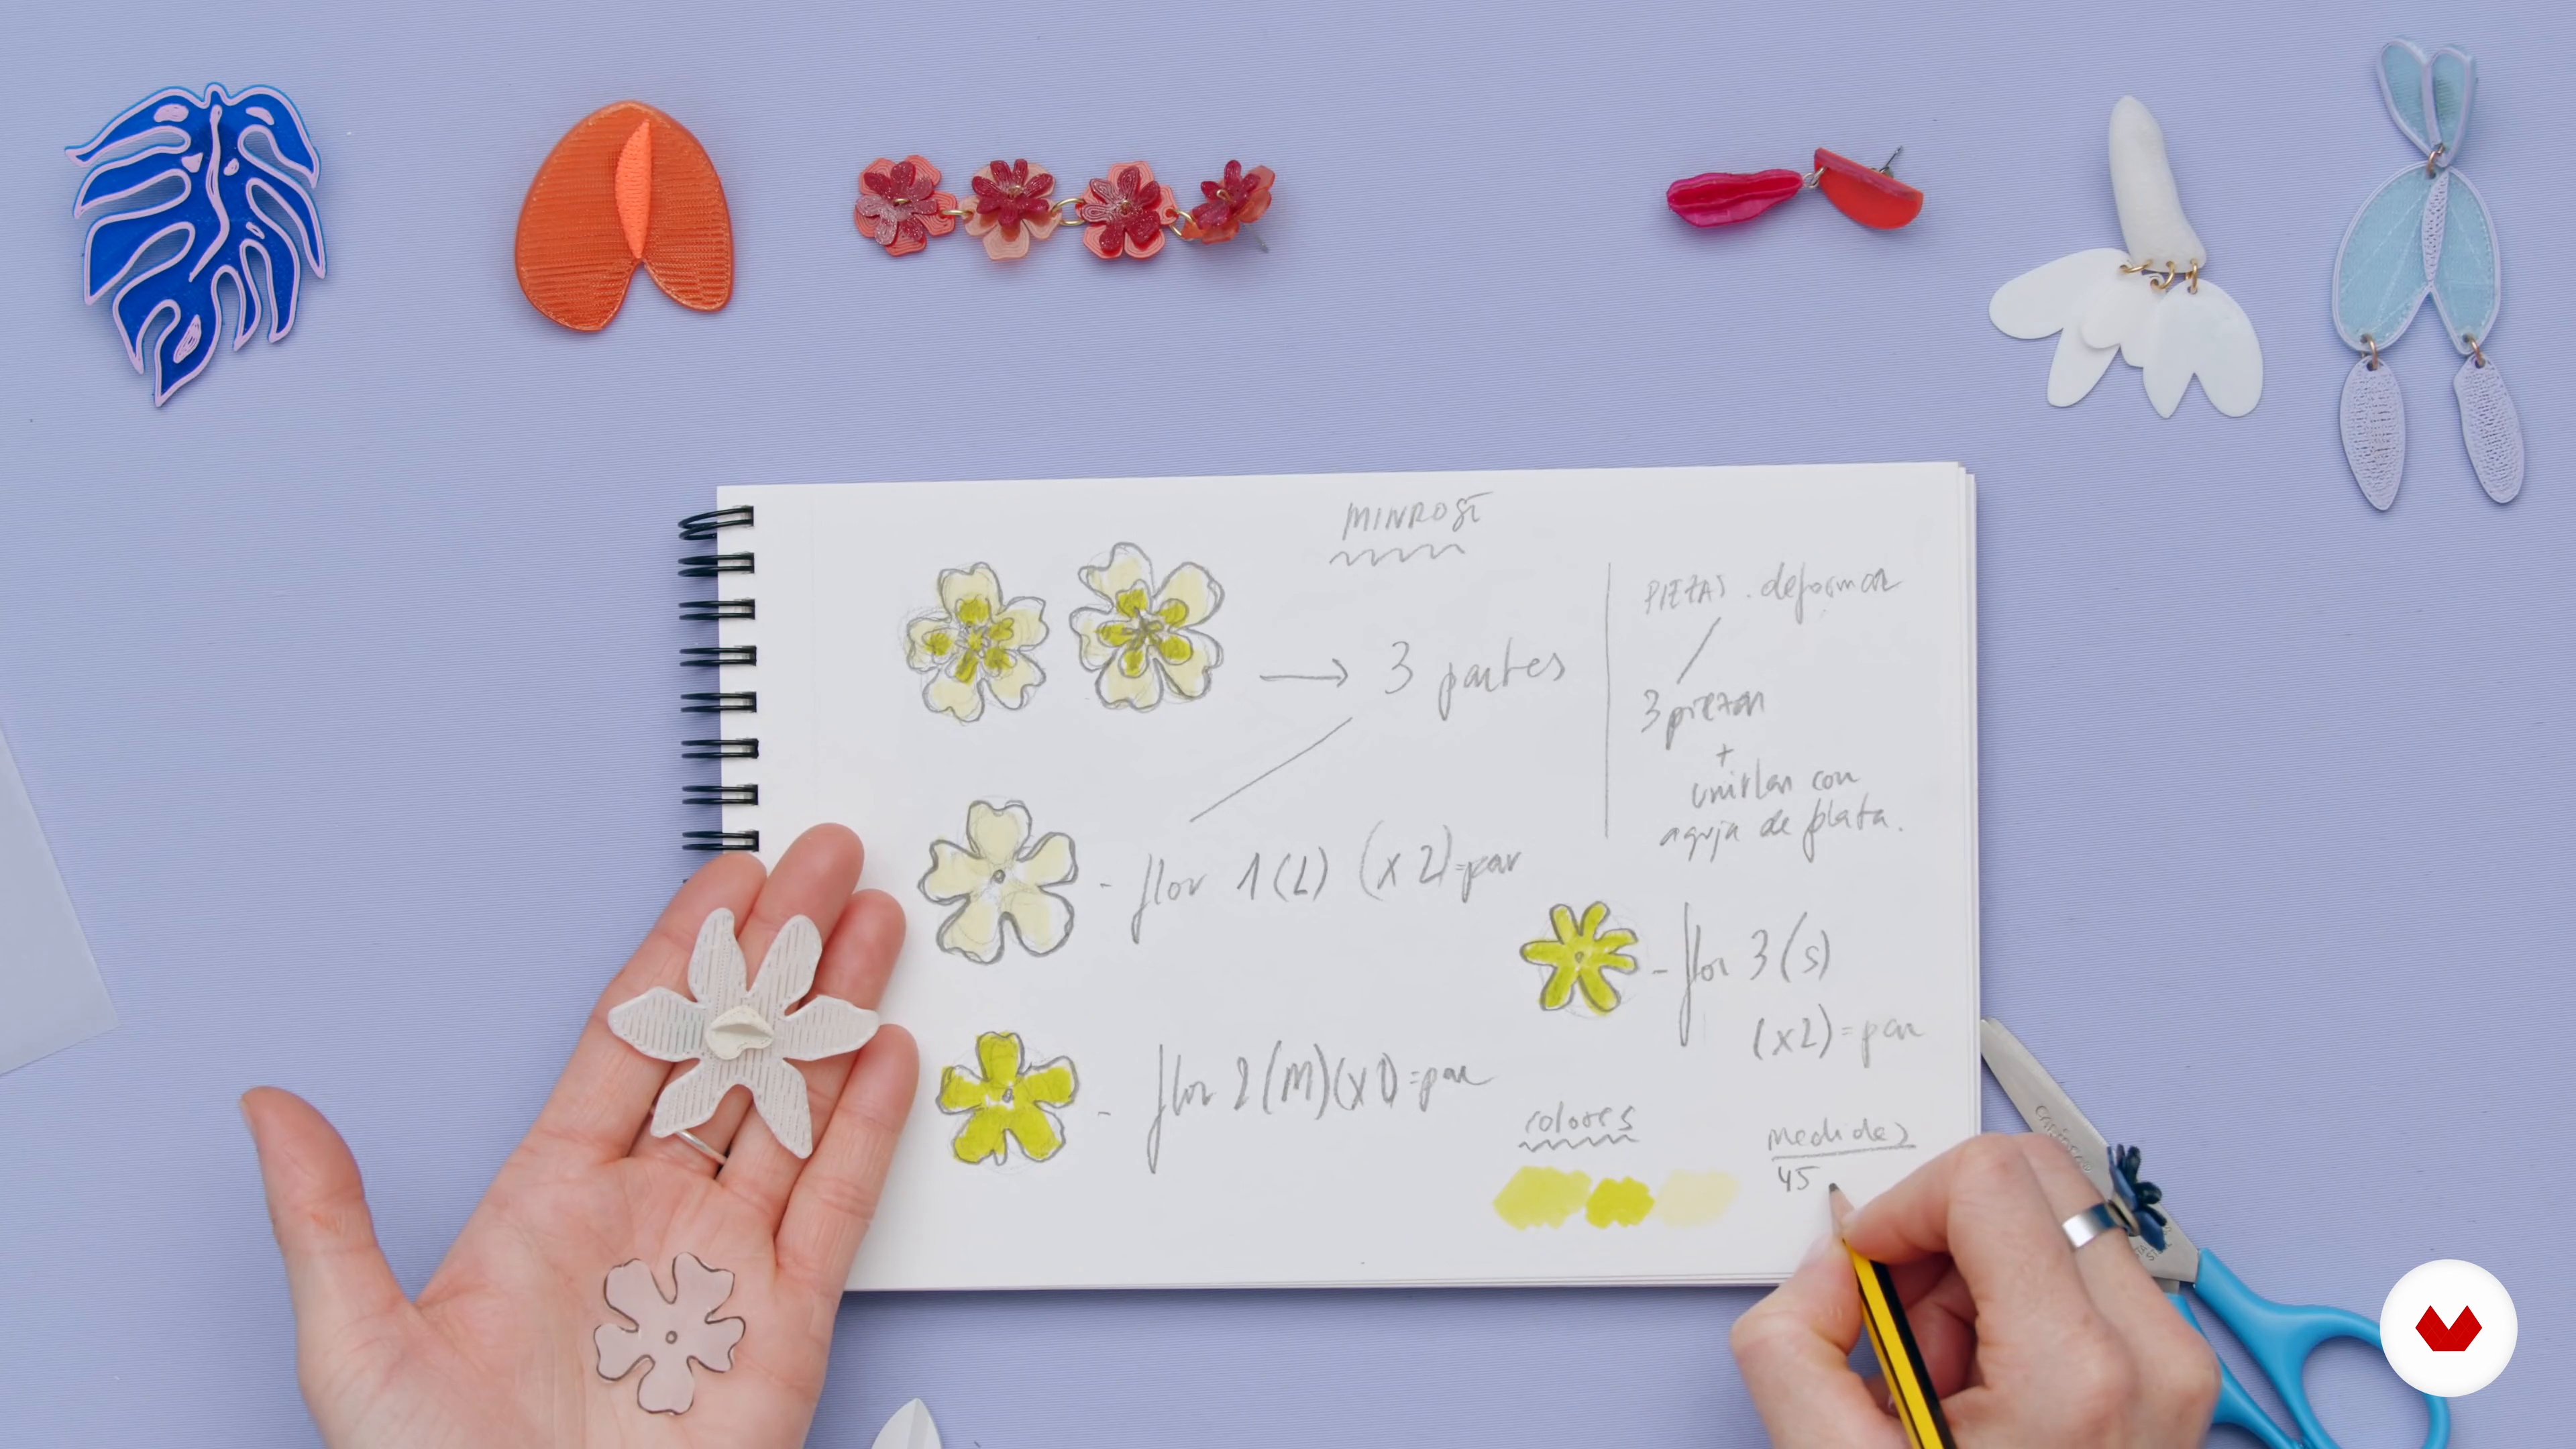 8
8Scales and textures
Finally, I want to show you how to scale the pieces and define textures and constructions with the production sheet.
7m
 9
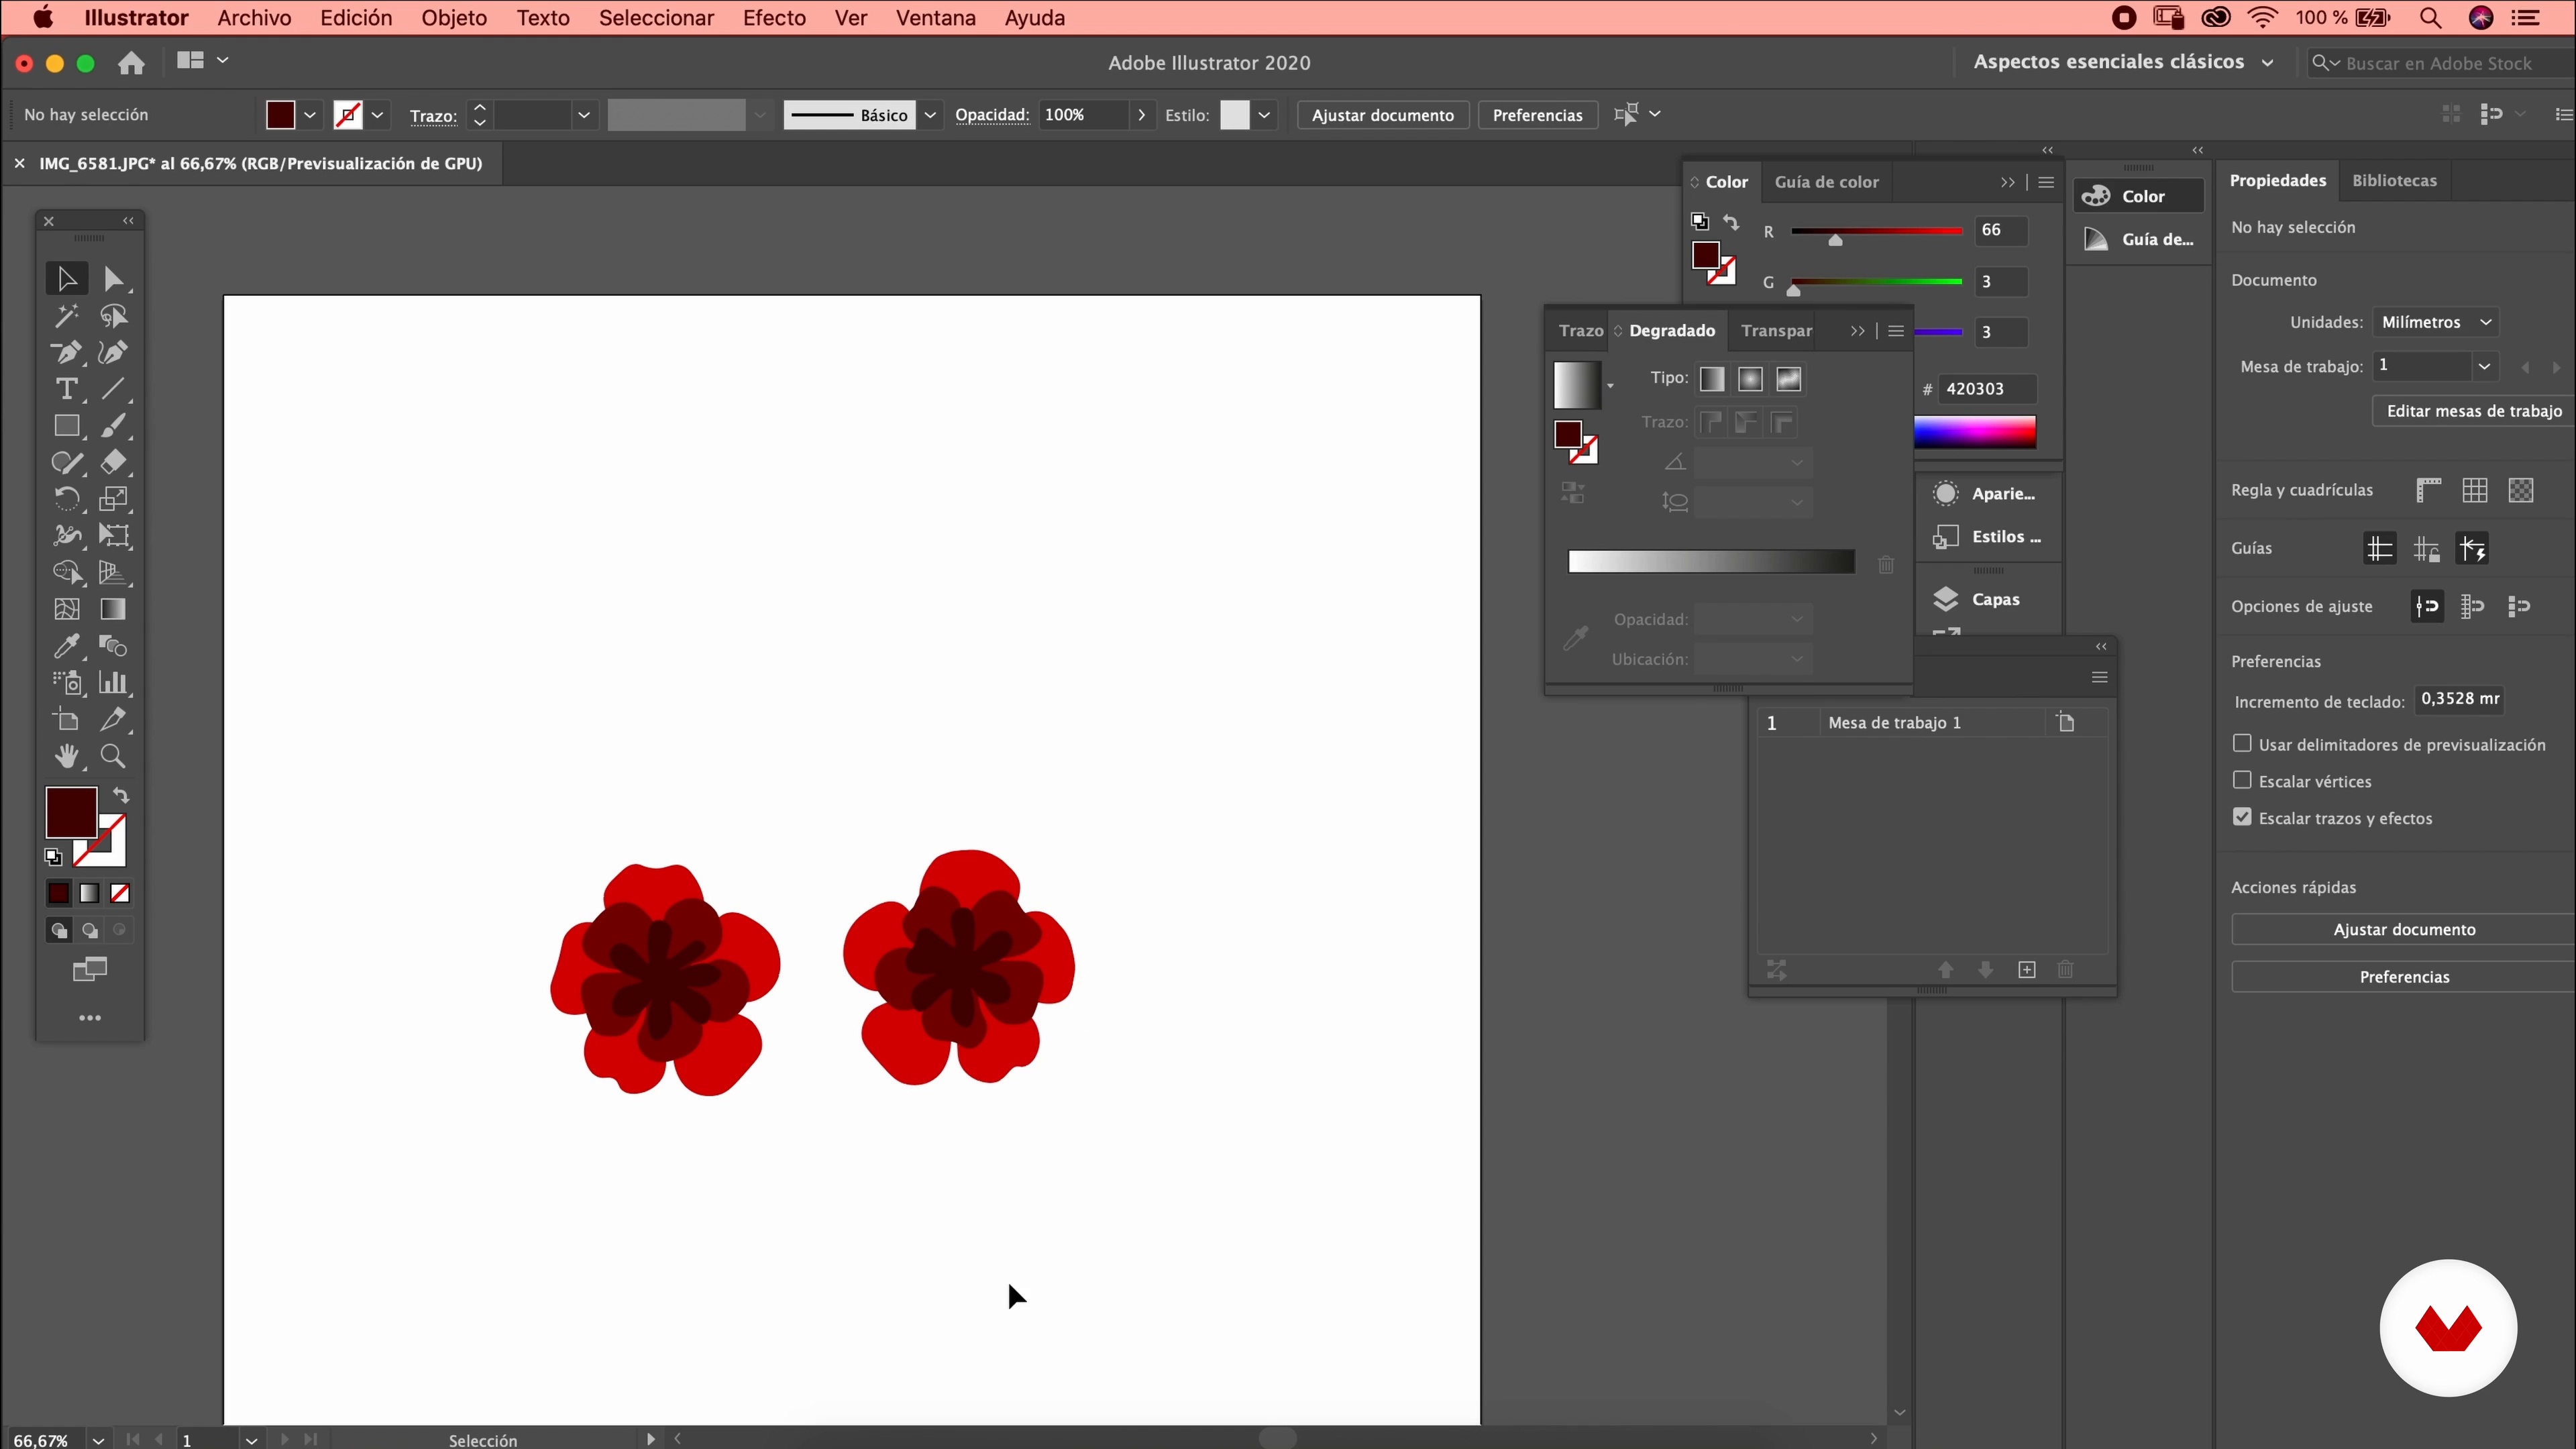
9Digitization of designs
In this lesson, I'll teach you how to digitize designs you've previously created manually using Illustrator.
18m
 10
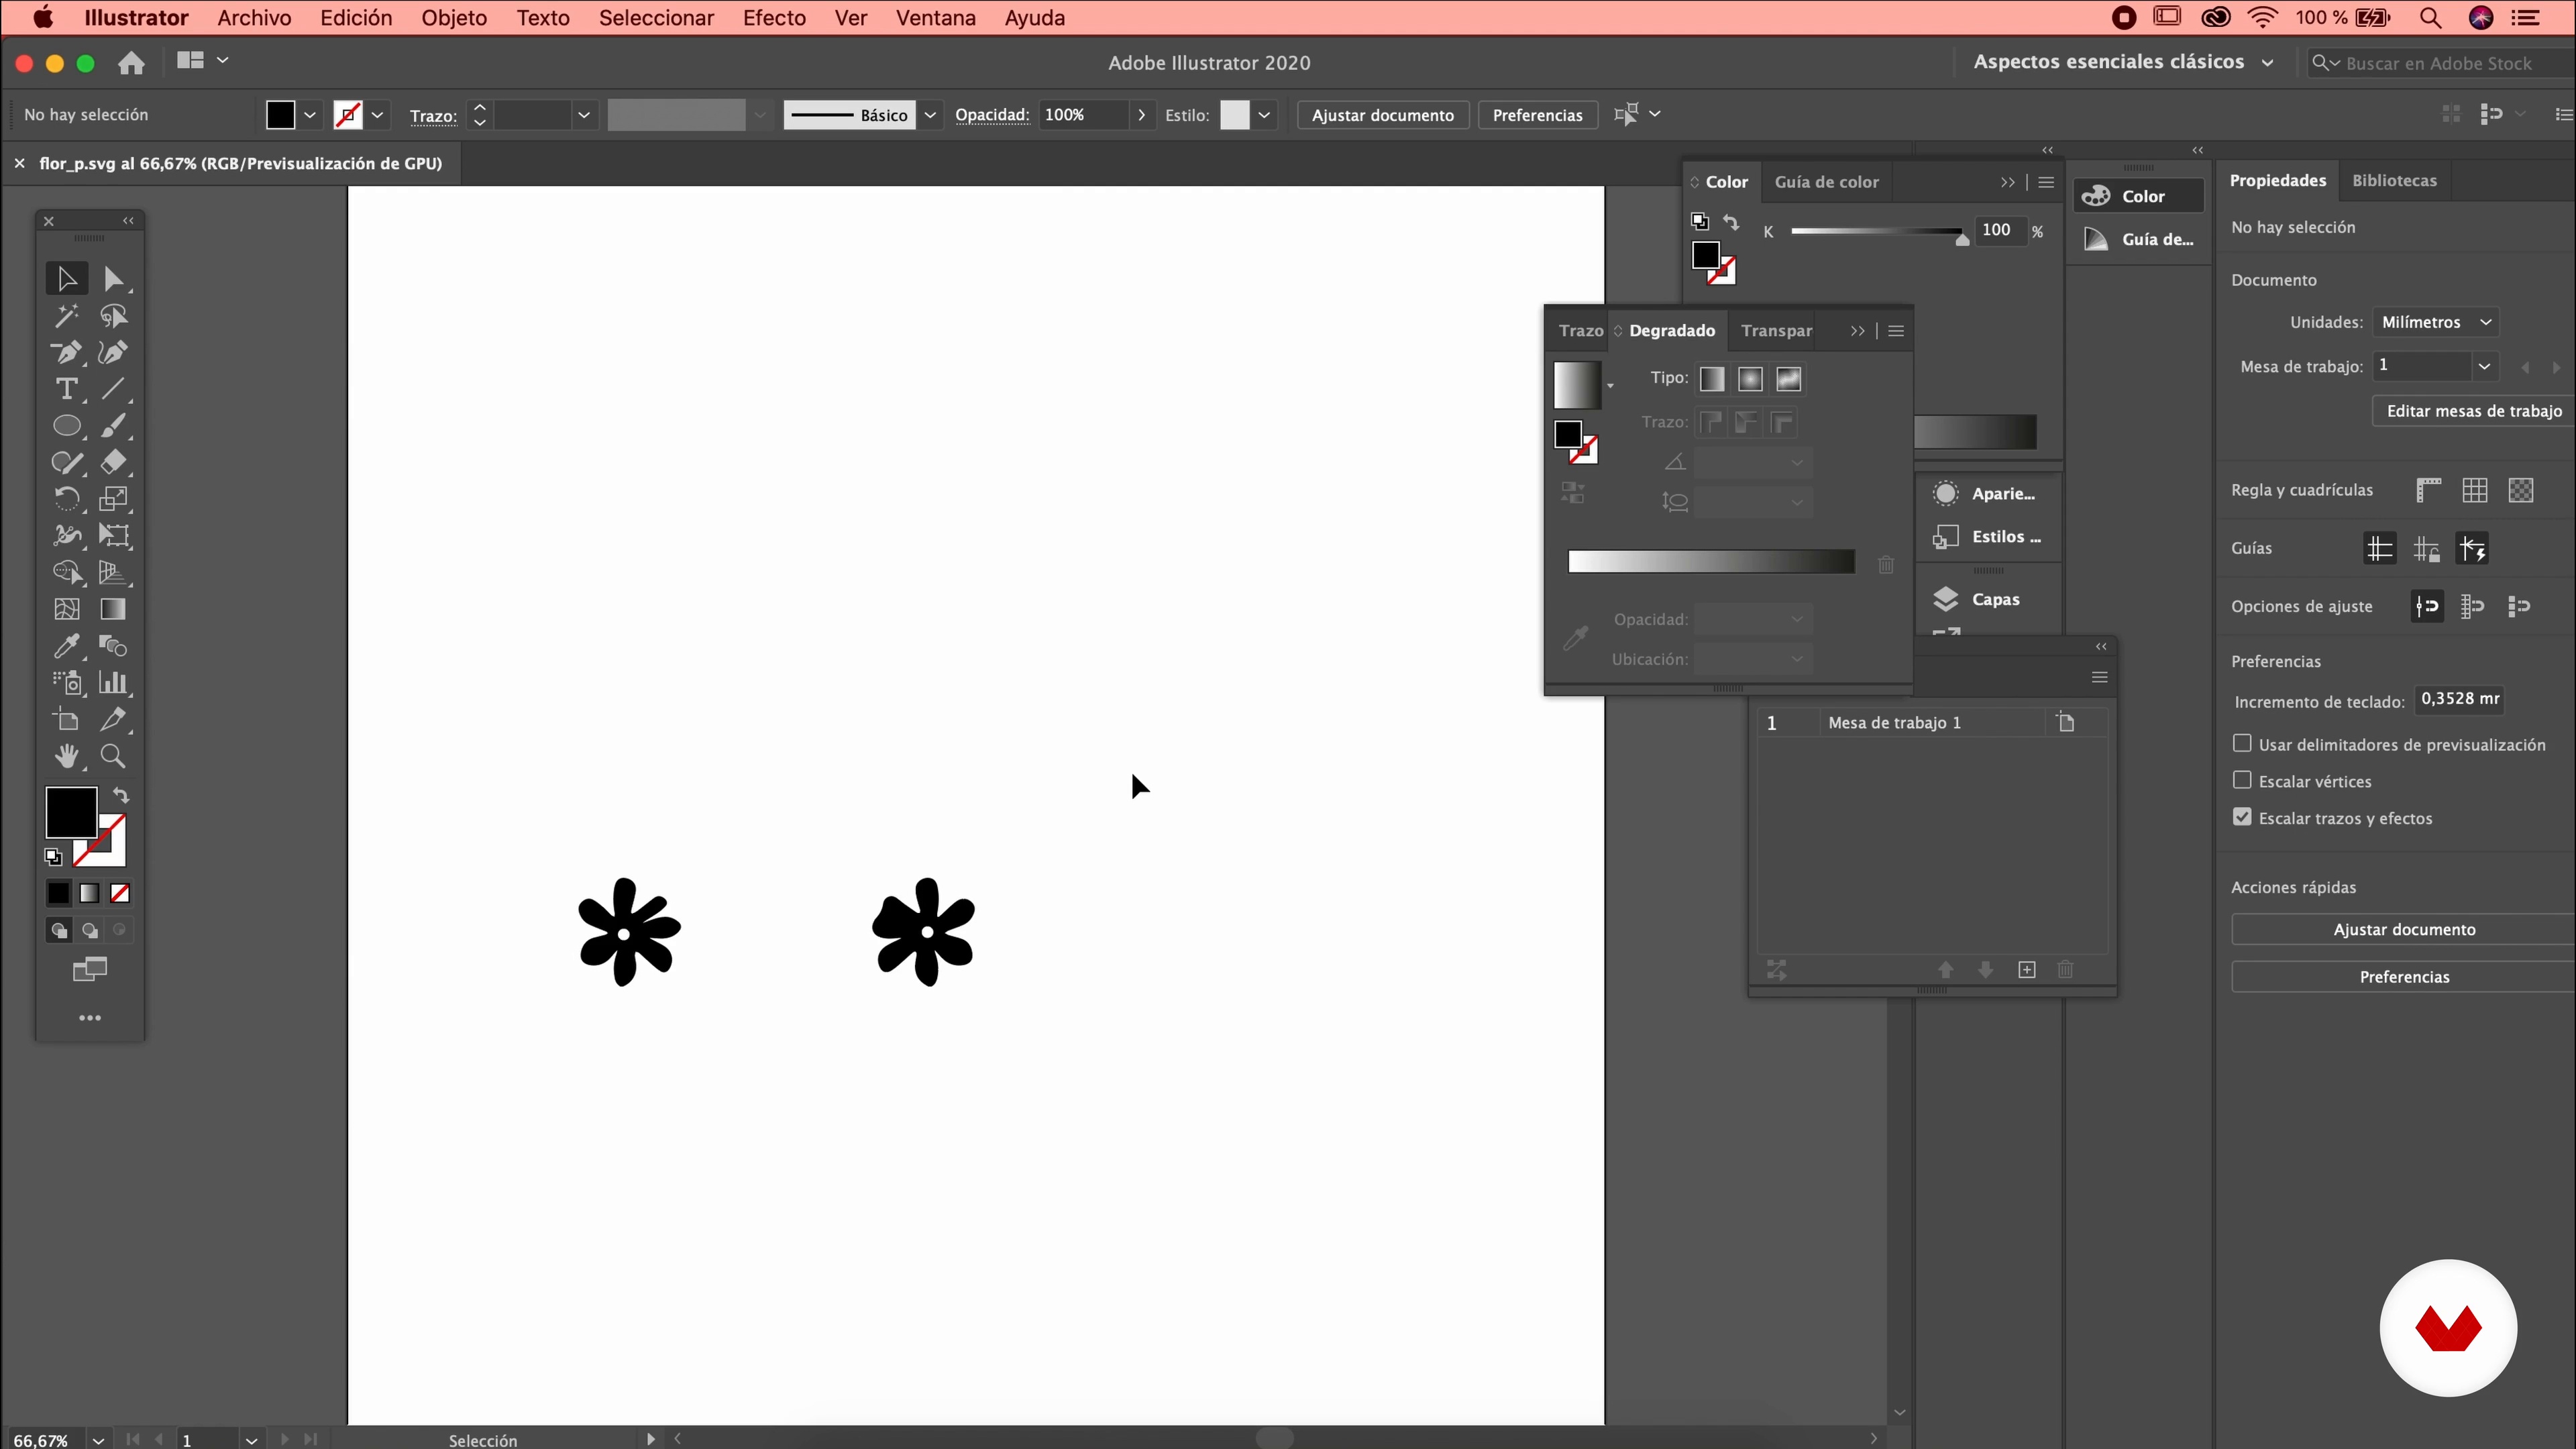
10Vectorized
Next, I'll explain how to vectorize your designs by creating a 2D plane.
17m
 11
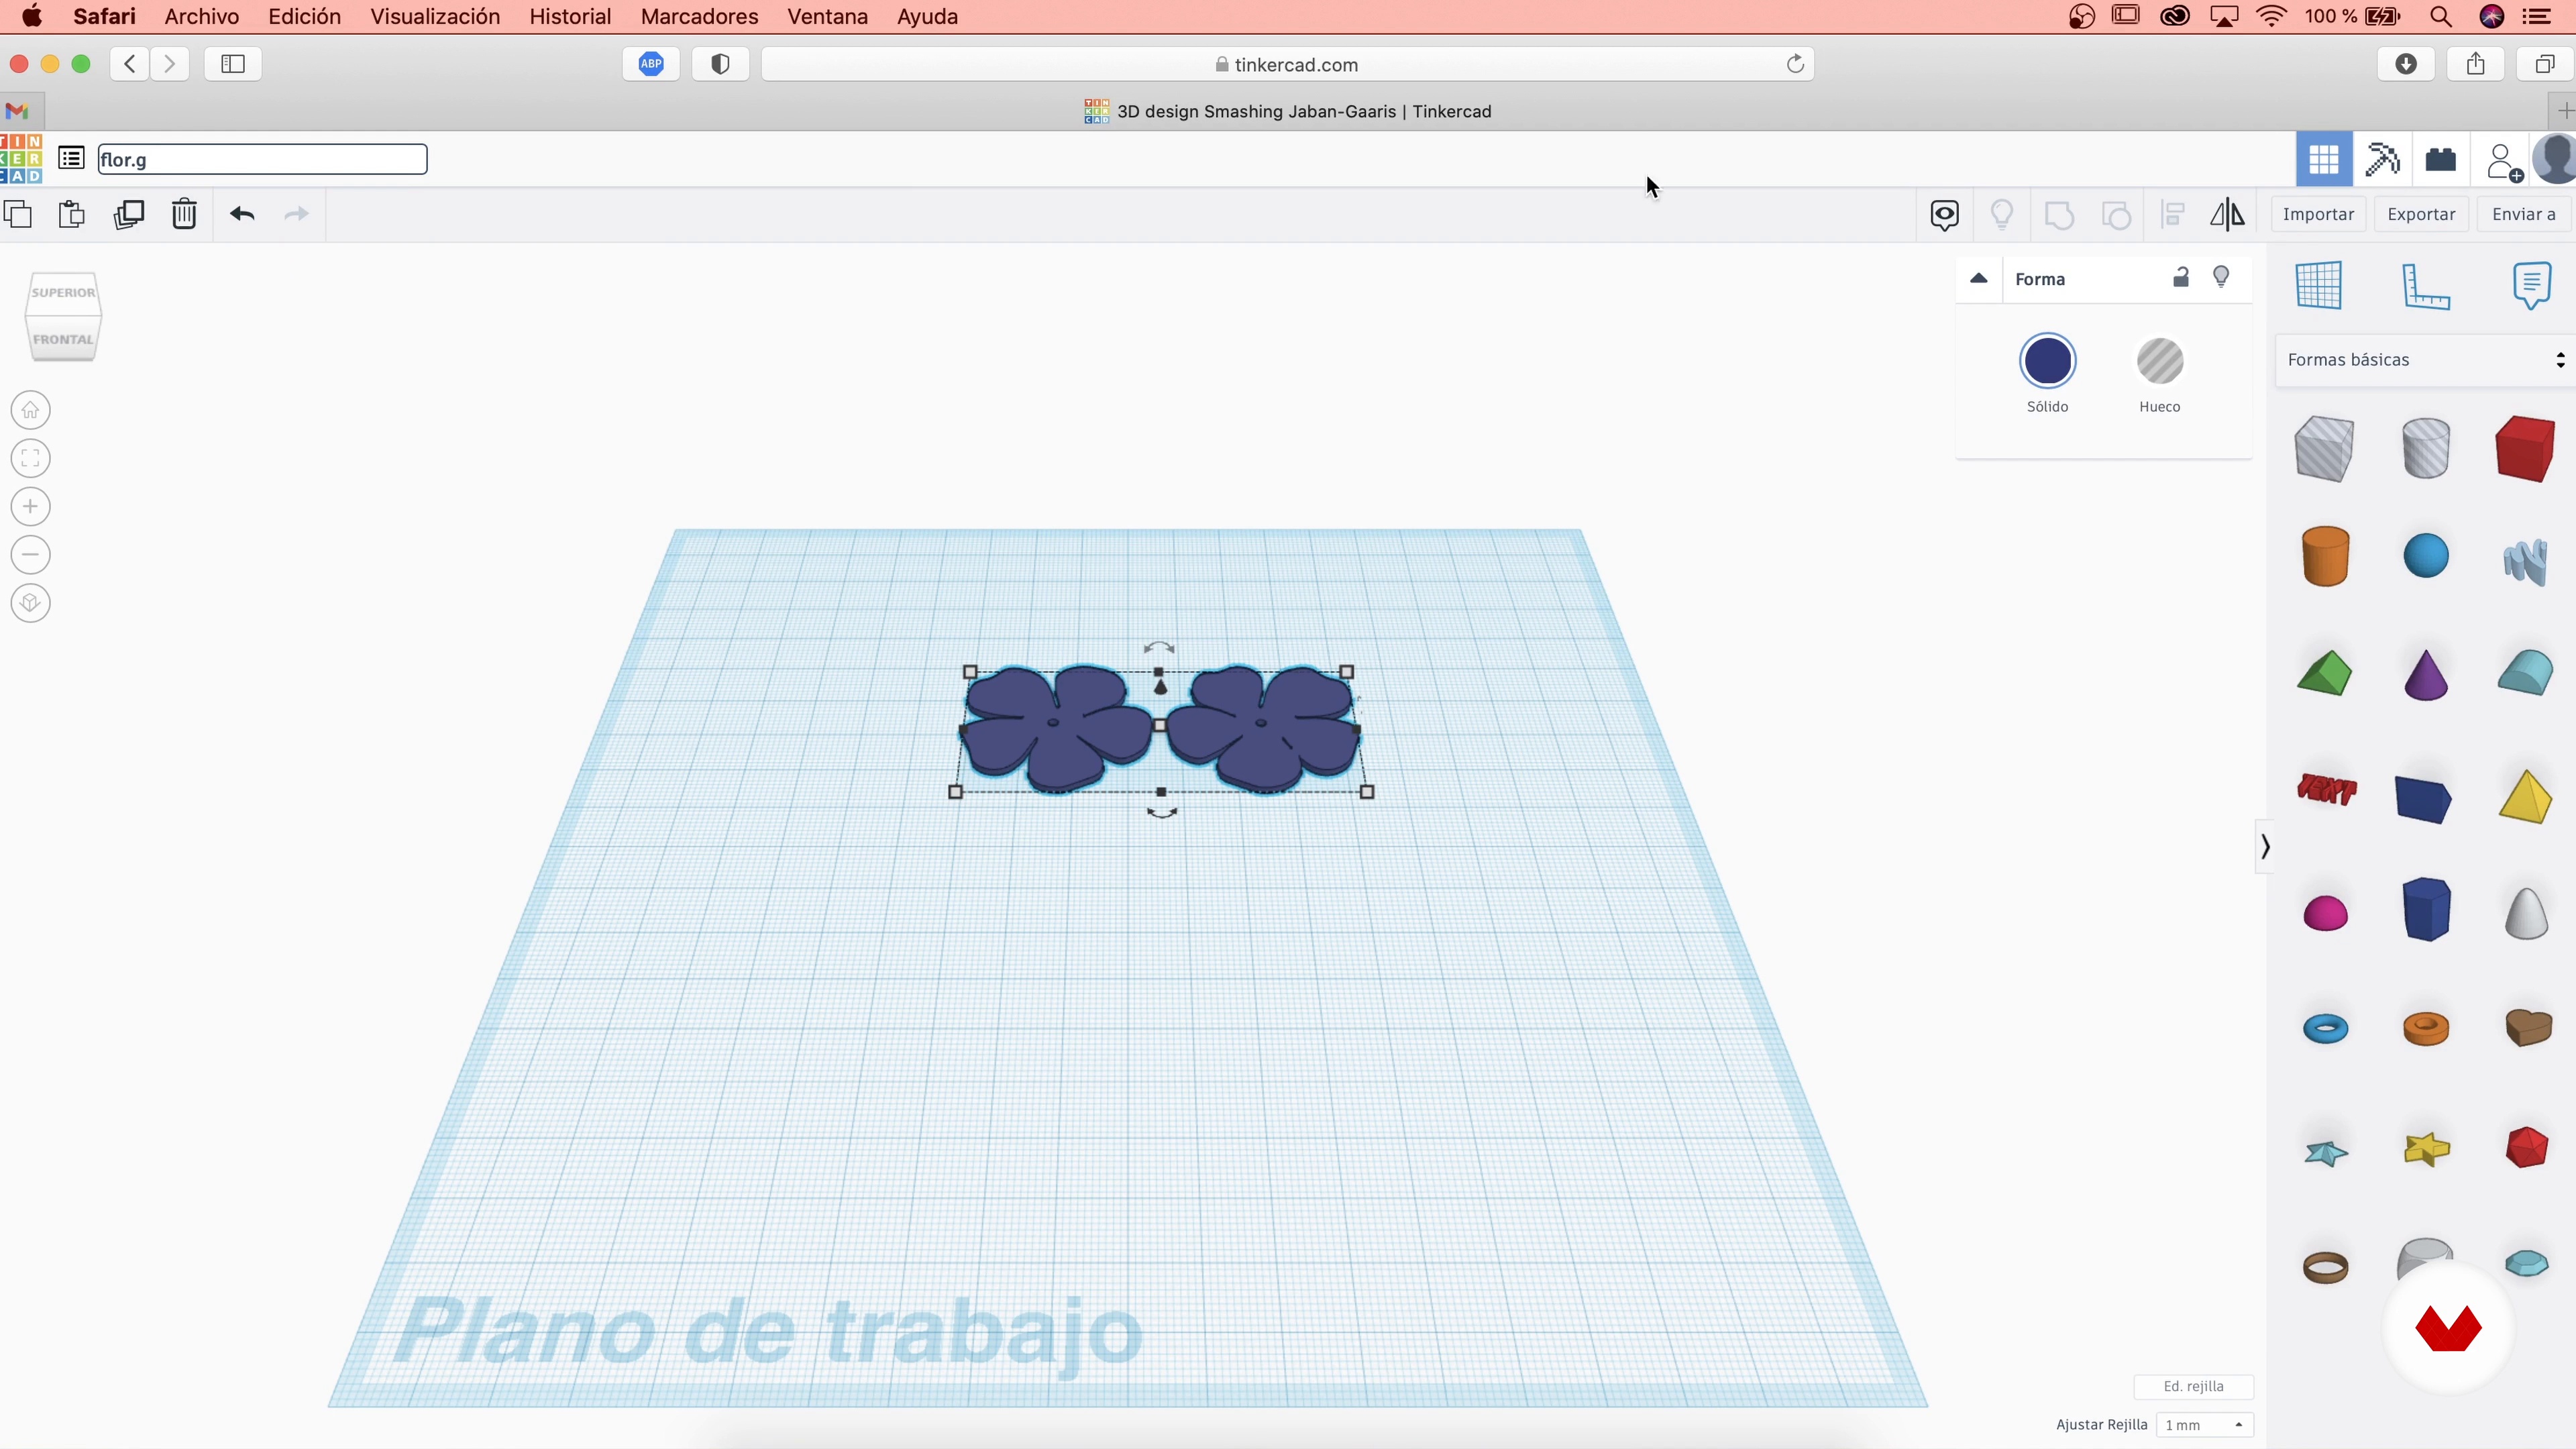
113D modeling
Now it's time to model the planes we previously created in Illustrator. We'll give them the desired volume using the Tinkercad tool.
9m
 12
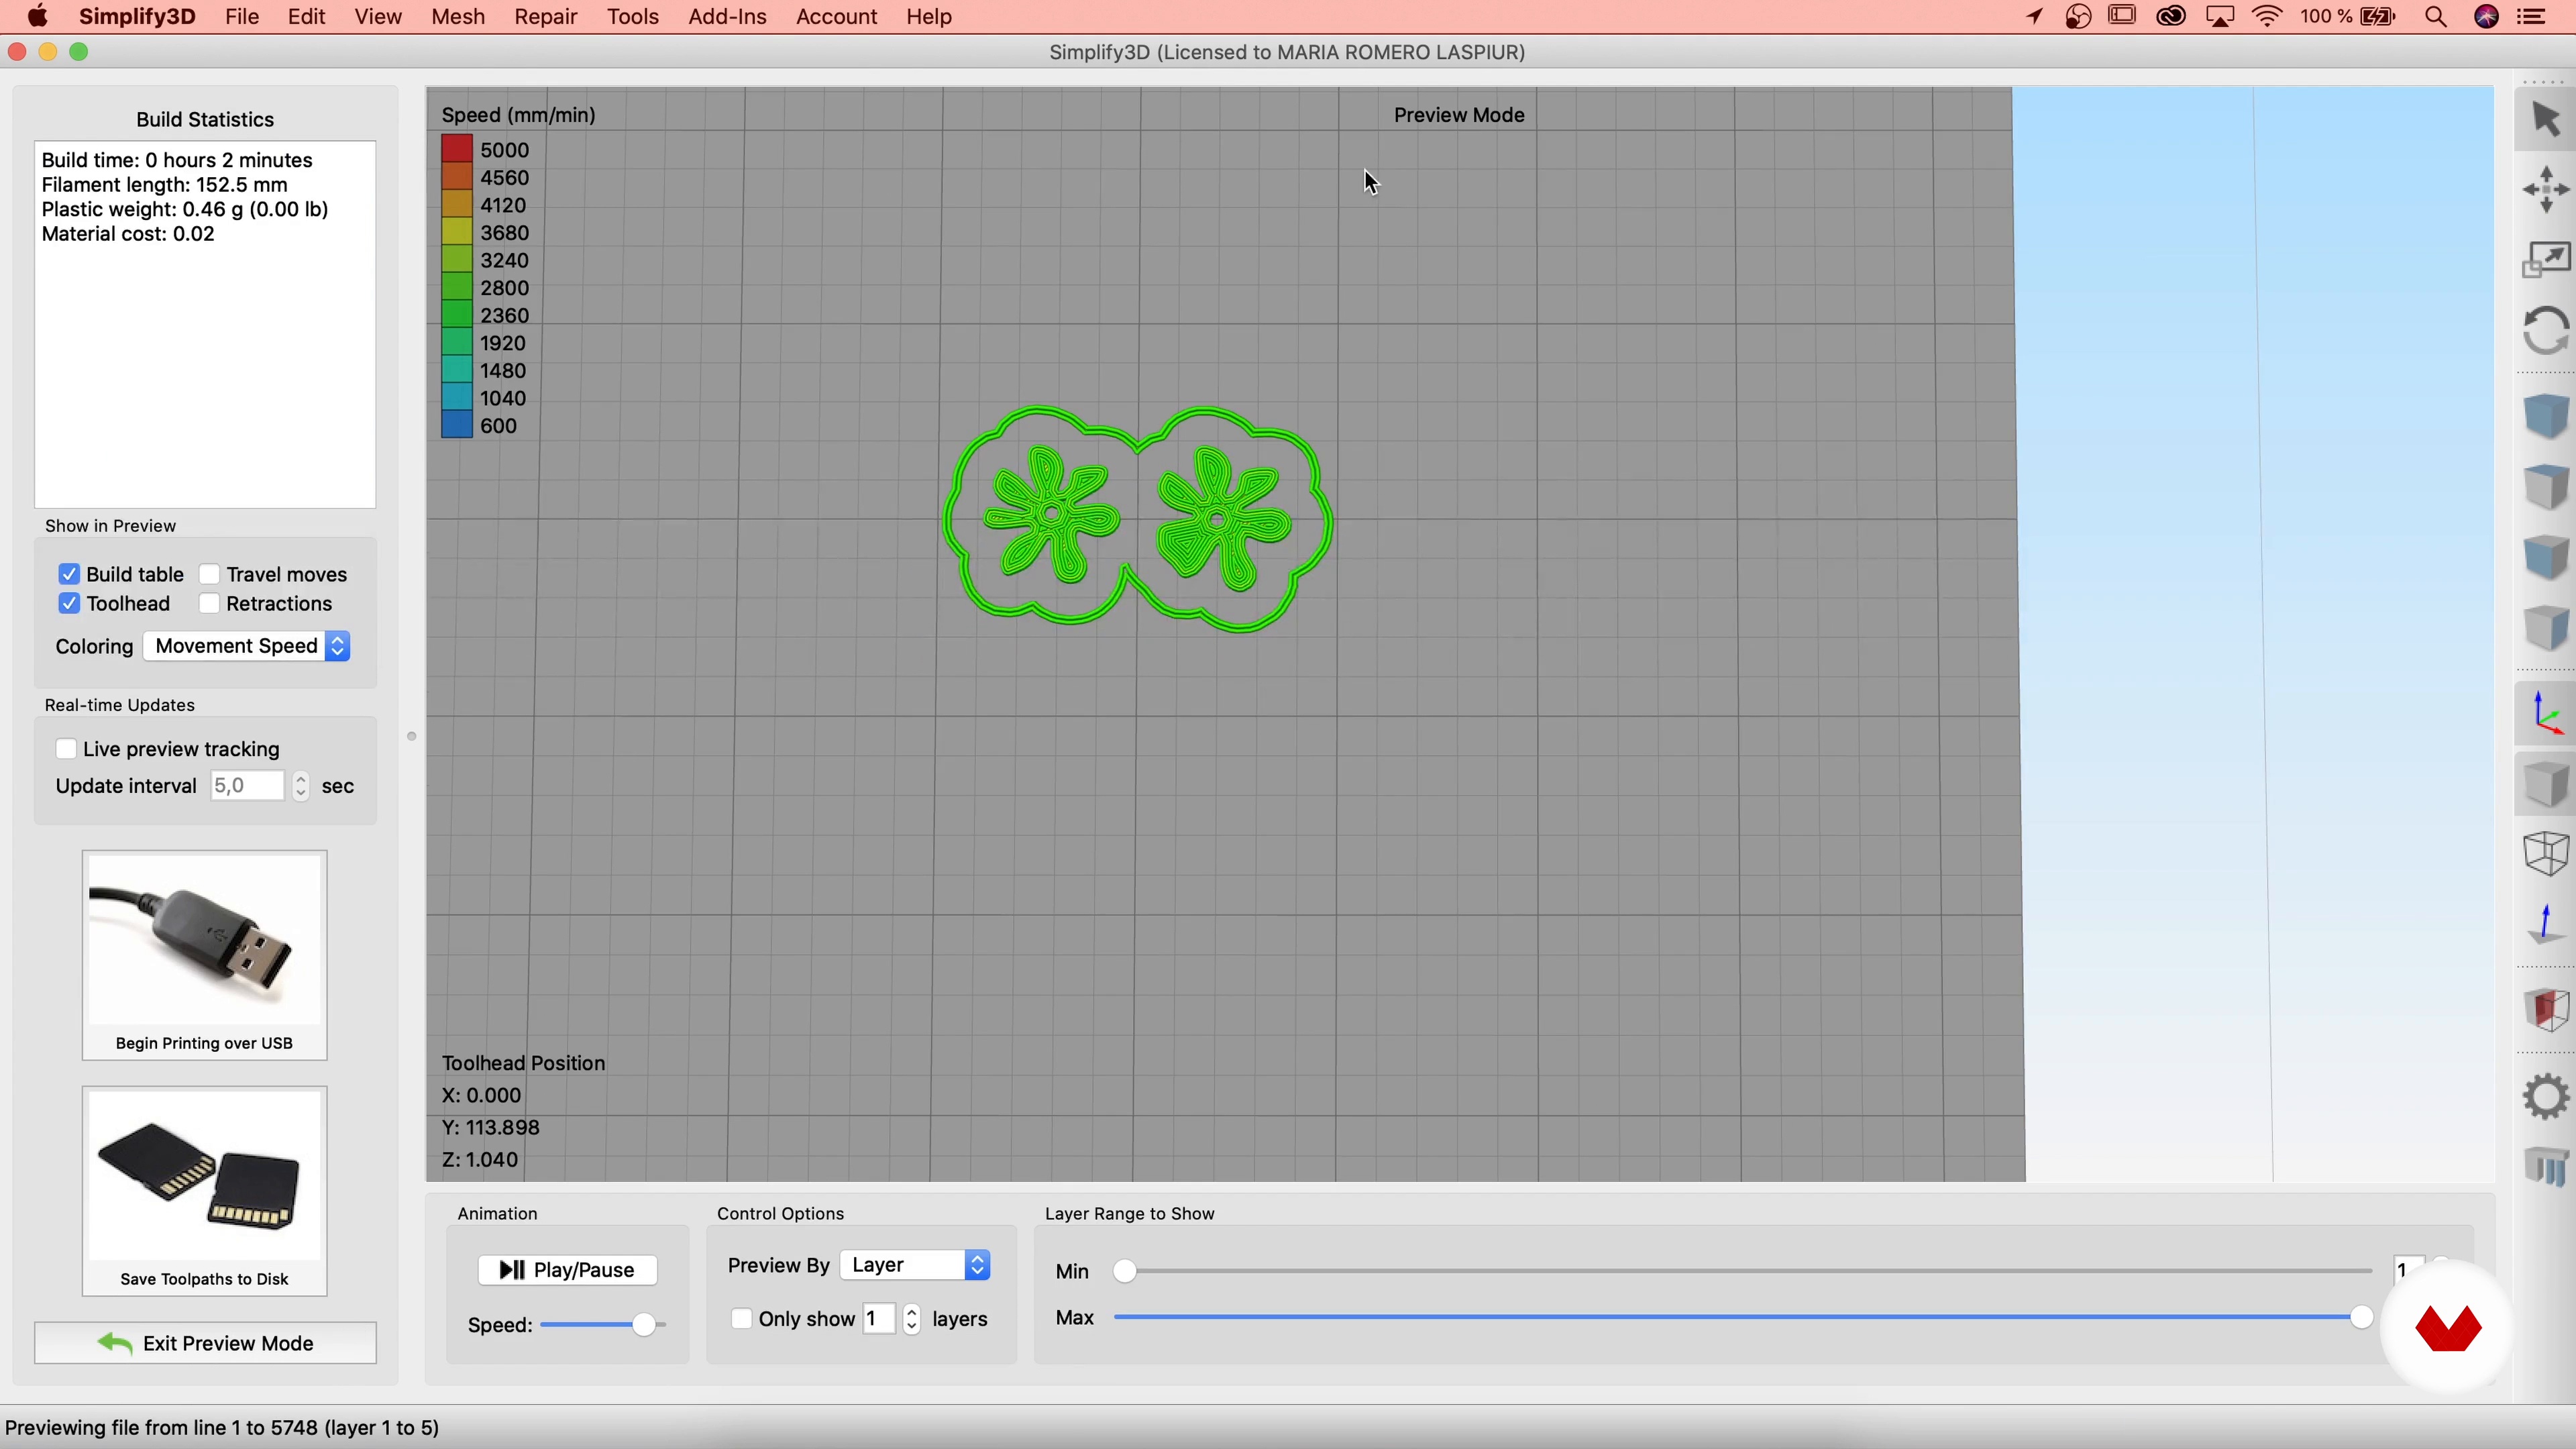
12Slicer 3D
In this lesson, I'll show you how to configure your designs for 3D printing, adapting them to the printer you're going to use.
17m
 13
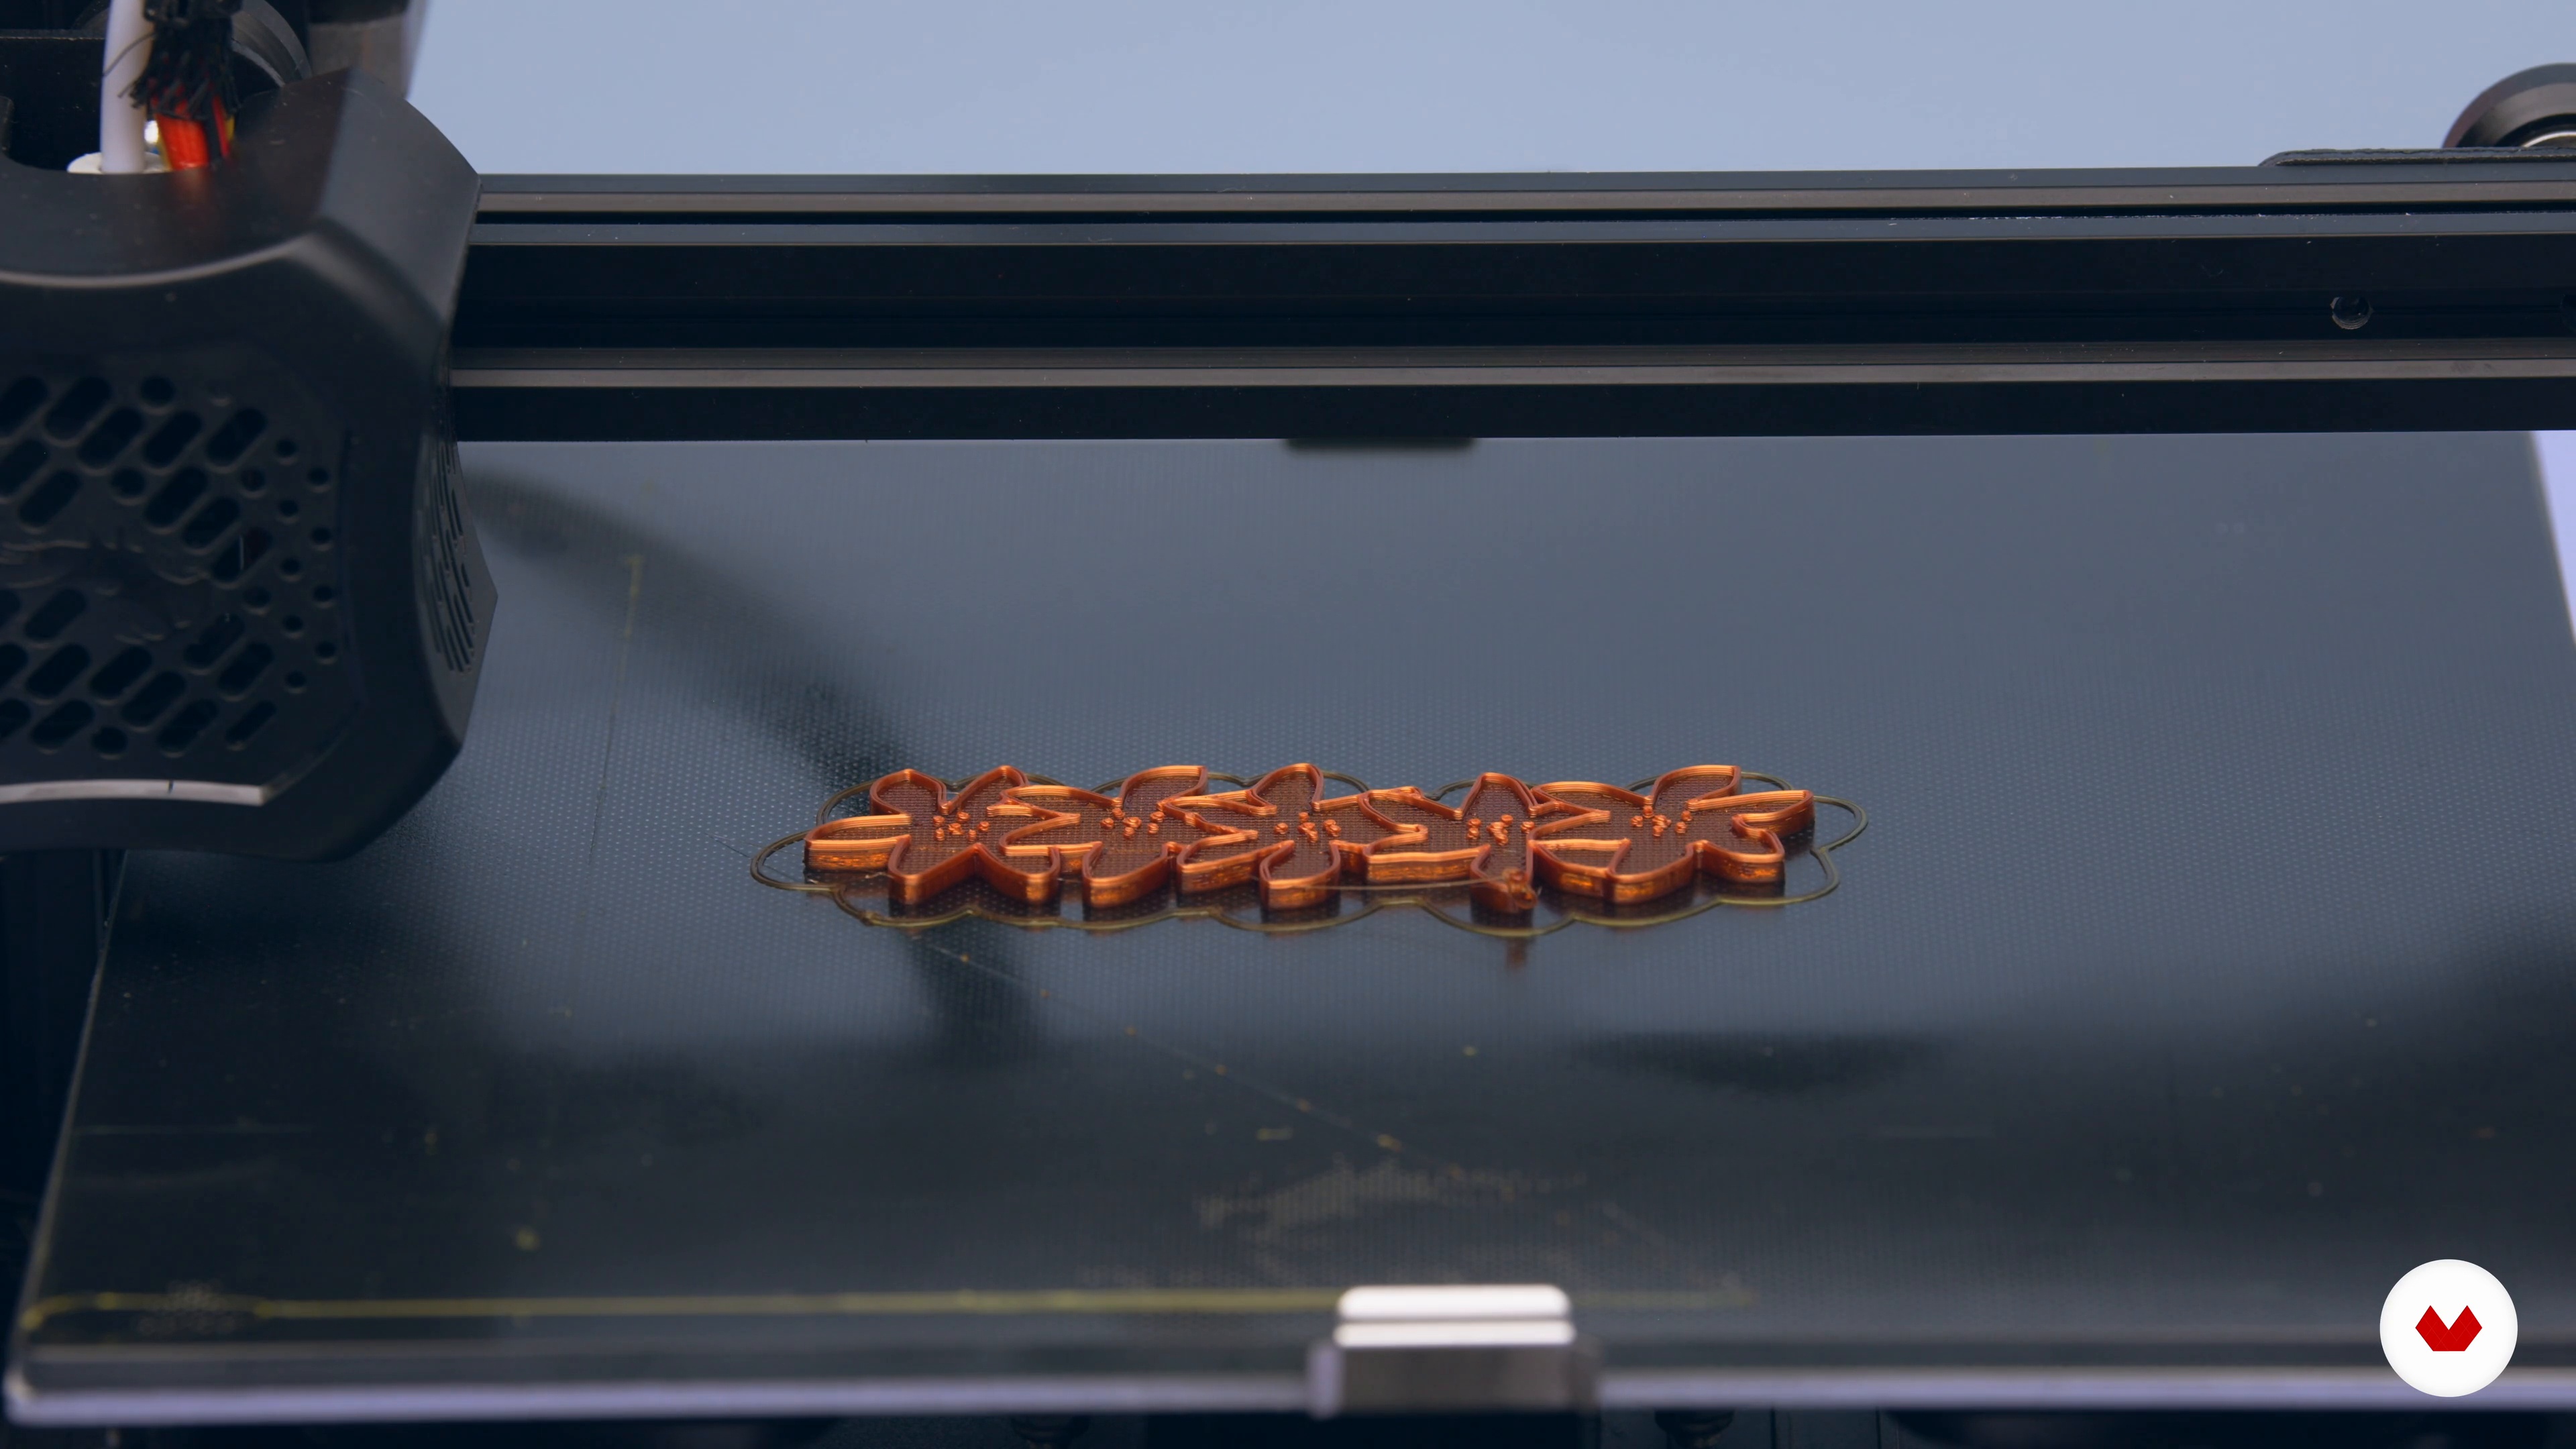
133D print
Next, I'm going to print the parts I've designed. To do this, you have two options: on your printer, if you have one, or on a 3D printer.
10m
 14
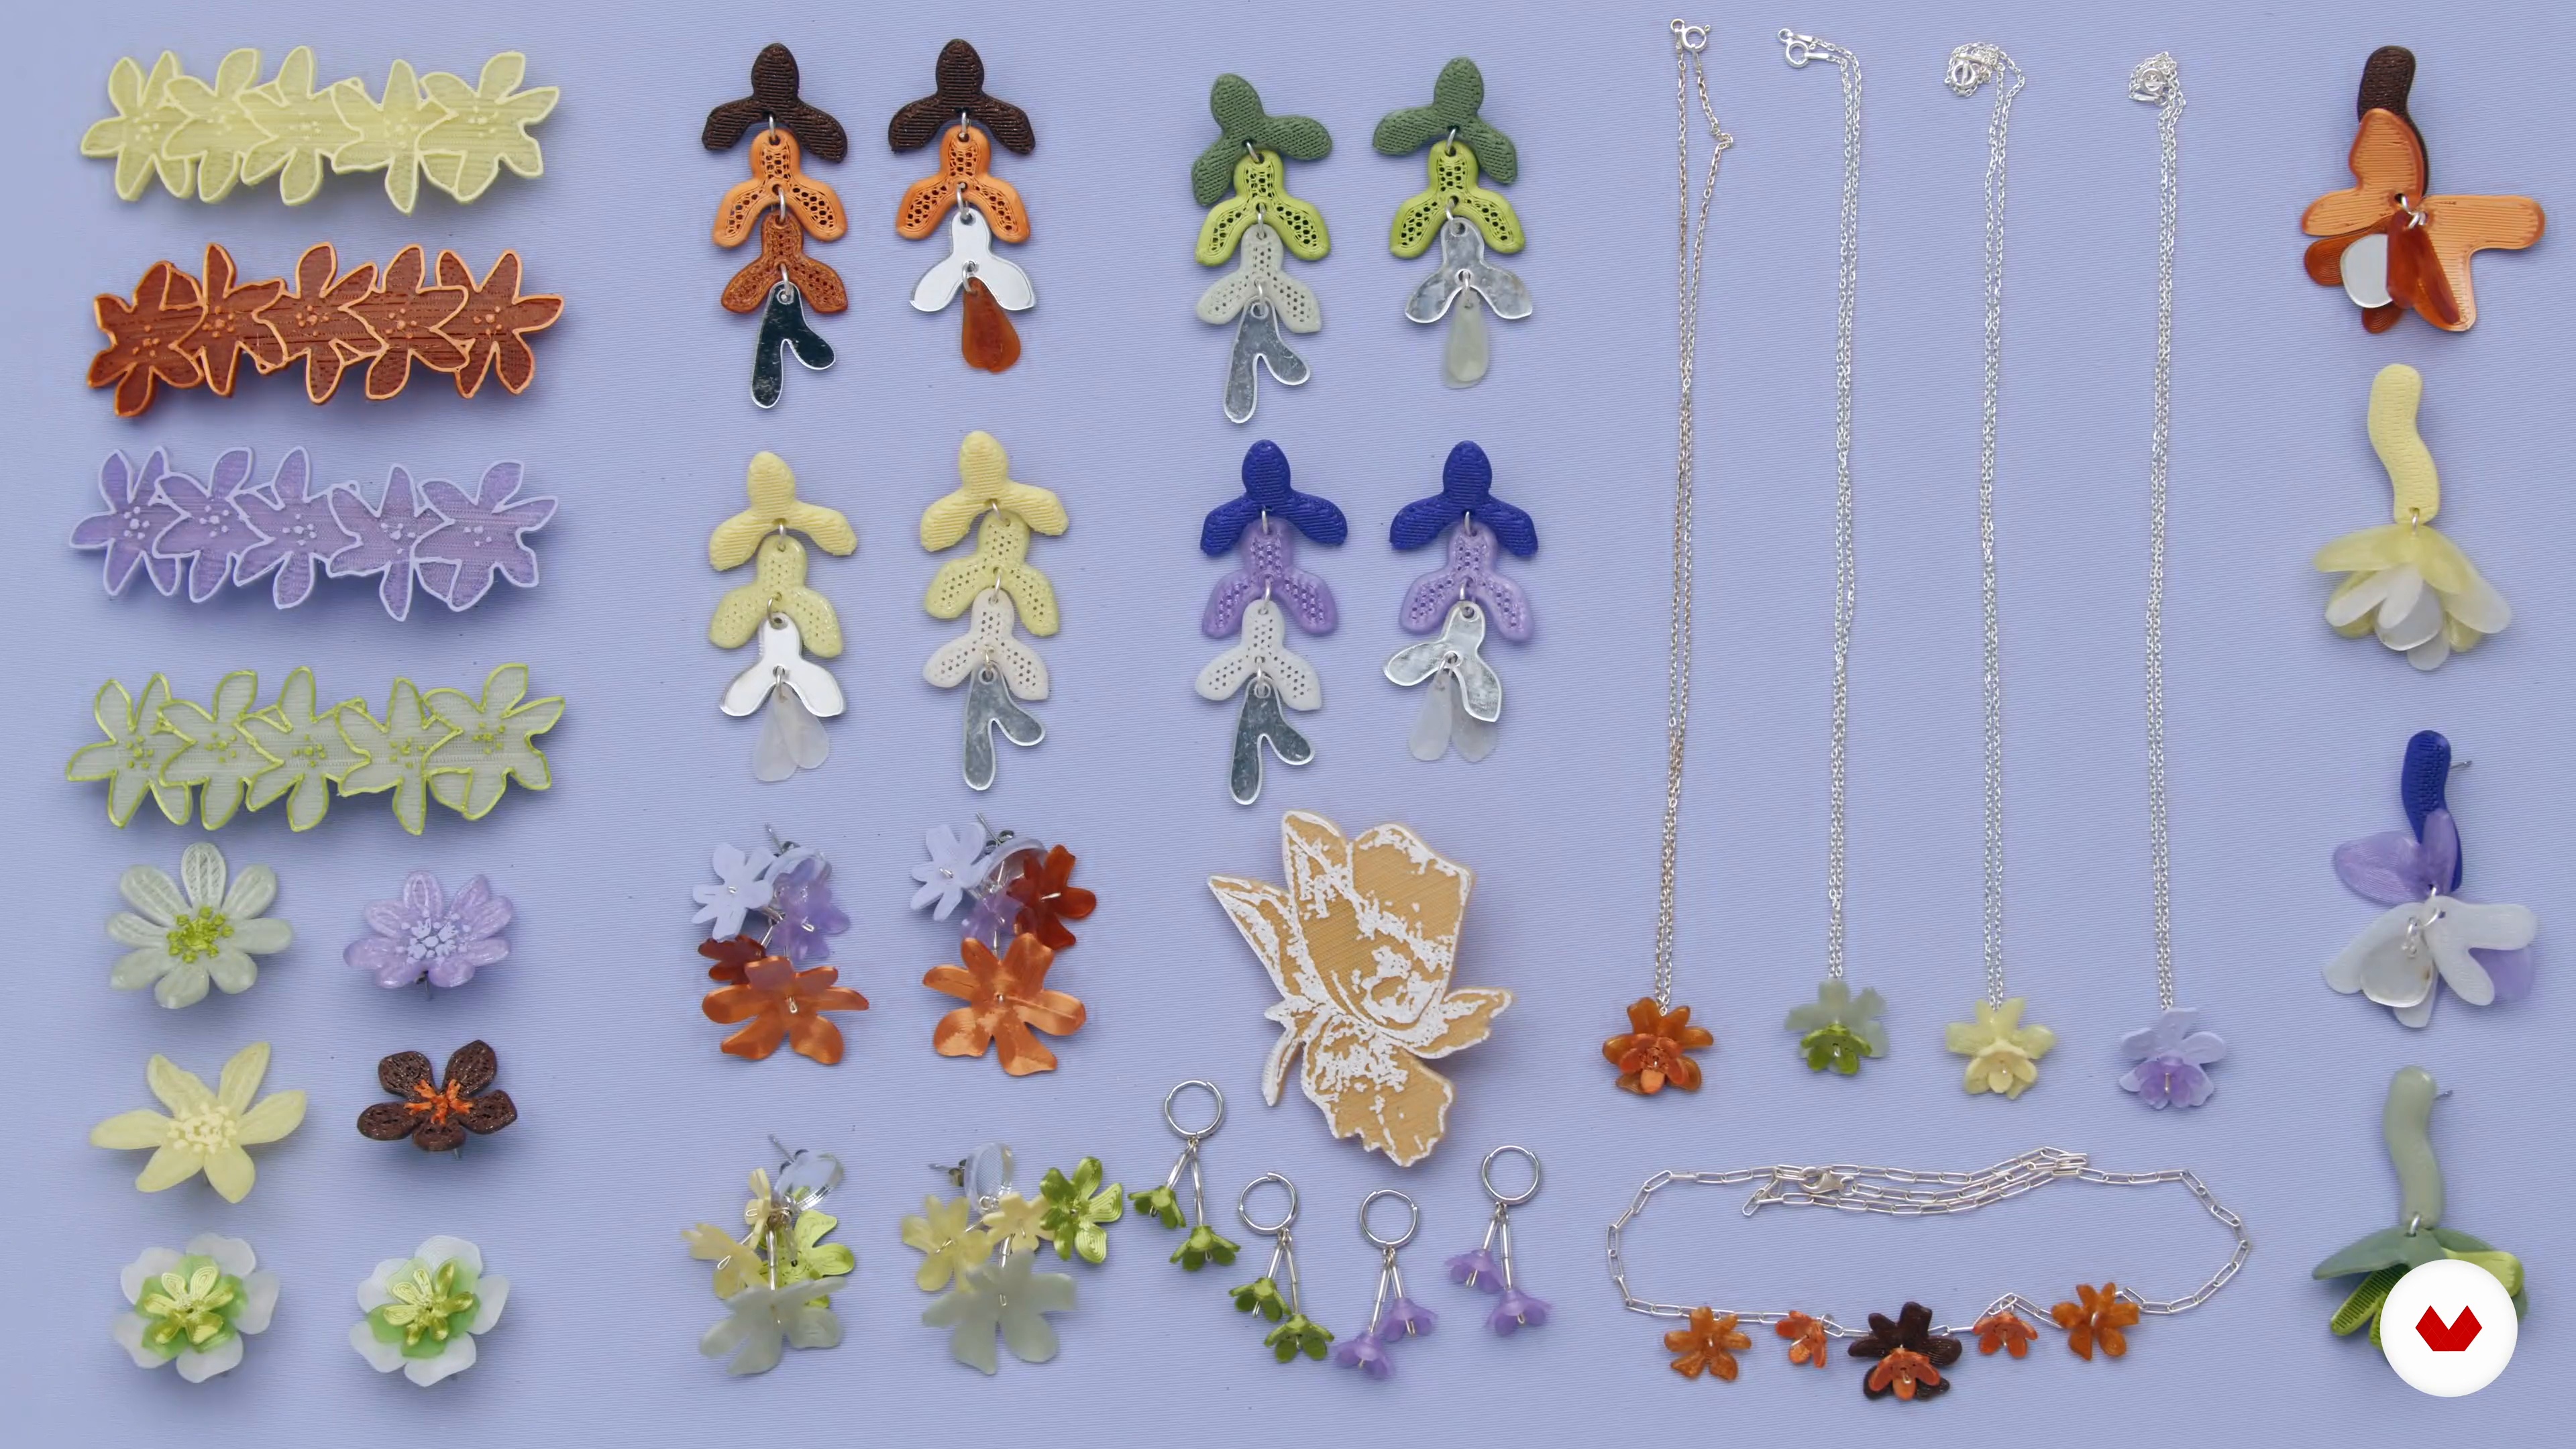
14Cleaning and assembly
Now it's time to clean and glue the pieces together. Once they're ready and glued, we'll need to assemble our designs.
11m
 15
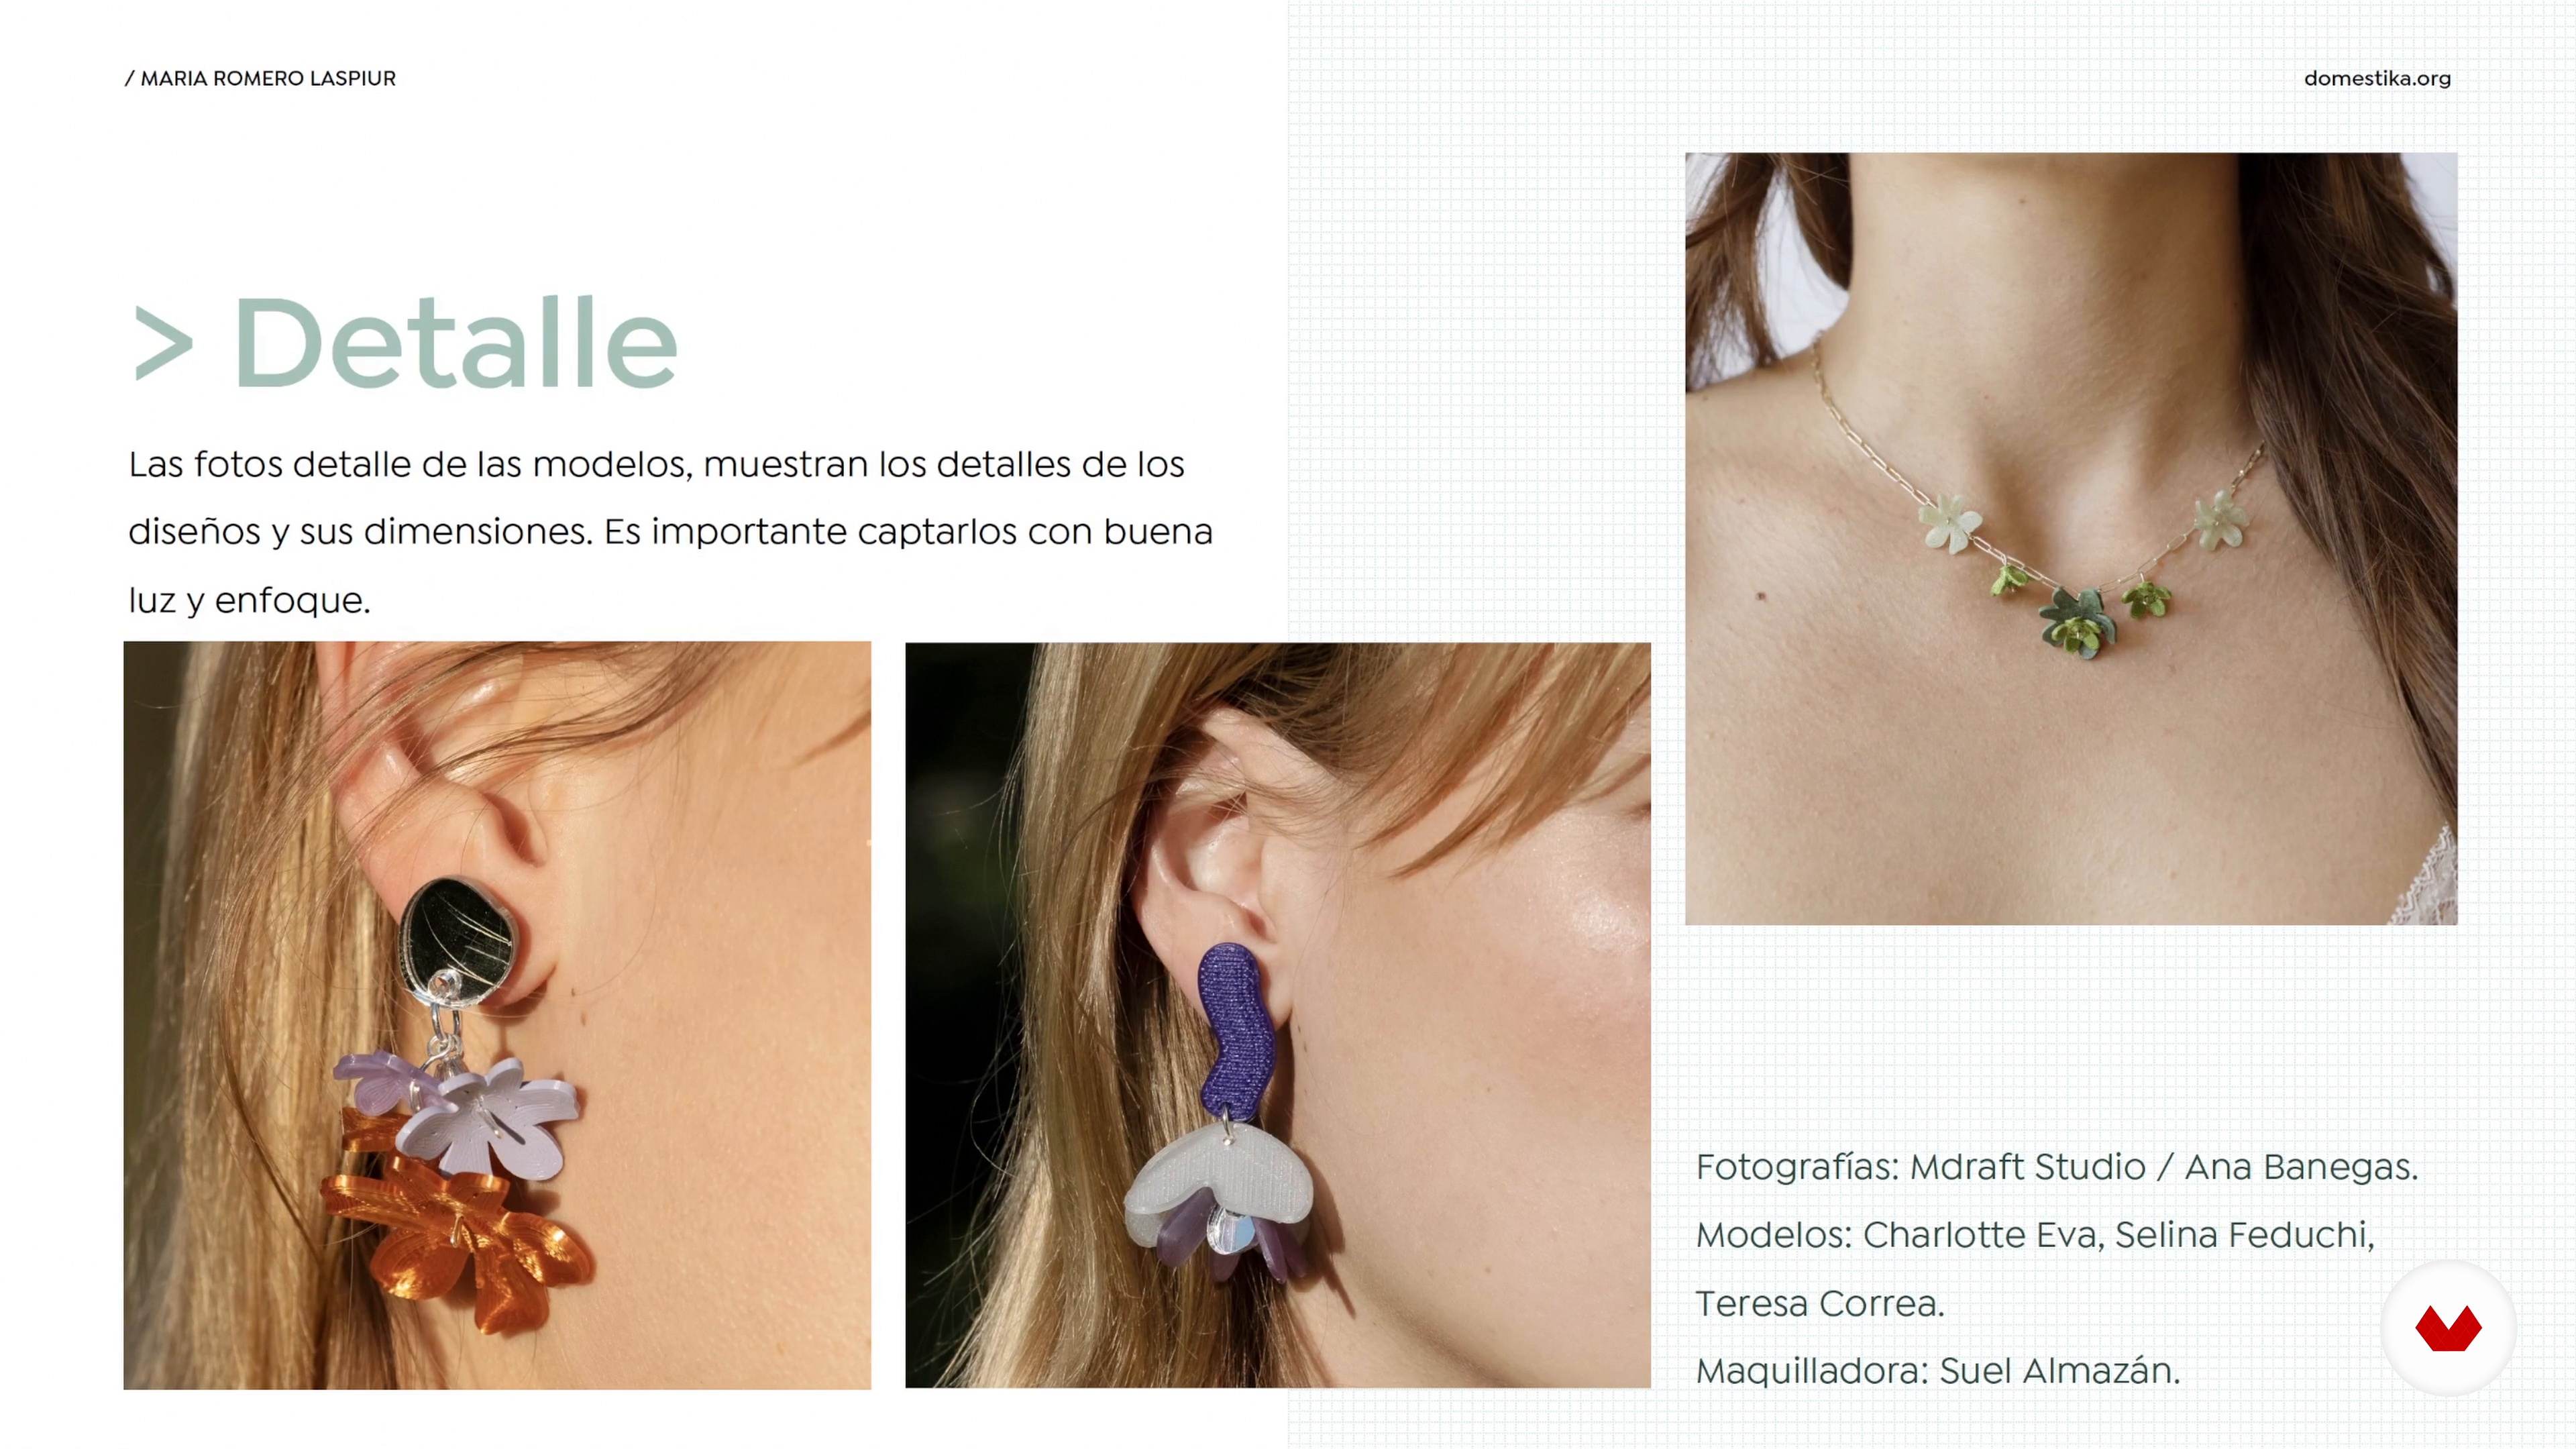
15Photography and image of the collection
To promote your project on social media, photographing and creating an image of your collection will be key. In this lesson, I'll give you tips on how to do just that.
2m
What is this course's project?
The final project consists of designing and creating a collection of three to five pieces of jewelry that fuse at least two learned techniques or materials, submitting photographs, a conceptual description, and documenting the creative and technical process.
Who is this specialization for?
Creative and curious individuals seek to experiment with contemporary jewelry techniques. Ideal for those who wish to expand their artistic vision by merging metals, ceramics, natural fibers, embroidery, and 3D printing. Those passionate about unique design, sustainability, and innovation will find inspiration in this specialization.
Requirements and materials
No extensive prior knowledge is required, just a willingness to learn. You'll need basic tools such as pliers, scissors, needles, a small oven, and a computer with 3D modeling software. Materials such as metal, natural fibers, ceramics, threads, and resin will be available.
Reviews
- 5 months ago
Me está encantando!
- 9 months ago
Seems very interesting and well structured.
- 10 months ago
me gusta mucho el curso,los consejos finales son de oros. gracias por compartir con nosotros.
- 10 months ago
muy bien explicado, y también la estructura del curso muy bien compuesta
- 1 year ago
Me ha encantado
Select to get to know your teachers in this specialization course


What to expect from this specialization course
Learn at your own pace
Enjoy learning from home without a set schedule and with an easy-to-follow method. You set your own pace.
Learn from the best professionals
Learn valuable methods and techniques explained by top experts in the creative sector.
Meet expert teachers
Each expert teaches what they do best, with clear guidelines, true passion, and professional insight in every lesson.
Certificates
PLUSIf you're a Plus member, get a custom certificate for every specialization course. Share it on your portfolio, social media, or wherever you like.
Get front-row seats
Videos of the highest quality, so you don't miss a single detail. With unlimited access, you can watch them as many times as you need to perfect your technique.
Share knowledge and ideas
Ask questions, request feedback, or offer solutions. Share your learning experience with other students in the community who are as passionate about creativity as you are.
Connect with a global creative community
The community is home to millions of people from around the world who are curious and passionate about exploring and expressing their creativity.
Watch professionally produced courses
Domestika curates its teacher roster and produces every course in-house to ensure a high-quality online learning experience.
FAQs
The course is aimed at people with an intermediate level in ceramics and jewelry, but it’s also suitable for those with basic knowledge who want to deepen their skills and explore contemporary creative techniques and processes.
You’ll need clay, basic ceramic tools (sponge, cutting wire, cutters, pliers), jewelry supplies (findings, two-part glue, wire, natural fibers), and access to a ceramic kiln.
You’ll learn modeling, cutting, and finishing techniques in ceramics, handmade jewelry creation, mood board development, material selection, integrating metal components, and design and artistic inspiration concepts.
The course covers ceramics applied to jewelry, art installations, and collection creation. You’ll make pieces like bracelets, earrings, pendants, and sculptures combining traditional and contemporary techniques.
The course draws on influences like Pina Bausch and Wolf and Legs to boost creativity, emotional expression, and focus on the artistic process, inspiring both design and execution of your pieces.
You don’t need professional drawing skills. The course teaches how to create 3D sketches and digital mood boards using accessible tools, focusing on visual and conceptual organization rather than drawing ability.
Techniques taught include kneading, cutting, shaping geometric and organic forms, burnishing, die-cutting, piercing, flattening, sponging, and finishing both by hand and with tools.