
Papercut: Illustrating with Layers of Paper
A course by José Antonio Roda MartinezIllustrator
A course by José Antonio Roda Martinez, Illustrator

Learn to create compositions with volume using paper and a craft knife
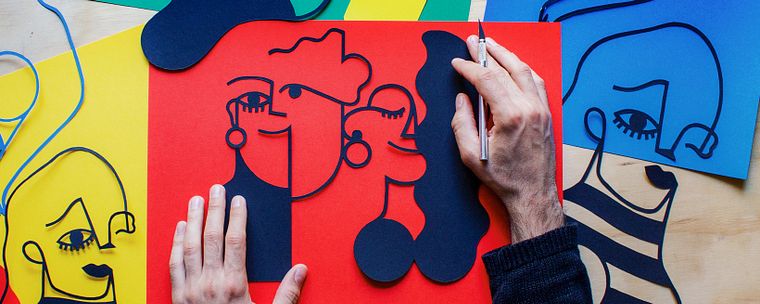
For illustrator José Antonio Roda, better known simply as Roda, paper is another tool for drawing. Throughout his career, he has worked for brands such as Instagram, WeTransfer, Hyundai, Kiabi, and the Madrid City Council, creating illustrations in a range of mediums, from pens and paint to paper, ceramics, textiles, and wood.
In this online course, learn basic papercutting techniques to transform your drawings into compositions with volume. Bring your ideas to life as papercut illustrations.
What will you learn in this online course?
19 lessons & 10 downloads
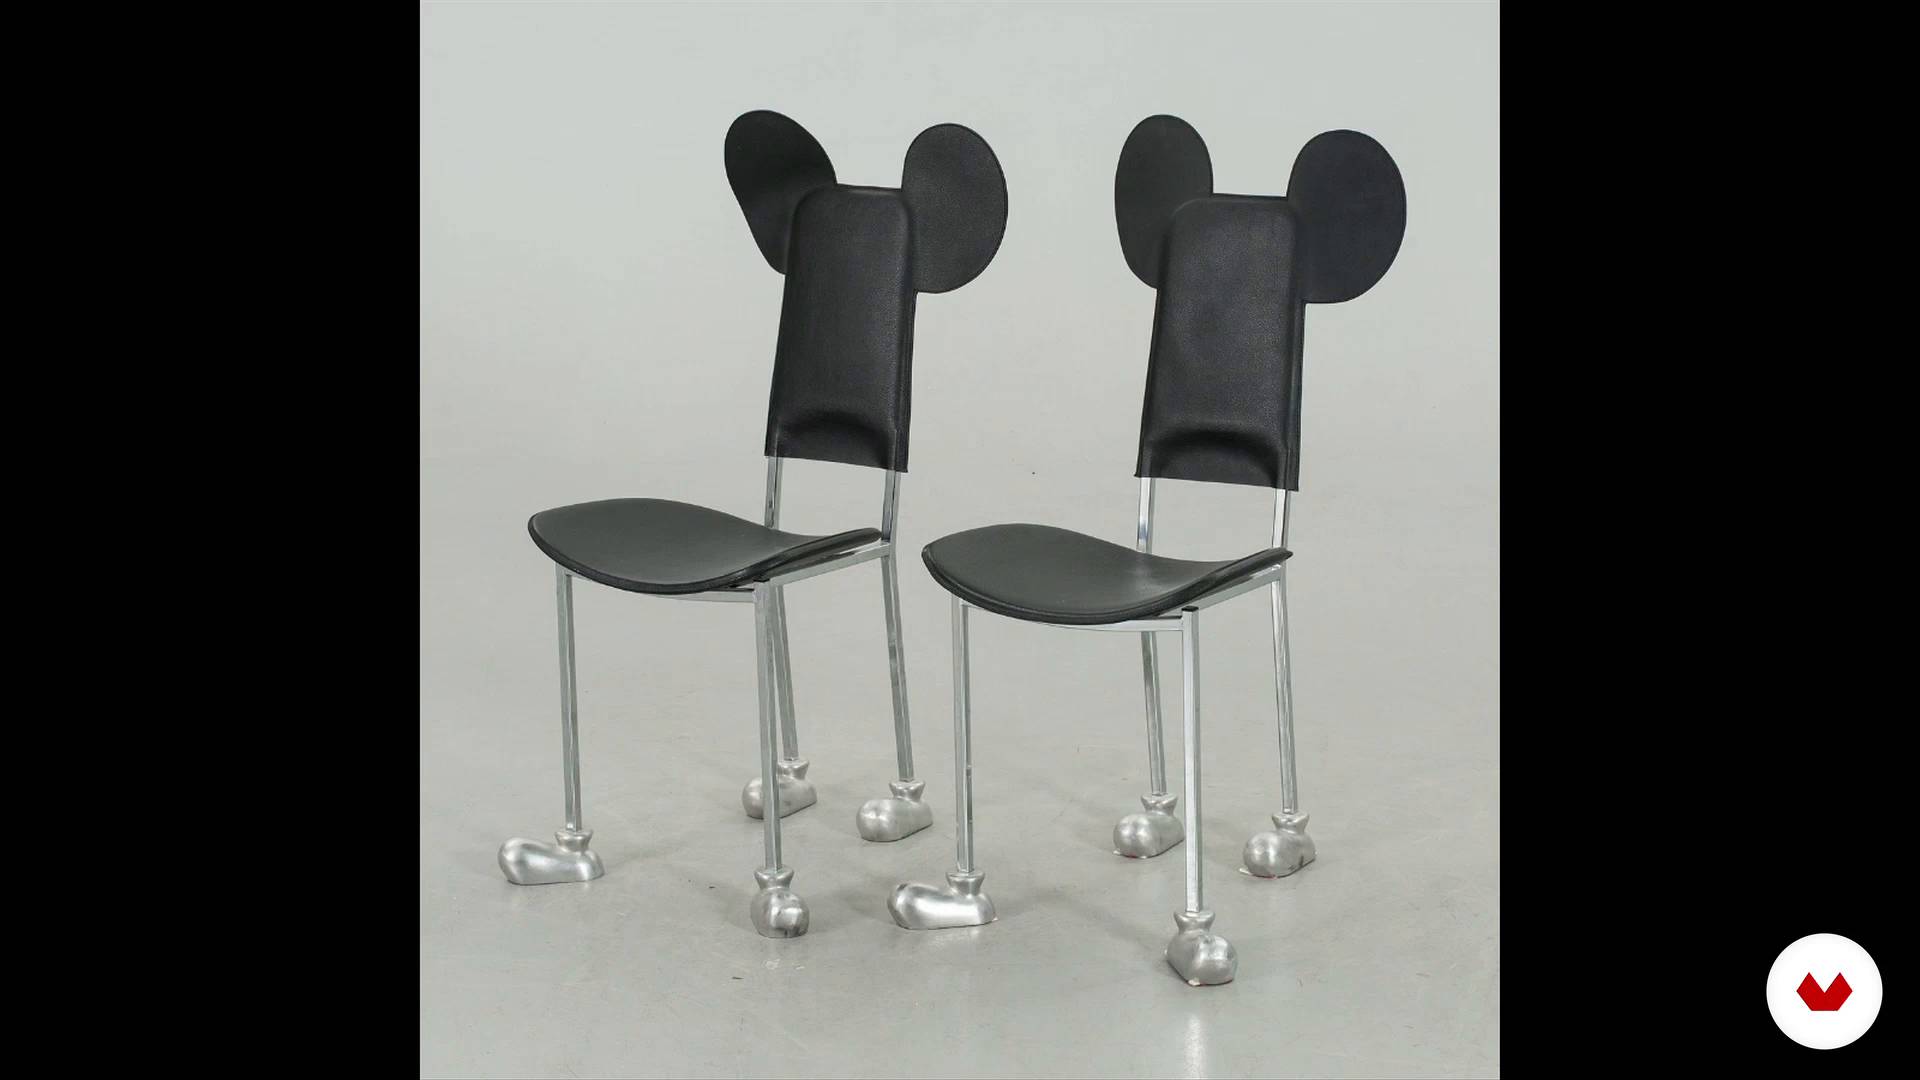
My influences
9 minutes, 52 seconds
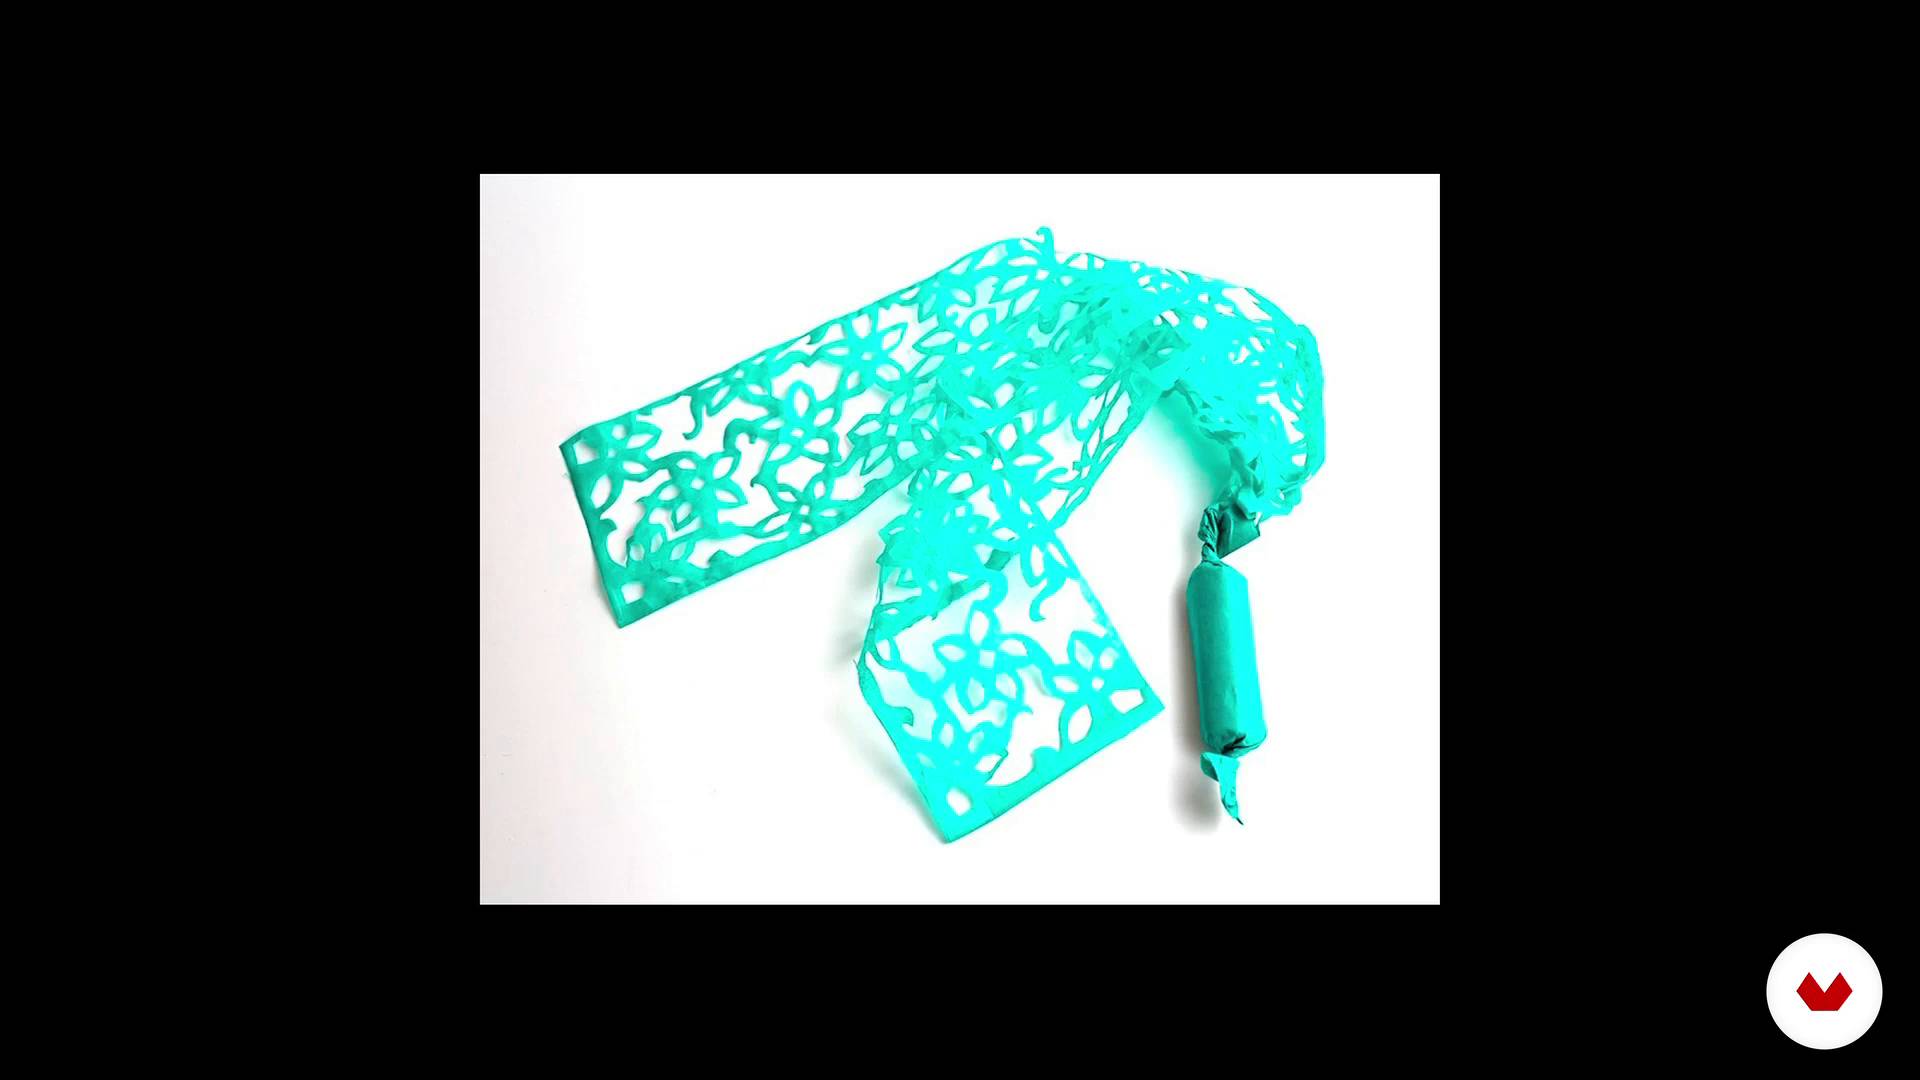
Brief historical context of the Papercut
3 minutes, 9 seconds
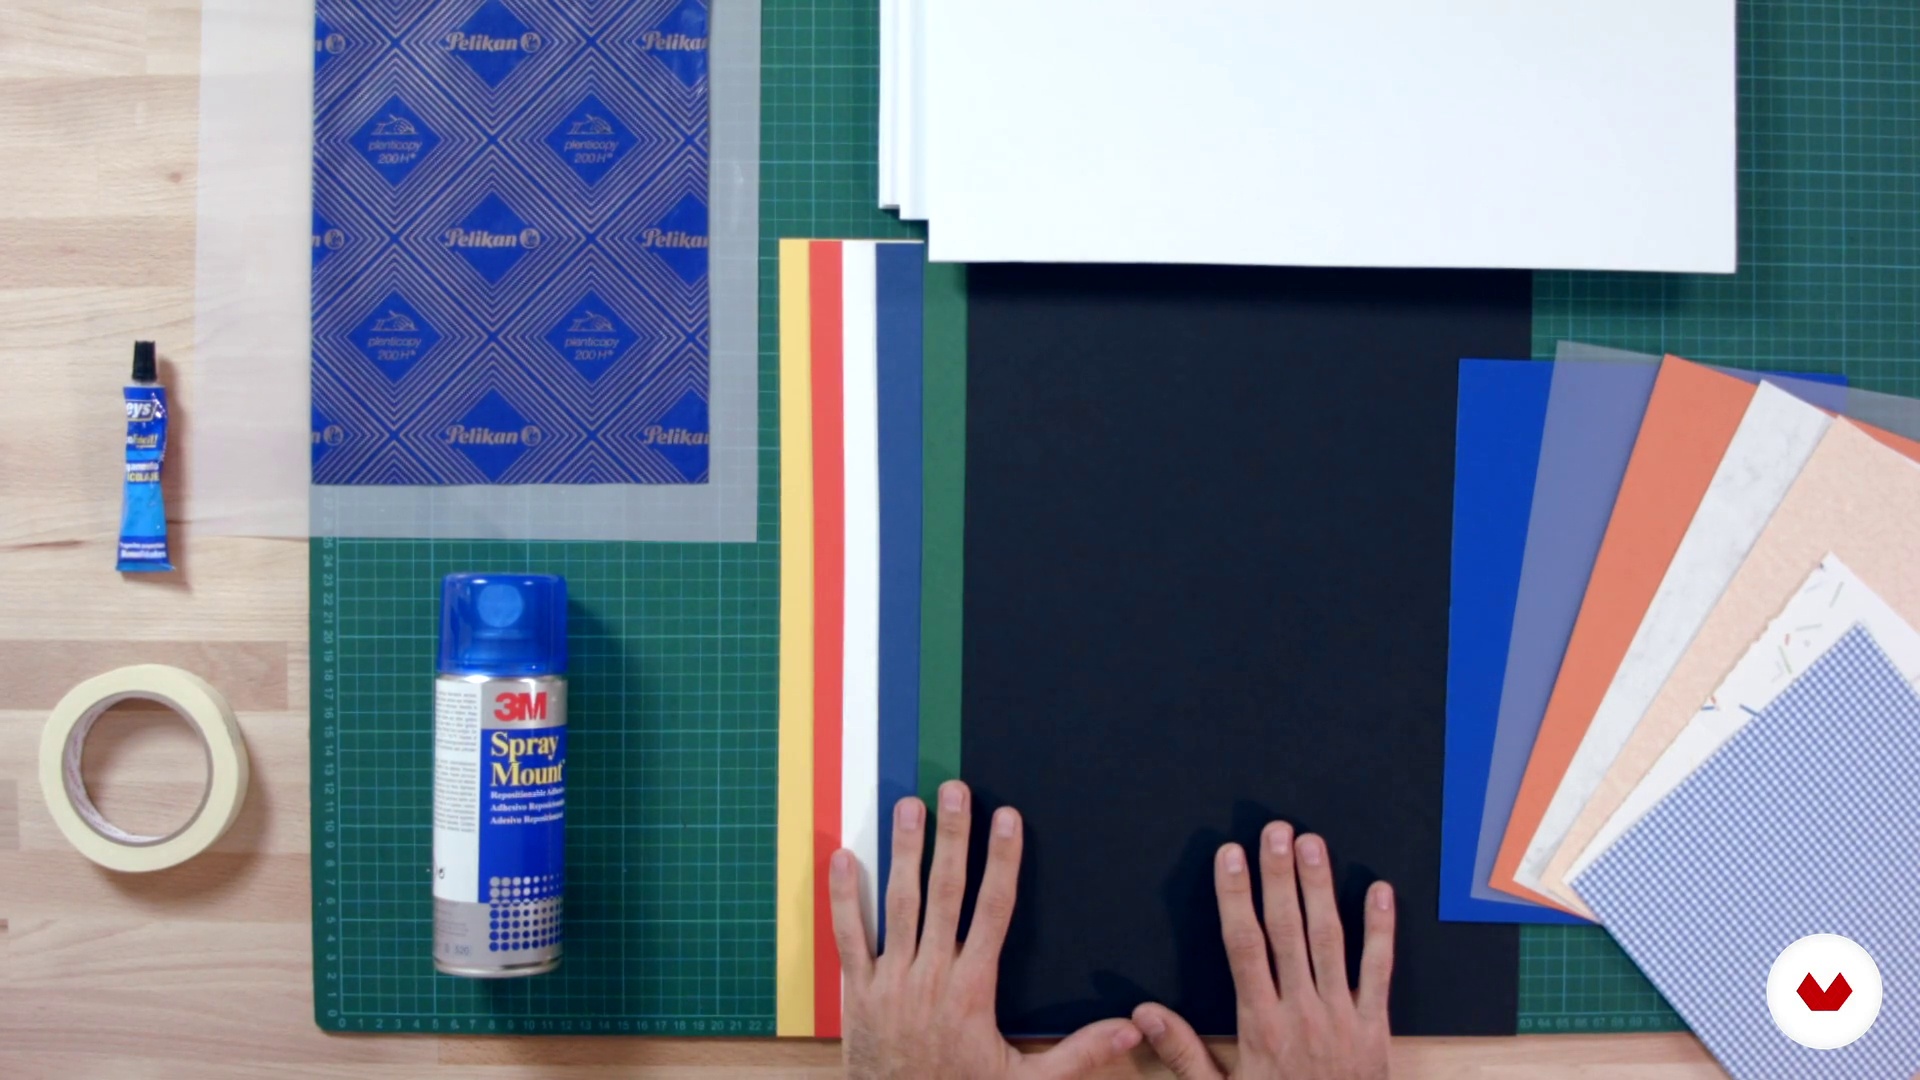
materials
7 minutes, 30 seconds
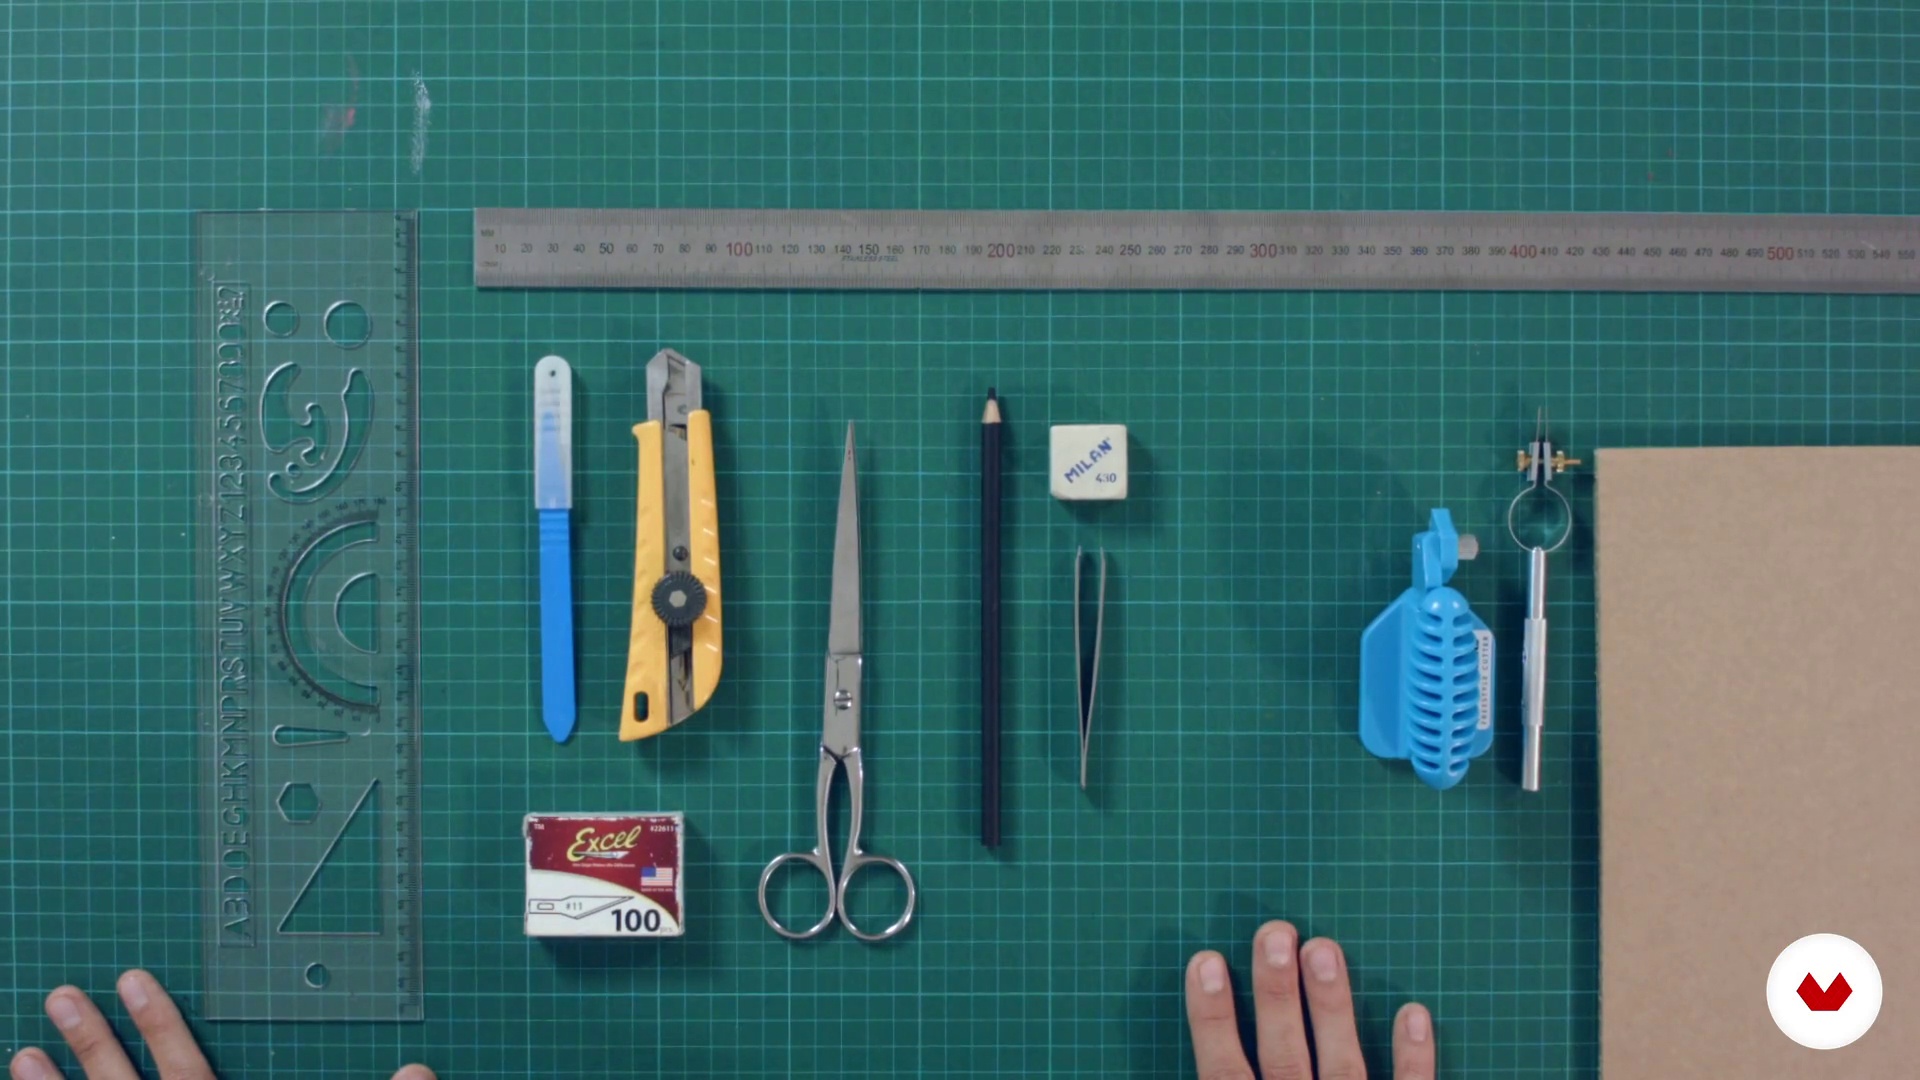
Tools
5 minutes, 48 seconds
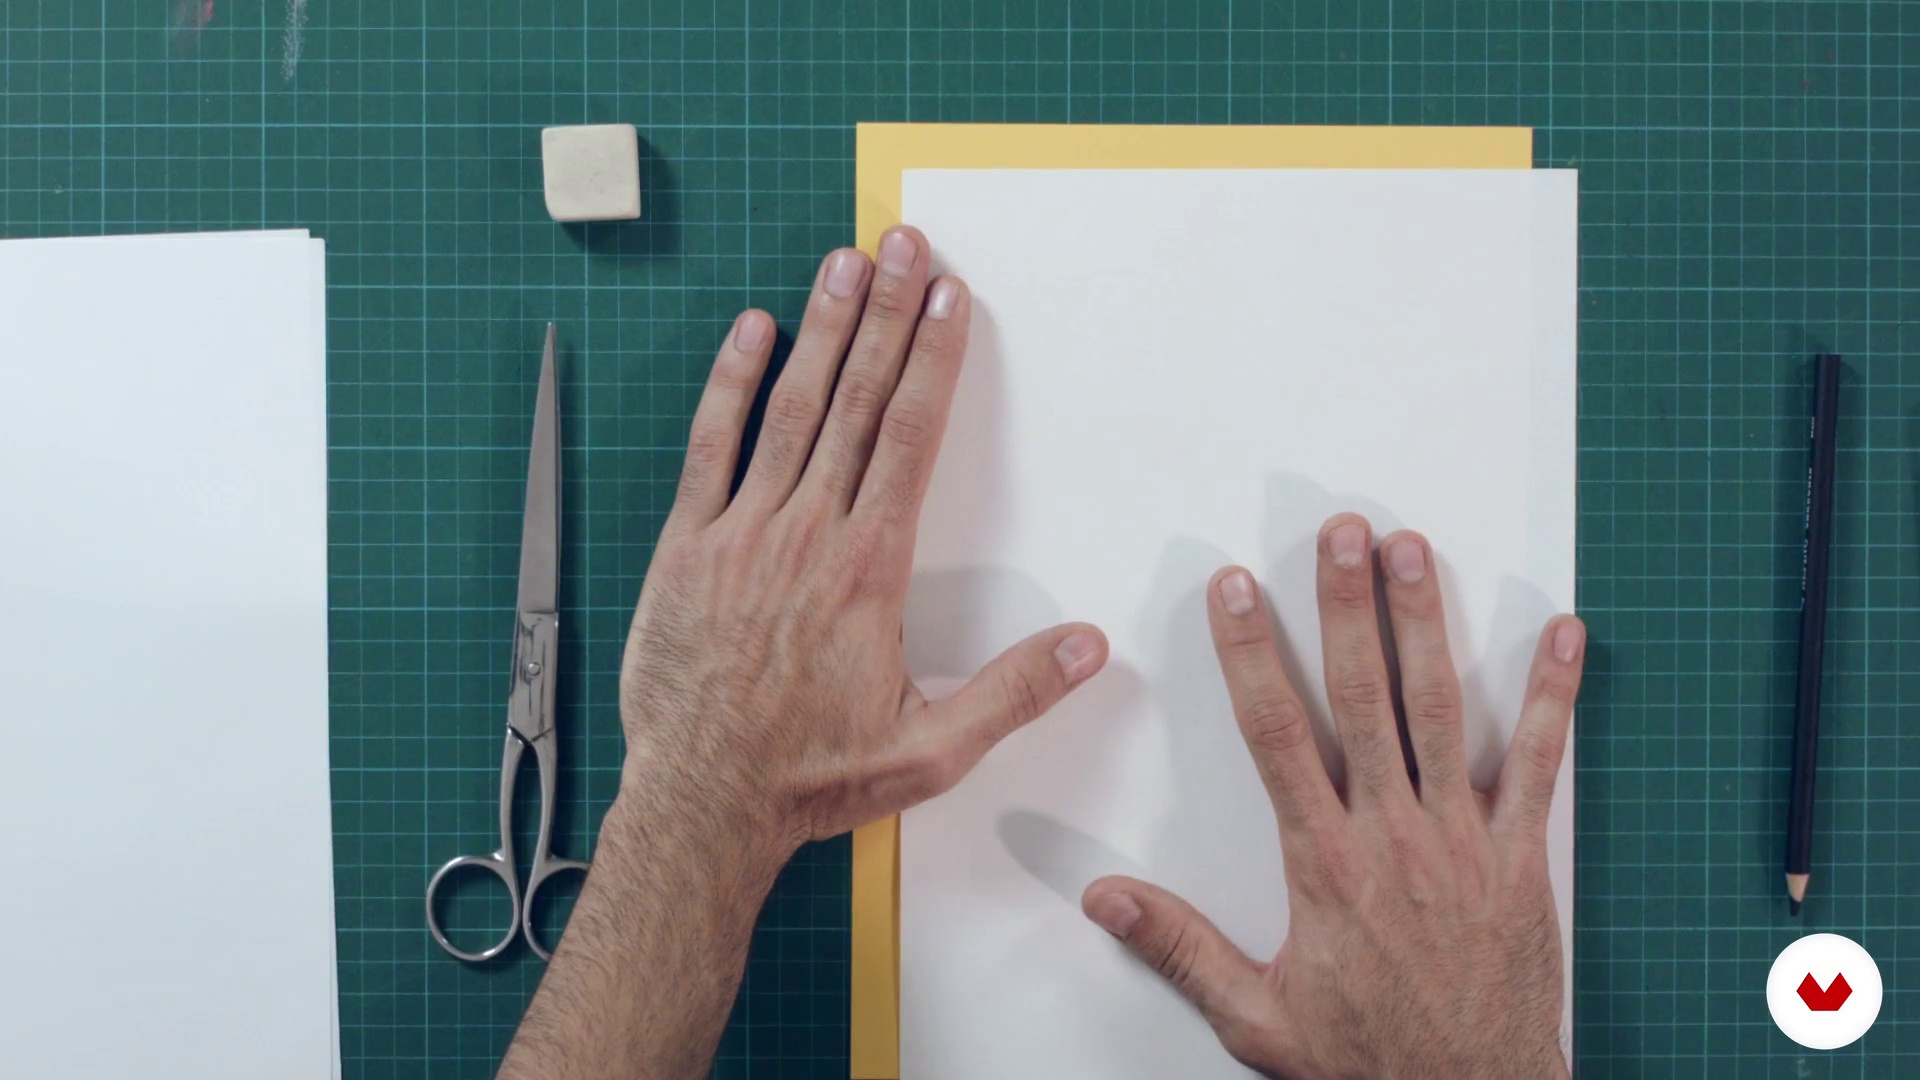
Ways to capture your design
11 minutes, 51 seconds
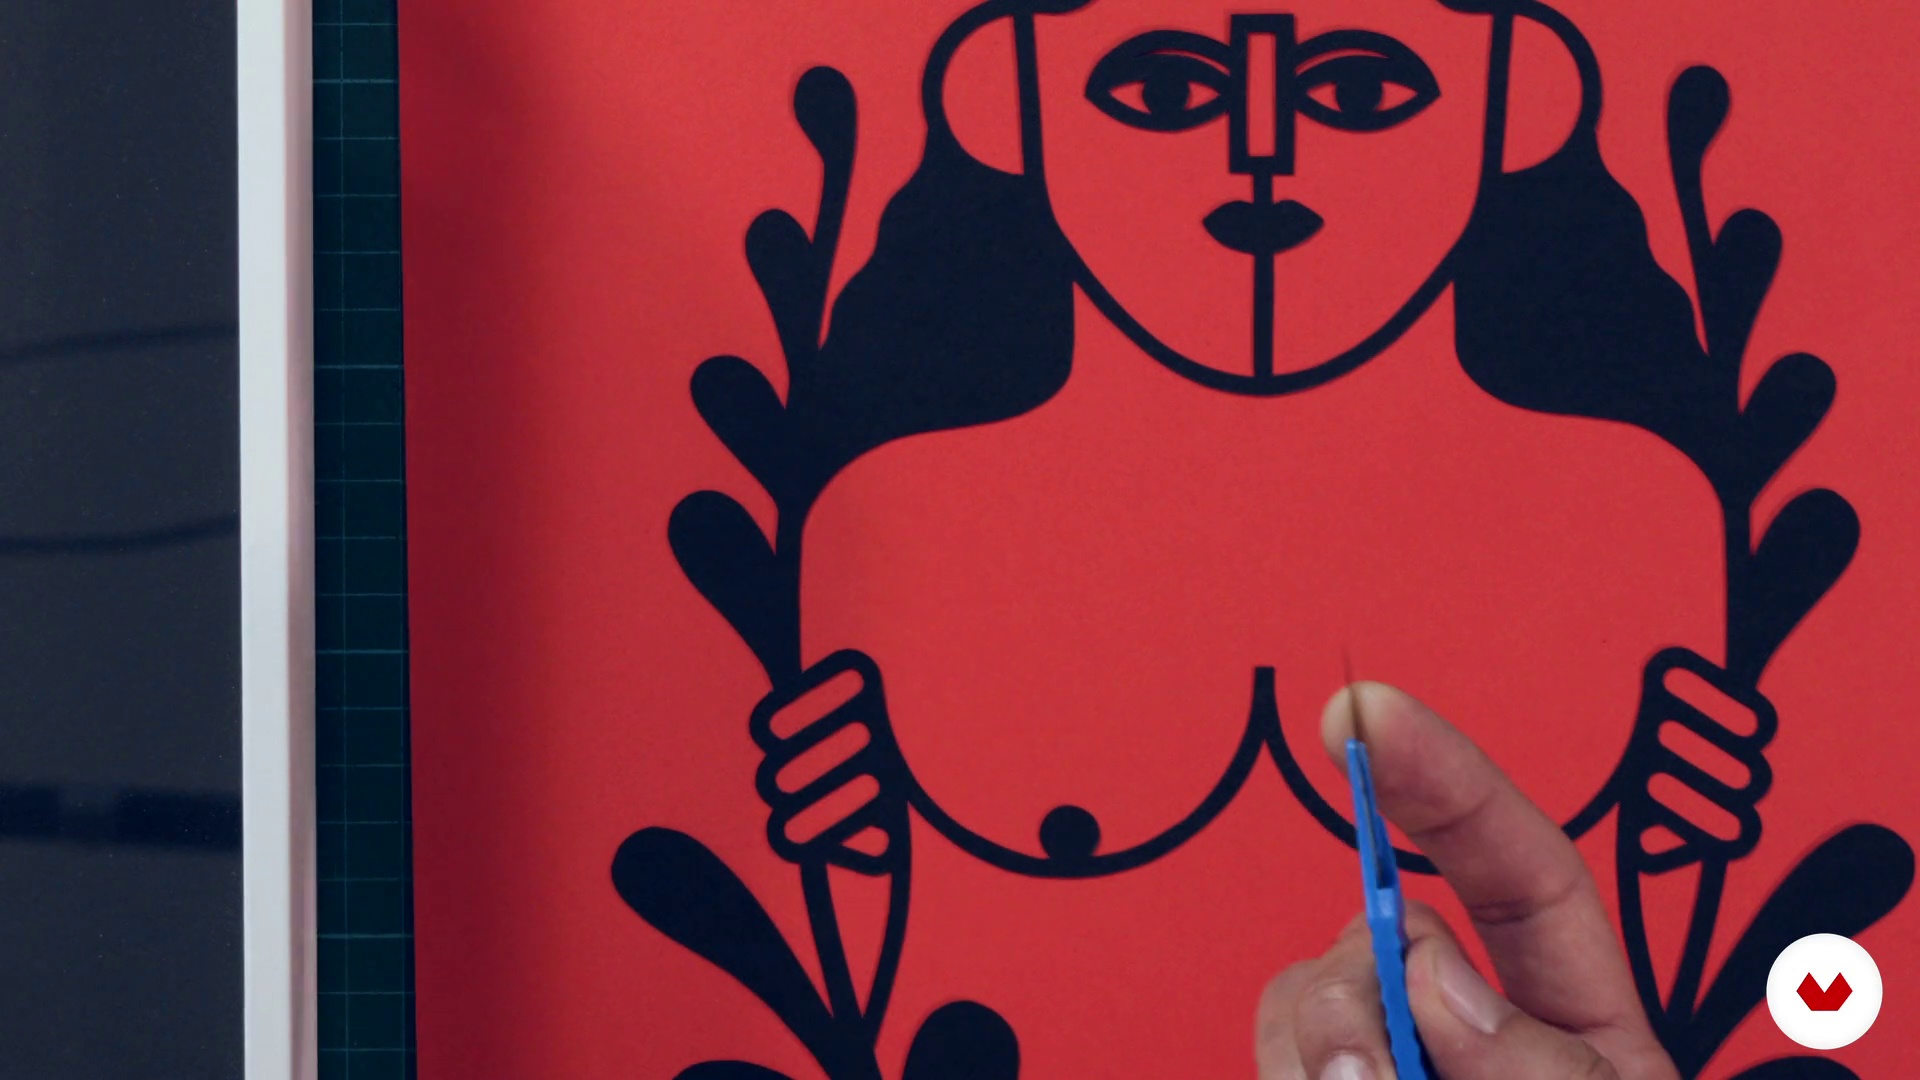
Practical tips before getting to cut
6 minutes, 43 seconds
What's included in this course?
Roda begins the course by introducing himself, his work, the influences that have inspired him and the art he creates. He then discusses the historical context of papercutting and its role in different cultures.
Dive into the tools and materials needed for the course before looking at some key concepts and how to capture your design on paper.
Now grab your craft knife and get cutting. Start by making basic geometric shapes, combining them and playing with negative space to create simple compositions.
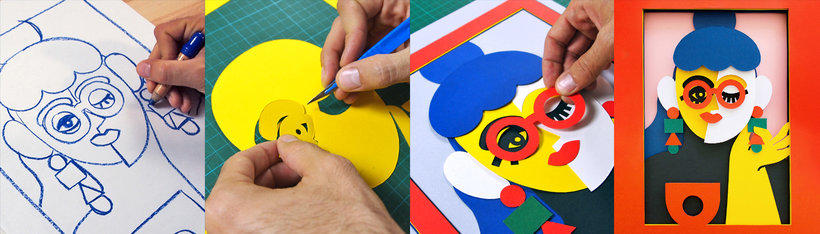
Once you have mastered the basic cutting techniques, Roda shows you how to sketch a portrait from a photograph and transform it into a digital design for your final project.
Cut, glue, and assemble all the pieces of your composition layer by layer to create a portrait with volume.
Finally, Roda shares different framing options for your papercut illustration.
Recommended software & tools for this course
What is this course's project?
Design and create a layered papercut composition using the techniques learned throughout the course.
Projects by course students


Who is this online course for?
This course is great for illustrators, designers, artists and anyone interested in learning paper cutting techniques.
Requirements and materials
Knowledge in drawing is not necessary, although experience with Adobe Illustrator and craft work is helpful.
As for materials, you need colored card stock, painter's tape, foam board, spray glue, a craft knife, a large ruler, scissors tweezers, and a cutting surface.
Reviews
- 8 months ago
Un curso muy práctico y explicado de manera muy didáctica. Me ha gustado cómo da detalles del proceso, sobre la marcha, lo que facilita la comprensión de la técnica y de la ejecución.
- bekergorettiPLUS2 years ago
Professor bastante humilde e talentoso, nos anima a tentar. Demonstra conhecimento prático, no momento em que ensina como não cometer erros ou se o cometemos como resolver a contento. Explicou a técnica com bastante facilidade e argumentos sólidos para nos dar coragem a tentar esse novo método. Irretocável no ensinamento, não deixando qualquer dúvida em tudo aquilo que nos expôs . Muito bom o curso.
- 2 years ago
Excelente la técnica del papercut. Una gran alternativa creativa para experimentar con materiales accesibles y mucho potencial para resultados bastante interesantes. ¡Muy buen curso!. Lo recomiendo
- 2 years ago
Lovely Interesting Course
- 2 years ago
Eu gostei muito da forma que ele explica as coisas. É bem simplificado e dá uma clareza do passo a passo.

Roda's work is based almost exclusively on portraiture using simple lines, primary colors, and a friendly tone, expressed in a range of analog and digital mediums, from pens and paint to paper, ceramics, textiles, and wood. As a self-taught creative, he is also passionate about teaching art to others.
Content
- U1
Introduction
- Presentation 1
- Presentation 2
- My influences
- Brief historical context of the Papercut
- U2
Preparing to cut
- materials
- Tools
- Ways to capture your design
- U3
Shorten
- Practical tips before getting to cut
- Pressure and cut
- Union, stain and vacuum
- U4
The portrait
- Approach and sketch
- From the sketch to the computer 1
- From sketch to computer 2
- Cut pieces
- Volume, paste and assemble 1
- Volume, paste and assemble 2
- Volume, paste and assemble 3
- U5
Last Retouching
- Details and box
- Framing possibilities
- FP
Final project
- Papercut: illustrating with layers of paper
What to expect from a Domestika course
Learn at your own pace
Enjoy learning from home without a set schedule and with an easy-to-follow method. You set your own pace.
Learn from the best professionals
Learn valuable methods and techniques explained by top experts in the creative sector.
Meet expert teachers
Each expert teaches what they do best, with clear guidelines, true passion, and professional insight in every lesson.
Certificates
PLUSIf you're a Plus member, get a custom certificate signed by your teacher for every course. Share it on your portfolio, social media, or wherever you like.
Get front-row seats
Videos of the highest quality, so you don't miss a single detail. With unlimited access, you can watch them as many times as you need to perfect your technique.
Share knowledge and ideas
Ask questions, request feedback, or offer solutions. Share your learning experience with other students in the community who are as passionate about creativity as you are.
Connect with a global creative community
The community is home to millions of people from around the world who are curious and passionate about exploring and expressing their creativity.
Watch professionally produced courses
Domestika curates its teacher roster and produces every course in-house to ensure a high-quality online learning experience.
FAQs
Papercut is a technique that involves cutting and layering paper to create illustrations with depth, volume, and unique visual effects. It’s perfect for portraits, posters, decorative objects, and personalized art projects.
This is an intermediate-level course. Basic knowledge of visual composition or crafts is recommended, but all fundamental concepts are explained step by step.
You’ll need cardstock in various weights and colors, a craft knife or scalpel, cutting mat, adhesive, painter’s tape, metal ruler, and pencils. You can also use tracing paper, foam board, and digital tools like Illustrator for designing.
You’ll learn how to plan, sketch, cut, and assemble layered paper compositions, create portraits and 3D pieces, use both manual and digital tools, select materials, and prepare projects ready for display or transport.
The process involves analyzing the image, breaking it down into layers, sketching by hand or in Illustrator, transferring the design to paper, cutting each layer precisely, and finally assembling them to create volume and depth in the portrait.
Use a sharp blade, cut on a proper surface, apply controlled pressure, and keep your hand steady. Practice on scraps, change blades when dull, and follow the lines slowly to avoid mistakes.
Choose solid-colored papers with weights between 120 and 300 gsm depending on the effect you want. Thicker papers add rigidity and volume, while thinner ones allow delicate details and subtle layering.