


Preparation
In the second unit, we will go over the elements you need to bear in mind before you dive into the sketching phase. Here, I will emphasize the importance of getting used to sketching and the different painting techniques available to you when addressing a brief.
-
Materials You Will Need
In this lesson, I will give you a complete rundown of the materials I like to use; what to look for in paper, brushes, and paints, and how I set up my workspace.
-
The Sketching Habit
There’s no better way to kickstart the illustration process than to get out a pencil and get stuck in. We will begin with some fast, loose sketching as a warm-up.
At this stage we are just sketching whatever comes to mind, or whatever we see in front of us. This is a habit we should try to practise whenever we have a spare moment. It’s fun, it puts the wheels in motion, and every sketch teaches us something new.
-
Painting Techniques 1
We’ll begin this lesson by talking about color. Which colors you will need as a starting palette. How to mix color, and how different pigments behave. I will then take you through some painting techniques: outline sketching with a brush, blocking in color, and dry brush blending, as well as creating textures for backgrounds or large areas, and the value of the "happy accident" in achieving interesting effects.
-
Painting Techniques 2
We follow up with more on painting techniques.
-
Painting Techniques 3
This is the final part of the painting technique lesson.
Tasks
-
Time to Shop!
Visit a good art materials shop to find the materials you will need for this course. There are many excellent art shops online if you can’t access one in your locality.
The essentials from the list you’ll find in Unit 2 resources are:
Pencils & eraser.
Studio sketchbook.
Layout paper (or marker paper).
Acrylic paints.
Brushes.
Art paper.
Palette(s).
Scalpel or craft knife for cutting paper, paring pencils.These items are not essential, but will be very helpful in making your project go smoothly if you can get them:
Cutting board.
Lightbox.
Scanner or Printer/Scanner.
Gooseneck desk lamp.
Photoshop or other image manipulation software (See the resources section of Unit 5 for alternatives). -
Fieldwork
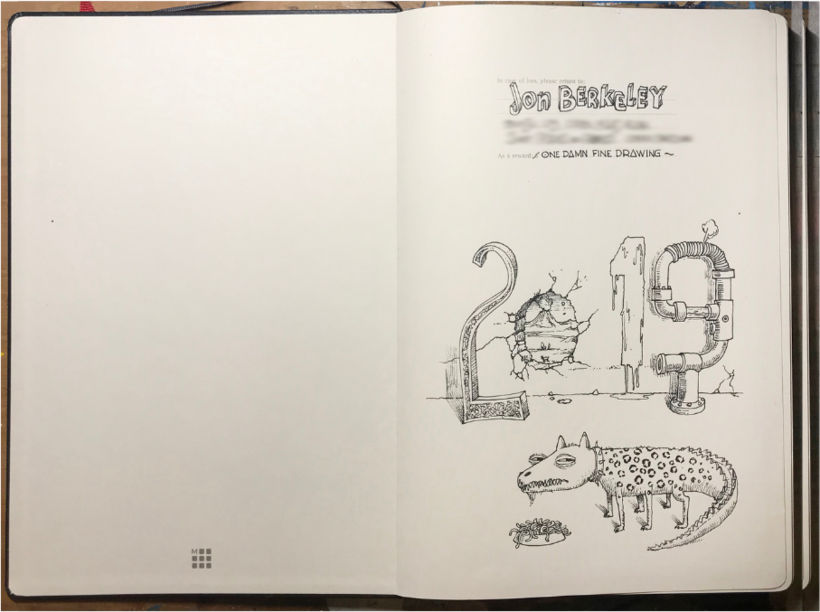
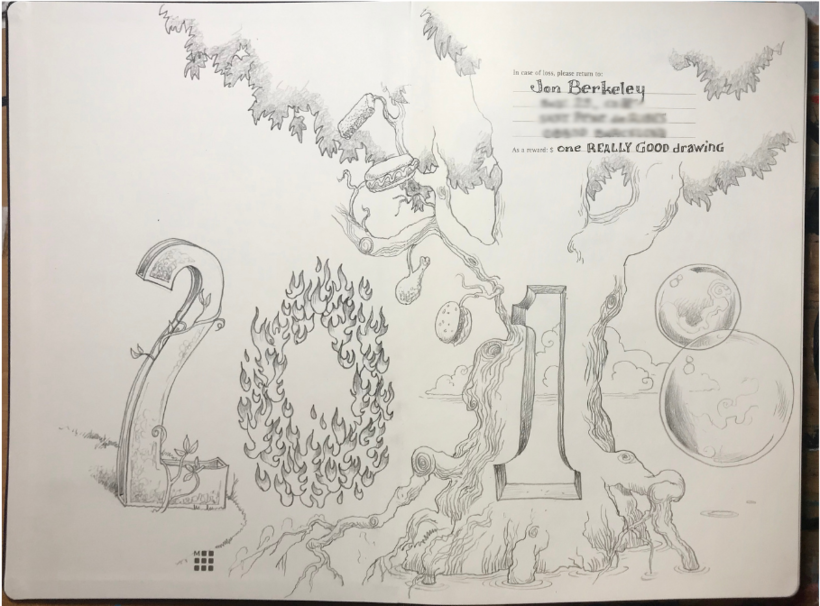
Open your new sketchbook. A beautiful blank sketchbook can be slightly daunting, so let’s deface those endpapers with some doodles. Here are a few examples from my sketchbooks.
Sketch what’s right in front of you. Don’t use your eraser. You’re not aiming for a tidy sketch, just a warmup.
Look out the window. sketch what’s there. Be as loose and free as possible with your lines.Look online to see if there are any sketching groups in your area that you could join. It’s good to have company and encouragement! Meetup.com is a good place to start.
-
Colour Exercise: Local Colour
Download this exercise in the additional resources section to tune up your colour perception. It’s a real eye-opener!
-
Form Exercise: Setting the Tone
Create form and volume. Add colour, and you have all the basics. You will find the file in the additional resources section of this unit.
-
Share Your Exercises Practice exercise 2.1
Take the opportunity to upload to the forum the result of your exercises. See what you can learn from your fellow students, and share your discoveries with them. I will look in from time to time to see how everyone is doing.
Additional resources
-
PDF
Materials
Here’s a more comprehensive guide to the materials you’ll need for the course.
-
PDF
Sketchbook Supremos
Take an inspirational stroll through some spectacular sketchbooks online.
-
JPG
Shortzilla
As promised, here is my completed Shortzilla demo painting from Lesson 3.
-
PDF
Colour Exercise: Local Color
Attached you can find the file you need to complete the exercise in which I ask you to colour a jar of water.
-
PDF
Form exercise: Setting the Tone
Attached as well is the file you will need to complete this task.