


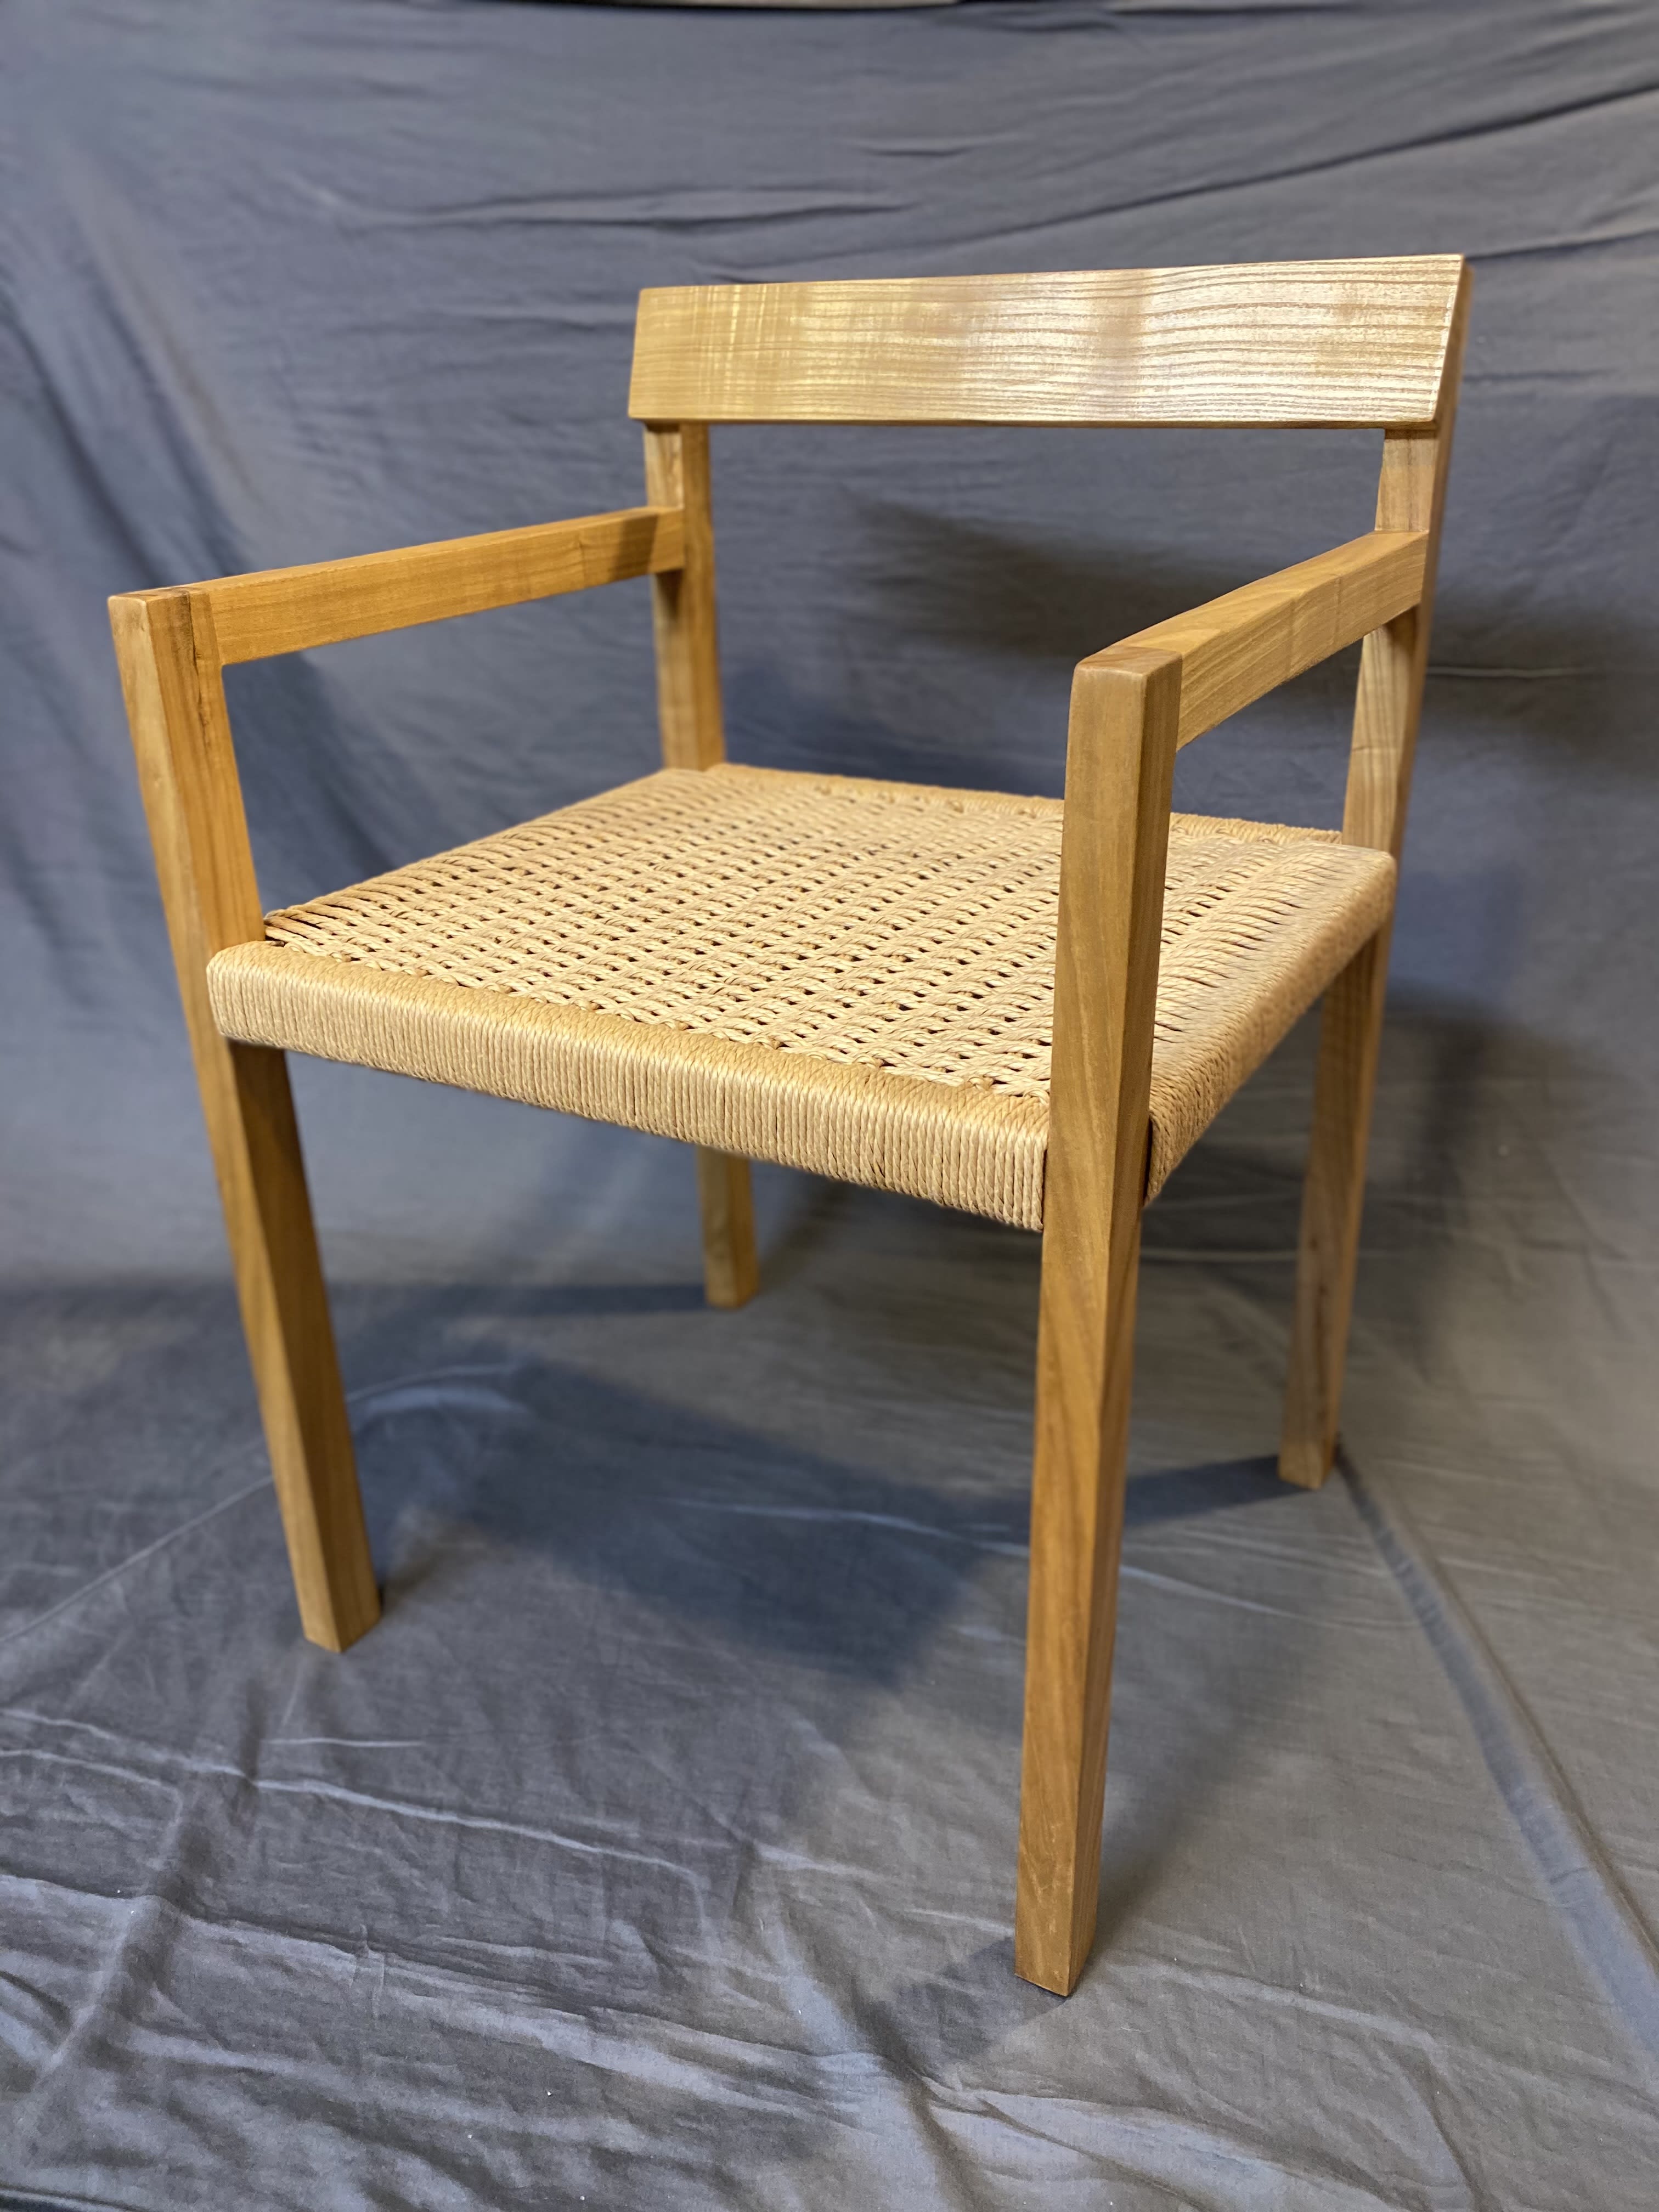
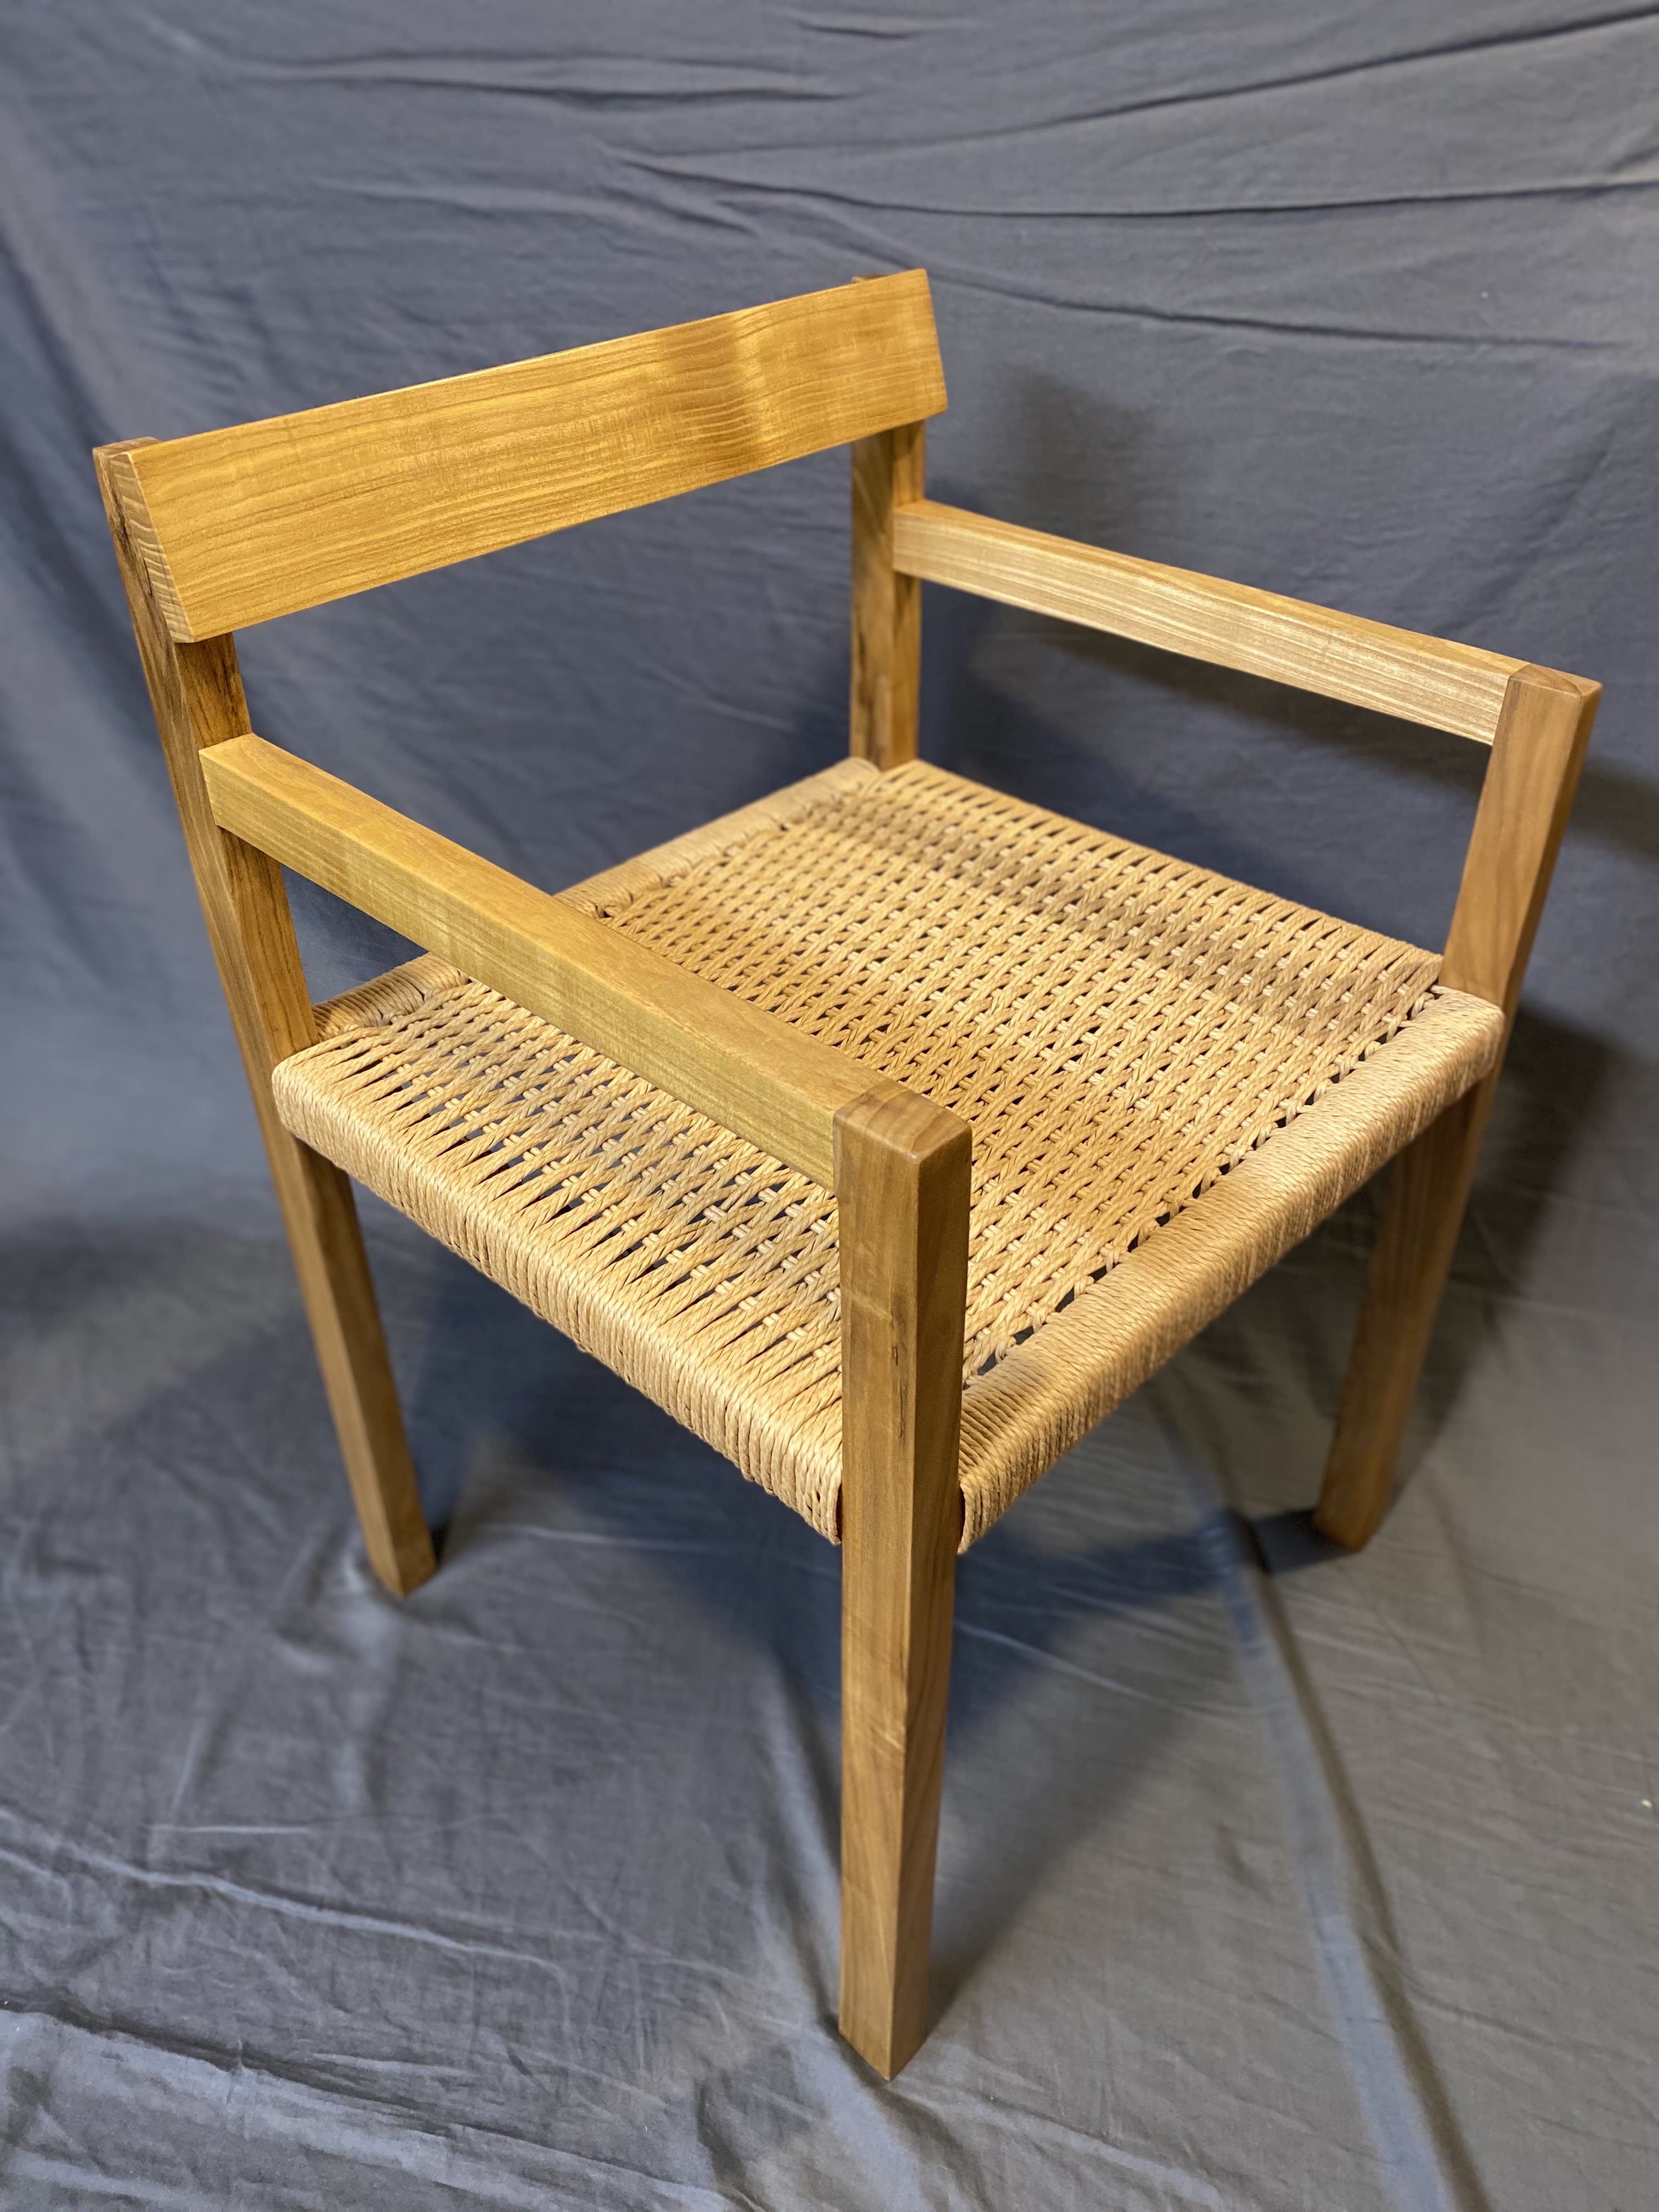
Stock Chair with Danish Cord Seat
de Matt @mattofafewtrades
- 1230
- 32
- 3
This is the first functional piece of furniture that I have constructed, and also the first thing I have built where I have had my hands on every part of the process. I was glad to discover this Danish Cord weaving class. It was the perfect fit to complete this simple chair, and definitely a great tool to add to my toolbox.
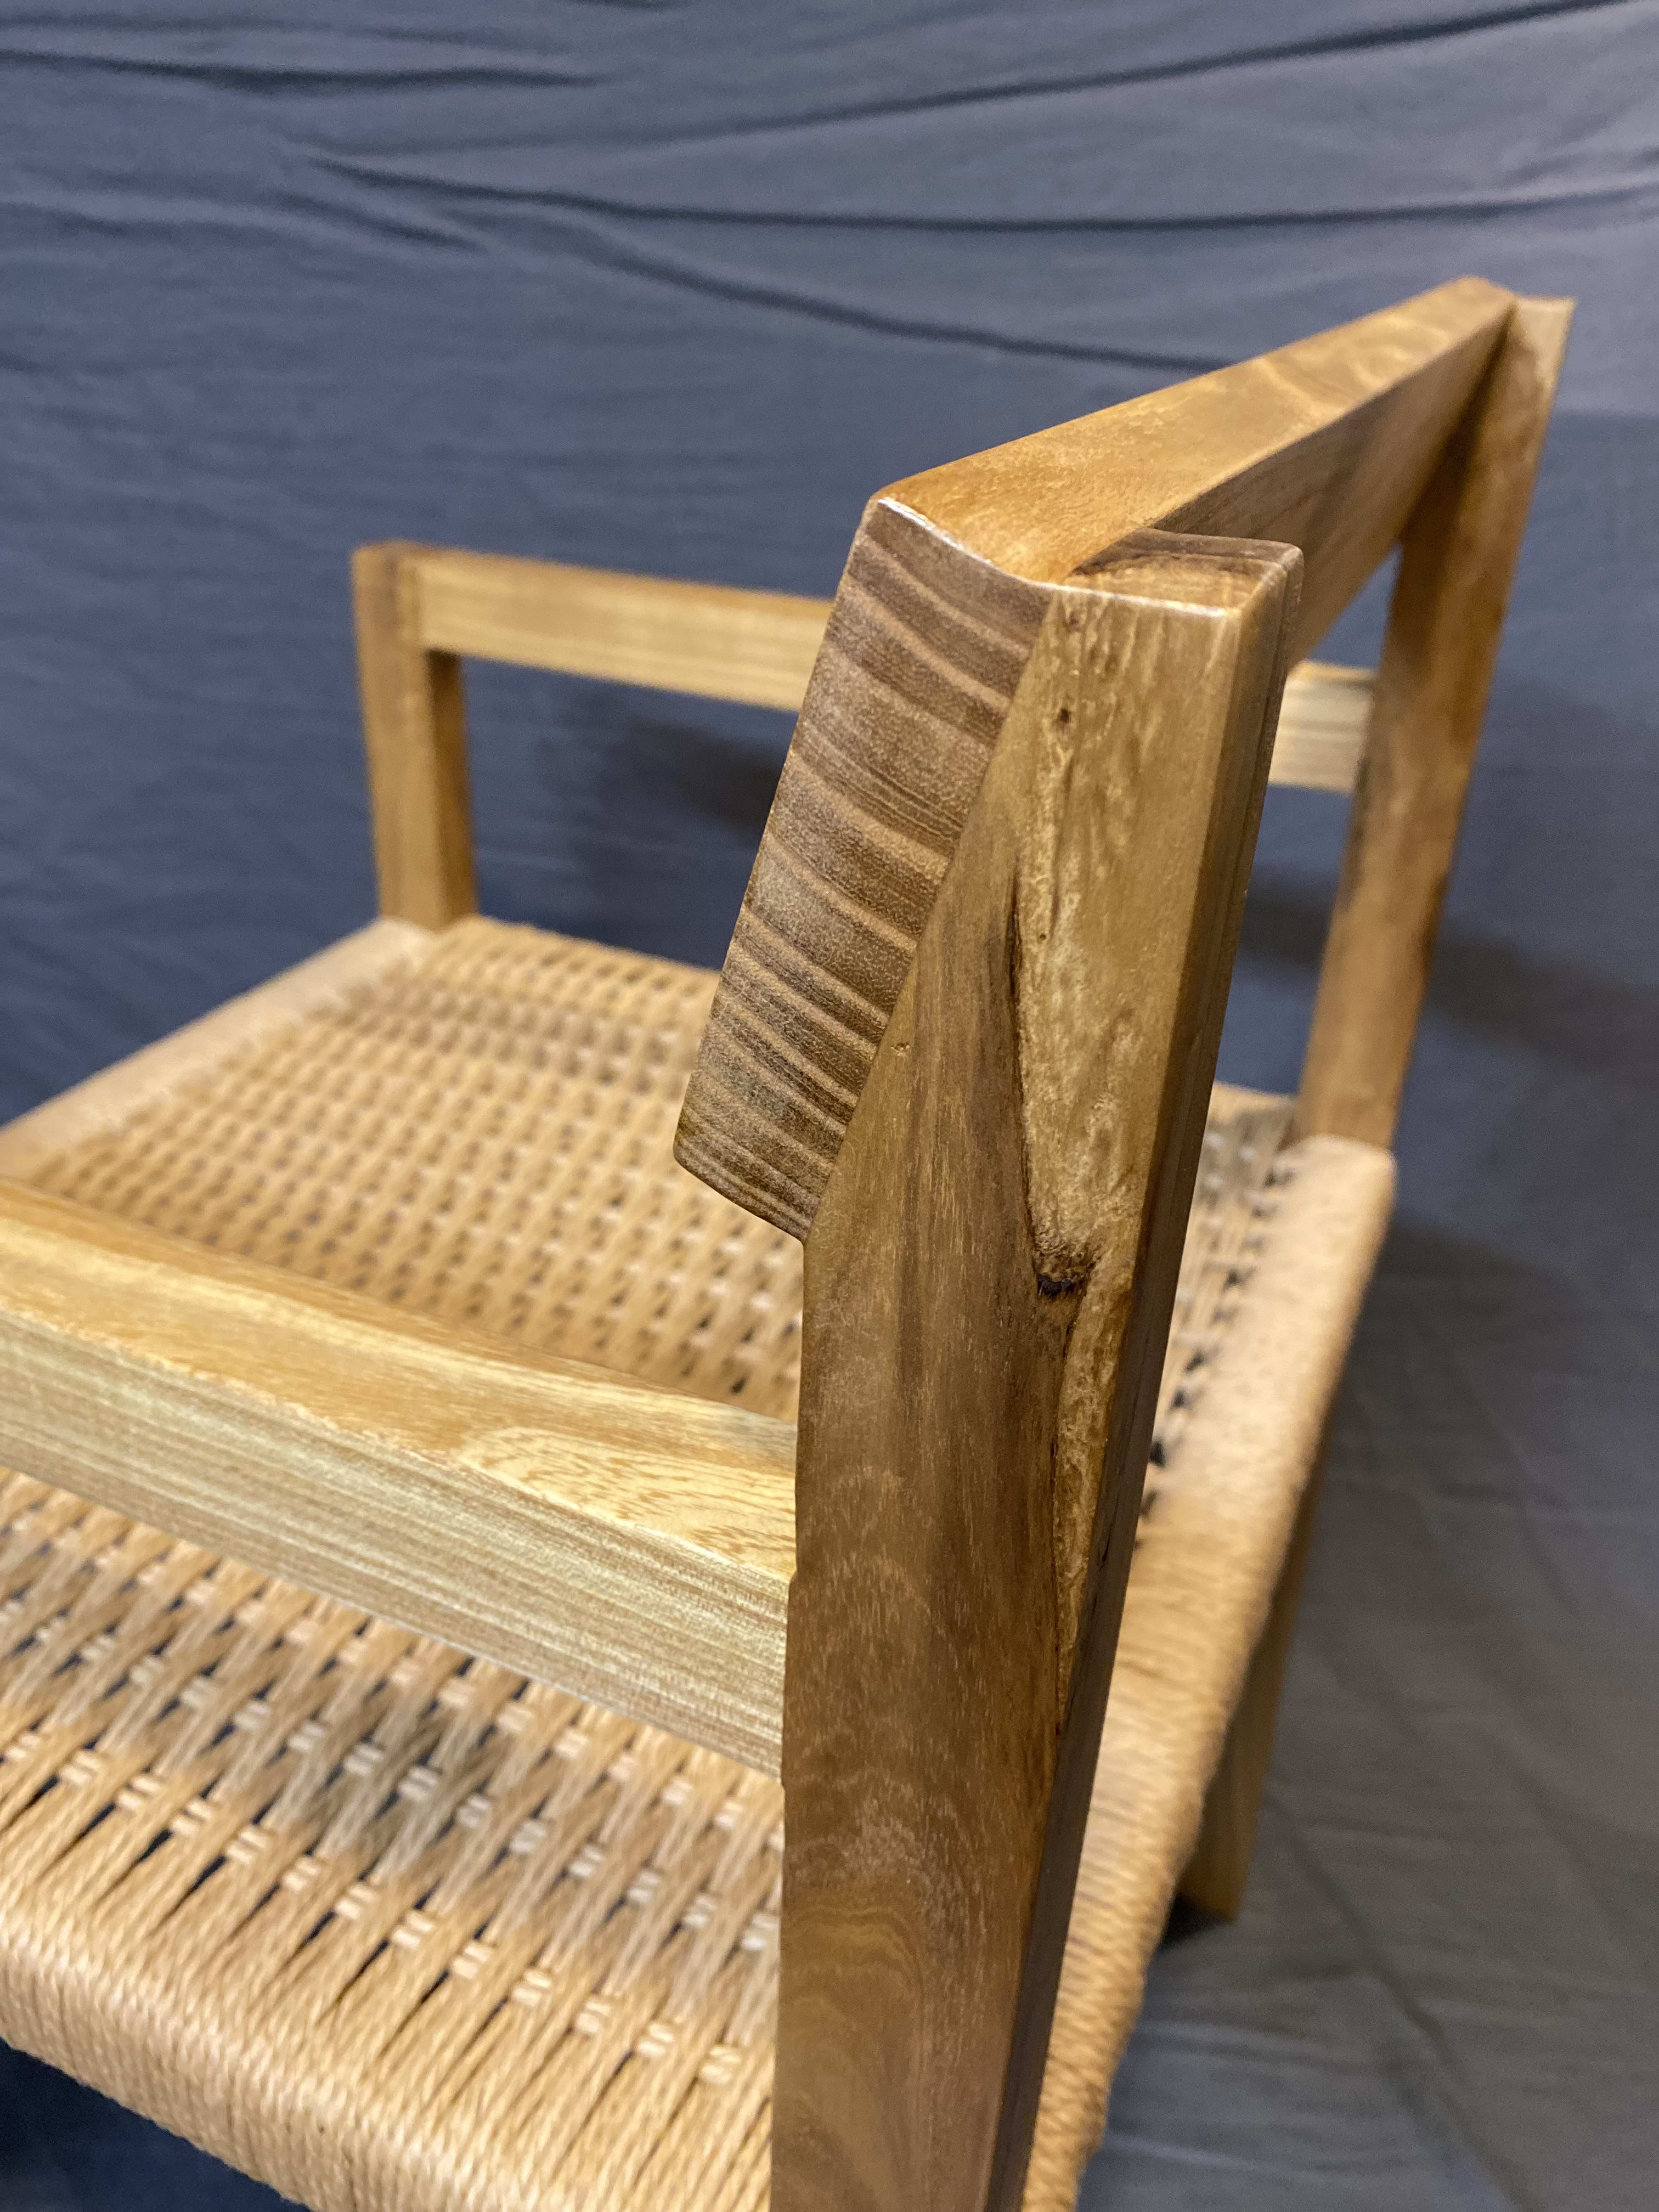
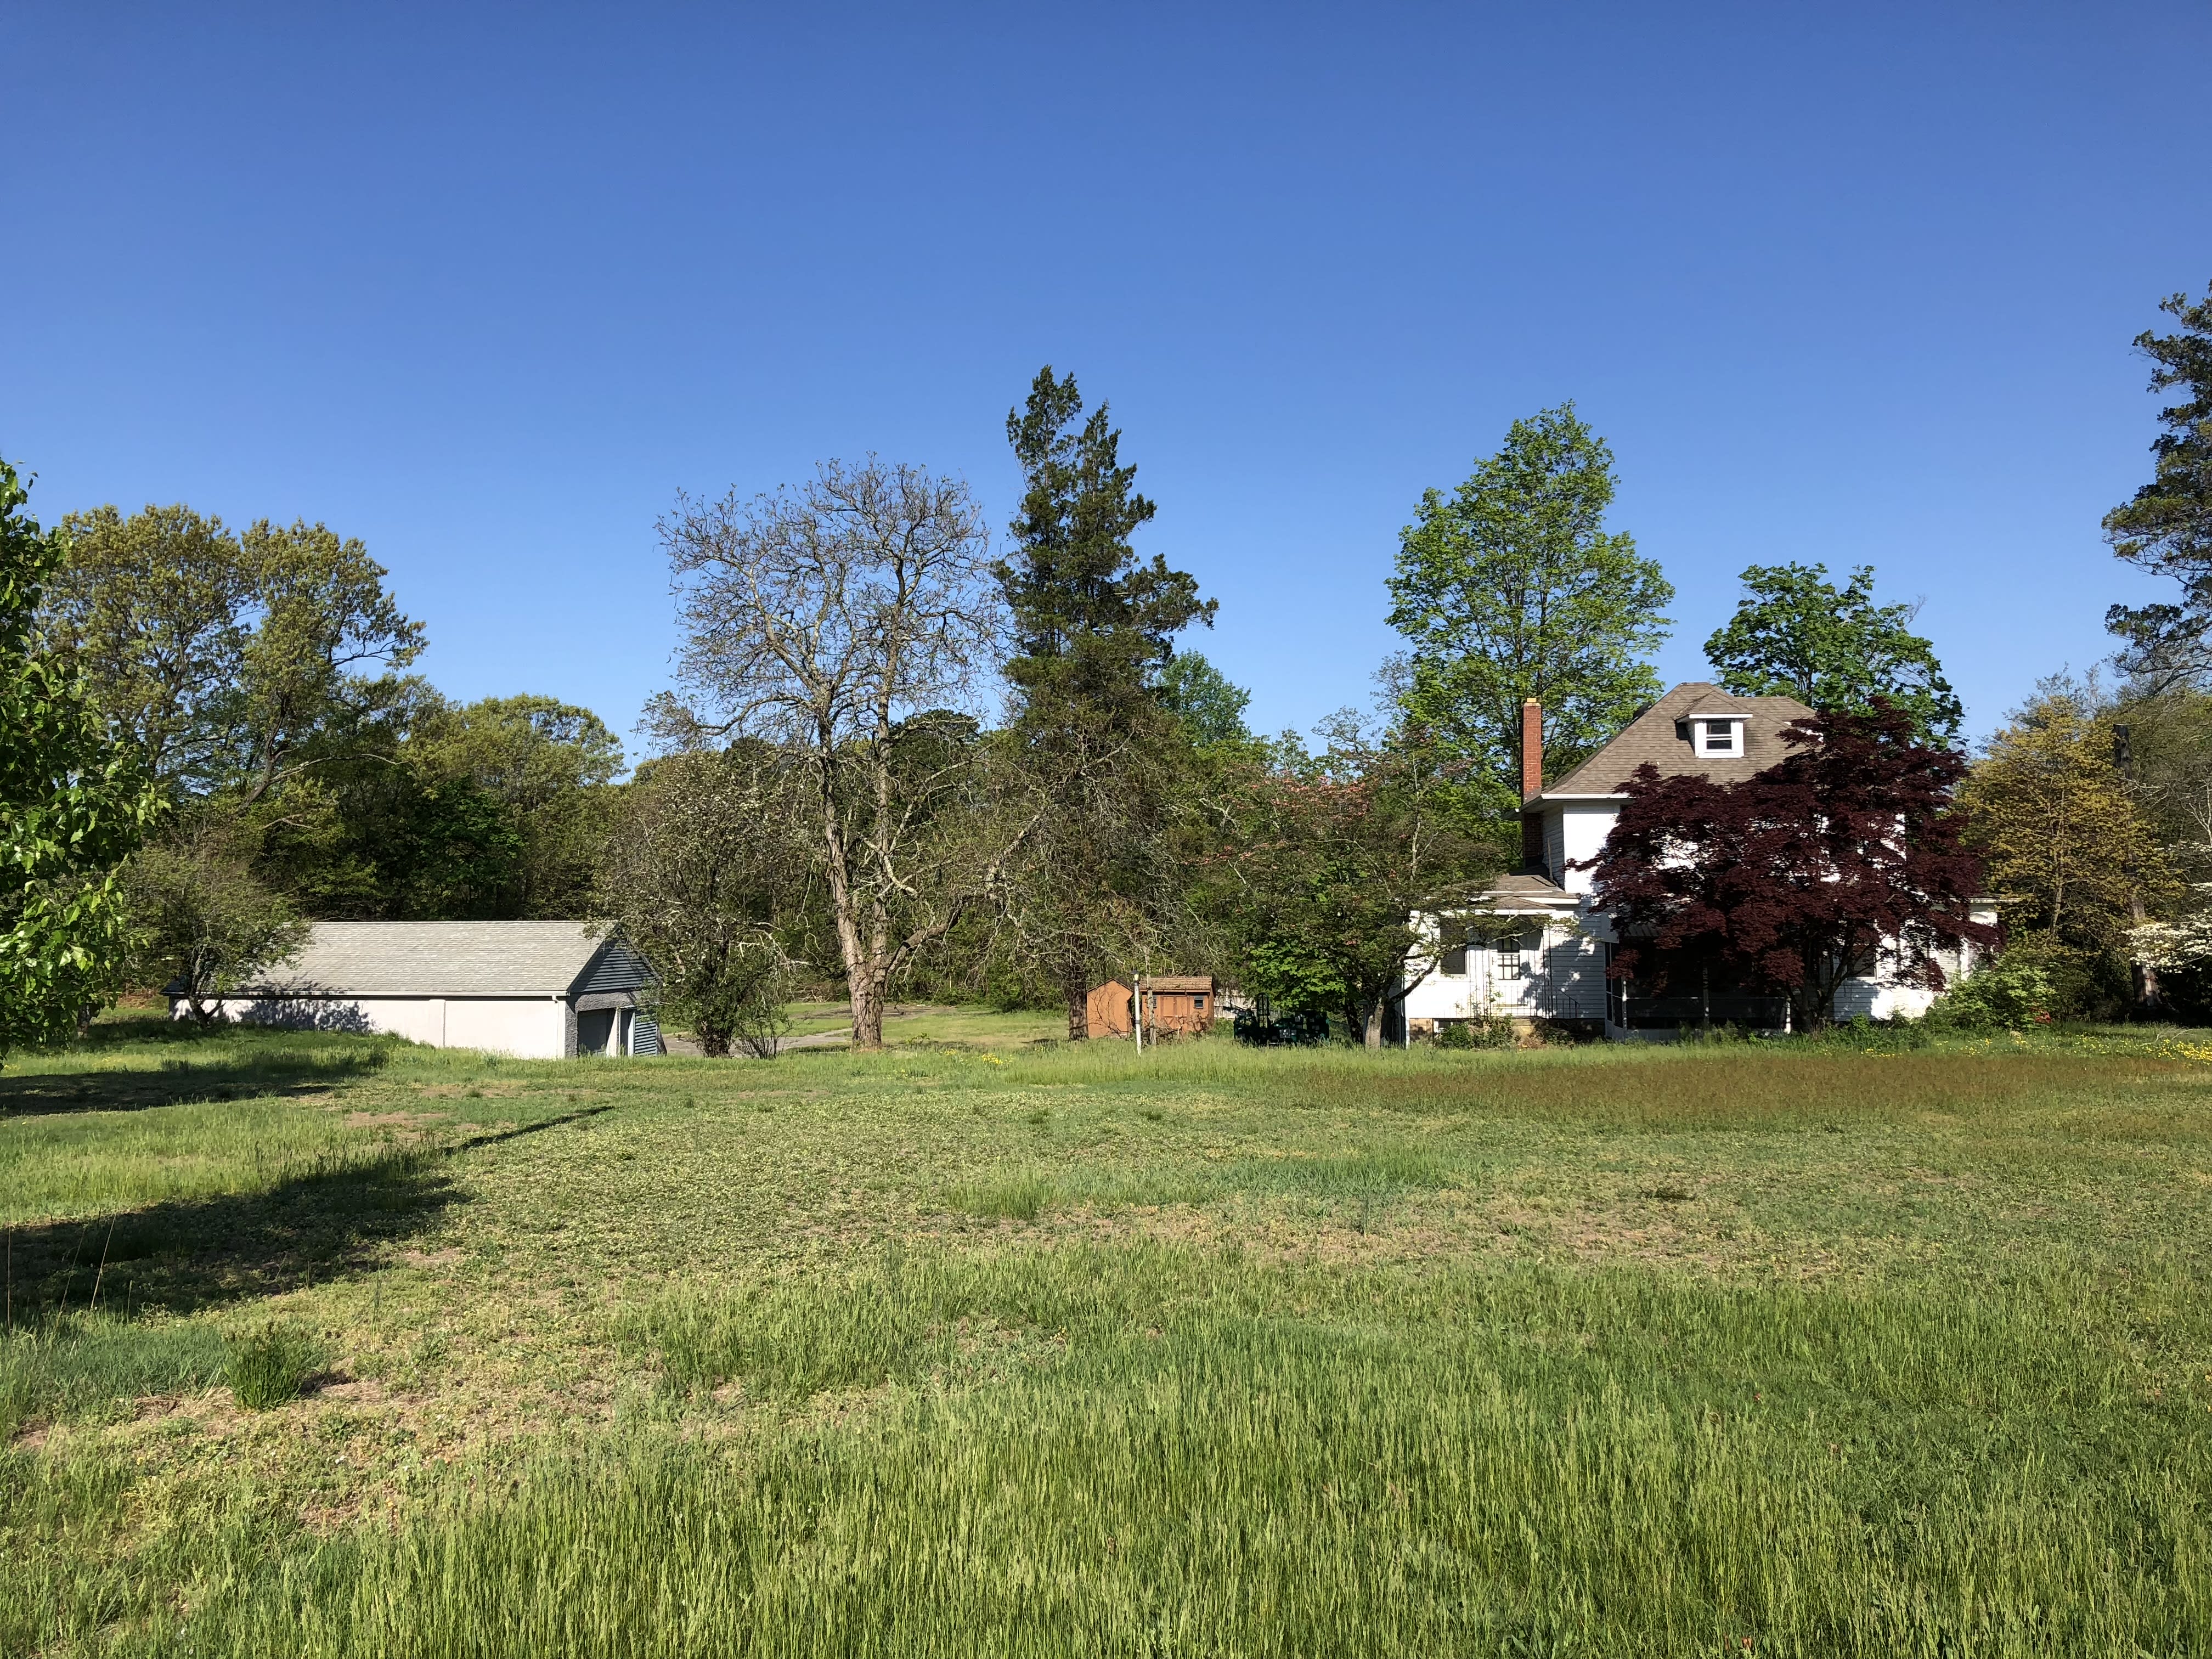
I removed this tree in 2018. The owner of the building planned to convert it into a salon. Unfortunately for the natural vegetation in the area, spaced was needed to create parking. The tree was already under stress and in a spiral of decline, as can be seen in the photo below by its lack of foliage. I decided that this might be a great specimen to mill, as I hadn't milled a Catalpa speciosa into lumber or slabs before. At the time, a friend and I owned a Lucas Mill dedicated slabbing mill. In my quest to not let these urban and suburban trees turn to firewood or just get chipped, we tried to mill anything we cut down.
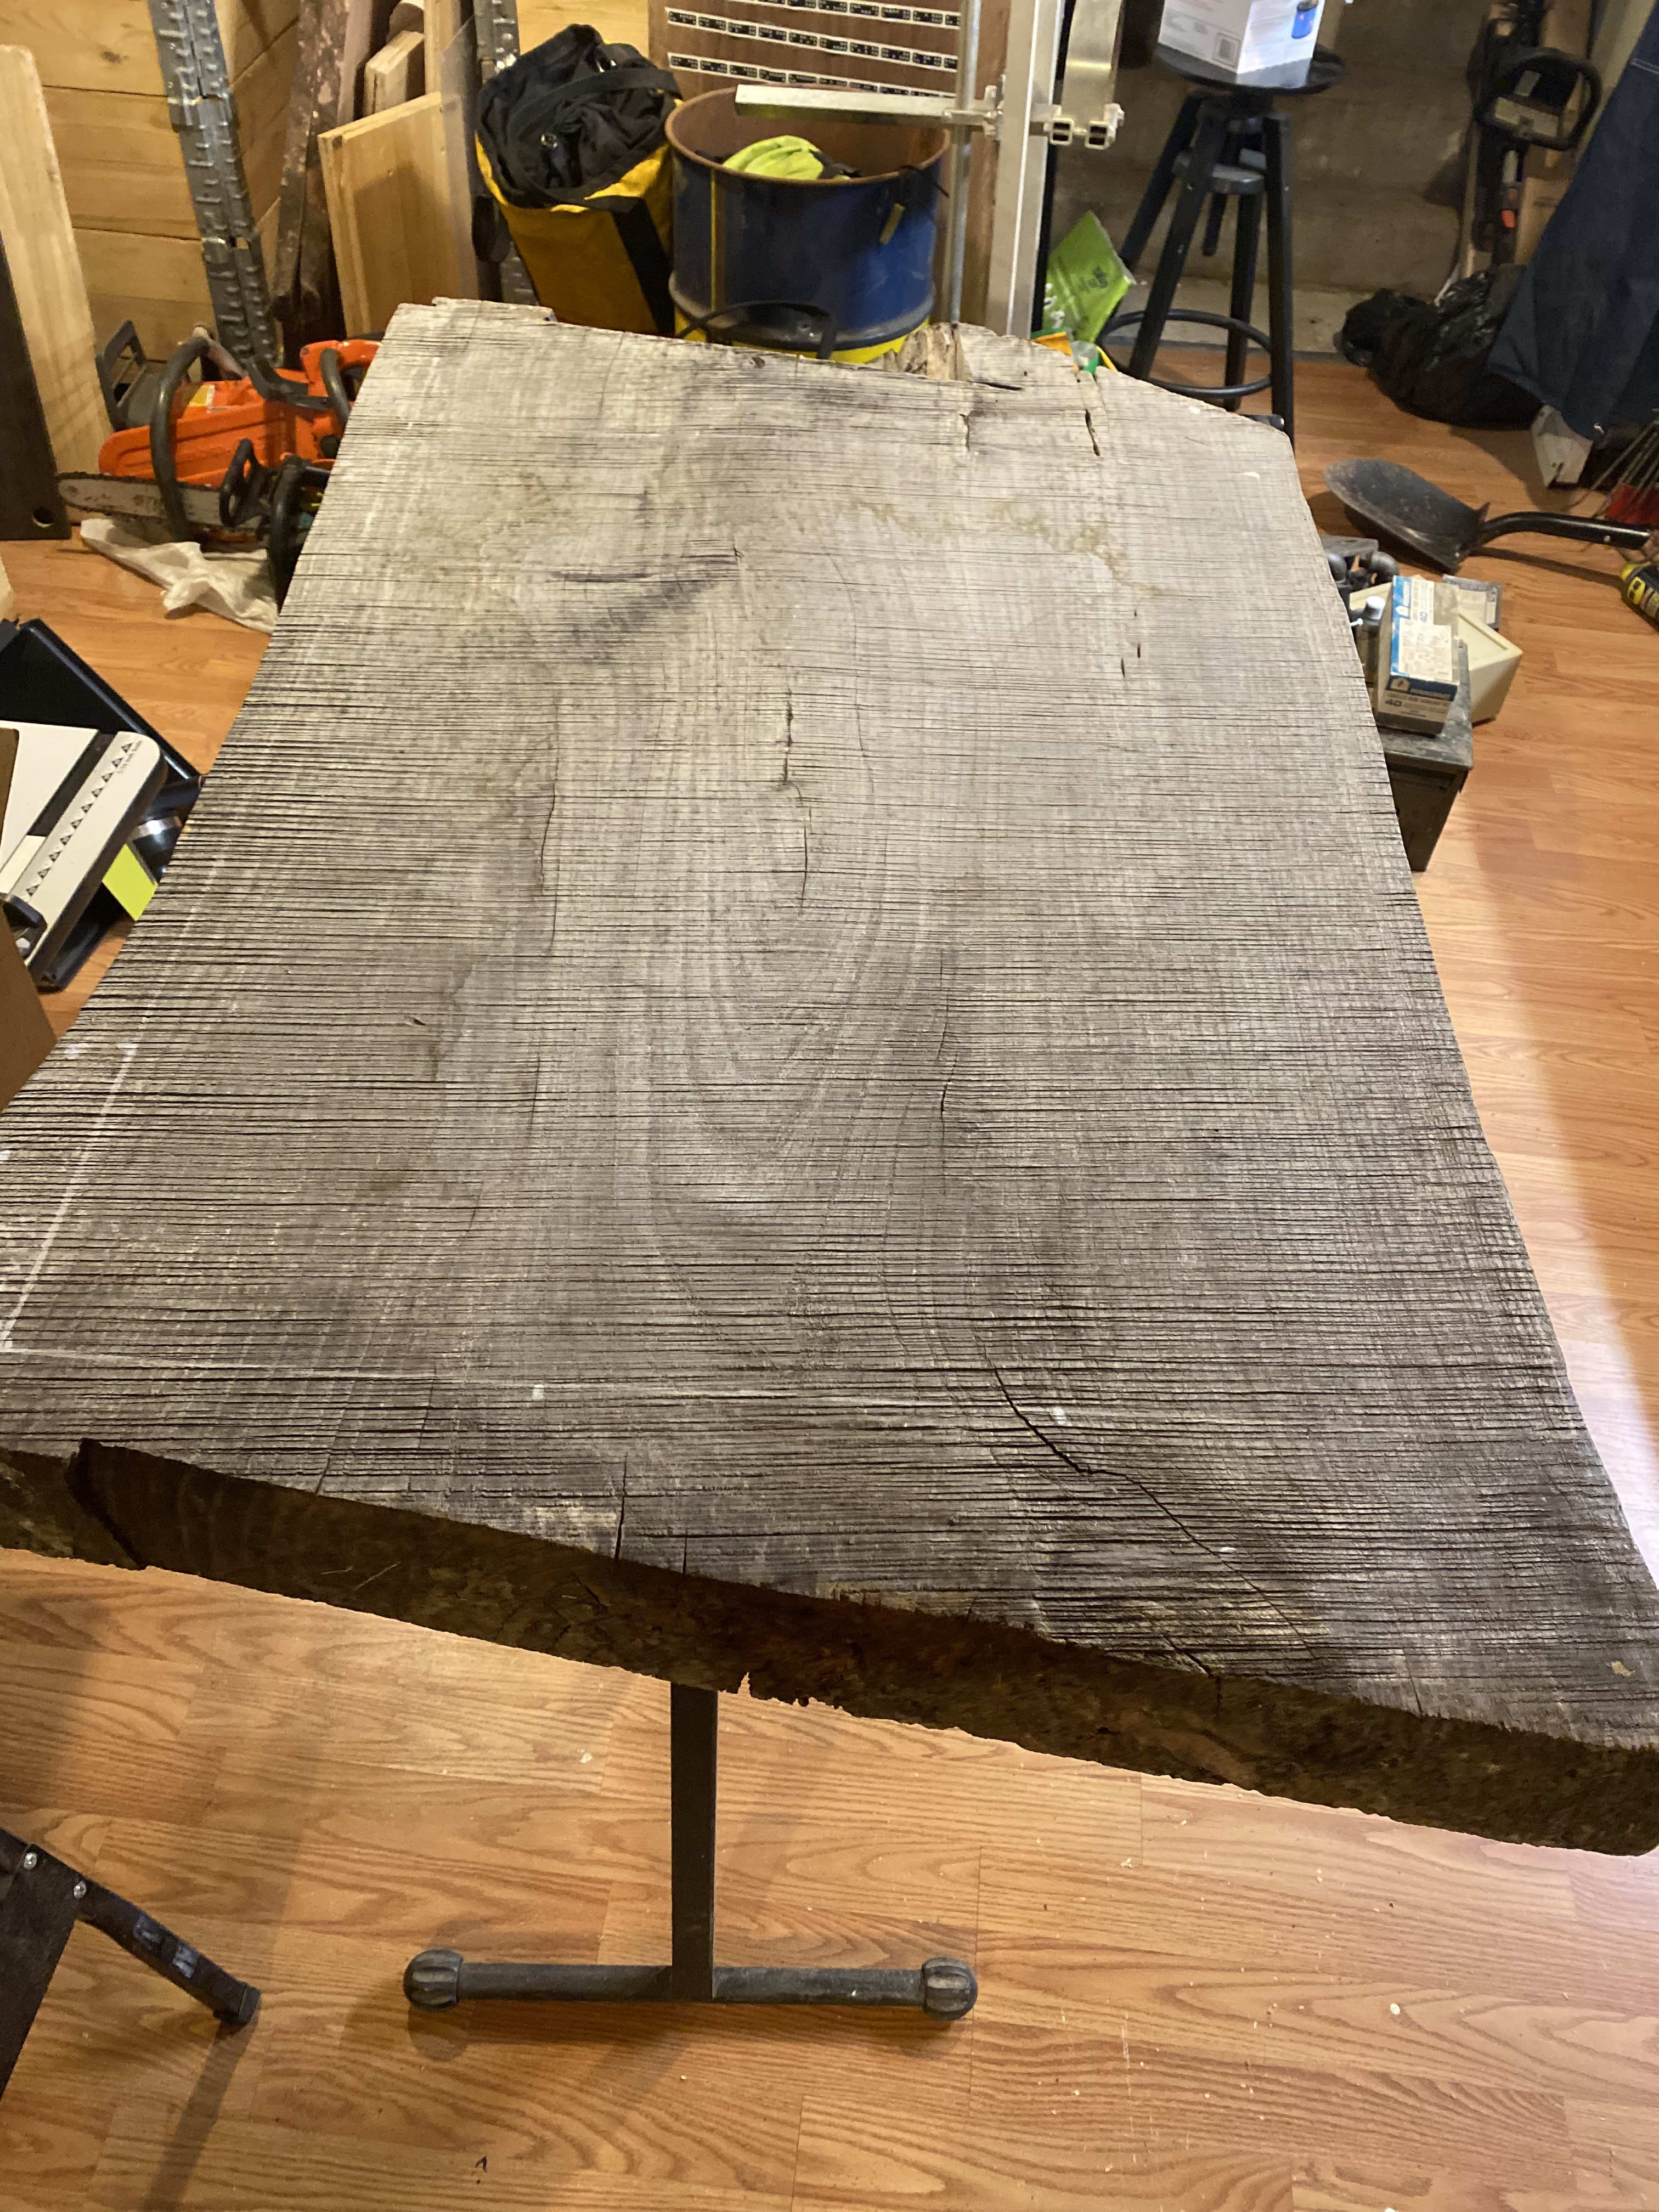
After 3 years of air drying, and being lost in the shuffle among quite a few other slabs, I pulled this one out with no specific intents.
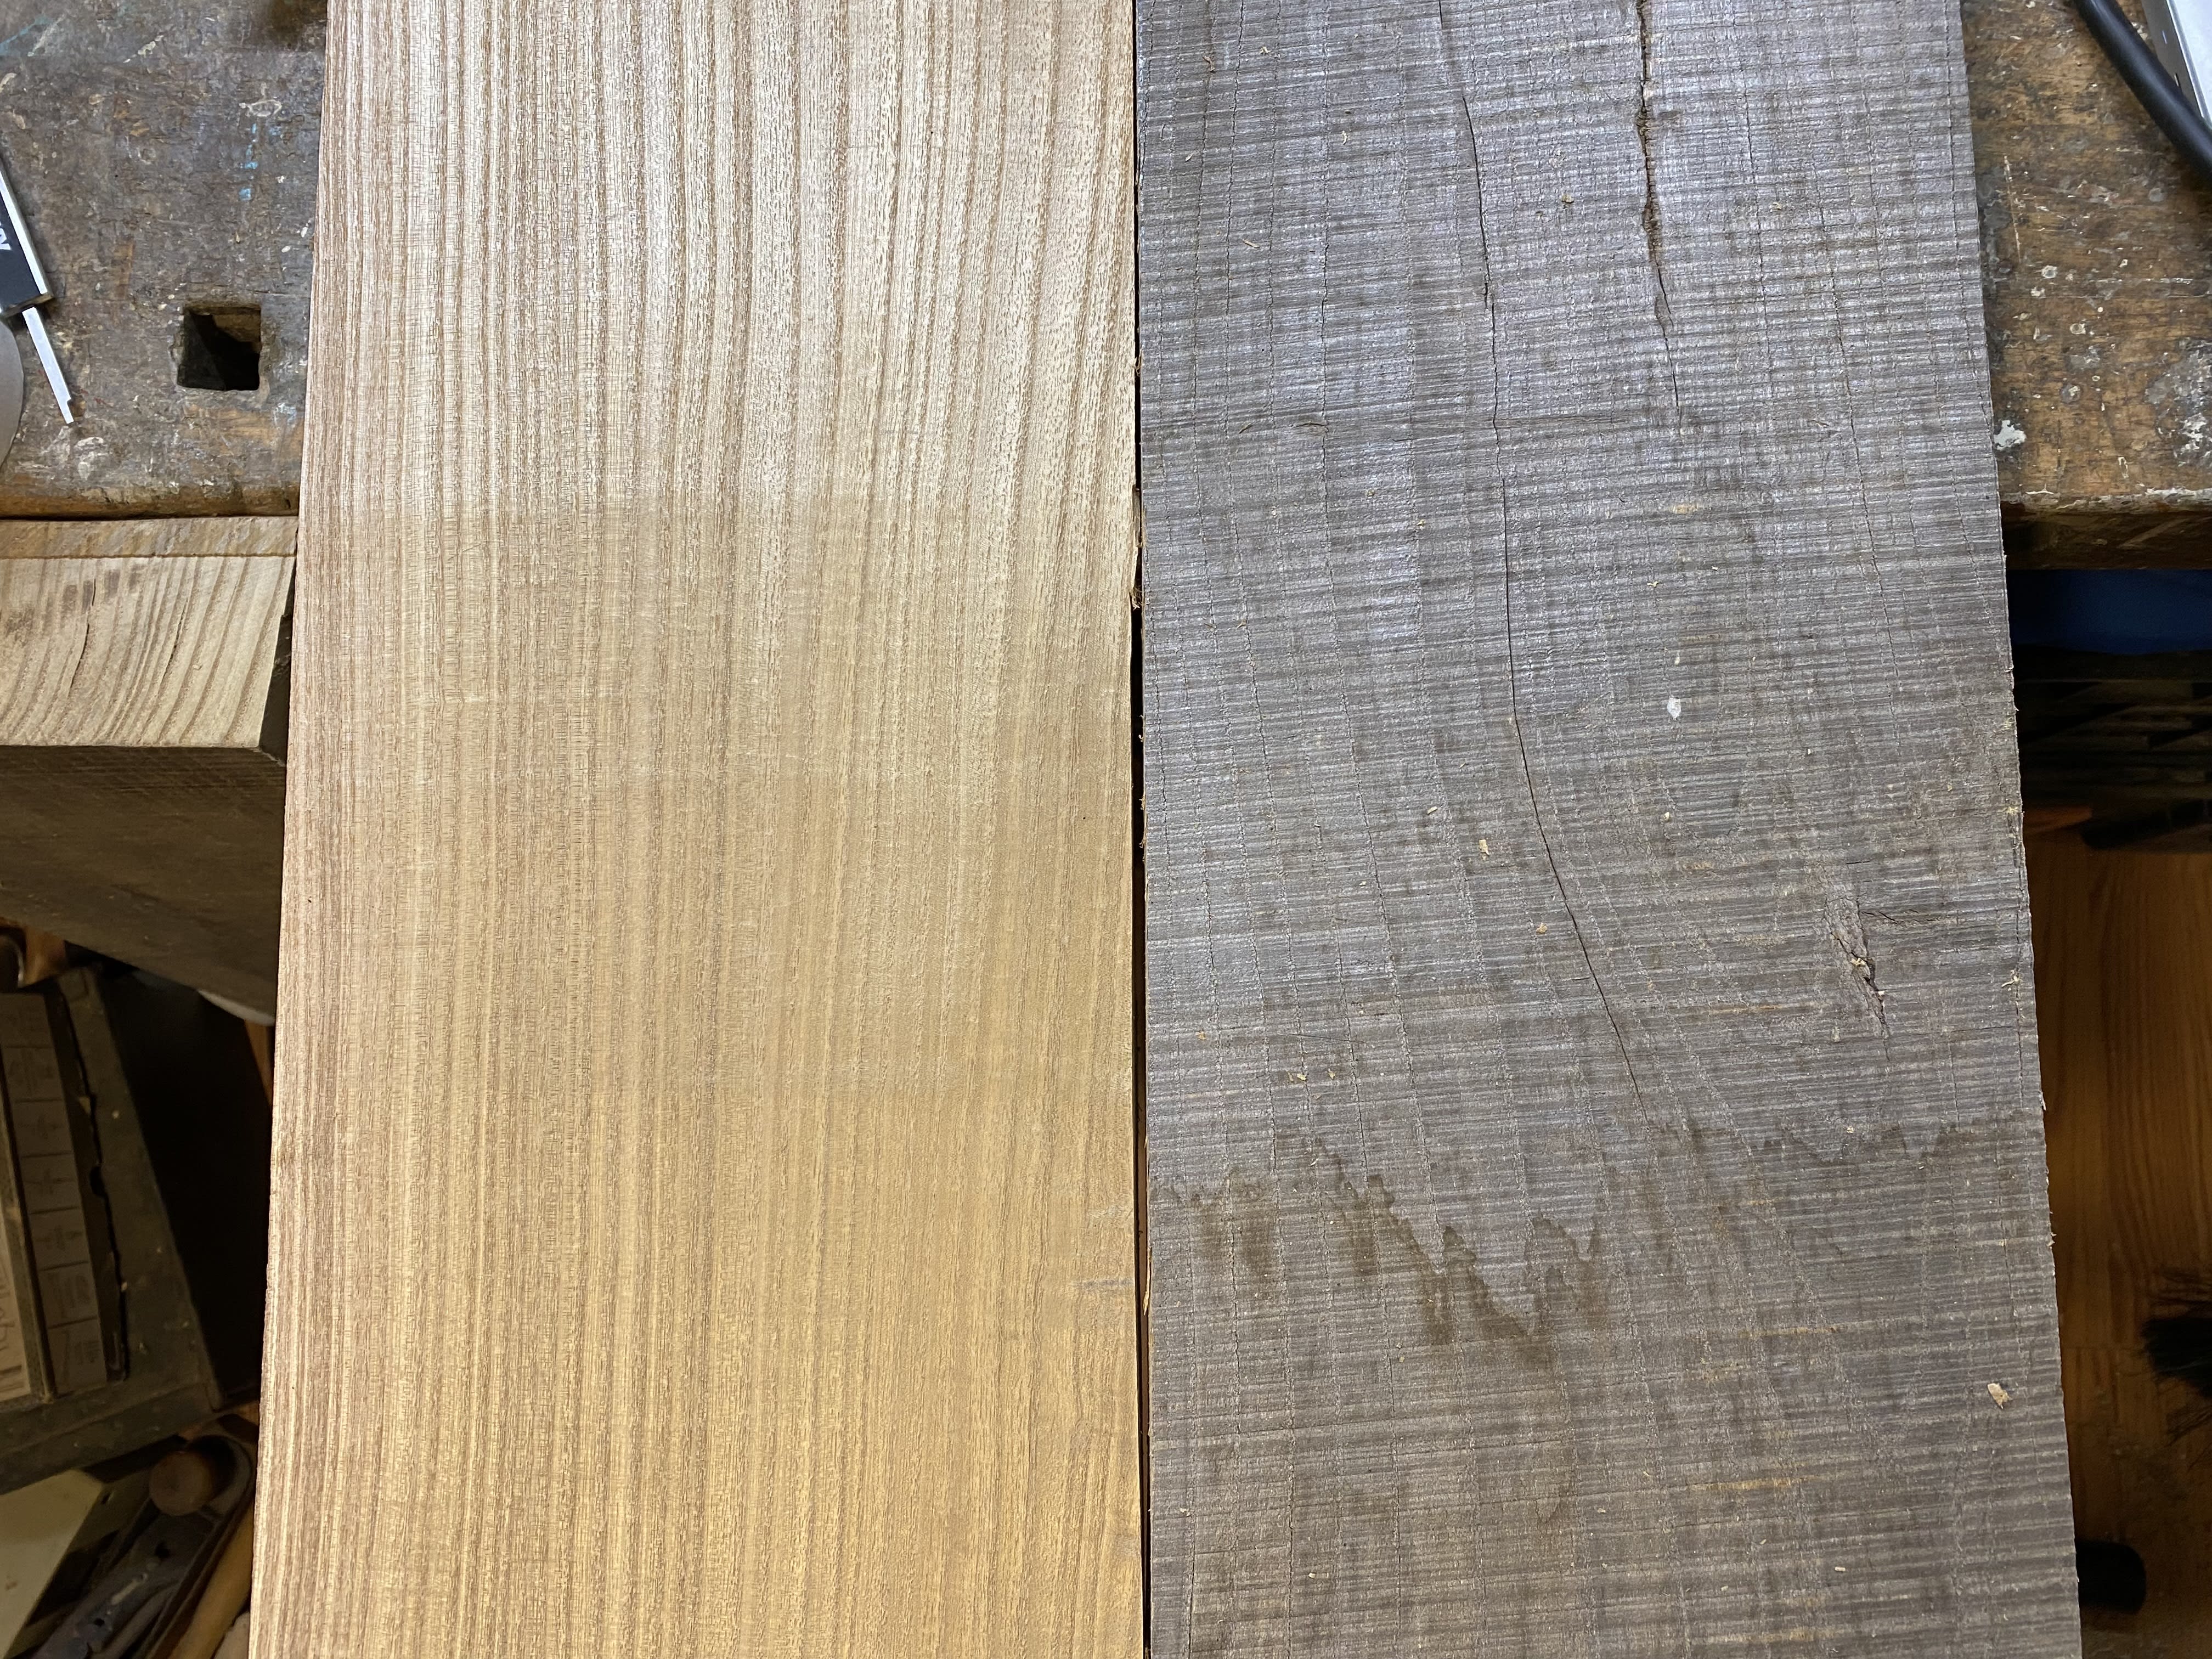
I signed up for this class, found a donor chair that needed to be repaired, and thought I was ready. After viewing the first few videos, I realized that the rounded rails would be an issue, and the seat was woven envelope style. I wanted to restore that chair true to its original build, so I sidelined it. I found plans for the Stock Chair, which is simple in construction, through a hub for owners of Shaper Origin, a handheld CNC router. Using these plans would allow me to use my Shaper Origin to cut all the mortises and tenons, and be a great learning experience for using the router. I measured the Catalpa slab, which was leaning against the wall collecting dust, and to my delight discovered that there would be enough dimensional material to build the chair after cutting off the decayed ends and bug-burrowed sapwood.
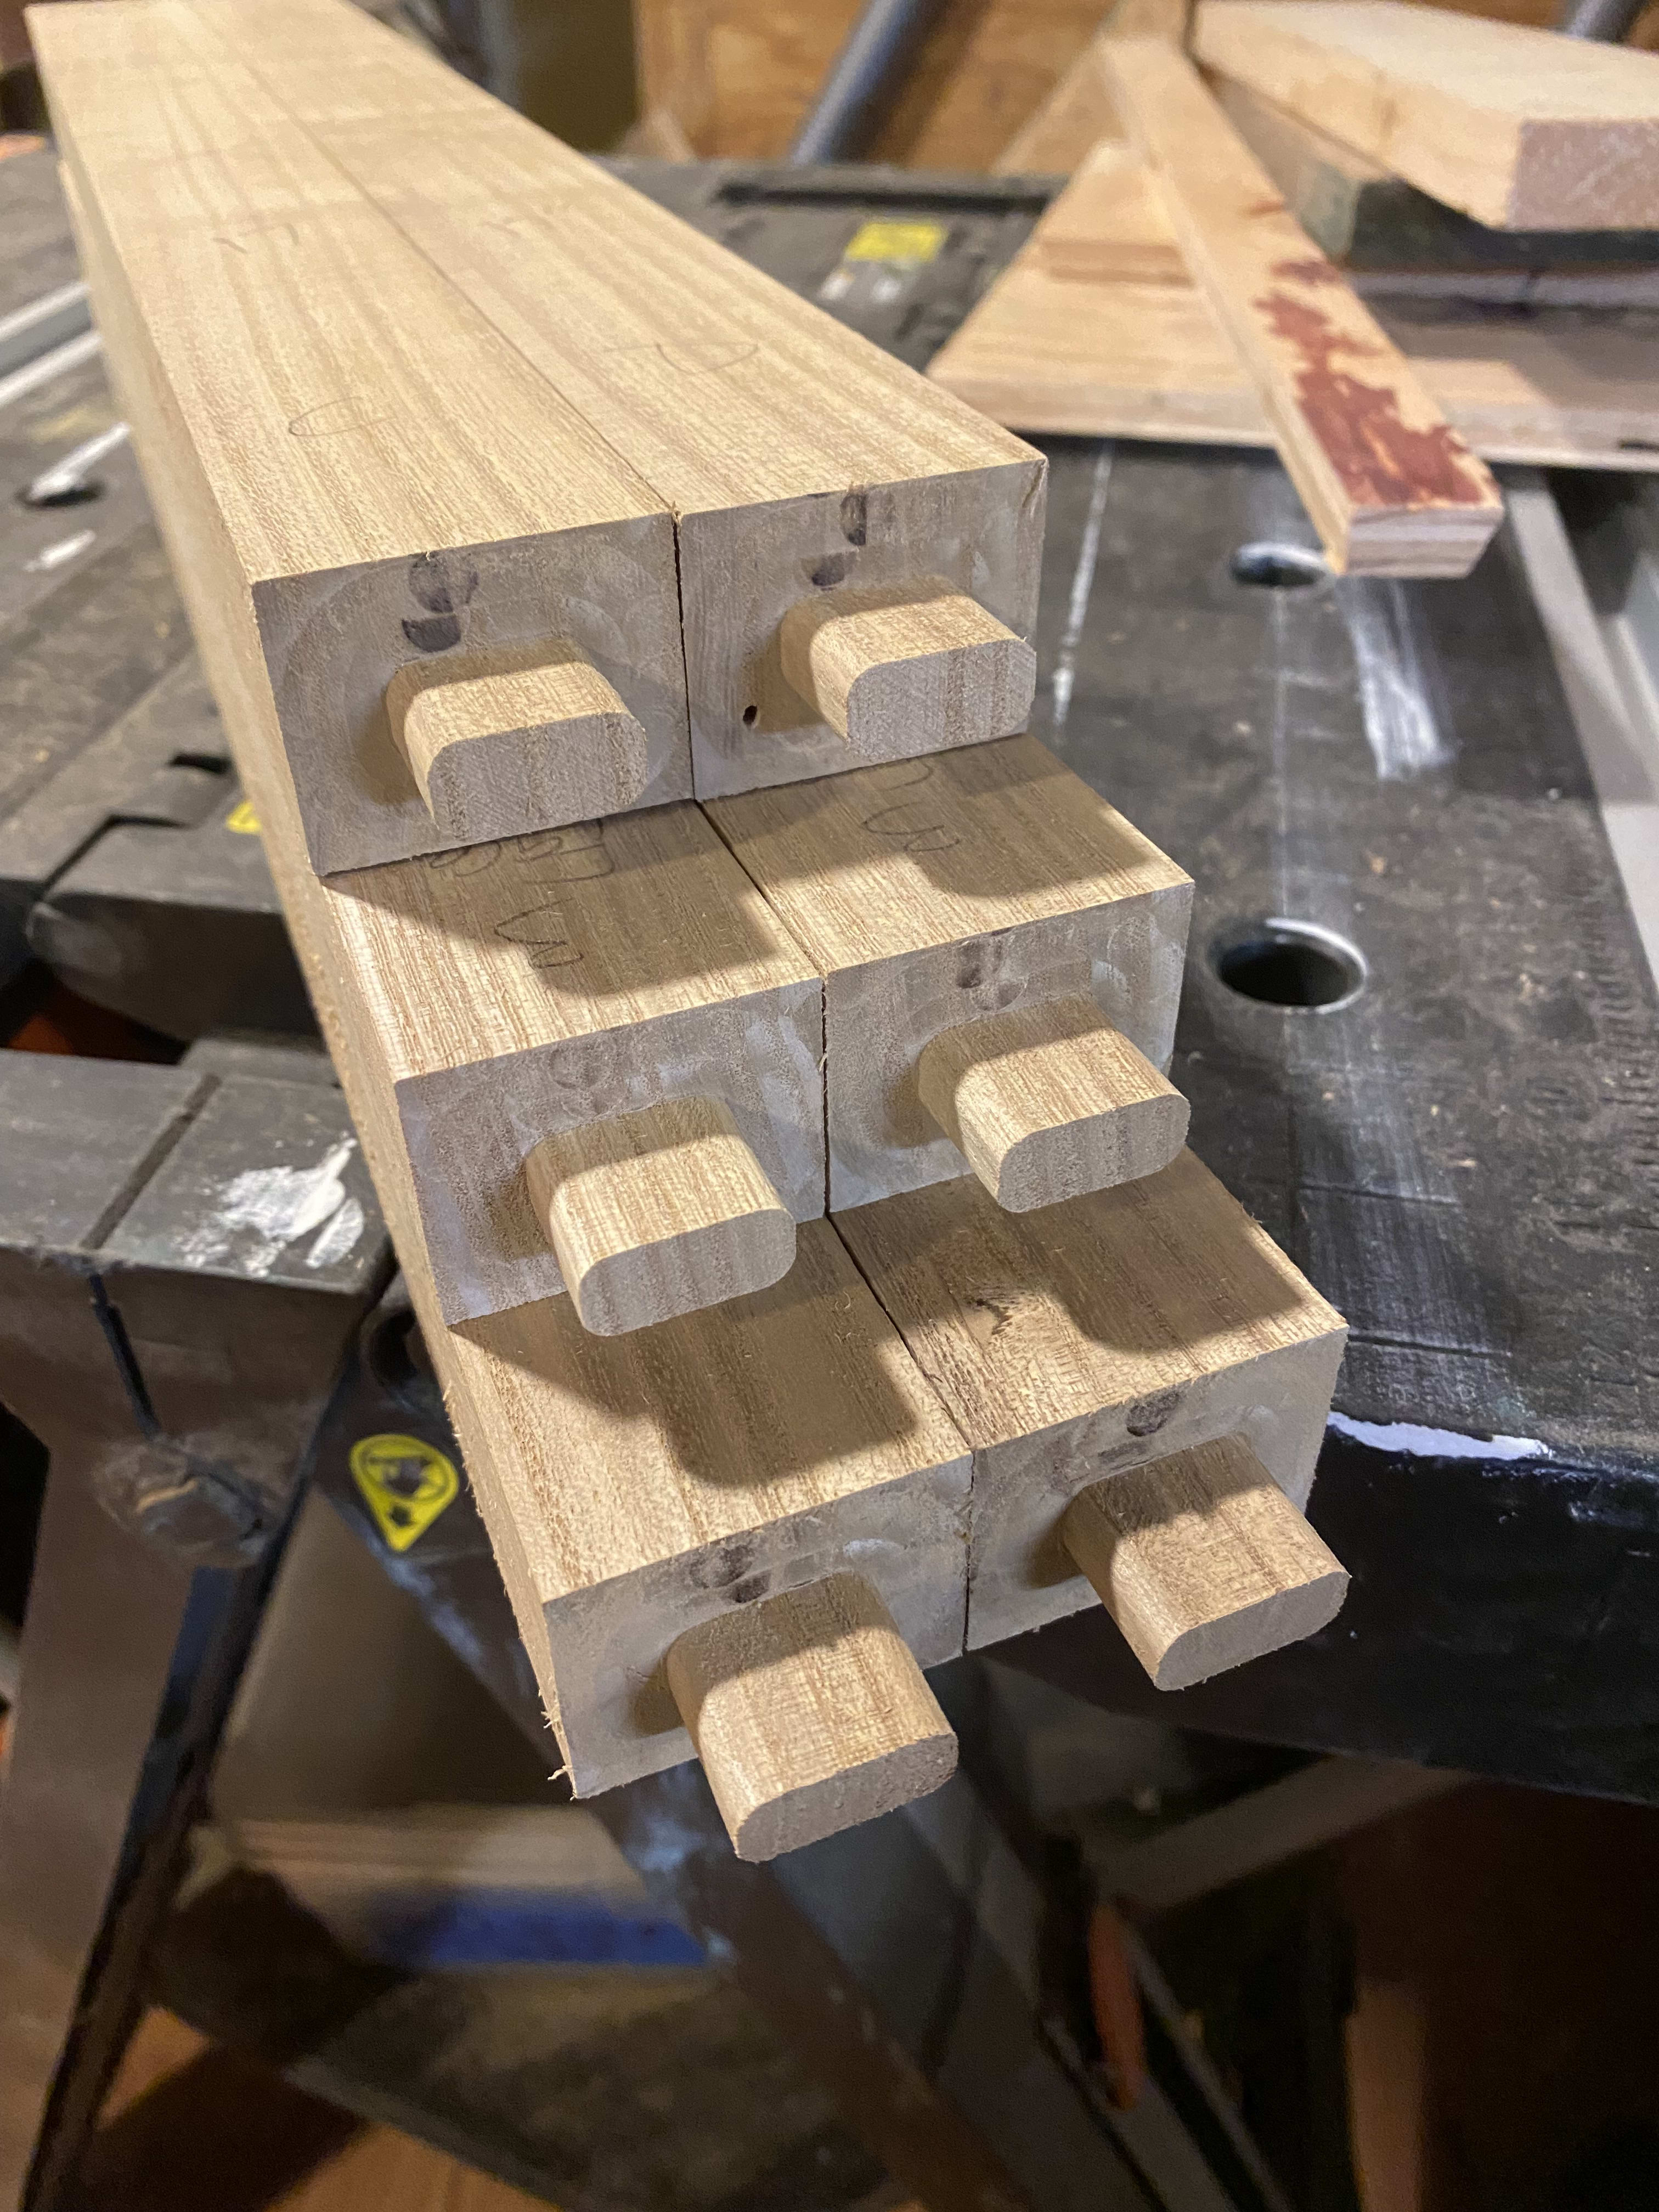
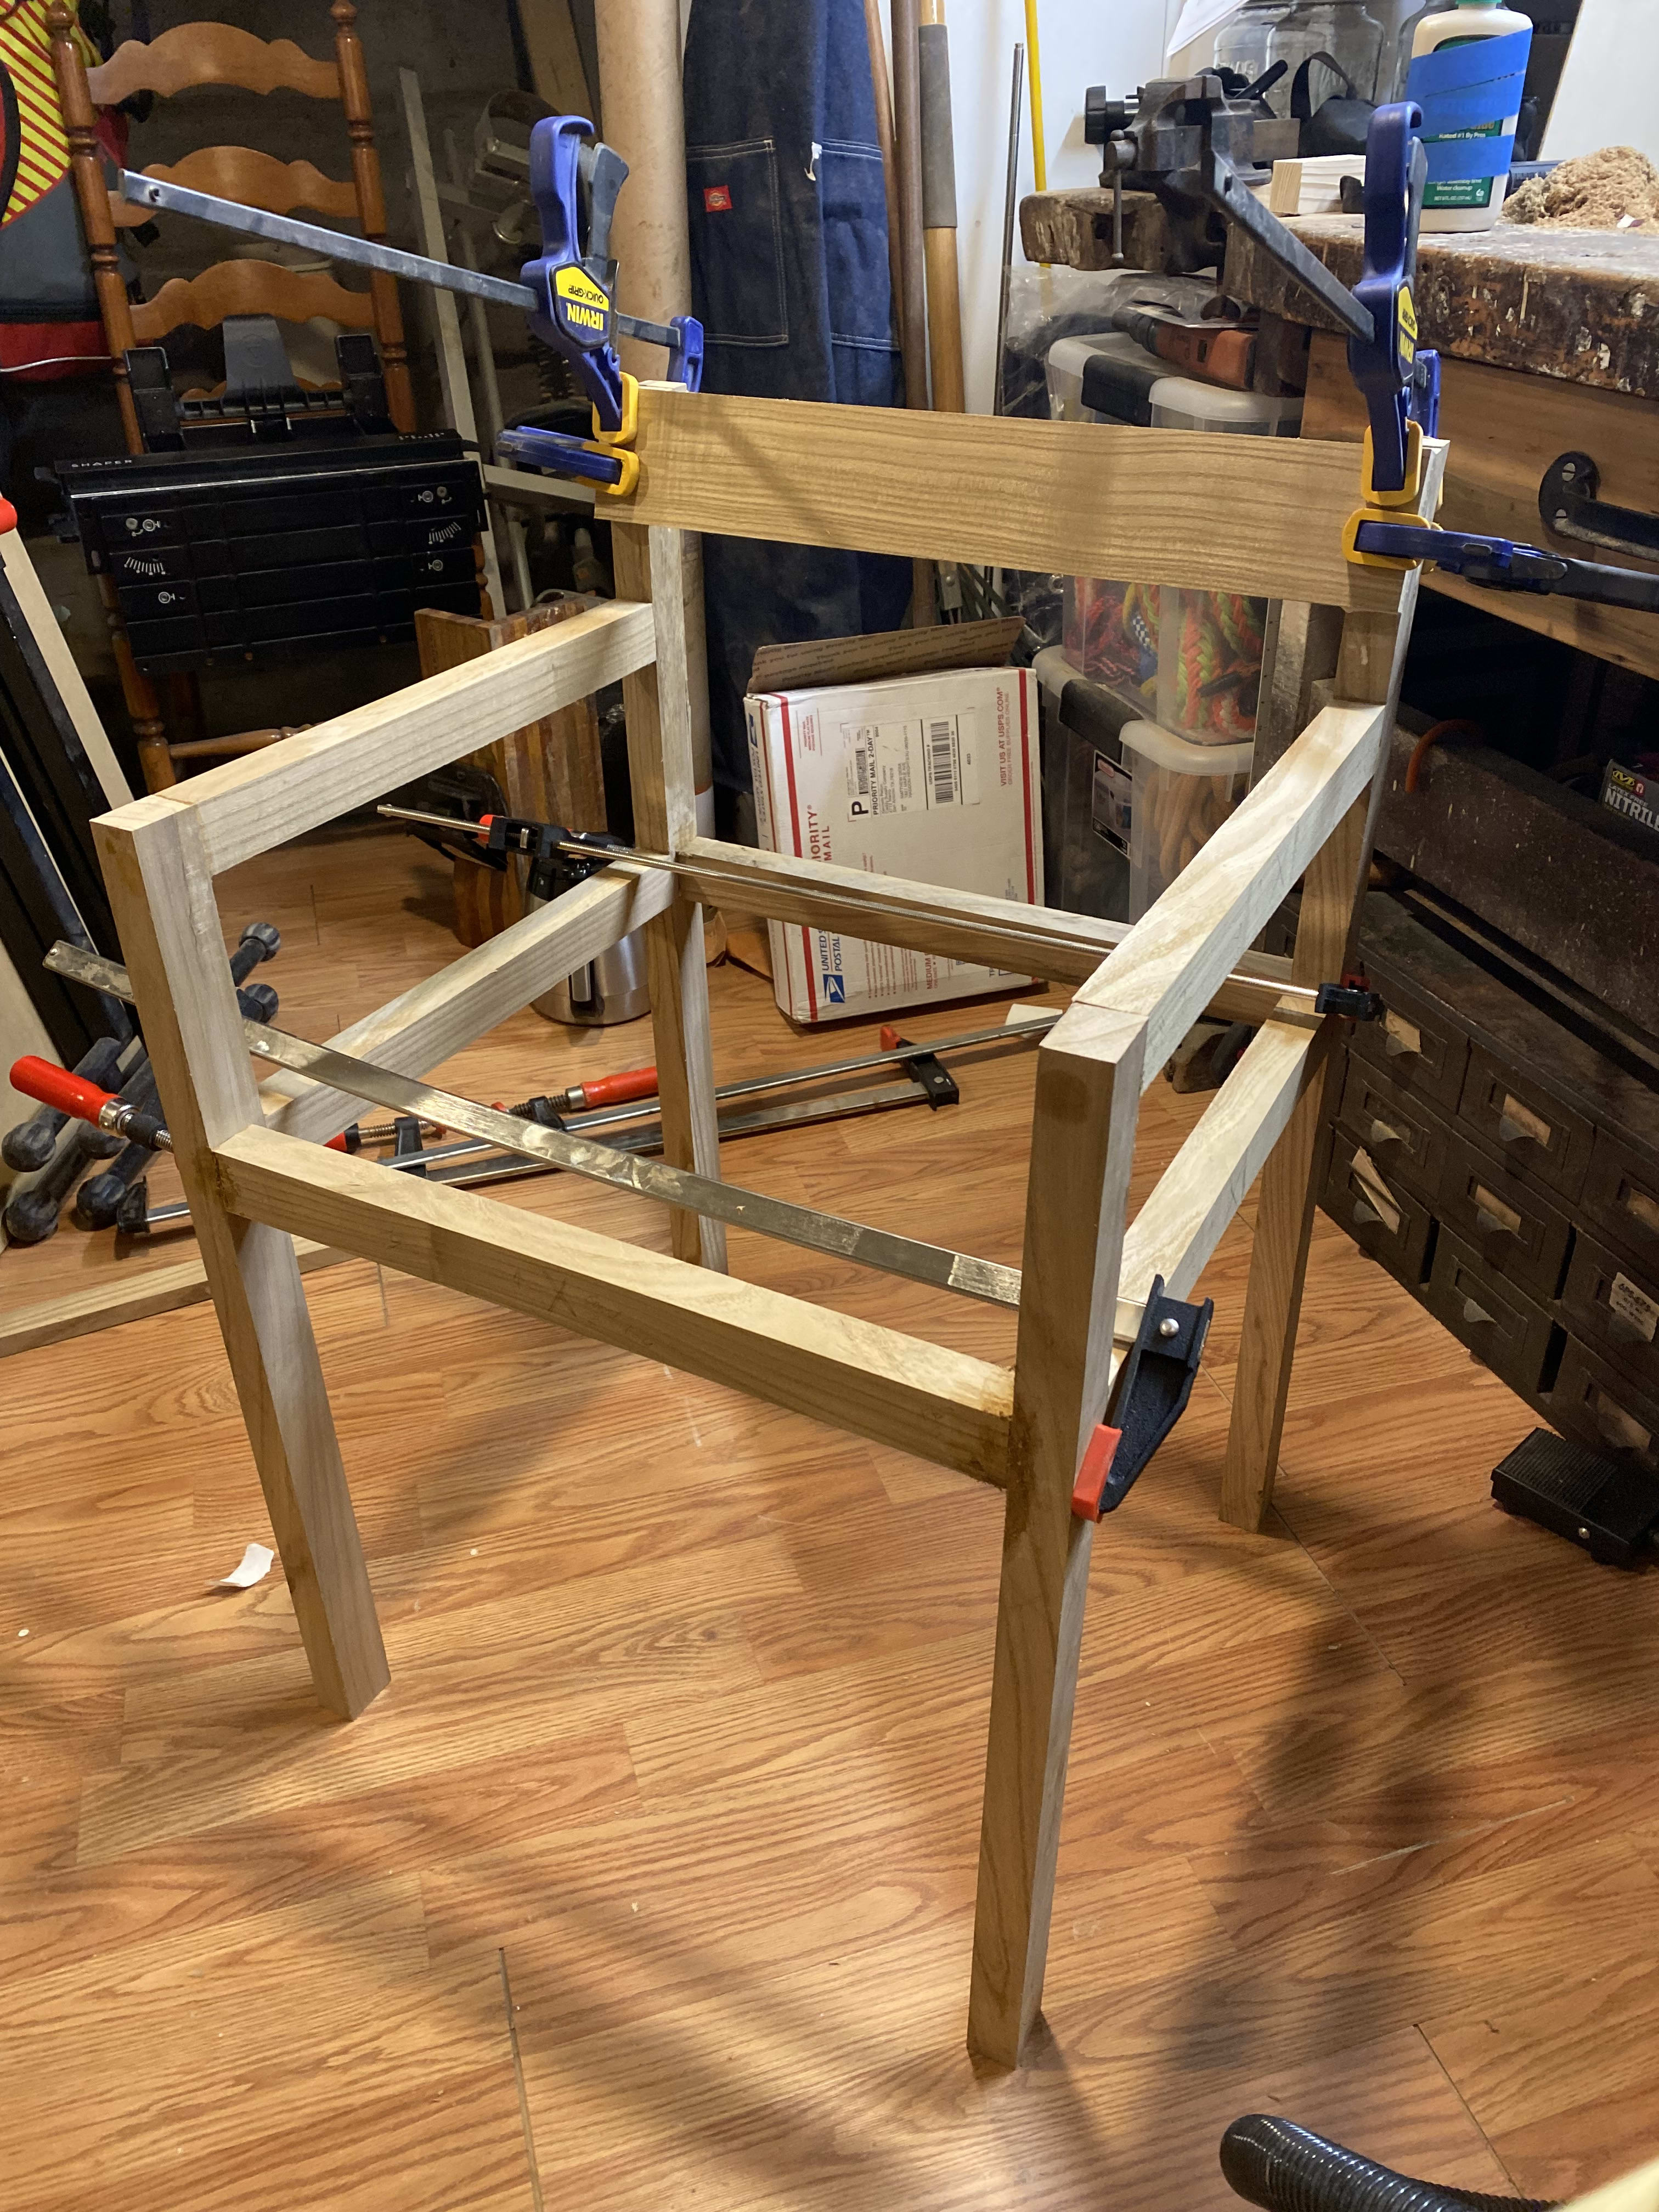
After some measuring, cutting, and a few rounds through the planer, I had three gorgeous pieces of wood which I would then rip into my legs, arms, and stretchers. After some careful work, I had the mortises and tenons cut, and it was time for the glue-up. I was fortunate not to have alignment issues, since in my excitement, I forgot to dry-fit my chair before glueing. Thorough sanding and 2 coats of finish later, it was time to get started on the Danish cord portion!

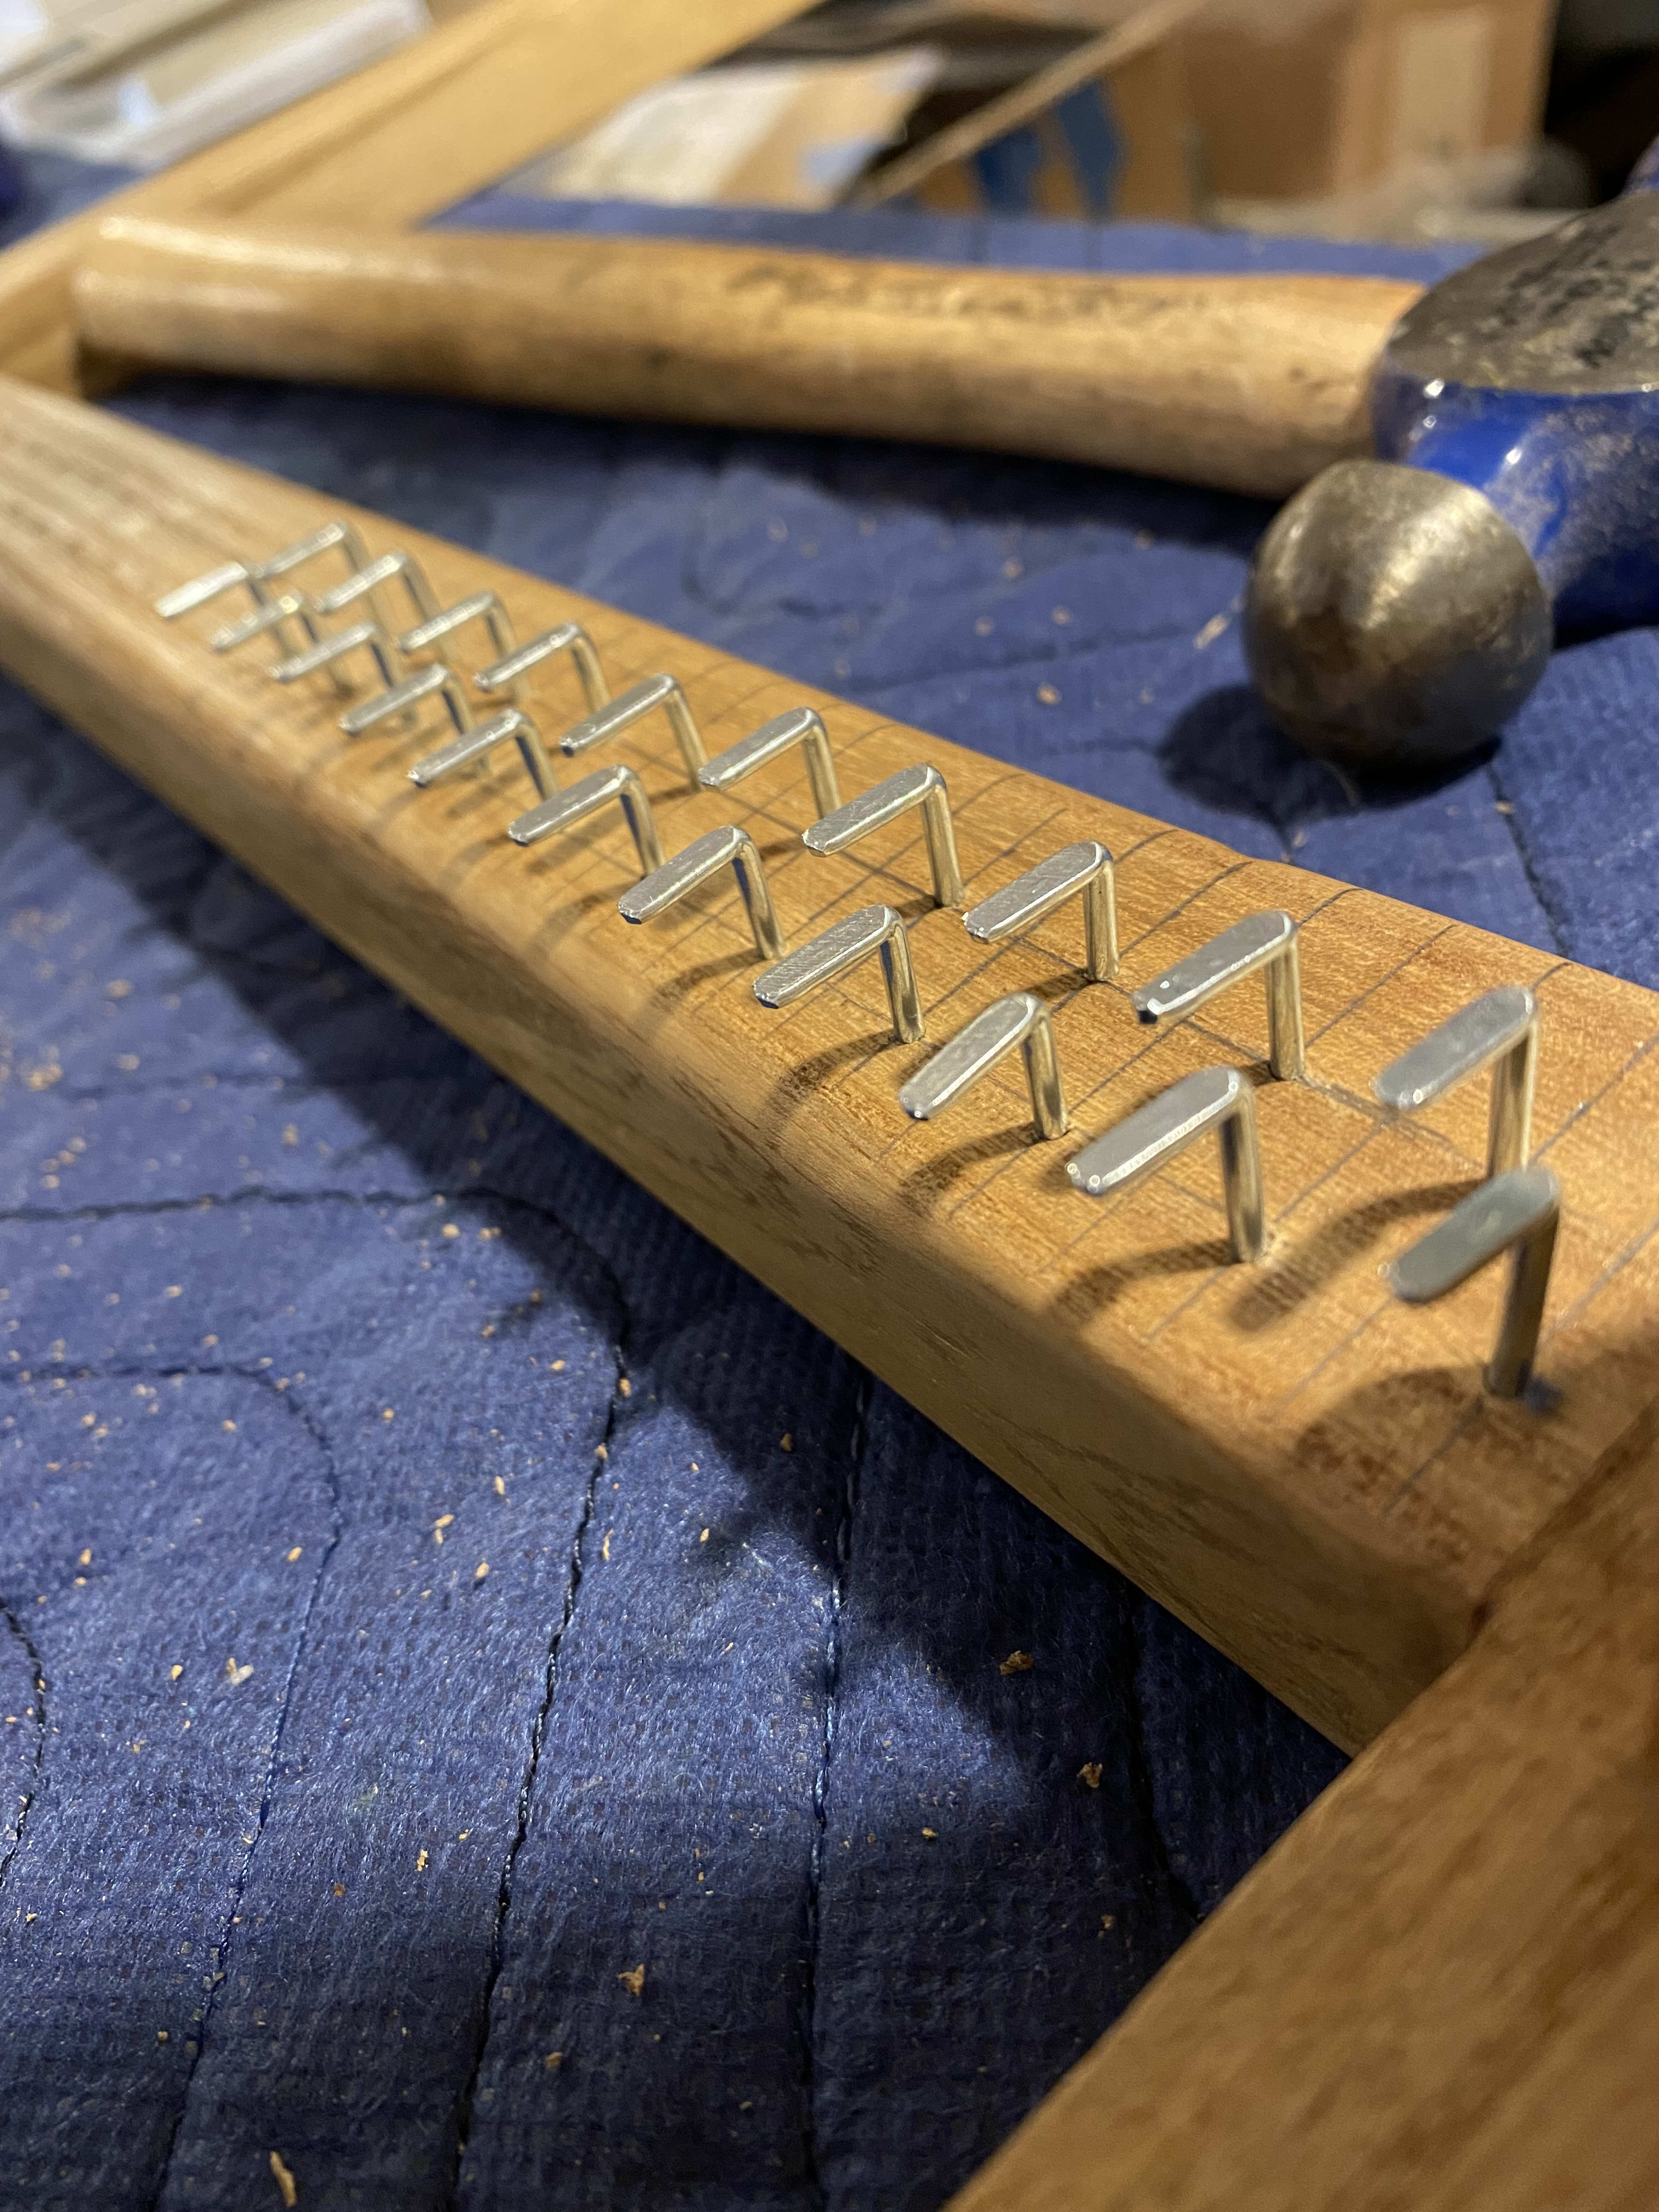
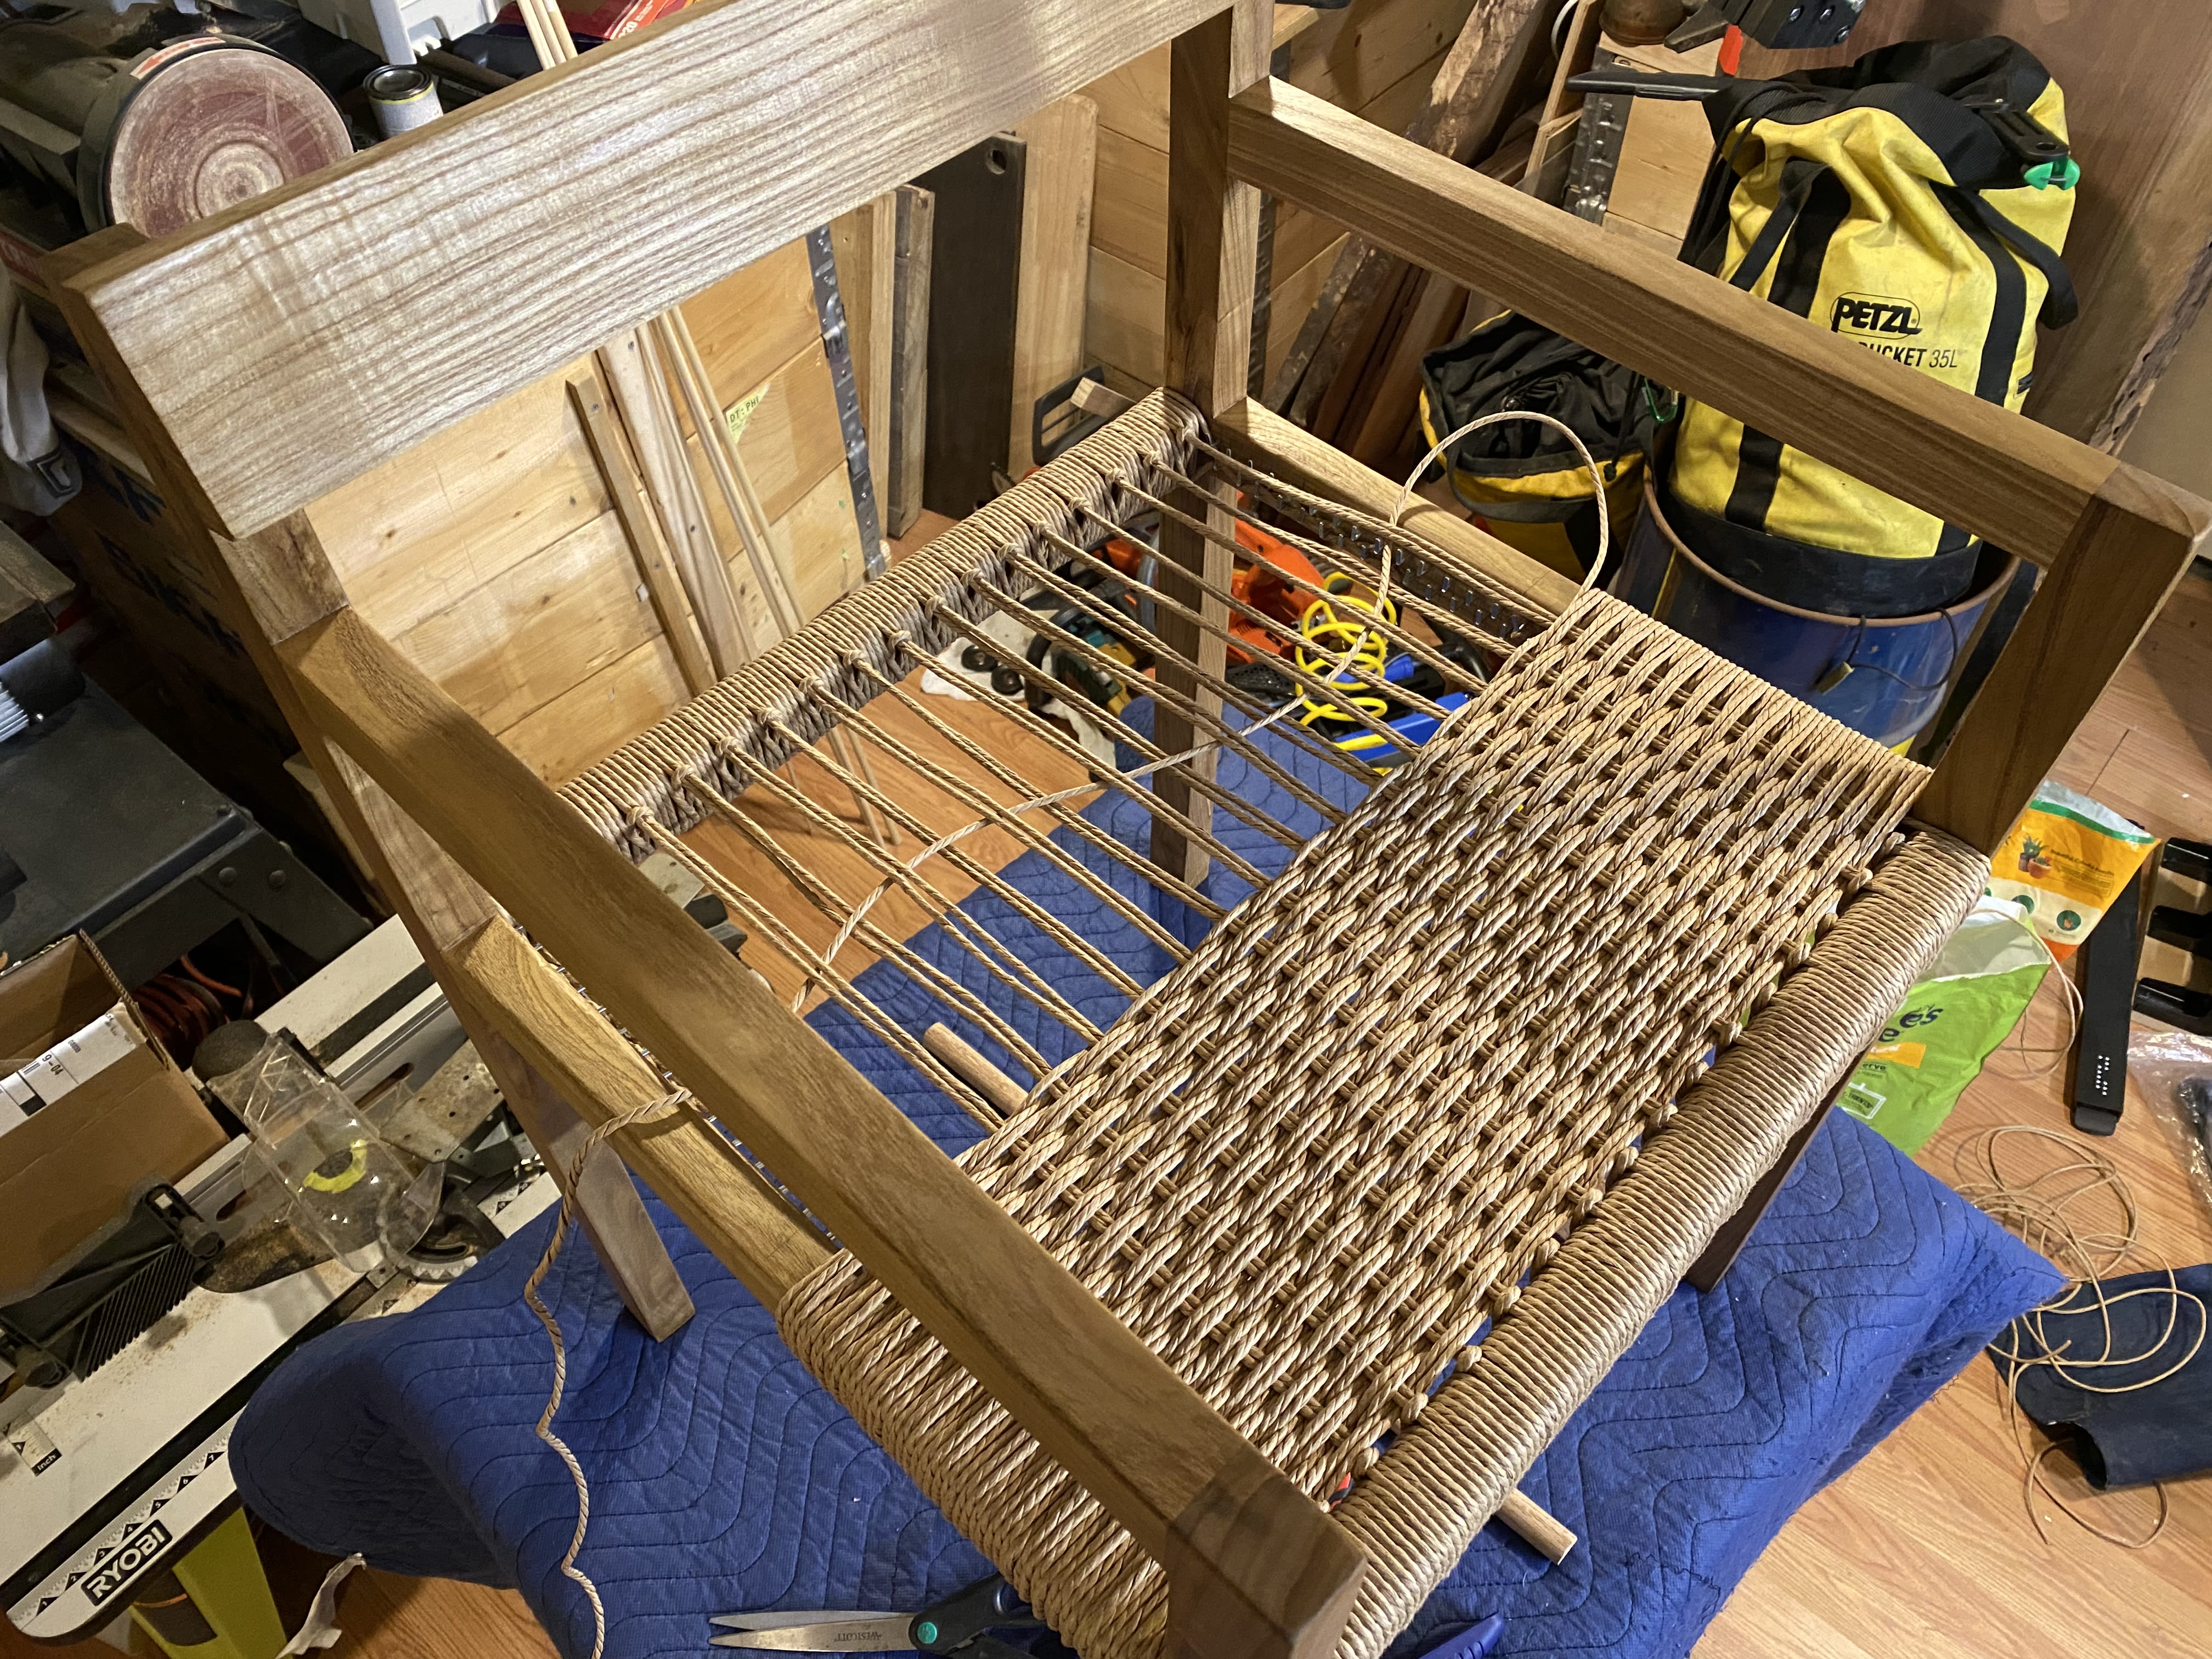
I plotted my weave pattern, and carefully piloted my L-nail holes. Looking back, I should have had my nails at least 1/8" lower, but I compensated at the end by making sure the tops of the nails were bent in towards the seat rails.
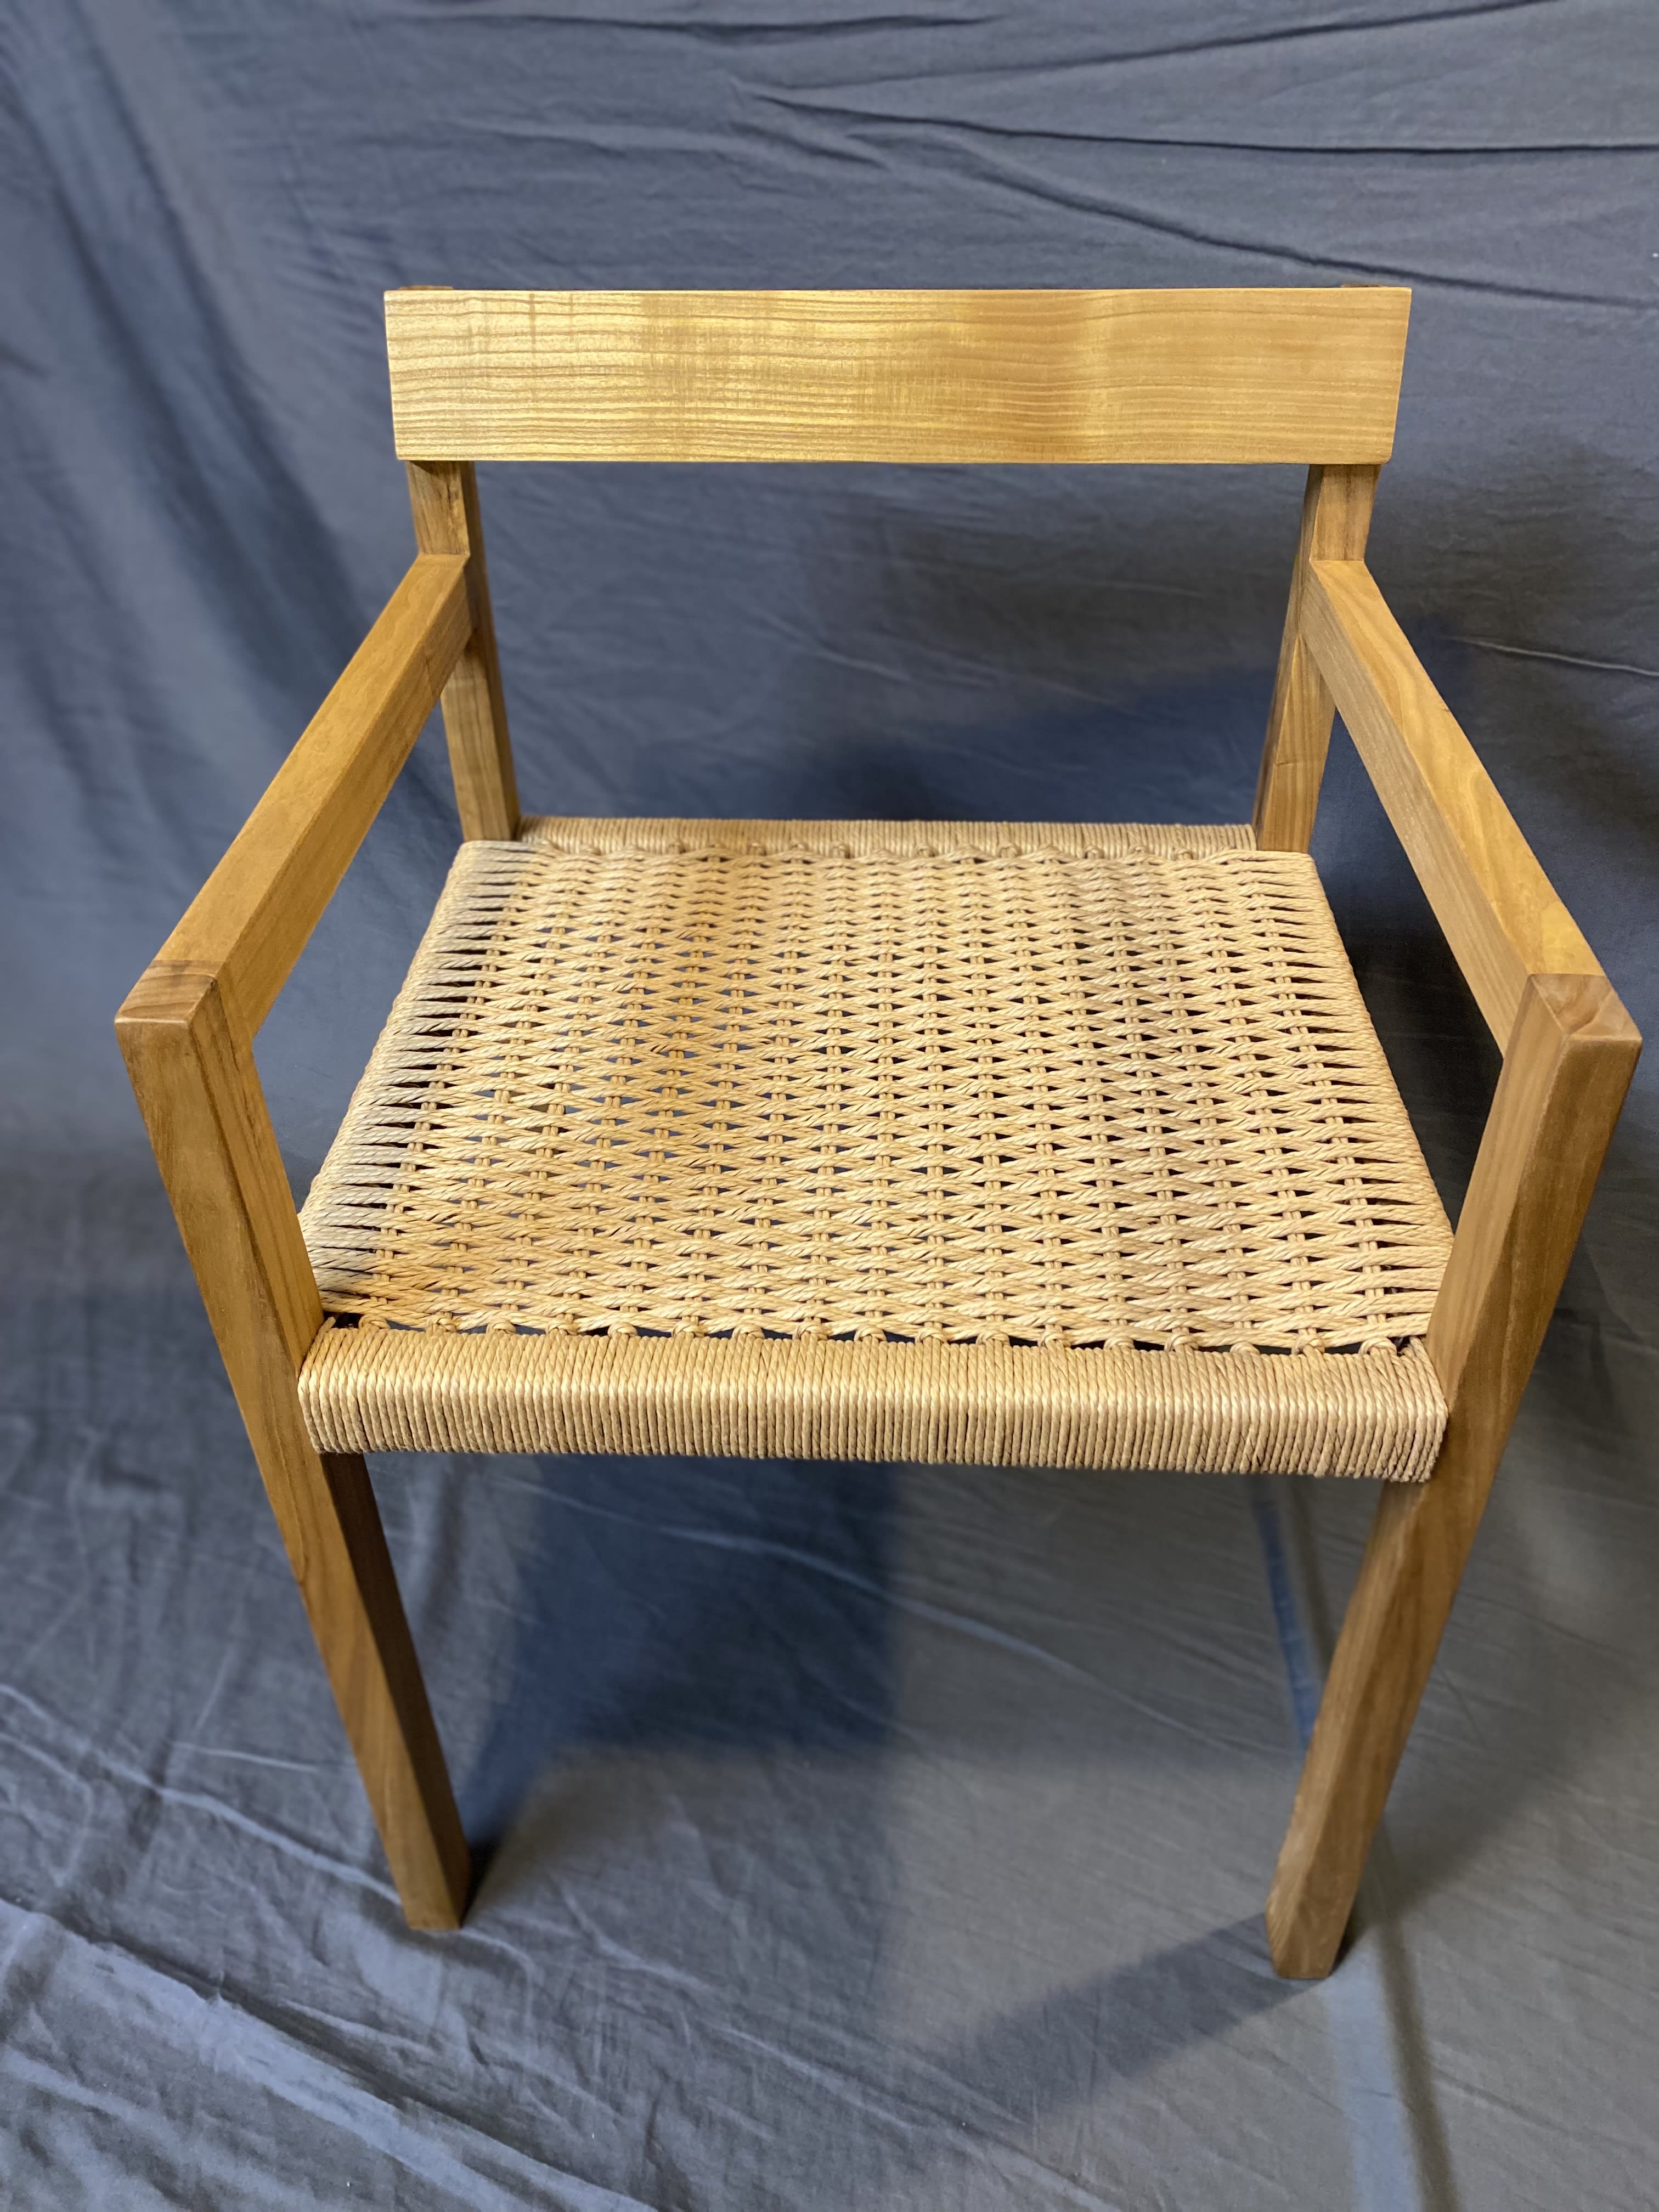
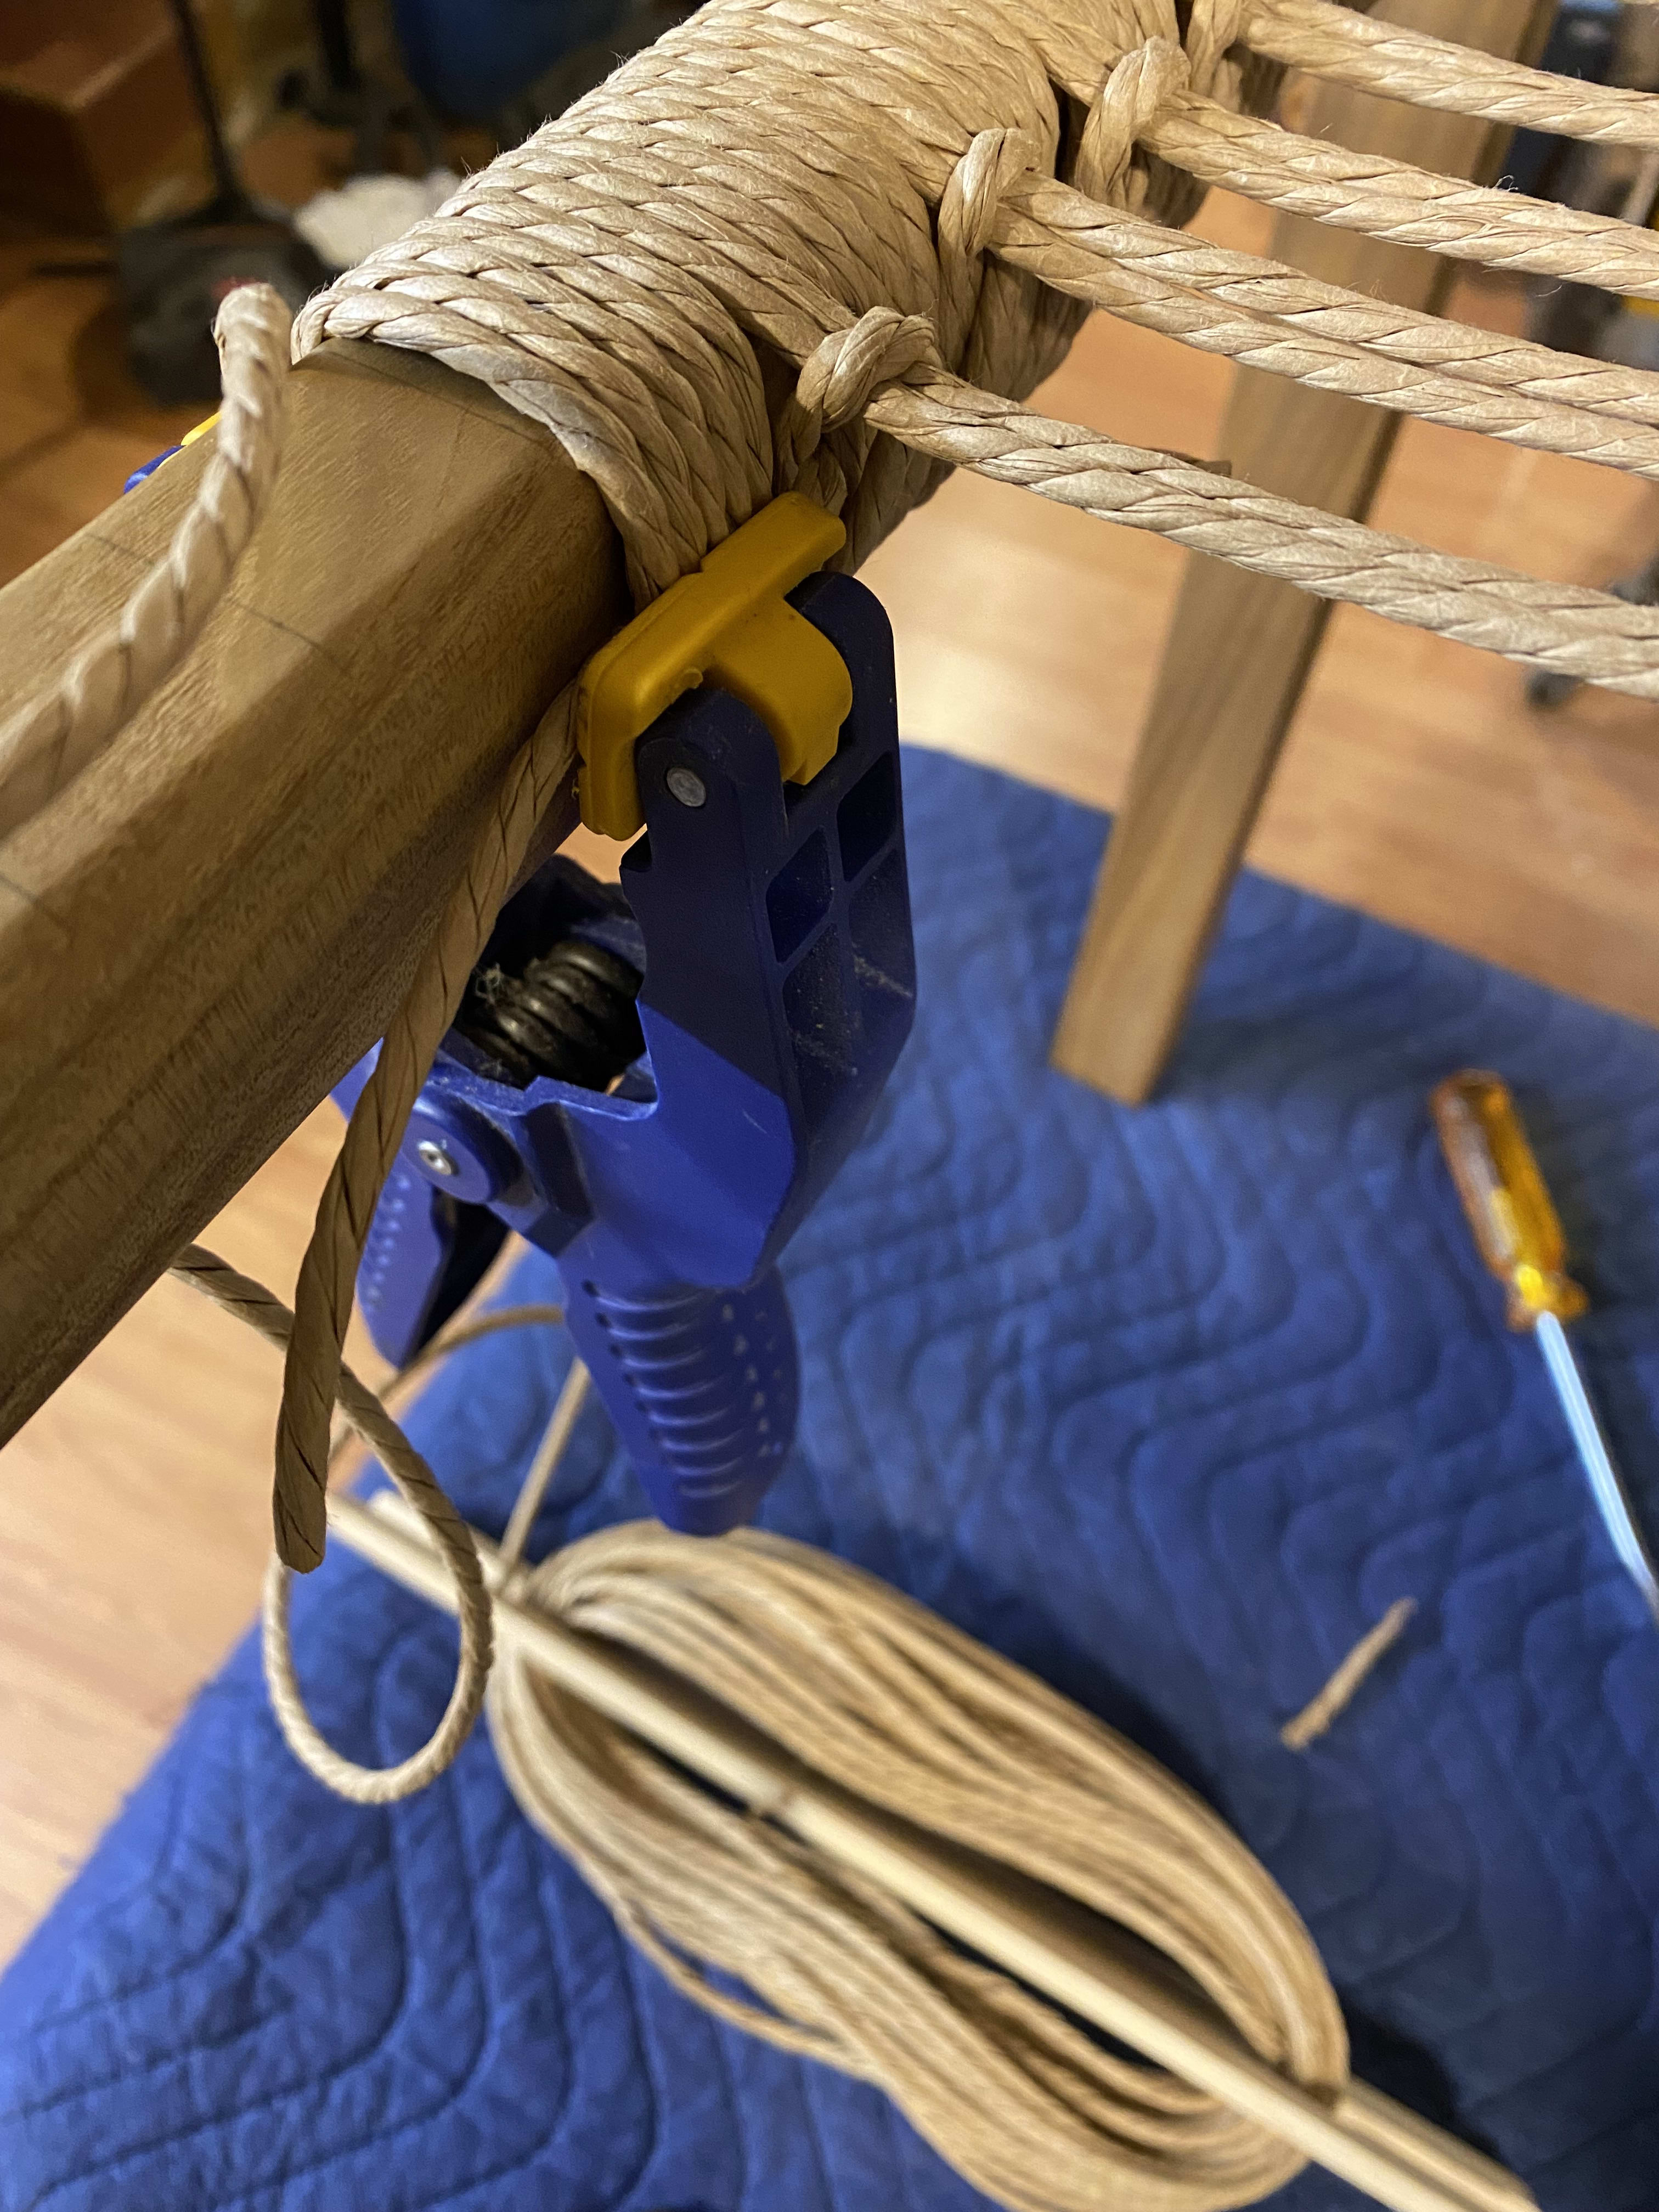
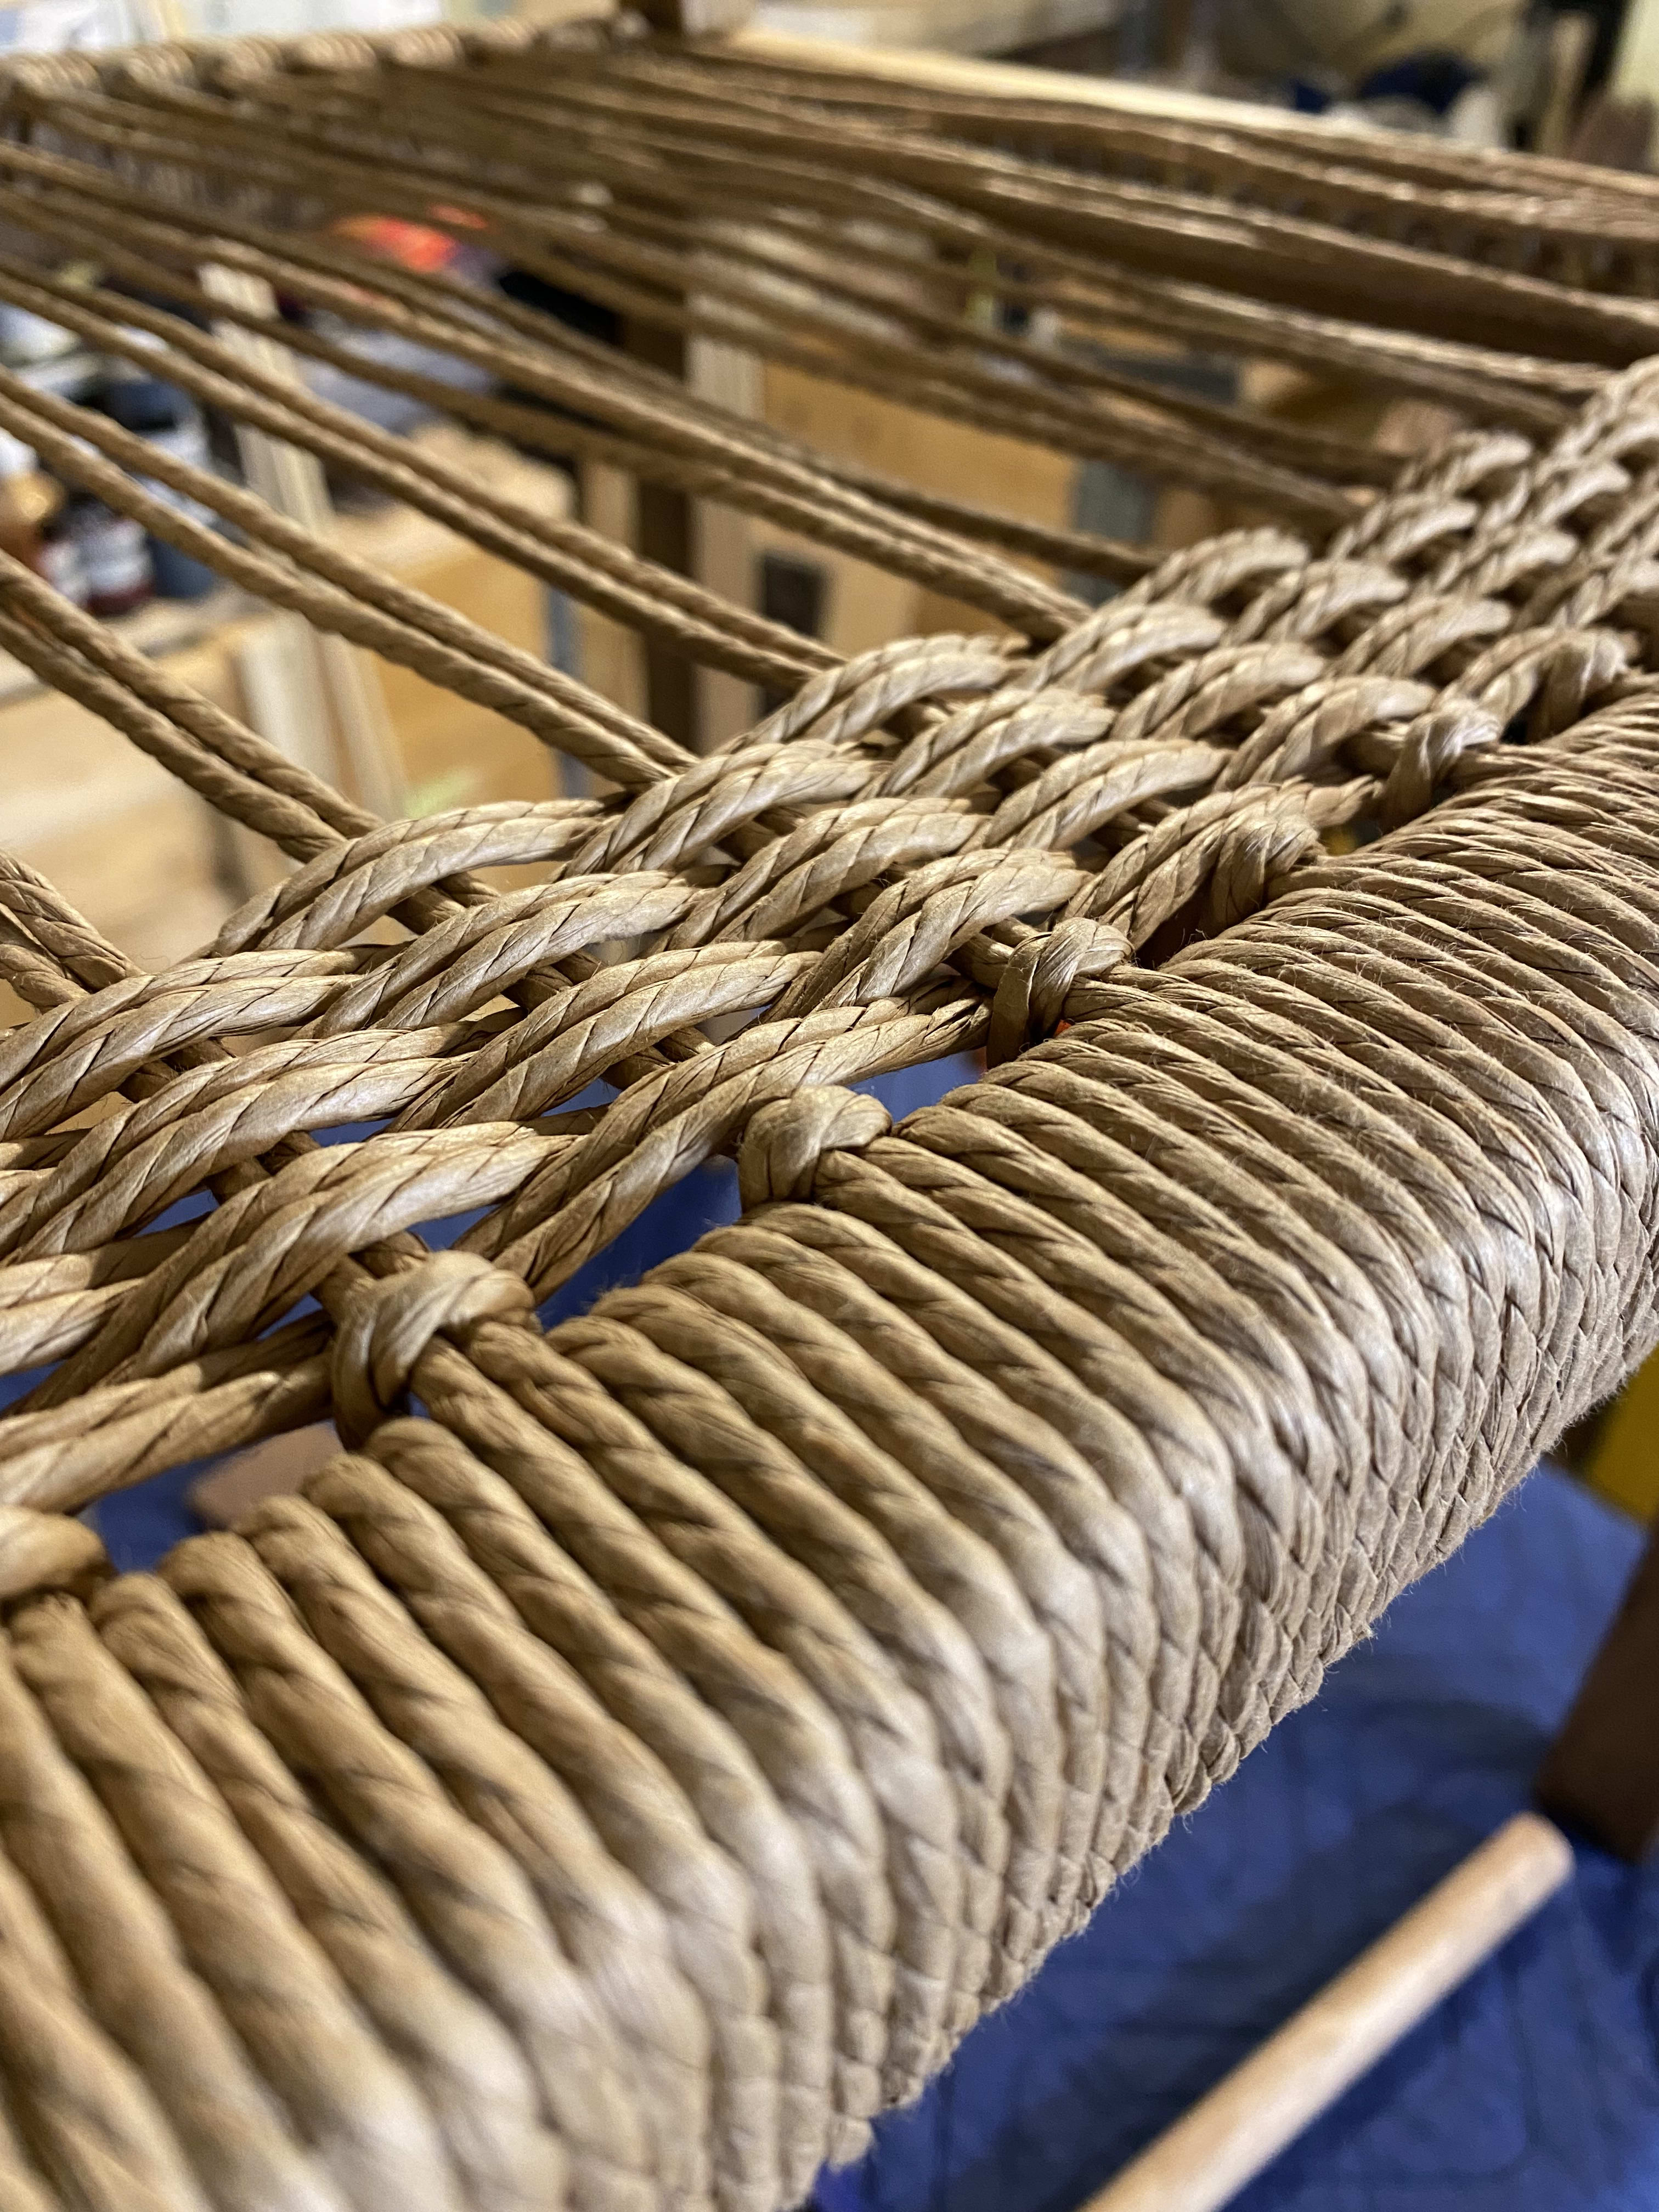
Shuttle in hand, I began with my warp pairs. I tried to keep a tension level across my dowel rod that would allow me to pluck the pairs upwards about 1/8" without pulling hard. This gave me a snug, but not tight, lay across the dowel. I left a gap at the beginning and end of each rail to compensate for the nails, so I wouldn't have a warp pair right over them. After the fact, I realized I could have just done four wraps before the first warp pair. With the warps completed, I just took short lengths of cord and did 3 wraps on both ends and tucked both ends around the nails, just like the beginning of the weave, and let the weave hold them in place. This did make the end of the weave a bit more difficult, since everything was getting packed in pretty tightly.
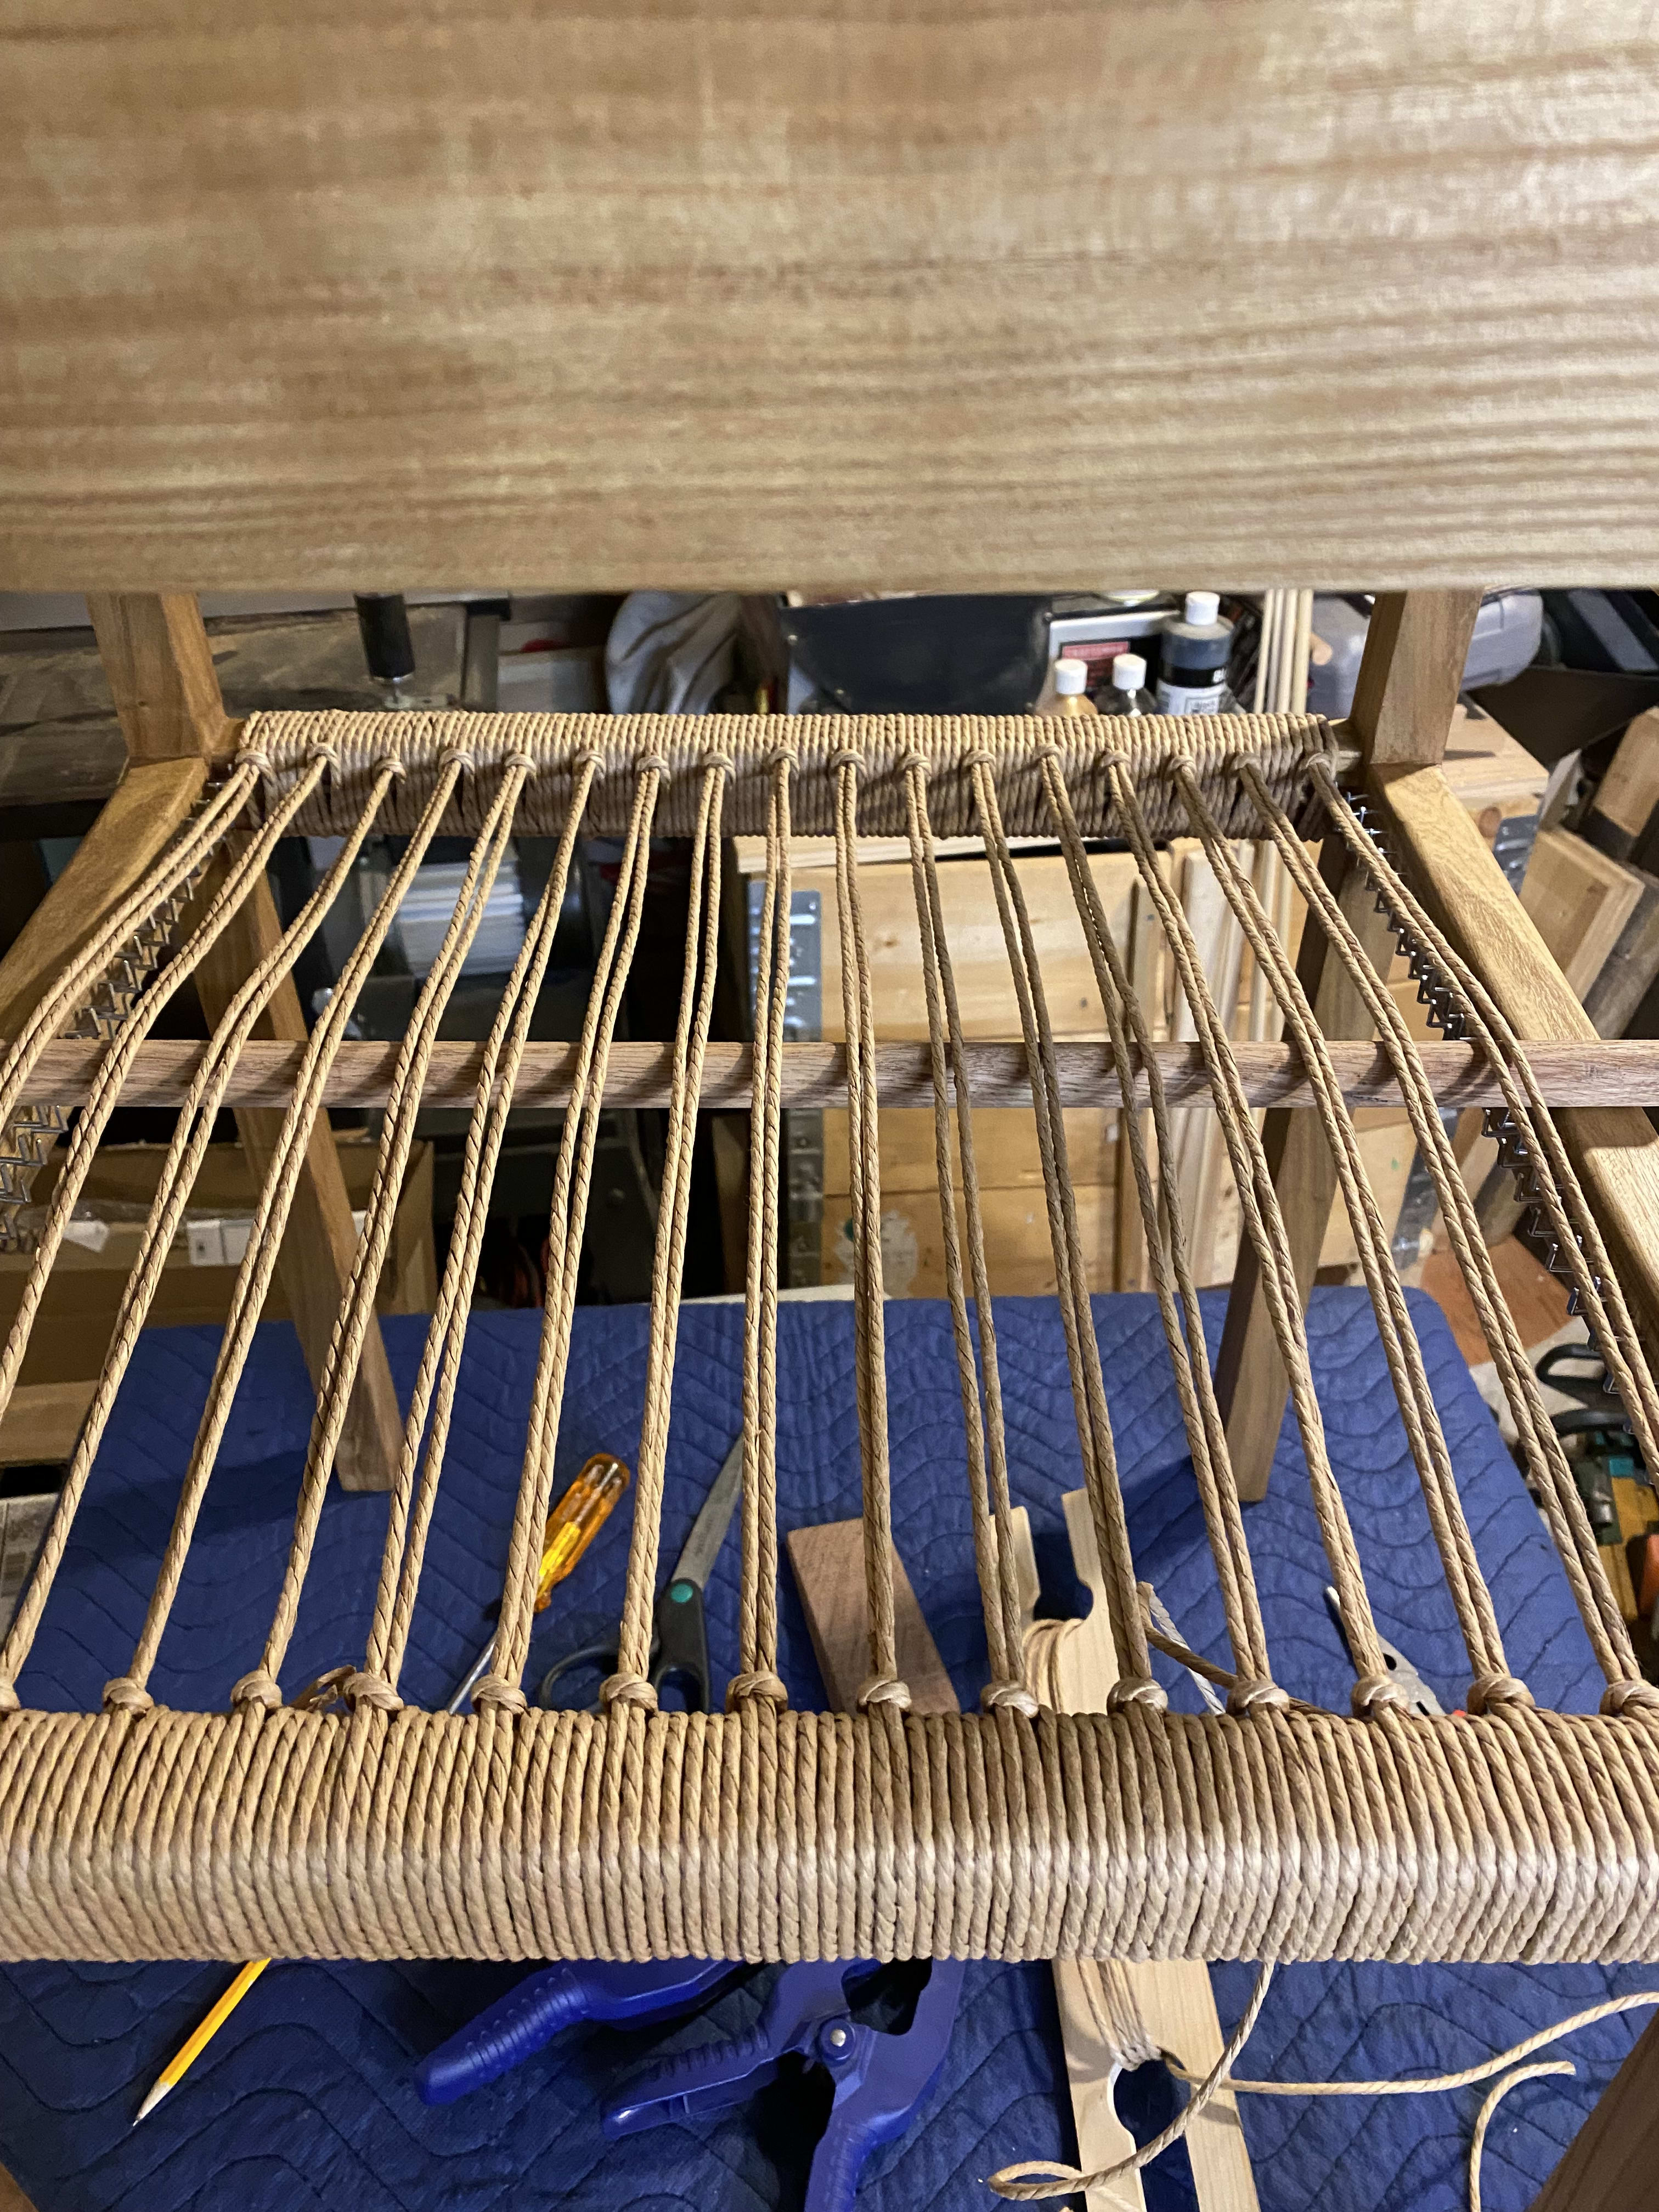
Onto the weave, I struggled slightly with getting the cord around the rails tightly without pulling my weave too tight. After a few weave pairs, I got into the flow and felt it coming together and tightening up. I feel fortunate to get the tension in the sweet spot, since again, in my excitement, I failed to do any type of tension practice. I only had to back up and fix my wraps a couple times. In my new found flow, I found myself hooking the cord around the nails in the wrong directions, and I wouldn't notice until the next weave pair. The further back along the warps, the tighter everything got, but I made sure to keep everything in line as I worked, so there wasn't too many adjustments to make when I finished. Once I got the weave finished and the nails tapped down, all that was left was to tape the cord for protection and apply a final coat of paste-wax to the chair.
I can't wait to find new ways to use Danish Cord Weaving in my work, potentially in some less traditional manners. But for now, my next weaving project will be to learn the envelope pattern to fix the other chair!
3 comentários
hello_heidemartin
Professor PlusMatt, isso é incrível, parabéns! Muito obrigado por compartilhar os detalhes sobre seu processo, desde o início literal do projeto - comprando a madeira. Acho que seu trabalho será uma inspiração para outros alunos tanto em sua vontade de experimentar quanto em sua capacidade de se adaptar às condições enquanto trabalha. Como perceber que a primeira cadeira que você tinha não se encaixava no projeto, por exemplo! Também parece que você teve uma ótima chance de experimentar o Shaper - eu nunca cortei marcenaria com o Shaper, e agora quero experimentá-lo! Parece bom, devo dizer.
E o tecido, claro, que parece ótimo também! Muito arrumado, parabéns. Fico feliz que você tenha gostado desta aula e espero que ache informações úteis para você à medida que avança em seus projetos de móveis! Obrigada
Visualizar original
Ocultar original
ypediundeseo
Impressionante!!!! parabéns
Visualizar original
Ocultar original
Faça login ou cadastre-se Gratuitamente para comentar