


DIY Tutorial: How to Make Your Own Notepad at Home
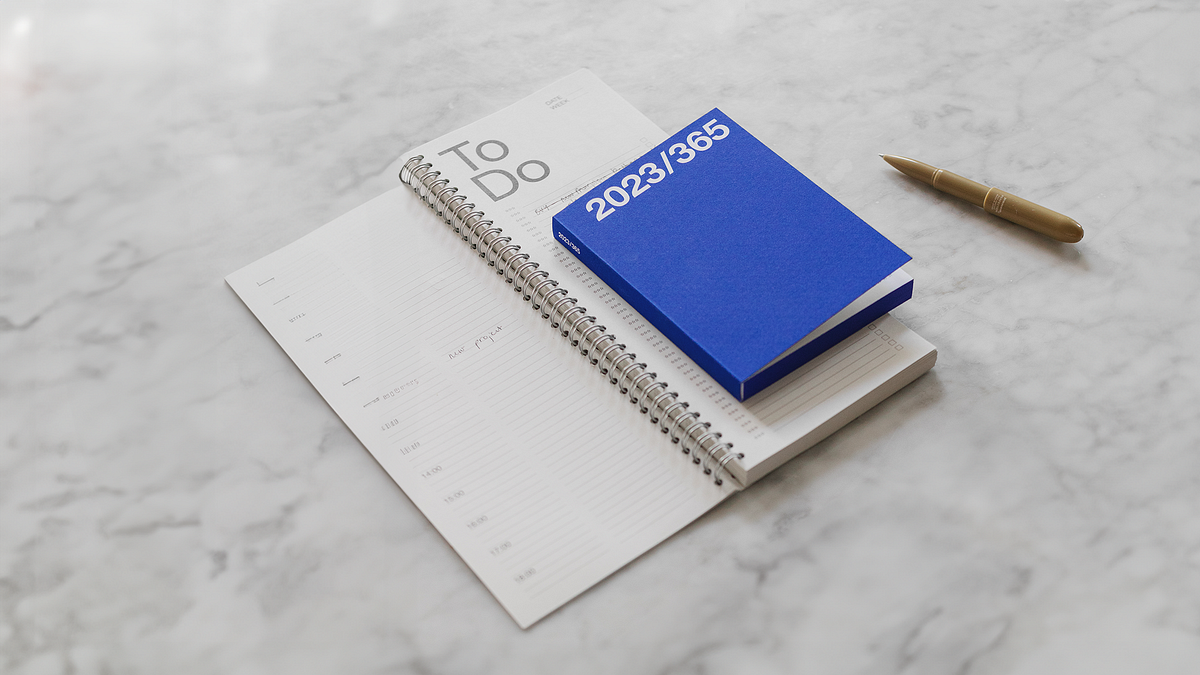
Learn how to create a professional-looking DIY notepad using simple materials like paper, cardboard, glue, and clips.
Creating your own stationery is both practical and creatively satisfying. In this step-by-step tutorial, Marjolein Delhaas, graphic designer, shows how to make a DIY notepad at home using basic tools and leftover paper.
This simple bookbinding technique allows you to transform surplus materials into a clean, functional paper block—perfect for sketching, note-taking, or studio use.
Materials You’ll Need
To create your homemade notepad, you only need a few accessible tools:
- Paper (new or surplus material)
Two pieces of cardboard (grayboard)
Paper clips
School glue
Brush
Ruler and utility knife (optional, for trimming)
This makes it an ideal DIY stationery project for beginners.
Step 1: Prepare and Cut the Paper
Start by selecting your paper. You can use leftover production materials or any paper stock you like. Cut the sheets to your desired size before assembling.
Precision at this stage ensures your final paper block looks clean and professional.
Step 2: Stack and Secure the Block
Place one piece of grayboard at the bottom of your stack and another on top. Align all edges carefully—this is crucial for achieving a flat and even spine.
Once aligned, secure the stack tightly with paper clips. This keeps everything stable during the gluing process.
Proper stacking is essential in notepad binding techniques to ensure durability.
Step 3: Apply the Glue
Using a brush and regular school glue, apply a thin, even layer along the spine of the paper stack.
Tips for clean results:
- Don’t overload the brush with glue
Start at one edge and move steadily across
Ensure the edges are well covered if you don’t plan to trim later
This first layer binds the sheets together into a cohesive handmade notepad.
Step 4: Let It Dry
Allow the glue to dry for approximately 15–30 minutes, depending on how thick the layer is.
If applying a second coat, make sure the first layer is fully dry before proceeding. You can test it gently with your fingers—if it feels sticky, give it more time.
Patience during drying ensures a stronger and longer-lasting DIY paper pad.
Step 5: Trim for a Perfect Finish (Optional)
Once dry, remove the clips and carefully peel away the top grayboard.
If you want crisp edges:
- Use a ruler and sharp utility knife
Apply firm, steady pressure
Cut slowly and gradually
For a perfectly straight cut, professional print shops may use automatic cutters—but it’s completely possible to achieve great results at home.
Your Custom Notepad Is Ready
With just a few tools and simple materials, you now have your own custom notepad.
This technique is perfect for:
- Artists and designers
Studio notebooks
Personalized stationery
Sustainable reuse of surplus paper
If you’d like to explore more about creative processes and graphic design workflows, you can join Marjolein Delhaas’s online course on Domestika, where she shares deeper insights into her practice.


0 komentarzy