


How to Embroider Realistic Fur in Animal Portraits
Master the art of embroidering realistic fur on animal portraits with expert techniques from Santo Cielo.
Embroidering realistic fur in animal portraits is a fascinating and rewarding endeavor that allows you to capture the essence of your furry subjects in exquisite detail. If you've ever marveled at lifelike fur embroidery and wondered how it's done, you're in the right place. In this guide, I'll share some techniques and tips to help you master the art of embroidering realistic fur in your animal portraits.
1. Gather Your Supplies
Before you begin embroidering realistic fur, ensure you have the right supplies at hand:
Embroidery hoop: To keep your fabric taut and your stitches even.
High-quality embroidery threads: Select thread colors that match the colors present in your subject. I always use one strand of mouliné embroidery floss.
Fabric: I prefer cotton above all but it’s up to you. Of course this will be the background of your portrait so try to enhance the result. Good options are: a plain color that is complementary to the color of the fur; a color that is close to the color of the pet (lighter or darker); a color or pattern that matches the scene where the photo was taken.
Scissors: One for fabric and one for threads.
Needles: Use embroidery needles with a sharp point to pierce the fabric easily. Number 9 or 10 are a good choice.
(Optional) Embroidery stand or hoop holder: It allows you to work with both hands and you’ll work faster.
Santo’s TIP ---> Don’t forget to ask your family. Embroidery used to be taught in schools in my parents and grandparents childhood, and many tools that I have now are inherited. In the past things were made with more durable materials so you can probably still use a lot of them.

2. Choose | Take a good photo
A close-up is always better. We are going to do an embroidered portrait, so it will be better to have a portrait type photo. Natural light will give us the best results with regard to colors.
Santo’s TIP ---> If you’re indoors, close to a window is always a good idea. Outdoors when it’s sunny you’ll have better results when the pet is in the shade or on a cloudy day, always try to avoid overexposure caused by direct sunlight.

3. Understand Fur Direction
To embroider realistic fur, you must understand the direction and flow of the fur. Study reference images of the animal you're embroidering and observe how the fur moves and grows. Fur direction can vary between different areas of the animal's body, so pay attention to details. This part is very important since it will mark the direction of our stitches.

4. Recognise Layers
You are also going to mark the layers of the subject, they will mark the order of the embroidery and the limits of each hair area.
Santo’s TIP ---> Imagine your photo in 3 dimensions, you will mark what is closer to us and what is further away. This is a good exercise when you’re starting with embroidered portraiture, but then it will come naturally to you.
5. Master the art of color selection
Realistic fur isn't a single color; it consists of various shades of thread, and sometimes some strange colors are present due to reflection. To have a good color transition we have to be able to see the colors present in the photo of our pet.
Santo’s TIP ---> I recommend you prepare the color palettes according to the layers, and if necessary, separate them by shadow and light.

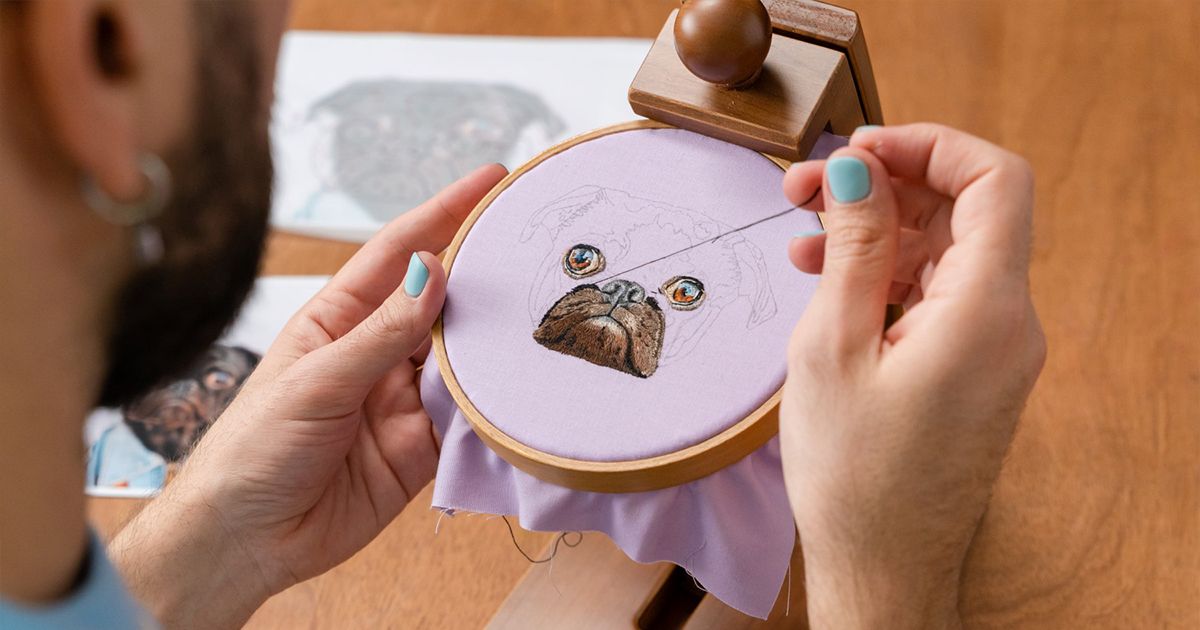
6. Make the pattern and start stitching
A good tracing of your pet will make it easier to reach a nice embroidered portrait. Mark everything you consider important for you to have as reference: color changes, skin parts, eyes, shadows, highlights, reflections, etc. This will serve as a guide to make the embroidery task easier, so you should put as many lines and reminders as you need. Then transfer the pattern to the fabric with your favorite method and start stitching!
Santo’s TIP ---> Organize the threads in your table by area of work; you can even label the sections with paper tape on your desk/table. At the end it’ll be very nice to see all the colors that you manage to put into that portrait, and will also make it easier to tidy up for your next project.

7. Be Patient and Detail-Oriented
Embroidering realistic fur requires patience and attention to detail. Take your time with each stitch, ensuring they are following the fur's natural direction. Don't rush; it's the small details that make a big difference.
Santo’s TIP ---> TRUST THE PROCESS; Sometimes it would seem that you are not going on the right path, but 10 stitches later everything begins to be solved. You can do it!

8. Experiment and Practice
Embroidering fur is an art form that improves with practice. Don't be discouraged if your first attempts don't meet your expectations. Experiment with different stitch lengths, thread colors, and layering techniques to find what works best for your subject.
Join My Course on Domestika
For a comprehensive learning experience and hands-on guidance in embroidering realistic fur, I invite you to join my course on Domestika, "Lively Pet Portraits: Fur Embroidery Techniques". In this course, you'll learn step-by-step how to create stunning pet portraits with a focus on fur embroidery techniques. I'll share my expertise, provide demonstrations, and offer personalized feedback to help you master the art of lifelike fur embroidery.
Free Resource: Cat and Dog Fur Movement Synthesis
As a special gift to aid your fur embroidery journey, I'm providing a free resource, the "Cat and Dog Fur Movement Synthesis." This resource offers insights into the movement of cat and dog fur, a synthesis that you can adapt for the majority of pet animals. Download the Free Resource Here.
Embroidering realistic fur in animal portraits is a skill that requires practice and dedication. With the right techniques, patience, and a keen eye for detail, you'll be able to create stunning, lifelike fur textures that bring your animal portraits to life. So, let your creativity flow and explore the world of fur embroidery today!
Dołącz za darmo i pobierz
Movement of Fur in Cats and Dogs.pdf


0 komentarzy