
How I Created My Illustrated Recipes Cookbook
przez Bianca Bosso @bianca_bosso
- 1.800
- 149
- 5
Introduction
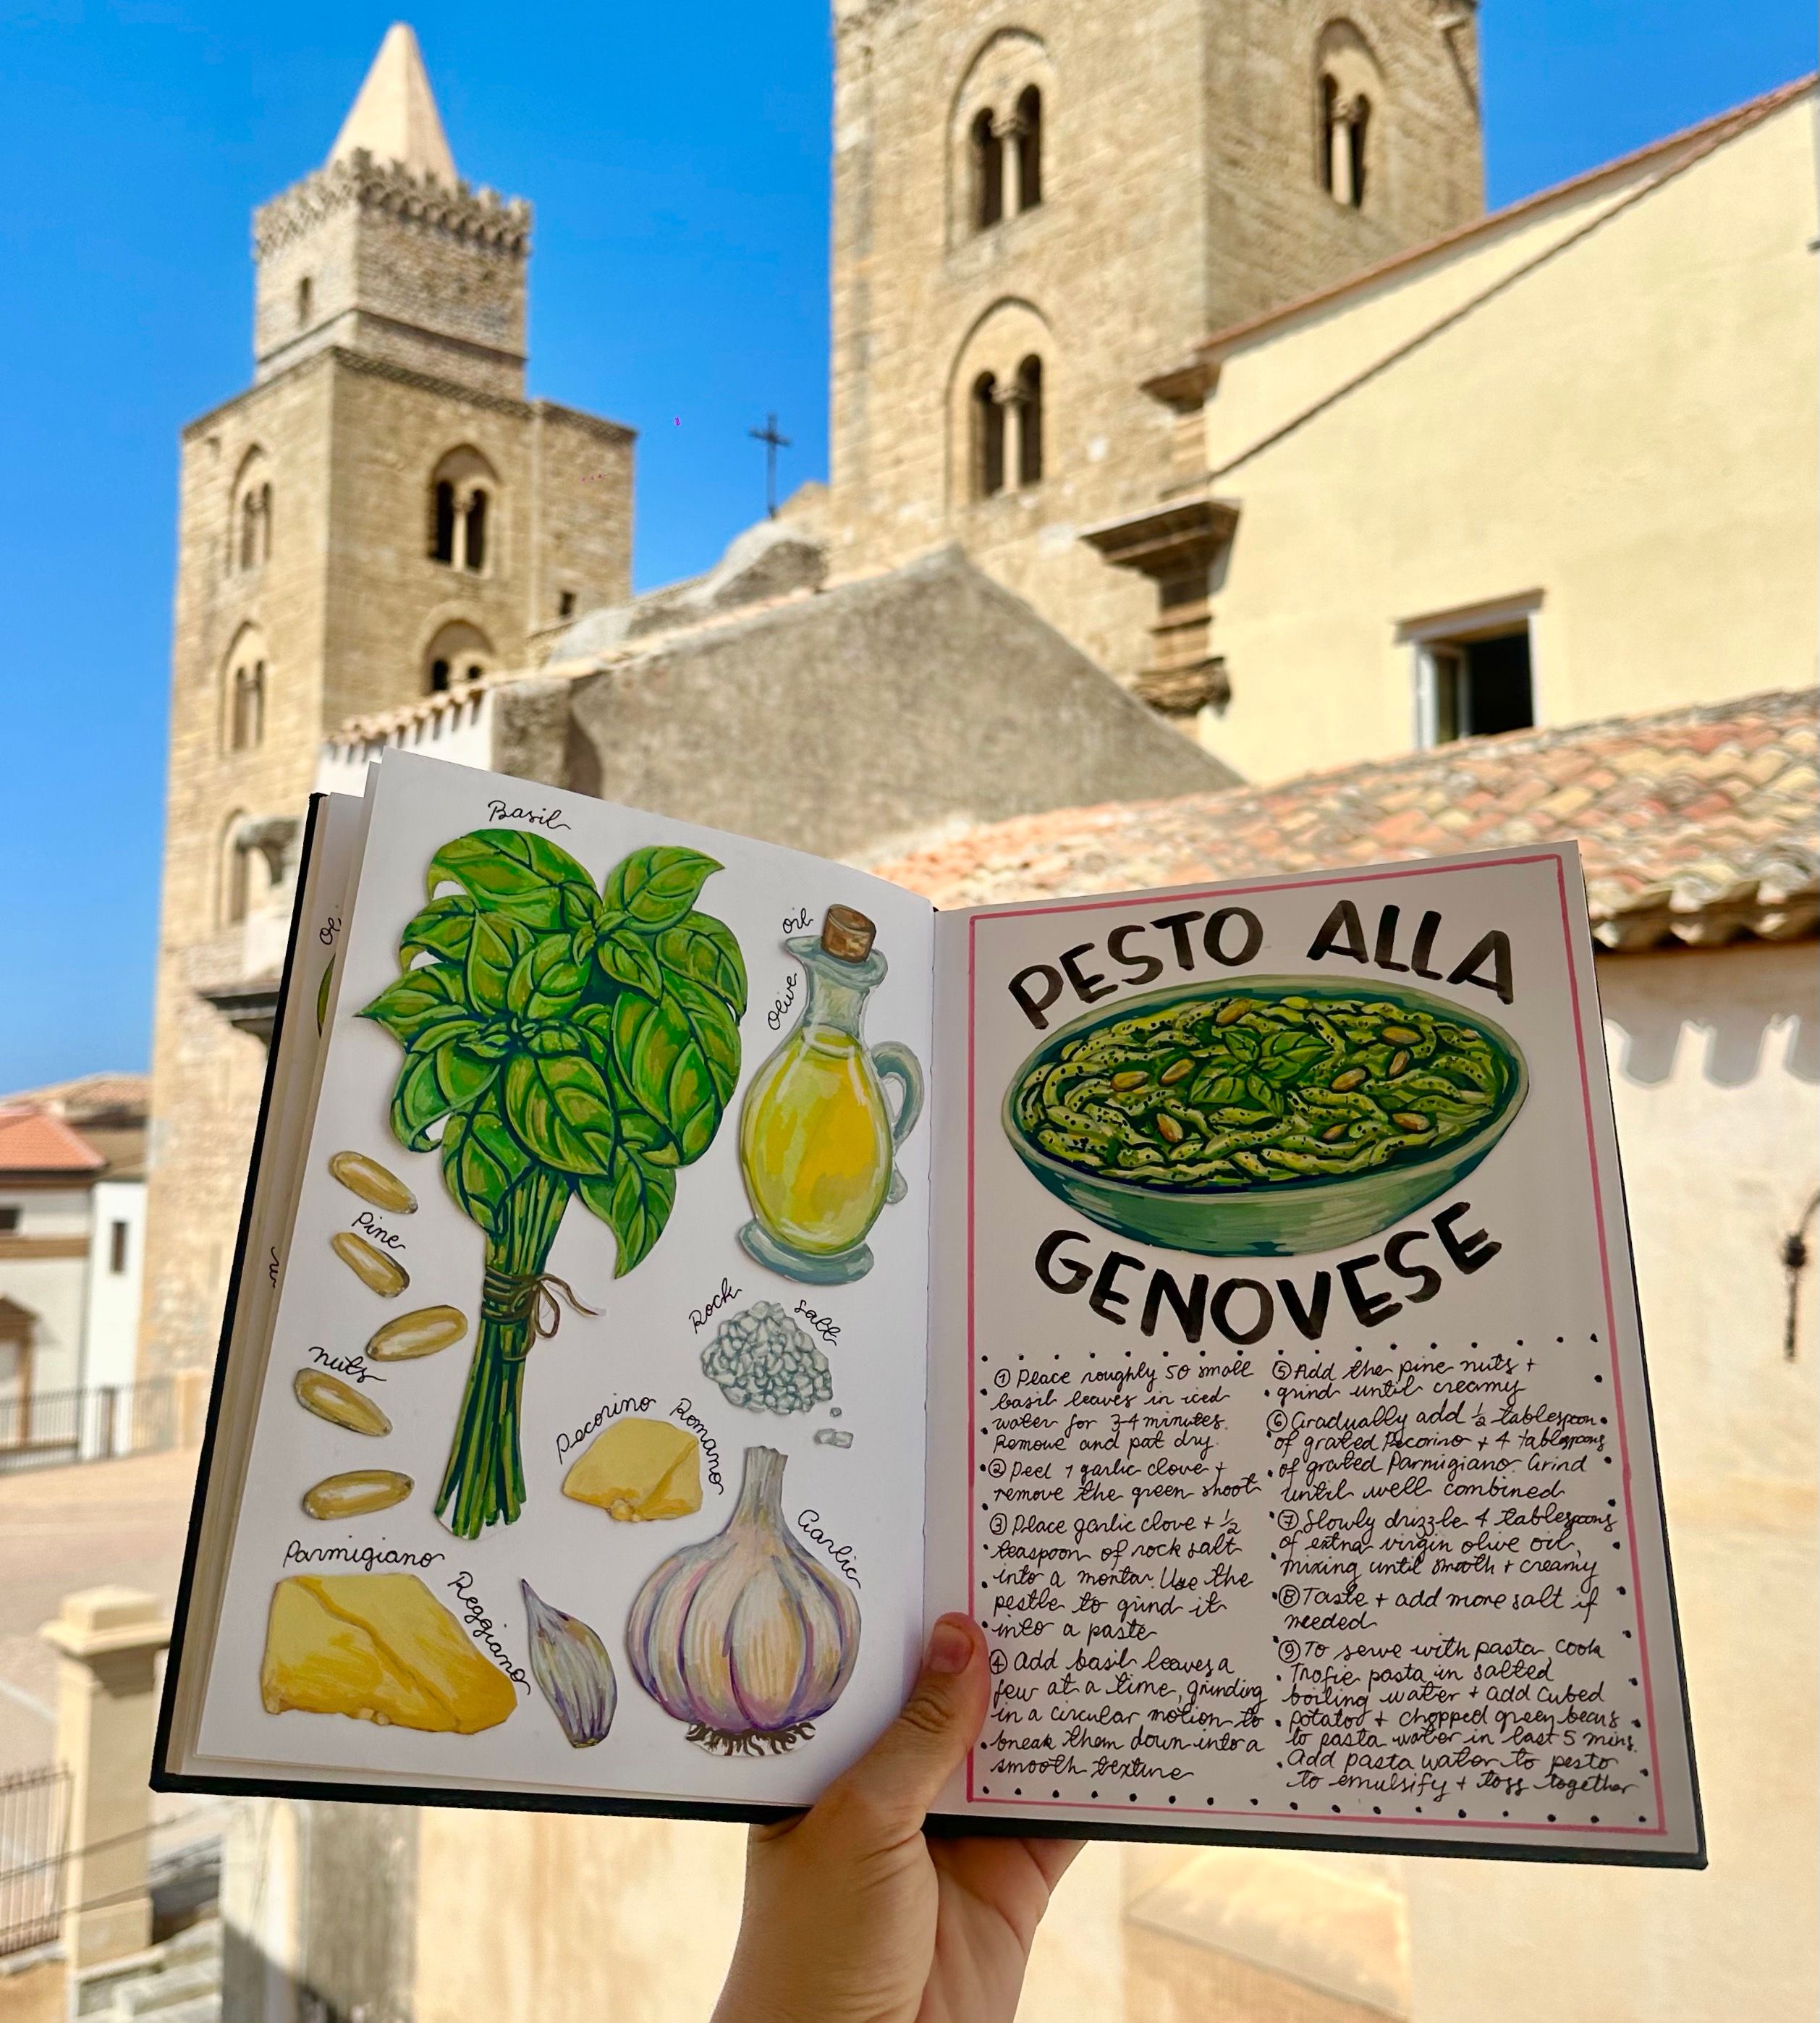
For this project, I created an illustrated cookbook inspired by my Italian family, my childhood memories around the table, and my life now as an artist and recipe developer.
Rather than writing traditional text-heavy recipes, I draw every ingredient, step, and final dish by hand. The aim is to make cooking feel more visual and intuitive, while preserving family recipes in a format that feels personal and lasting.
This cookbook sits somewhere between a functional recipe book and an art object. It documents food, memory, and process - turning everyday meals into illustrated stories.
Here’s how I created my illustrated recipes cookbook, and the steps you need to create your own.
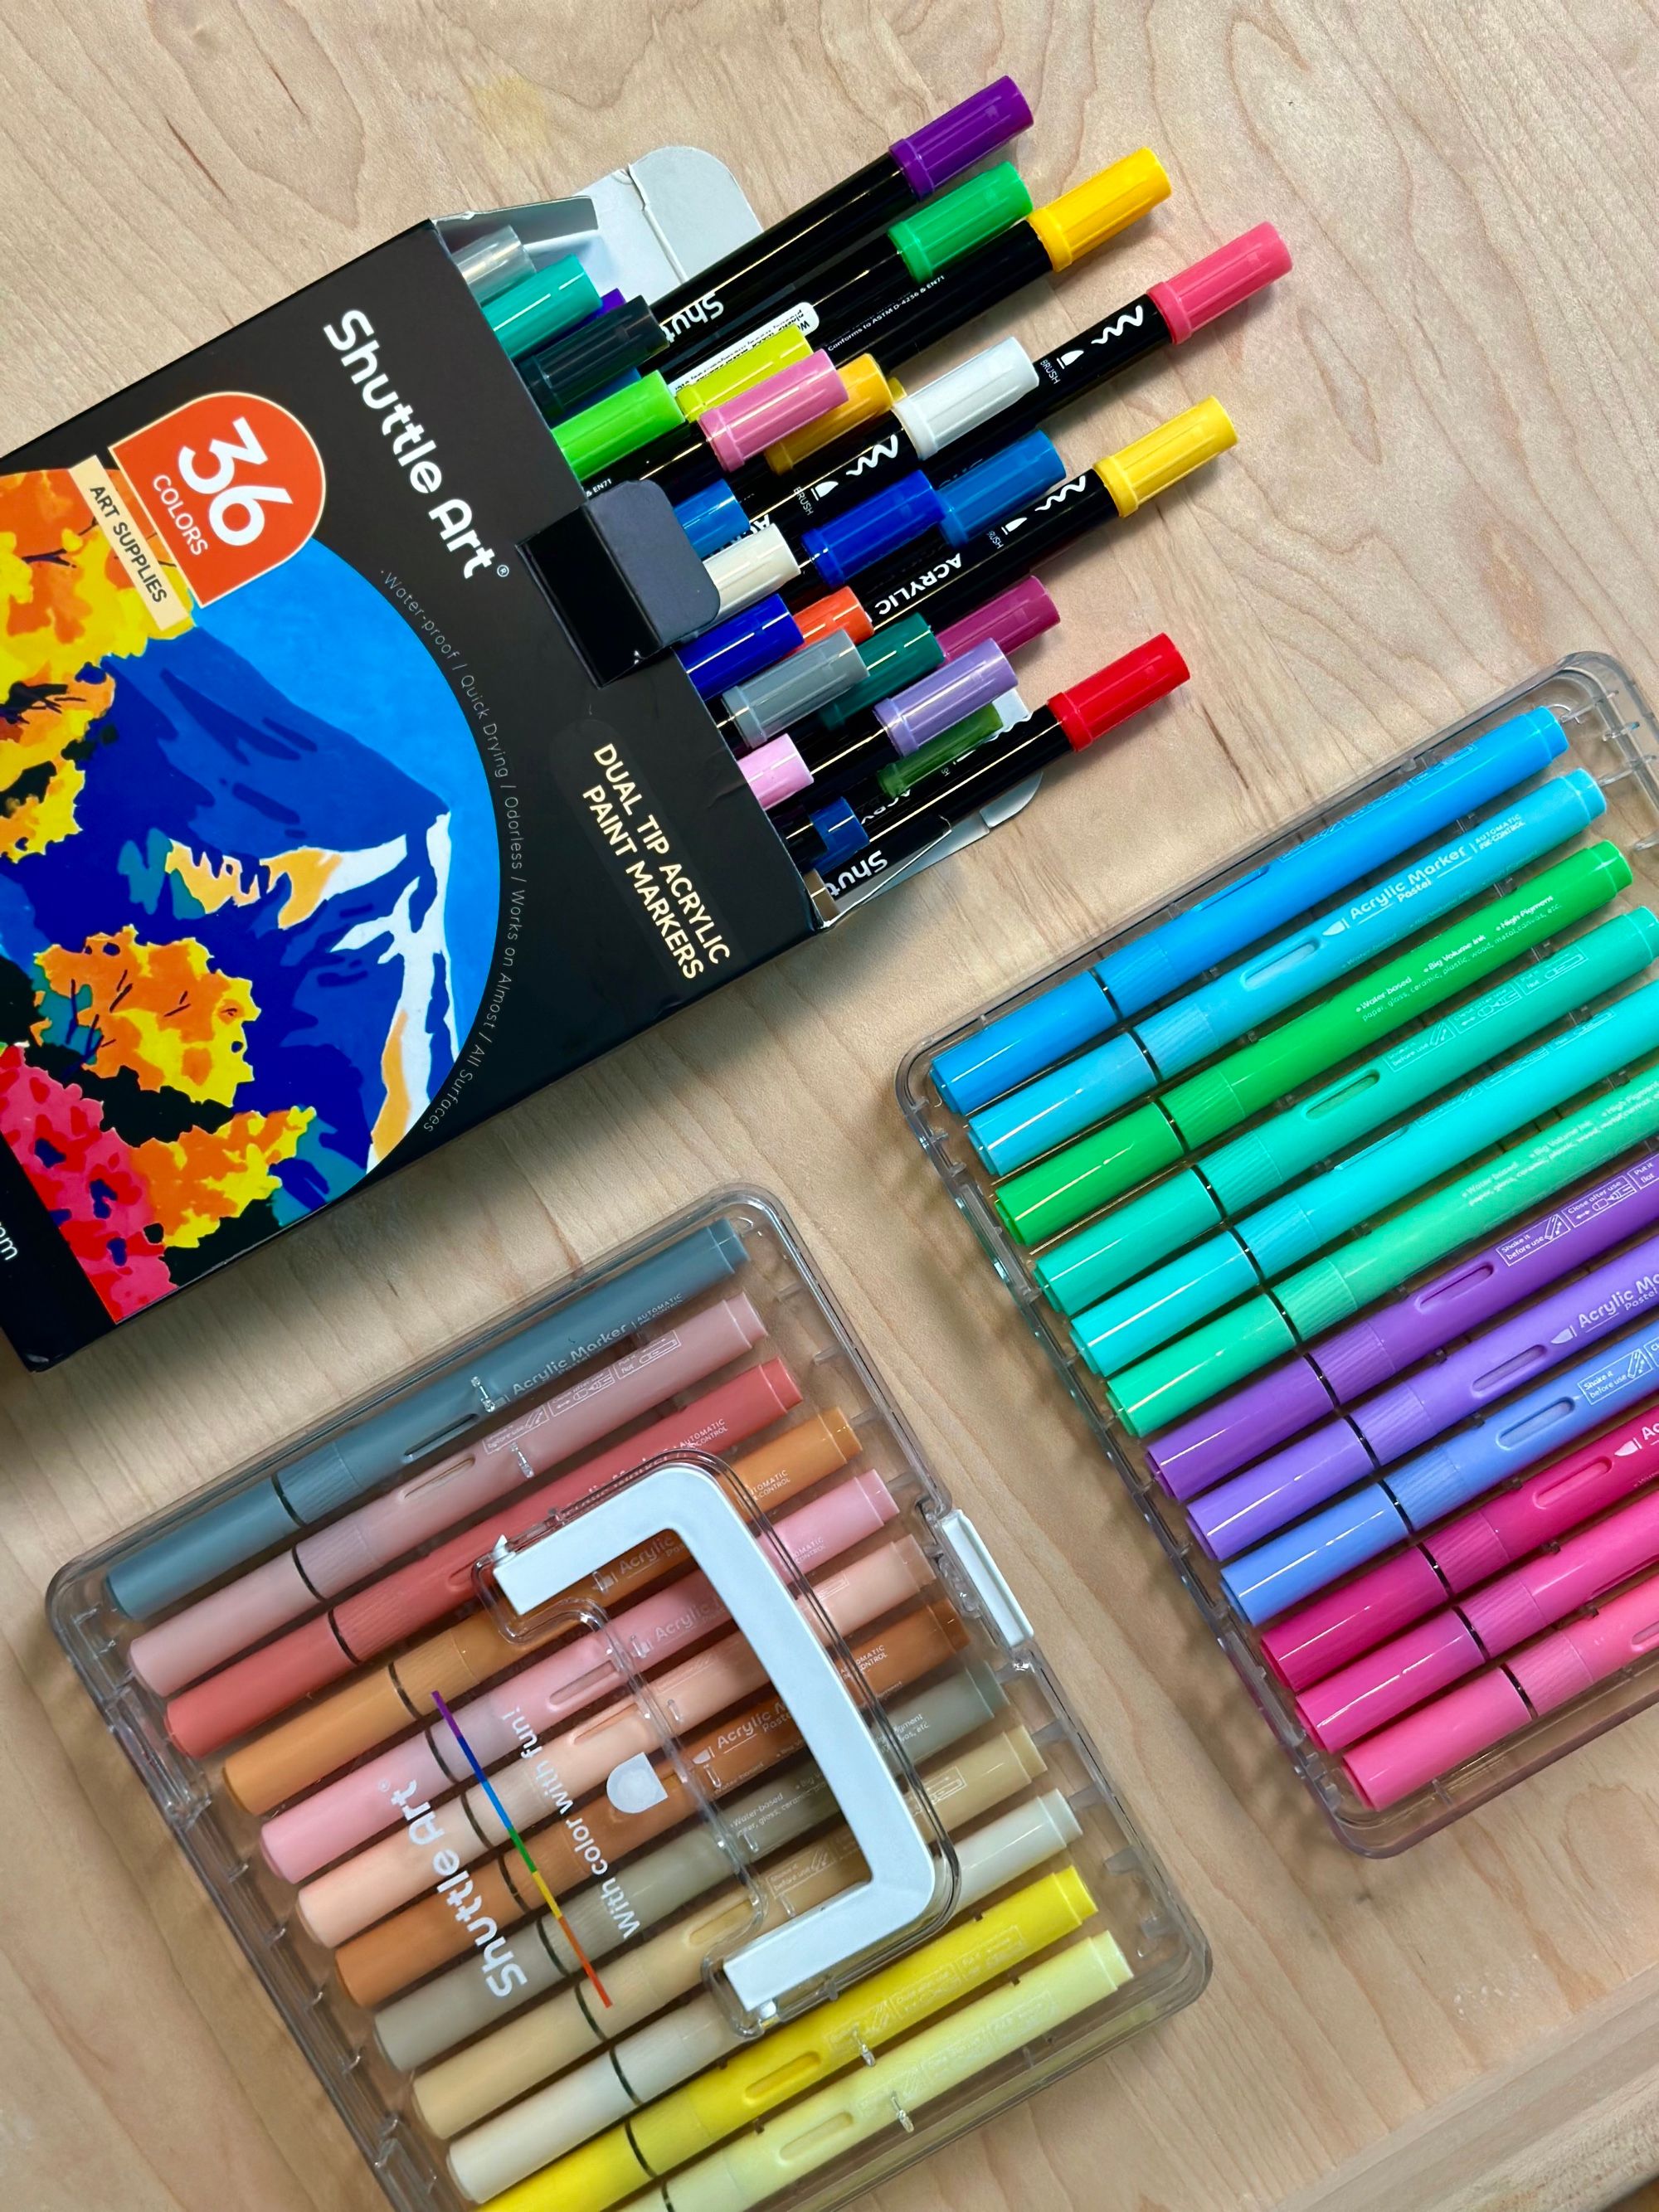
Supplies
• Heavyweight marker paper / sketchbook (I use Ohuhu Marker Pad)
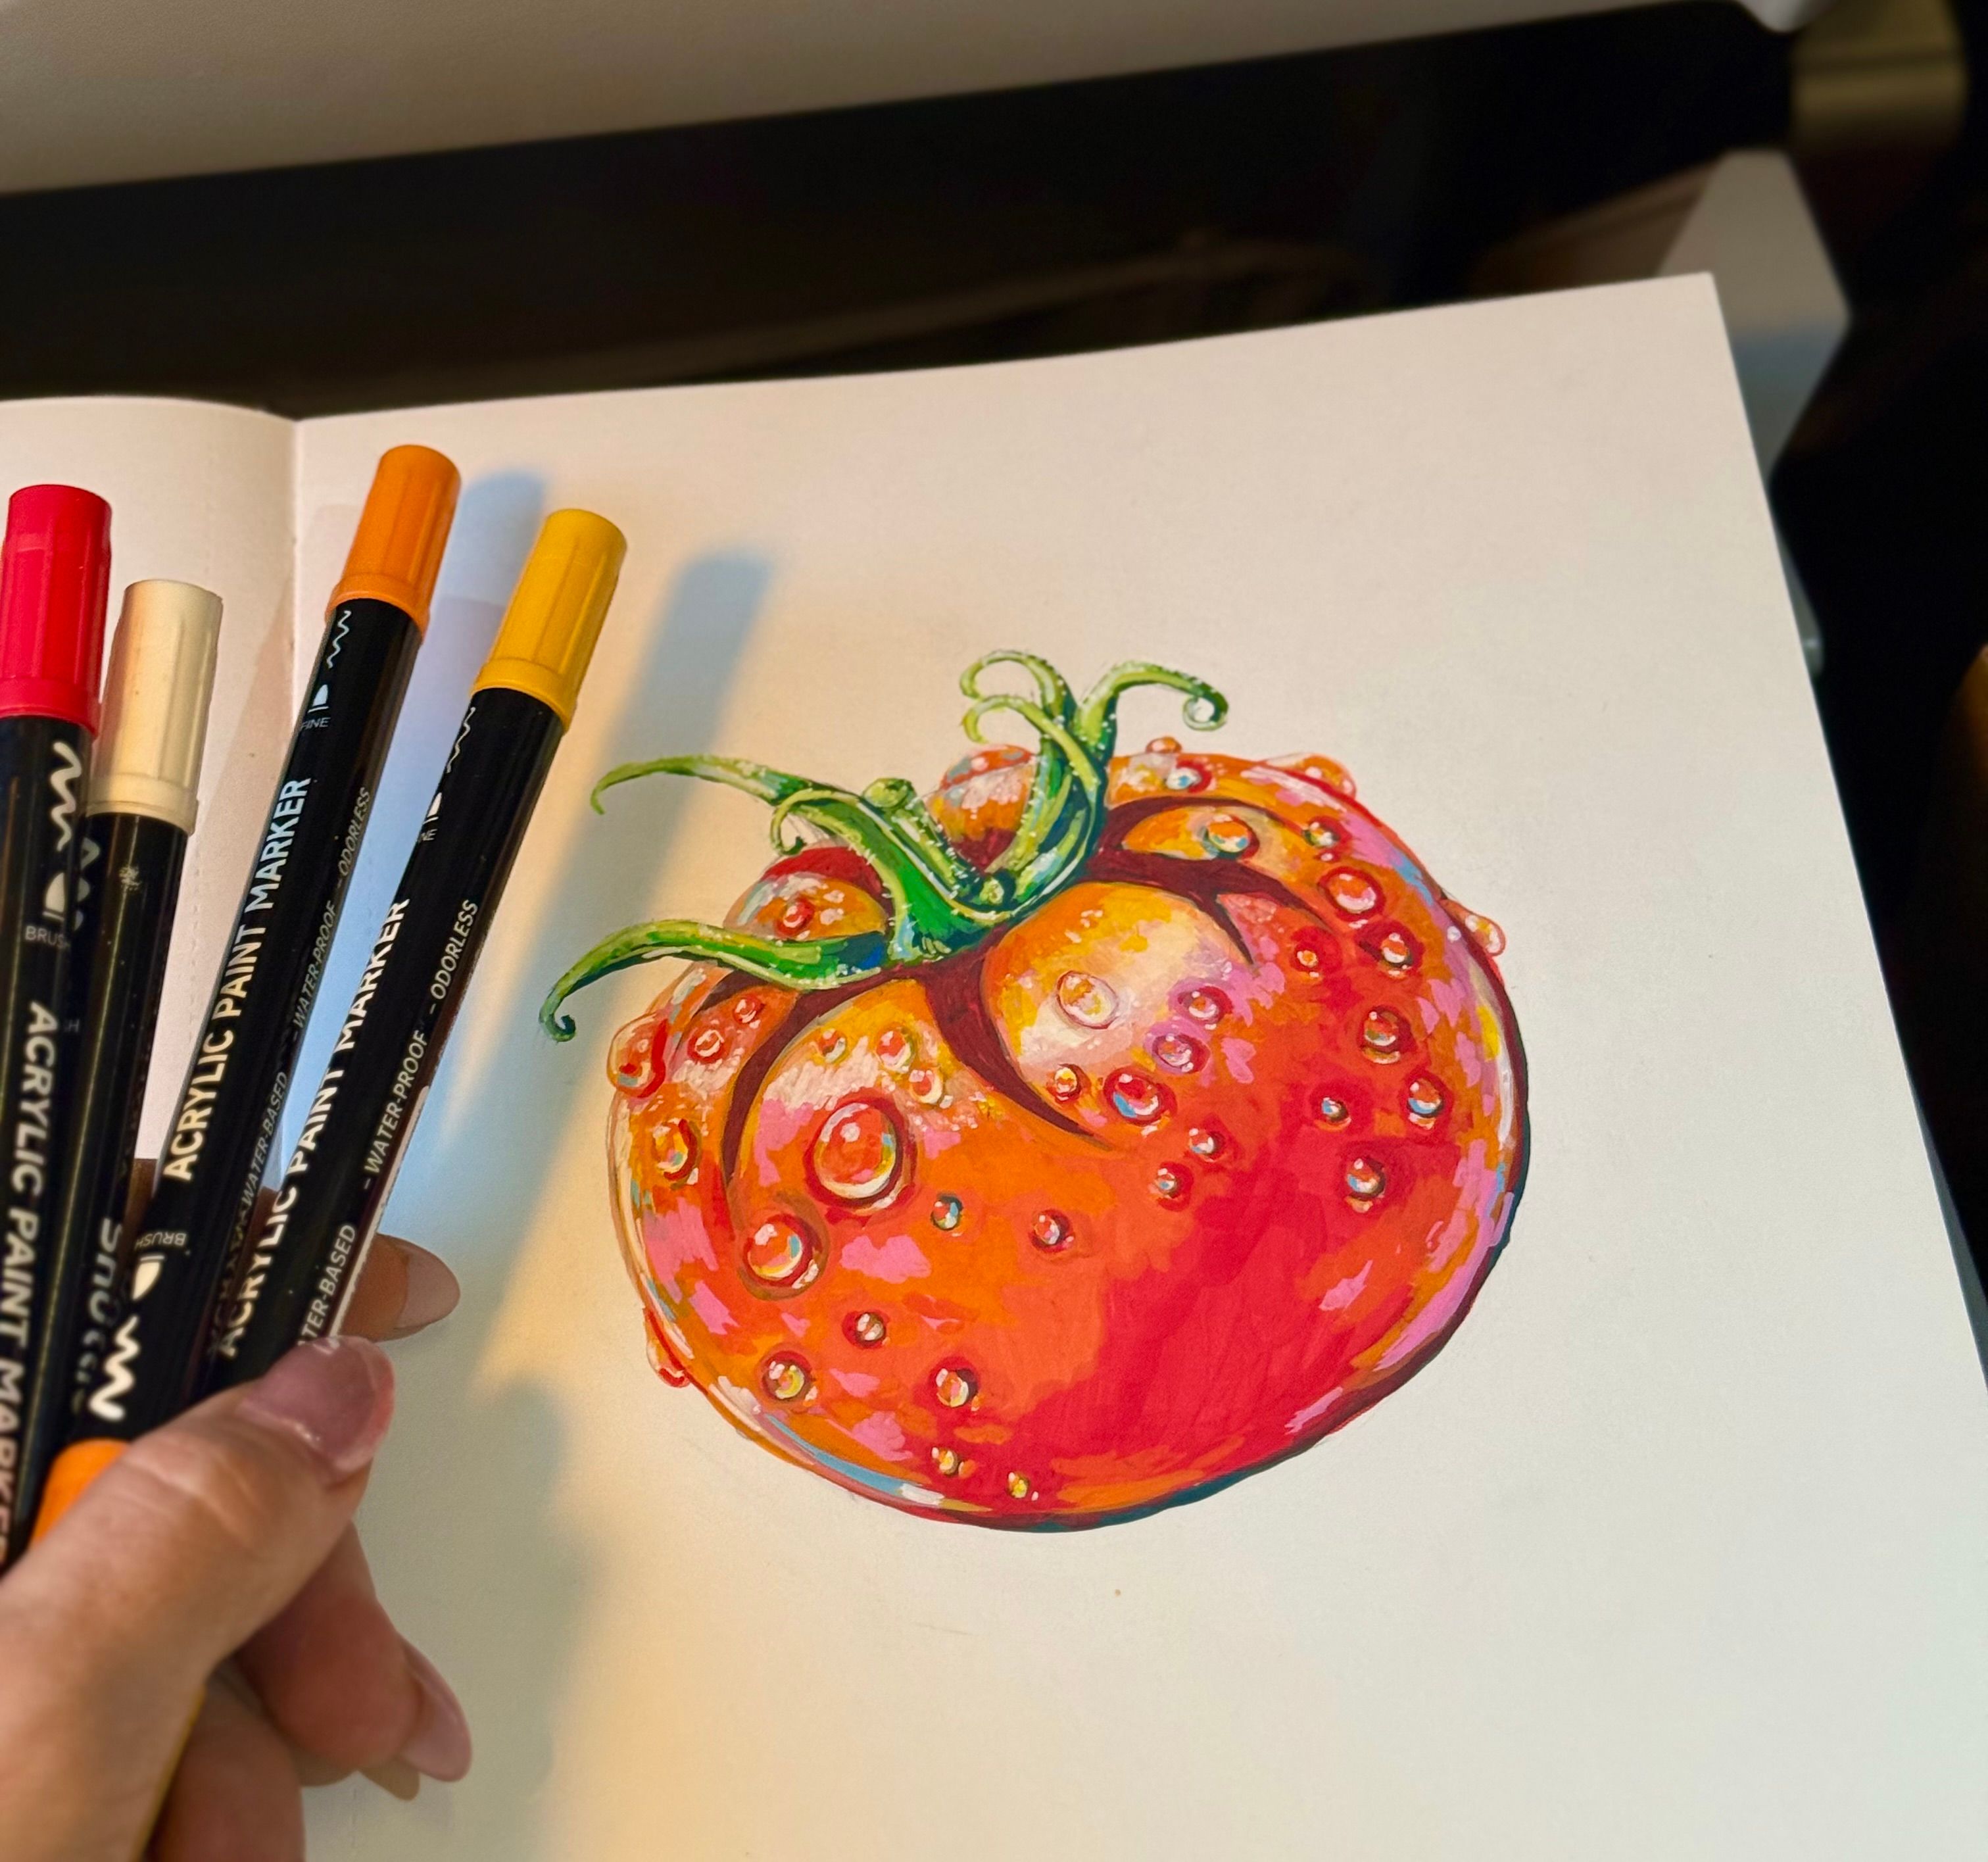
• Shuttle Art acrylic paint markers
• Cardstock (80lb / 216gsm)
• Graphite pencil and eraser
• Scissors
• Glue or glue tape
• Ruler for layout structure
• Reference photos of the finished dishes
• Fresh ingredients and kitchen tools for recipe creation
Step 1: Gather your tools
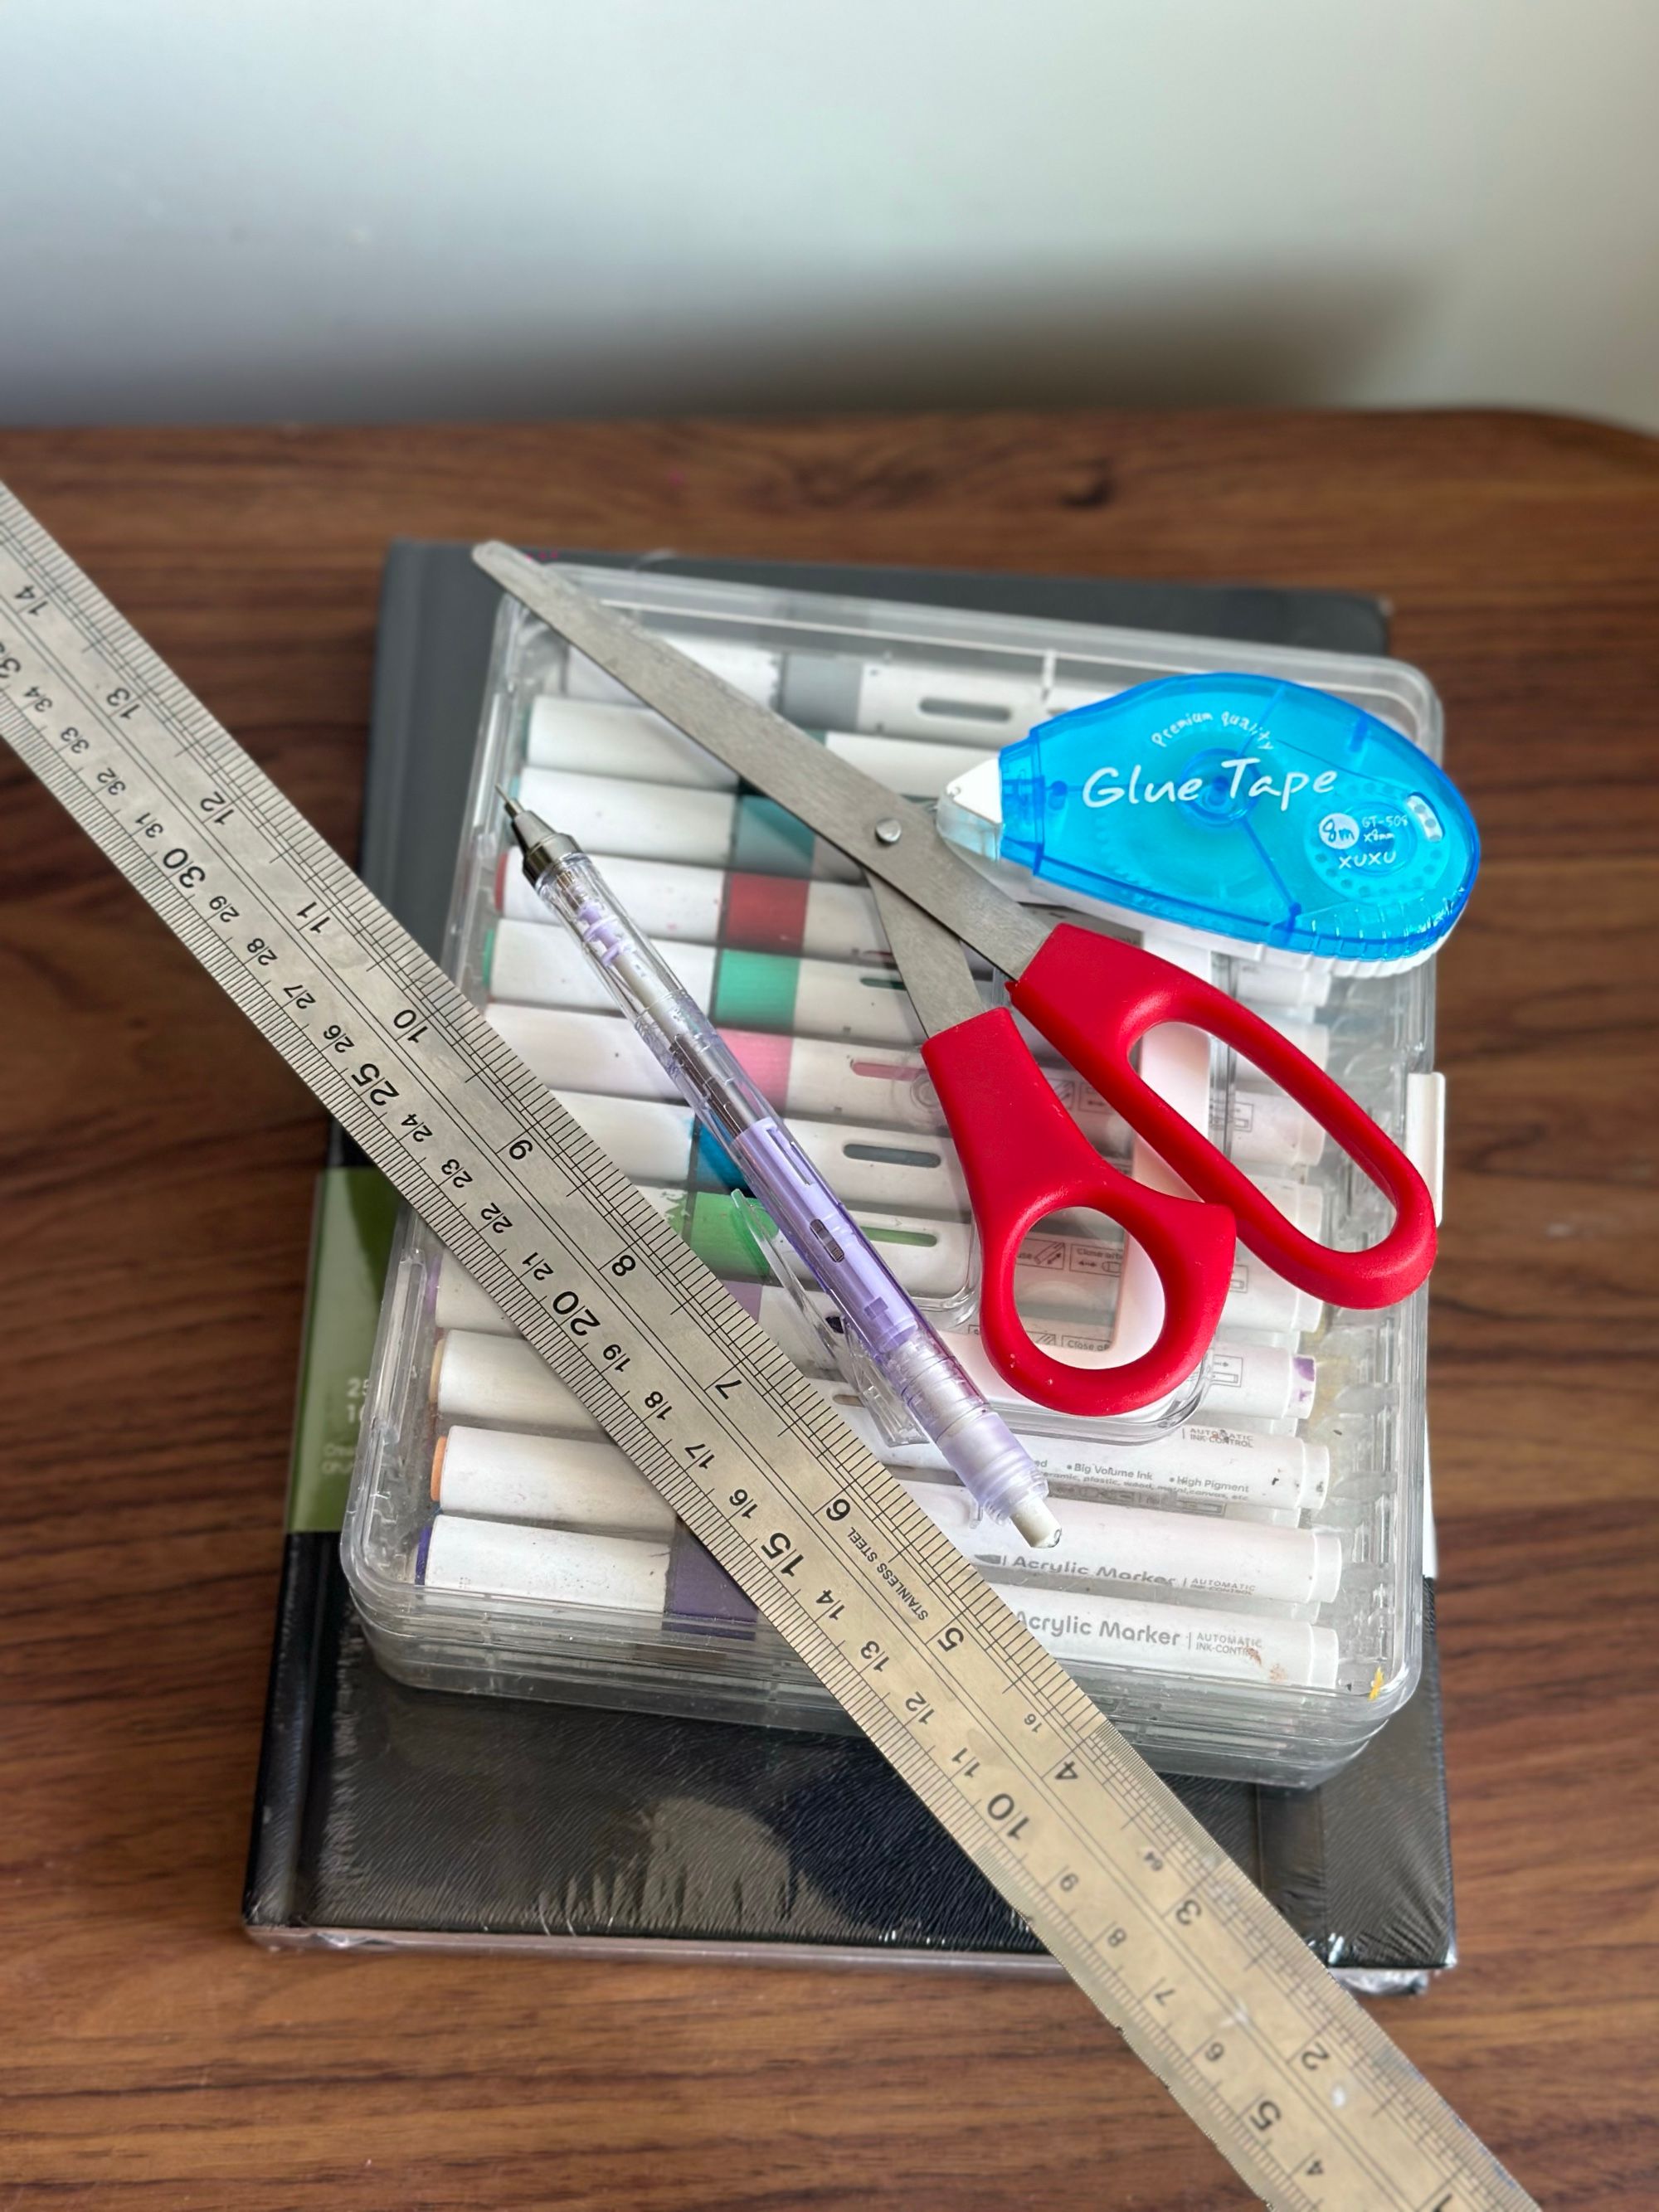
When it comes to choosing your art tools, strt simple. You don’t need a full art store to begin (my craft cupboard is a cautionary tale). I use Shuttle Art acrylic markers (use code Bianca10SA for a 10% discount), an Ohuhu marker pad, card stock (80lb / 216gsm) scissors, a ruler, a pencil, and glue tape. These tools make it easy to draw, cut, and assemble pages without worrying about perfection.
Step 2: Choose your recipe
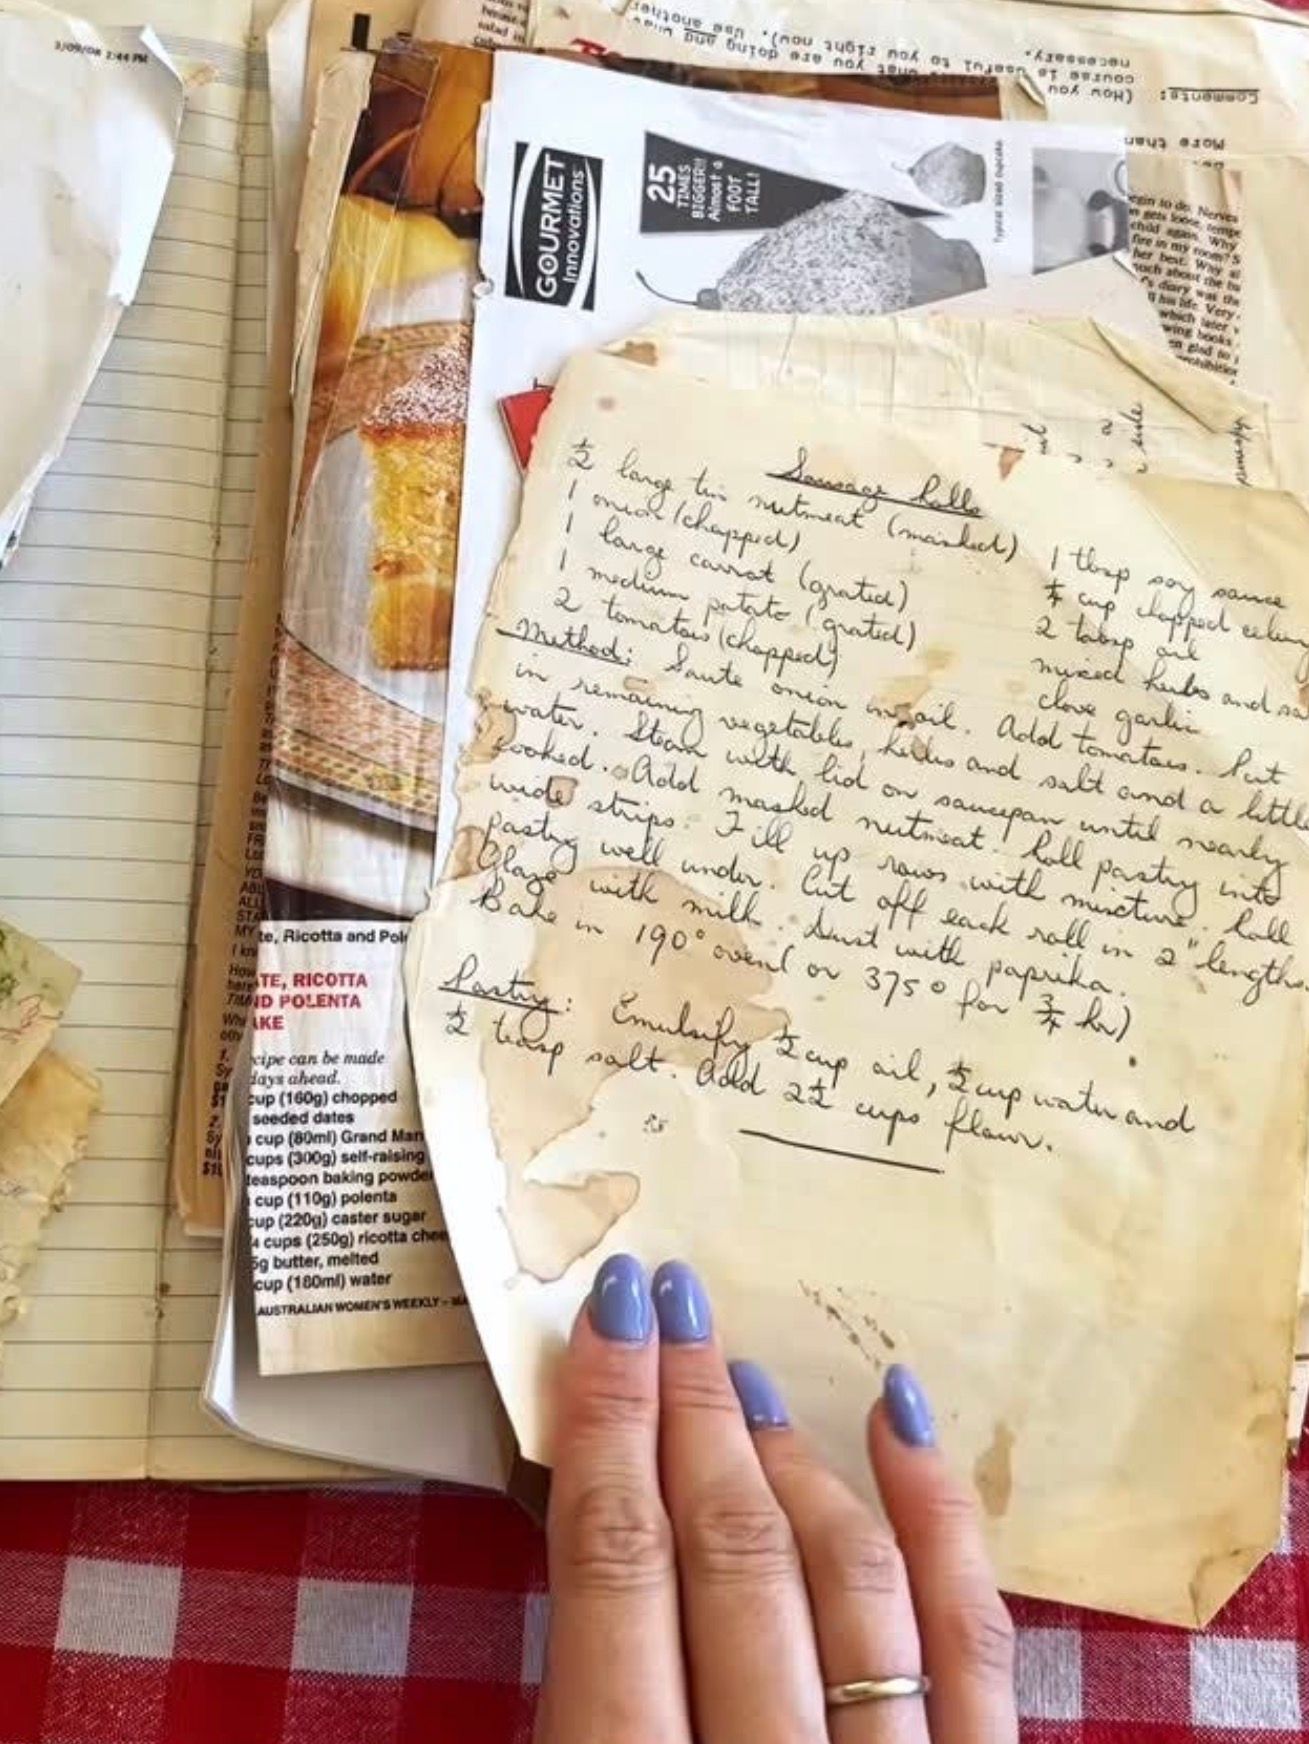
Pick a recipe that feels meaningful or exciting. It could be a go-to meal, a dish you’ve been meaning to try, or something personal like a family recipe. Calling a parent or grandparent for a favorite recipe can also be a beautiful way to make it feel even more special. Word of warning: don’t expect exact measurements - especially from Nonna. Her "just a handful" could feed a village.
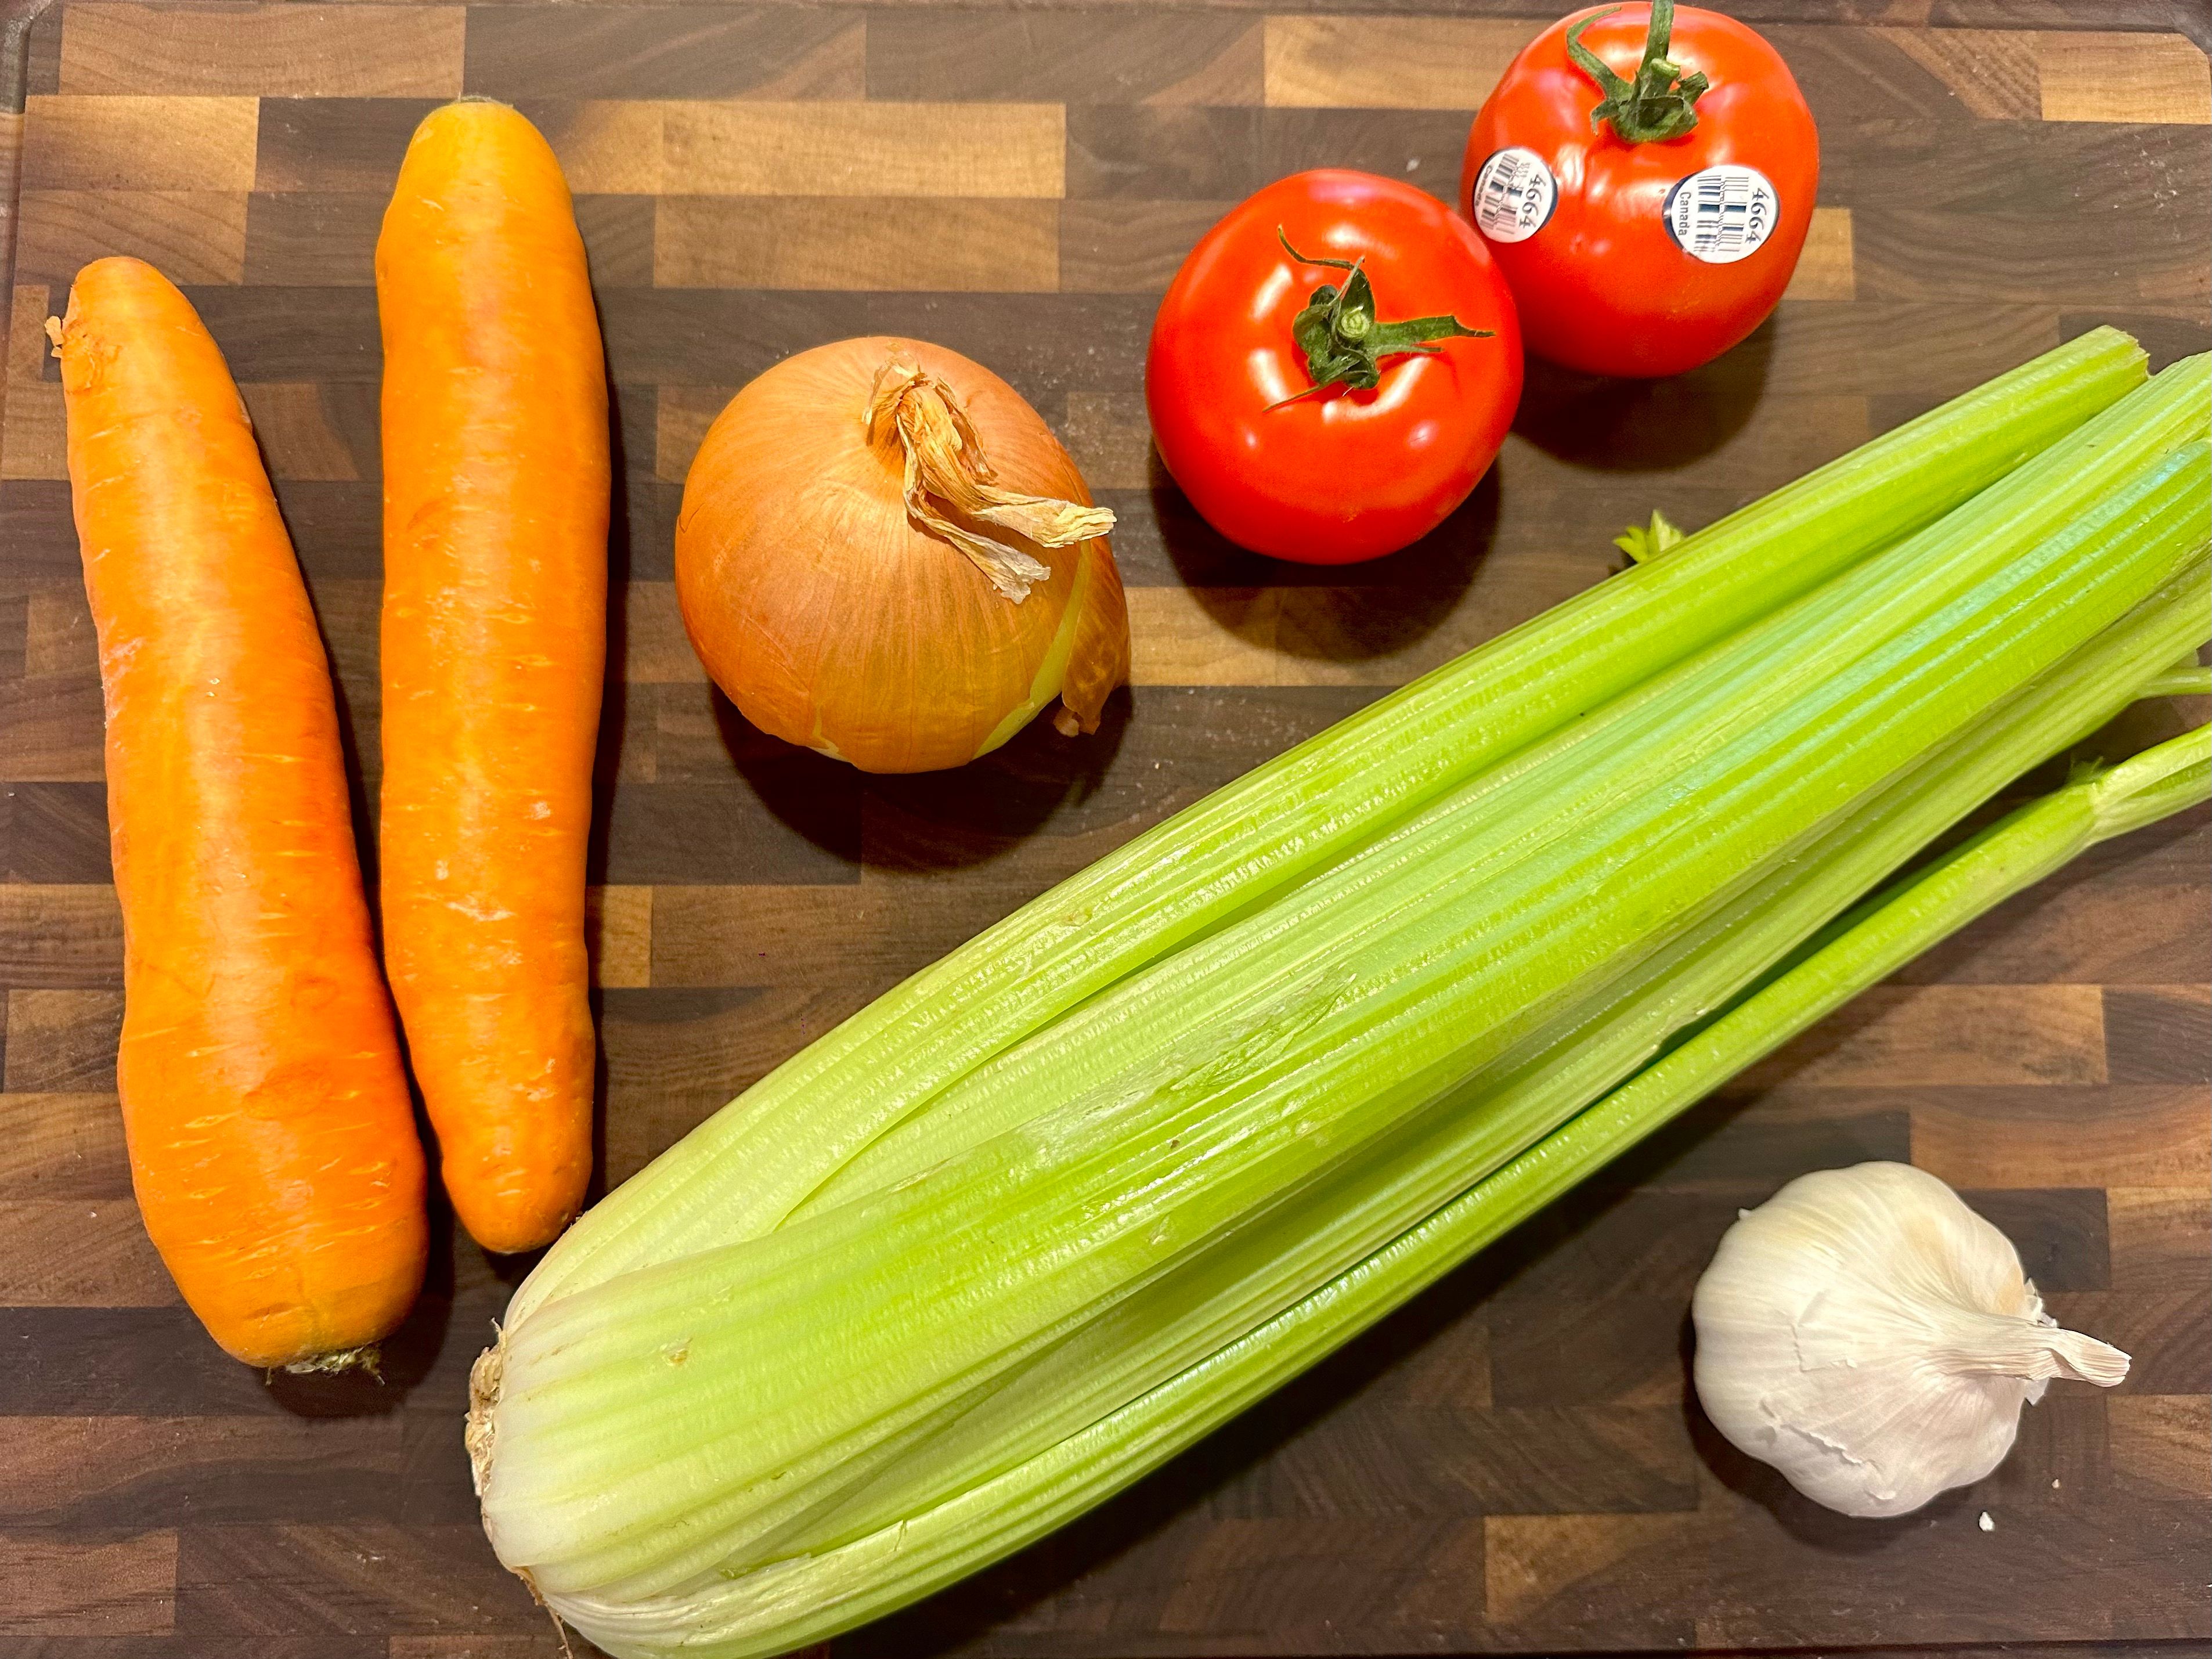
Step 3: Gather your ingredients and take photos of each one
Take clear photos of all your ingredients laid out individually. This will make your illustrations easier later. Pay attention to colors and shapes as these small details will make your drawings more vibrant. You can also make rough sketches of your ingredients before you start chopping them up.
Step 5: As you cook, write the recipe
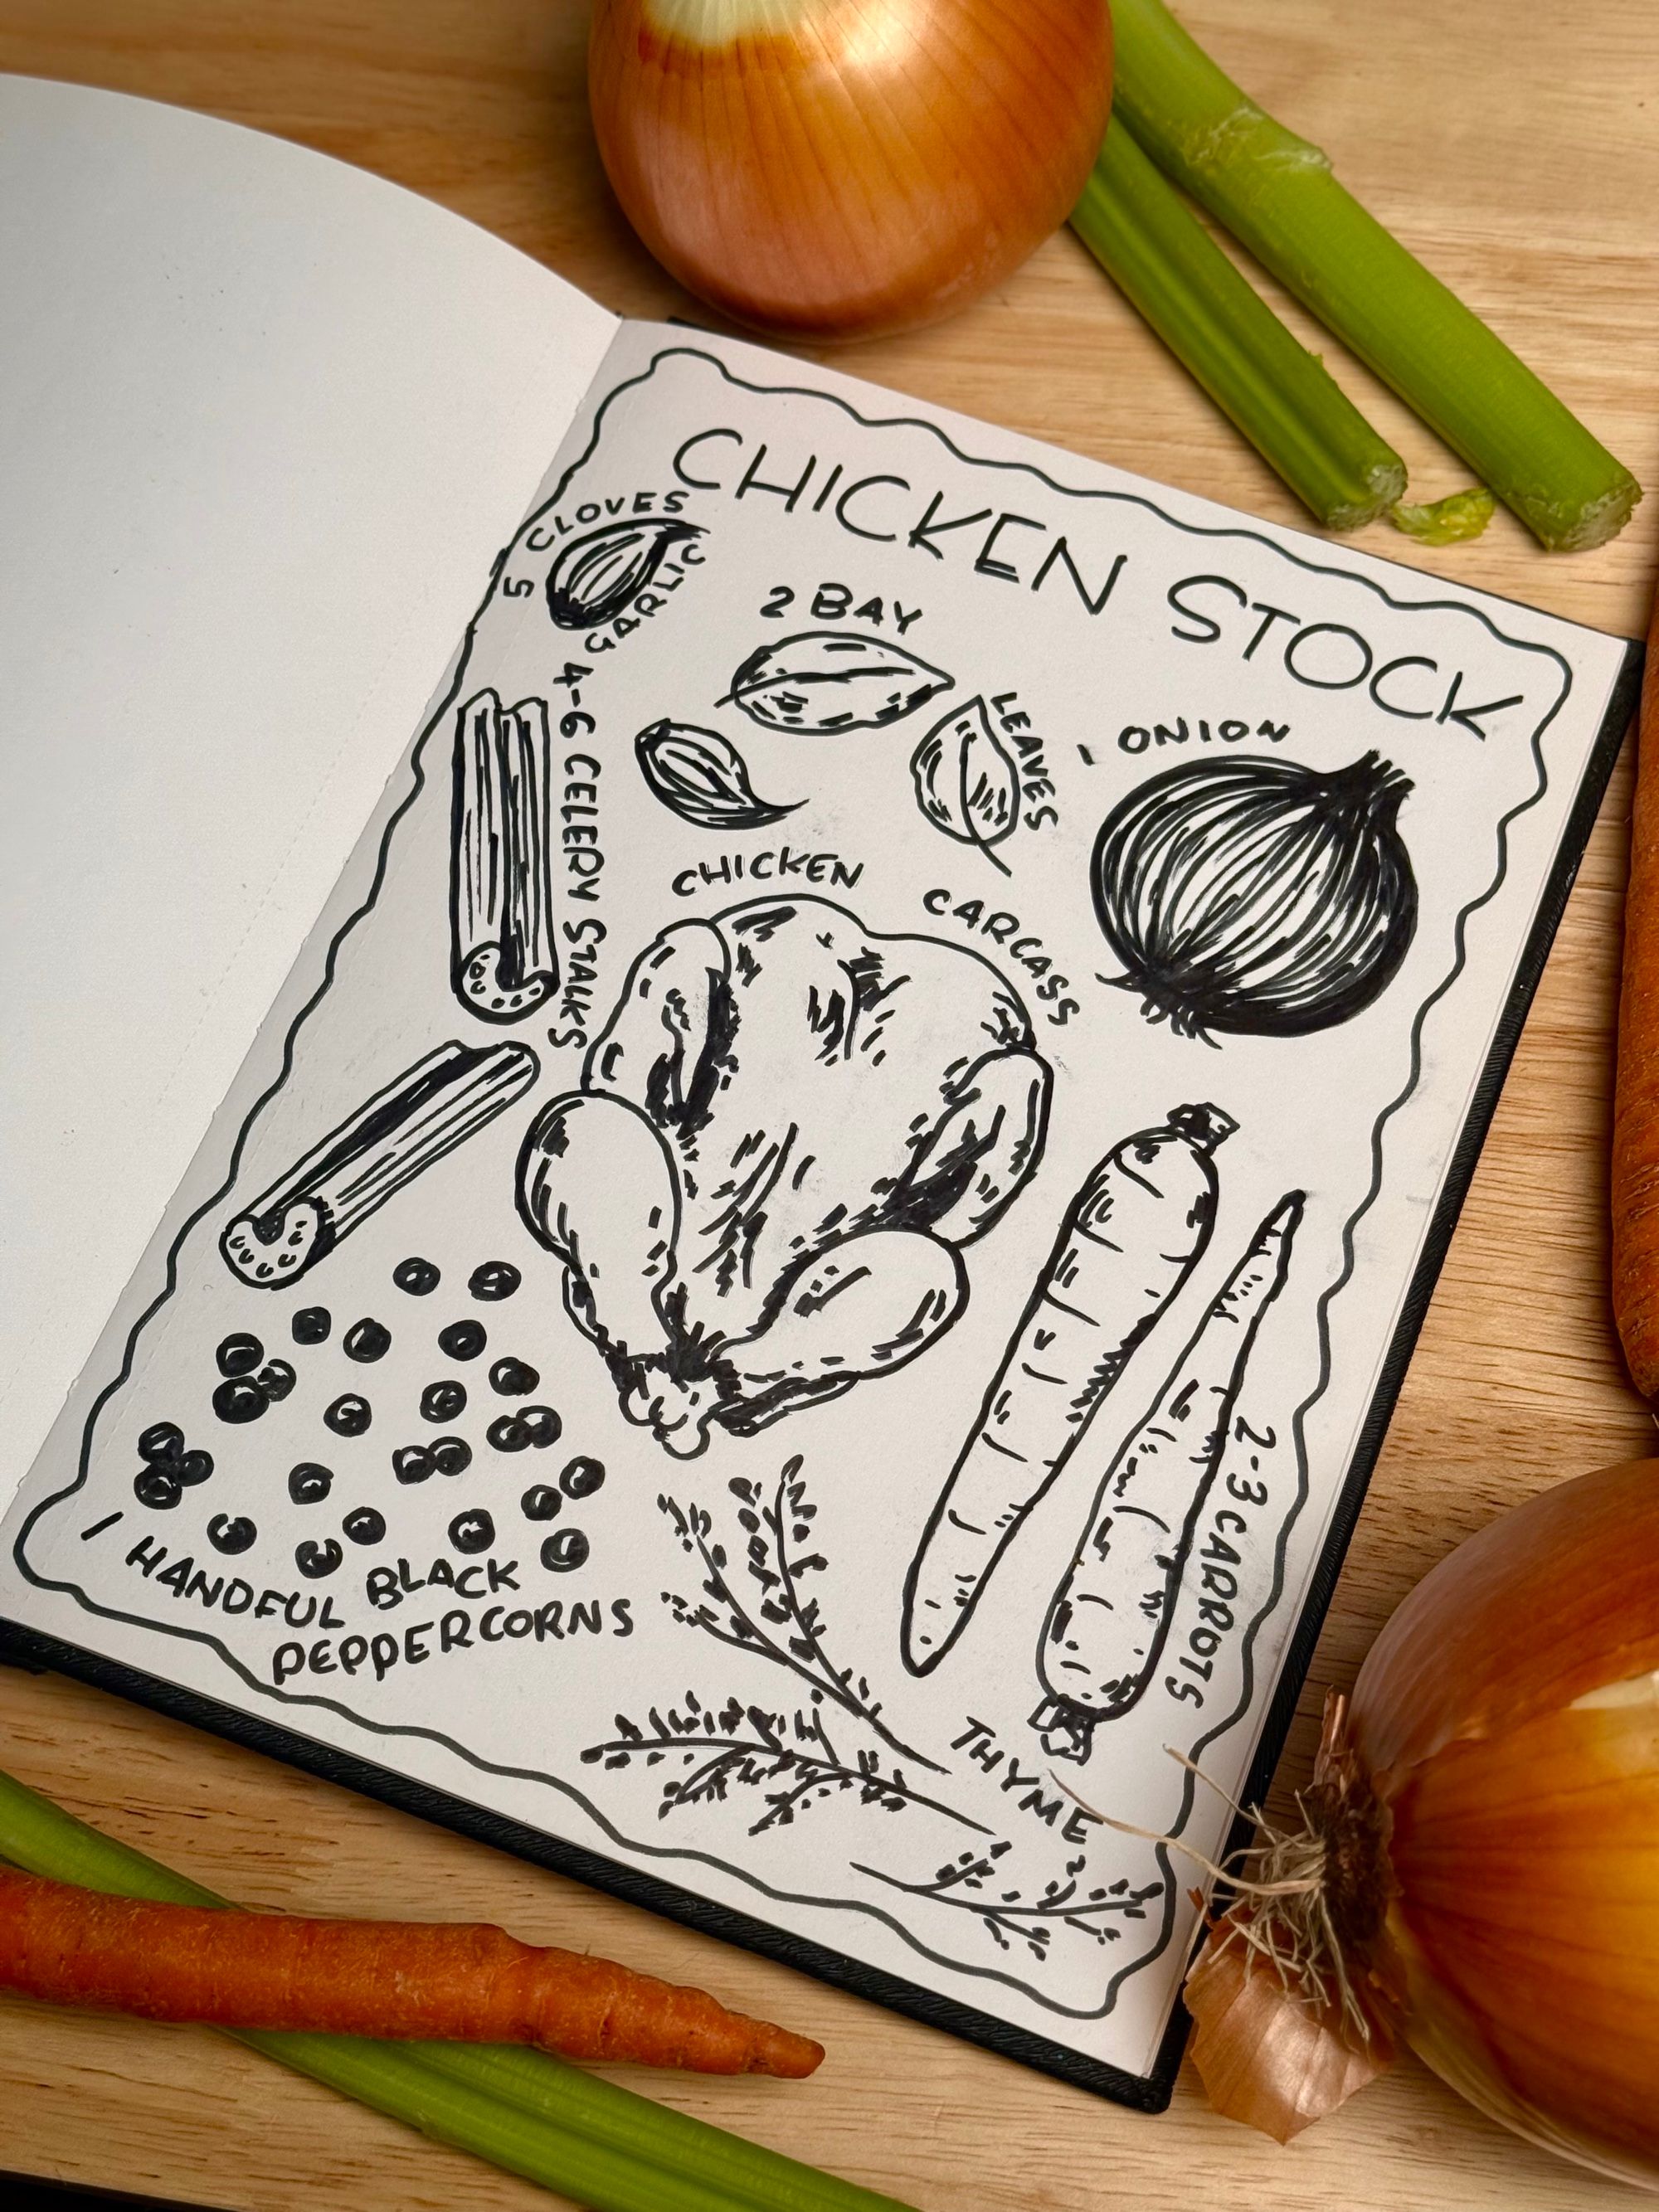
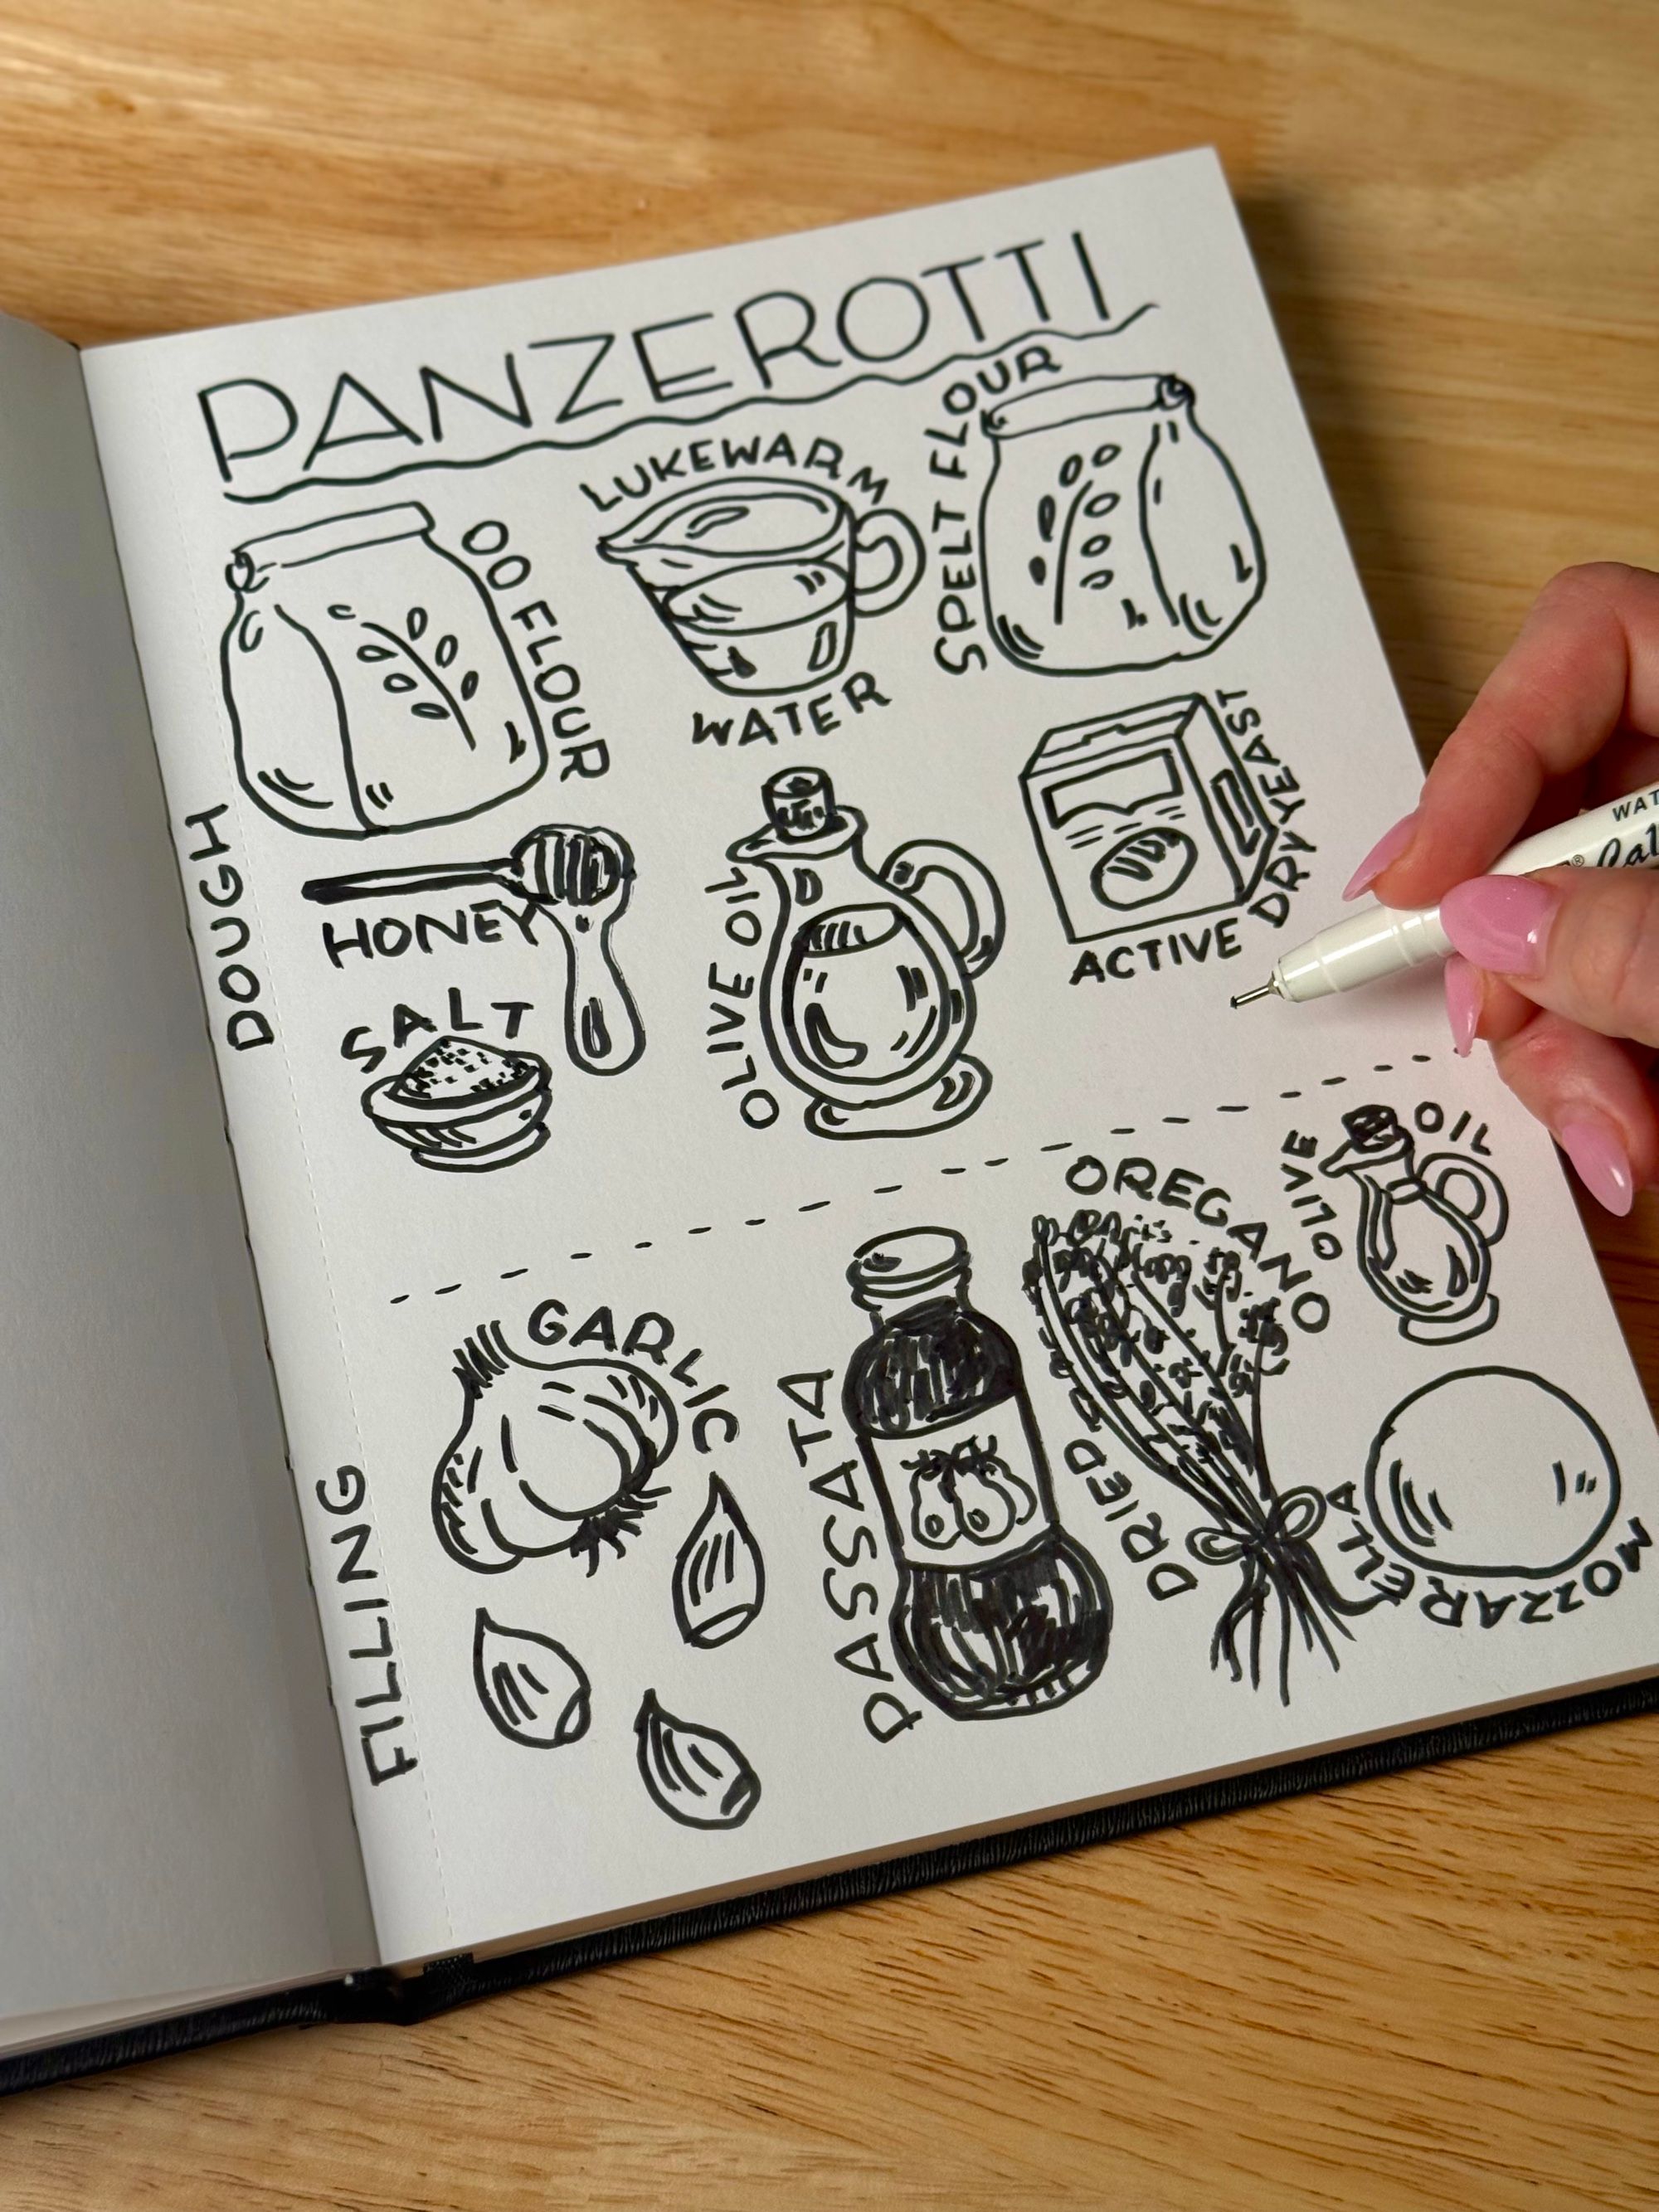
Capture not just the ingredients and steps, but also any important tips, tweaks you make, shortcuts you use, or sensory notes (like "cook until golden" or “heat oil until it shimmers”). Sometimes I like to quickly sketch the visual of an instruction, like how big a slice of onion should be.
Step 6: Take a photo of the finished dish
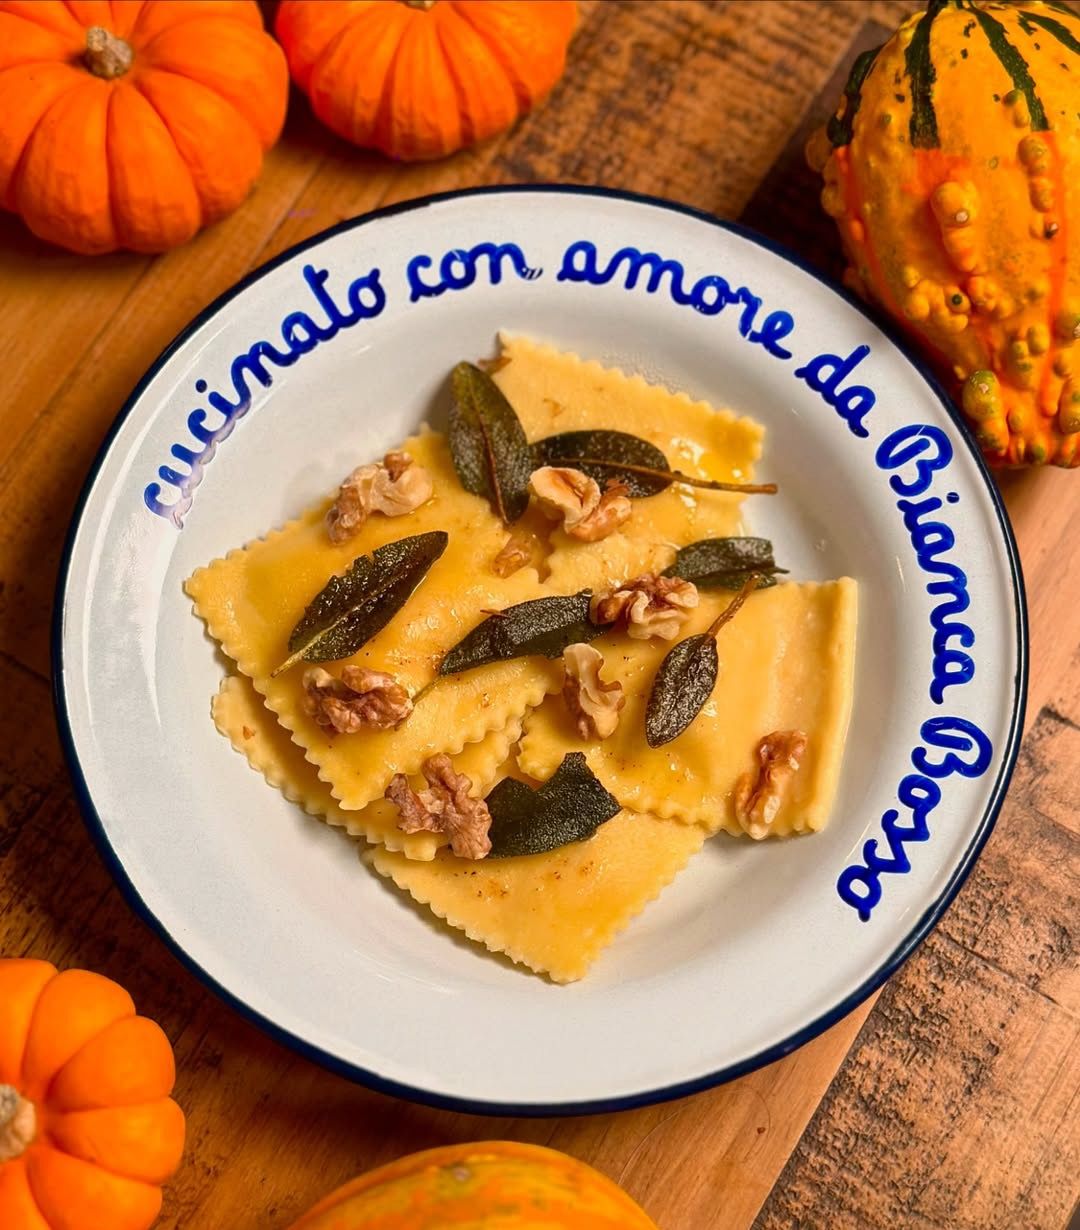
This will serve as a reference when you draw later. Snap a few angles - sometimes a close-up shows more texture you might want to capture later.
Step 7: Start drawing!
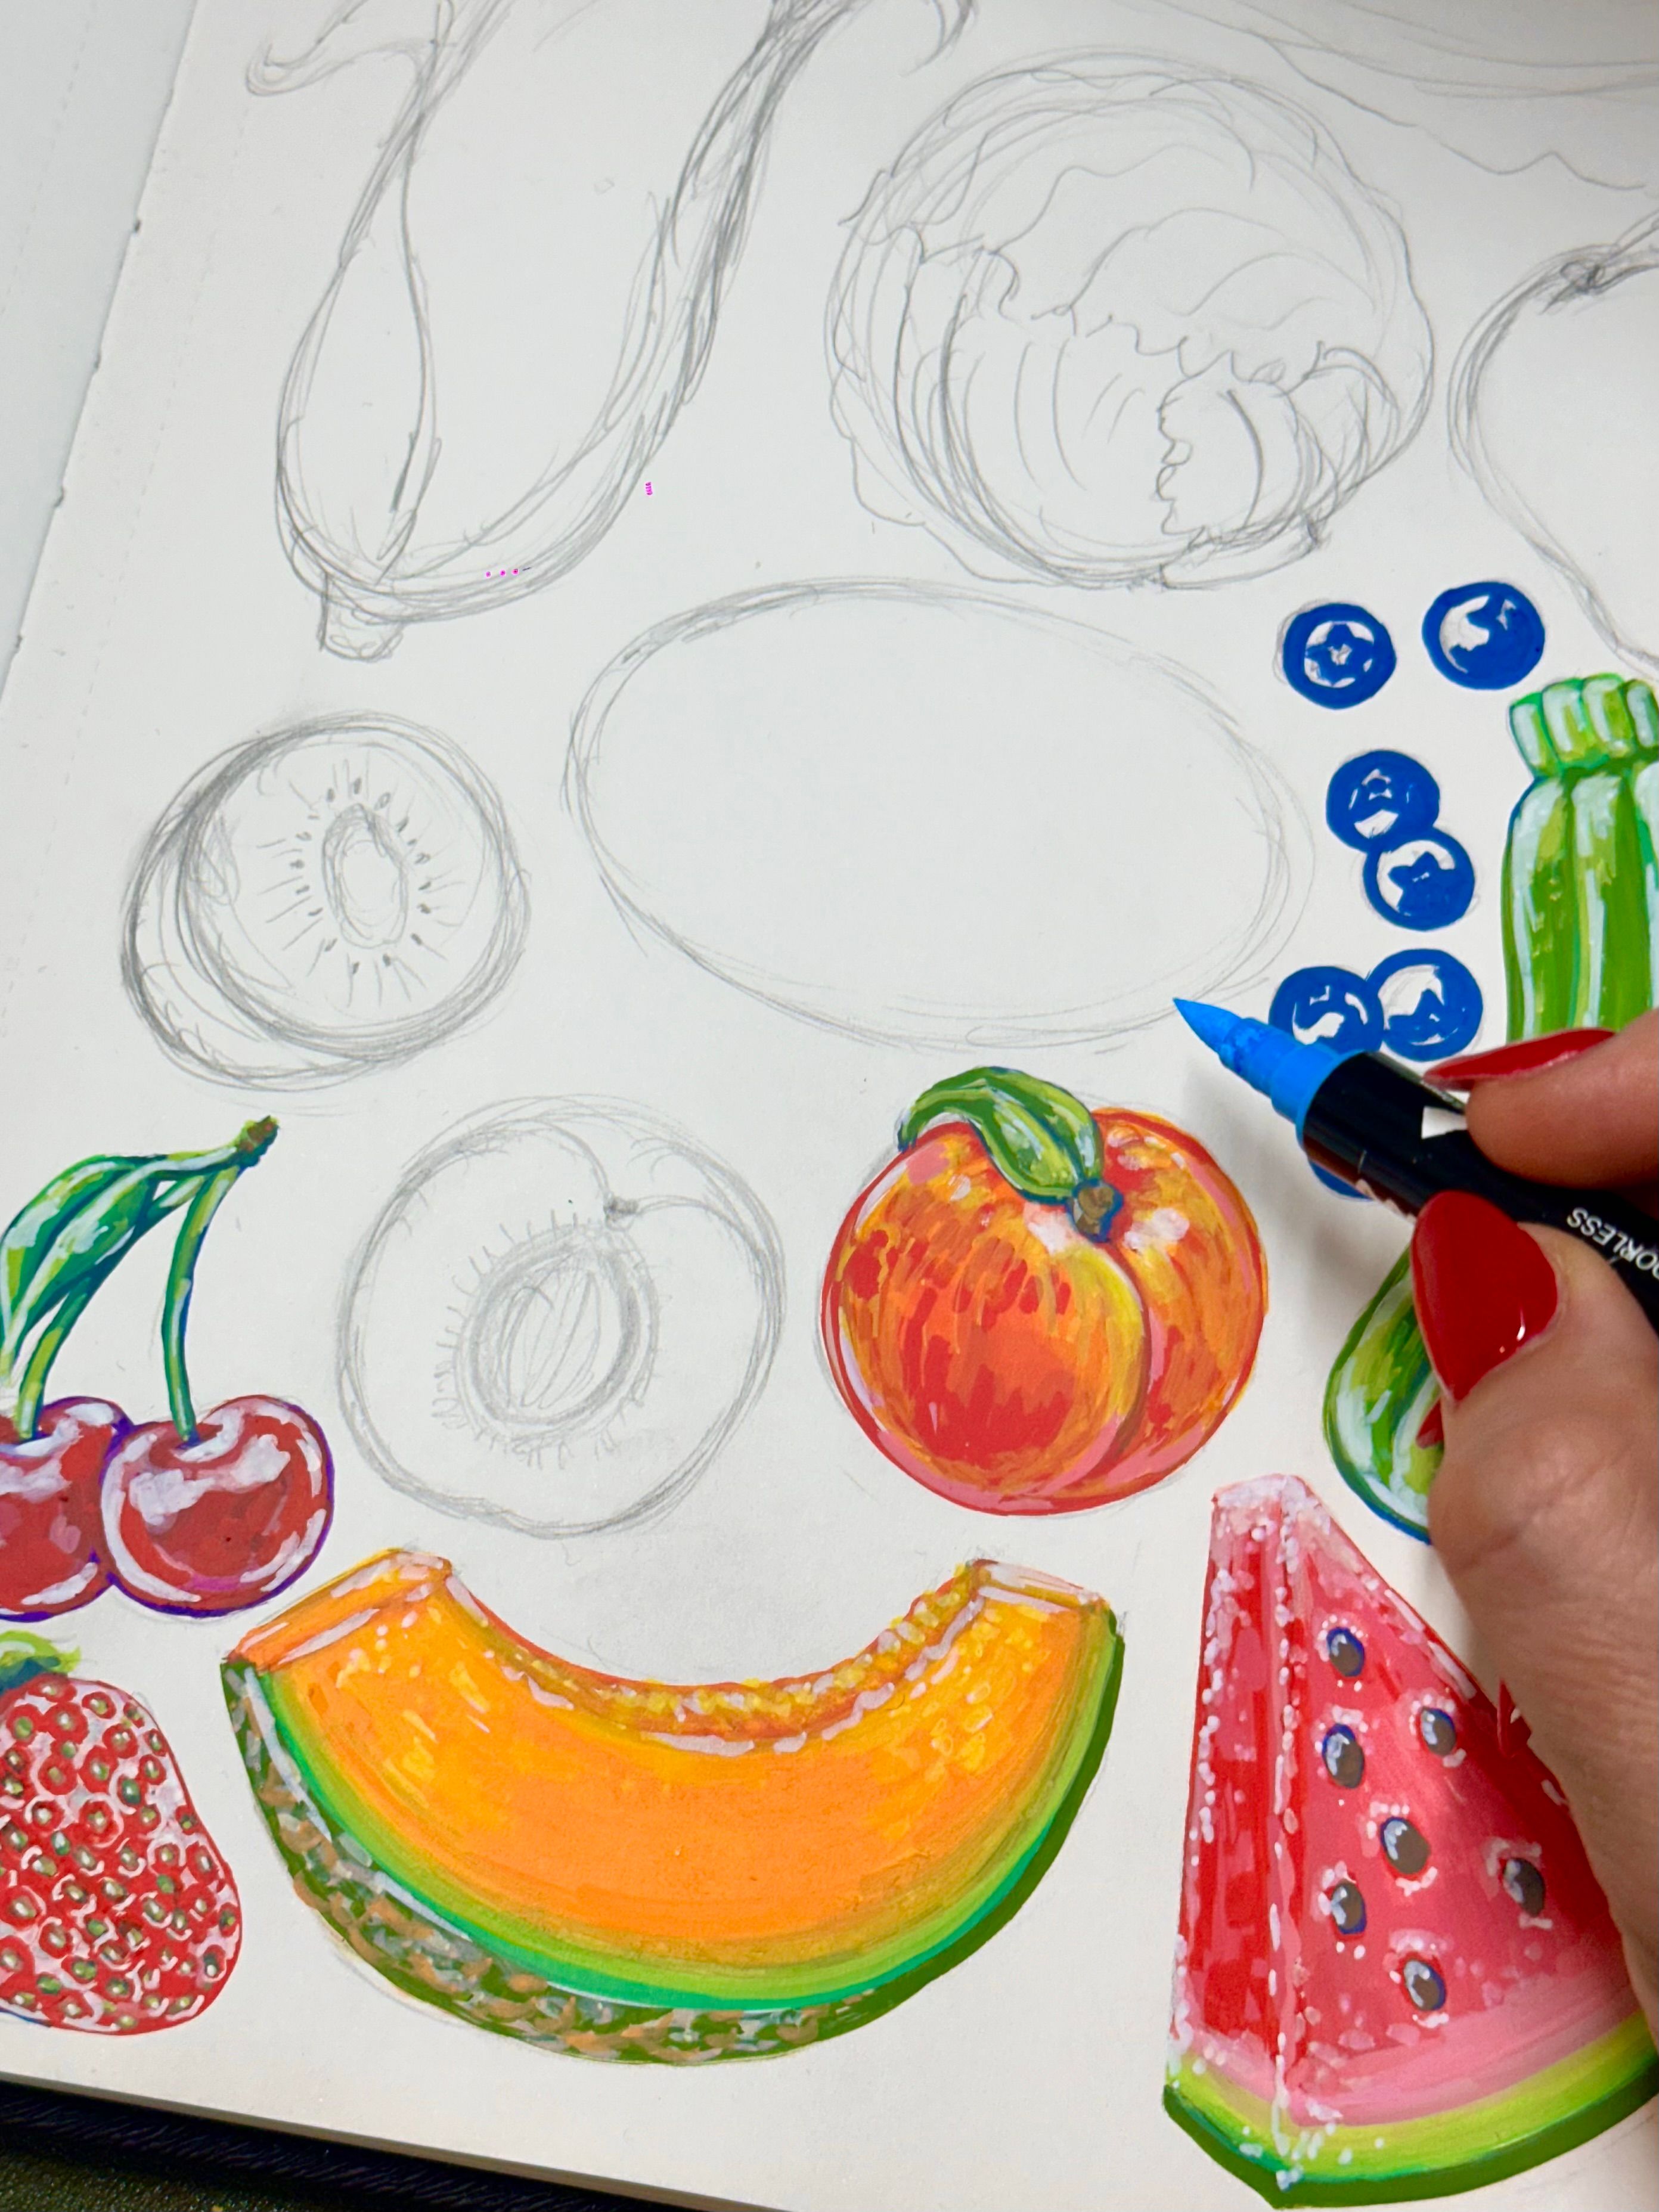
Sketch your ingredients and the final dish using your photos for reference. Don't worry about "perfect" proportions. Focus on capturing the spirit of the food, in your own personal style. Make it colorful, make it fun. Don’t feel confident enough to draw your ingredients? That’s fine too! Treat your recipe book as a scrapbook and cut out images you find on the internet or in magazines.
Step 8: Cut & paste your ingredient illustrations
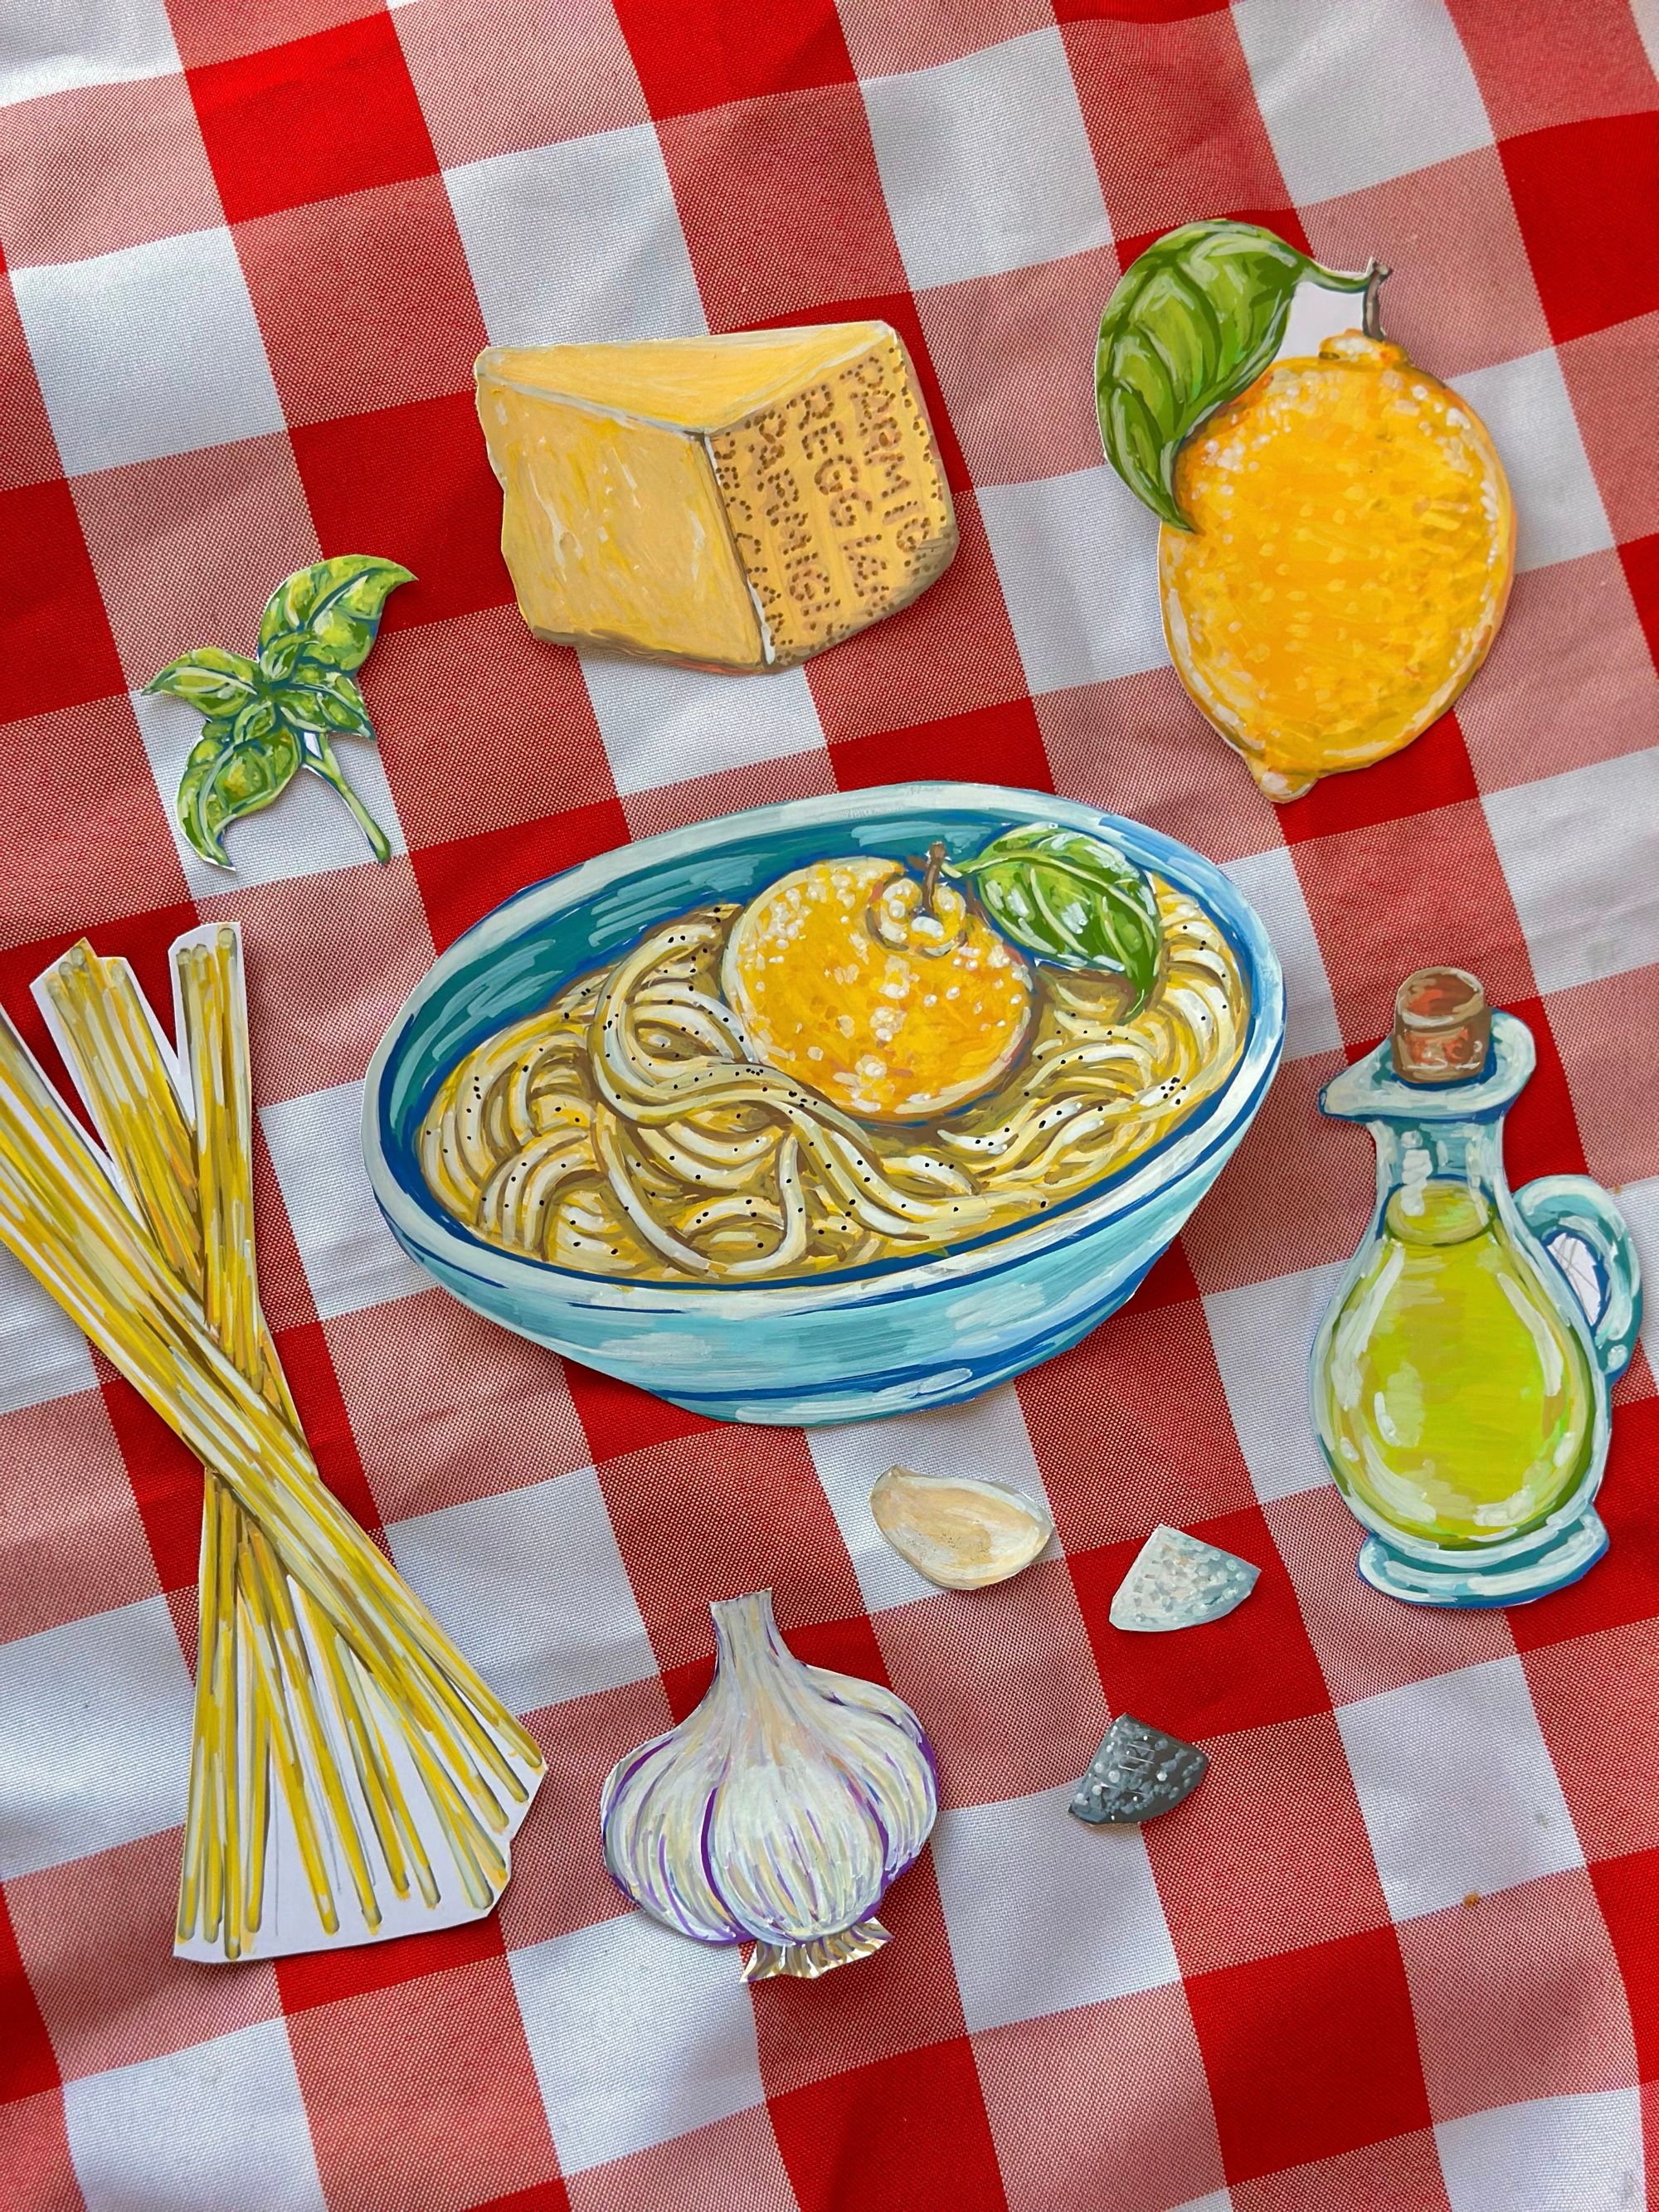
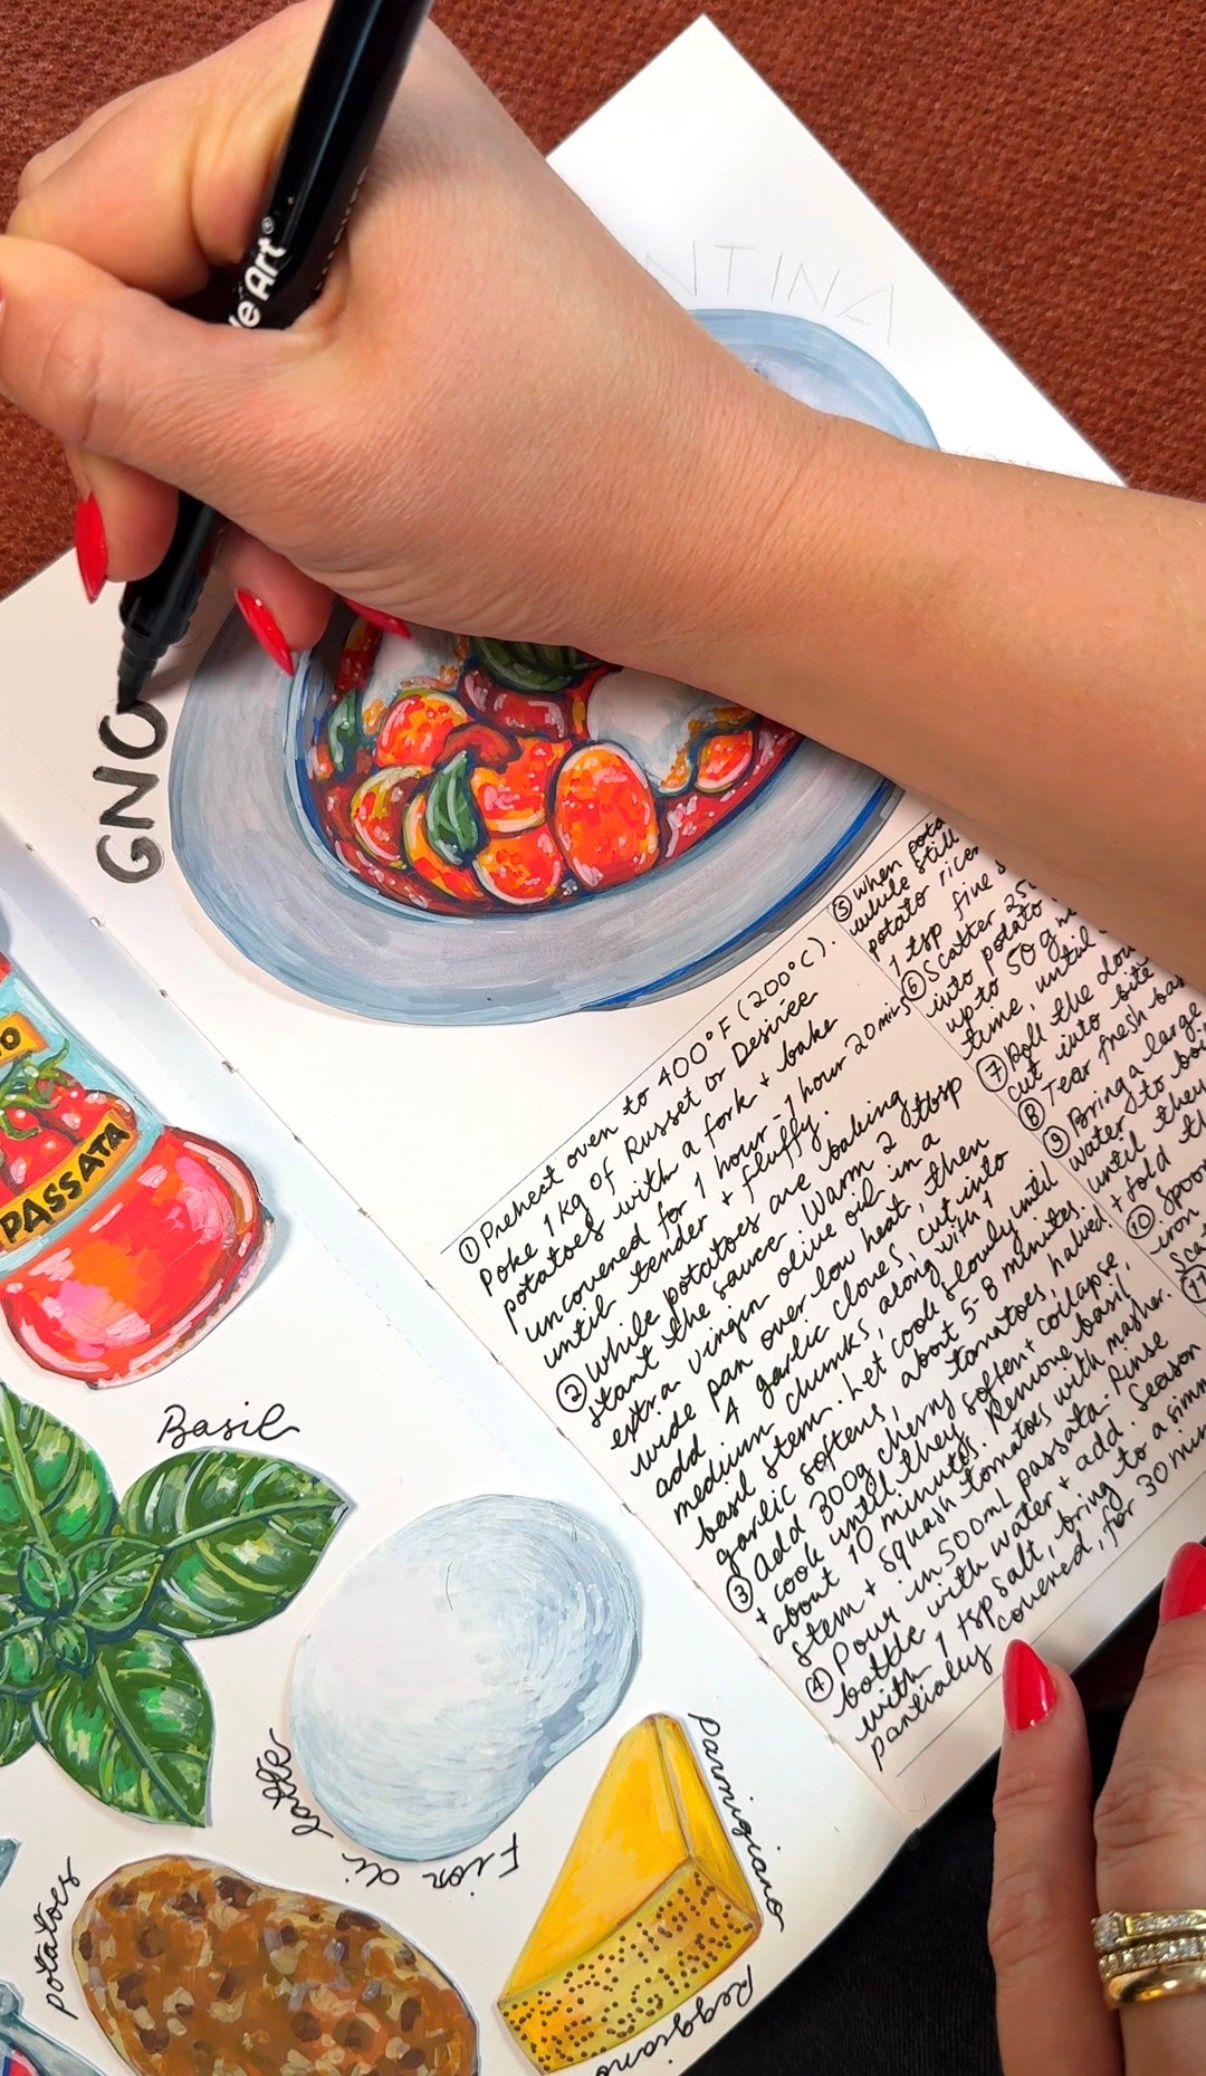
Before gluing, lay out the ingredients in a way that feels natural to you. I like to place all my ingredient drawings on the left-hand page, with the final dish on the right, but you can format it however you’d like. Write the names and quantities of the ingredients around them, and give your dish a title. It can be simple and straight to the point, a funny pun or rhyme, or even a tribute like "Nonna’s Meatballs”.
Step 9: Write the recipe
I like to handwrite the recipe to give it a handmade, personal edge, but typing it up and printing it out works just as well. If you're handwriting, use a ruler to keep your lines straight and neat. As you're writing, think carefully about the steps: would someone be able to recreate the dish exactly using your instructions? Don’t assume they’ll automatically know what you mean. It helps to get specific about the small things - like the size of the pan, whether something should simmer or boil, or even if the dish is best served on a plate instead of in a bowl.


5 komentarzy
😍😍😍
Cudowne zwłaszcza krople wody, po prostu czyste piękno dla oka.
veramente bello!!!
Lindo demais 💖
So friendly and beautiful ! I love the way you picture the ingredients, they would make lovely stickers too <3
Zaloguj się lub dołącz bezpłatnie, aby móc komentować