Exercises for the course "Introduction to Realistic Figurative Sculpture by Sección de Cursos"
przez mai van Tuyen @tuyenmaivan07
- 2.011
- 29
- 2
Introduction
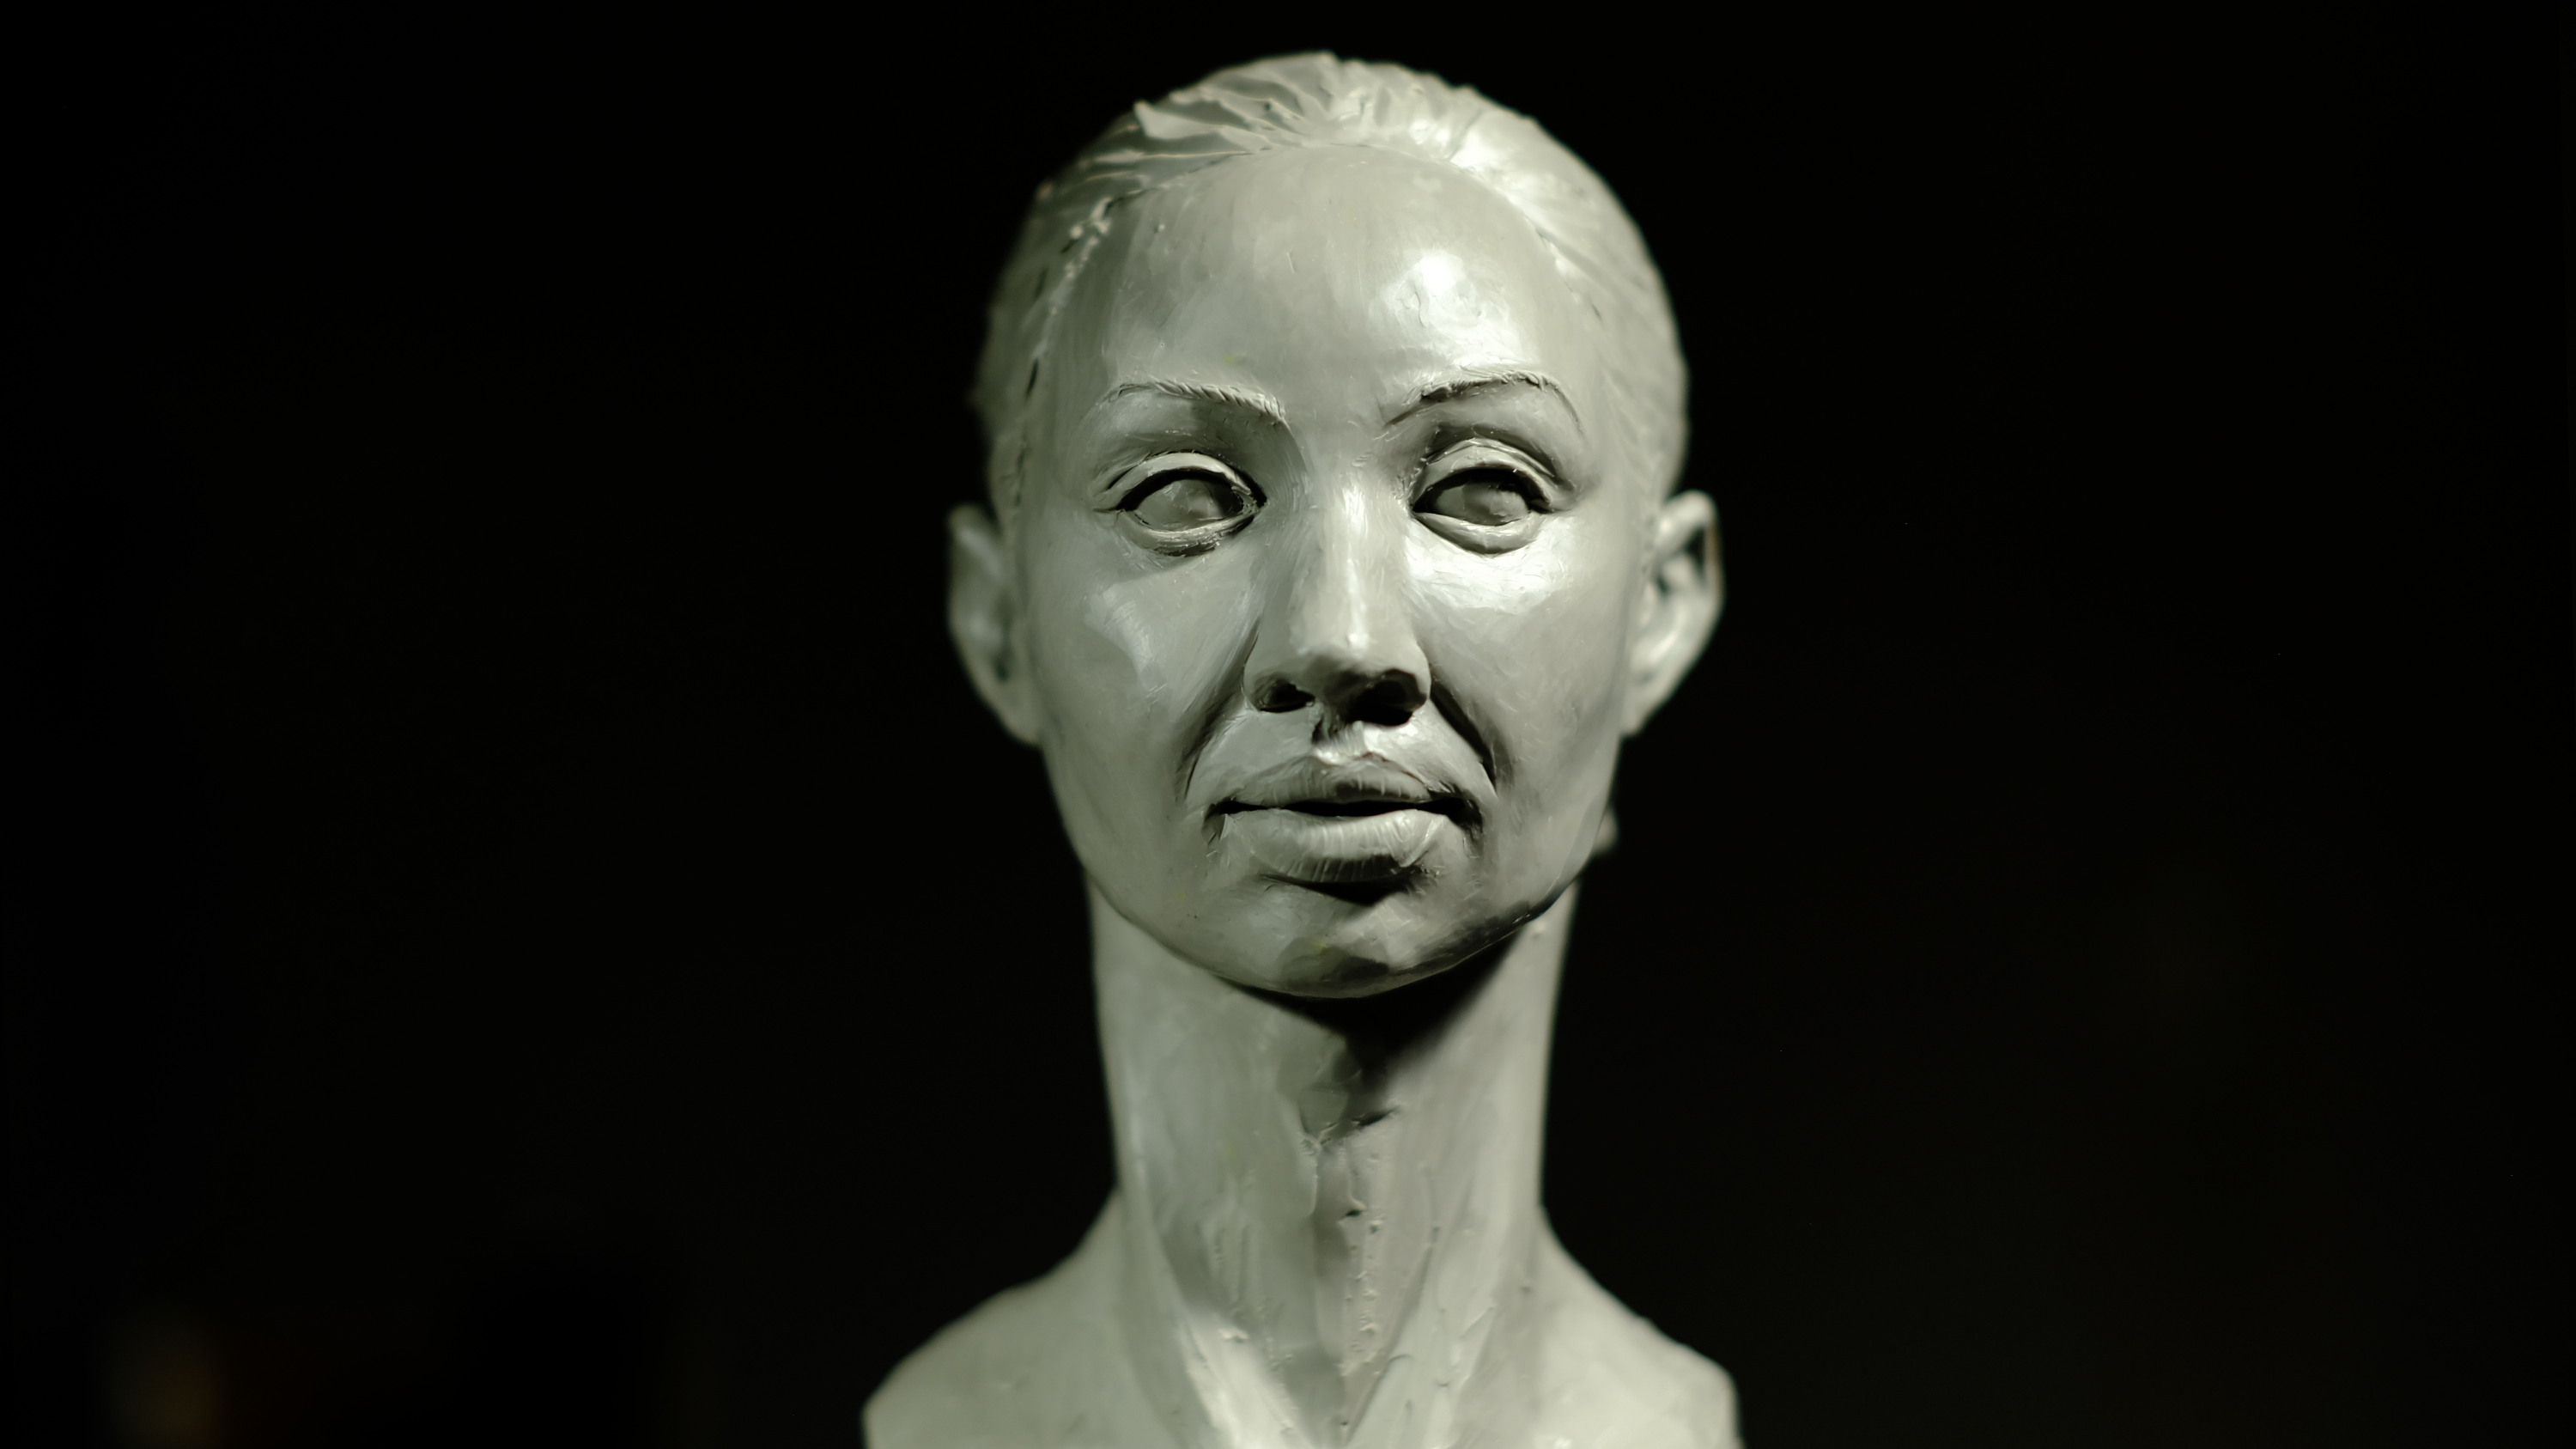
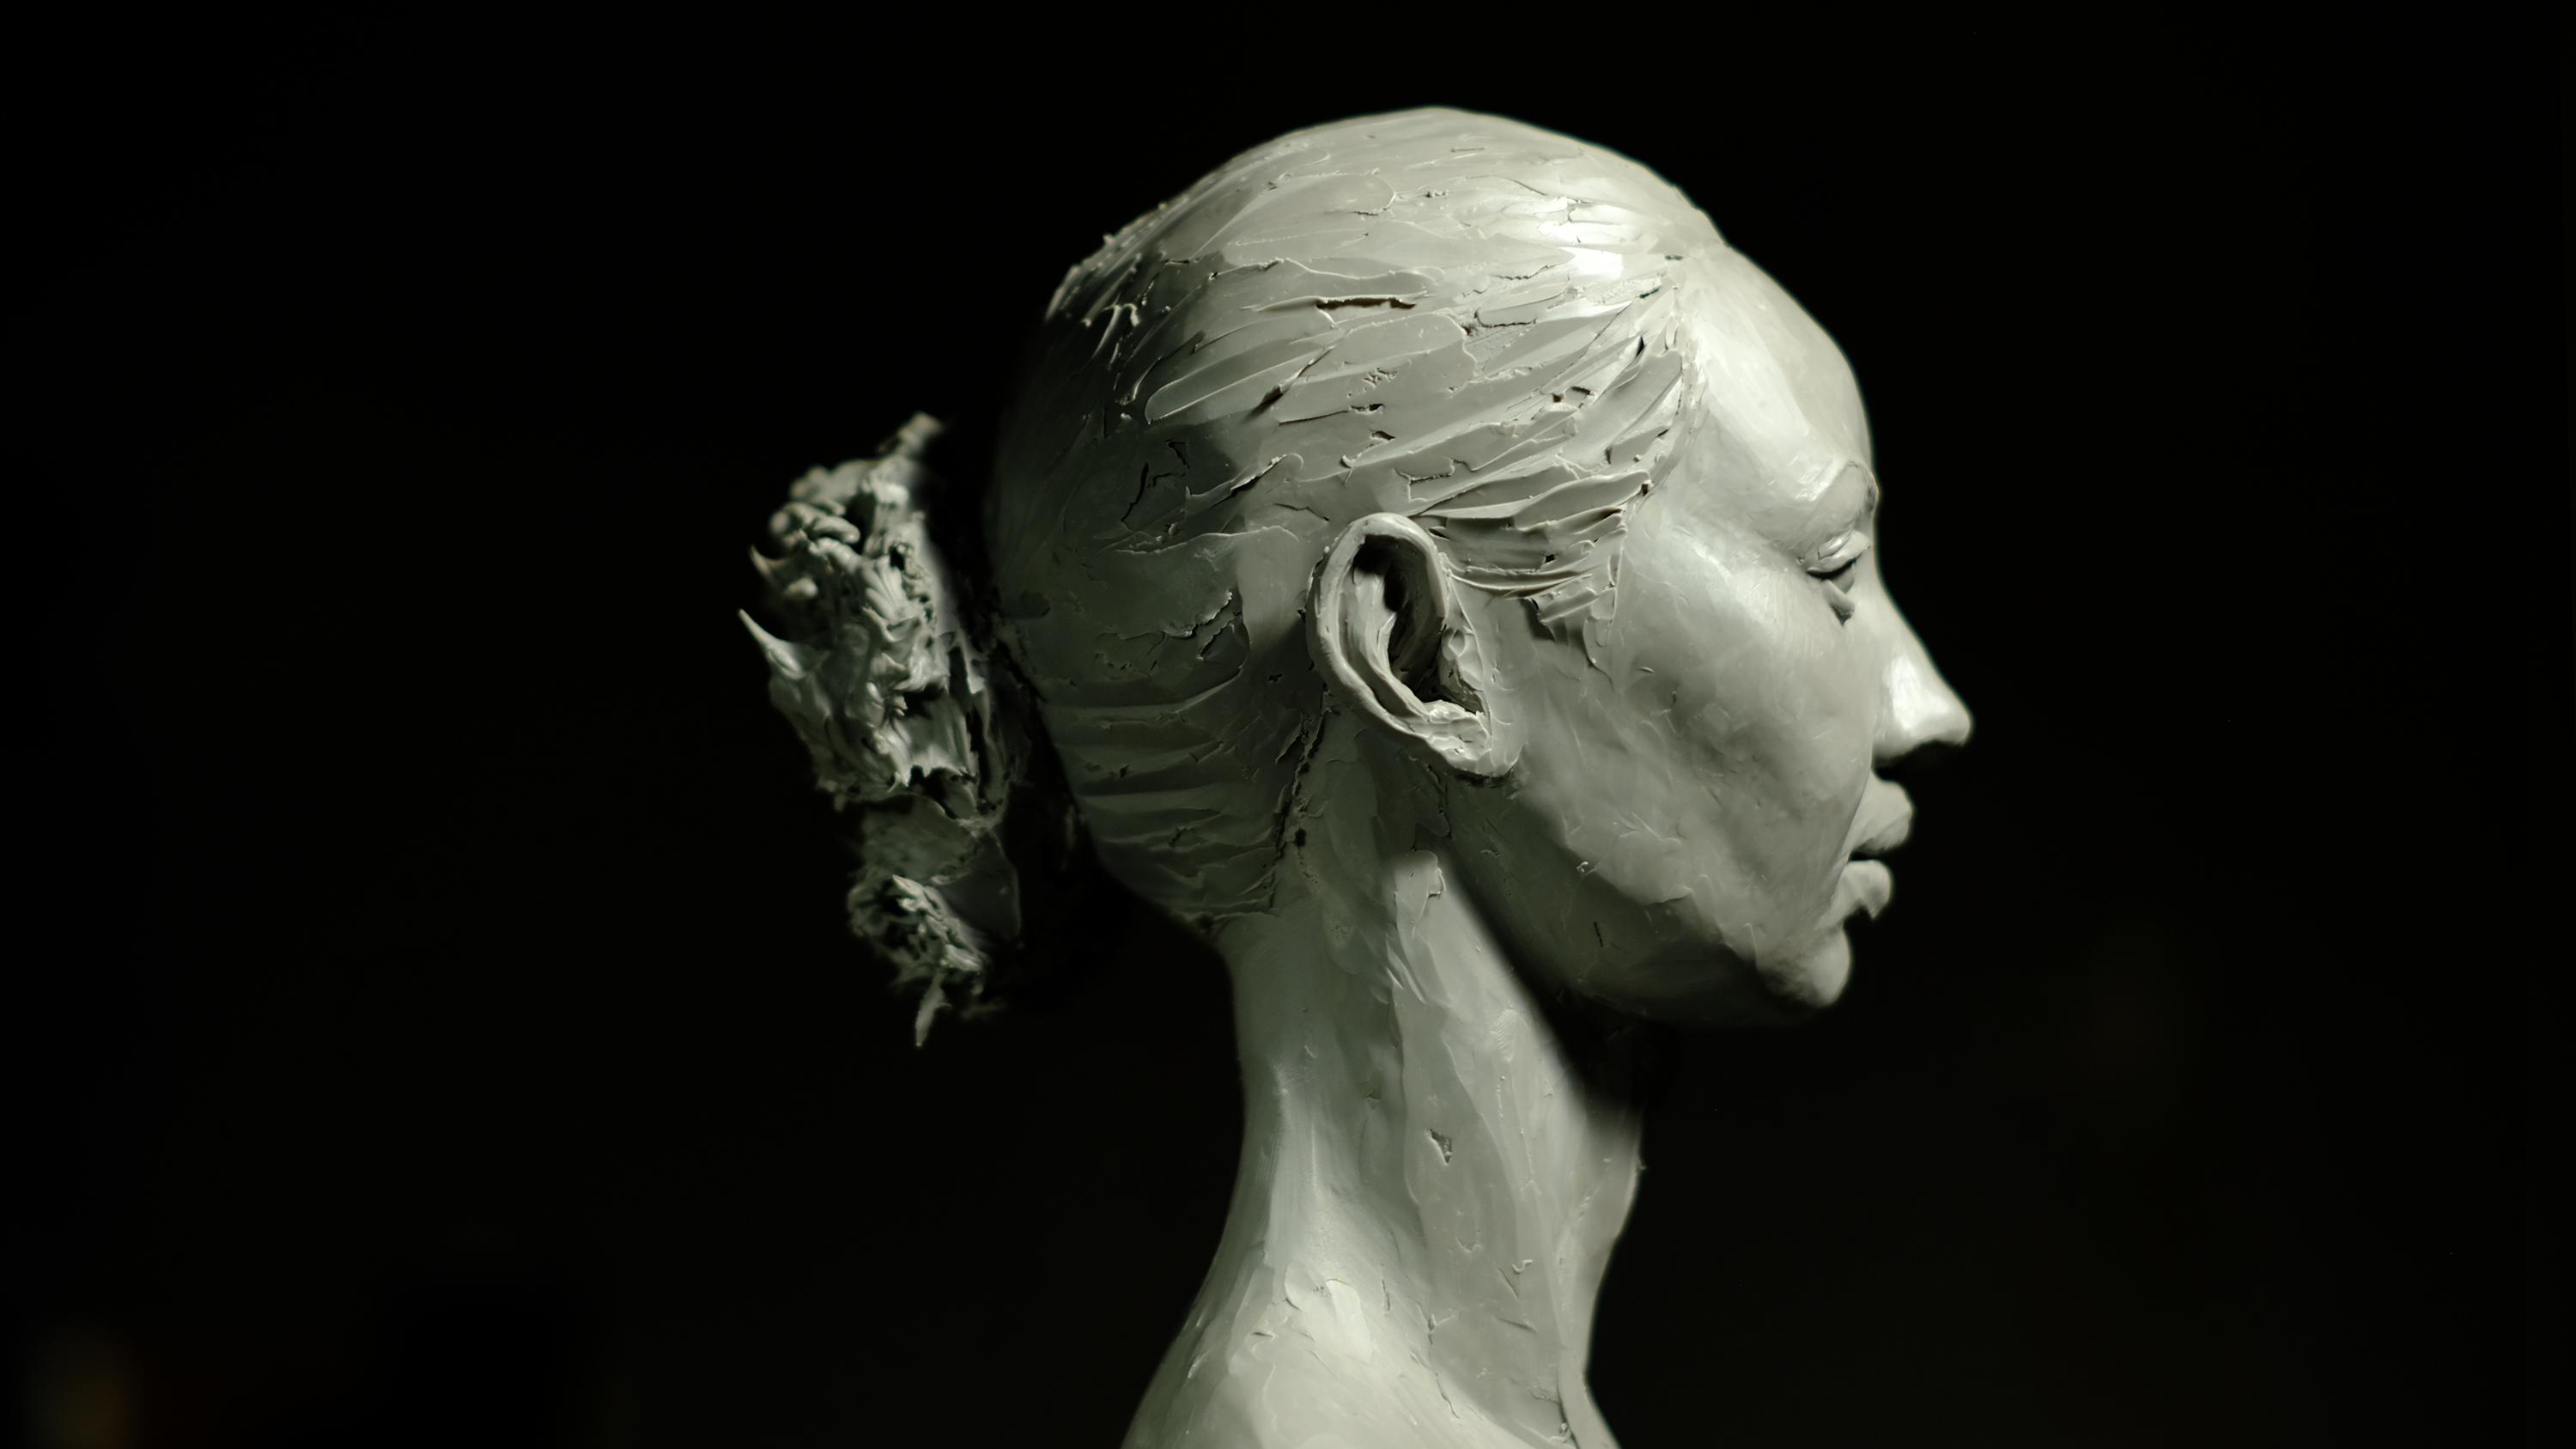
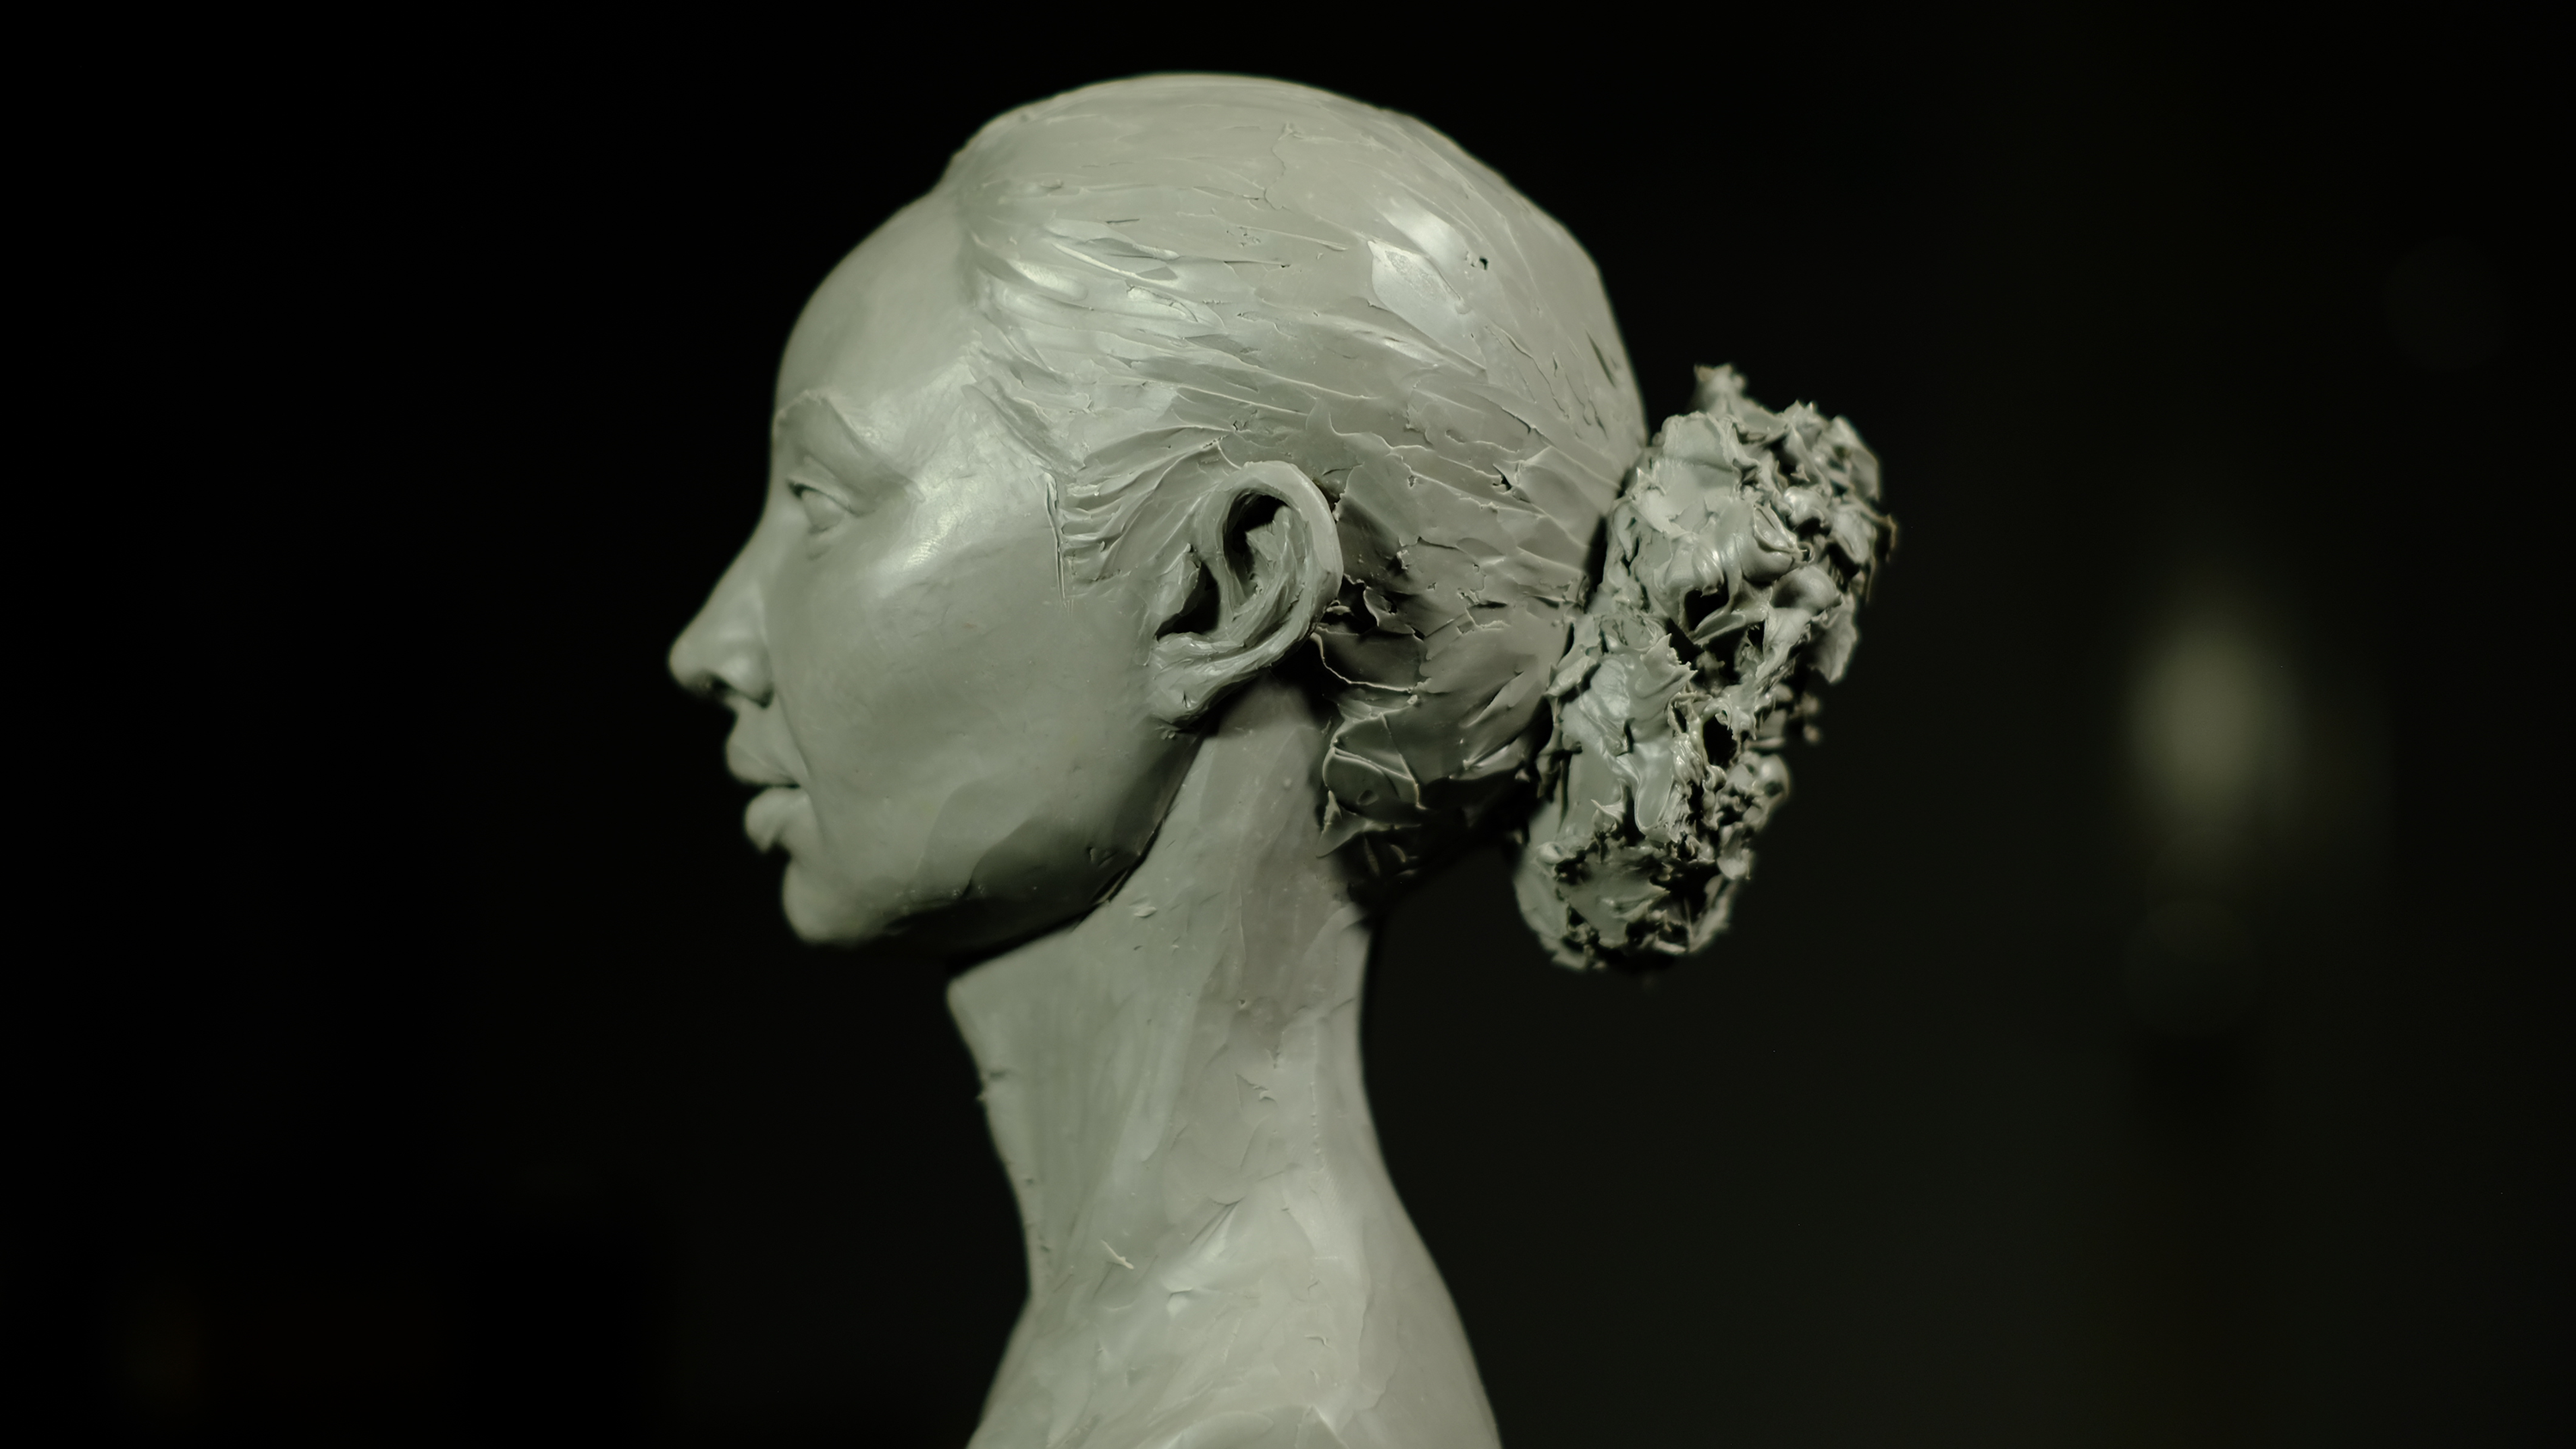
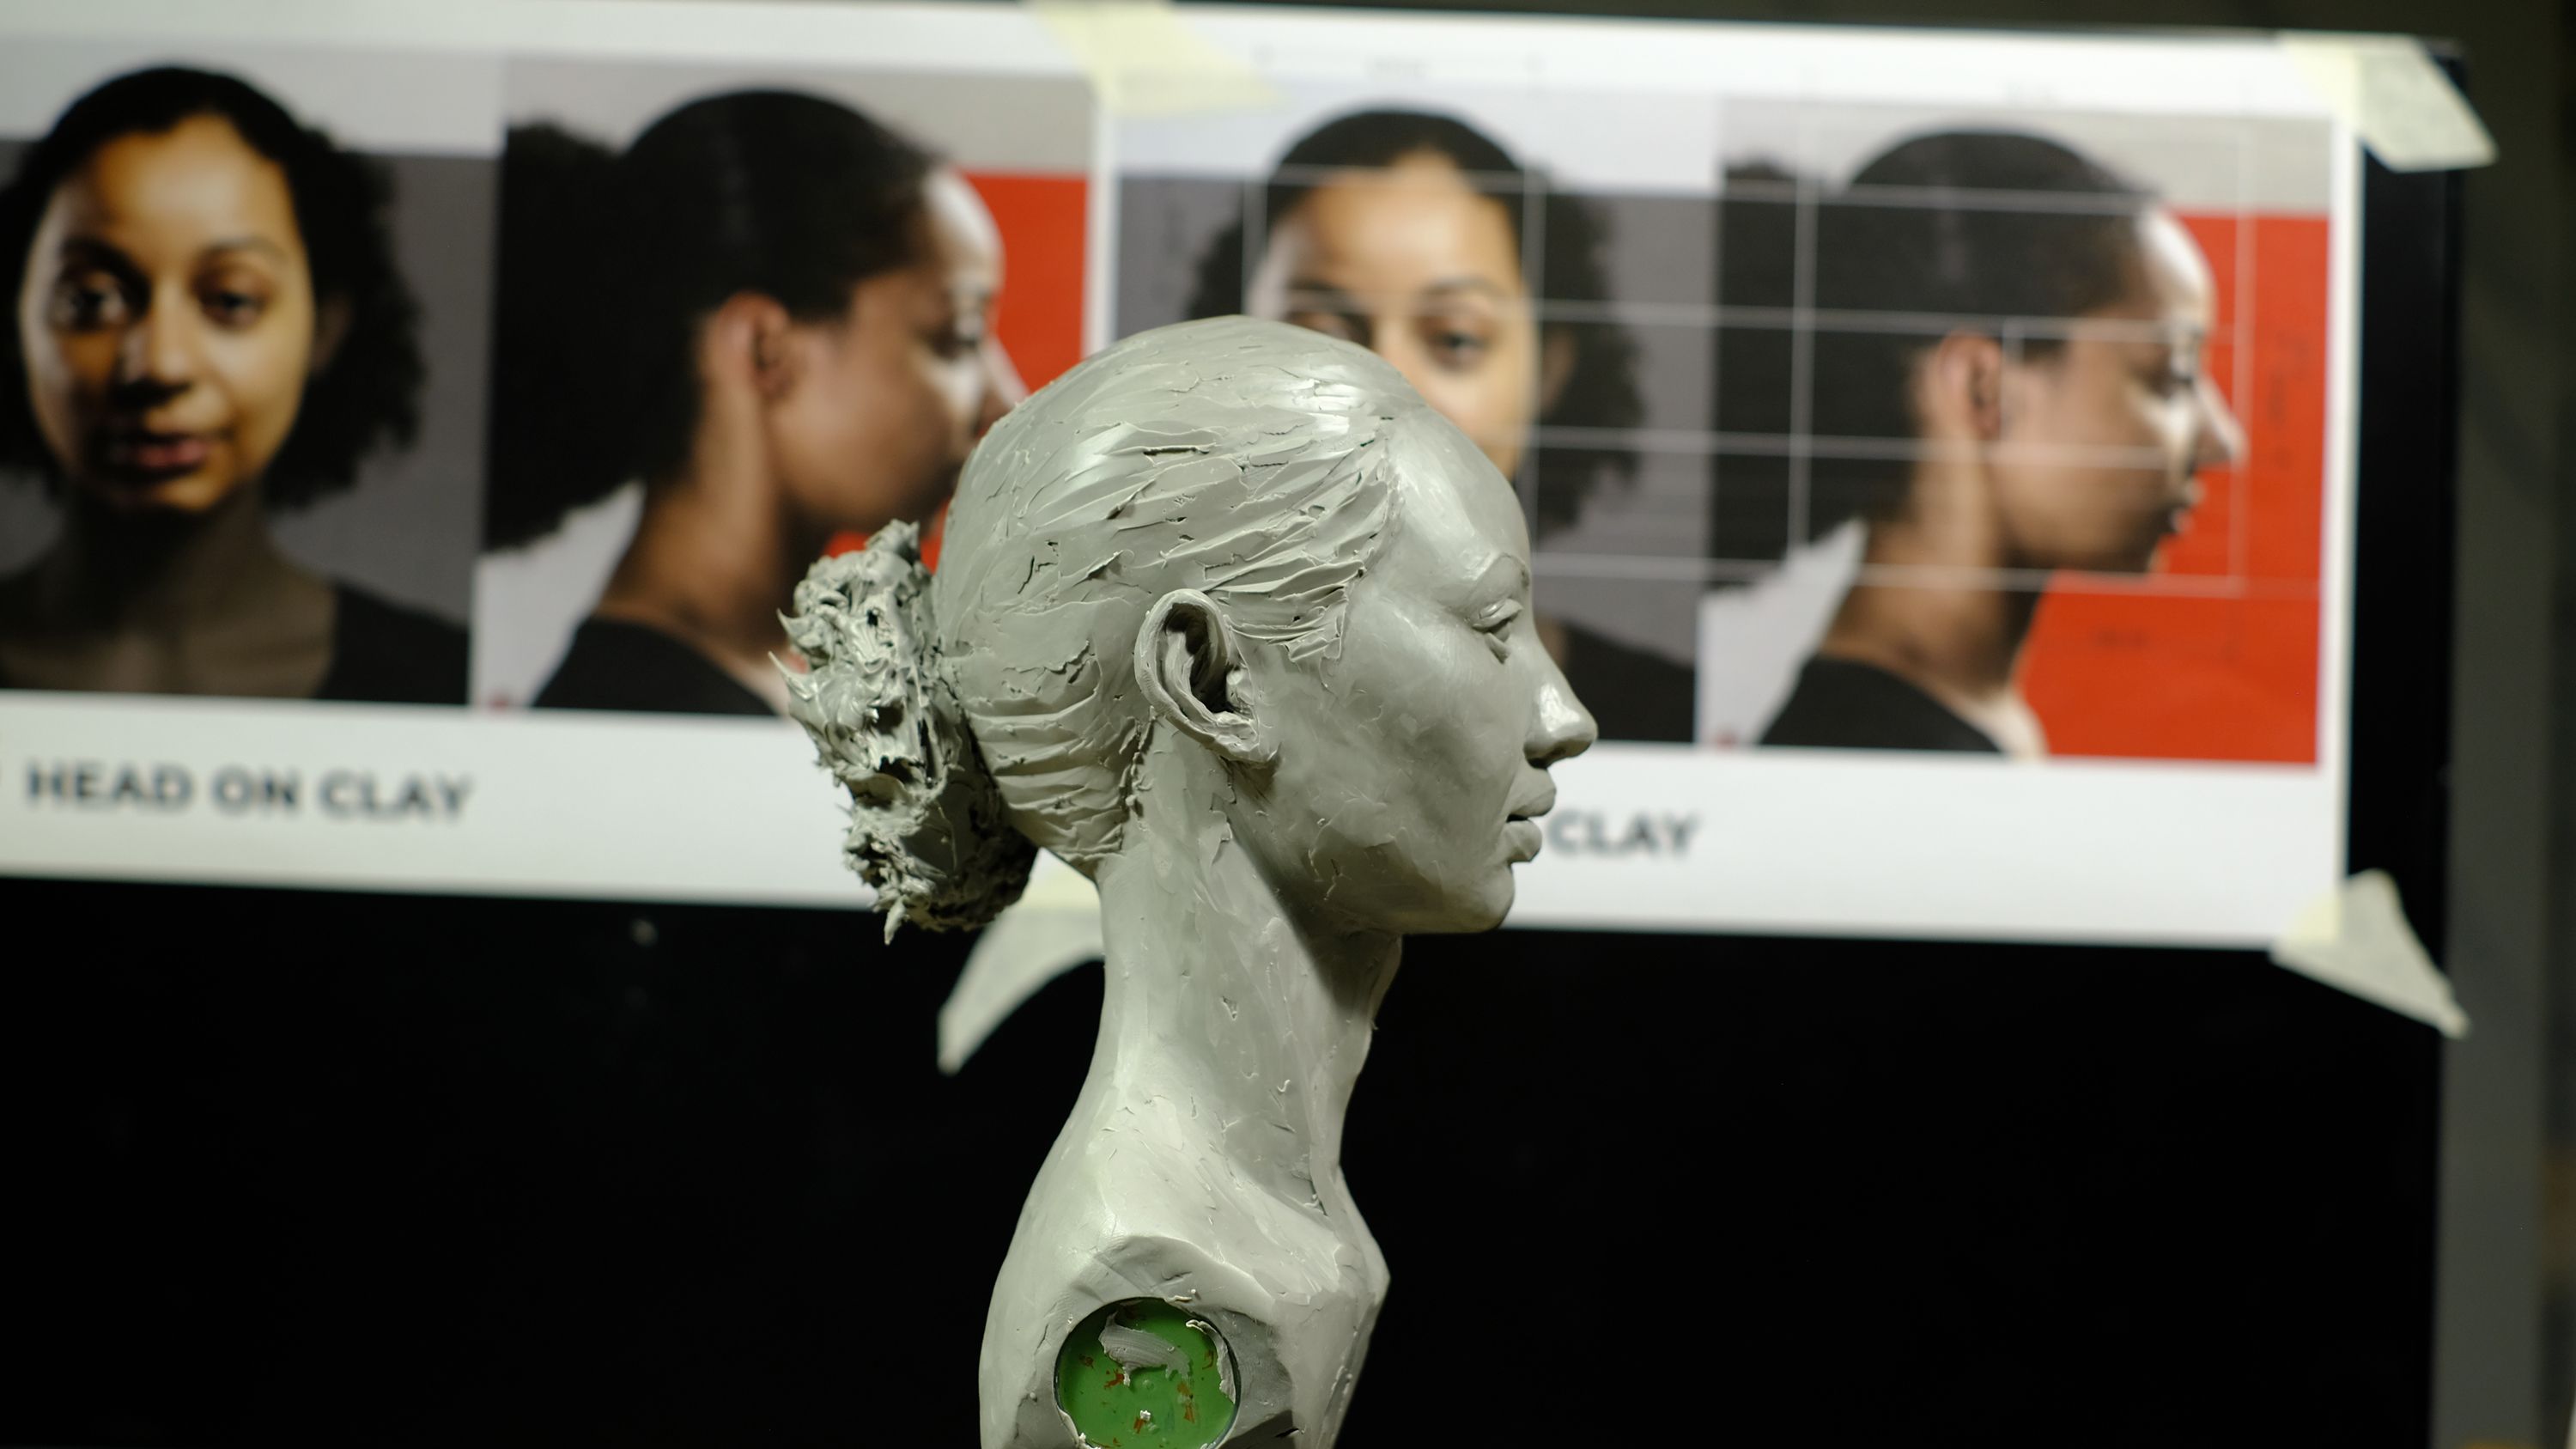
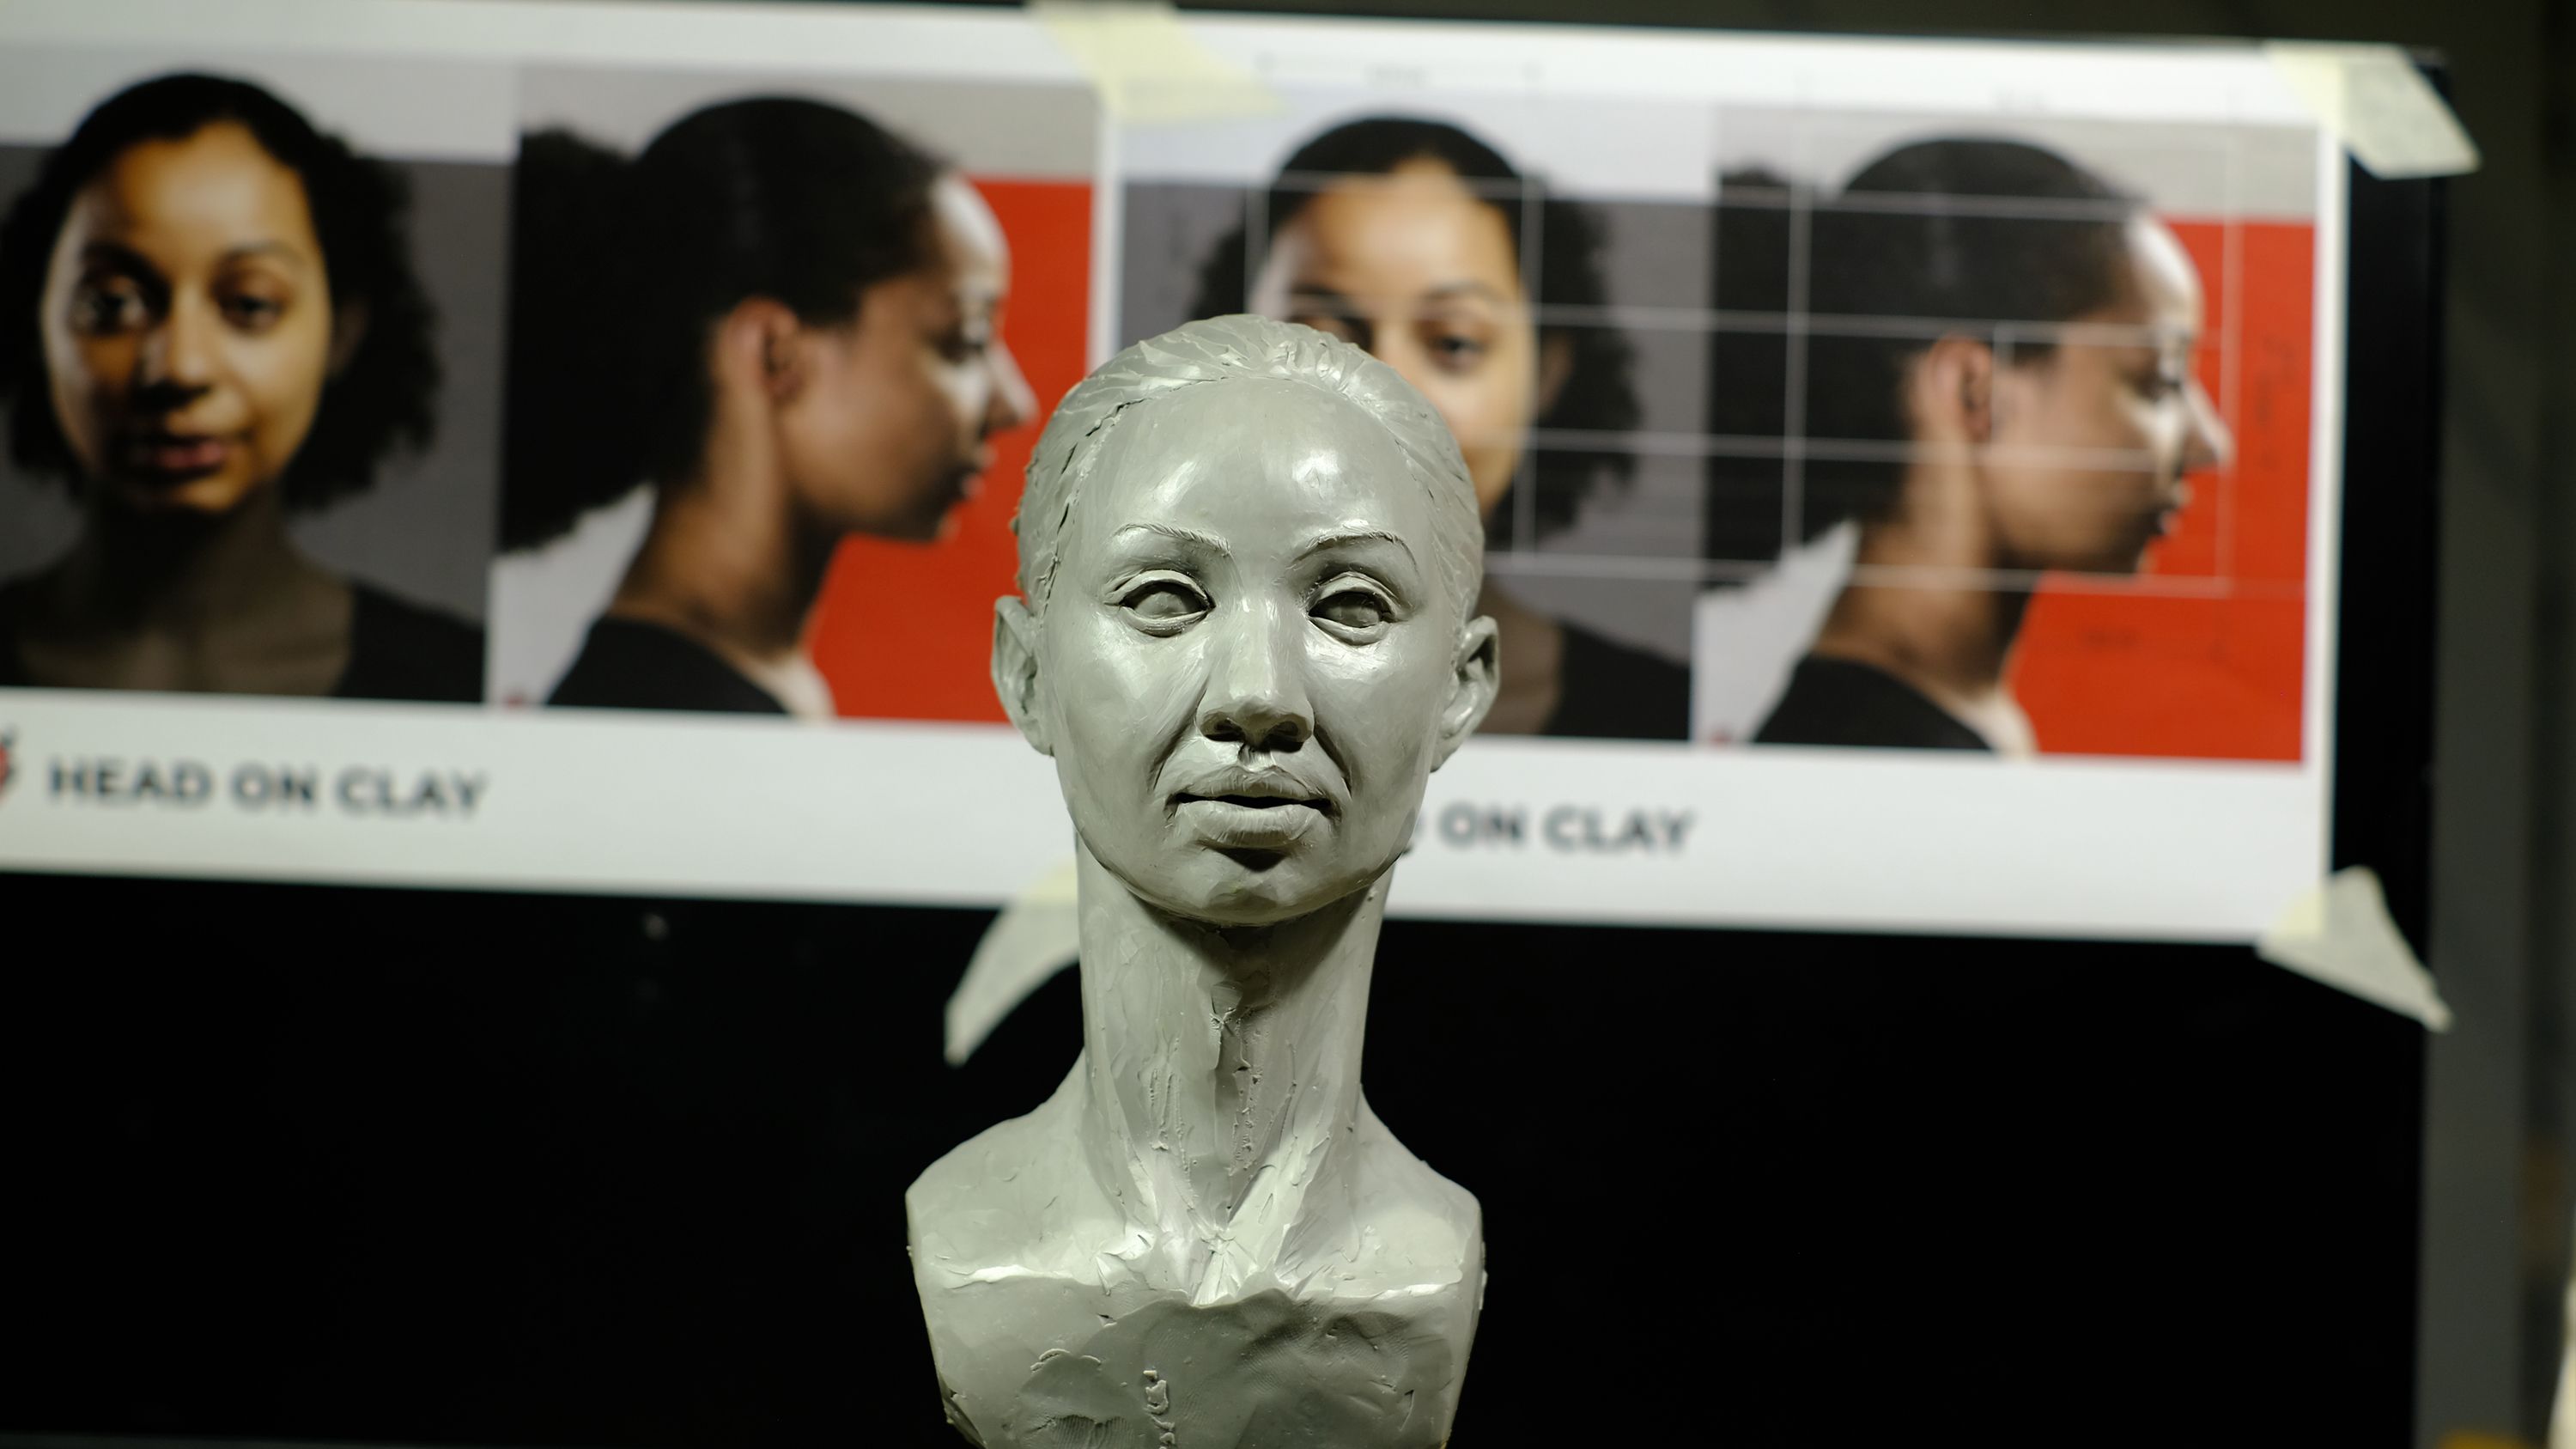
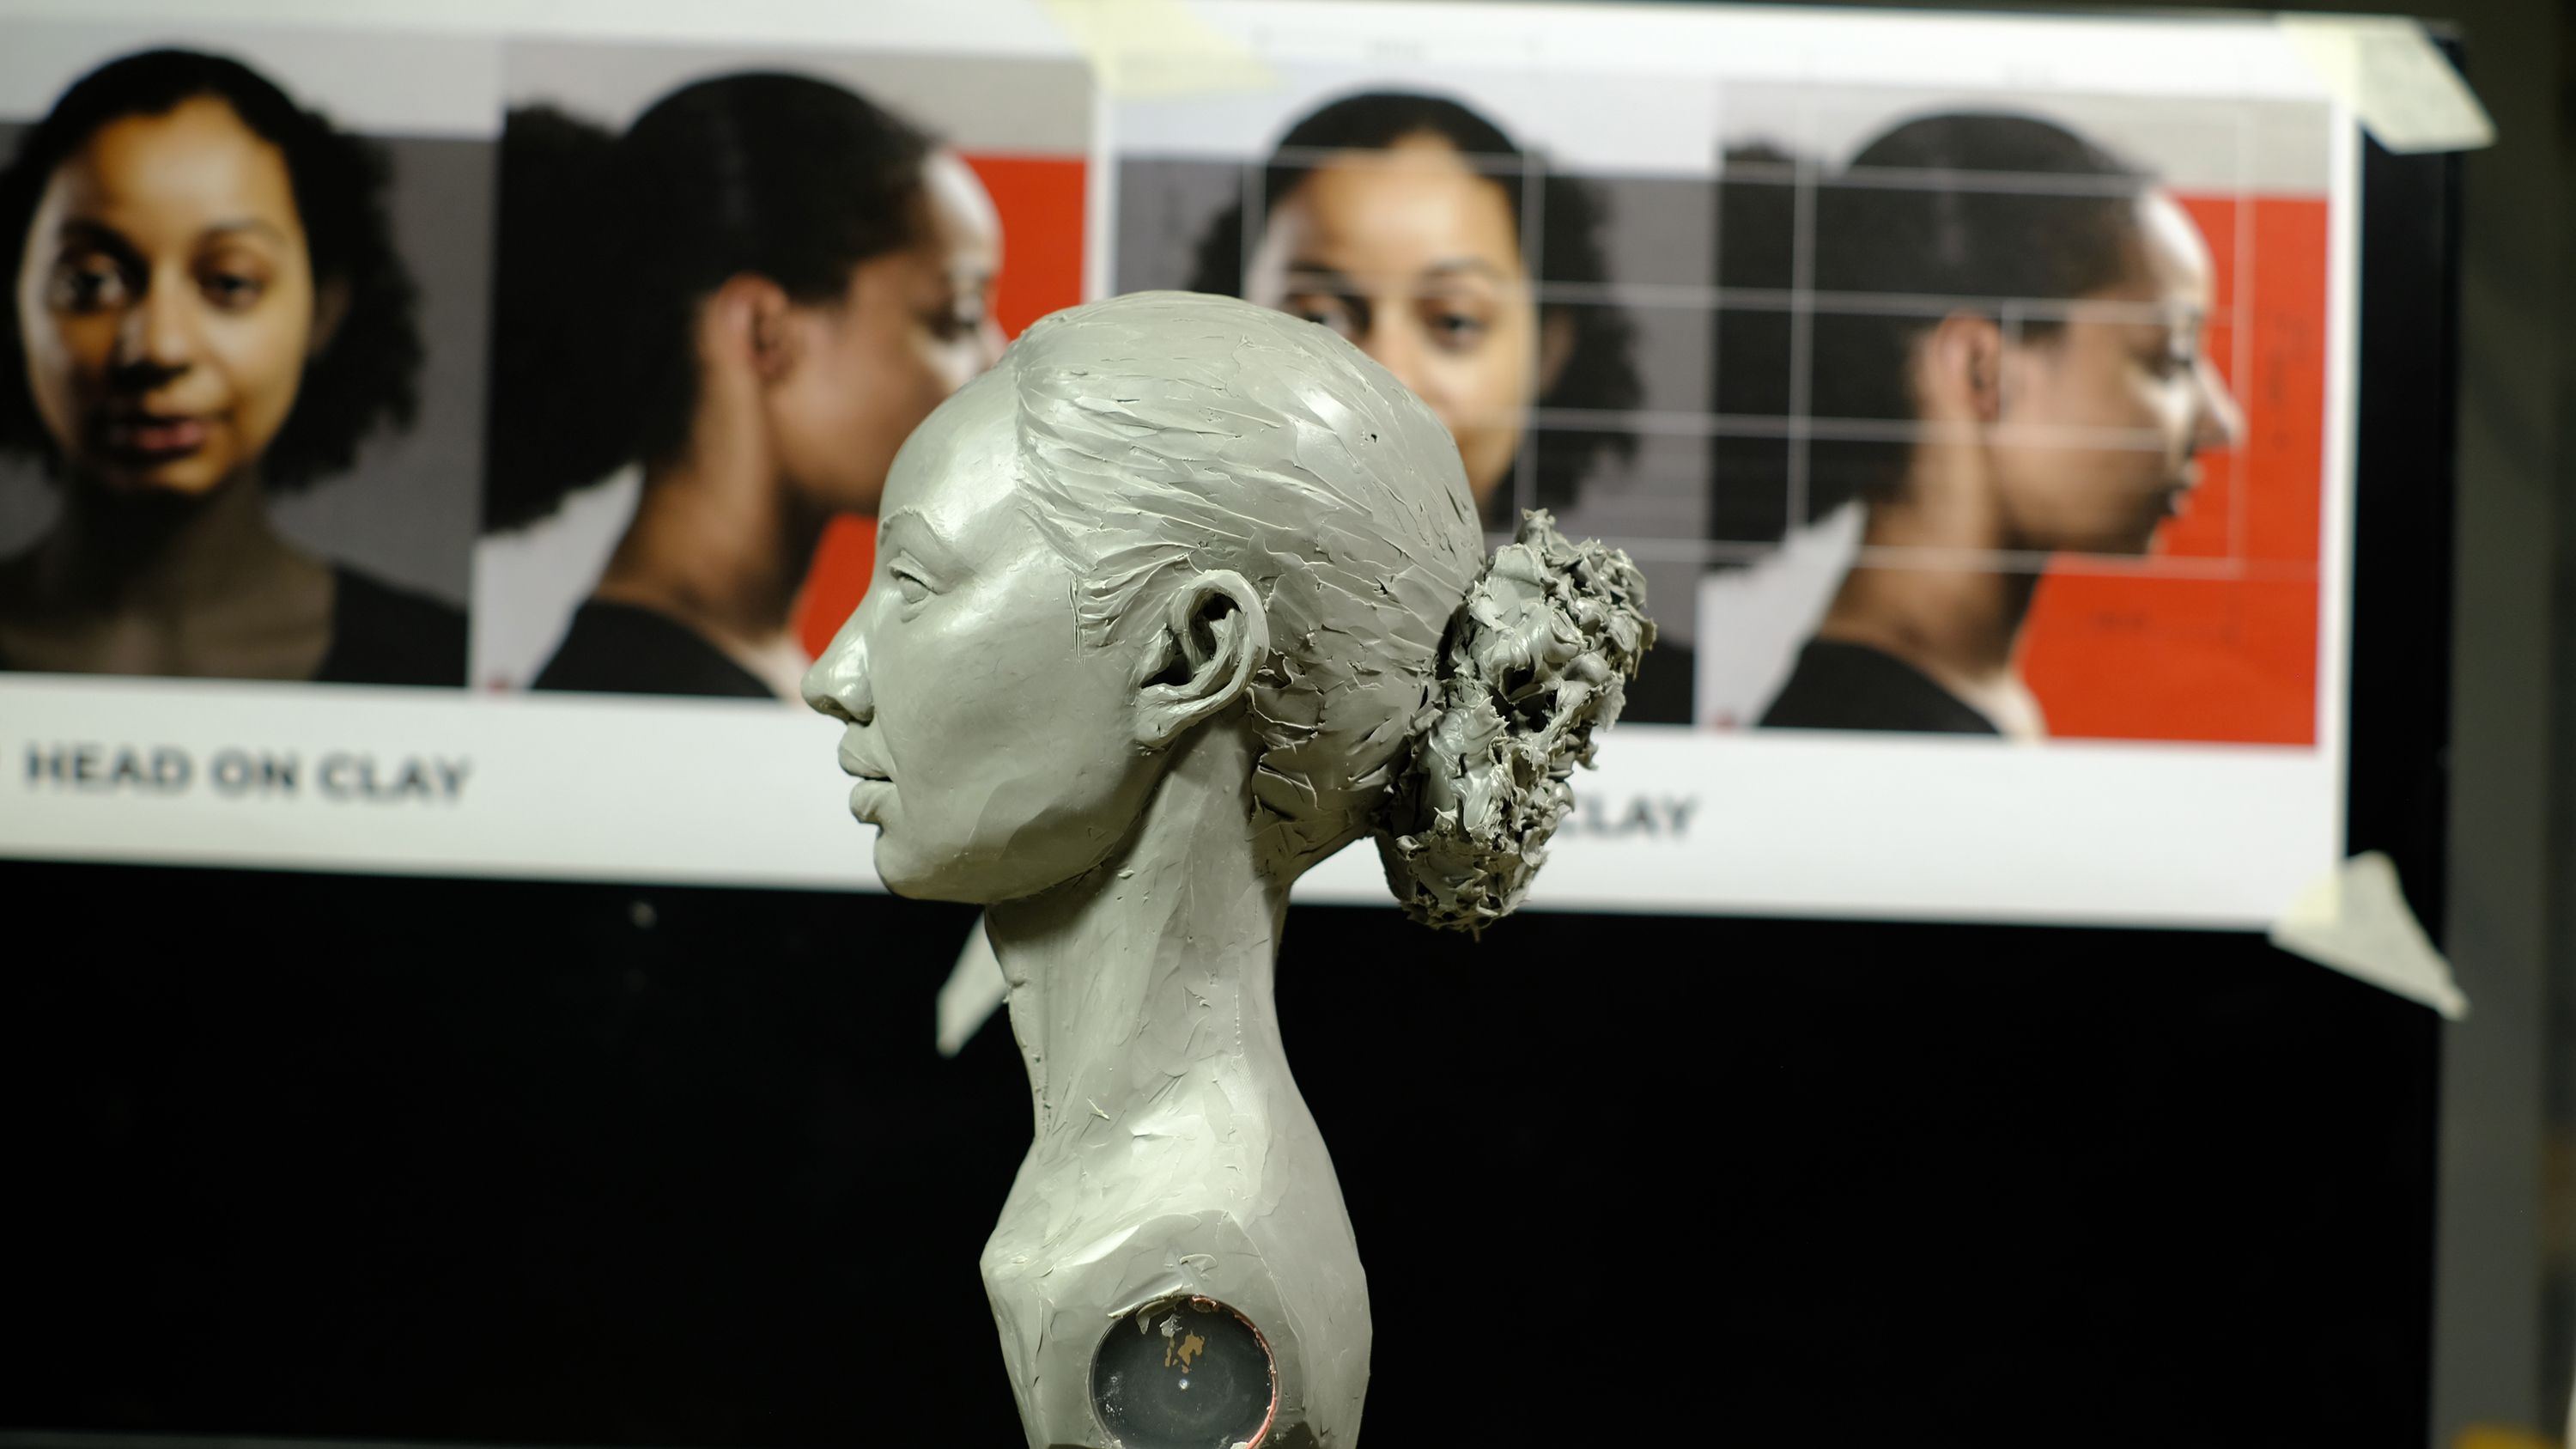
This is the latest hands-on project of a half-body portrait sculpture. This piece is part of the curriculum "Introduction to Realistic Figurative Sculpture by Sección de cursos," focusing on the analysis of the face and skull structure. The project's goal is to convey the softness and spirit of a woman's face from lifeless clay, while maintaining anatomical accuracy based on standard reference materials.
Supplies
Here are the essential materials and tools used for this sculpting project:
Oil-based Clay: The primary material for sculpting. This type of clay has a high degree of smoothness, holds detail well, and allows for flexible adjustments.
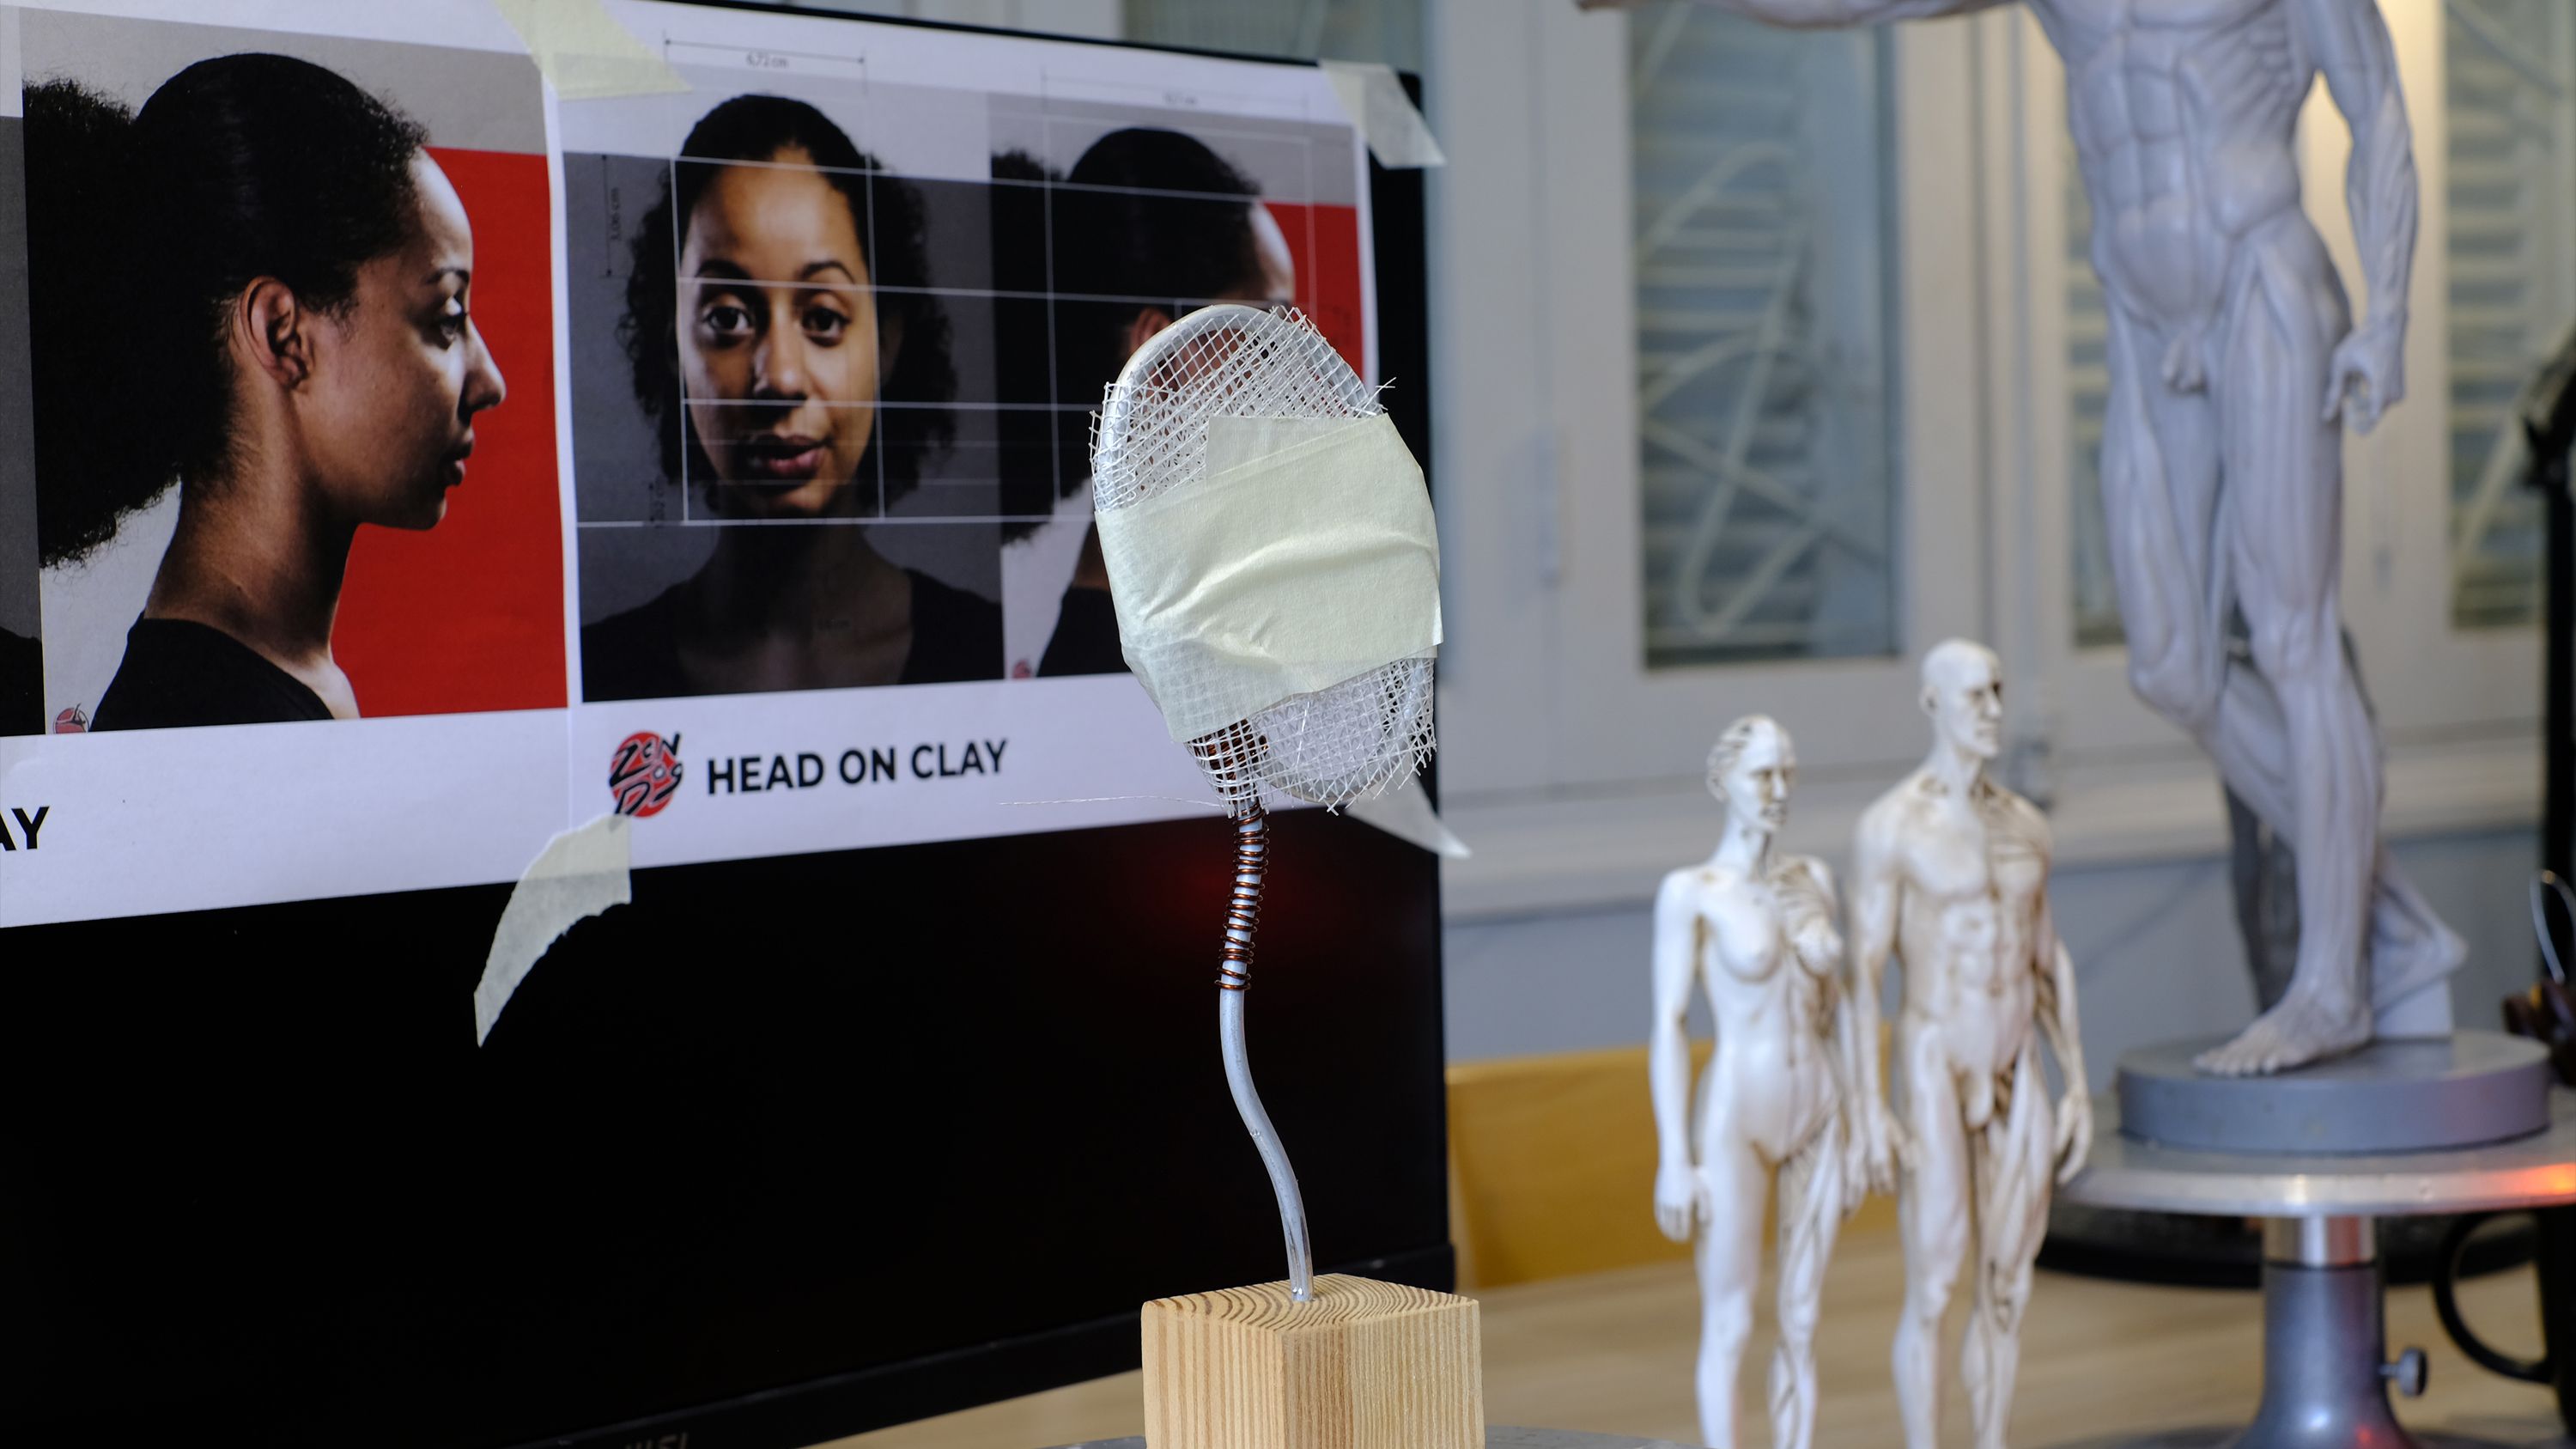
Armature: Consisting of a wooden base, aluminum wire, and wire mesh to create an internal support structure, keeping the sculpture upright and shaping the initial pose.
Sculpting Tool Set: Includes various wooden spatulas for applying clay, loop tools for scraping/removing excess clay, and small detail tools for refining the eyes, nose, and mouth.
References: Printed and digital displays of reference images from multiple angles (front, profile, 3/4 view) along with a scale grid for constant comparison.
Studio Lighting: Directional lighting to examine the mass, shadows, and surface of the artwork.
Step 1: Plan and Build the Framework
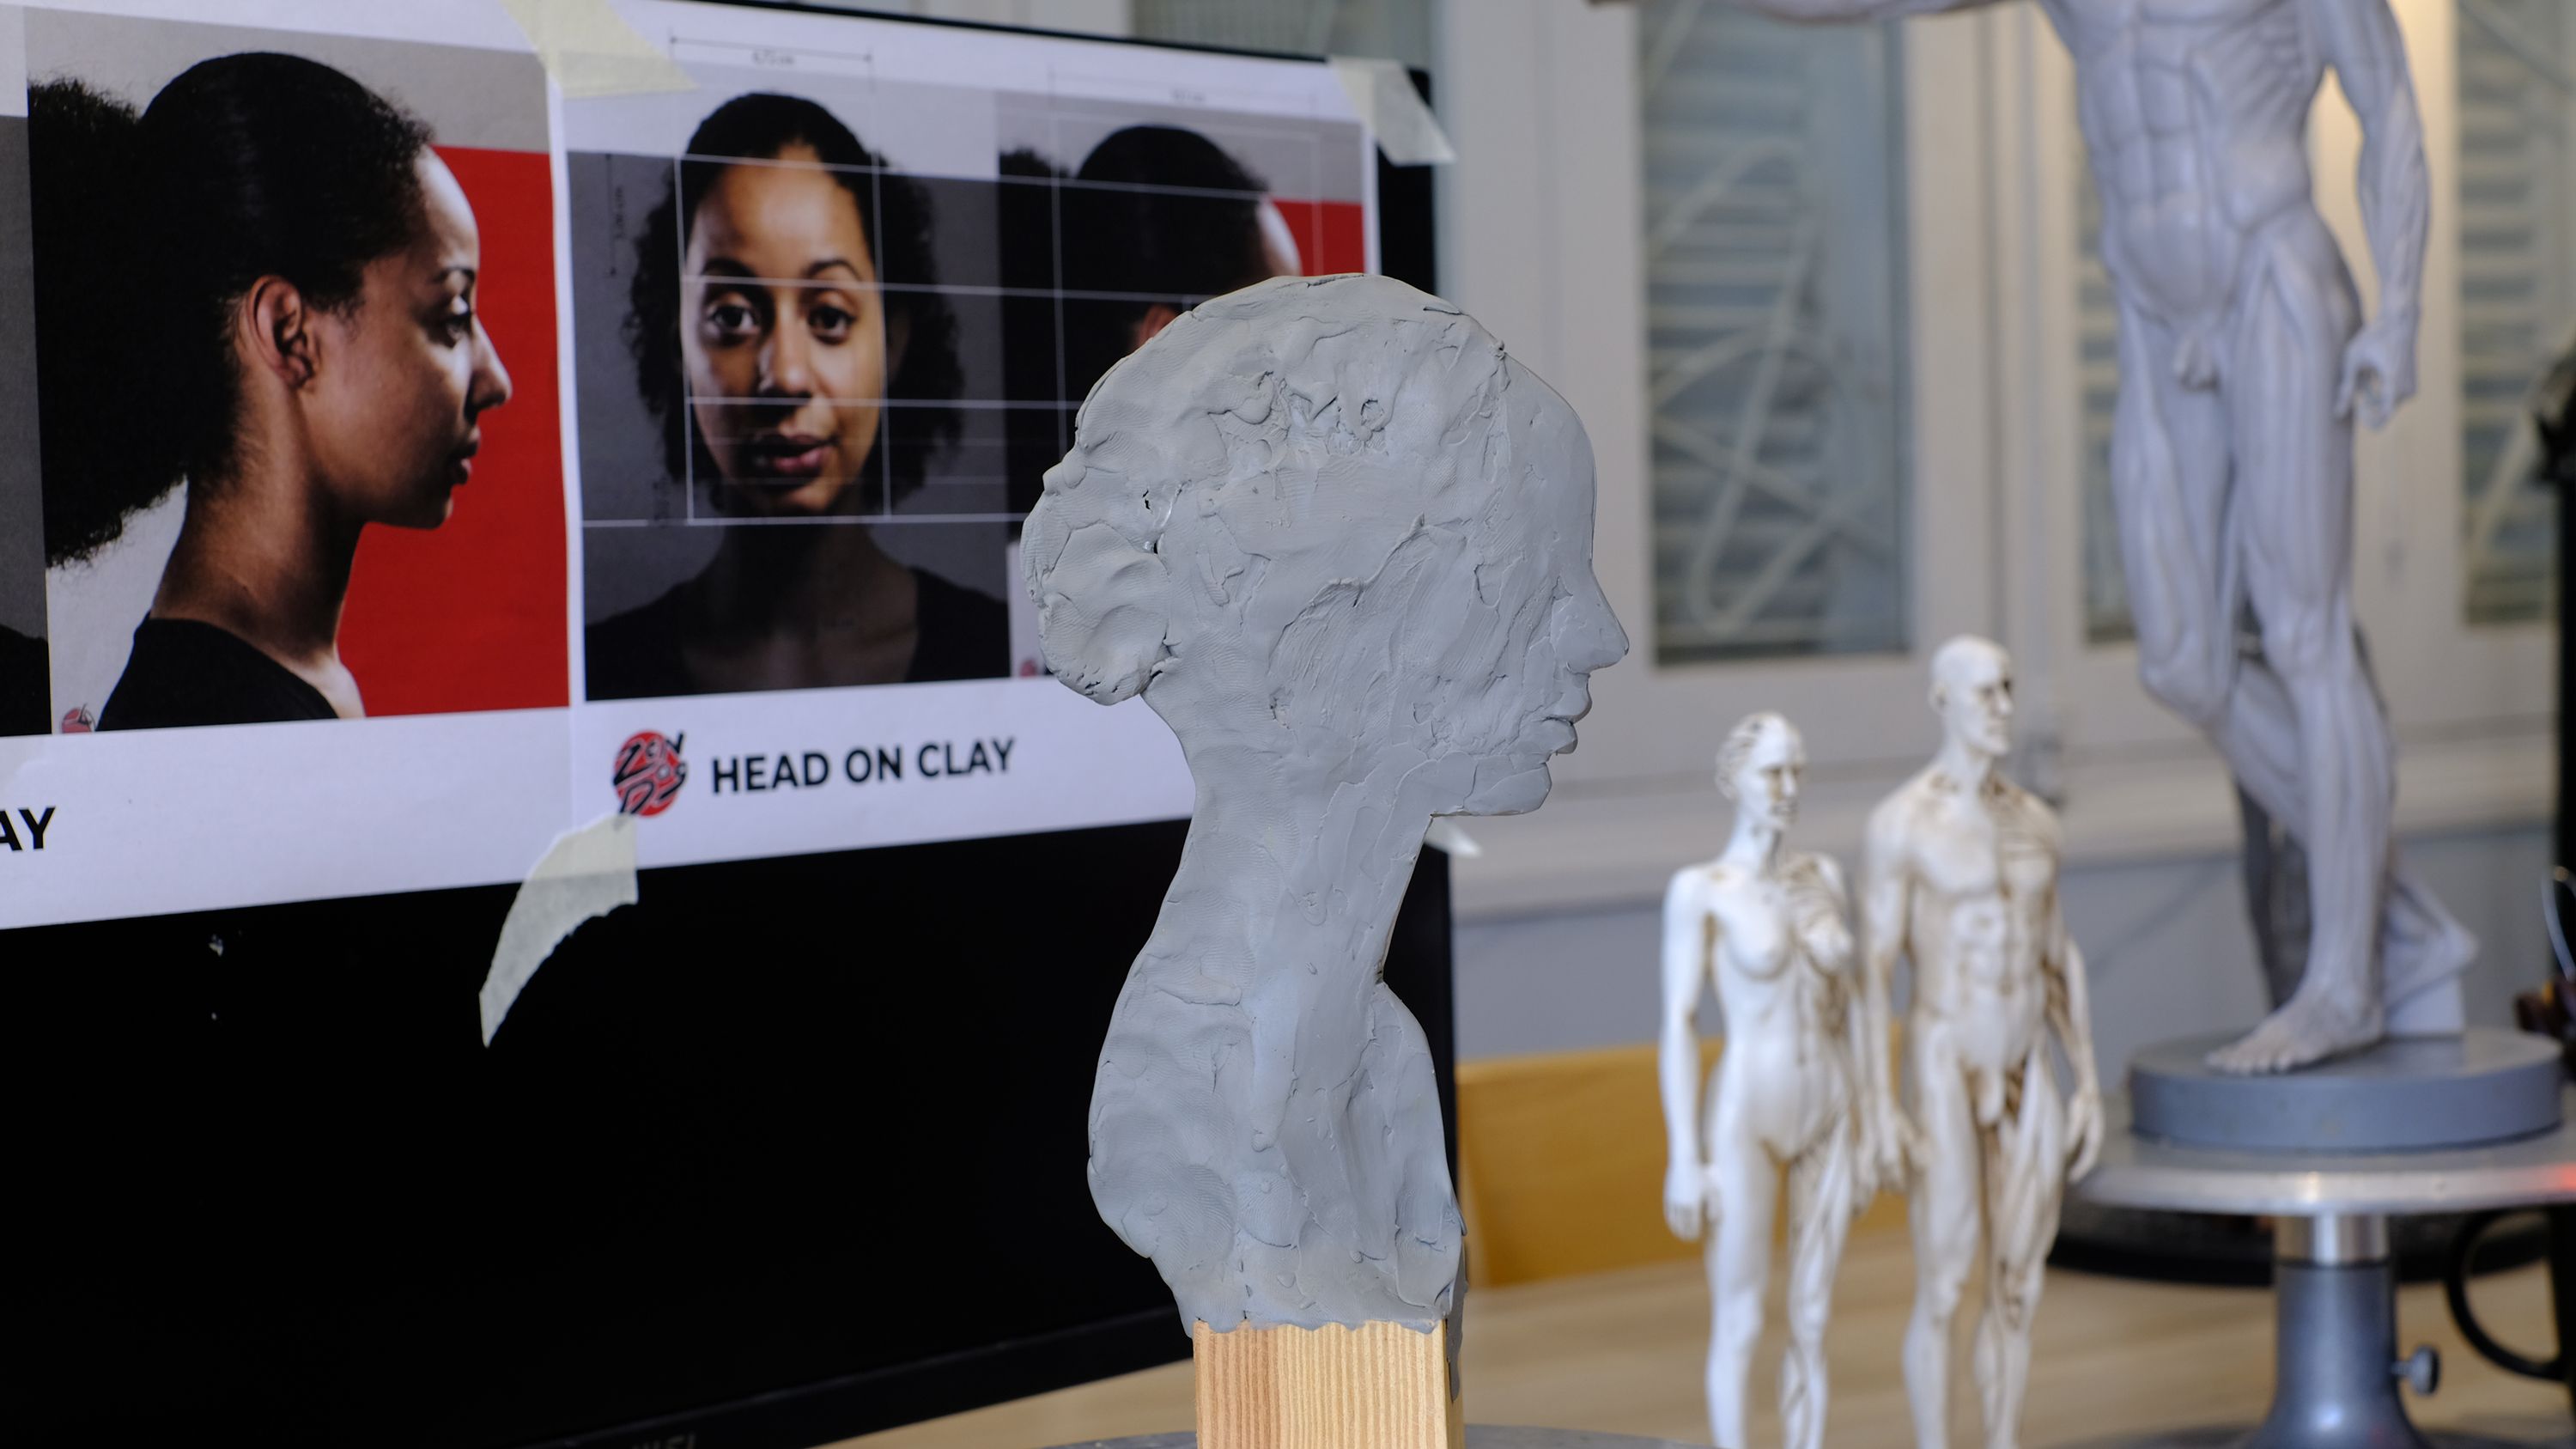
The process begins with establishing a solid foundation. I start by constructing a wire armature and wire mesh mounted on a wooden base. At this stage, the focus is on defining the overall proportions, the tilt of the neck, and the gaze of the head. Applying the first layers of clay is crucial for establishing the main volumes of the skull, jaw, and neck. This initial phase helps shape the piece's facial features, ensuring balance before moving on to any details.
Step 2: Sculpting the Form and Defining Facial Features
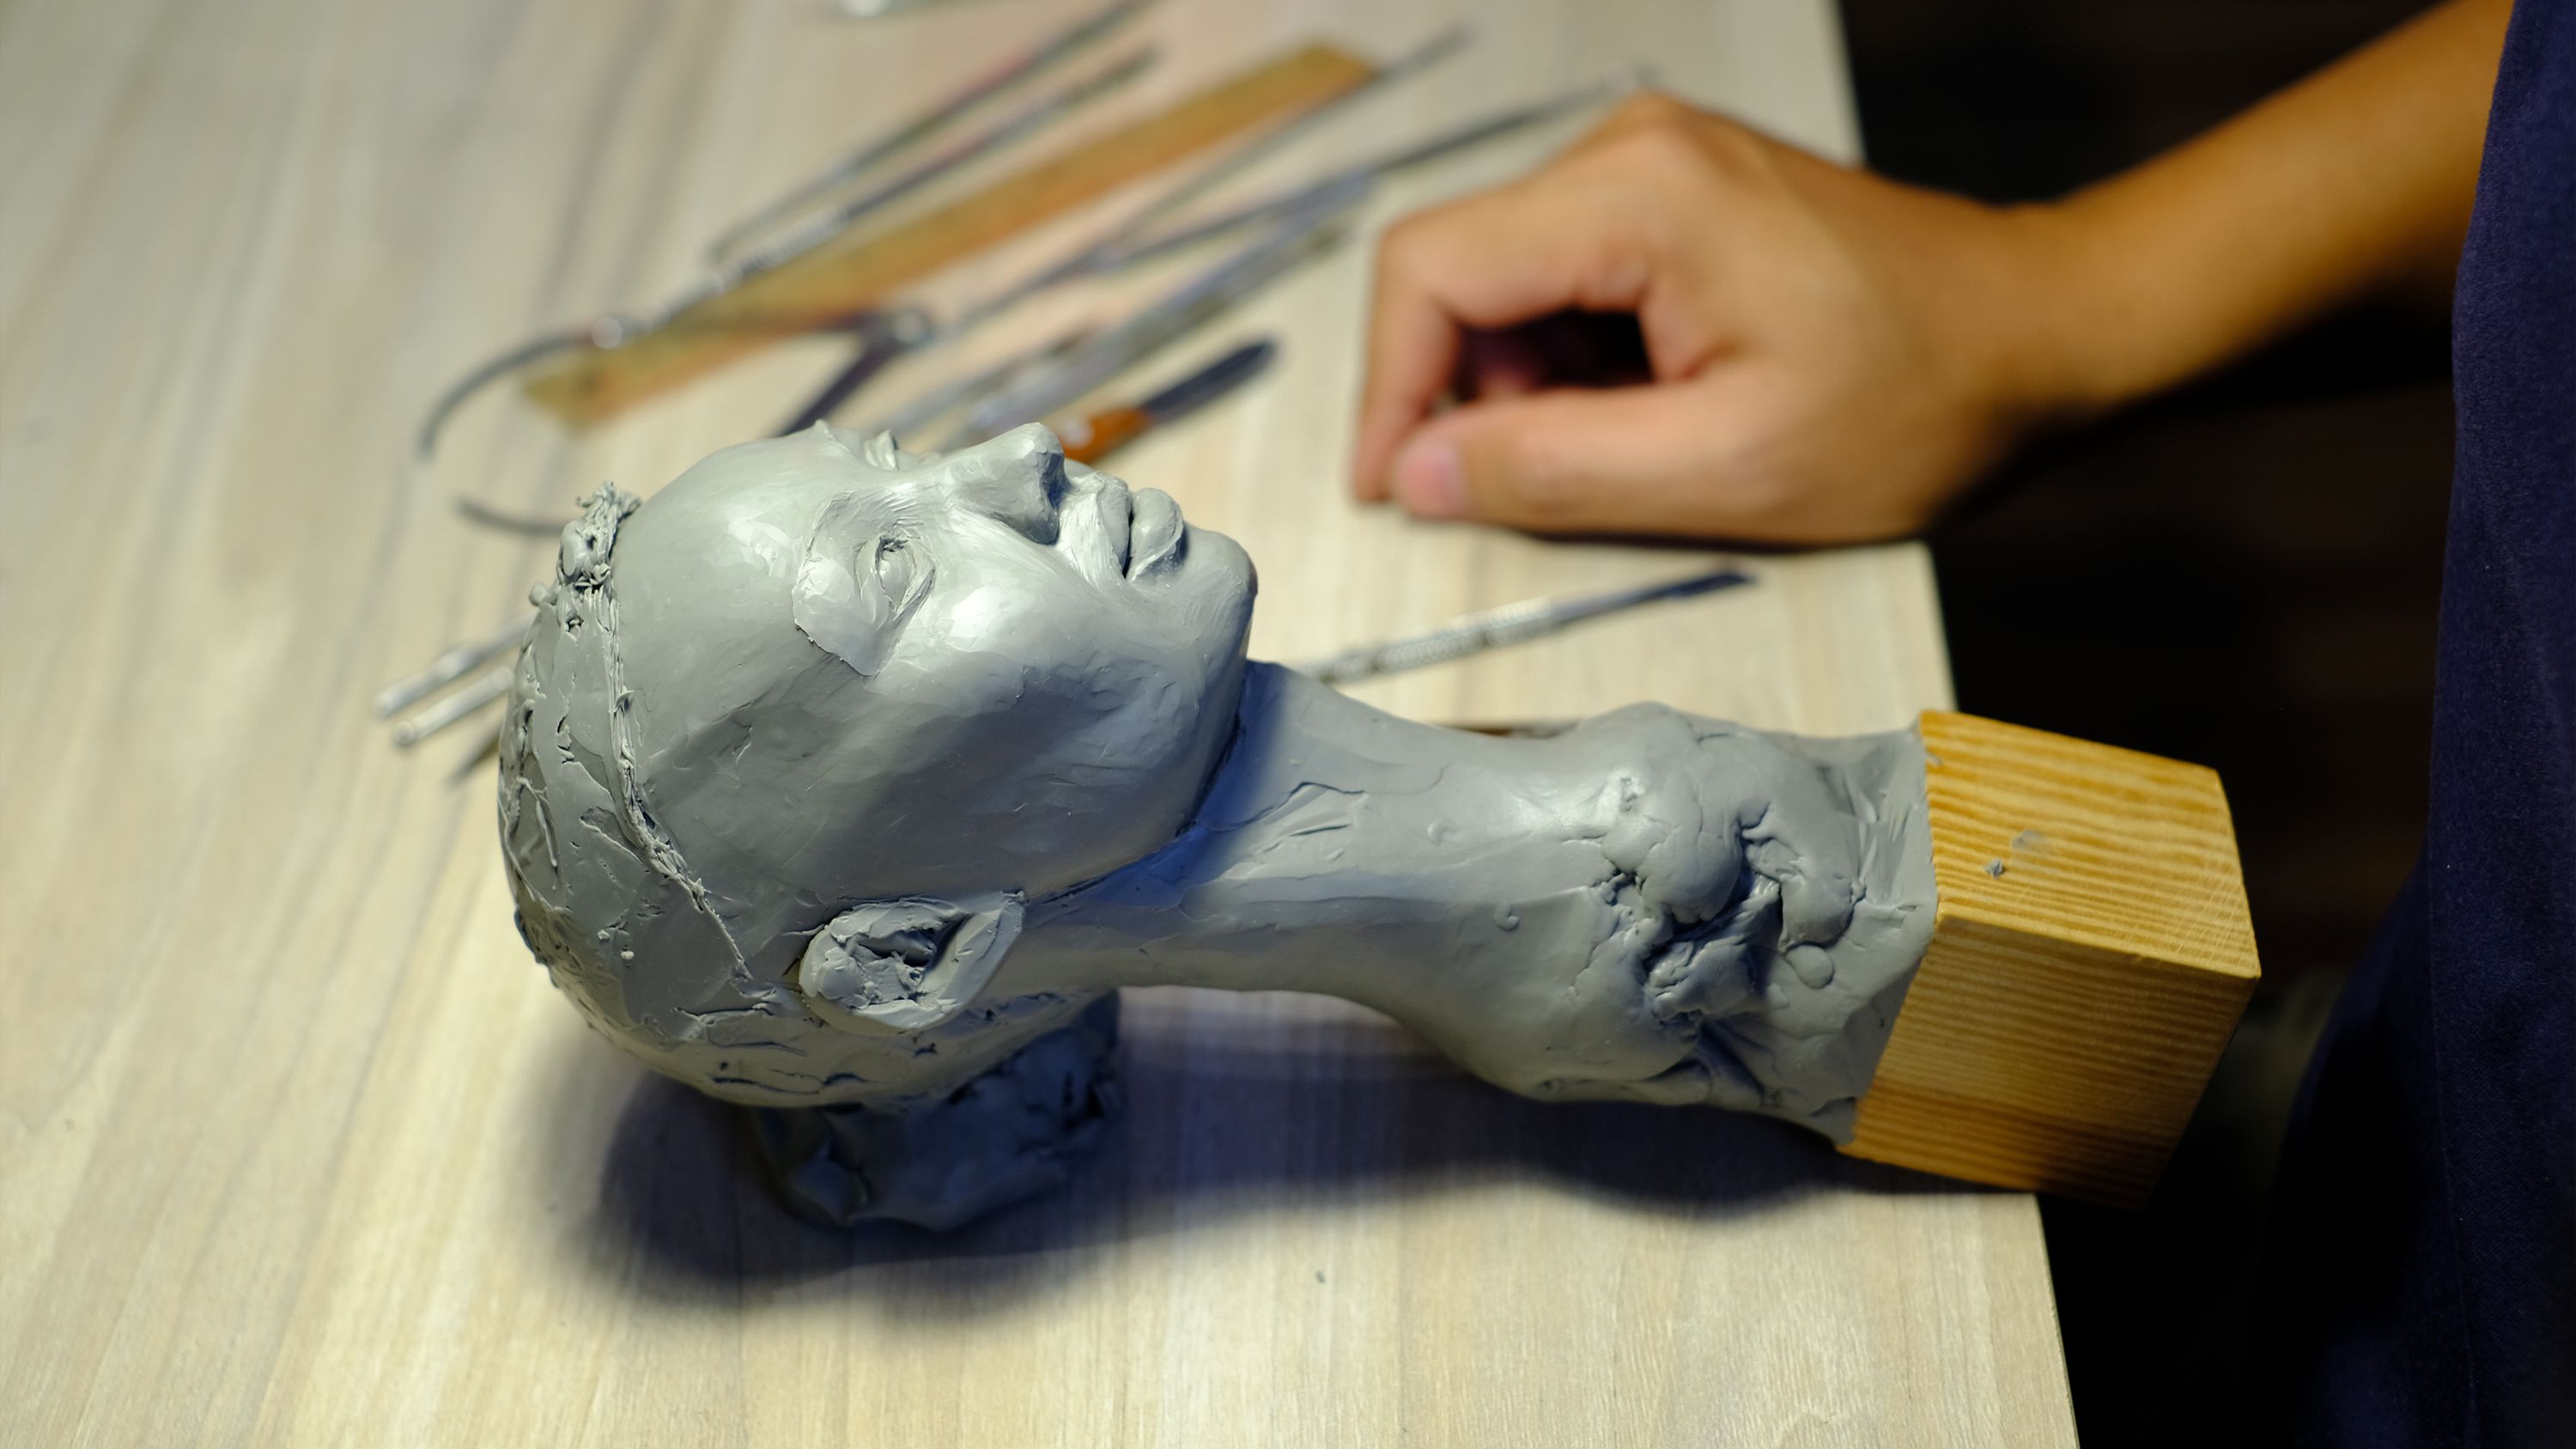
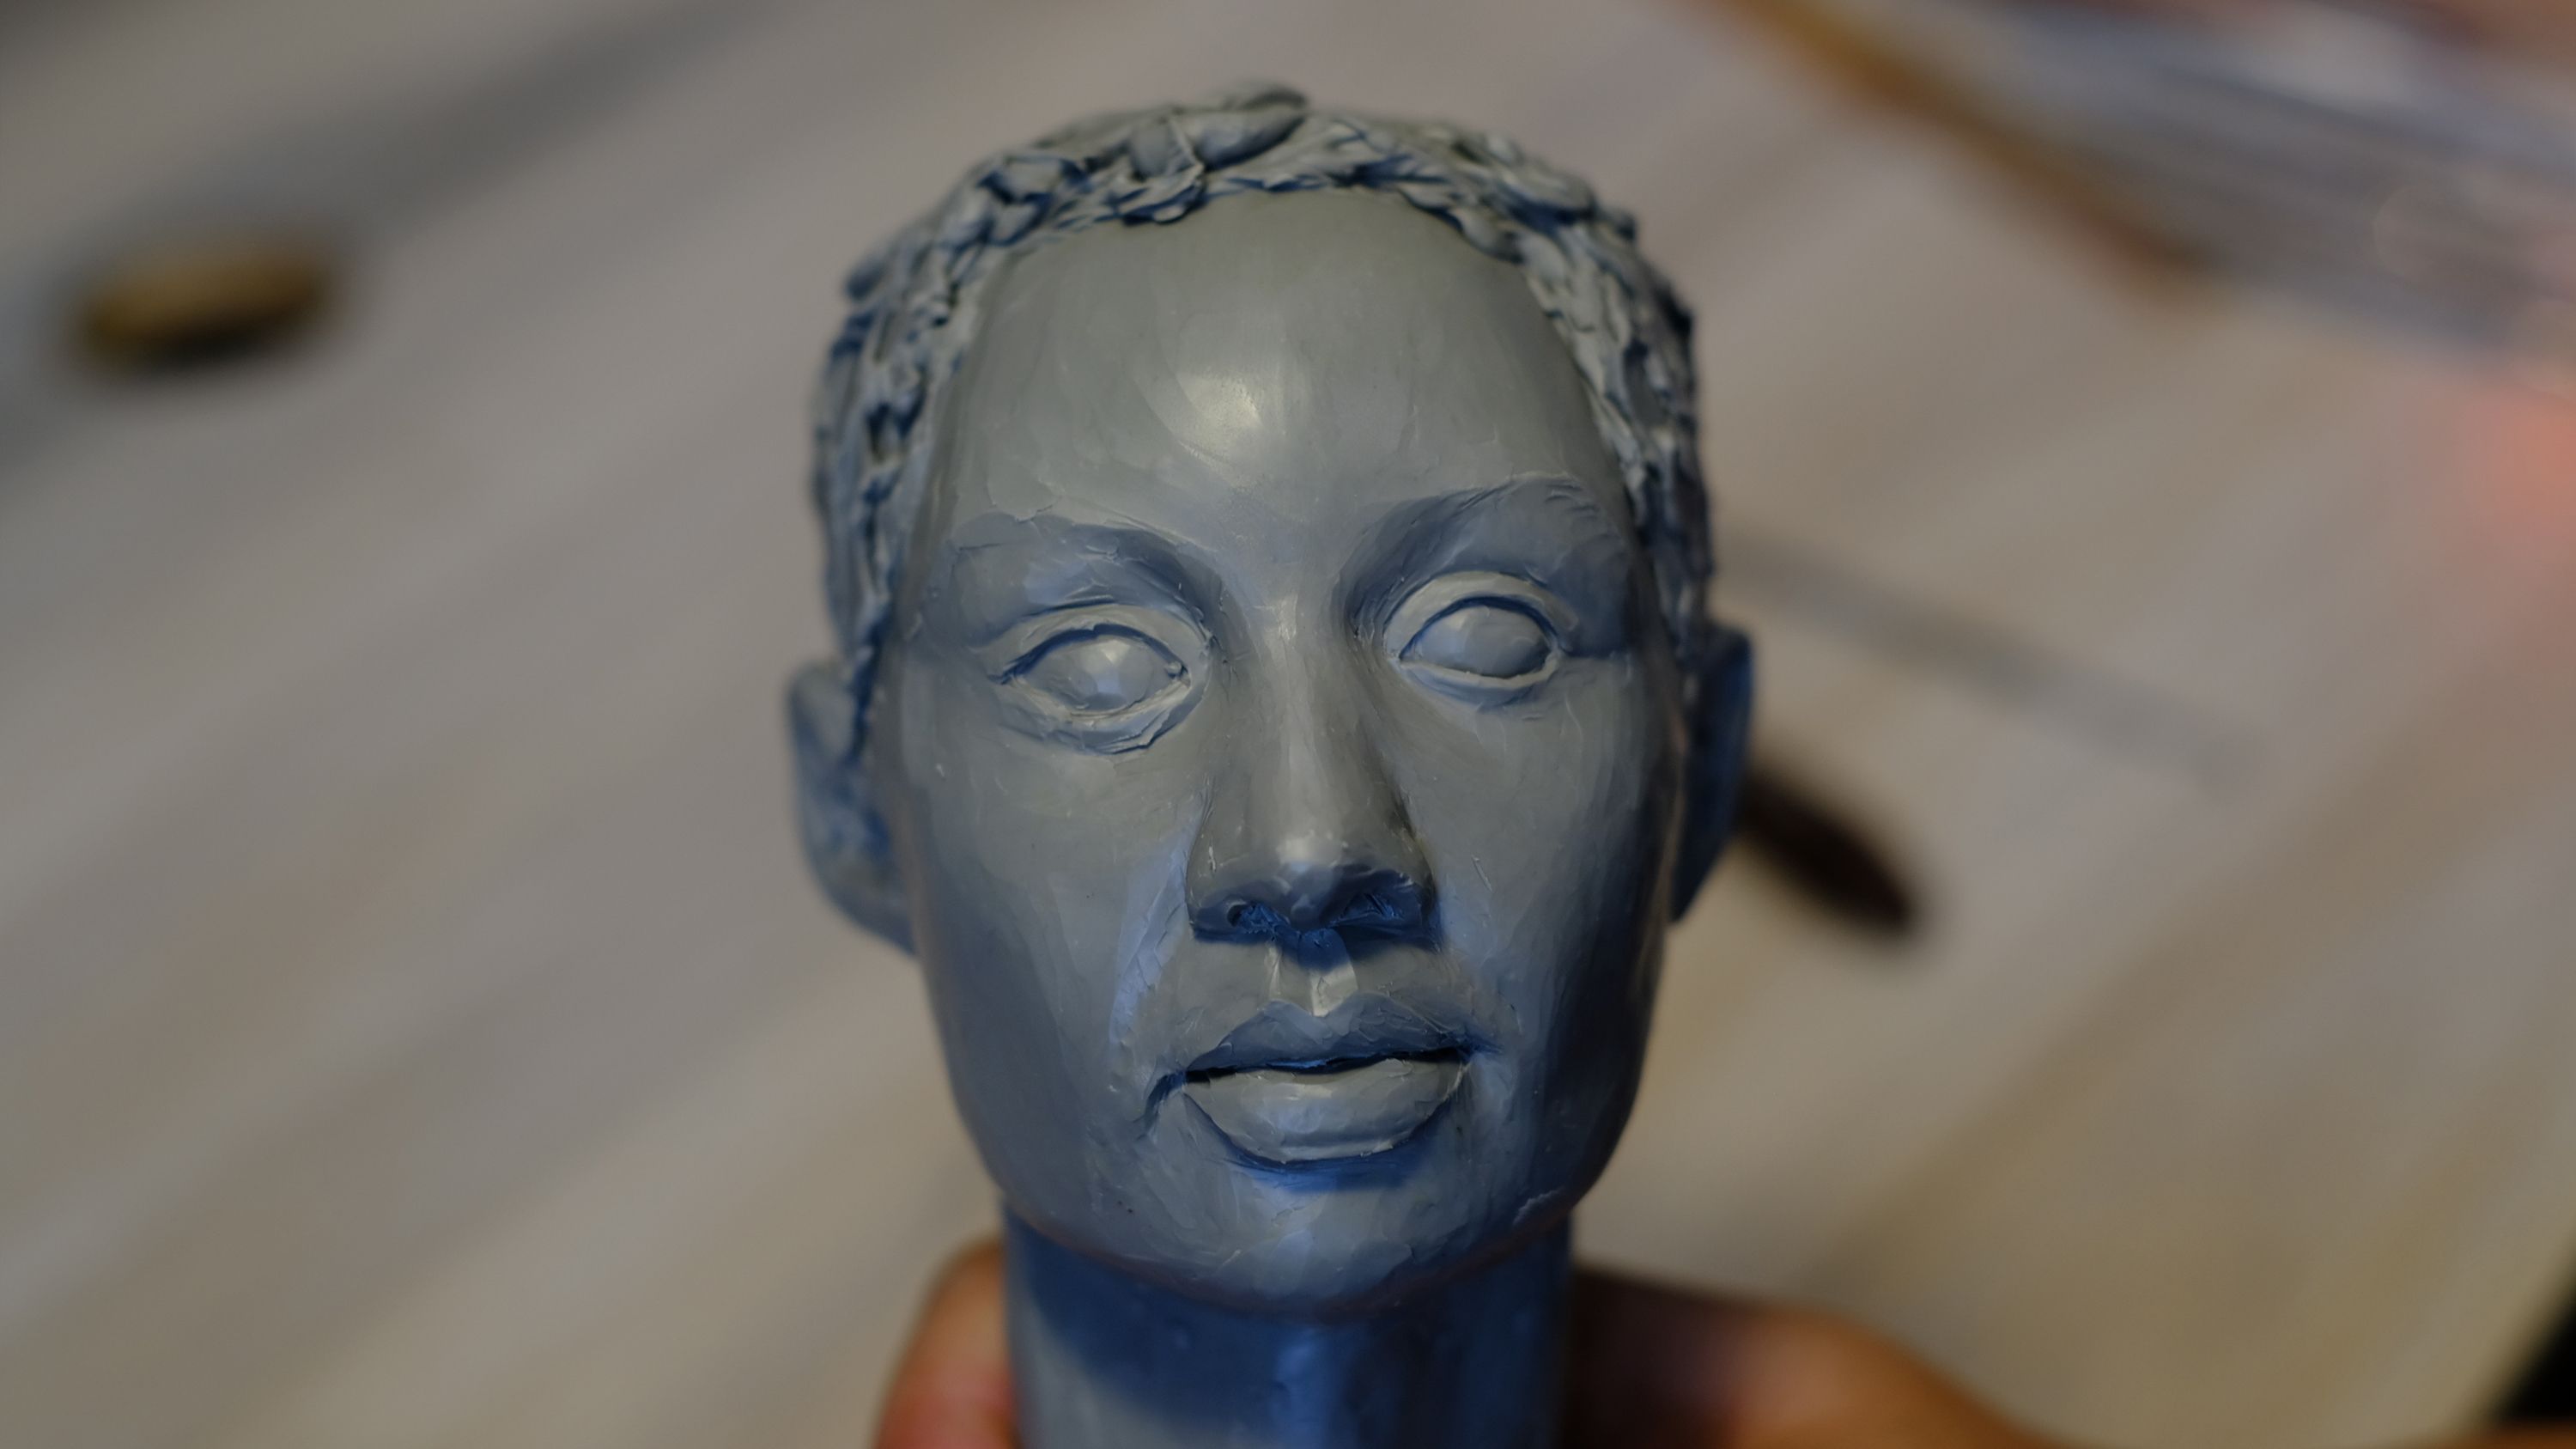
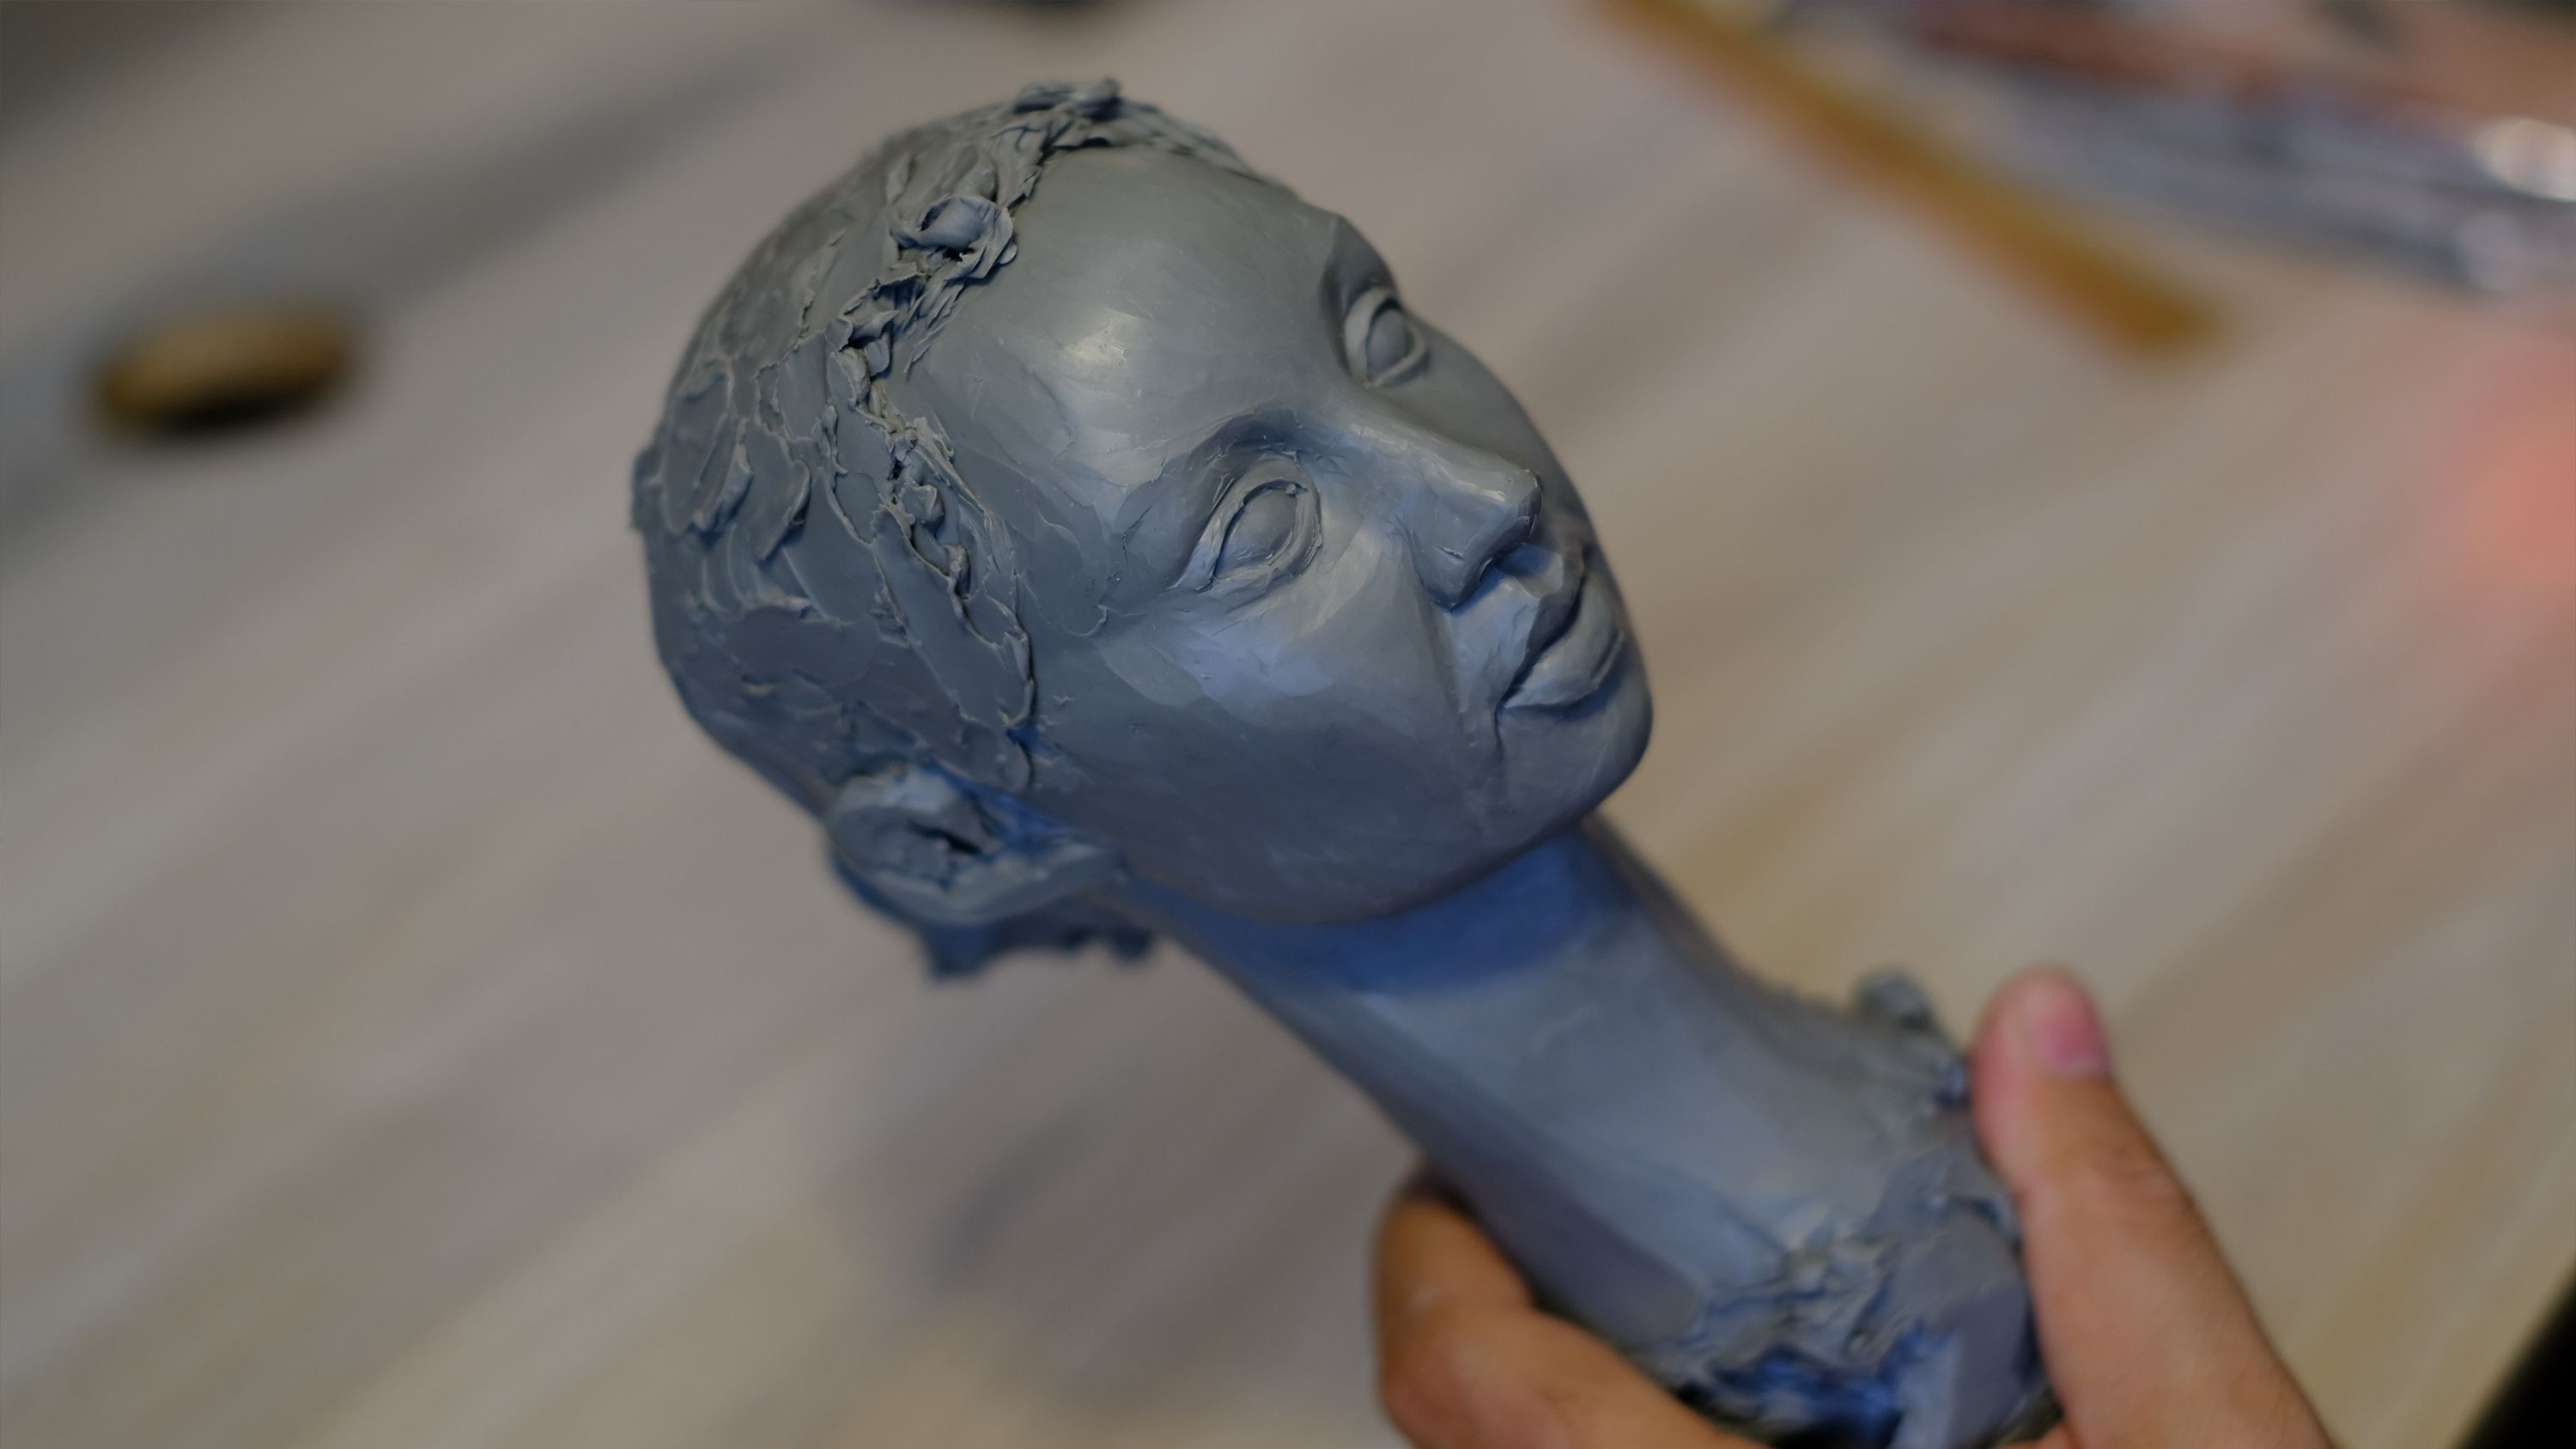
Once the basic skull structure is complete, I use on-screen references to determine the placement of the facial axis lines. Using a clay sculpting tool and my hands, I begin to build up the major muscle masses and define the key features: the eye sockets, the bridge of the nose, the cheekbones, and the mouth area. This process requires constant observation between the model and the sculpture to ensure anatomical accuracy. I focus on creating the planes of the face, smoothly transitioning between the hard bone regions and the soft muscle areas, and adjusting the head's tilt to create a lively expression.
Step 3: Refine the Surface and Hair Details
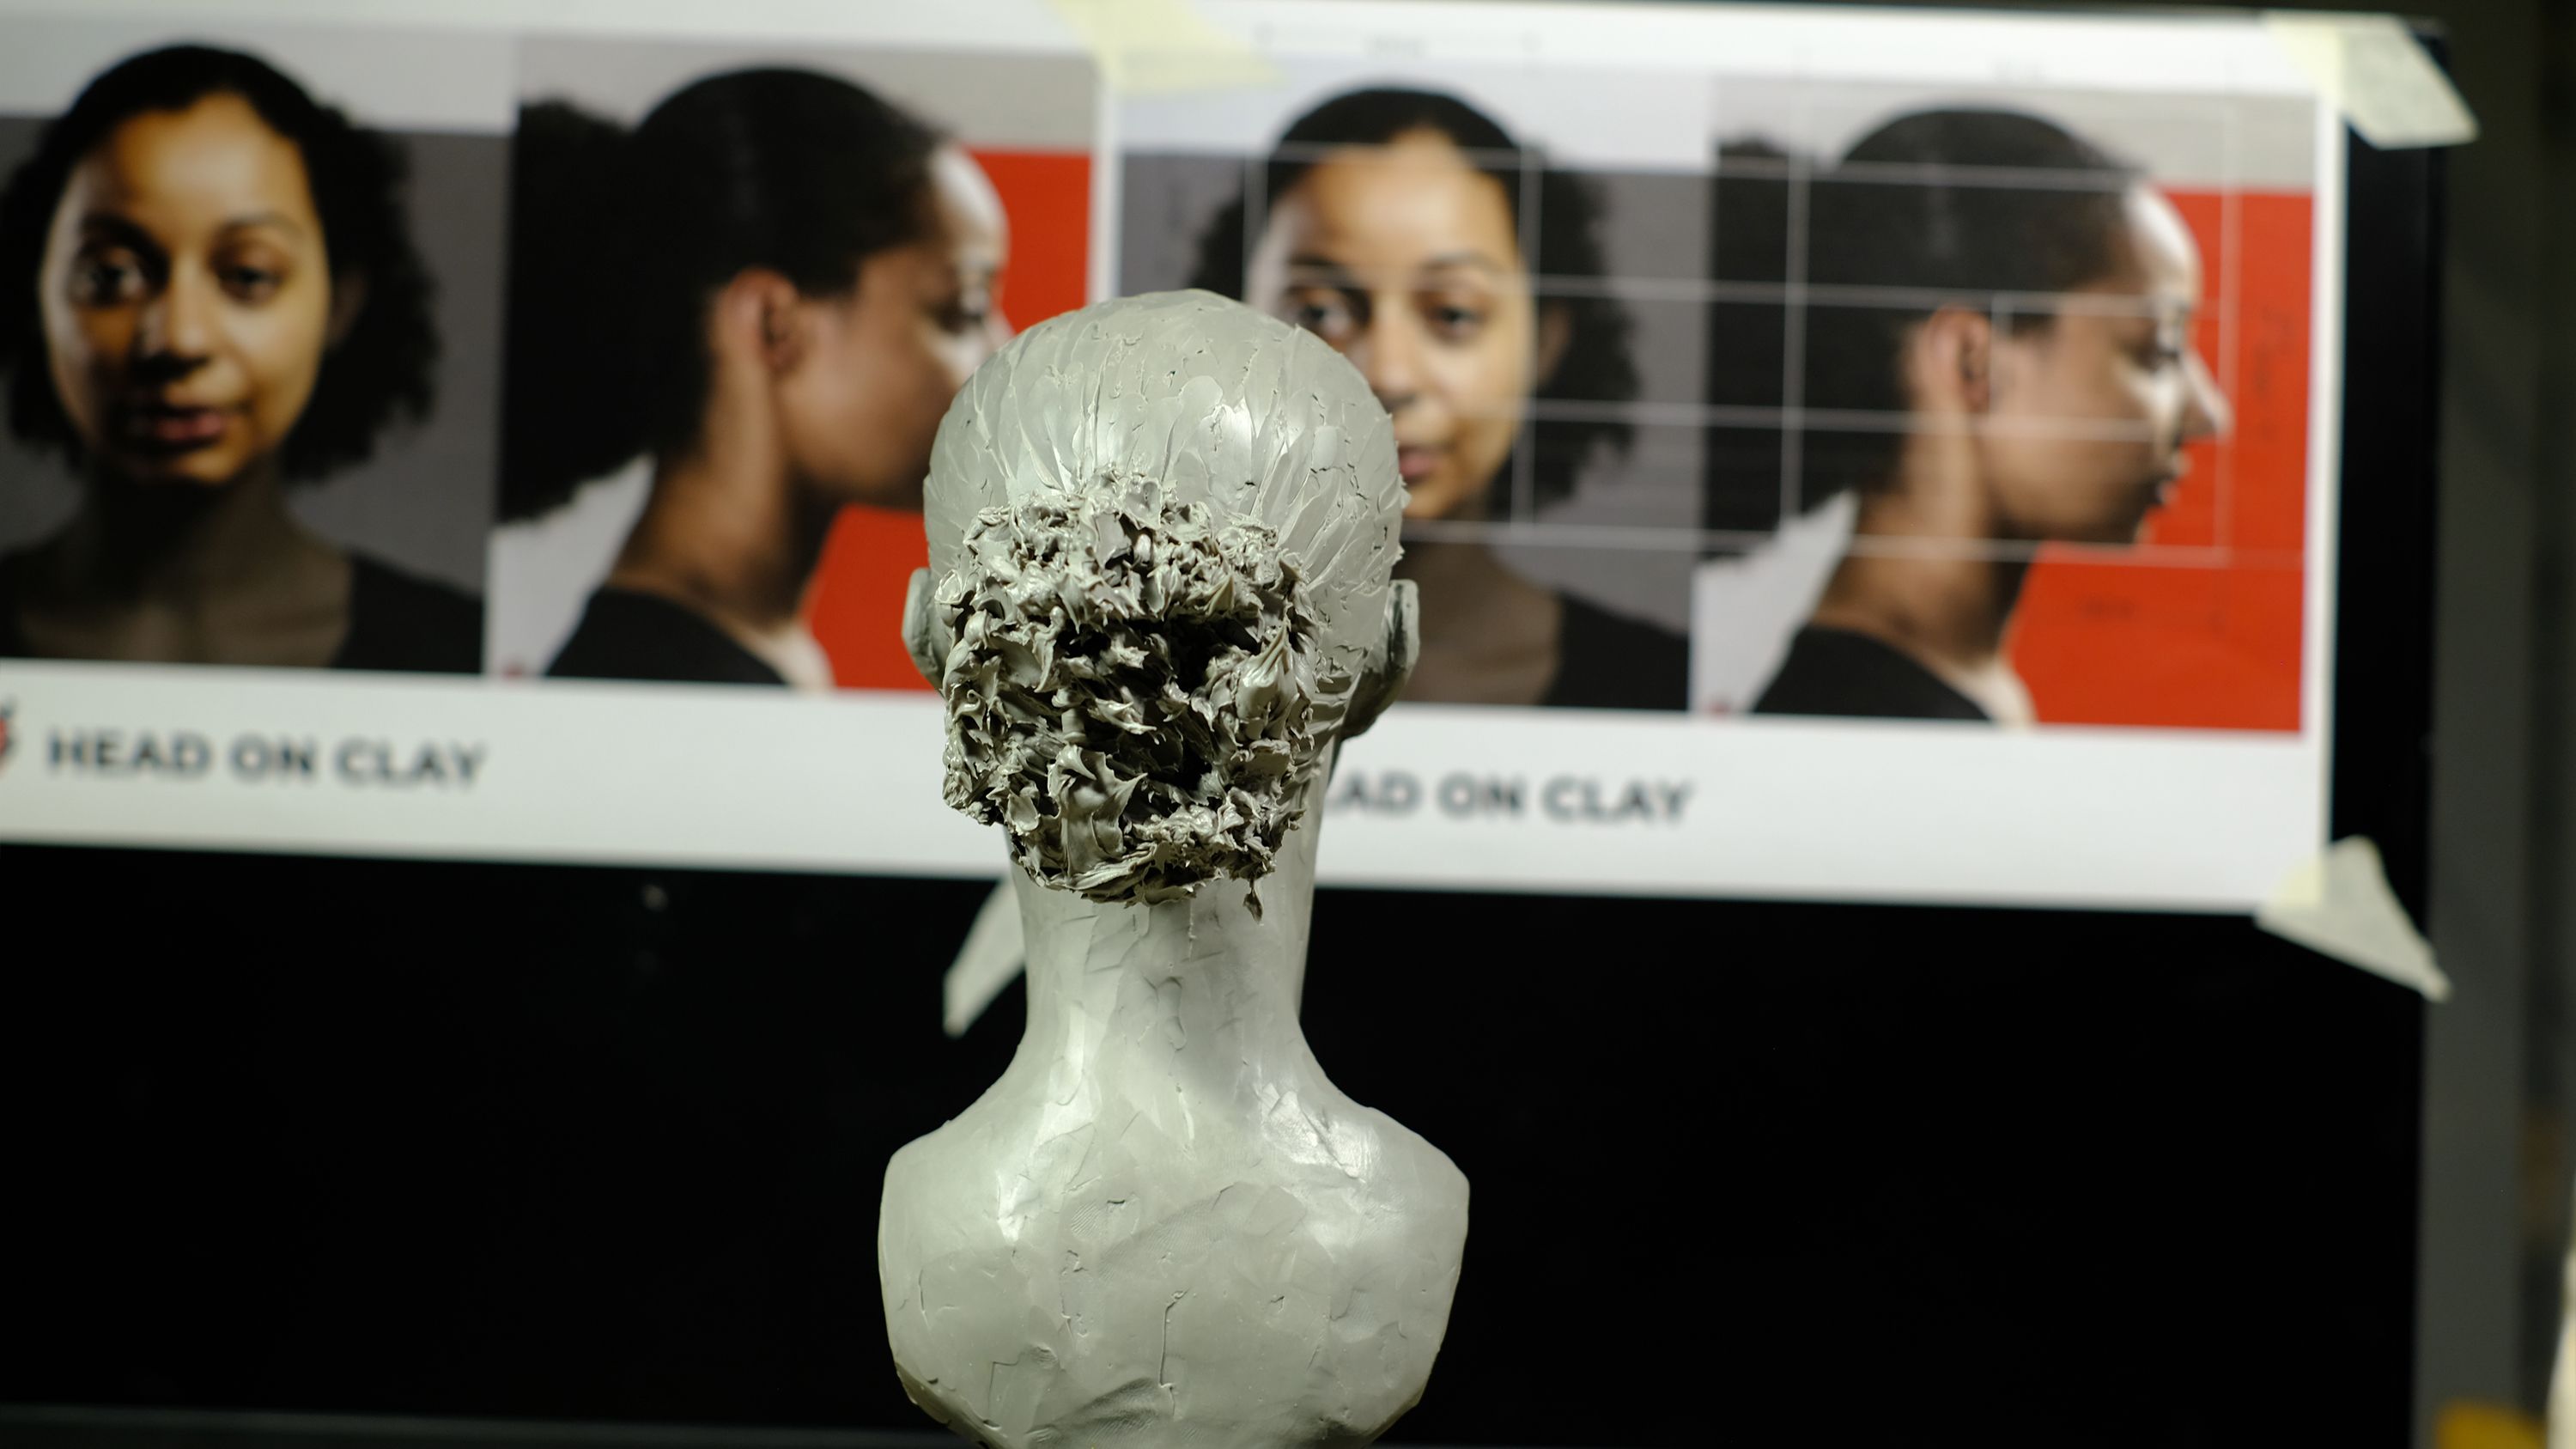
The final stage involves refining the surface and adding artistic elements. I smooth the skin to create a feeling of vitality, while using texturing tools to work on the hair. For this piece, I chose to treat the hair in a semi-abstract style with rough blocks, creating an interesting contrast with the meticulously refined face. Lighting is used for a final check of the shadows under the nose, chin, and eye sockets, ensuring the artwork has depth and conveys a quiet yet powerful emotion.
Thank you!
Please provide more feedback so this article can be improved. Thank you sincerely!


2 komentarze
Nice
@areejsalam Thanks
Zaloguj się lub dołącz bezpłatnie, aby móc komentować