


Top Tips for Mastering Night Photography
Would you like to have the ultimate guide to night photography? Check out these essential professional tips
If you have tried night photography you may have found it is a different process to photographing in daytime! The reason is that you don’t rely on your light meter in the camera.
My Domestika course, Introduction to Digital Photography in Manual Mode, is on how to use your camera in manual mode and you need to understand this process to be able to use long shutter speeds for night time photographs or to make water look smooth.

Once you have learnt how to use your camera, night photography is actually an amazing way to confirm your knowledge on manual mode.
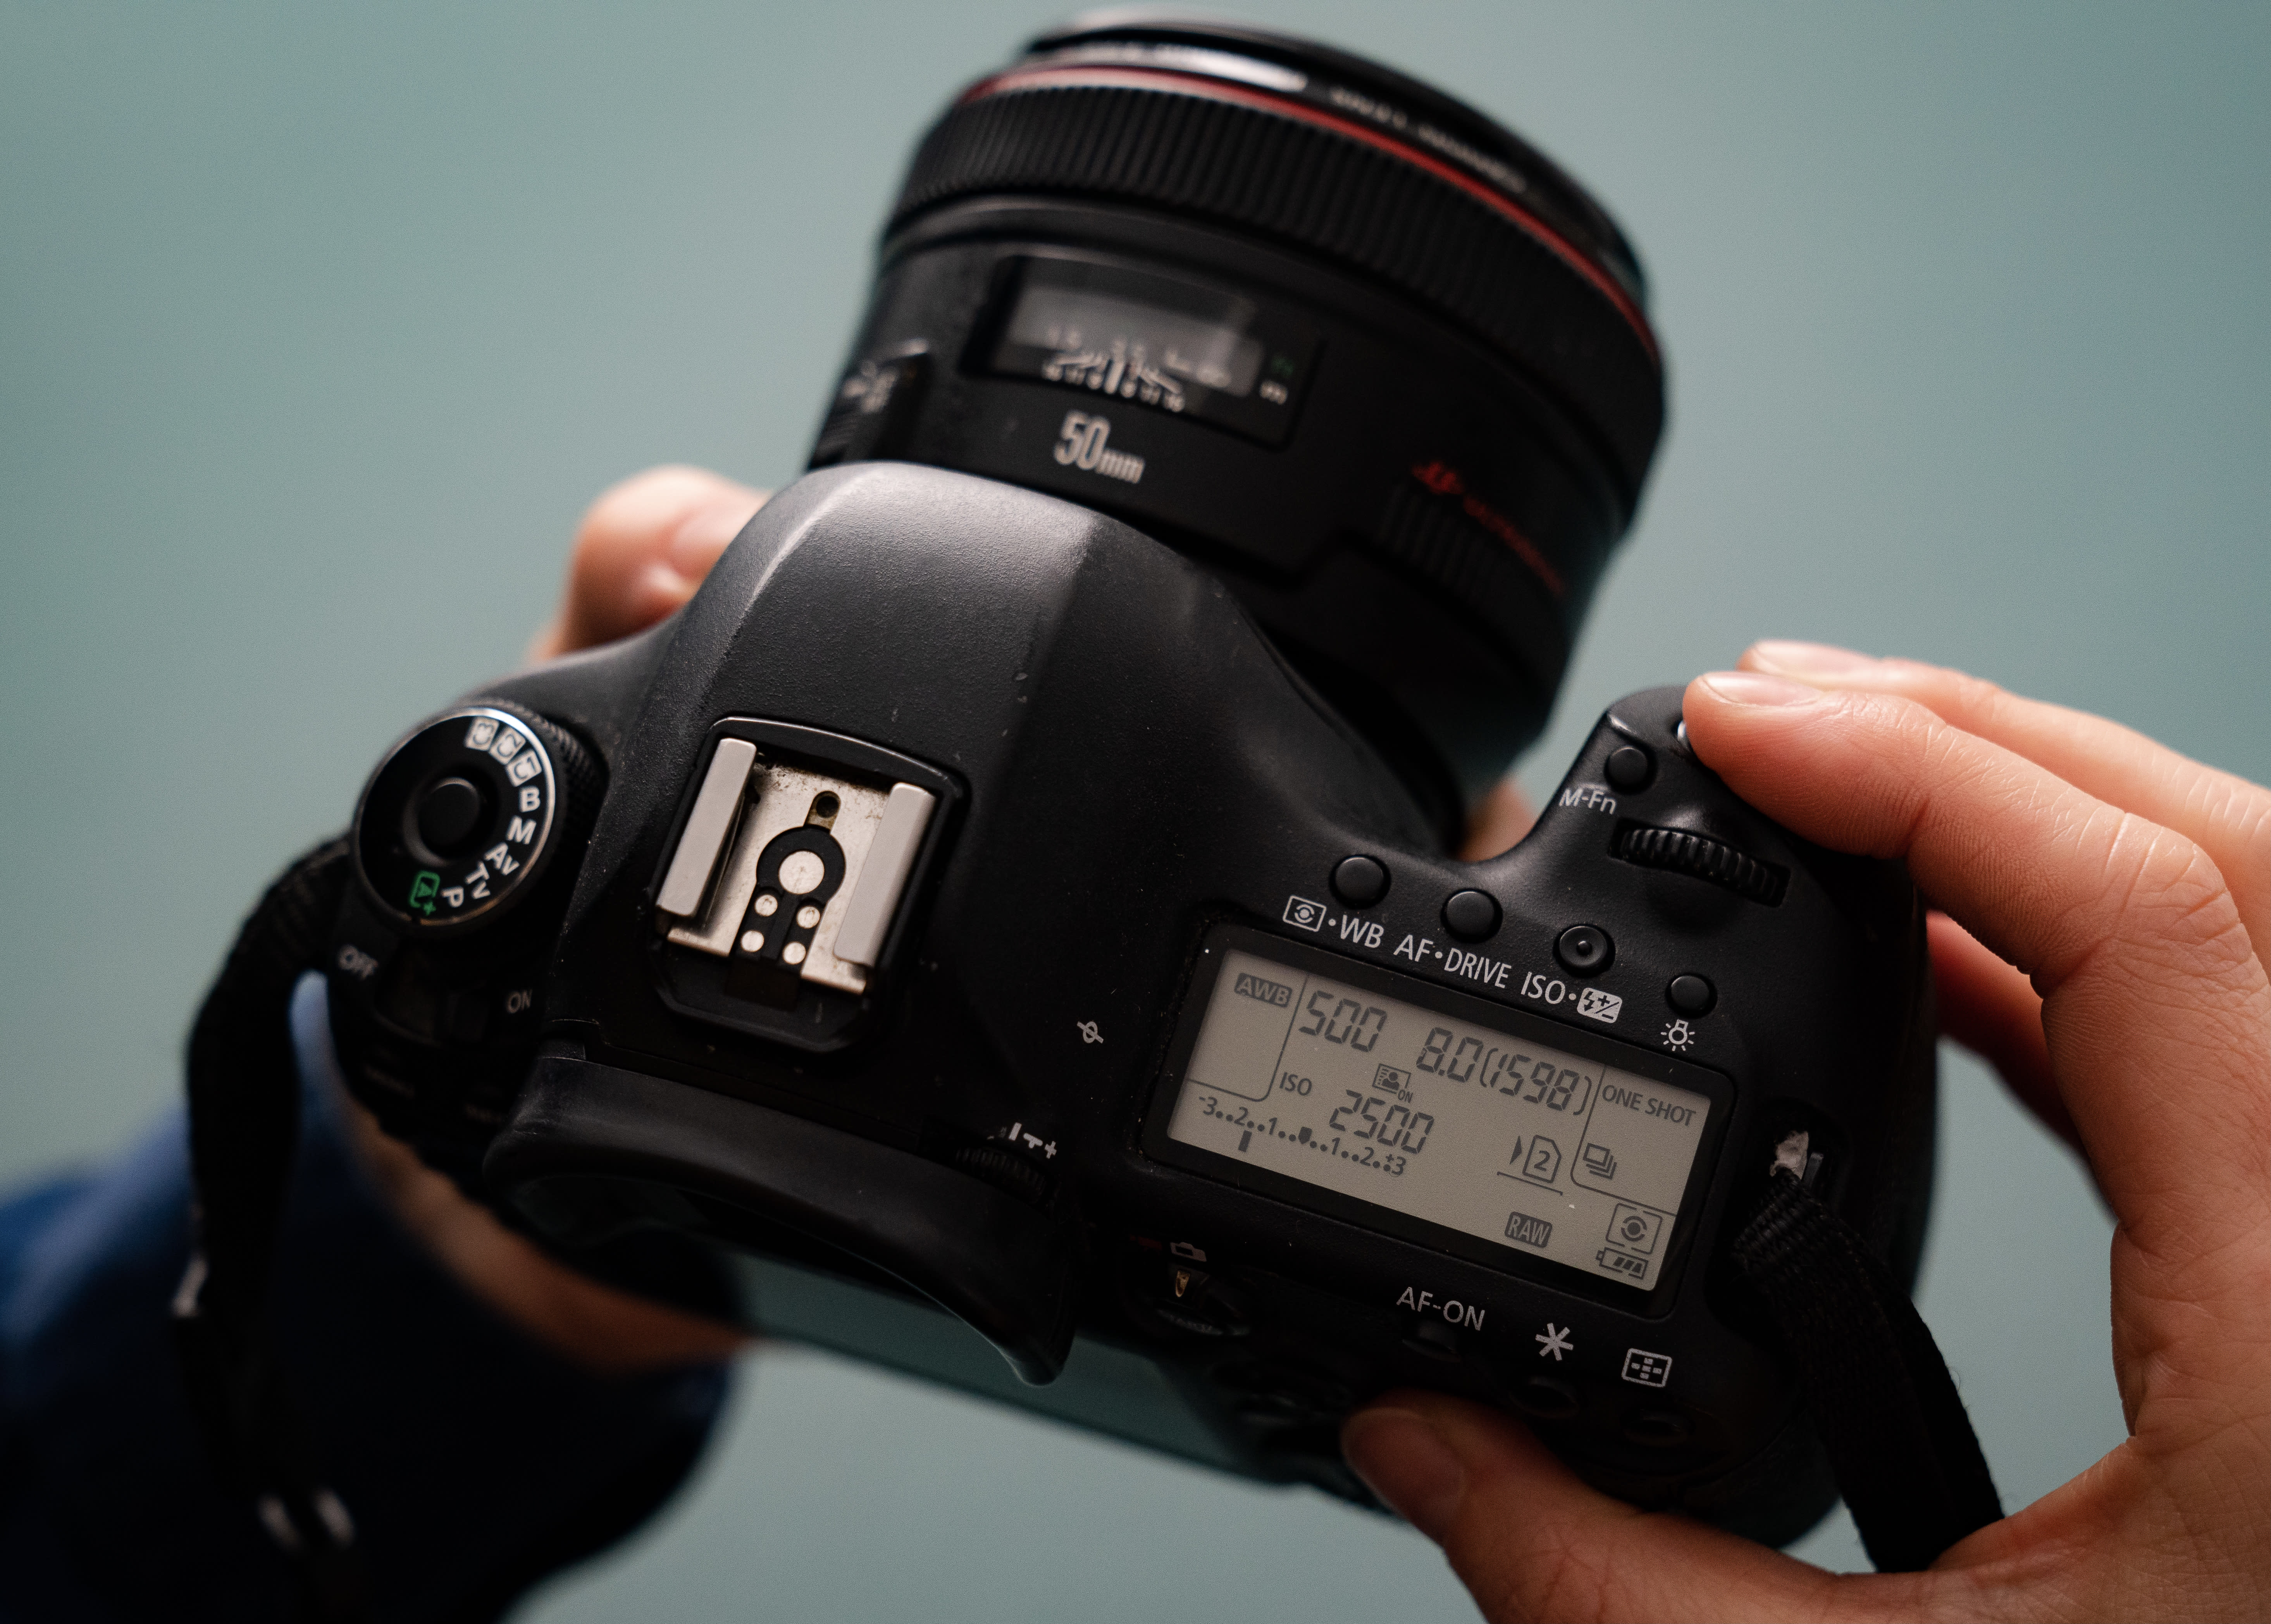
Having full creative control is essential to creating unique images and developing your own visual language. An easy way to check if your camera has manual mode function is to look at the top of the camera and see if it has a dial with the letter M (for manual) on it.
Equipment for night photography
- Camera with manual mode.
- A tripod.
- A cable release or self timer on the camera.
- A wide angle lens preferable.
Tips to start photographing at night
Firstly, why would you want to photograph at night without flash? If you want to make a creative image with lights, fireworks, starlight or light painting for example, you can't use flash.
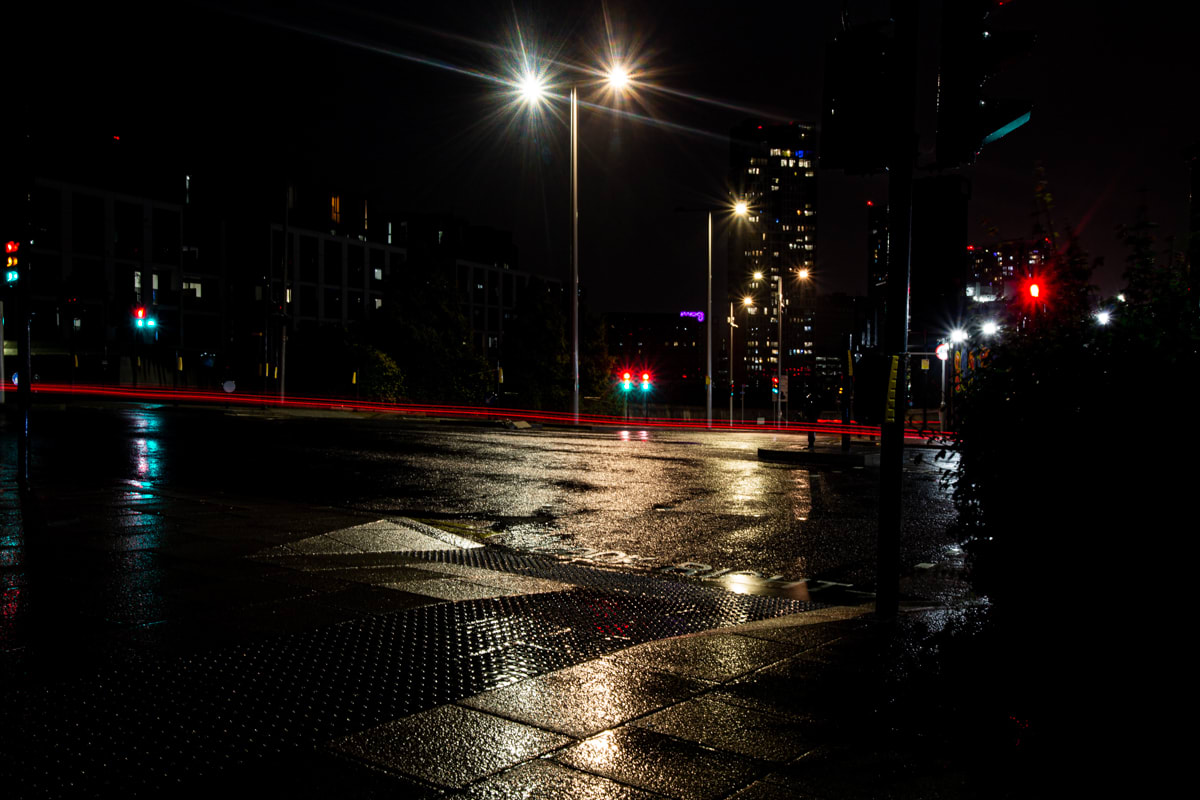
Take a look at the image below. Three Traffic lights are lit, there is a light trail from a bus or car and the lights are creating starlights... how did I do this?
Check out the following tips and you'll be able to take the best creative images, getting the most out of your equipment at the same time.
Manual Focus
Take the time to find your location as you might want to set up at dusk so you can manually set the focus point with your lens and not rely on autofocus. The reason is that in autofocus your camera has no where to focus on when it is pitch black and won’t hold that focus.
Manual focus allows the focus to be set and stay at that point. If you don’t have a chance to prepare in advance, you will need to shine a torch to manually focus on the area you want sharp, or where there is contrast. Otherwise you might be disappointed when you bring the images back home.
ISO
Usually you will use the lowest ISO on your camera so that it is not creating digital noise (speckles in the photograph). To get a clean crisp image use the lowest ISO.
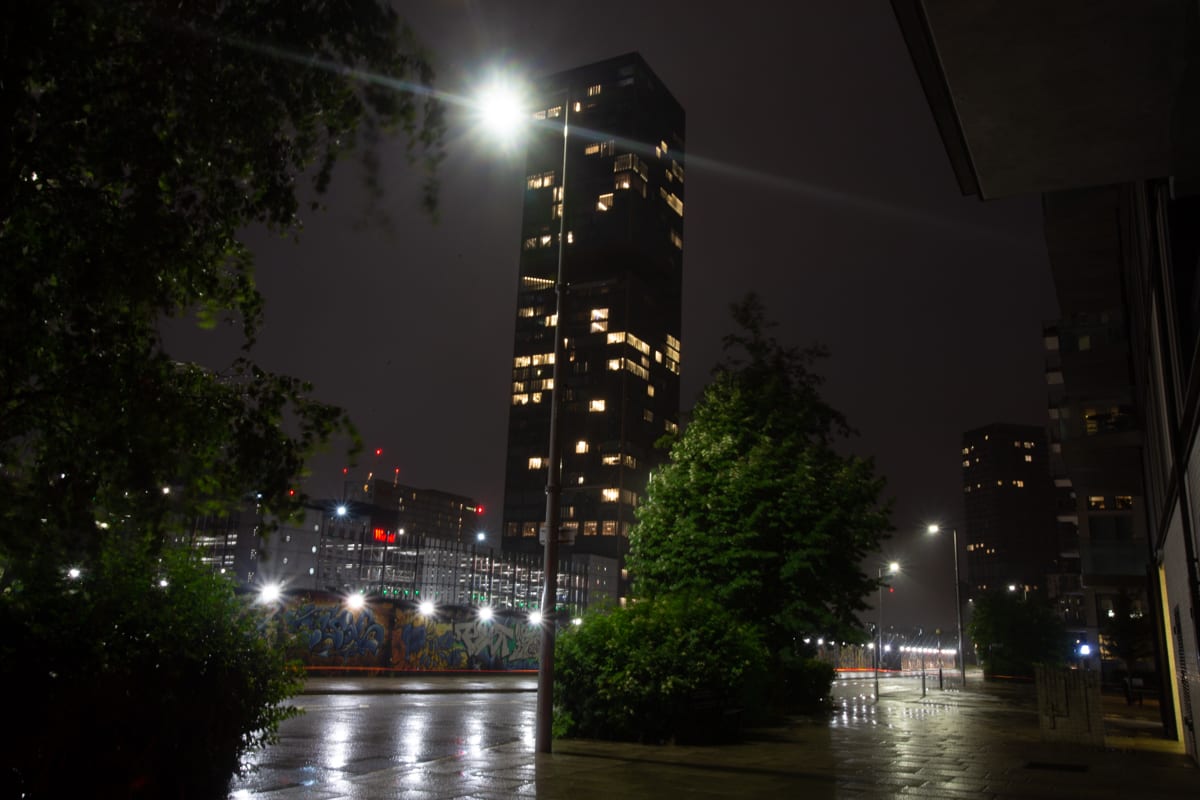
This image below is taken with a low ISO of 100 F22 and shutter speed 30 seconds.
This image is taken with ISO 12800, F3.2 and shutter speed 1/125. Notice the difference with the grain.

Aperture
Usually you will want to close down the aperture which is contrary to what you might think you need to as you want to let in light.
This allows you to have a deep depth of field. This means everything is sharp from the foreground to background but don’t forget your focus plan is important here. This means where you focus on.
Shutter speed
Lastly, and most importantly is your shutter speed. How long will you leave your shutter speed open. How long is a piece of string I hear you ask!
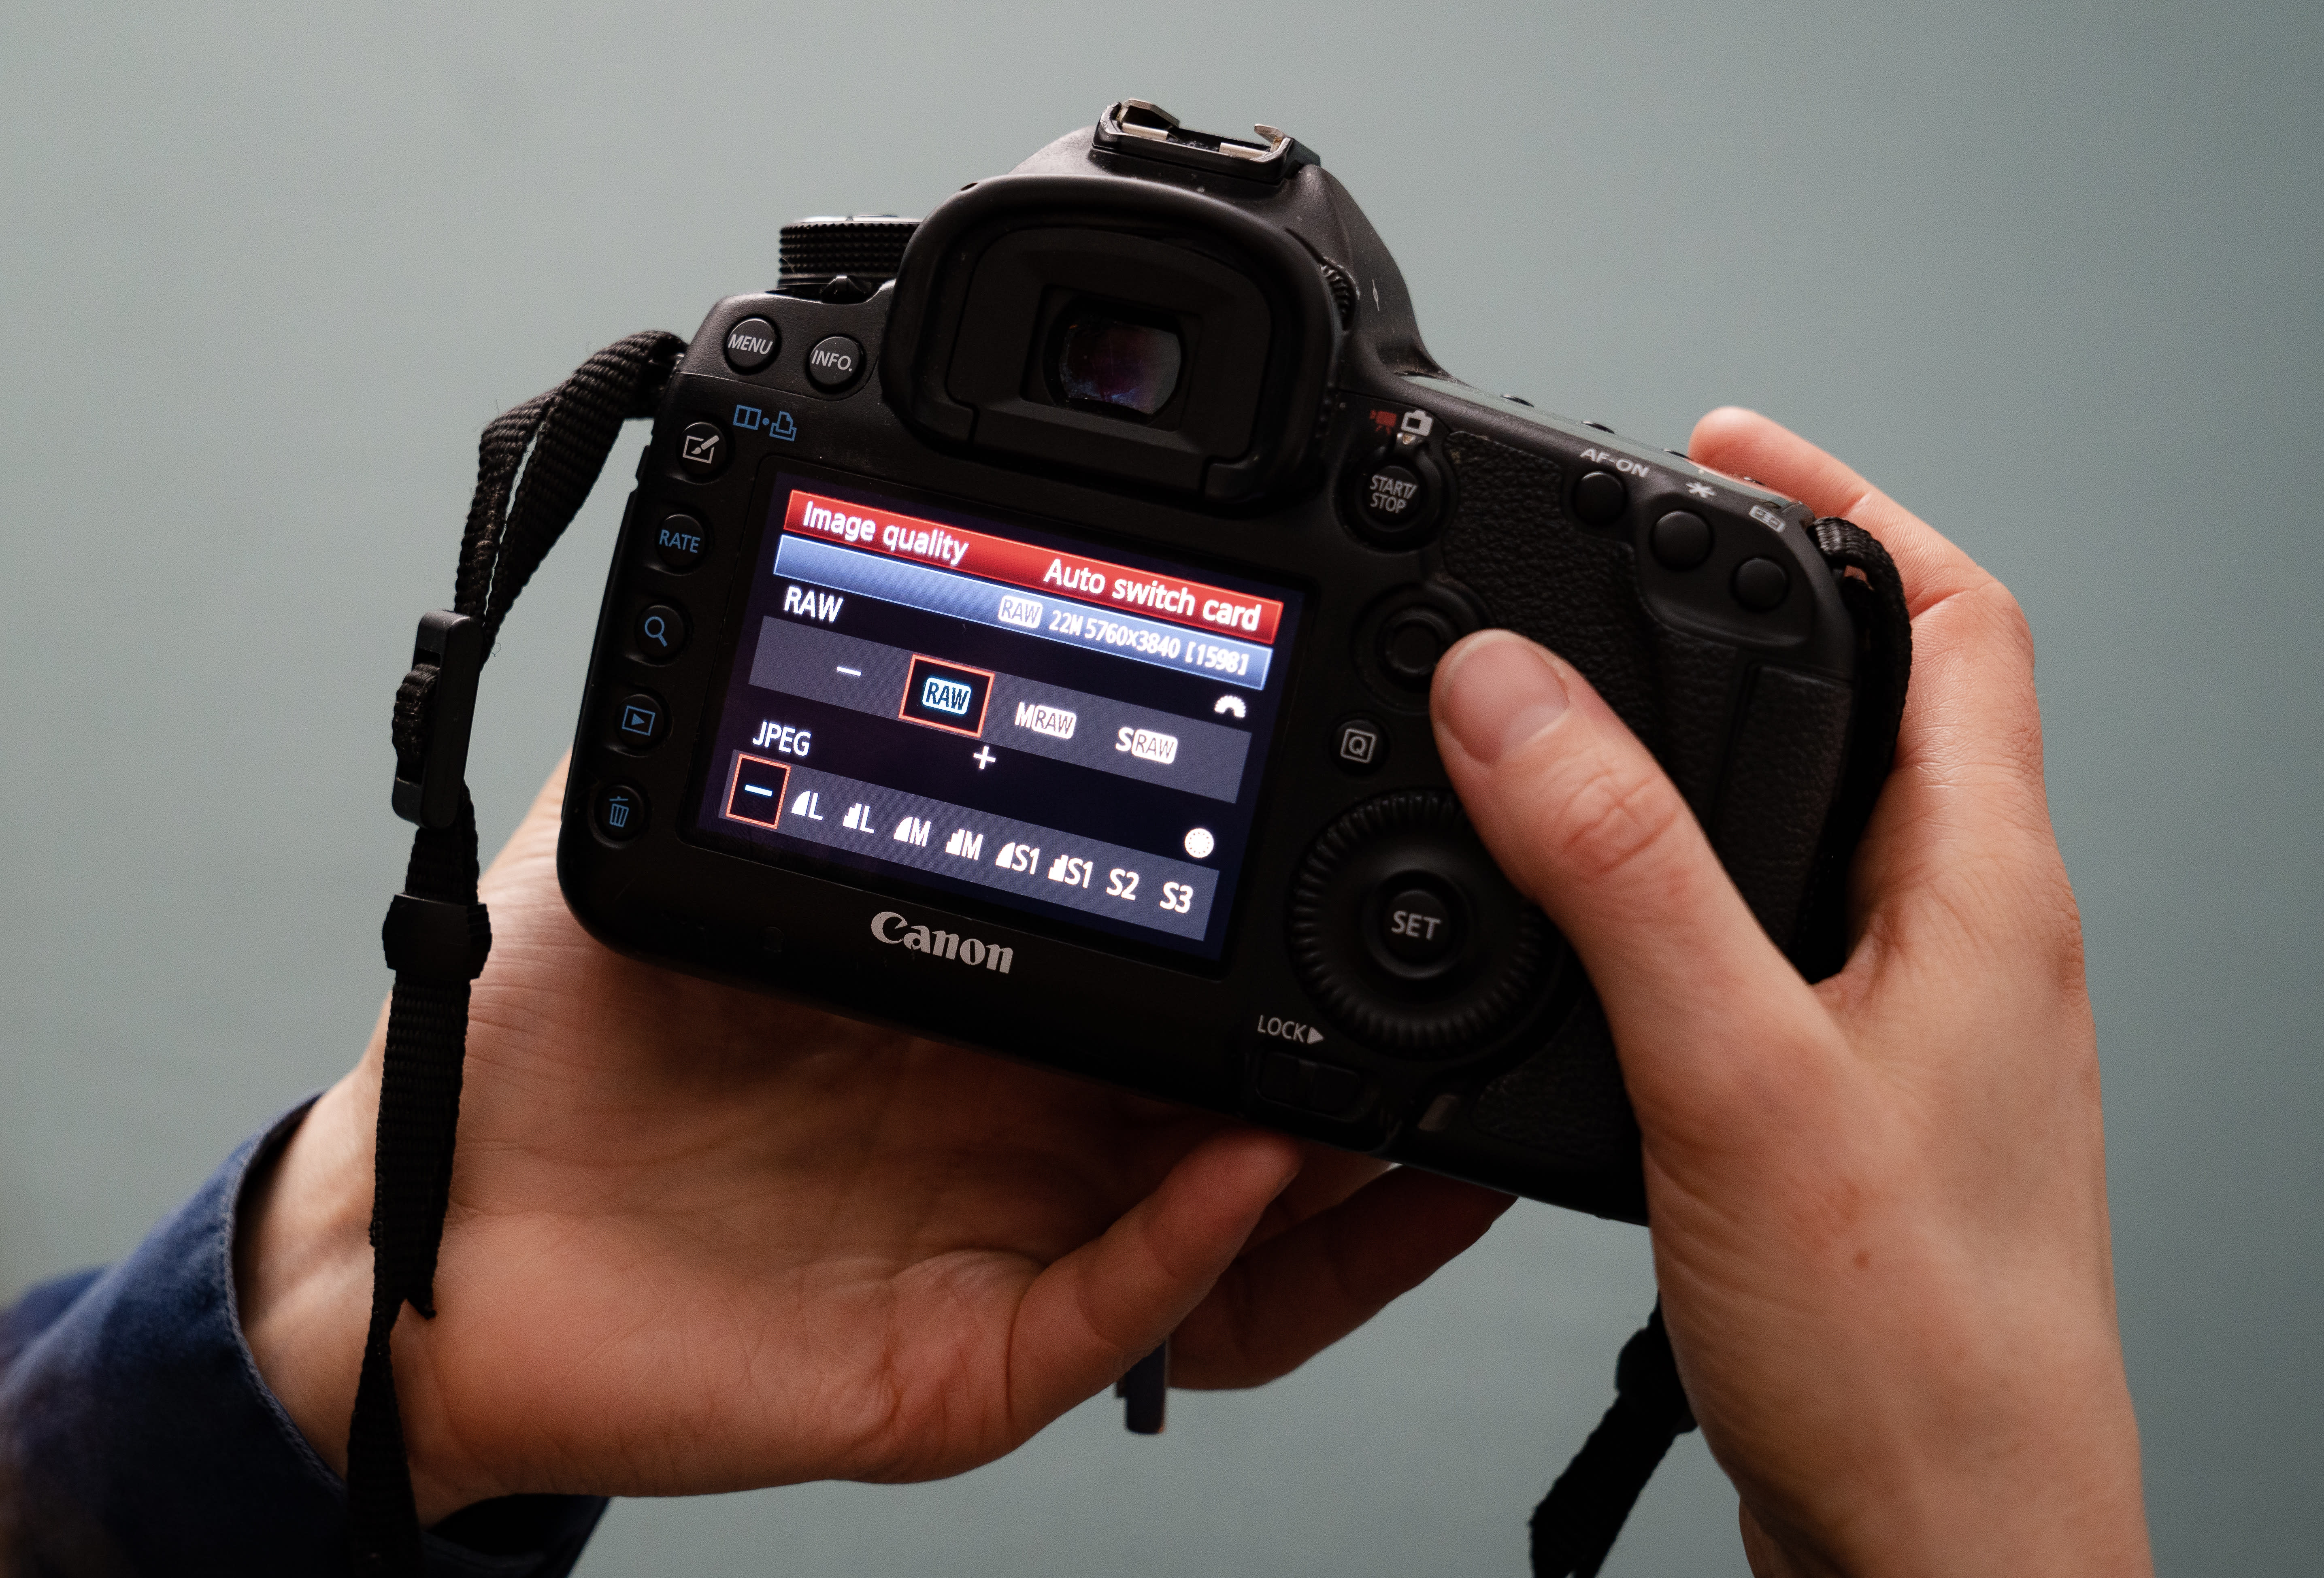
This is what you have to play with. It is trial and error but a good tip is to start with 1 second and review the result. And increase or decrease depending on the amount of light there is in the image and the trail of light. It is recommended that you shoot in RAW so that you can adjust the auto white balance afterwards.
Extra tips
The beauty of manual mode is that the settings stay and don’t adjust to the light or non existence of light. You have your camera on a tripod and you can cover your eyepiece if you have one with that black cover that’s on your strap if you never knew what that is for, DSLR users!
This stops extra light leaking in. Then use your timer or cable release to take the image. The reason to use this is so you don’t get camera shake in your image. Even when the image is being taken or processed don’t move or if the ground moves don’t walk about as this can create camera shake.
The key takeaway is that you ignore the light meter and trial and error. Task one… get out there at night and aim to get all the colours of the traffic lights illuminated. You might have to time the traffic lights... all have a different time.
Practical examples
I am going to show you the process here with two practical examples.
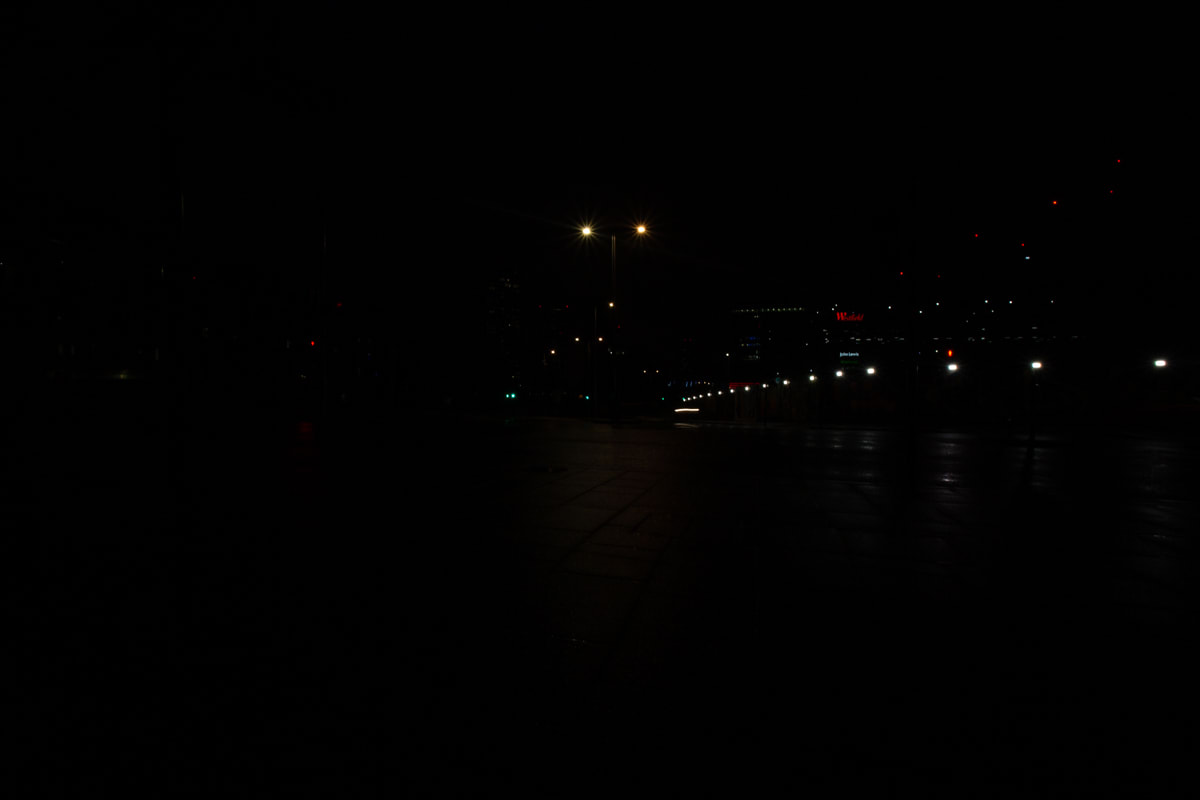
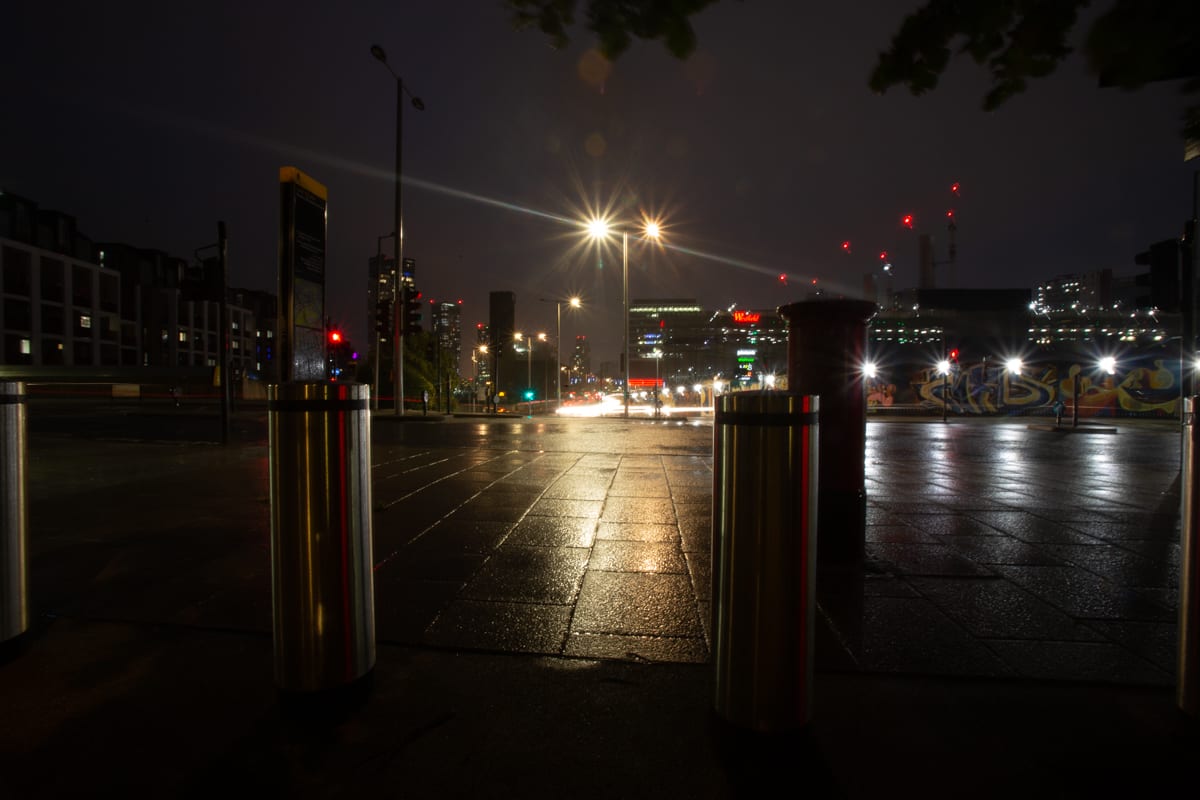
This was taken with ISO 100 16 mm F/22 1.0 seconds.
From this image below we can see there is not enough light coming in so I will extend my shutter speed. This is trial and error.
This was taken with ISO 100 16 mm F/22 2.5 seconds. We can see a little more light but I am not getting light trails from vehicles.
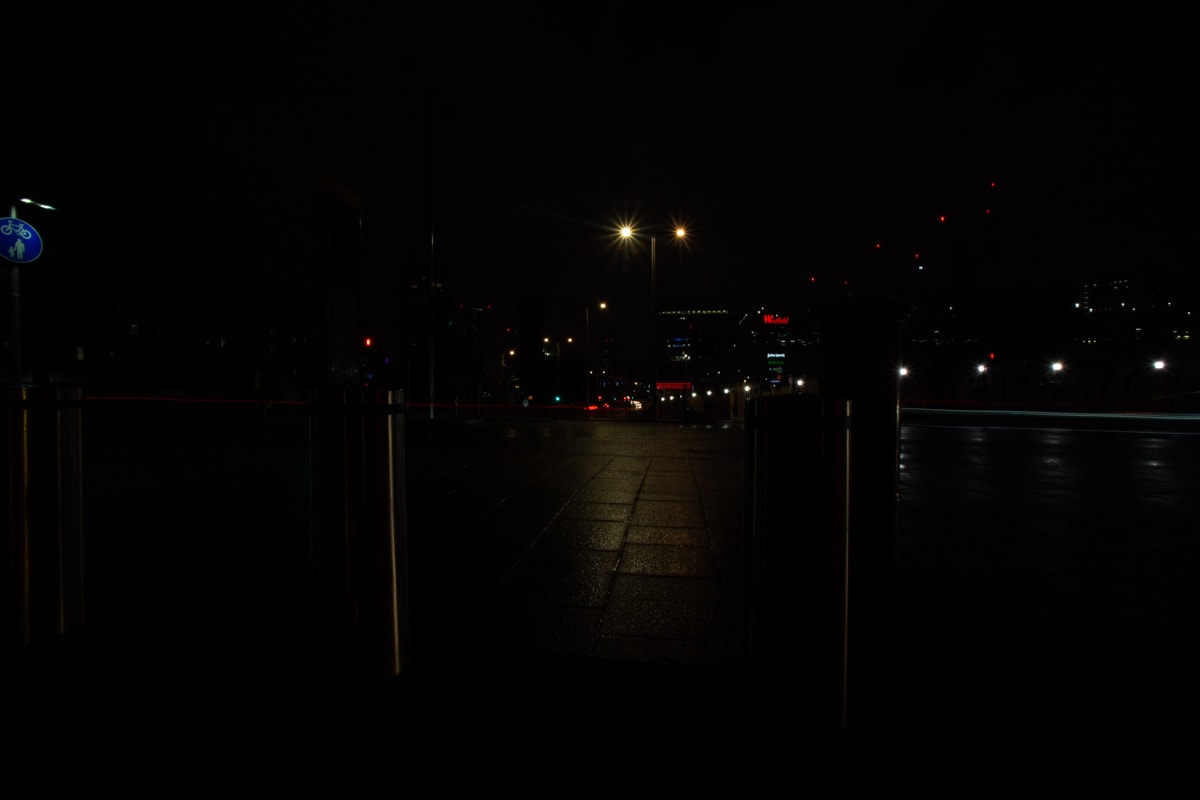
Now, I extend the shutter speed to 5 seconds.
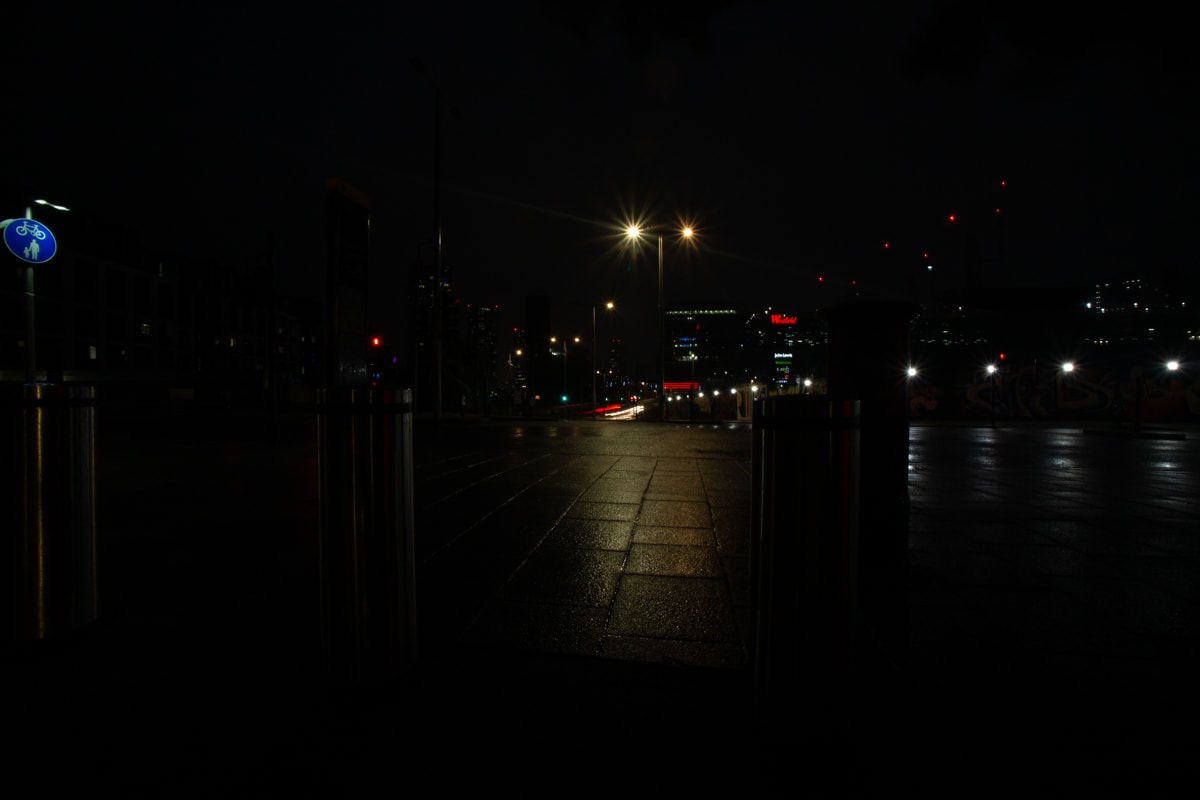
Here, shutter speed goes up to 20 seconds.
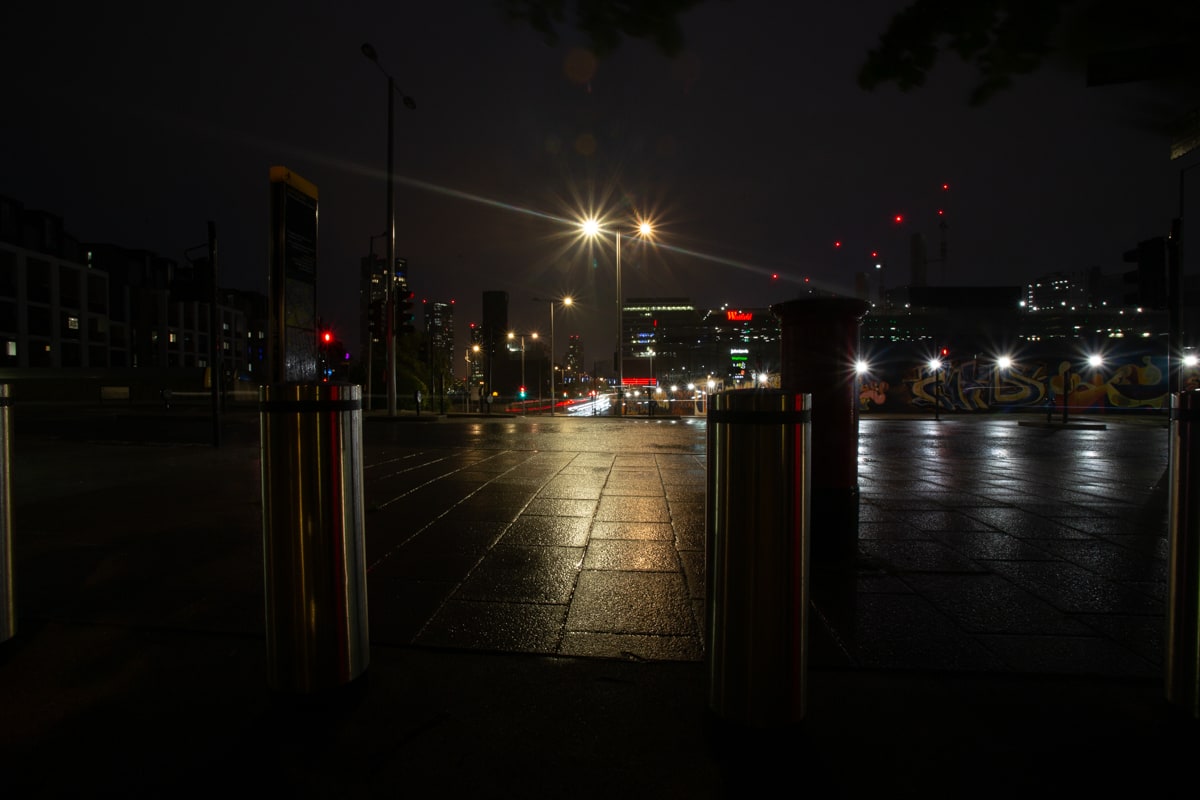
And finally, with shutter speed set to 30 seconds.
My favourite is the one taken with 20 seconds. It has the nicest amount of contrast for me.
Now, I changed position and below you can see the result. This was taken with ISO 100 F22, focal length 16mm,
5 seconds.
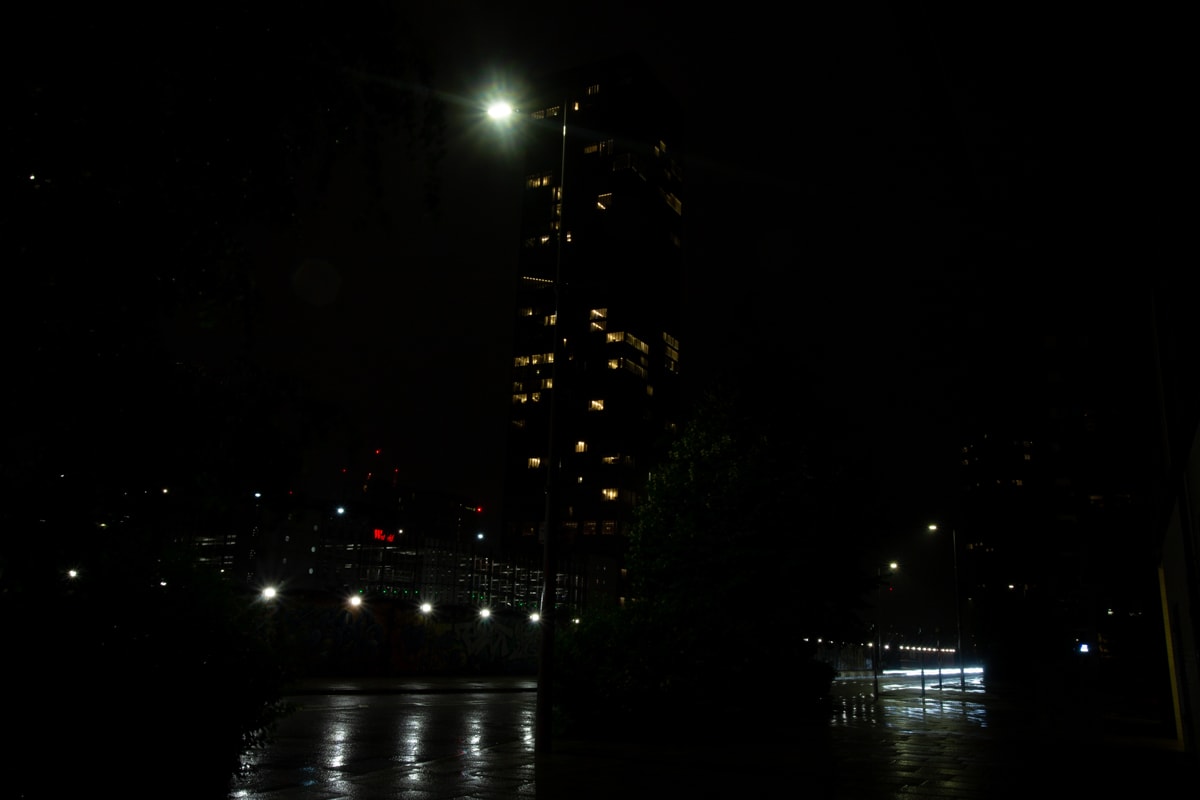
Now, with shutter speed set to 10 seconds.

Here, shutter speed goes up to 20 seconds.
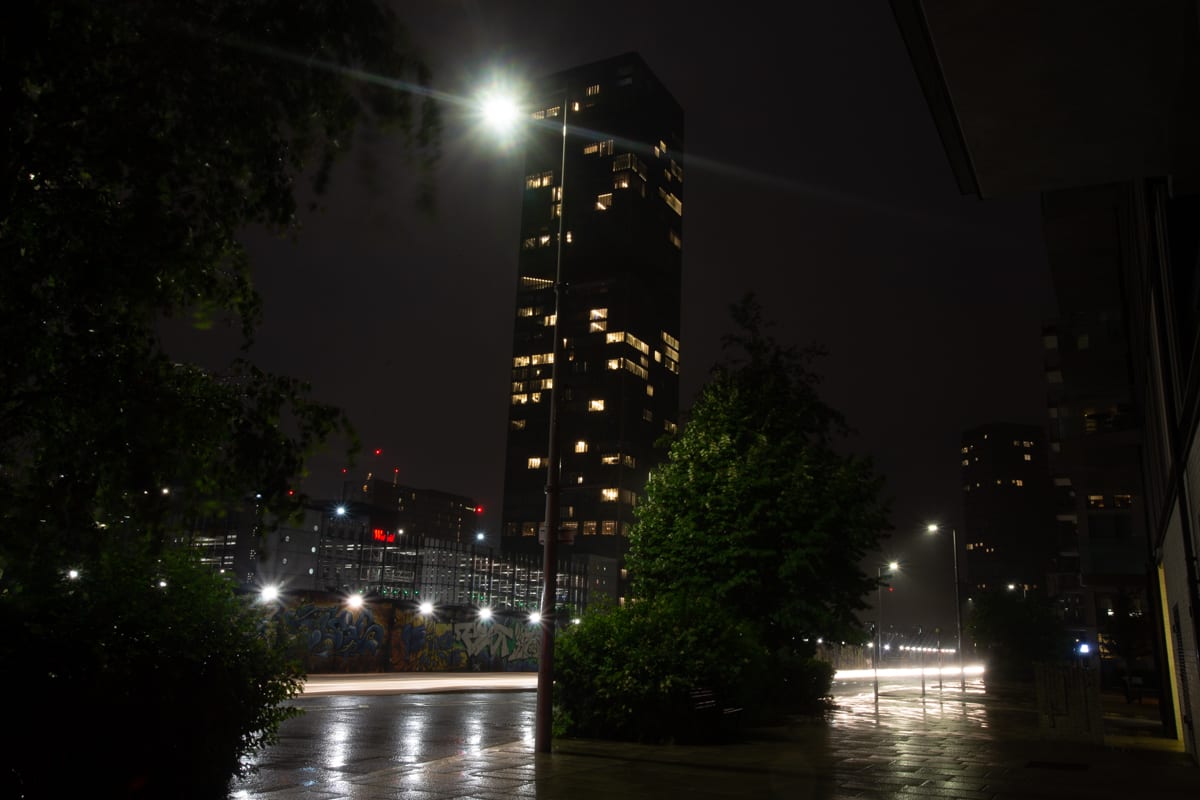
Finally, with shutter speed set to 30 seconds.

Note that anyone passing by would not be highlighted or frozen in the shot, unless they had some sort of light around them! If a car passes we see only the light trail. Depending on the aperture size will depend on the shape of the star from the street lights.
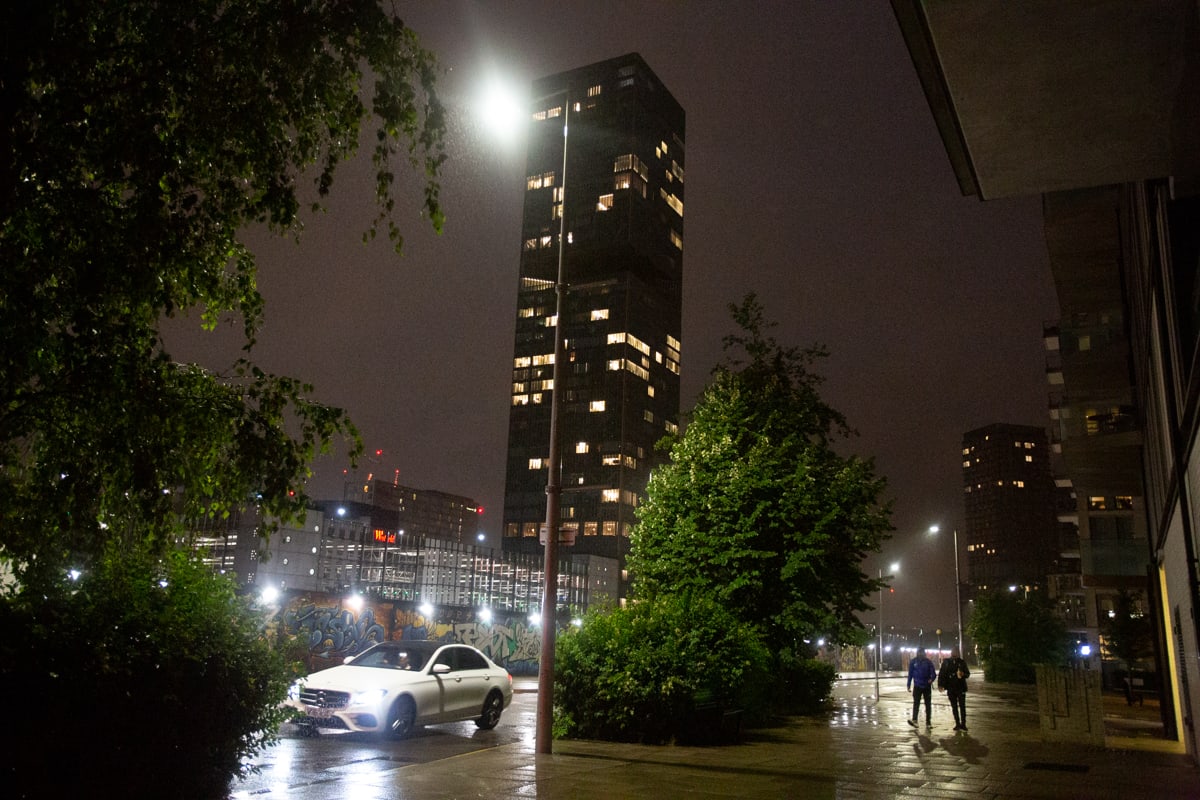
This next image was taken to show you the opposite. Using a high ISO 12800, which creates a grain in the image, Aperture 3.2 to allow more light into the frame and a shutter speed of 1/125 so it freezes the car and the people walking.
If any of these terms are not too clear and you would like to go over them subscribe to my course and make the most of your camera by learning the fundamental concepts and skills you need to unlock your creativity as a photographer.
Get your camera out and start shooting!
Article written by Debbie Castro, a photographer and educator based in the UK. Born in Ireland, she specializes in conceptual documentary photography and has also published her own limited-edition photography book entitled 'Who Gave You the Roses?'. Currently, Debbie curates shows for the London Institute of Photography, coordinates photography classes, and mentors students from around the world. In the Domestika course Introduction to Digital Photography in Manual Mode, she teaches her tricks for taking incredible images that tell original stories.
You may also like:
- Photographer Claudia Andujar: a Life Dedicated to the Socially Invisible
- 5 Interesting Facts You May Not Know About Photography
- 10 Pioneering Street Photographers That You Should Know
- Photography Tutorial: Lenses for Beginners
- The Equipment You Need to Take Nighttime Photos


0 commentaire