


DIY Tutorial: How to Preserve Dried Flowers in Resin Jewelry
Learn how to preserve dried flowers in resin to create jewelry, with Mia Winston-Hart
Epoxy resin makes it possible to mold real flowers into beautiful pieces of art and jewelry that can last a lifetime.
Educator and designer Mia Winston-Hart (@miawinstonhart) has made a name for herself by creating one-of-a-kind pieces with epoxy resin. In this tutorial, she shares how you can use it to create your own jewelry with dried flowers.

Materials You Will Need
- Pressed or dried flowers (make sure they are totally dry)
- Dam tape
- Epoxy resin
- A stick to spread the resin (preferably a reusable silicone one)
- A bezel to frame your flower composition
- Acetone or other solvent to remove residue
How to Preserve Dried Flowers in Resin
1. Compose your flowers
Set your dam tape sticky side up, making sure to not leave any marks or fingerprints. Place your bezels onto the dam tape, ensuring the edges are firmly pressed down.
2. Pour your resin
Make sure your resin has no bubbles in, as these will cause your piece to dry with holes inside. If you see any bubbles, let the resin settle for longer.
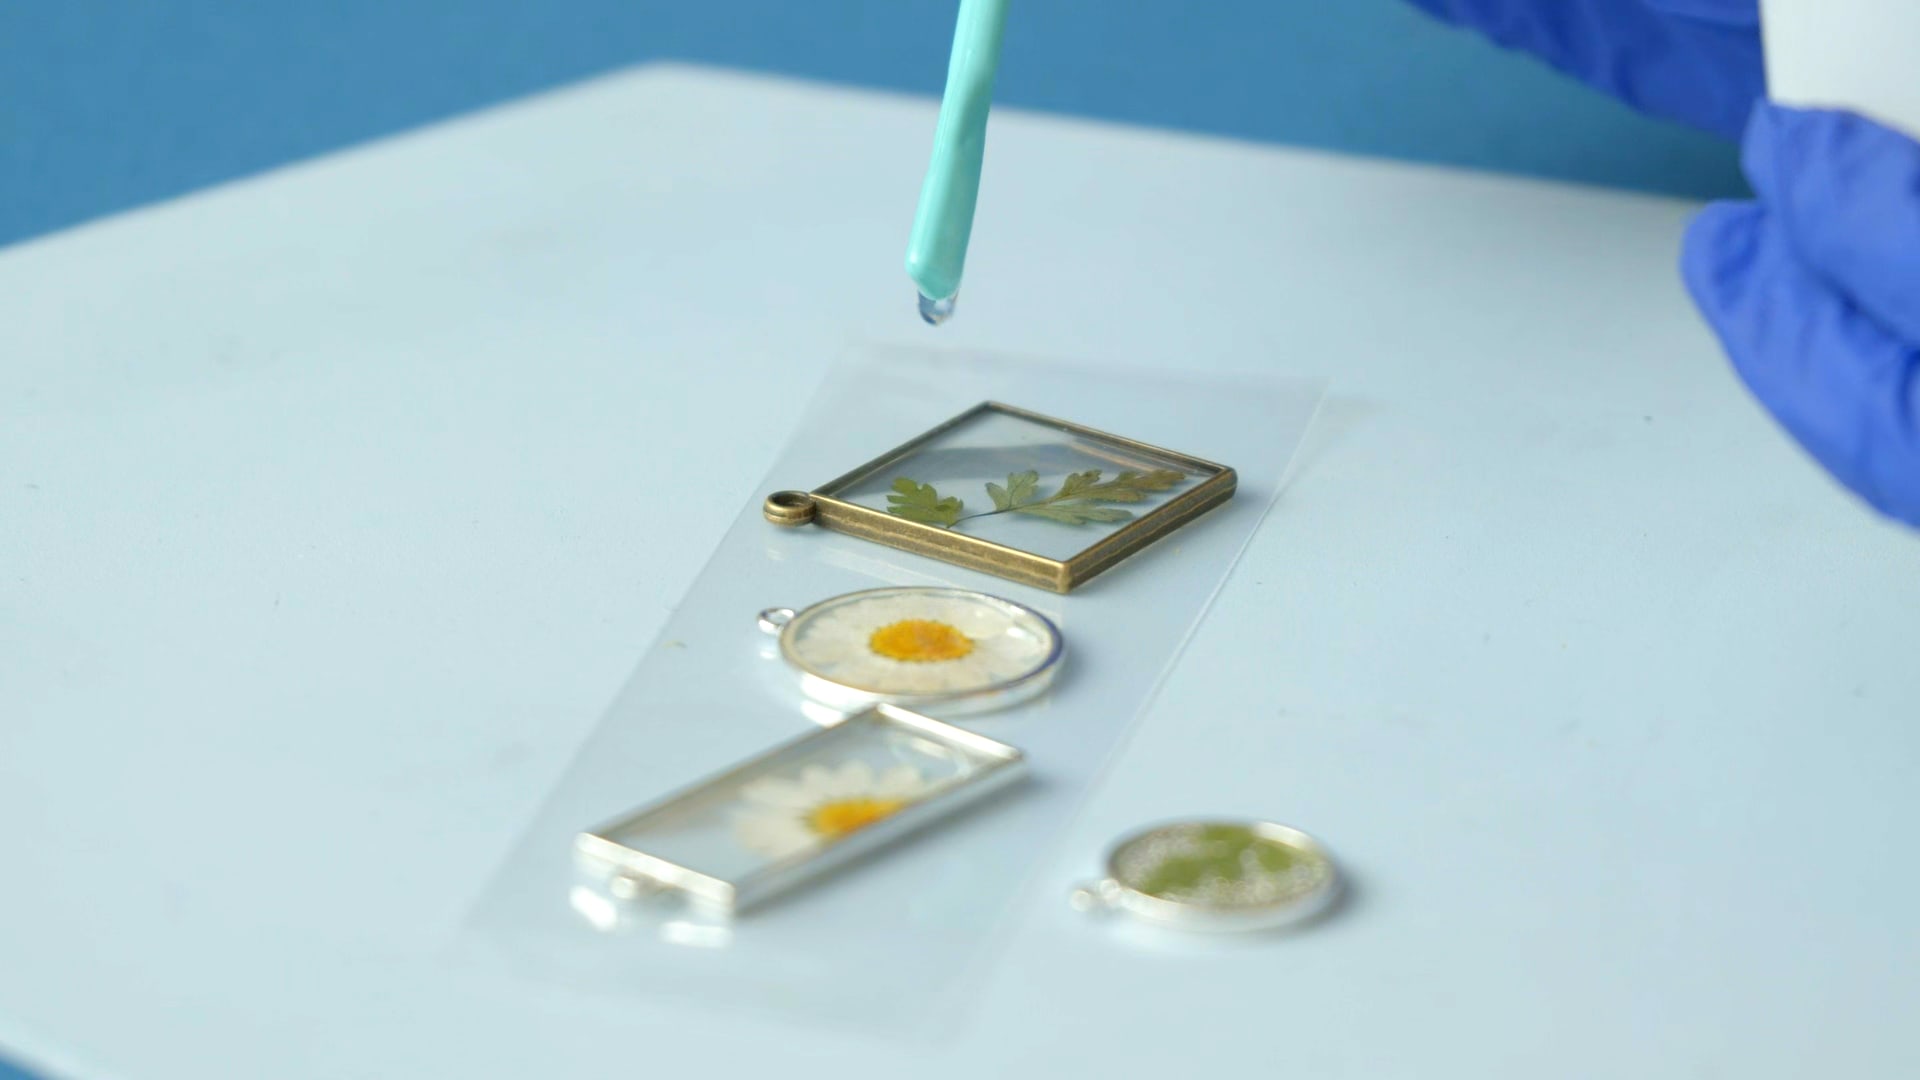
Pour a thin layer of resin inside the center of the bezels and spread it out to the edges using your silicone stick. You can remove any air bubbles by using the stick.
Put a small amount of resin on the end of the stick and use it to pick up and arrange the flowers in the frame.
Do not worry if they rise to the top as this is just the first layer.

3. Let your first layer dry
The longer you wait for your resin to dry, the less likely it is to have bubbles. This is especially important if you are working with large areas of clear resin, as bubbles will be very noticeable.
4. Pour your second layer
Using the silicone stick once more, pour your second layer of resin into the bezel. Let the resin reach the edges by itself, being careful not to pour too much resin in. You can then apply some finishing drops with your stick to give your design a satisfying domed effect.
Leave your piece to dry once more.
5. Polish your finished piece
Once your piece is dry, pull it carefully from the dam tape. You can remove any residue using acetone, WD-40, or tack remover.
Now, you have a finished piece that you can wear or even hang on your wall.
If you liked this tutorial, check out Mia Winston-Hart’s online course, Resin Jewelry Design to learn how to use epoxy resin to create unique pieces of jewelry.
You may also like:
- Pom-Pom Design and Creation, a course by Christine Leech
- Paper Flower Craft Techniques, a course by Eileen Ng
- Paper Cutting Techniques for Storytelling, a course by Karishma Chugani


0 commentaire