


My project in Cement Tile Design and Production for Beginners course
por Sanda Pop @popsanda2004
- 1406
- 24
- 2
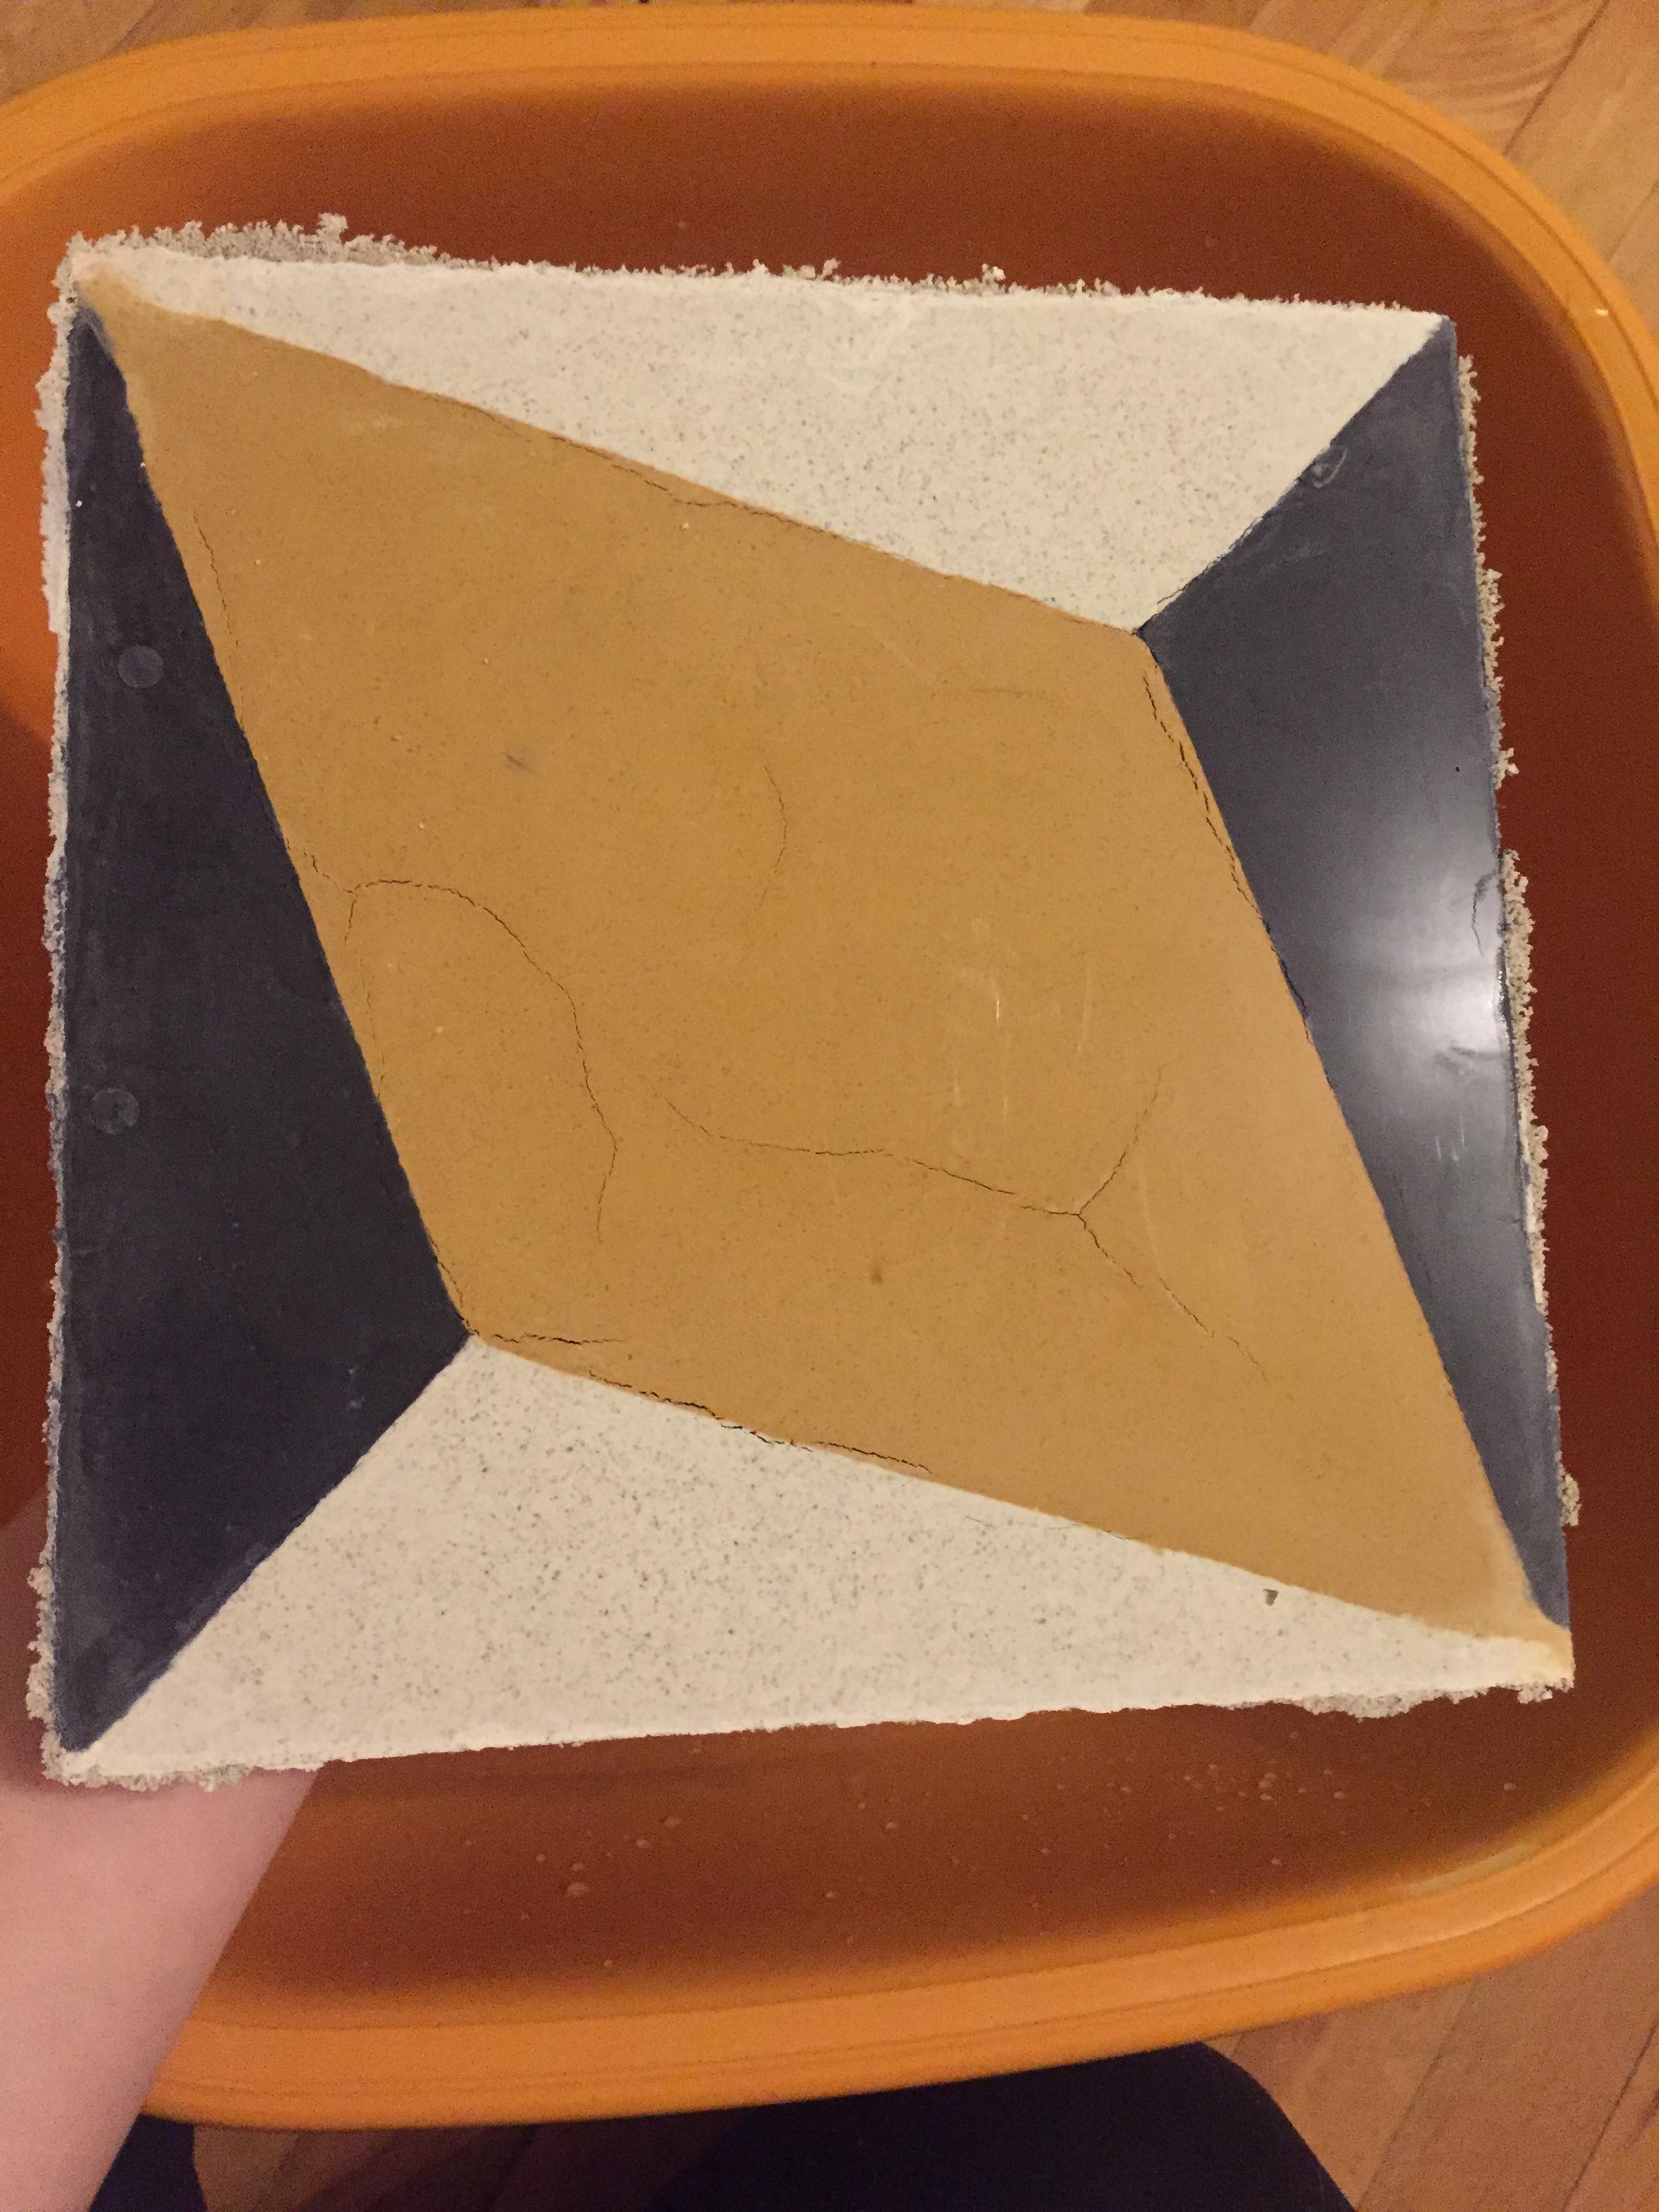

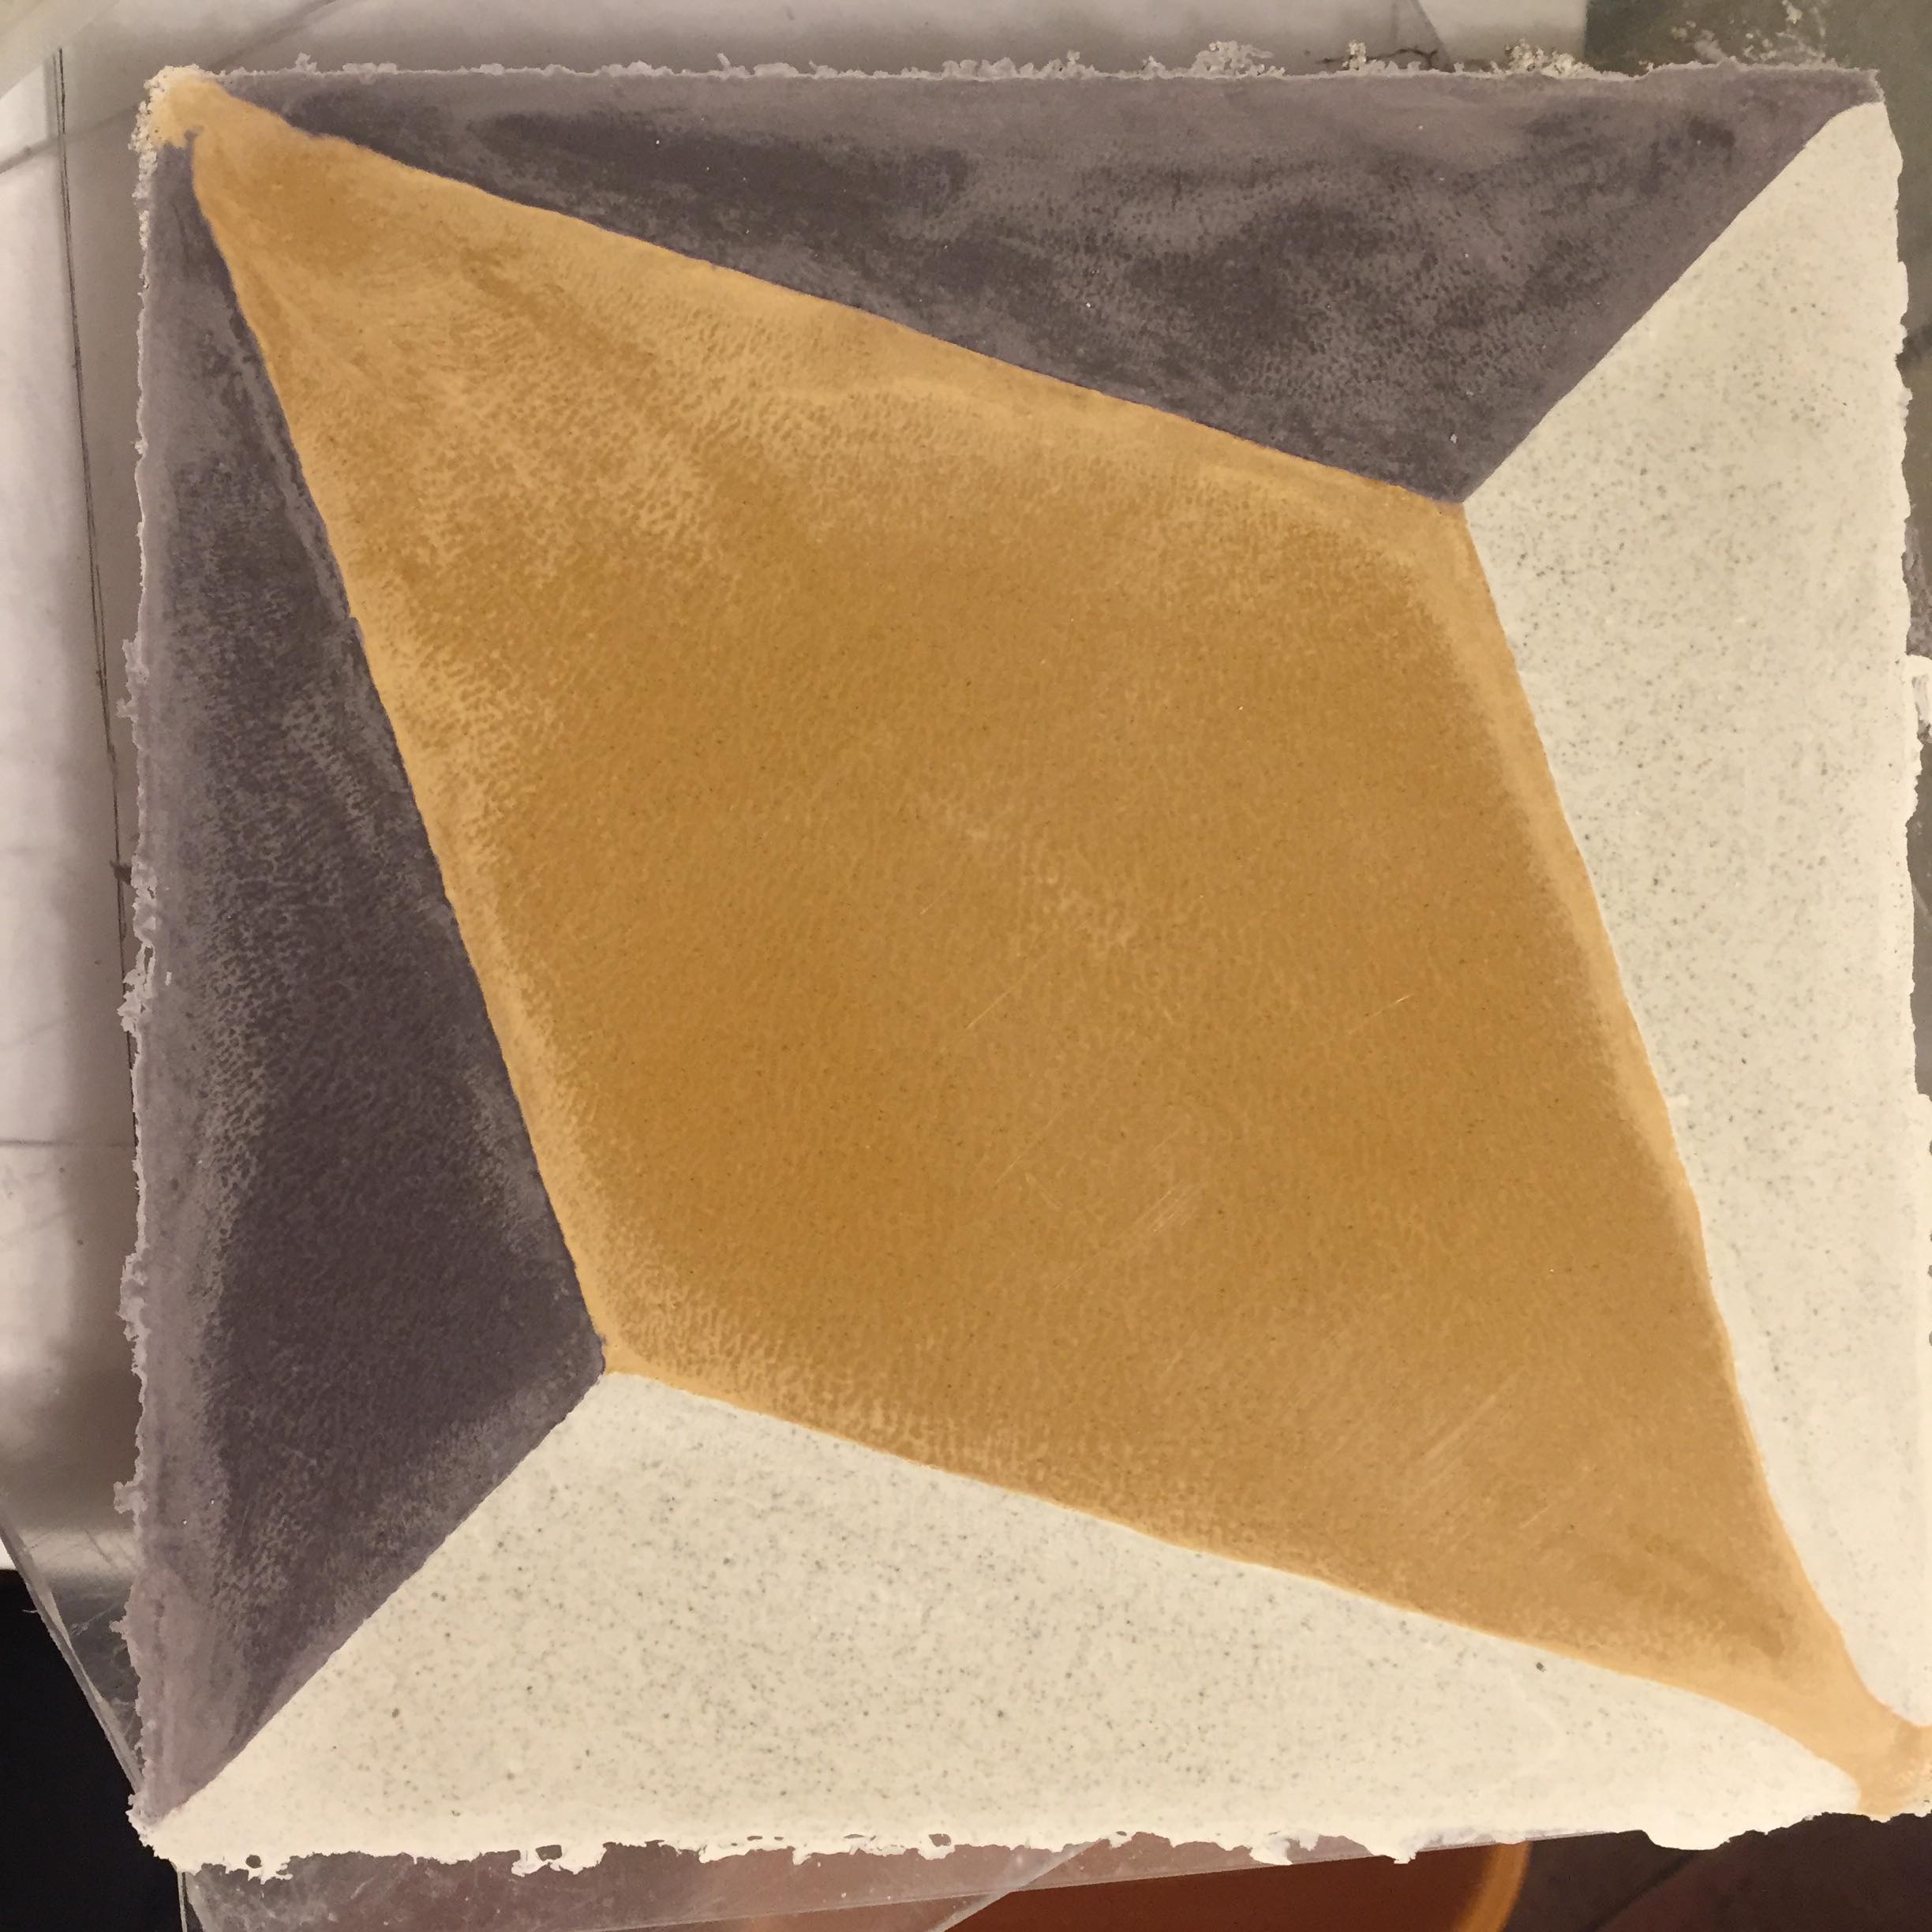
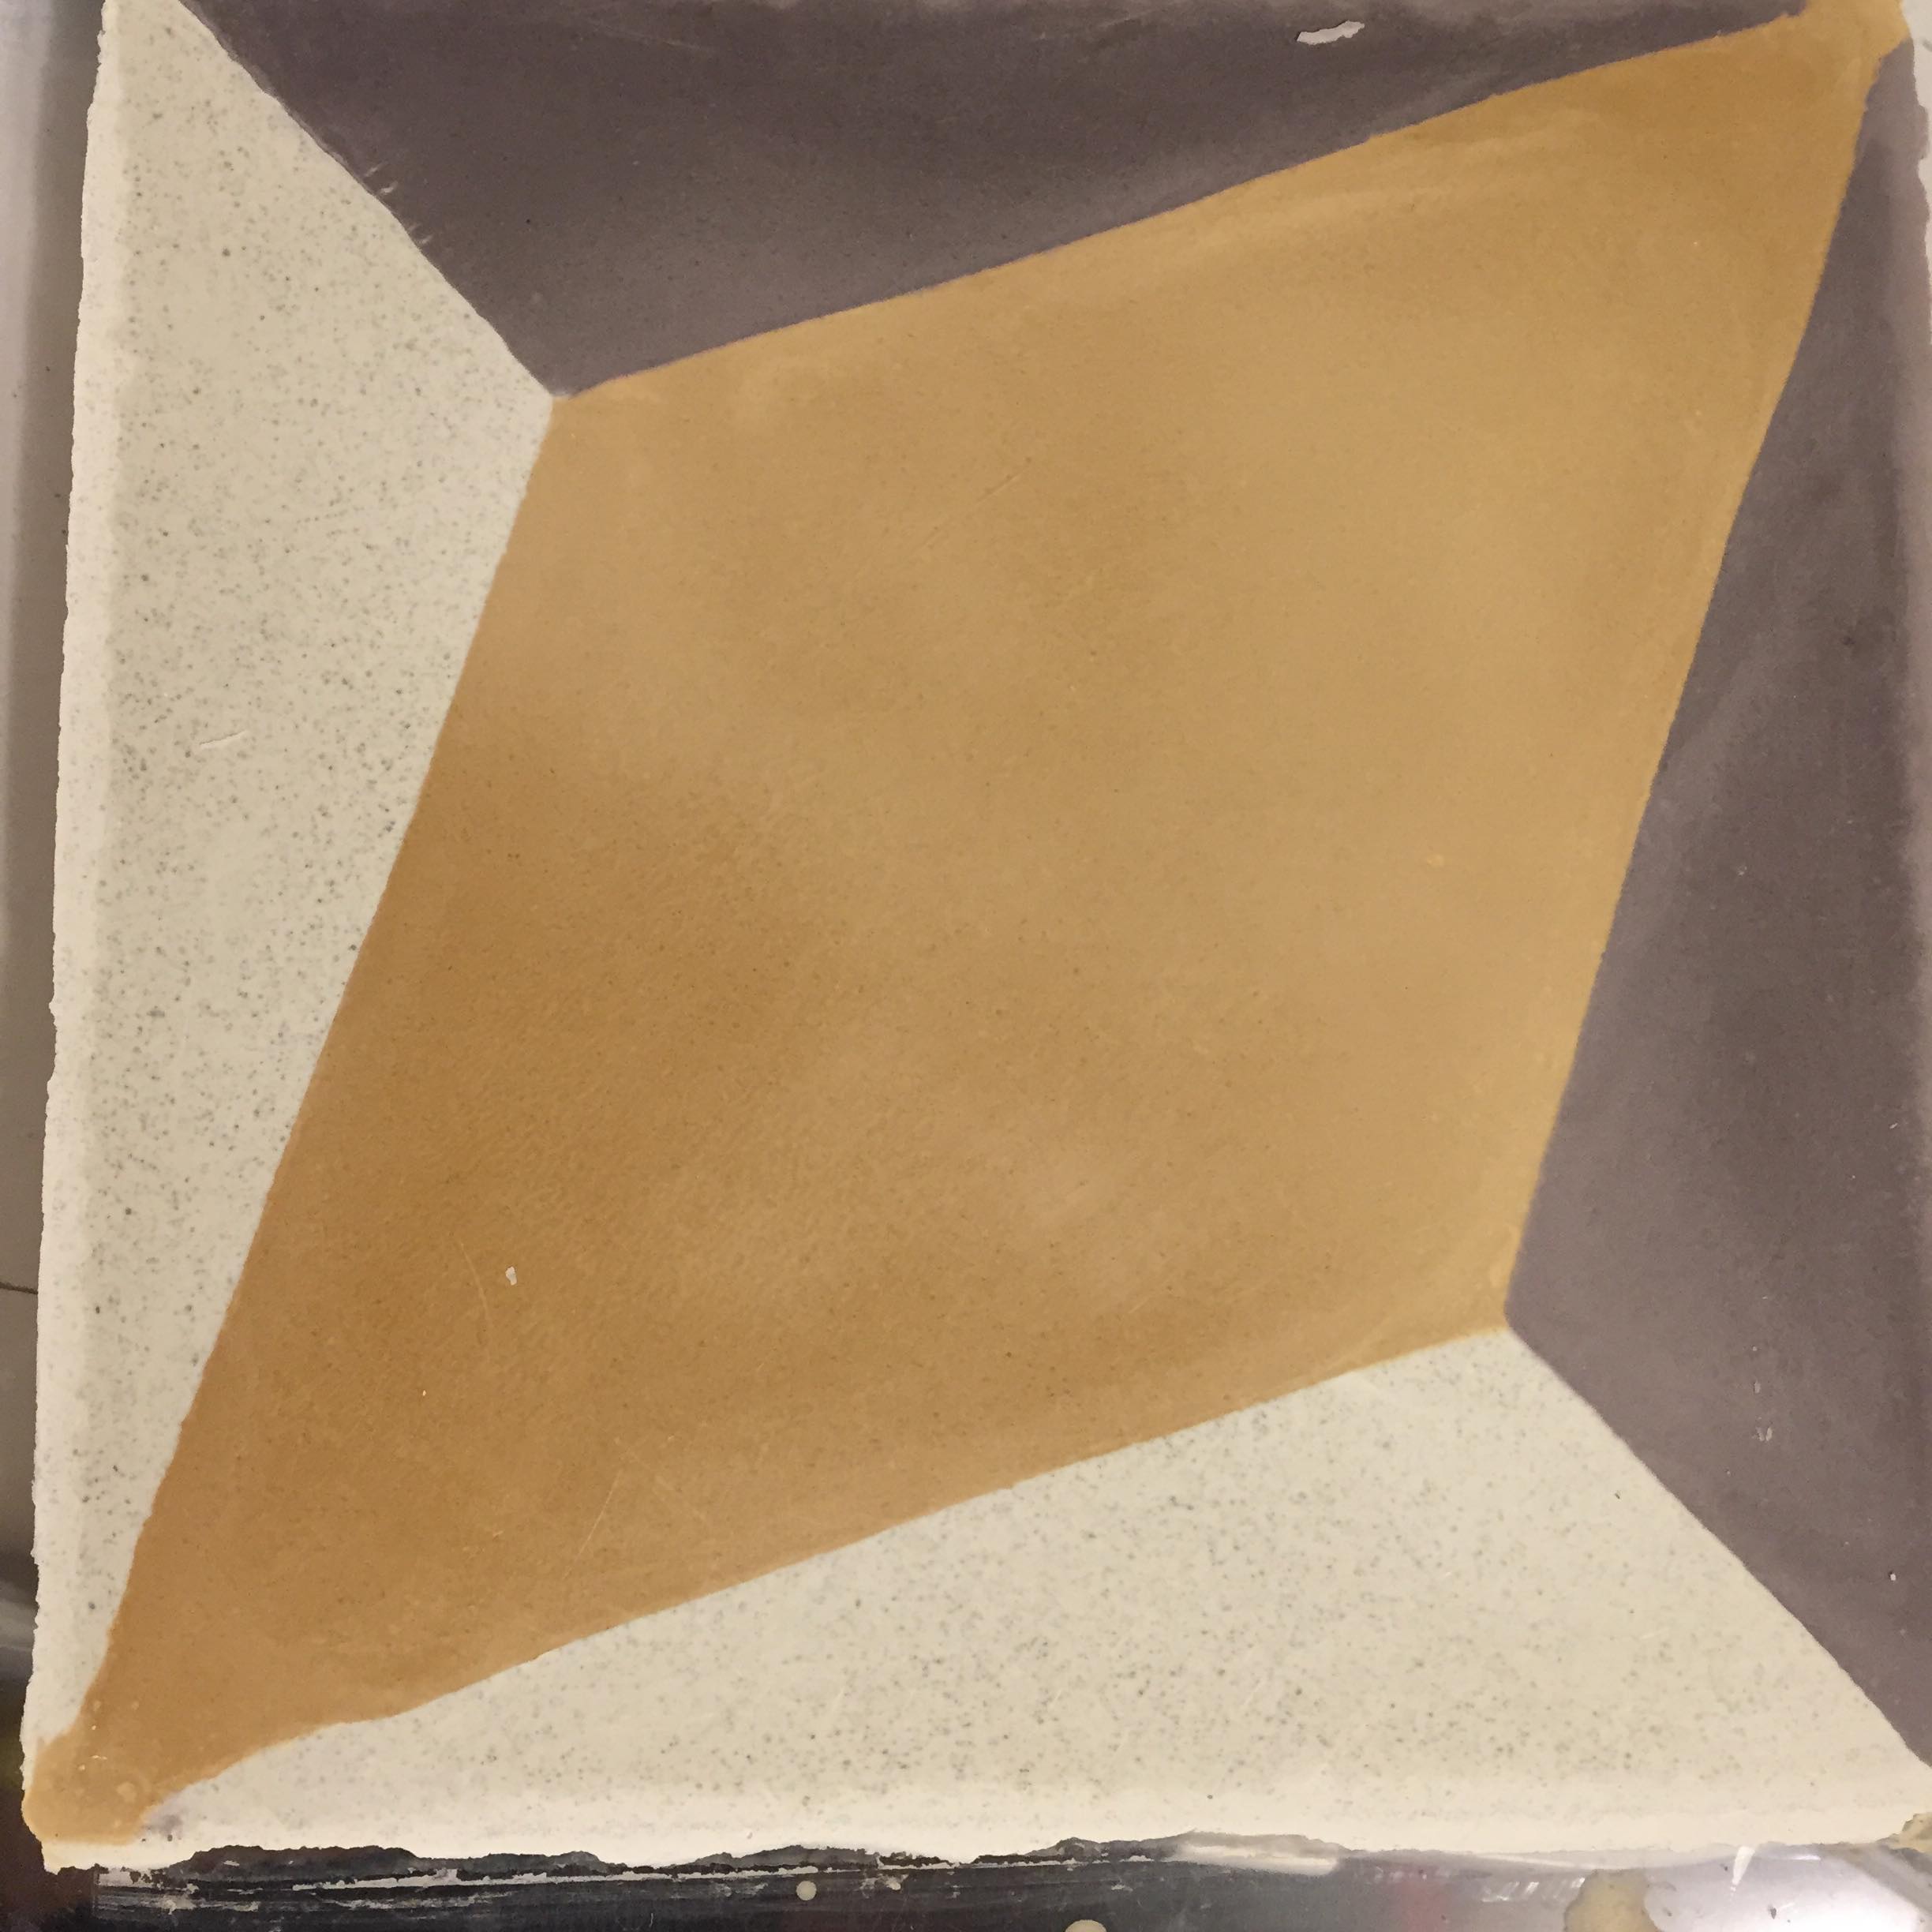
I made these two tiles using a simple 3D printed mold. In the first one I saw many cracks on the surface, after leaving it into the water they tend to be less visible. For the second one I experimented more with the grey-purple color, calculated the pigments better, used more material for the colored part, but still got some cracking, and also confused a bit the color placement, so it is not symetrical as the first one. Can you suggest some tachniques to avoid the cracking? Am I pressing too much the filler material?
Thanks Juan for your advices.
I will write here my learning while building these tiles, maybe it is helpful for others as well:
- The colored material needs to have more water, it has to pour nicely. Also I shaked the container I prepared them in so I would't have air bubbles as my second tile had.
- I have a 3D Printed mould which helps a lot because it stays flat on the glass.
As materials go, for this tile model I used these quantities:
1. For the colors I prepare 400 grams of white cement with 100 grams of sand and divide them like this
- for the white: 140 grams of material, nocolor
- for the violet-grey: 140 grams of material + 1.5 grams of blue pigment + 1 g of red + 0.3 g of black
- for the yellow: 220 grams of material + 11 grams of yellow pigment
2. For the dry material between the layers: 90 grams of sand + 90 grams of cement
3. For the filling material: 700 grams of sand + 235 grams of cement


2 comentarios
juanrossi
Profesor PlusHola te contesto en un mensaje privado porque en este lugar no me deja usar el traductor, Te felicito de todas maneras la baldosa está maravillosa!! gracias por compartir
wsaputi
El último look es maravilloso, ¡felicidades!
Ver original
Ocultar original
Entra o únete Gratis para comentar