
How to Paint a White Bird In Watercolour Without using White
by Sarah Stokes @sarah_stokes
- 644
- 36
- 0
Introduction
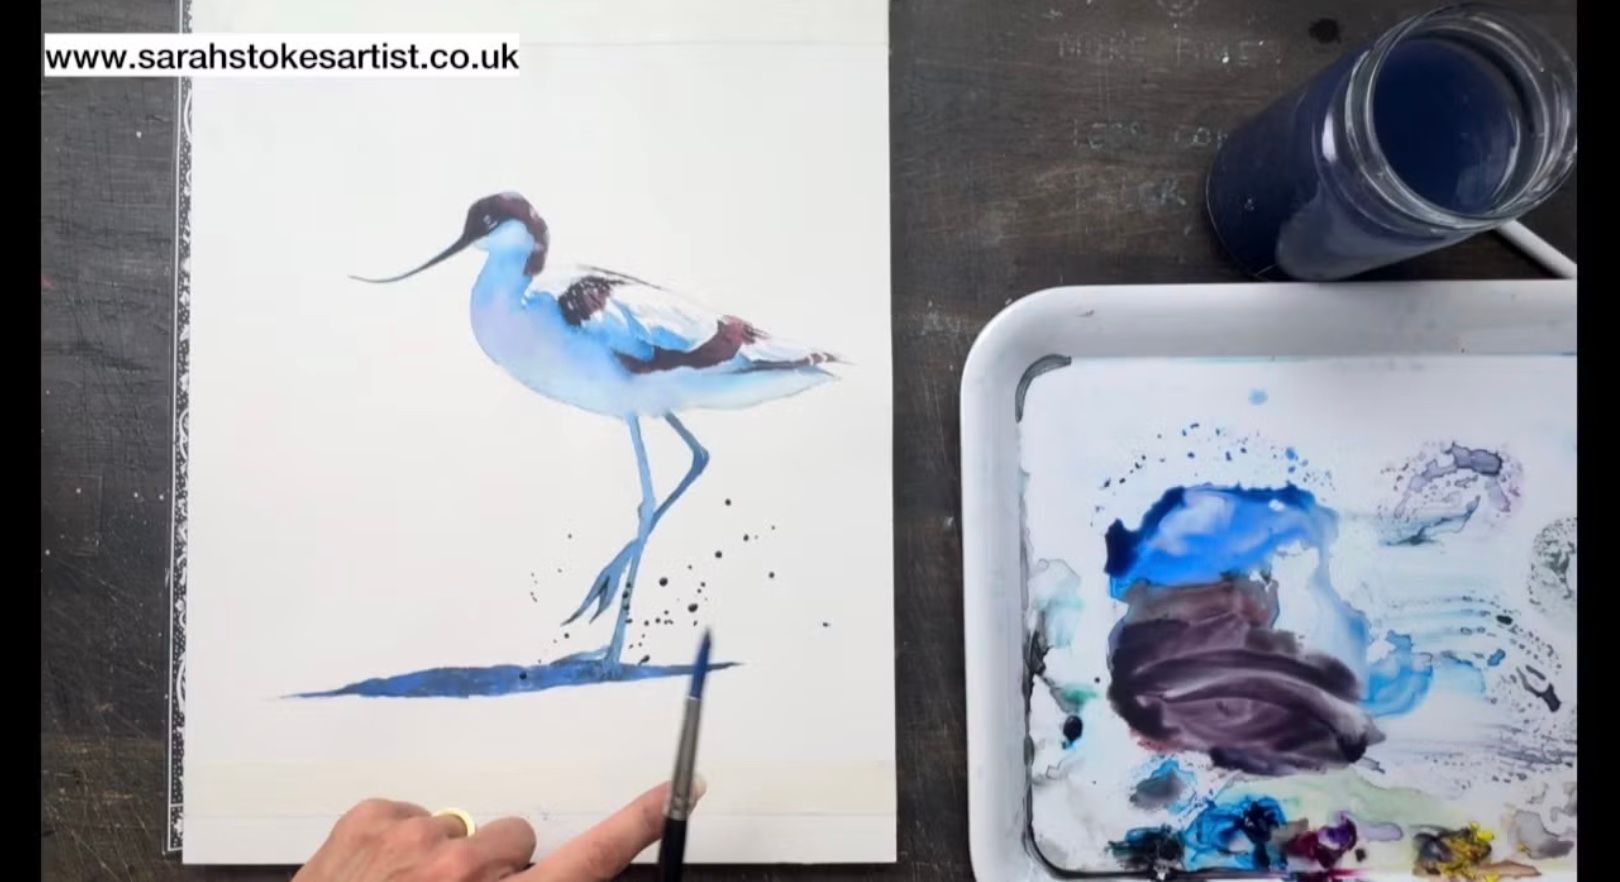
In this project, I painted a pied avocet while exploring how to create a convincing white subject without relying on white paint. I used subtle shadows, reflected colour and carefully controlled edges to define the bird’s form while keeping the painting fresh and expressive.

Supplies
For this tutorial, I use a very simple selection of materials:
Photo: Reference photograph by John Devries, used with permission. https://drive.google.com/file/d/1x8JB...
Watercolour Paints
I use four Winsor & Newton Professional Watercolours:
* Winsor Lemon
* Quinacridone Magenta
* Winsor Blue (Green Shade)
* Cotman Lamp Black
These four colours allow me to mix a wide range of natural greys, soft blues, browns and muted coastal colours.
Brush
* One size 12 synthetic round watercolour brush
A round brush with a good point is ideal because it can hold plenty of water while still allowing you to paint fine details.
Paper
* Arches 100% cotton watercolour paper
I recommend using good-quality cotton paper, as it allows the paint and water to move naturally across the surface. Cold-pressed or NOT surface paper is ideal.
Additional Materials
* A large mixing palette or white ceramic plate
* Two containers of clean water
* Kitchen roll or an absorbent cloth
* Masking tape
* A board to secure your paper
* A pencil and eraser for the initial drawing
* The avocet reference photograph and line drawing
Step 1: Look for the Blues and Neutral Greys
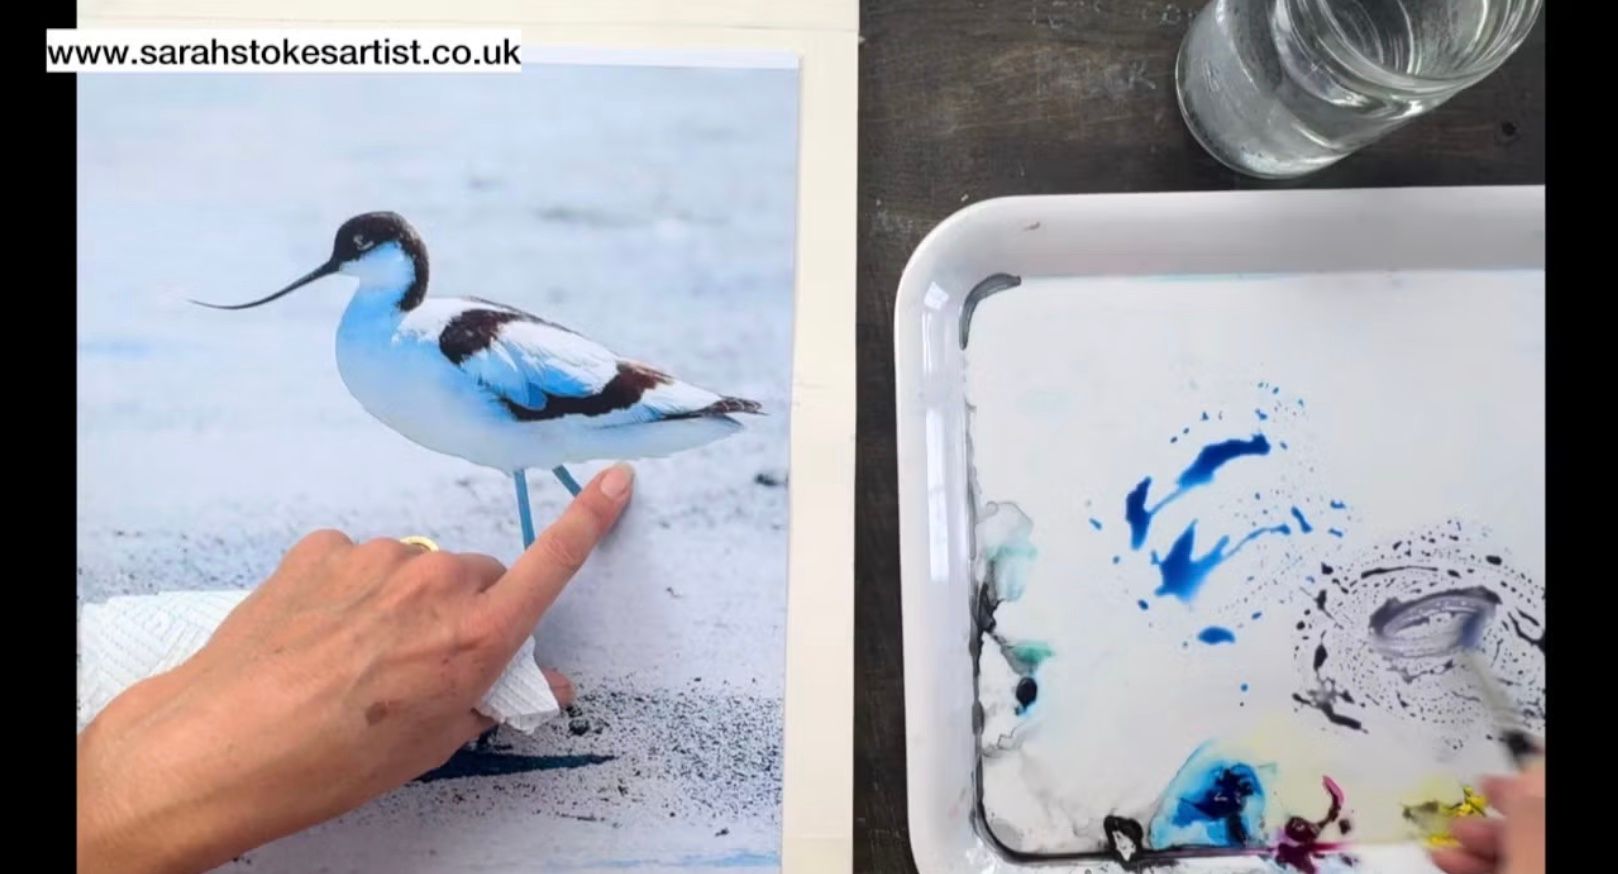
Before you begin painting, take a moment to study the reference photograph carefully.
Although the avocet appears to be a white bird, its feathers are not simply plain white. Look closely and you will see soft blue-grey shadows, neutral greys and subtle changes in tone across the body.
Notice where the light is brightest and leave these areas as untouched paper. Then identify the cooler blue-greys beneath the body, around the wings and in the shaded areas. These delicate tonal changes will give the bird form without making the white feathers look dirty or overworked.
You can mix your greys using Winsor Blue, Quinacridone Magenta and a small amount of Winsor Lemon. Add only a tiny touch of Lamp Black when you need a deeper neutral.
Step 2: Paint the First Layer Wet into Wet
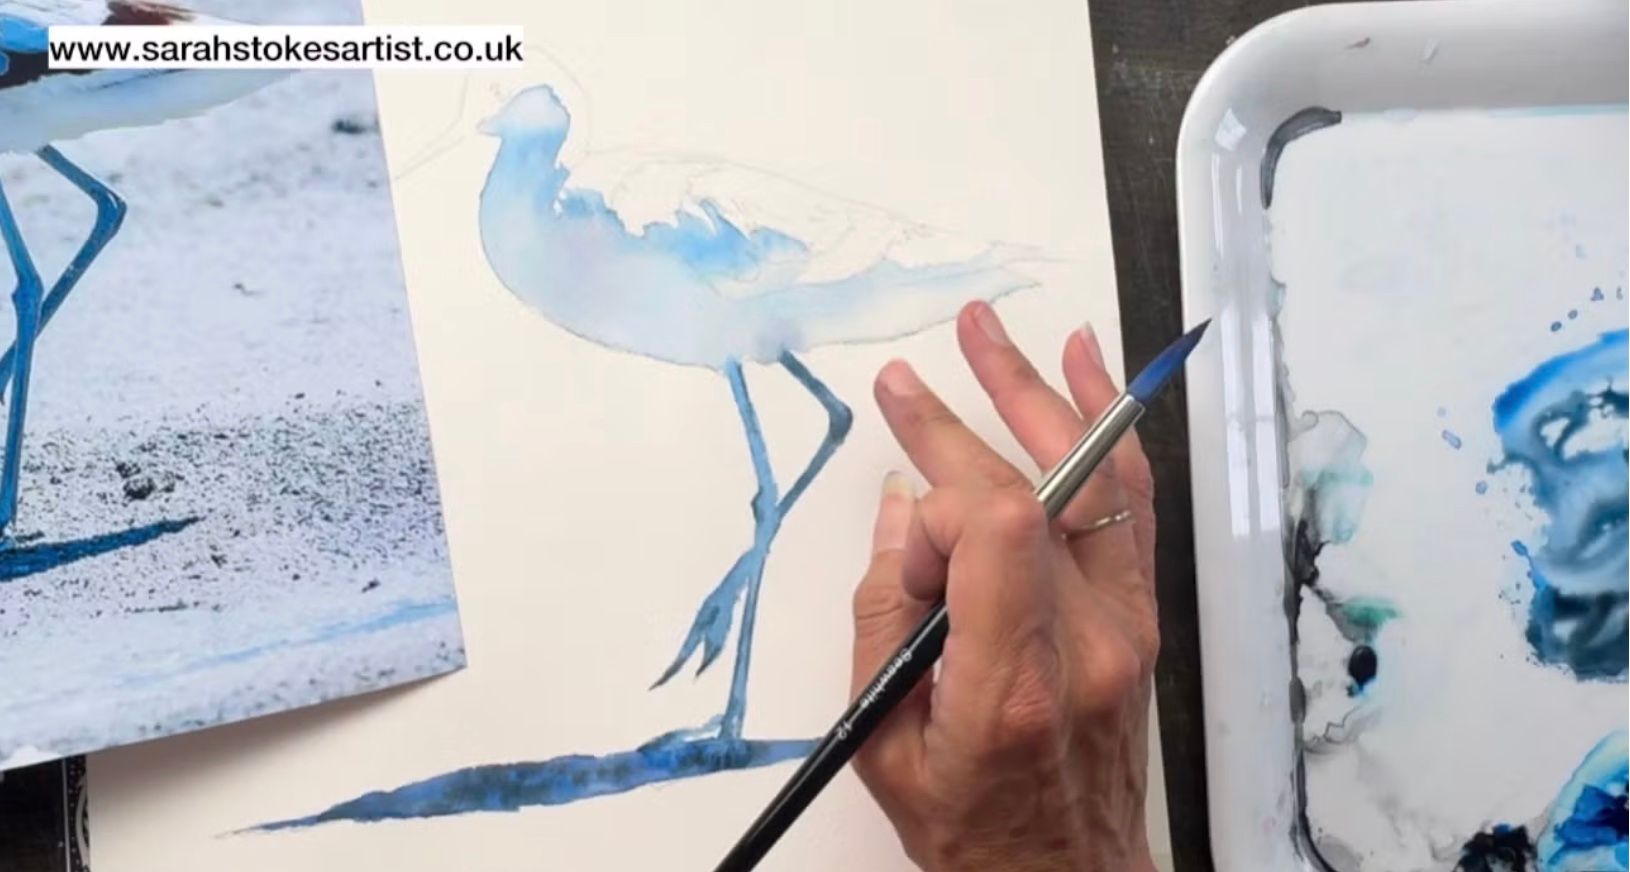
Paint the first layer wet in to wet, which means adding water to your paper first and then adding paint. This gives you beautifully smooth transitions and soft edges which are perfect for that first layer.
Step 3: Add the Warm and Darker Colours
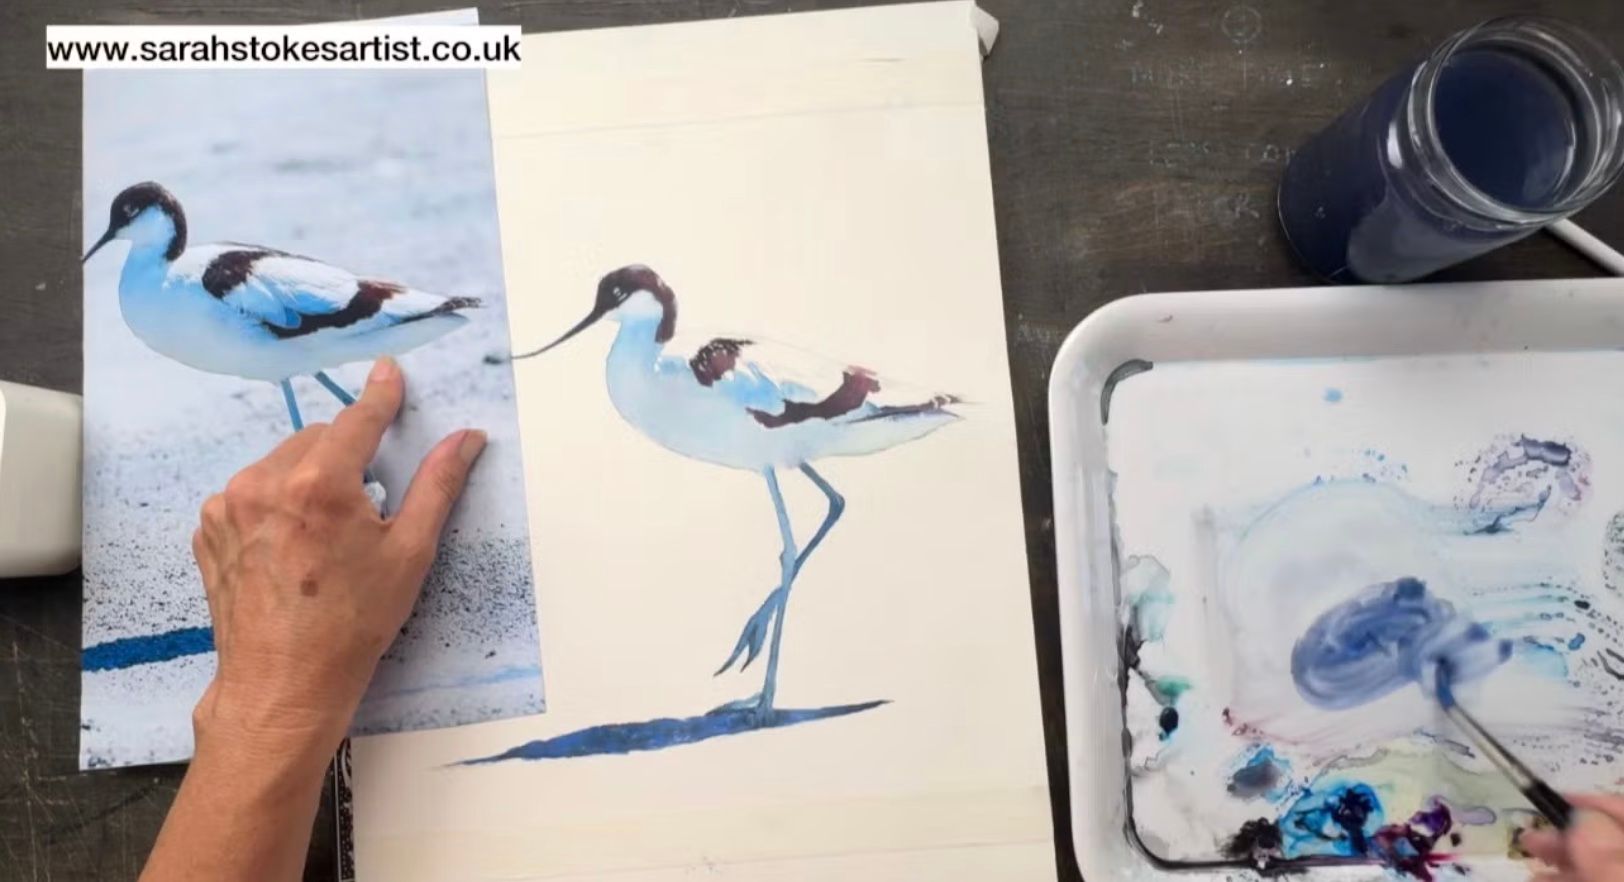
Once the first cool layer is completely dry, begin painting the warmer and darker areas of the head, beak and wings.
Work mainly **wet on dry** so that you have more control over the shapes and edges. Mix warm greys and soft browns using Quinacridone Magenta, Winsor Lemon and a small amount of Winsor Blue. For the deepest areas, add a touch of Lamp Black, but avoid using it on its own as this can make the darks appear flat.
Start with the markings around the head and neck, carefully observing where the colour changes from warm to cool. Build the darker tones gradually, allowing some lighter areas to remain visible.
Paint the long beak with a controlled wash, using the point of your brush to create its fine, curved shape. Leave a small lighter area where the light catches the surface, then deepen the underside and the area nearest the head.
Next, add the dark wing markings. Look carefully at the reference photograph and notice that the edges are not all equally sharp. Keep some edges crisp to define the wing shapes, while allowing others to soften slightly where the dark feathers meet the white body.
Continue building the colour in thin layers rather than trying to achieve the darkest tone immediately. This will give the head, beak and wings more depth while keeping the painting fresh and translucent.
Step 4: Add the Final Glazes and Splashes
Once the painting is completely dry, step back and compare it with your reference photograph.
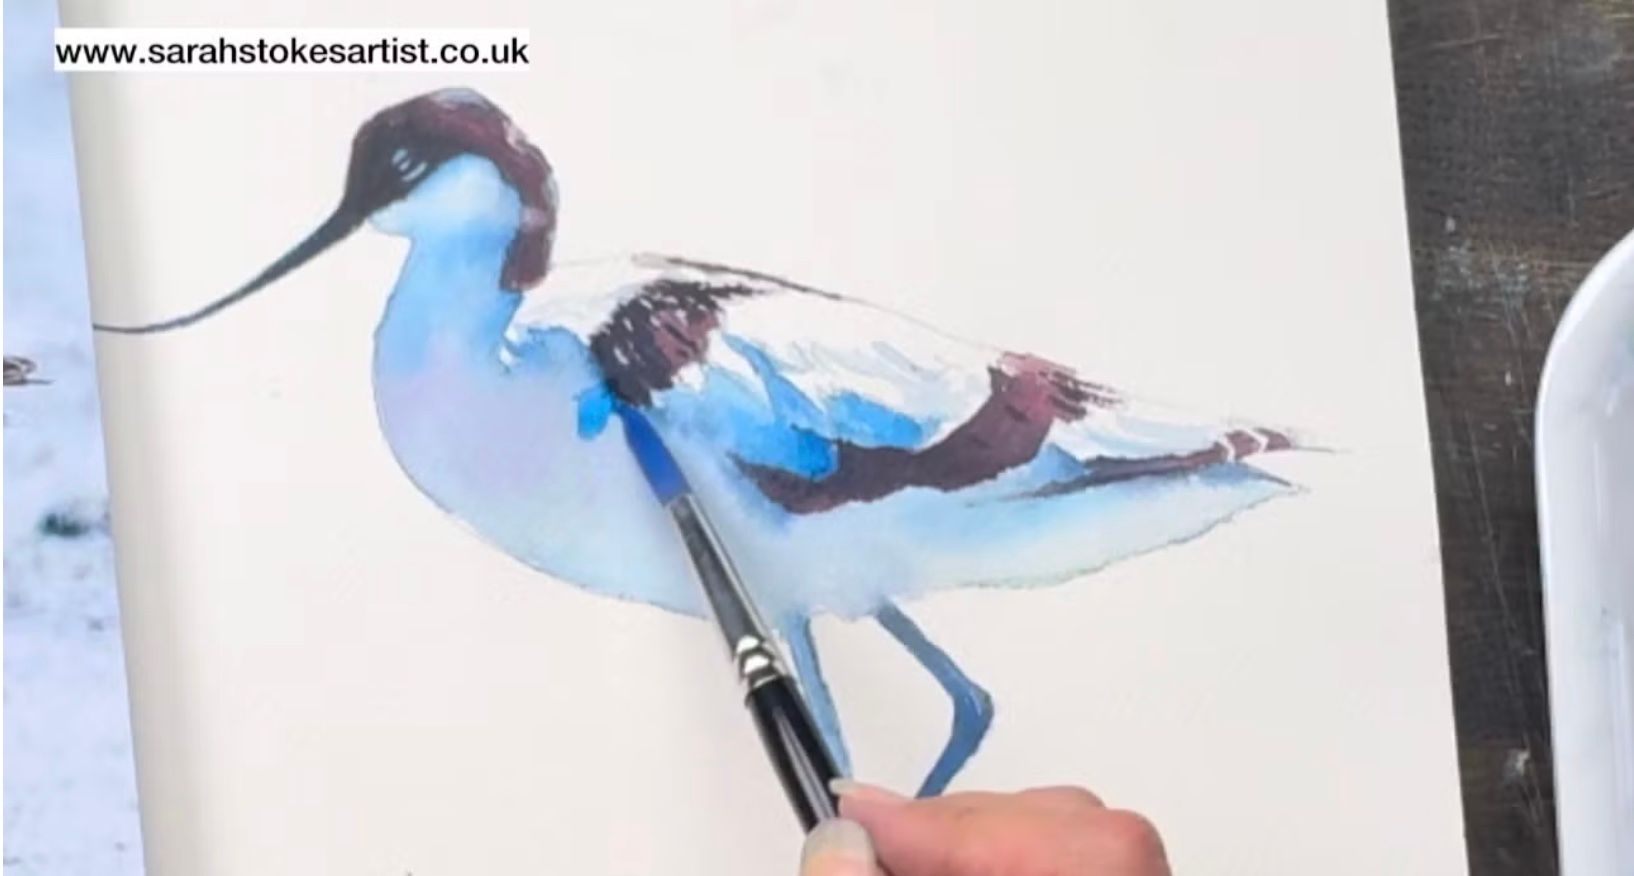
Add an additional transparent glaze wherever the bird needs more shape or depth. Concentrate mainly on the cool blue areas, strengthening the shadows beneath the body, around the wings and where the feathers turn away from the light.
Keep these final glazes light and transparent. Avoid covering the brightest areas of white paper, as these create the light on the bird. You may only need a few carefully placed brushstrokes to bring the whole painting together.
Deepen any final details around the eye, beak, legs or wing markings where needed, but try not to overwork the painting.
To finish, add a few expressive watercolour splashes around the bird. Use the cool blues and neutral greys already present in the painting so that the splashes feel connected to the subject. Keep some close to the bird and allow a few to travel beyond the main composition.
If you have enjoyed painting this avocet, please join my friendly Facebook group, where you can share your finished painting and find more free lessons, tips and support: https://www.facebook.com/groups/learnwatercolouranddrawing/


0 comments
Log in or join for Free to comment