
Master frame loom weaving fundamentals, explore warp and weft techniques, and create unique textile compositions
Dive into the vibrant world of textile art with a specialization that unites traditional craftsmanship and contemporary creativity. This journey begins with mastering the basics of frame loom weaving, where you'll learn to prepare your loom and explore the foundational warp and weft techniques. Progress to the intricate art of high-warp looms, gaining expertise in complex color work and developing your ability to create figurative forms. As you advance, discover the beauty of decorative tapestries, honing advanced manual loom techniques to craft patterns with visual depth and texture.
Further, explore the fusion of weaving and embroidery. This combination allows for the creation of mixed tapestries with rich textures and unique ornamental details. Finally, embrace the innovative technique of artistic wool cutting. This method adds dramatic, three-dimensional effects to your mural tapestries. Guided by experts Diana Cunha, María Malatrama, Mariana Baertl, and Mauro Frazão, this specialization offers a complete artistic journey. You'll develop a personal style, weaving a collection that showcases your evolution from beginner to accomplished contemporary textile artist.
What will you learn in this specialization?
 1
Introduction
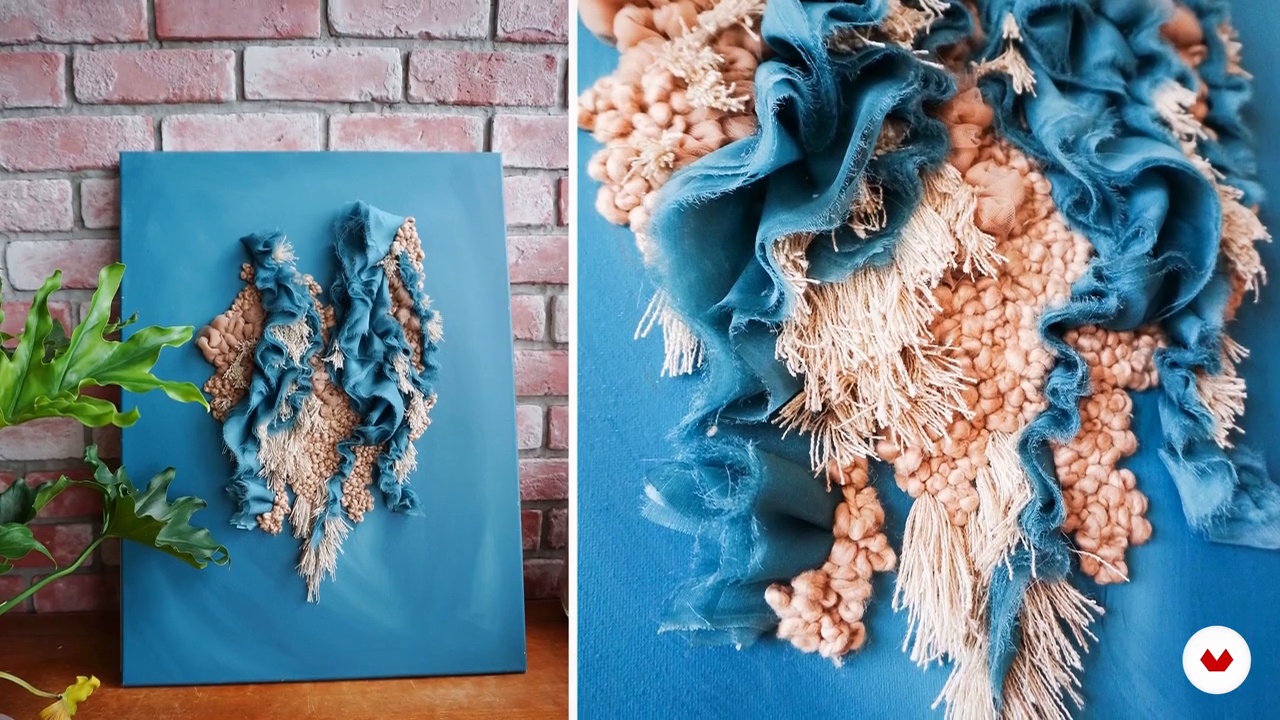
Textile art holds centuries of stories—woven with purpose, beauty, and emotion. From ancient techniques to modern expressions, this journey reveals how fiber connects cultures, ideas, and identities. Discover how every thread carries meaning, and how your hands can become tools for storytelling, reflection, and creative freedom.
1m
 2
Influences | Diana Cunha
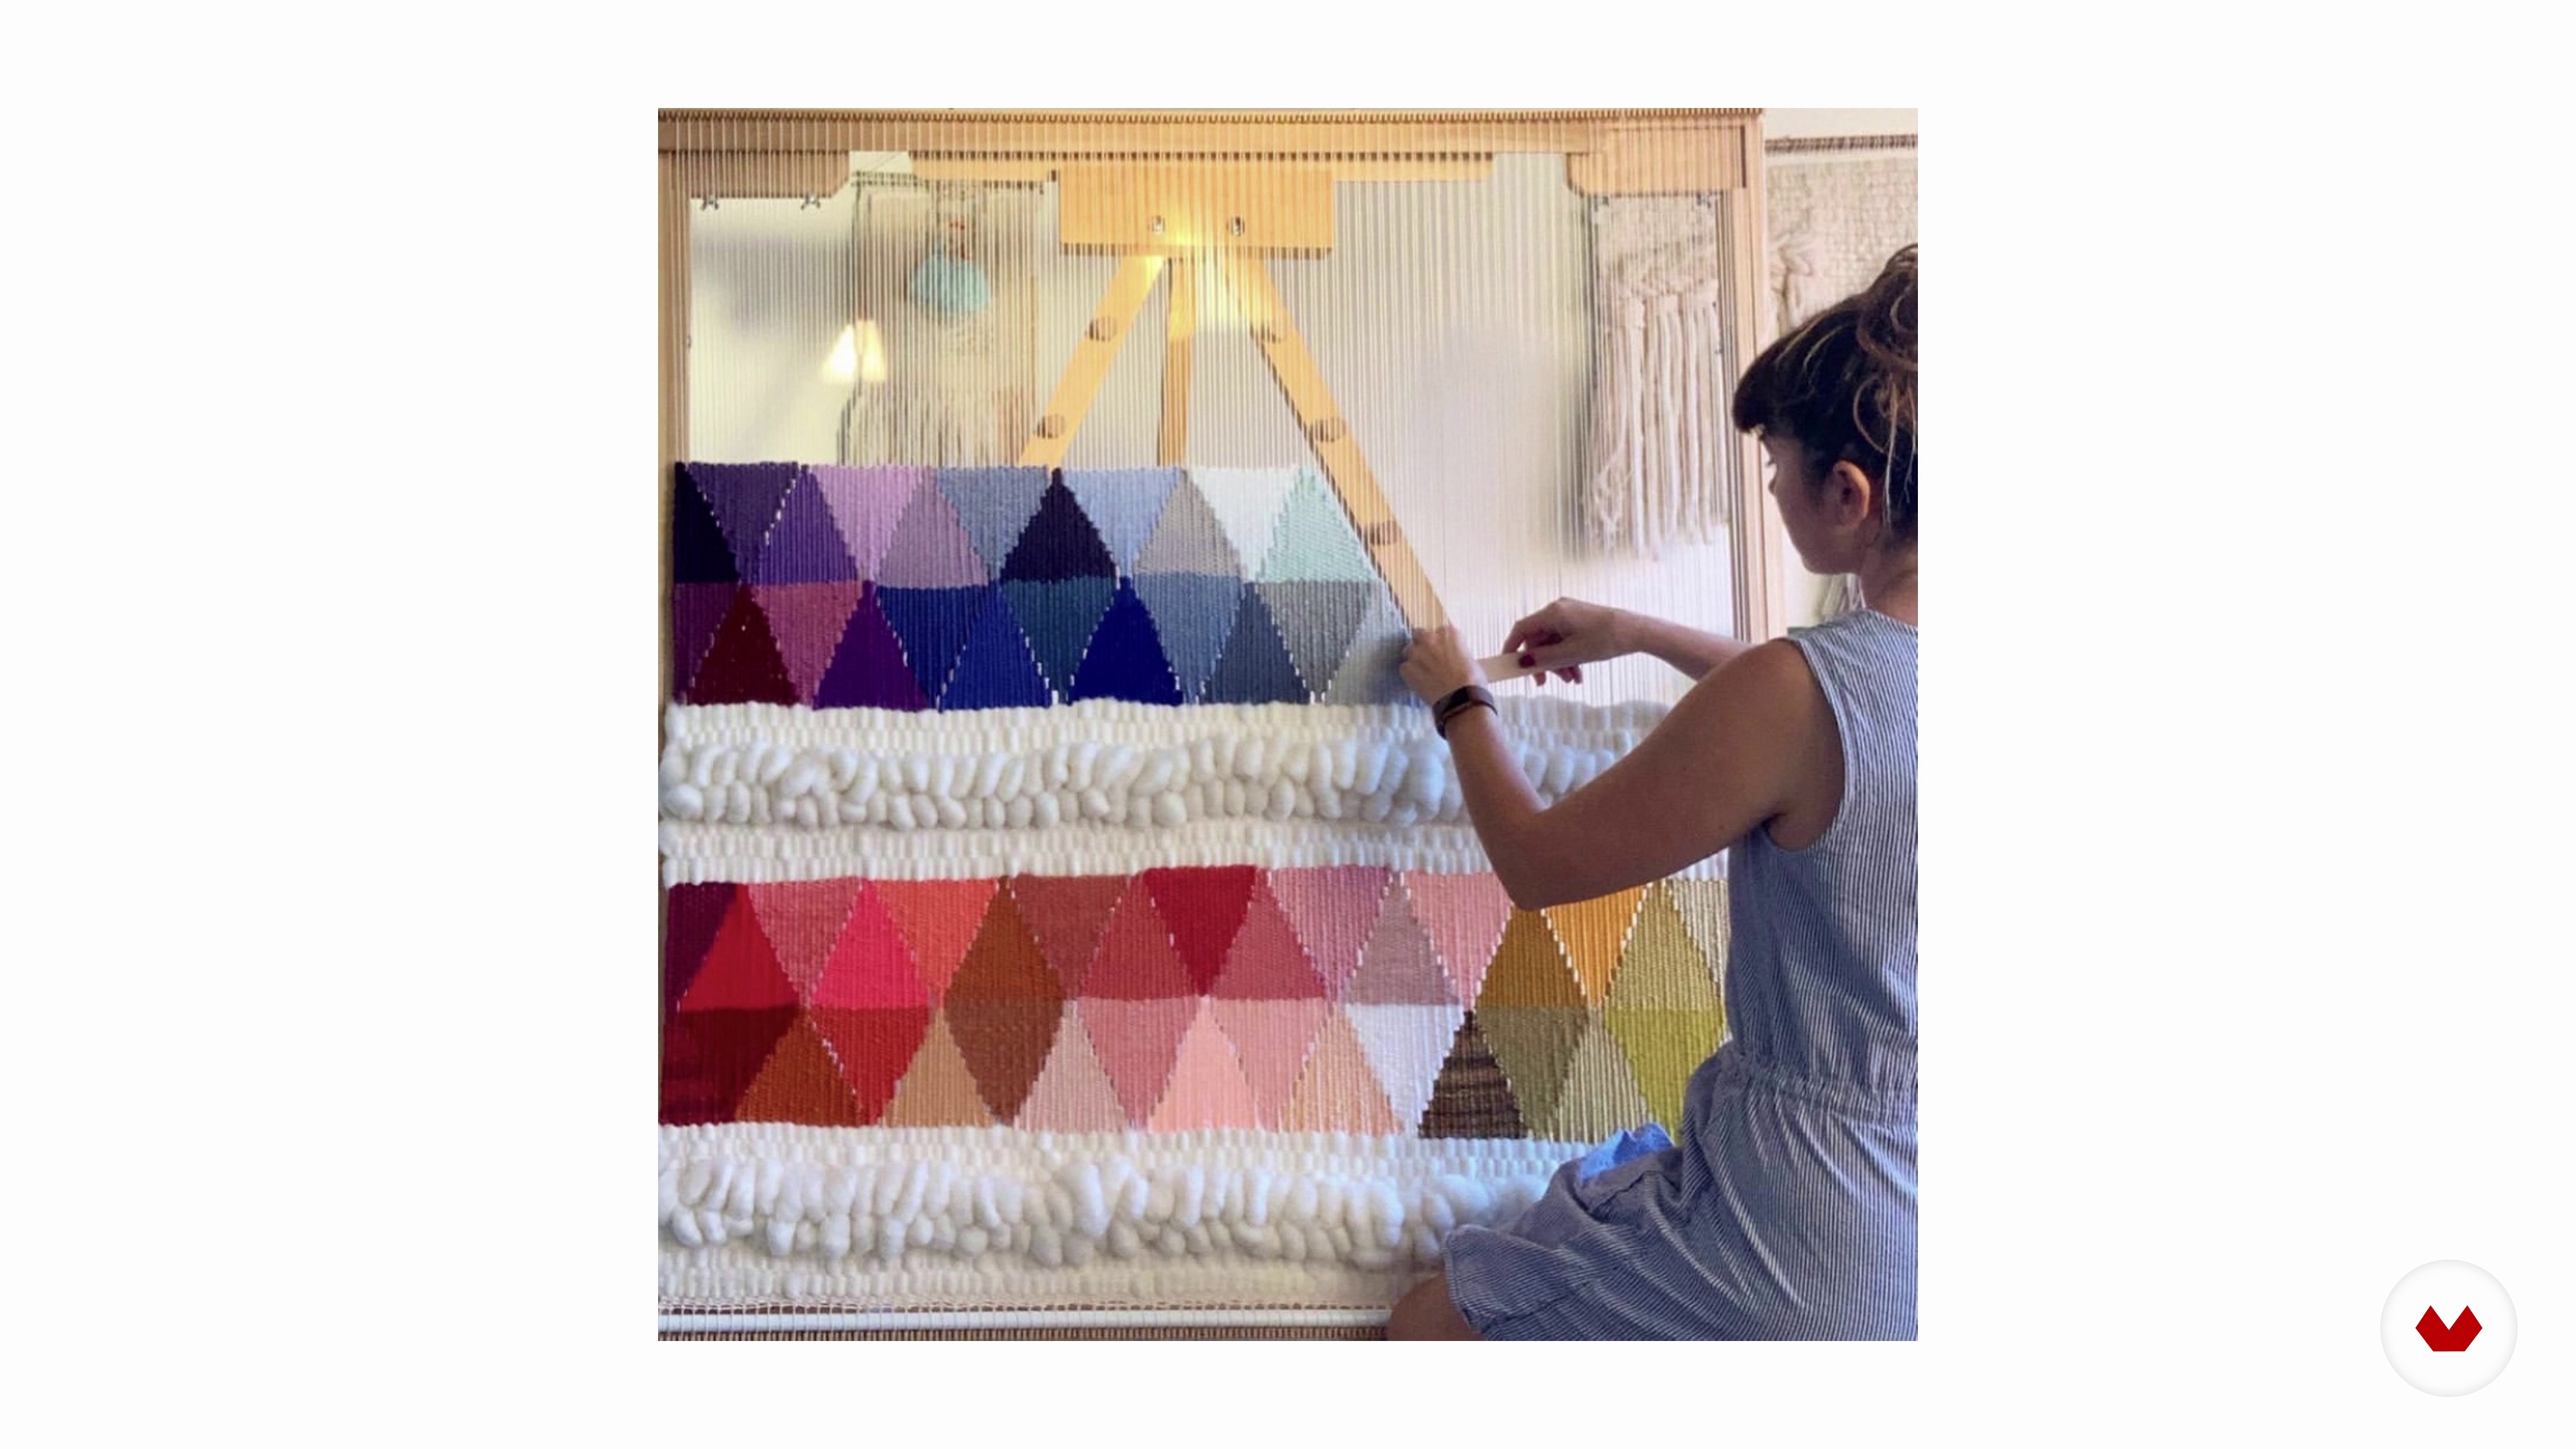
In this class, I will introduce you to my greatest influences. I can say that the person responsible for my decision to learn how to make tapestry on a loom was Maryanne Moodie. I met Maryanne's pieces on Pinterest and fell in love.
7m
 3
Influences | Maria Malatrama
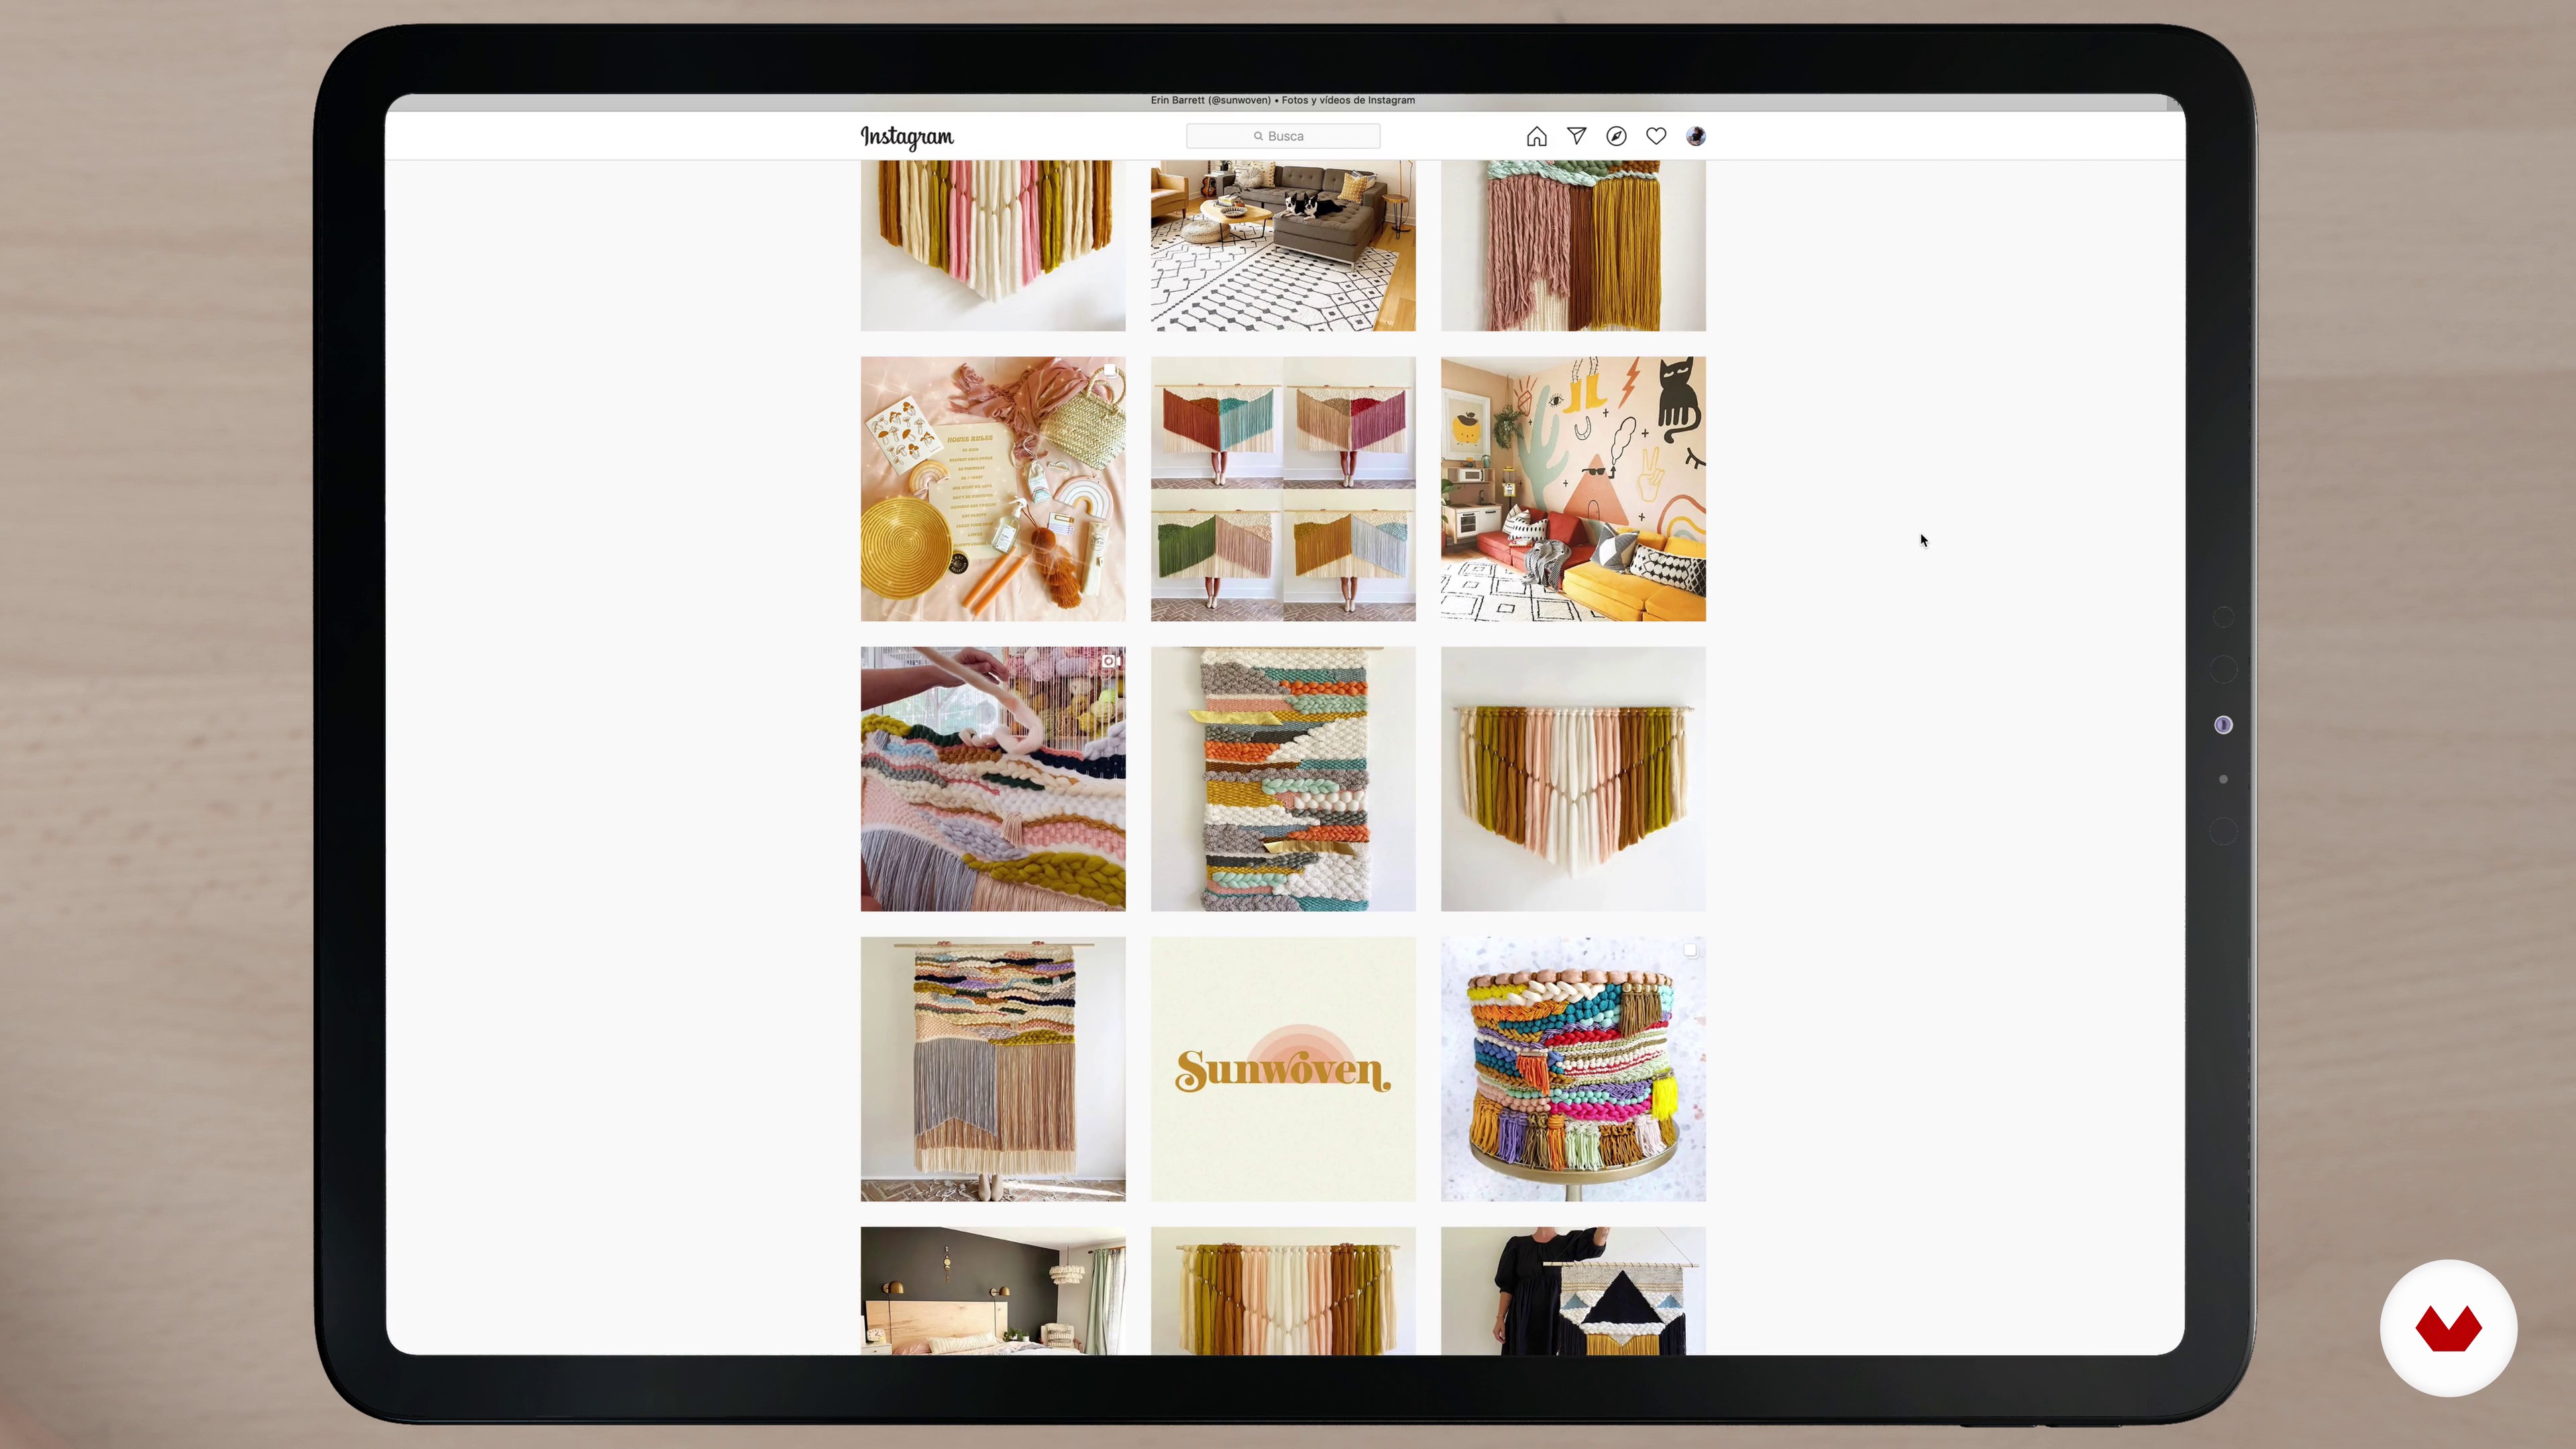
Now I want to show you some textile artists that I discovered when I started to get into this technique. They are still an inspiration to me today!
6m
 4
Influences | Diana Cunha
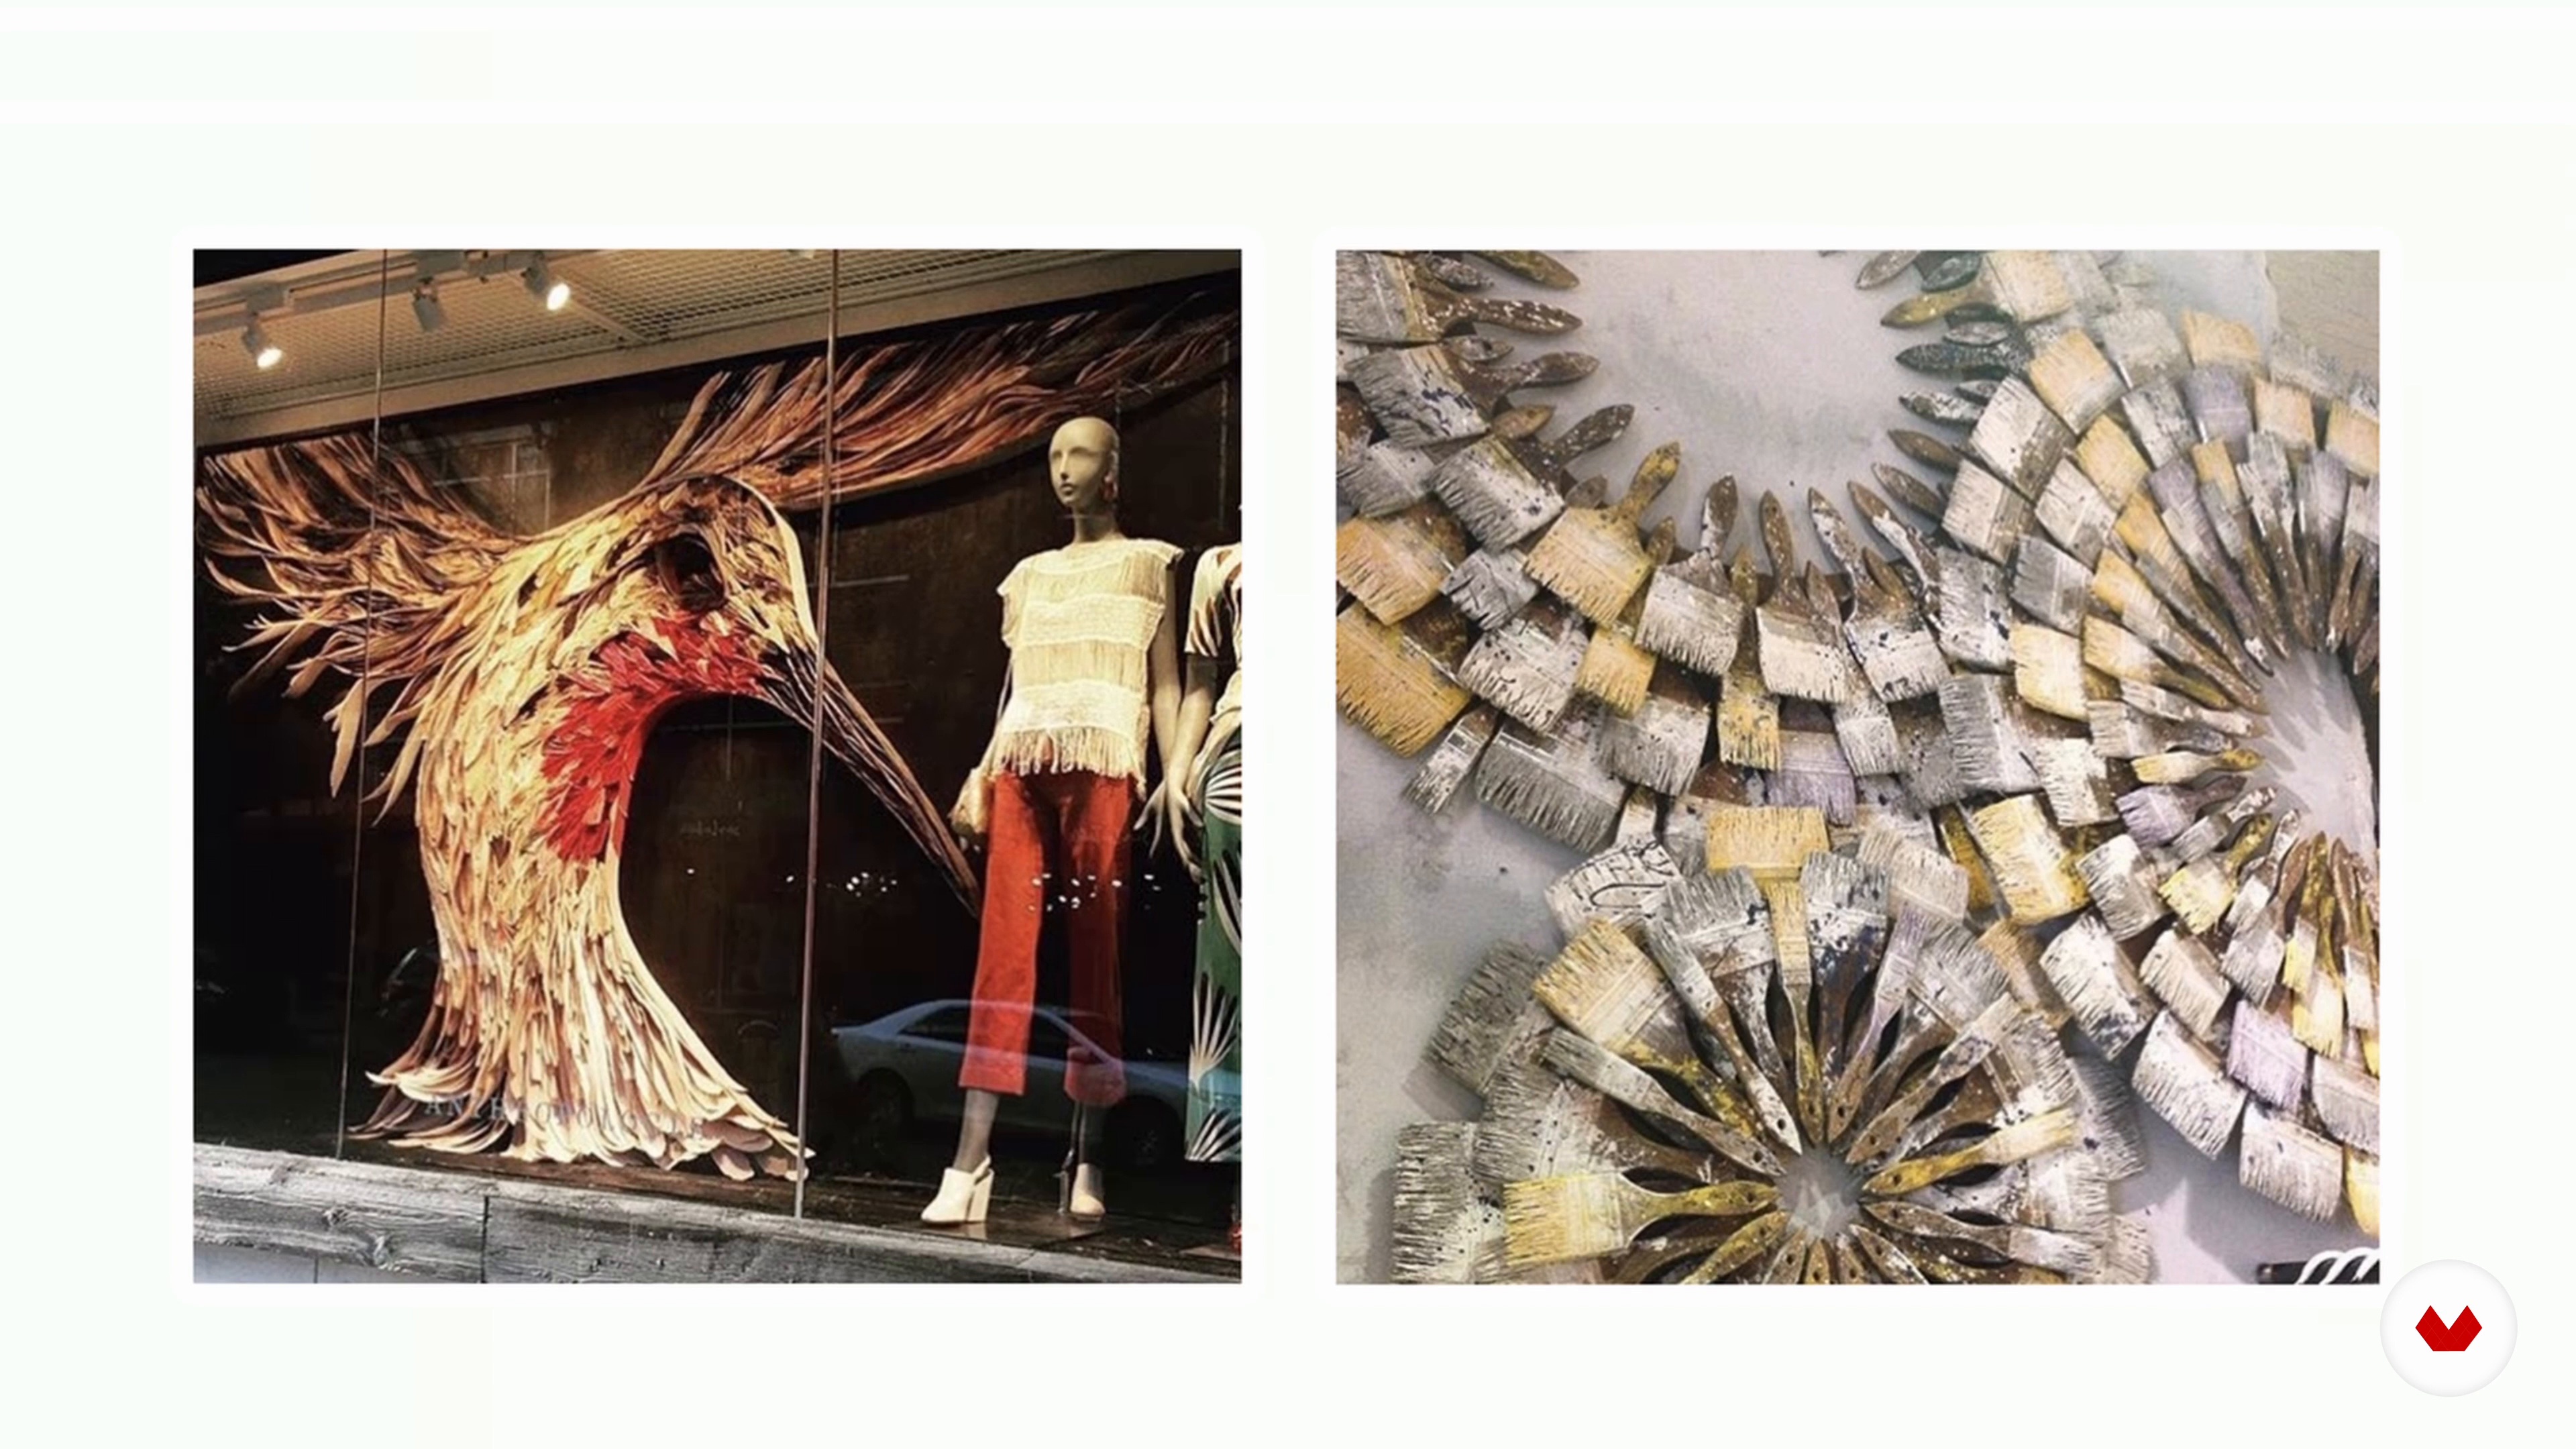
What people, places and objects inspire me to directly or indirectly influence my work? In this class, I'm going to tell you about three important influences for me.
10m
 5
Influences | Mariana Baertl
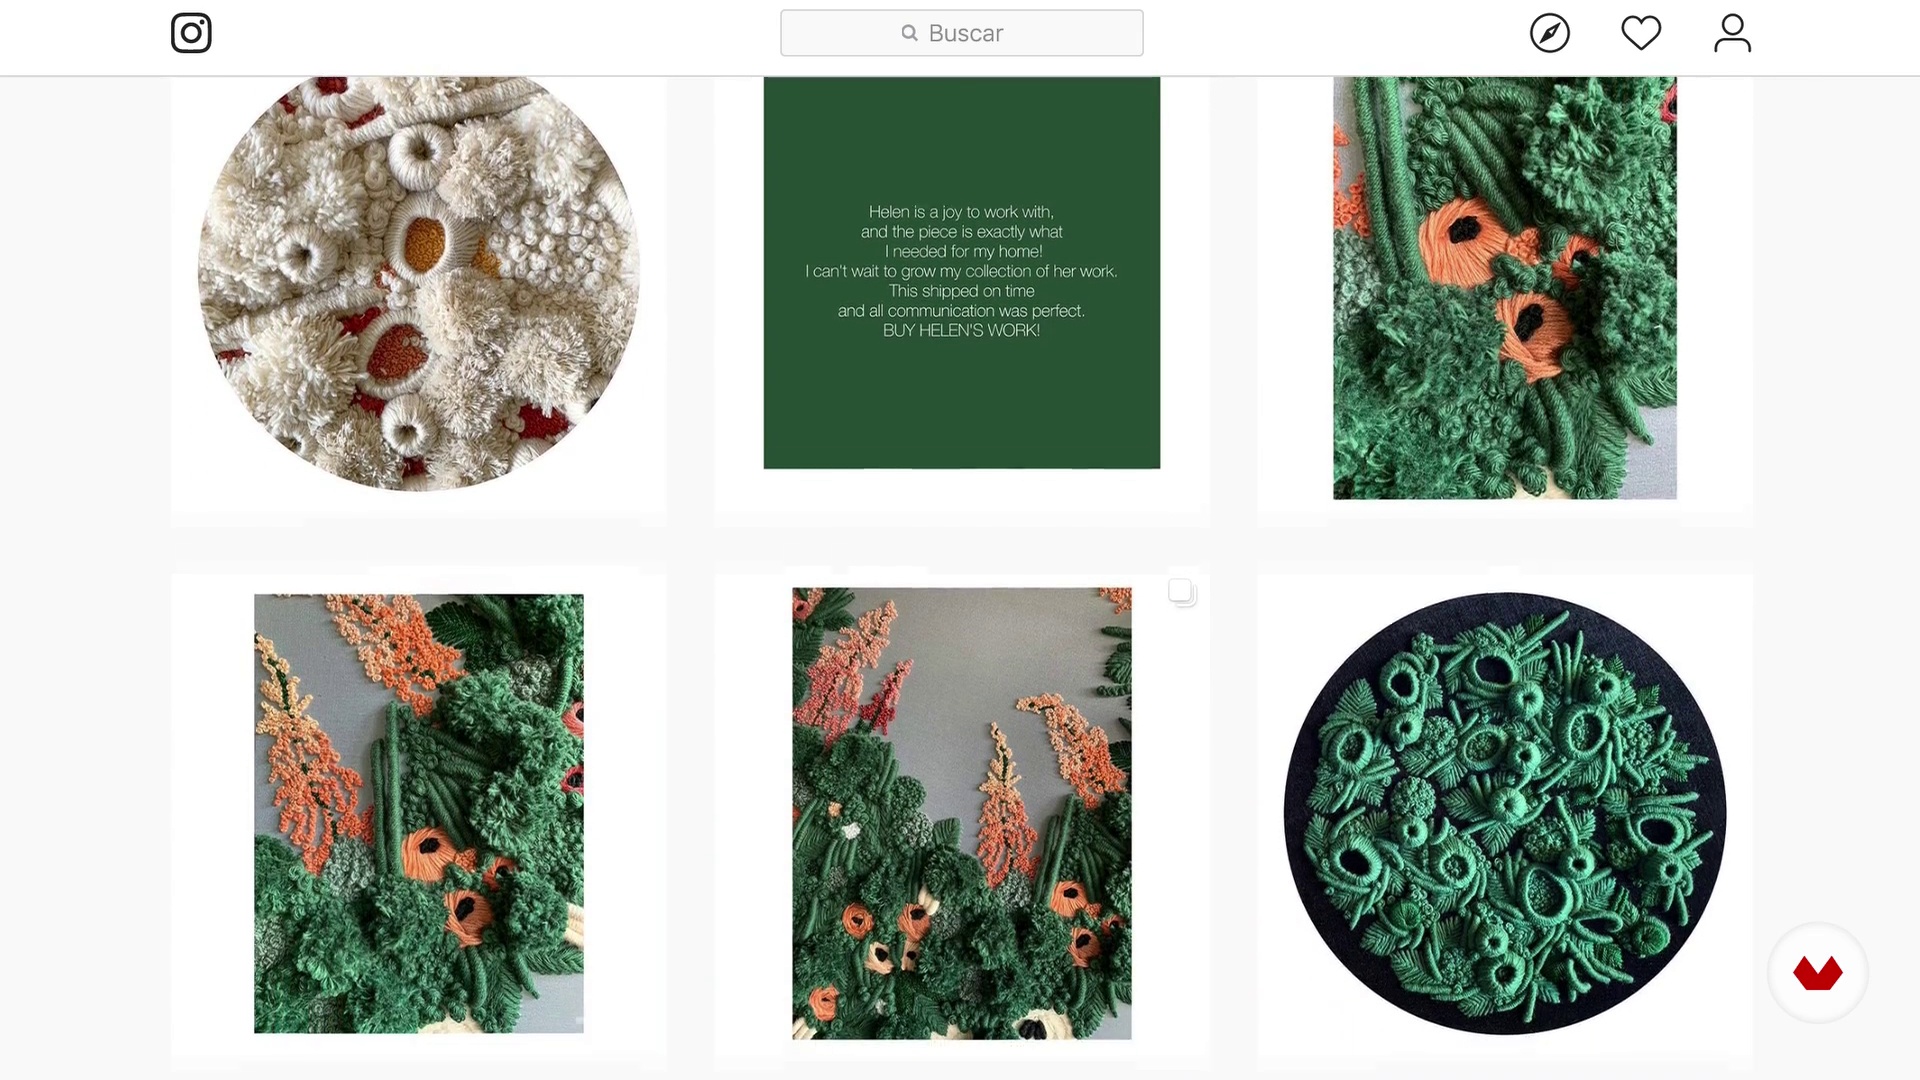
In this lesson I will tell you a little about what inspires me when creating, where to look for my own inspiration and what books and magazines support me and help me to express my ideas.
3m
 6
Influences | Mauro Frazão
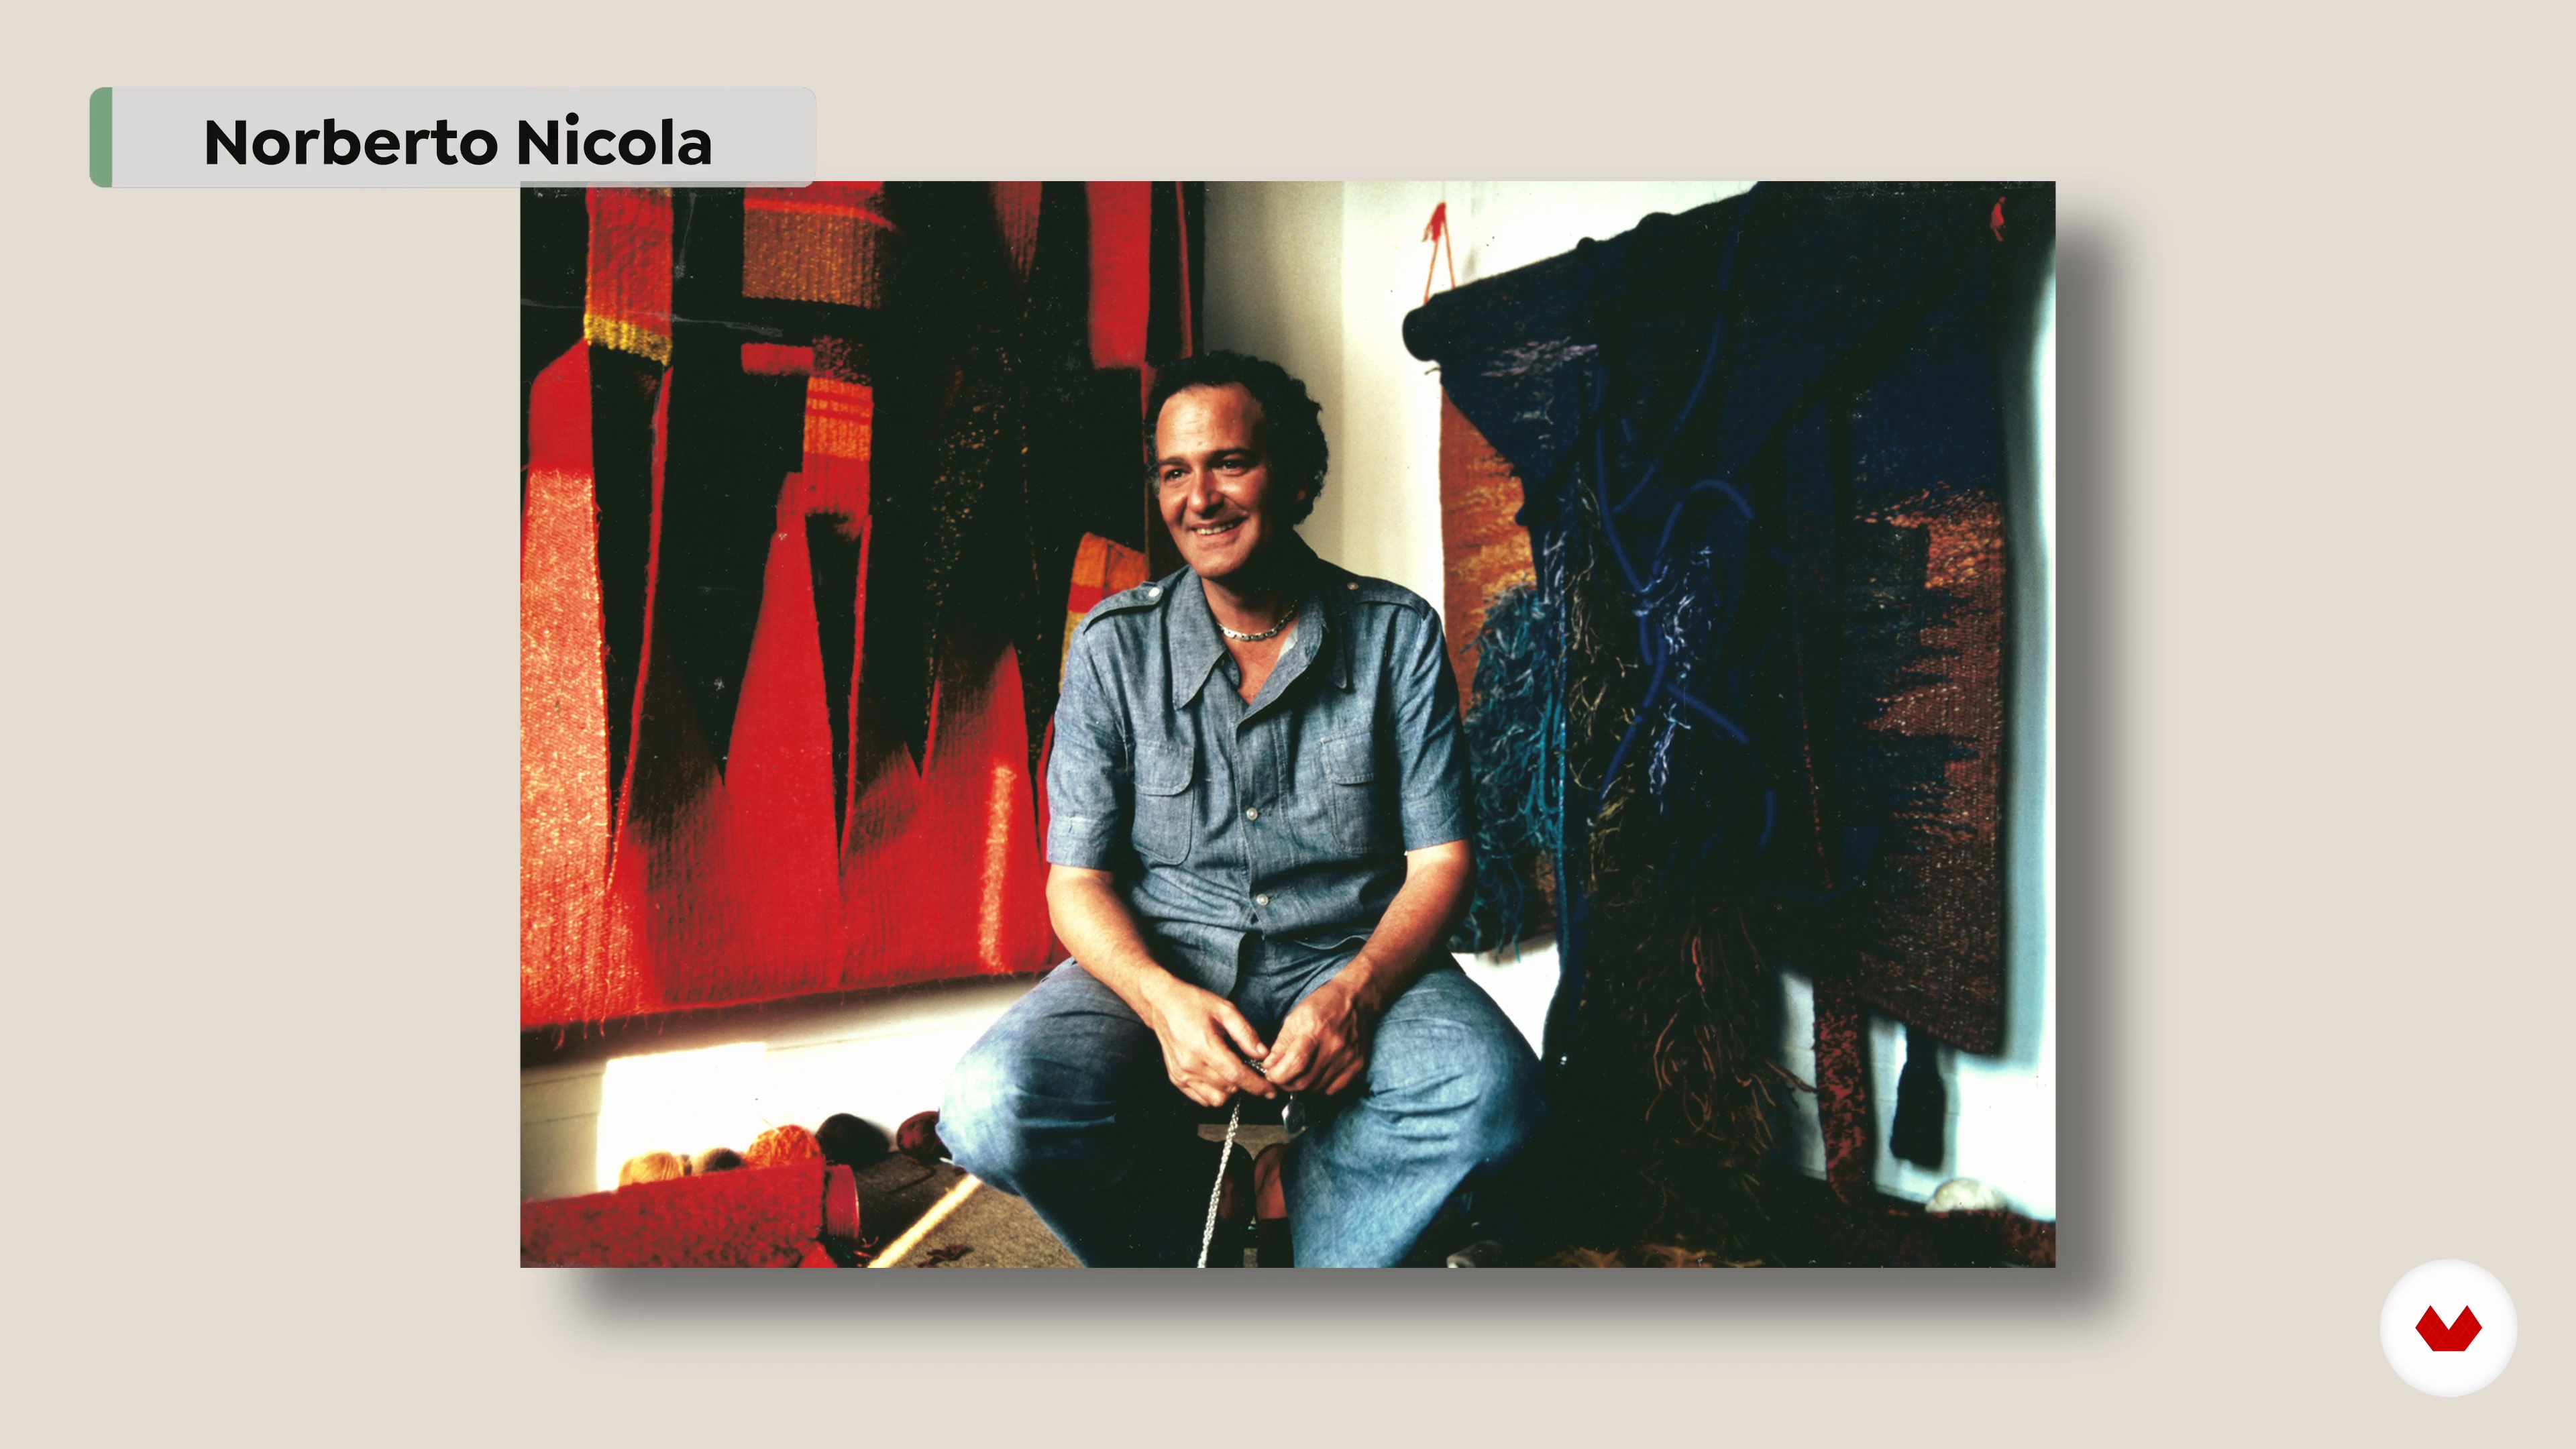
Now, I will share with you my sources of inspiration and influences.
2m
 4
Choosing materials
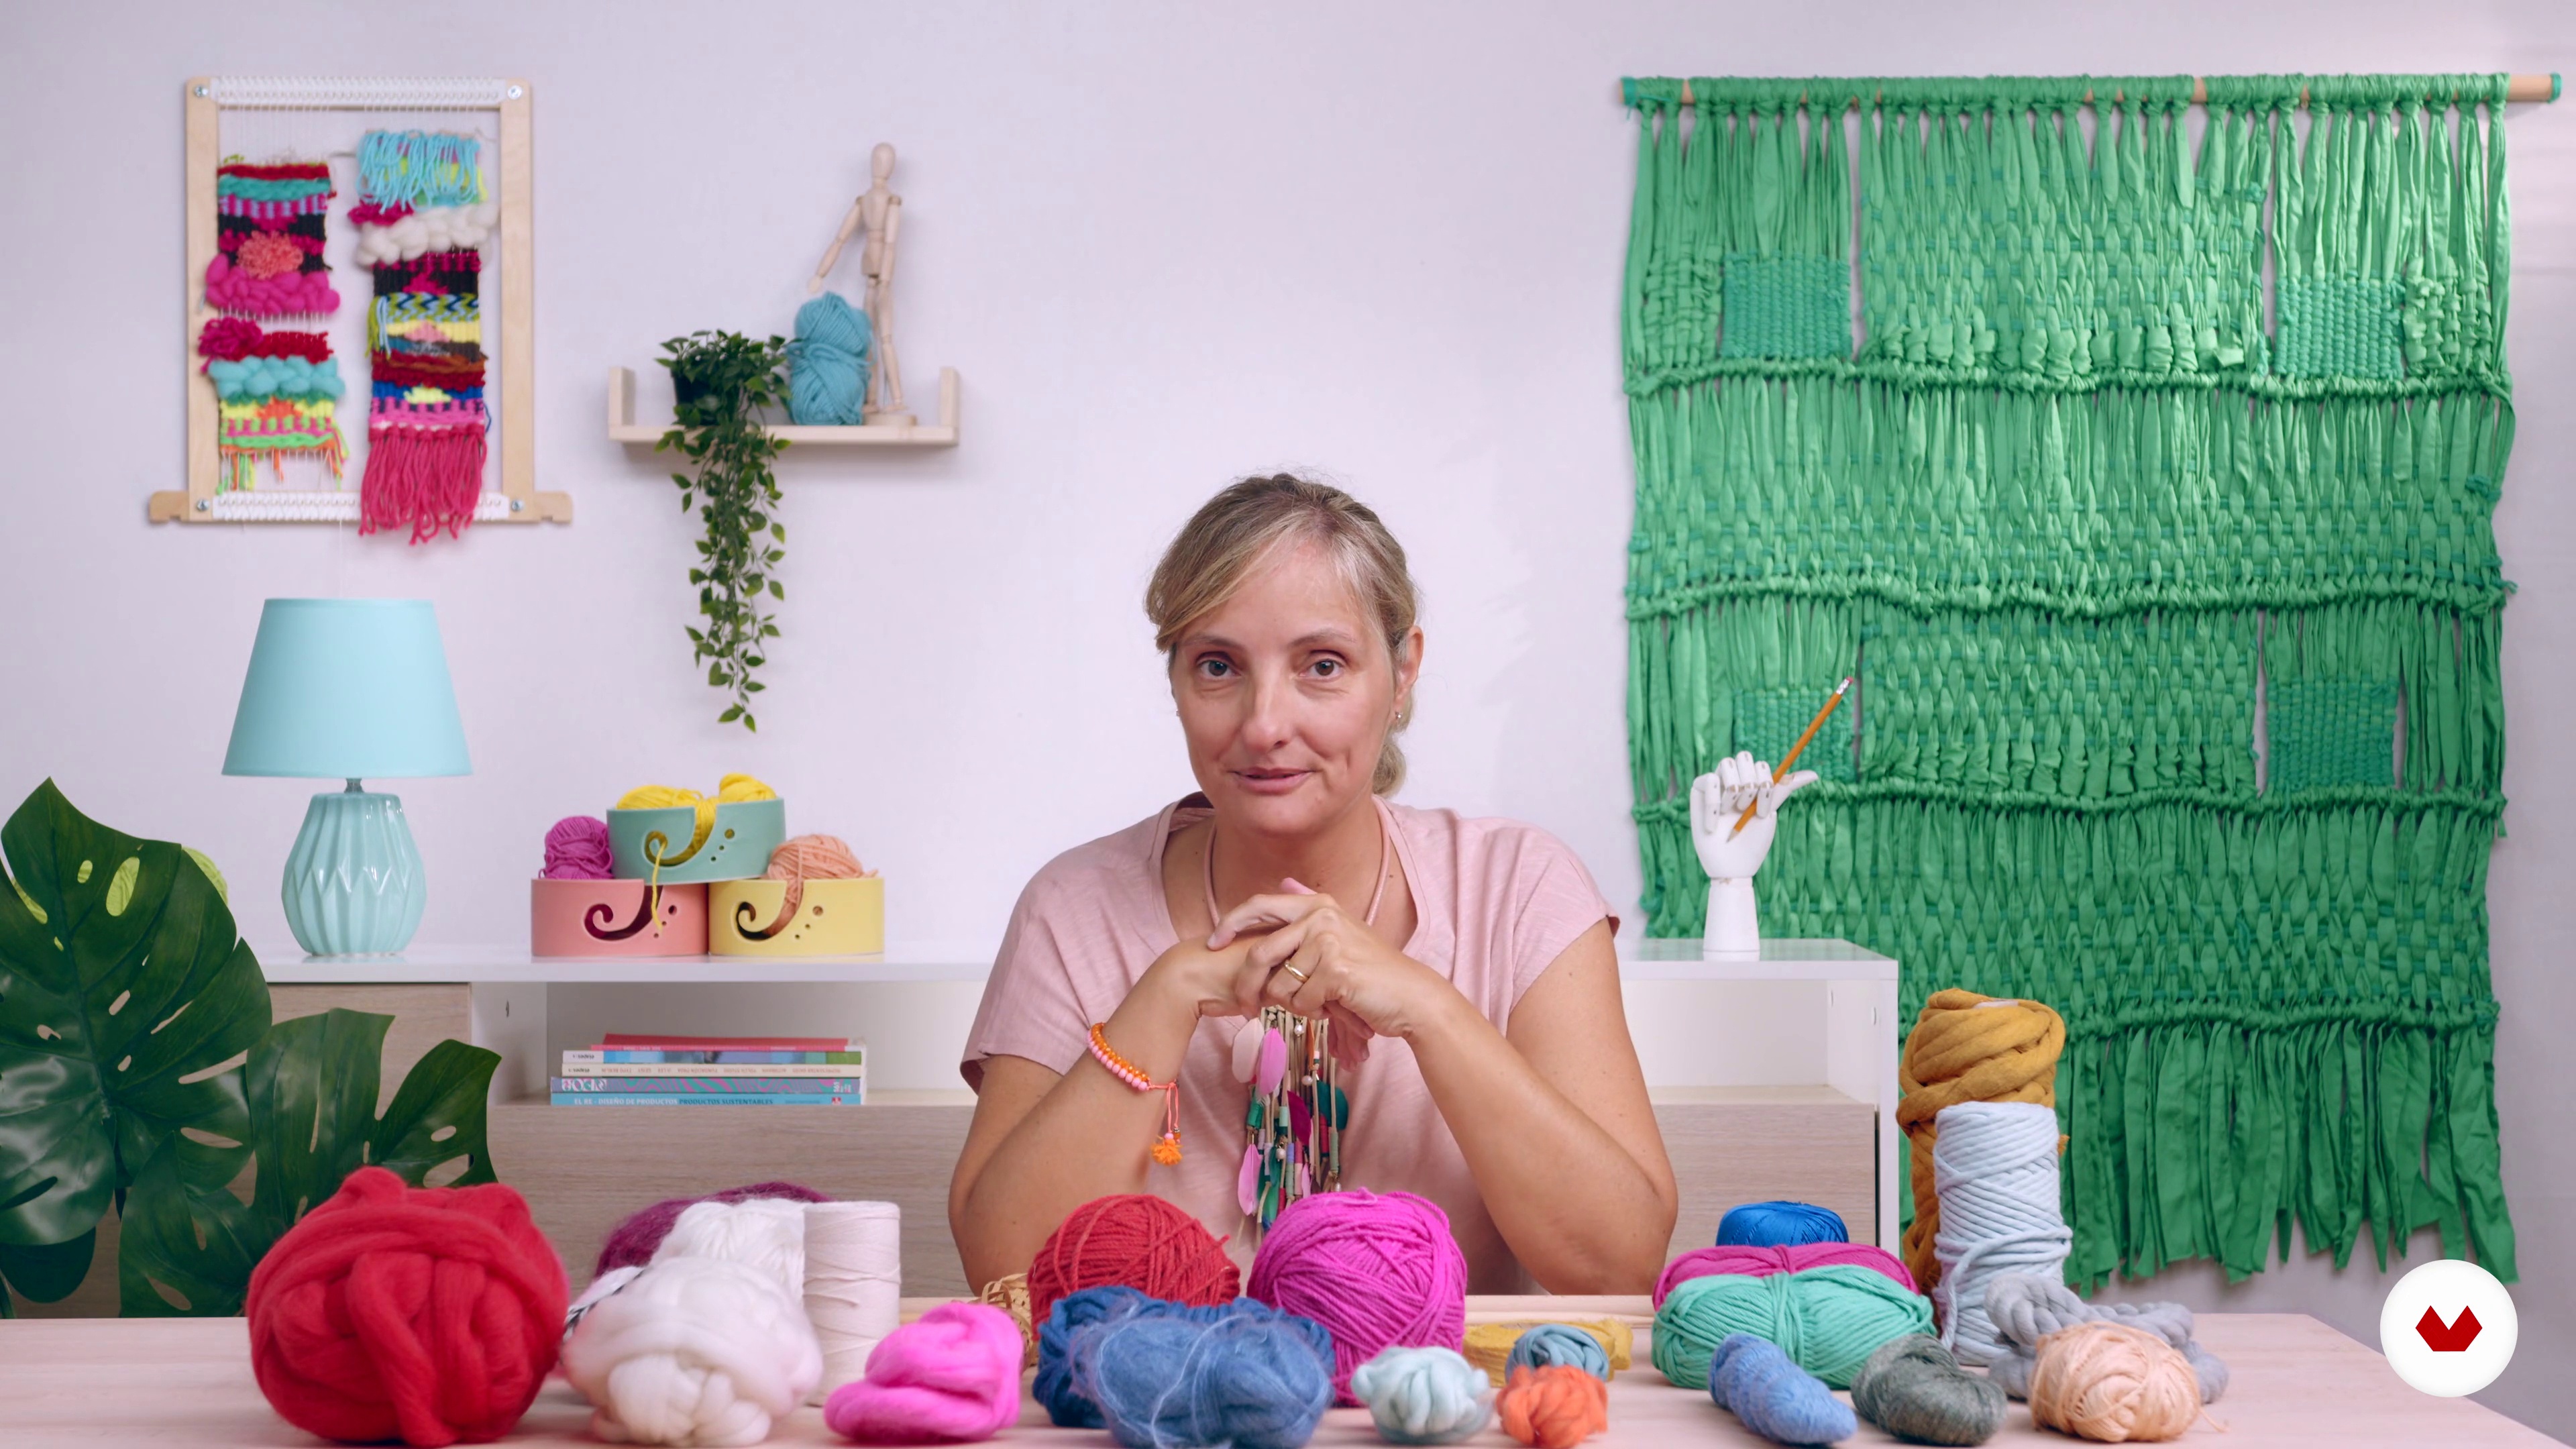
There are many types of fibers. Each responds differently to handling (some are more difficult to work with than others) and have a different result after weaving. We will analyze various types of fibers and other materials and learn about the strengths and weaknesses of each one.
7m
 5
Loom types and frame choice
In this class, we will cover the various types of hand looms (comb loom, nail loom, cardboard loom, vertical / frame loom, circular loom). There are still other less conventional looms.
5m
 6
Main concepts of the frame loom
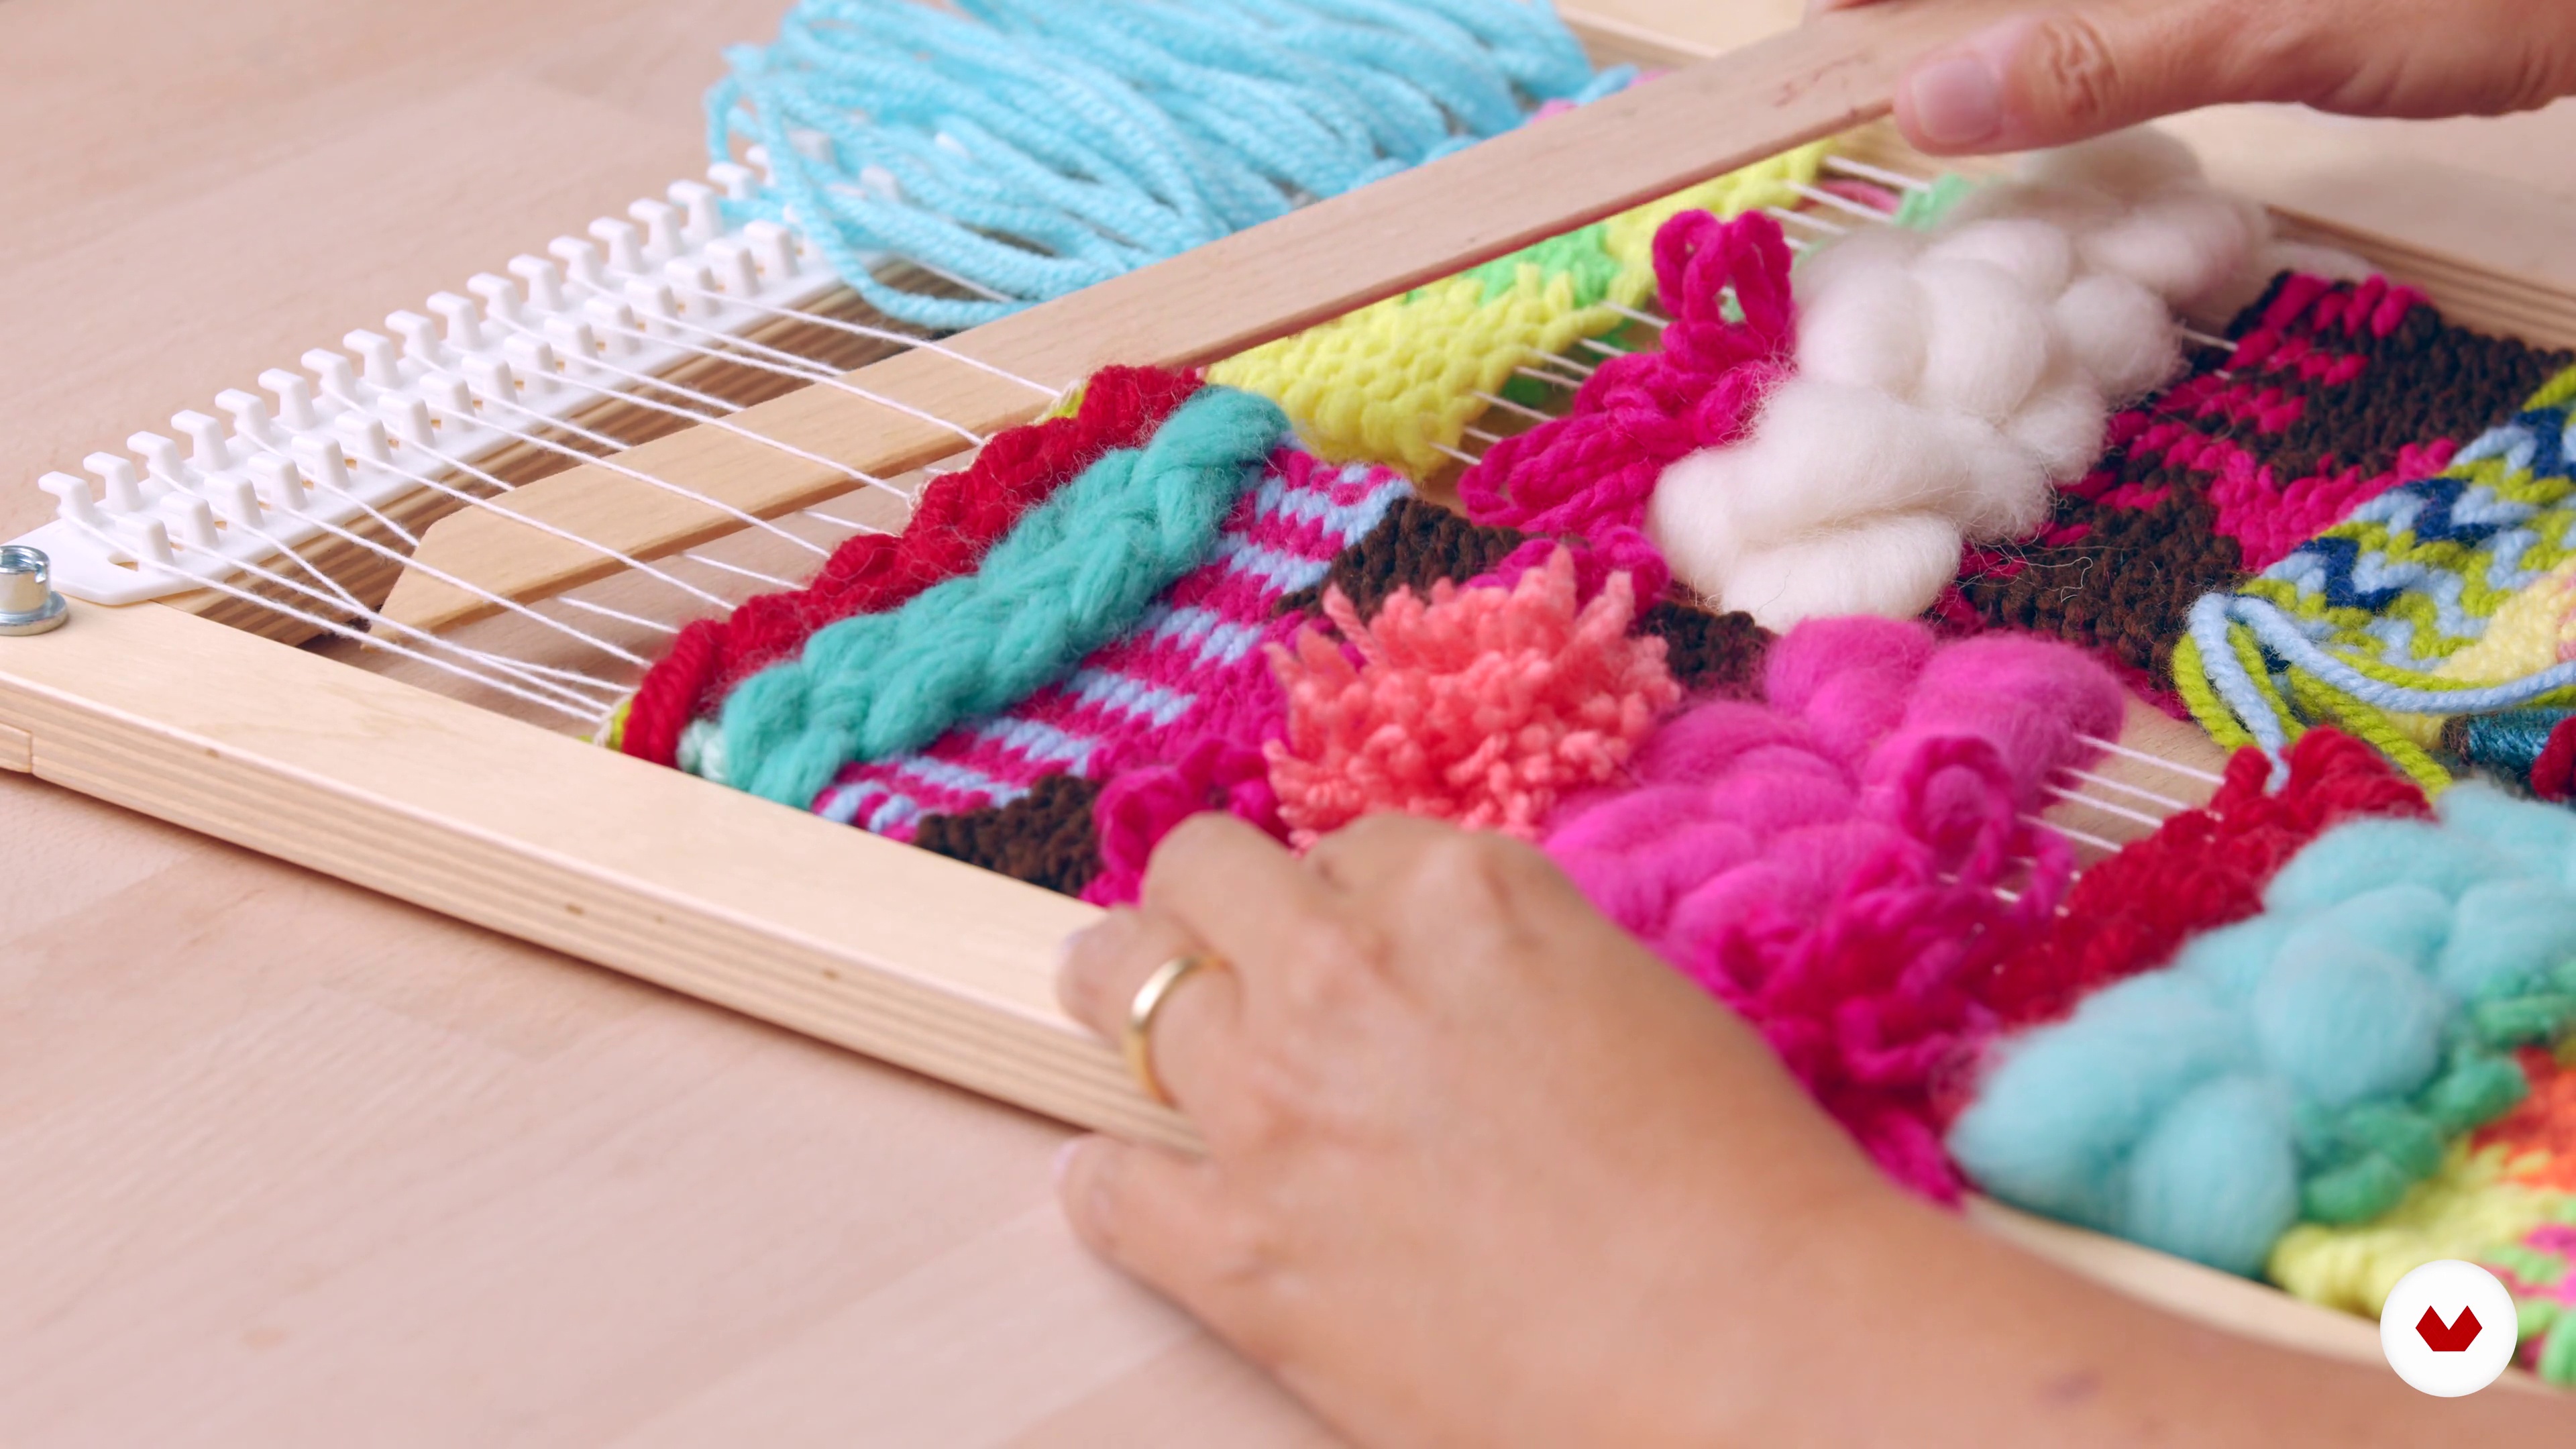
In this class, I will talk about the main concepts of the frame loom (definition of loom, warp, weft, shutter and shuttle). Tapestry and weaving are techniques through which fabrics are created. At the bottom, a fabric is made up of threads that cross, intertwine.
2m
 7
Assemble the warp on the loom
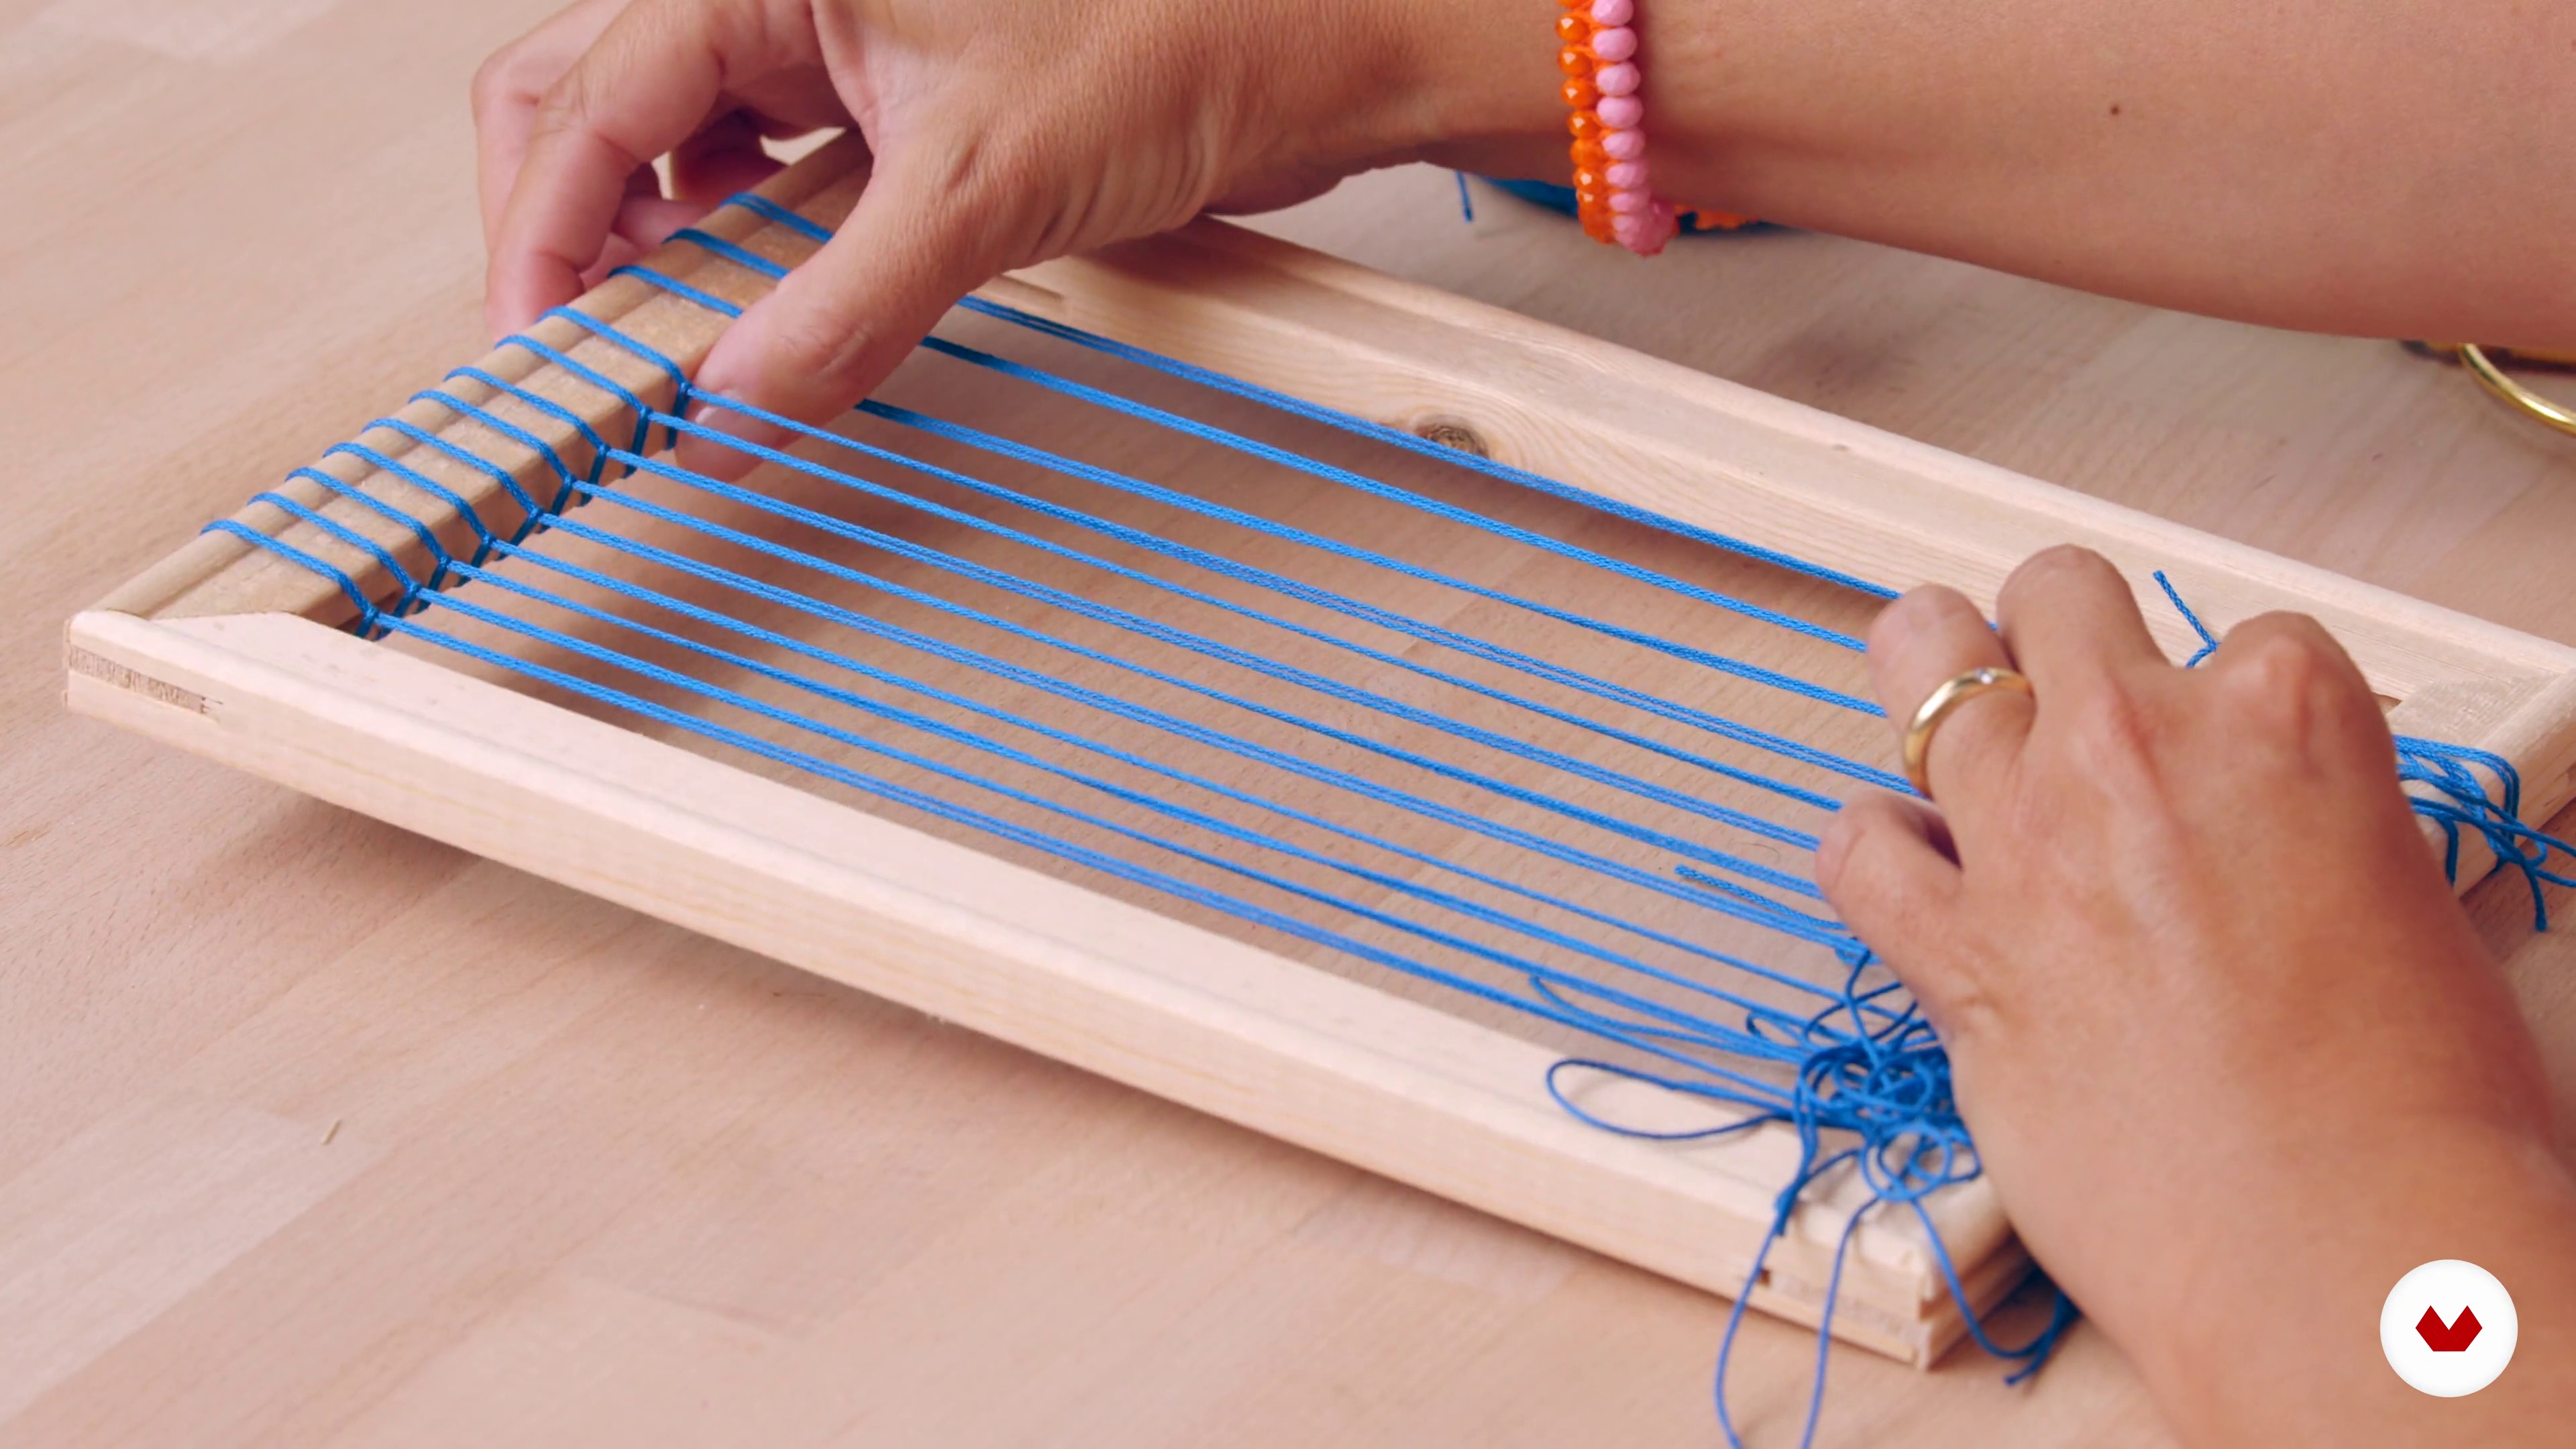
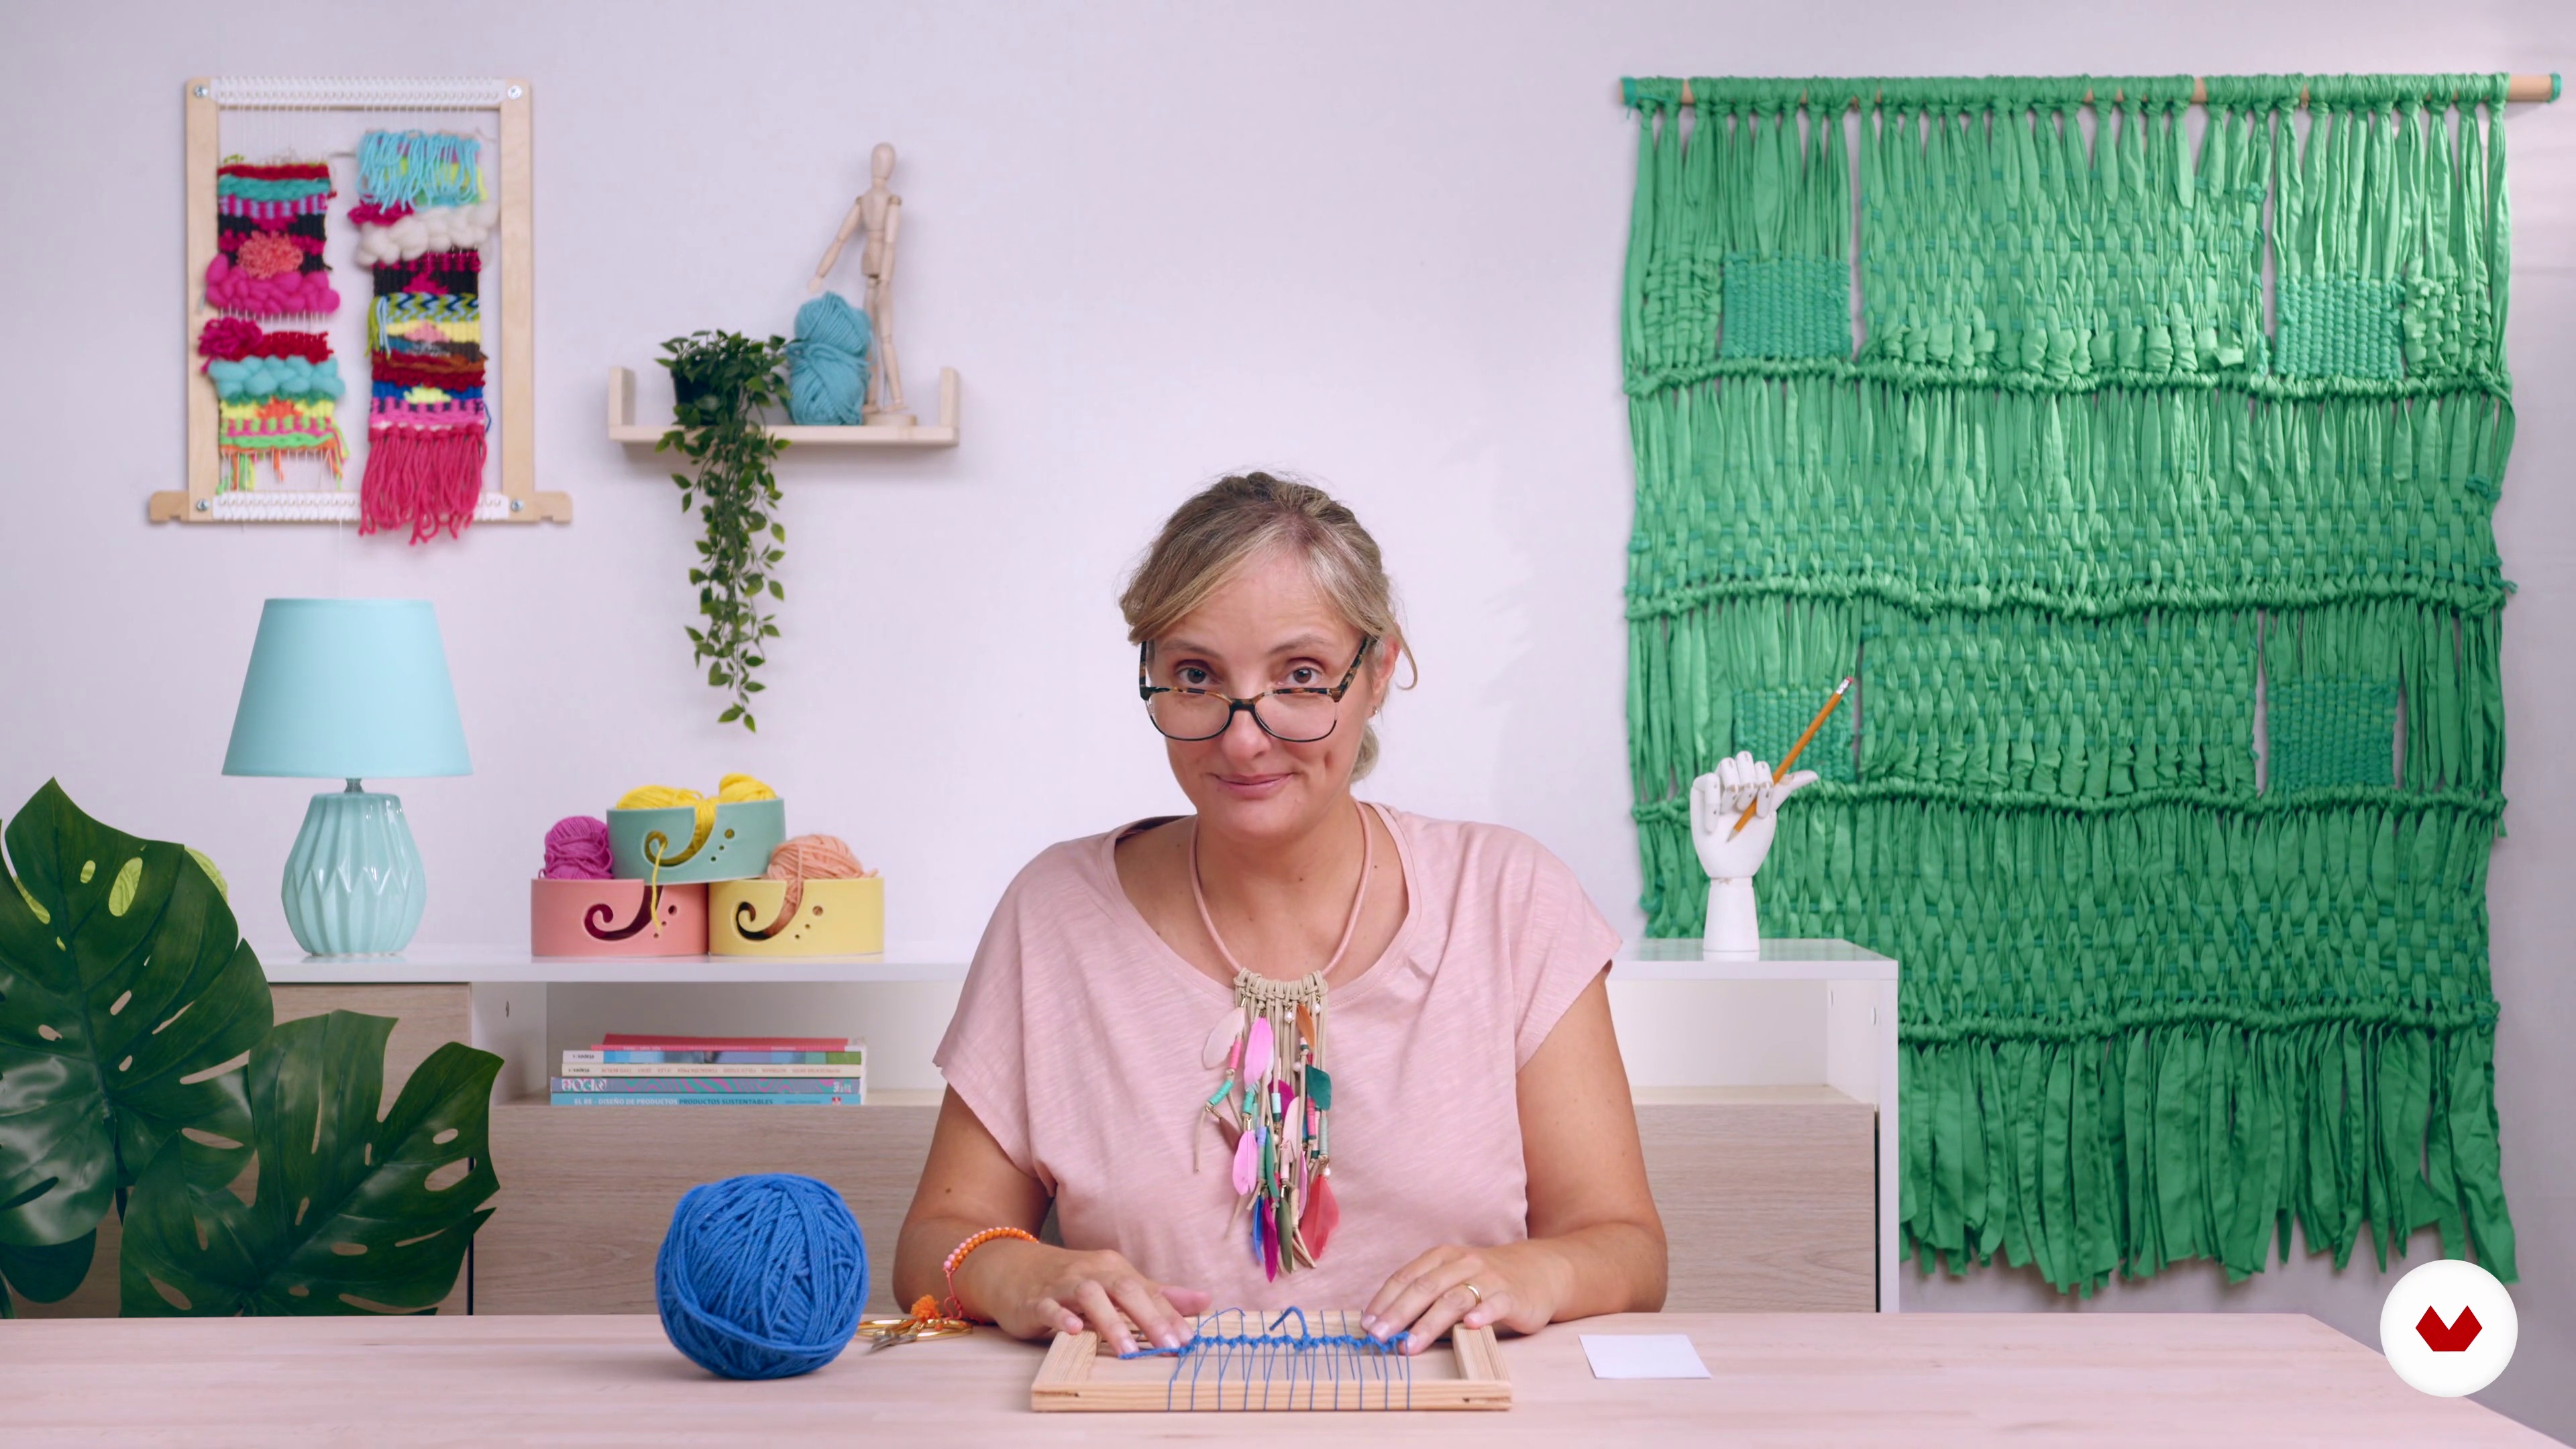
During this class, you will learn how to assemble the web on the frame loom. There are two ways, and I will explain both. Single-wire warp: With this technique, we will assemble the warp using a single thread, continuous to the warp. Multi-wire web: This technique may take a little longer; but it is simpler, because being individual wires we can control the tension more easily.
12m
 8
Brake stitch
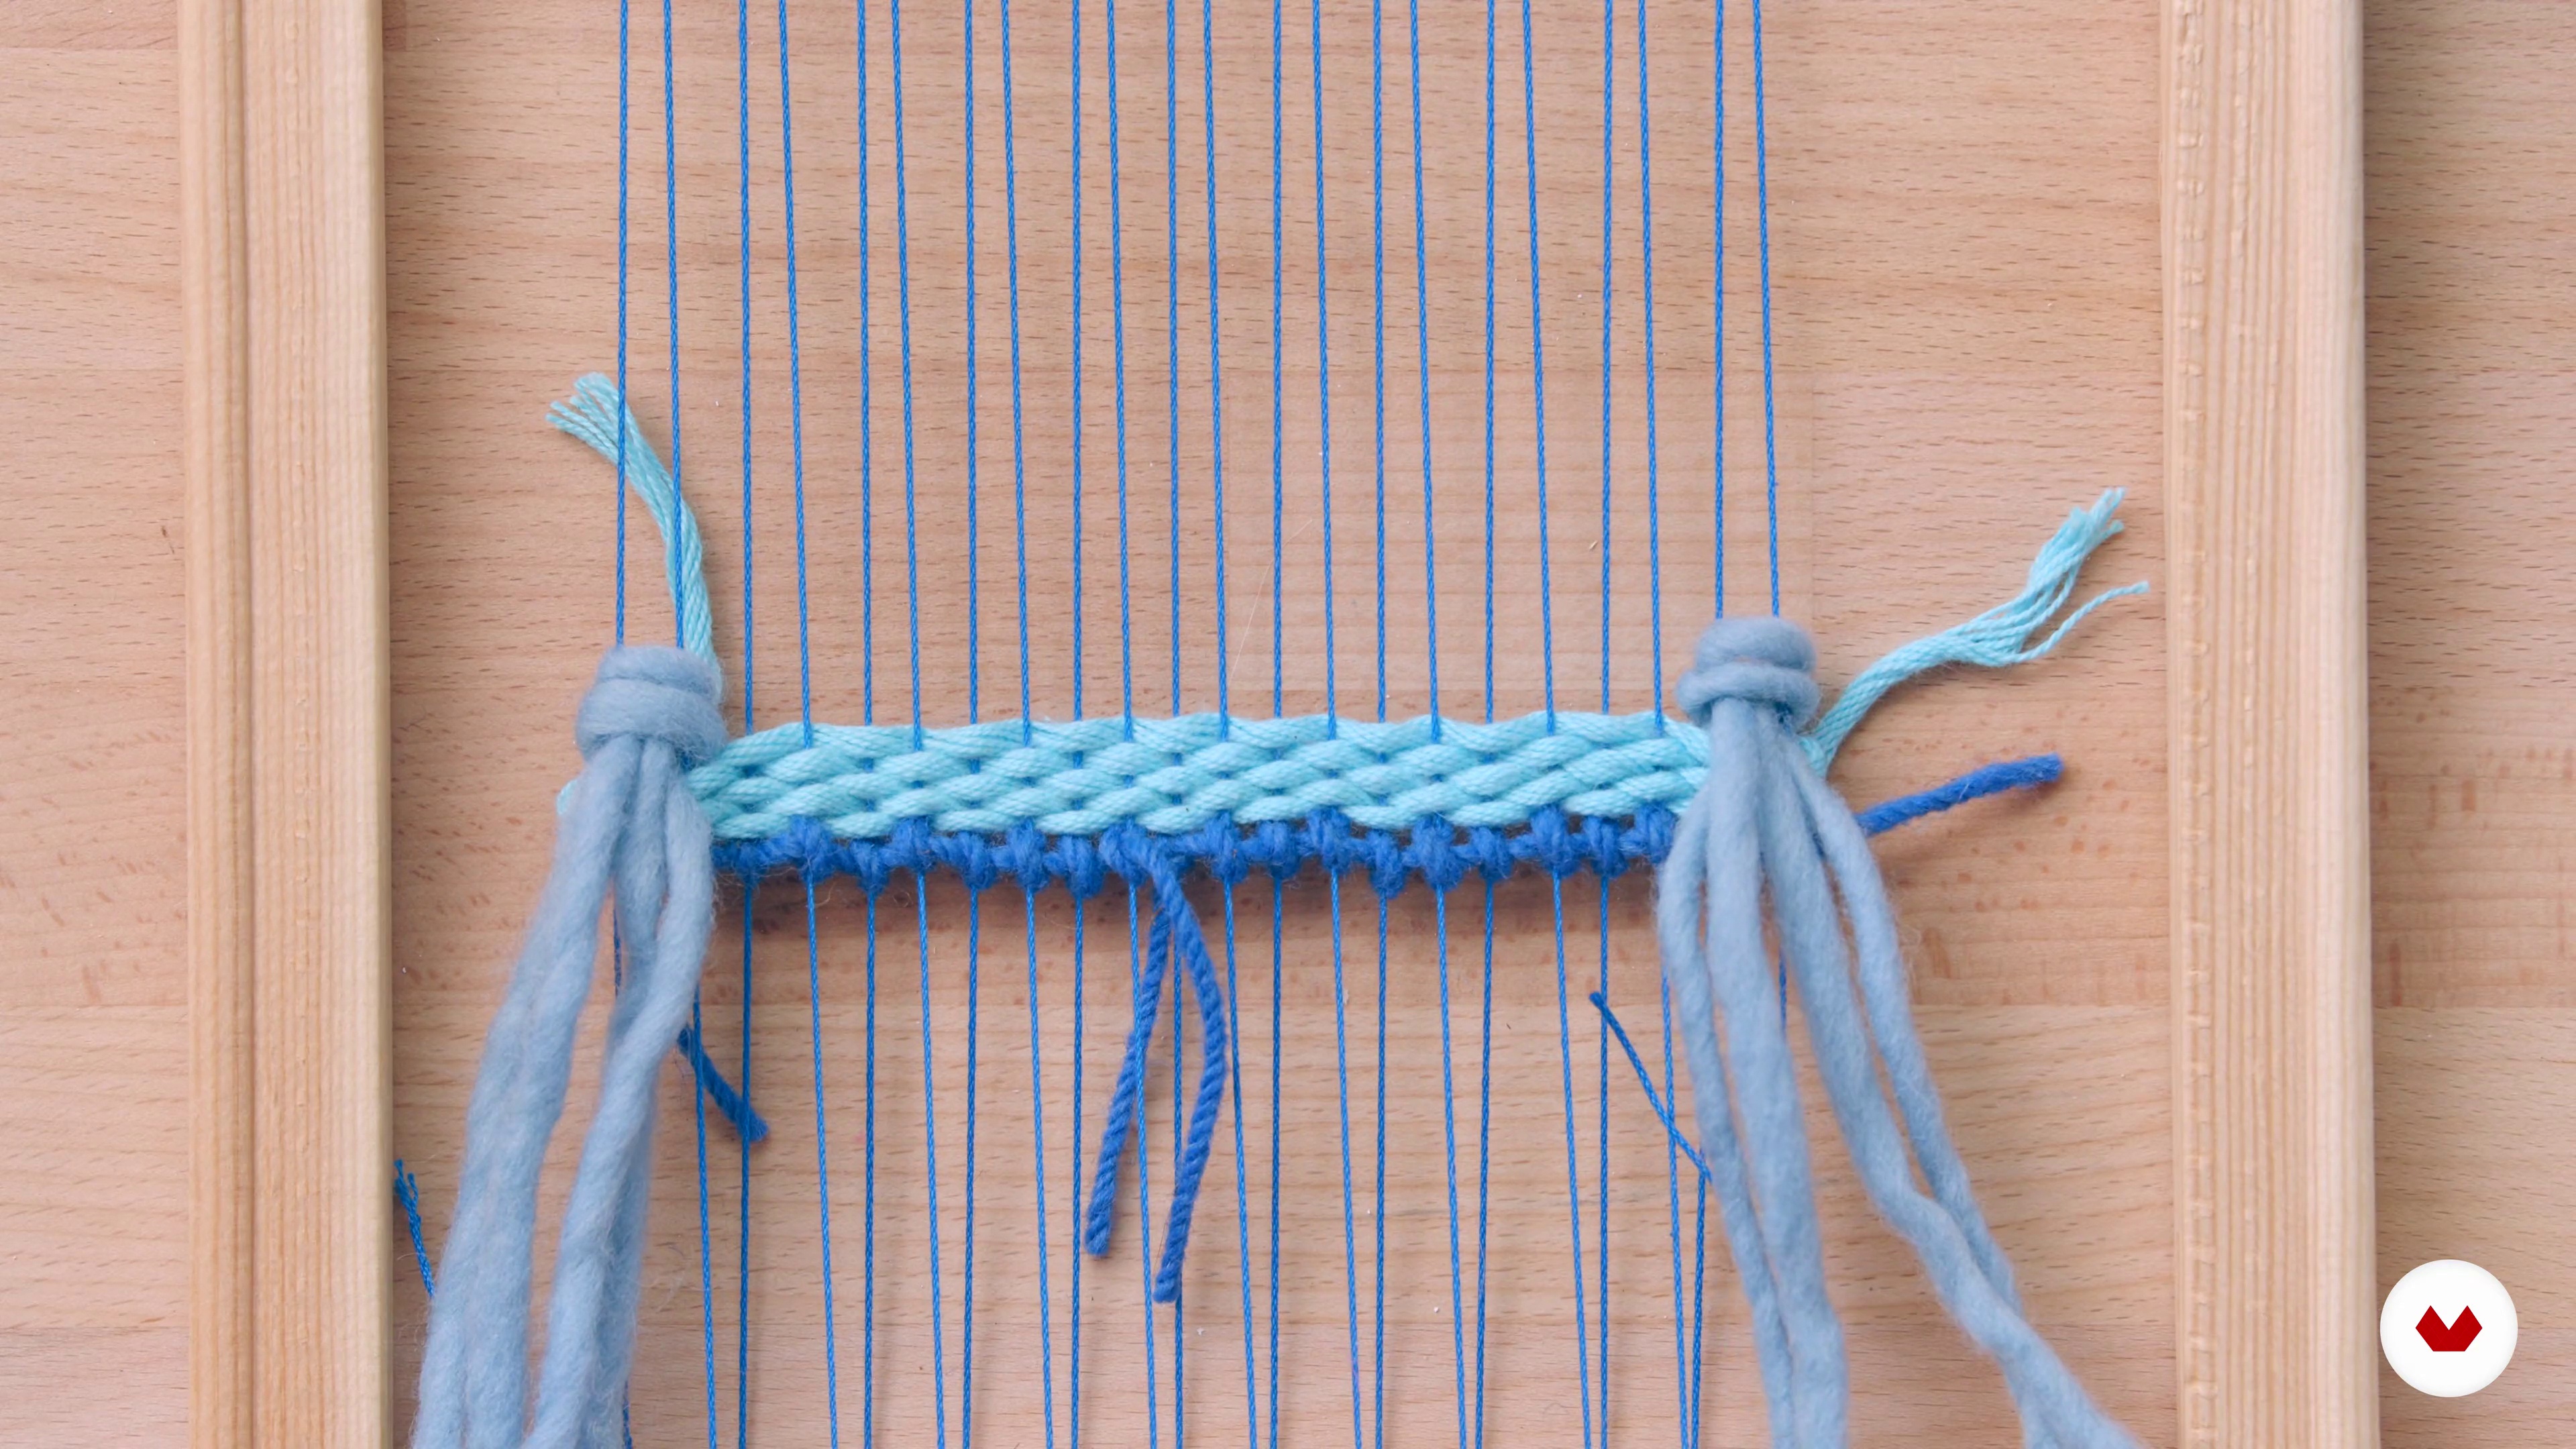
The brake point is one of the fundamental points of the tapestry in a frame loom and can be used in these situations: at the beginning of a piece to delimit the lower part of the piece, preventing the weave from slipping; at the end of the piece (at the top) preventing the weave from unraveling when we remove the piece from the loom; to create empty spaces in the tapestry and also to define the contours of the piece when you want a different shape from the loom.
8m
 9
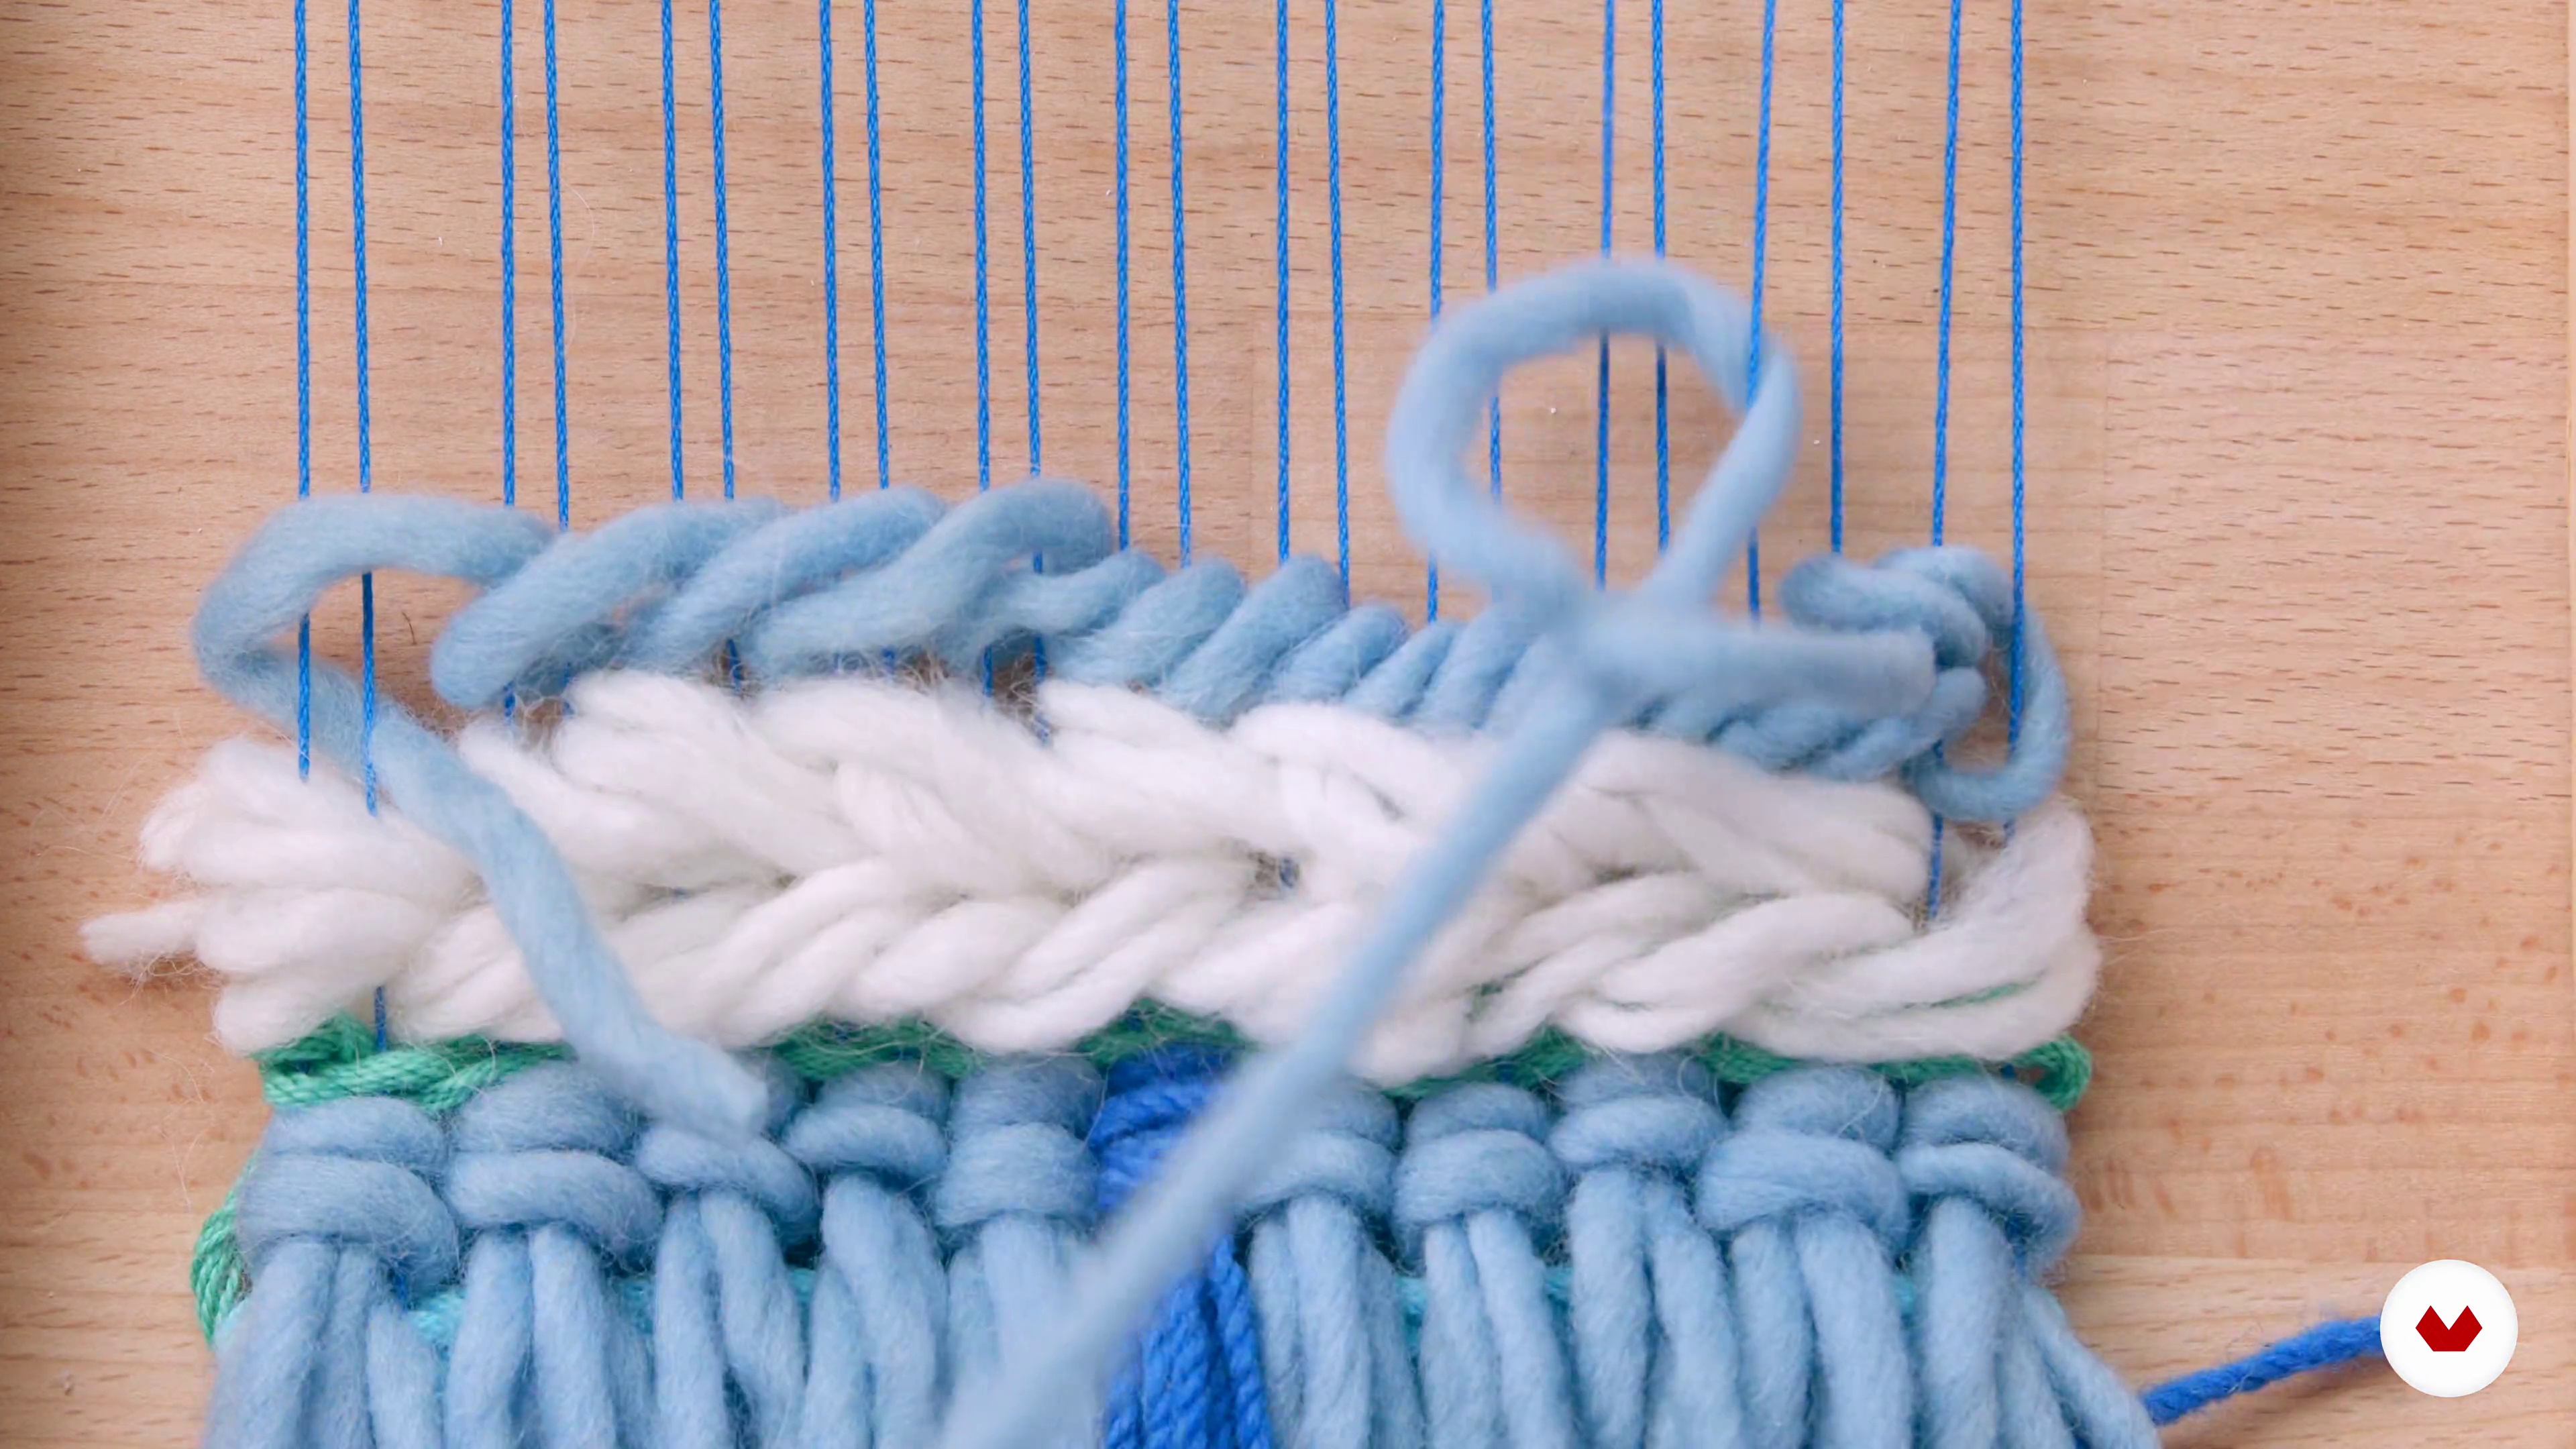
Taffeta stitch and fringes
The taffeta stitch or Gobelin stitch is the most common stitch in the tapestry. In this course, you will learn how to use it in its simplest form, however I would like to show you the various effects that this point may have used alternately in order to produce different patterns (presenting several samples).
13m
 10
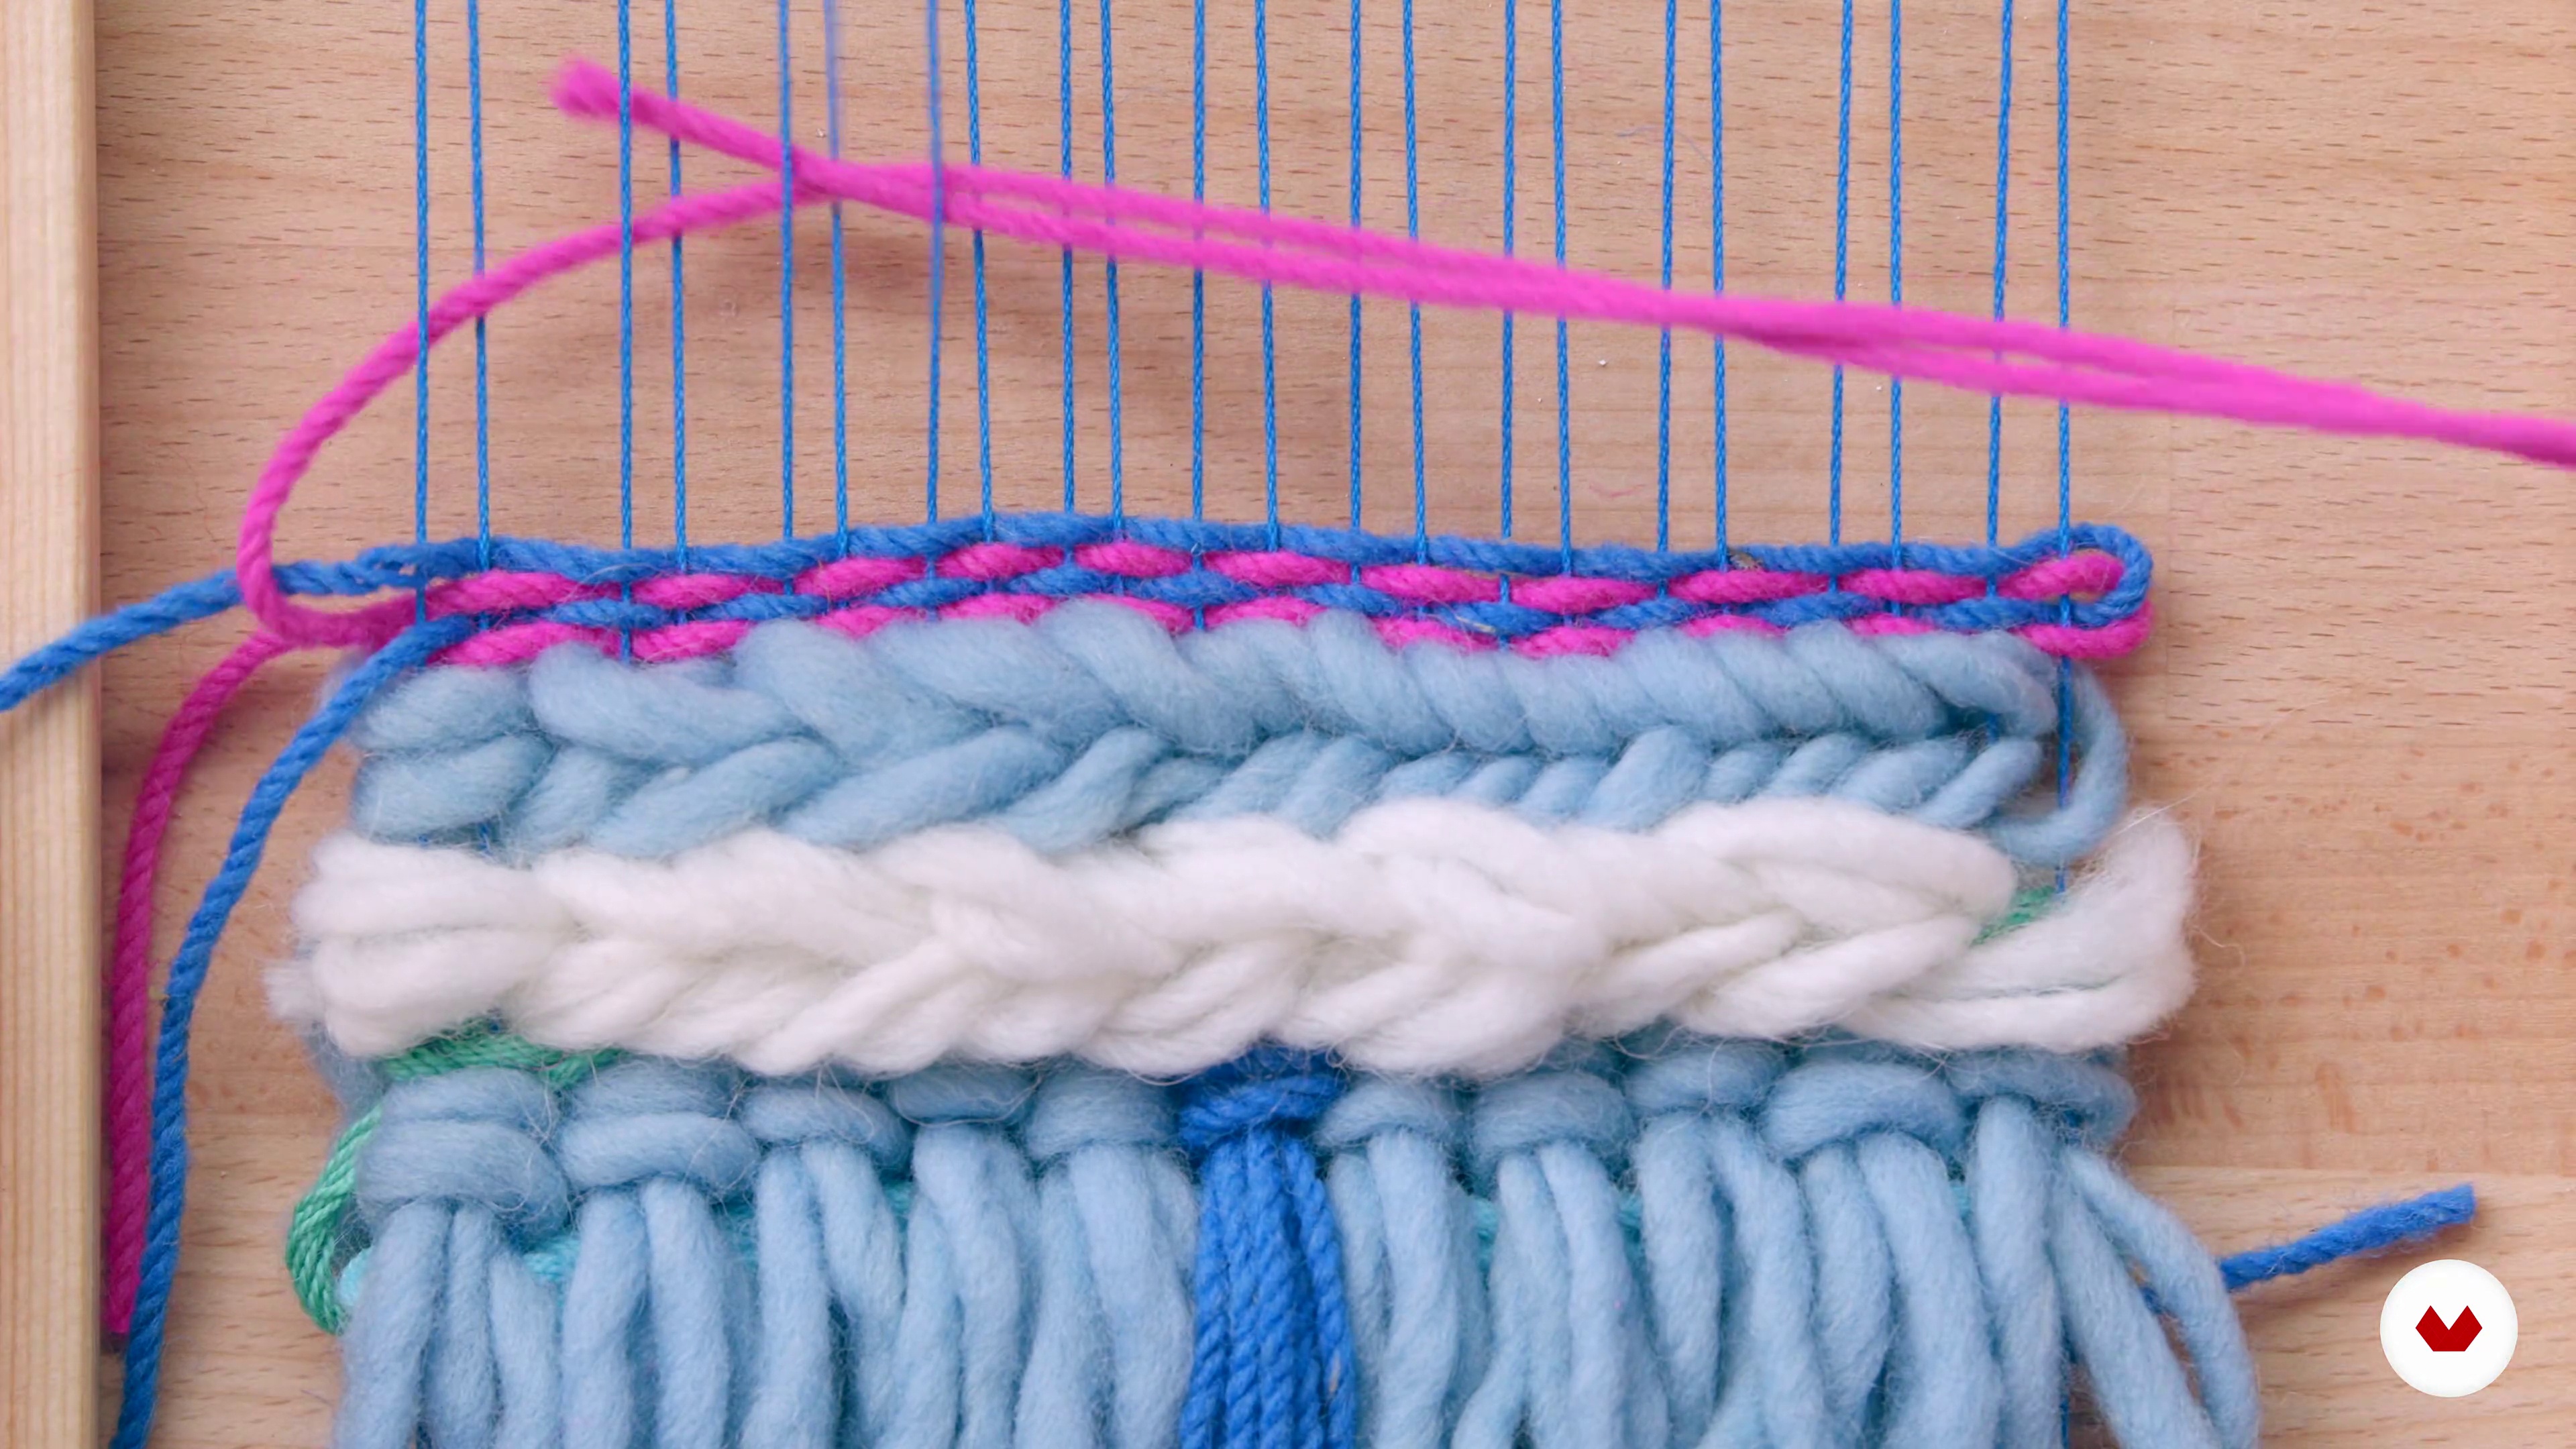
Soumak Stitch
The Soumak stitch is one of the stitches that gives more texture to a piece. You will learn the different ways to do it, as well as explore the different effects we achieve using different types of fibers.
10m
 11
Pick n 'pick stitch
You will learn the Pick n 'pick pattern similar to the plain weave but with two colors, the effect of which is colored columns vertically. This is a very successful point, as the effect created is very beautiful.
7m
 12
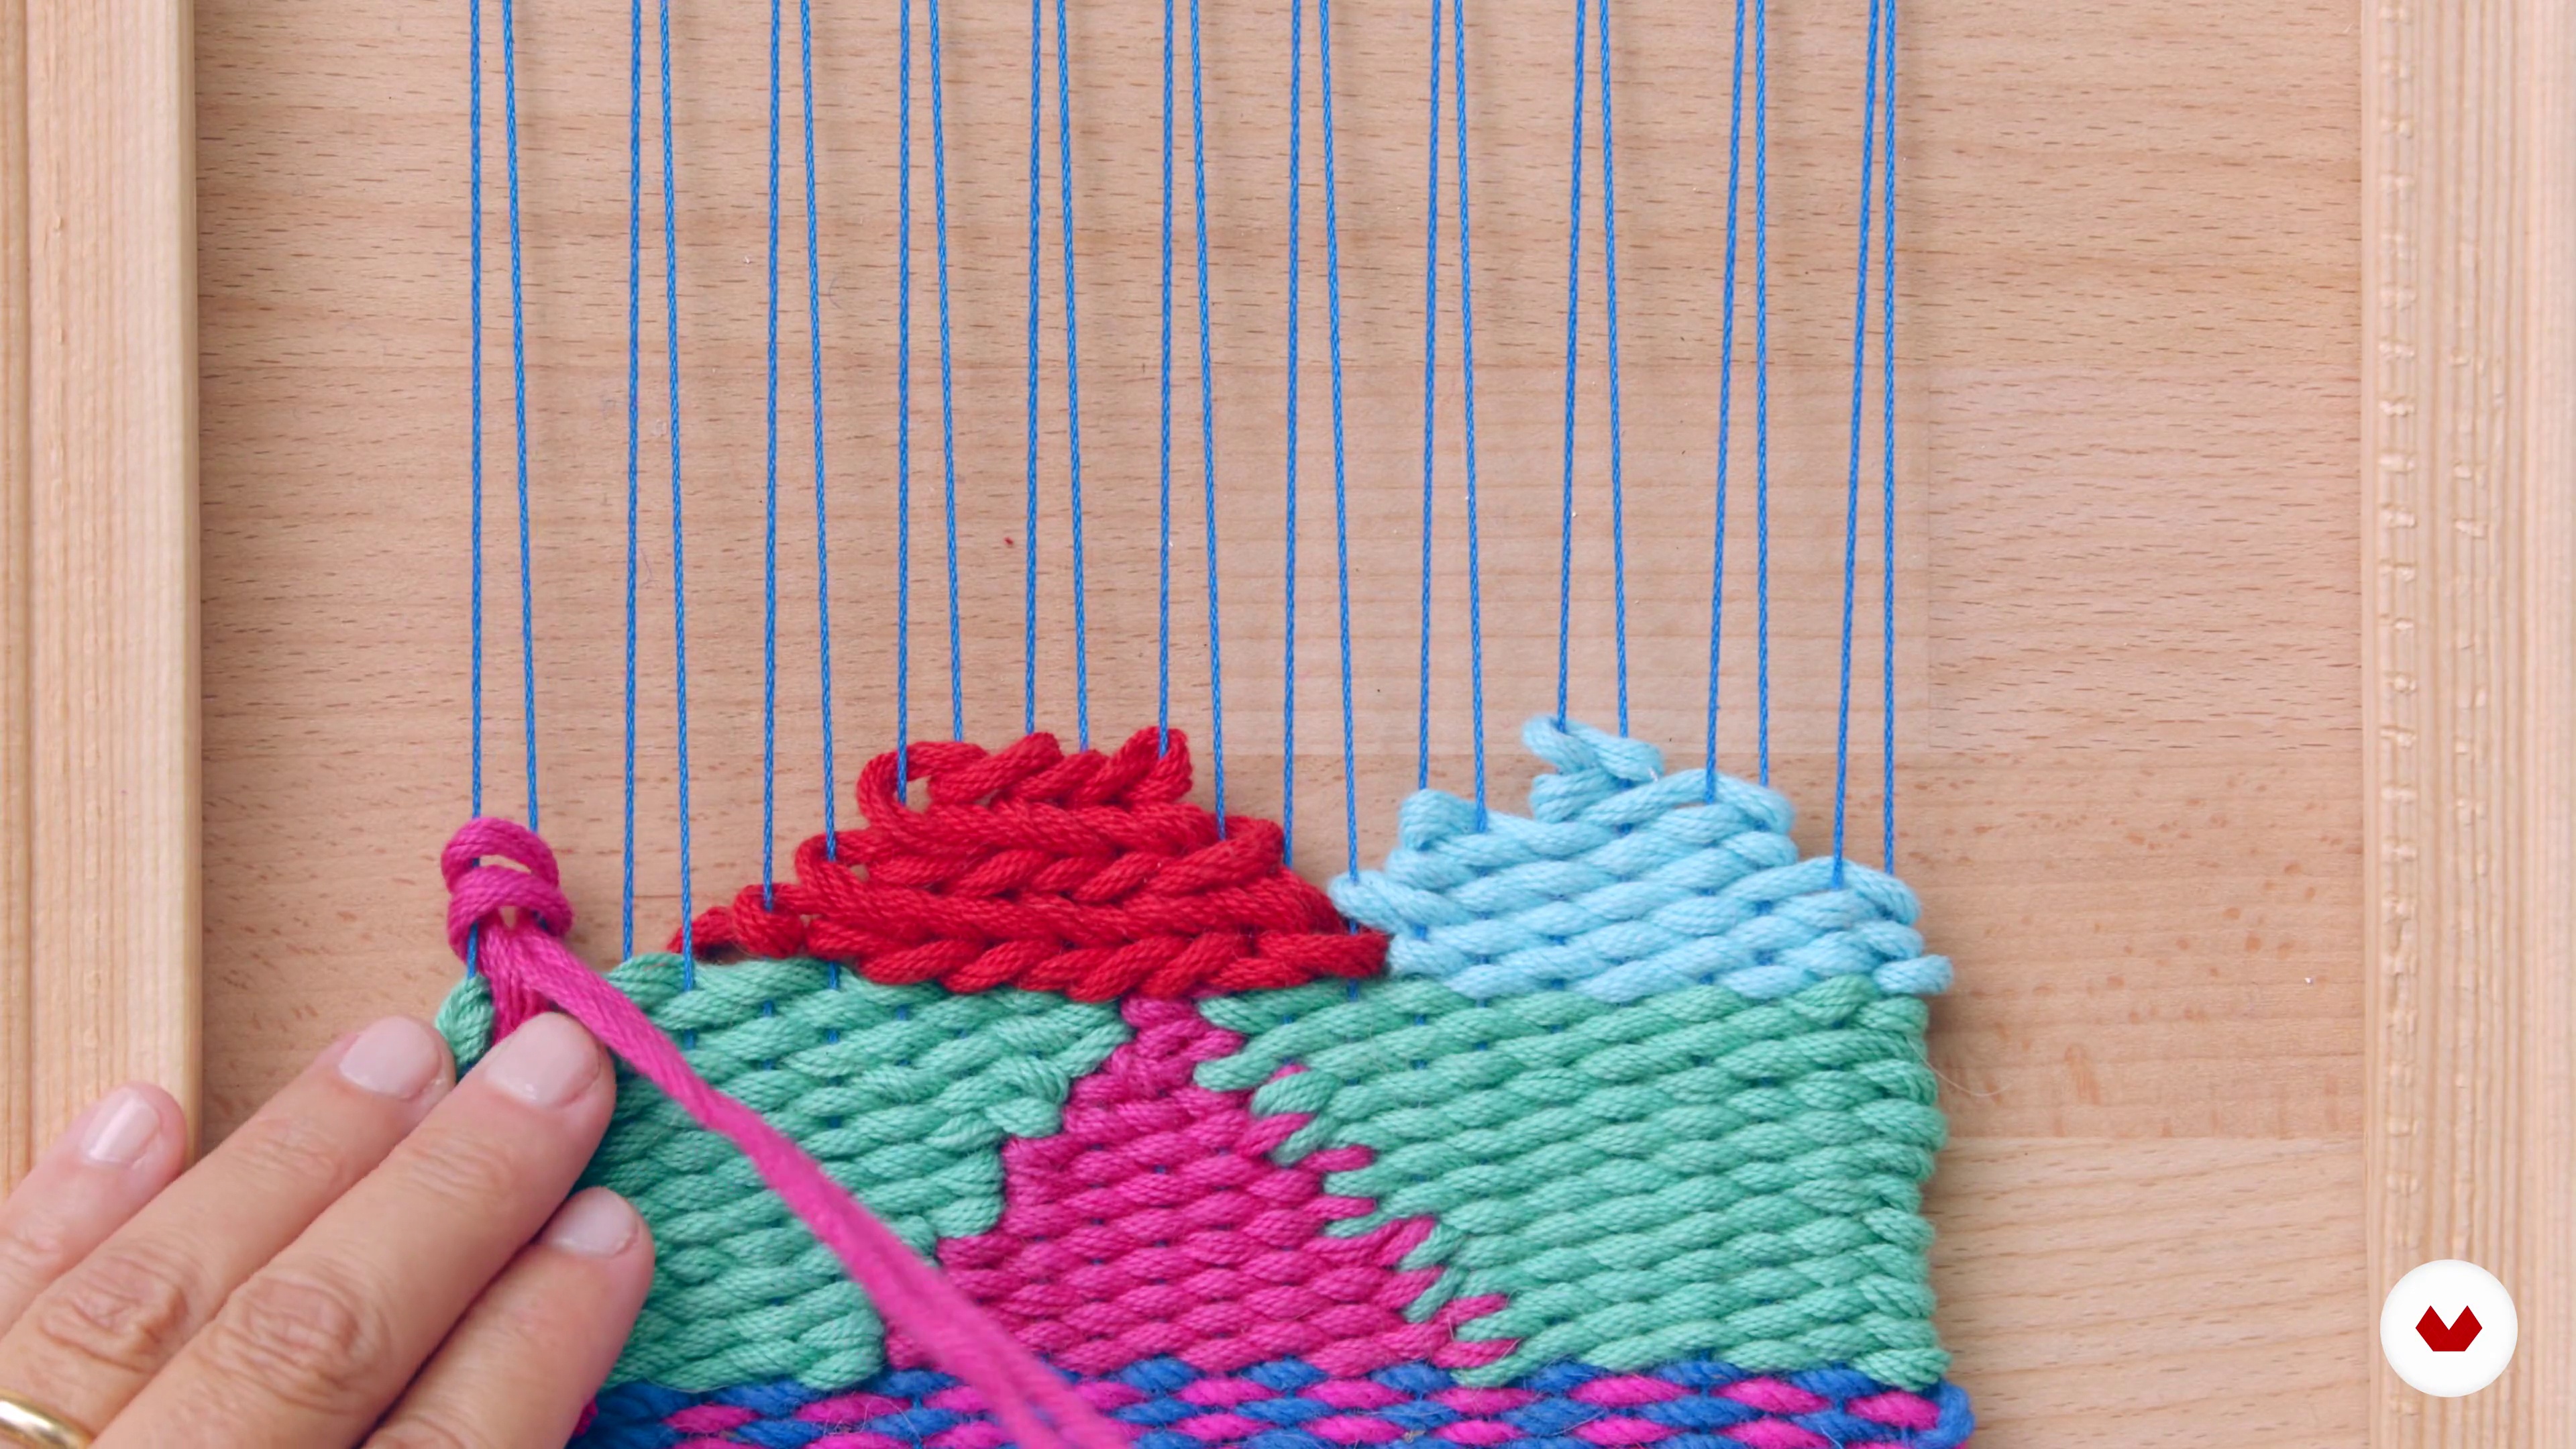
Geometric Shapes
Making a geometric shape requires prior preparation and this starts with the sketch. One of the factors to take into account is the area of the piece where we are going to place a certain shape.
15m
 13
Organic shapes
In this class, you will learn how to make organic free-style shapes and follow a drawing. In fact, organic forms are simpler, as they do not have to be straight or symmetrical.
6m
 14
Definition of part design
The decision regarding the design of the piece results from the combination of: inspiring elements, preferences of the client or recipient of the piece, place where the piece will be placed and budget. I will talk about each of these aspects and the best way to combine them.
5m
 15
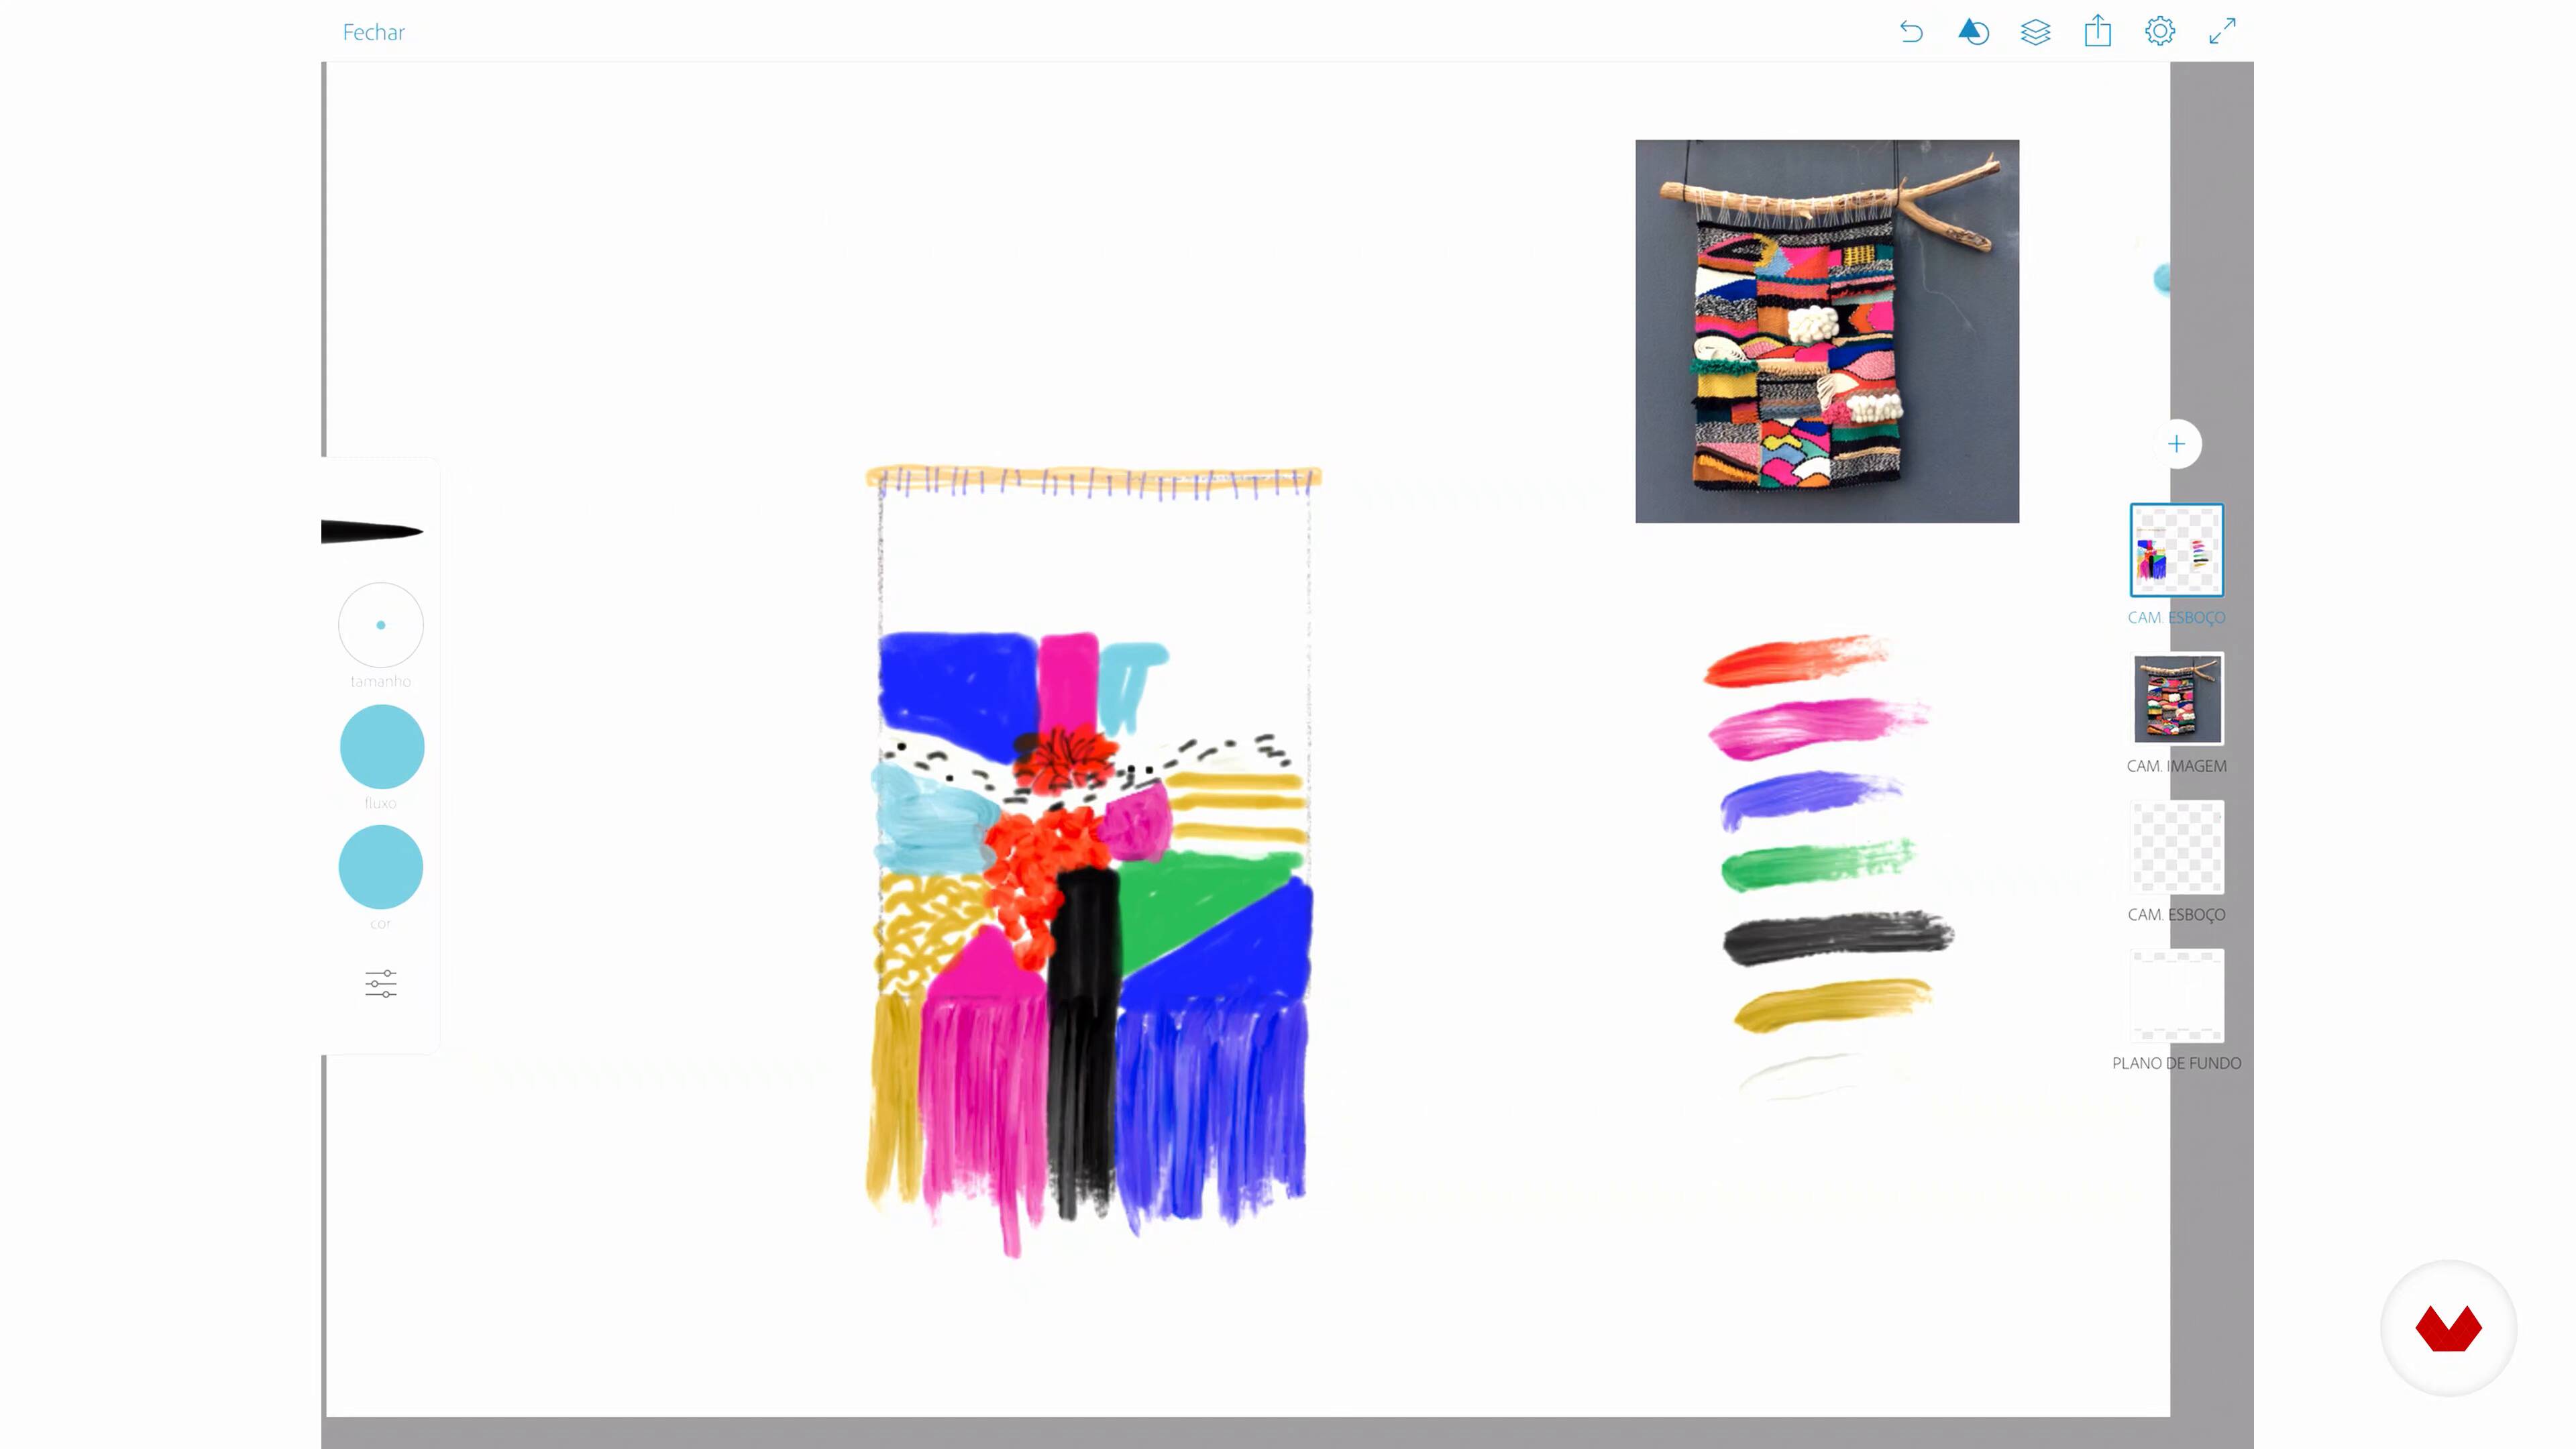
Draft
It is often necessary to think in detail about the part before its execution, either because it is an order from a customer who intends to approve the design in advance, or because we consider it necessary to plan the part due to its complexity.
15m
 16
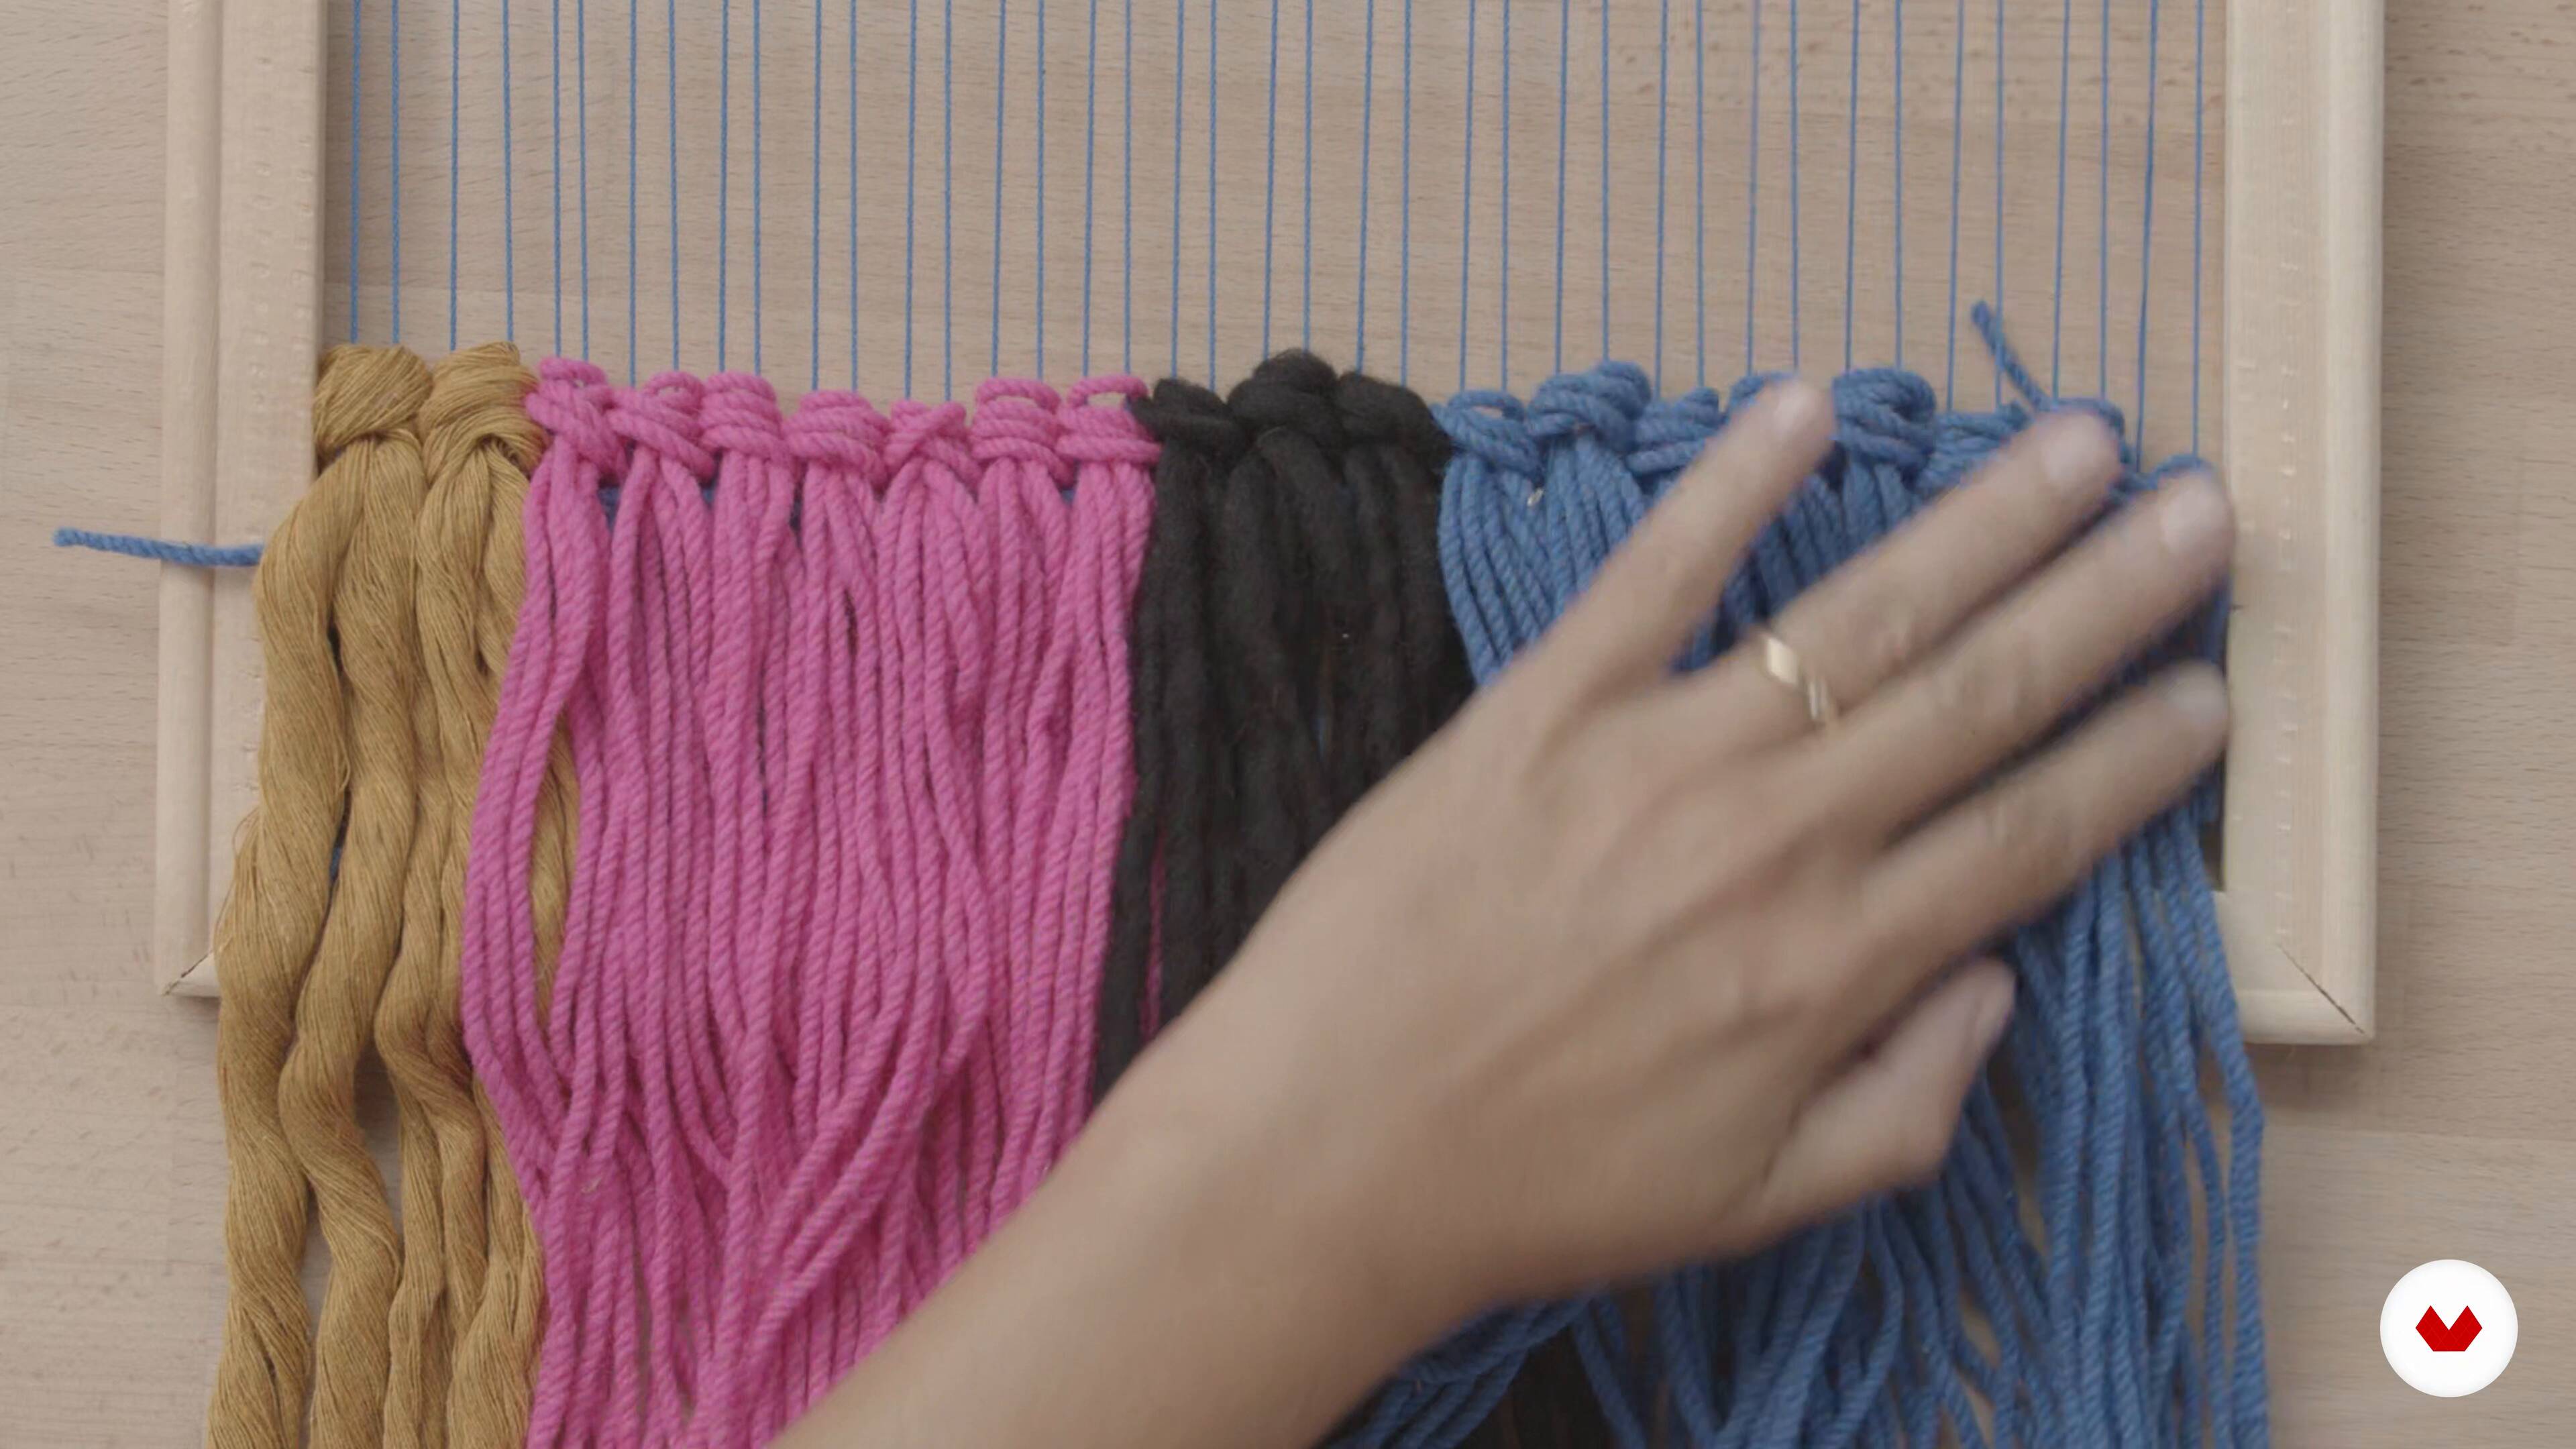
Start building the part
In this lesson, I will show you the step by step of building the piece, from the assembly of the loom to the execution of the stitches.
15m
 17
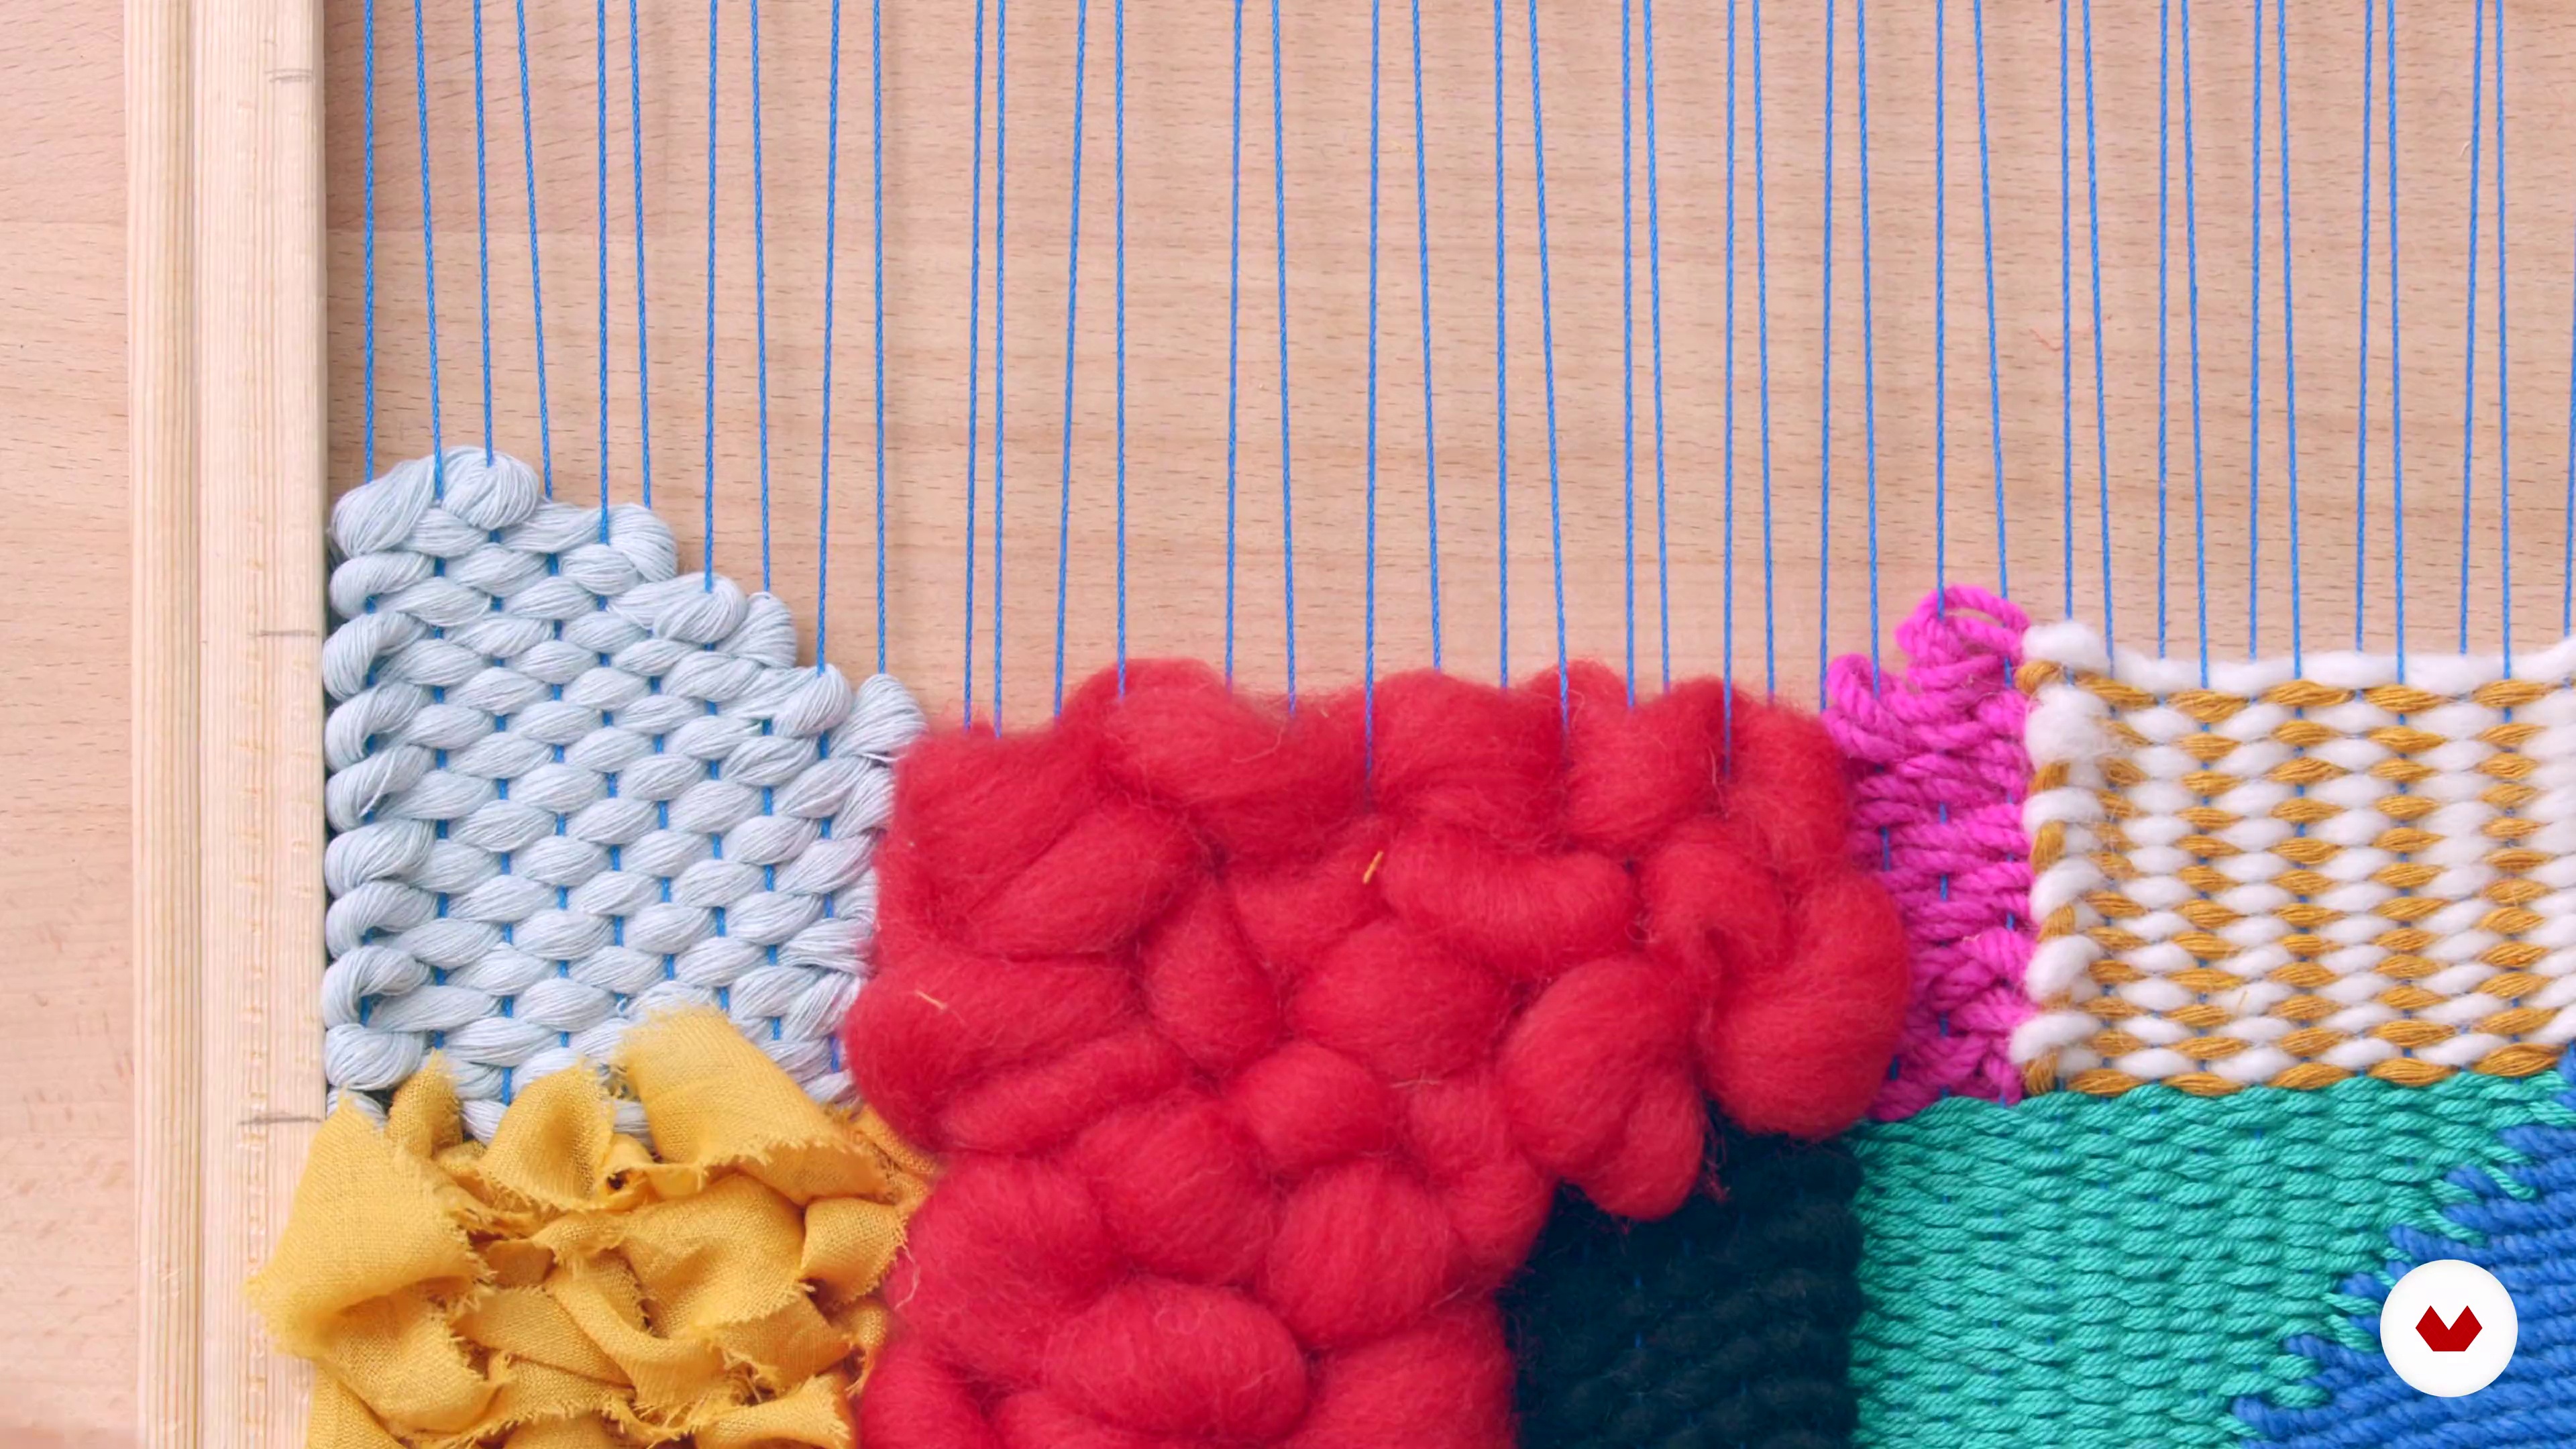
Apply texture
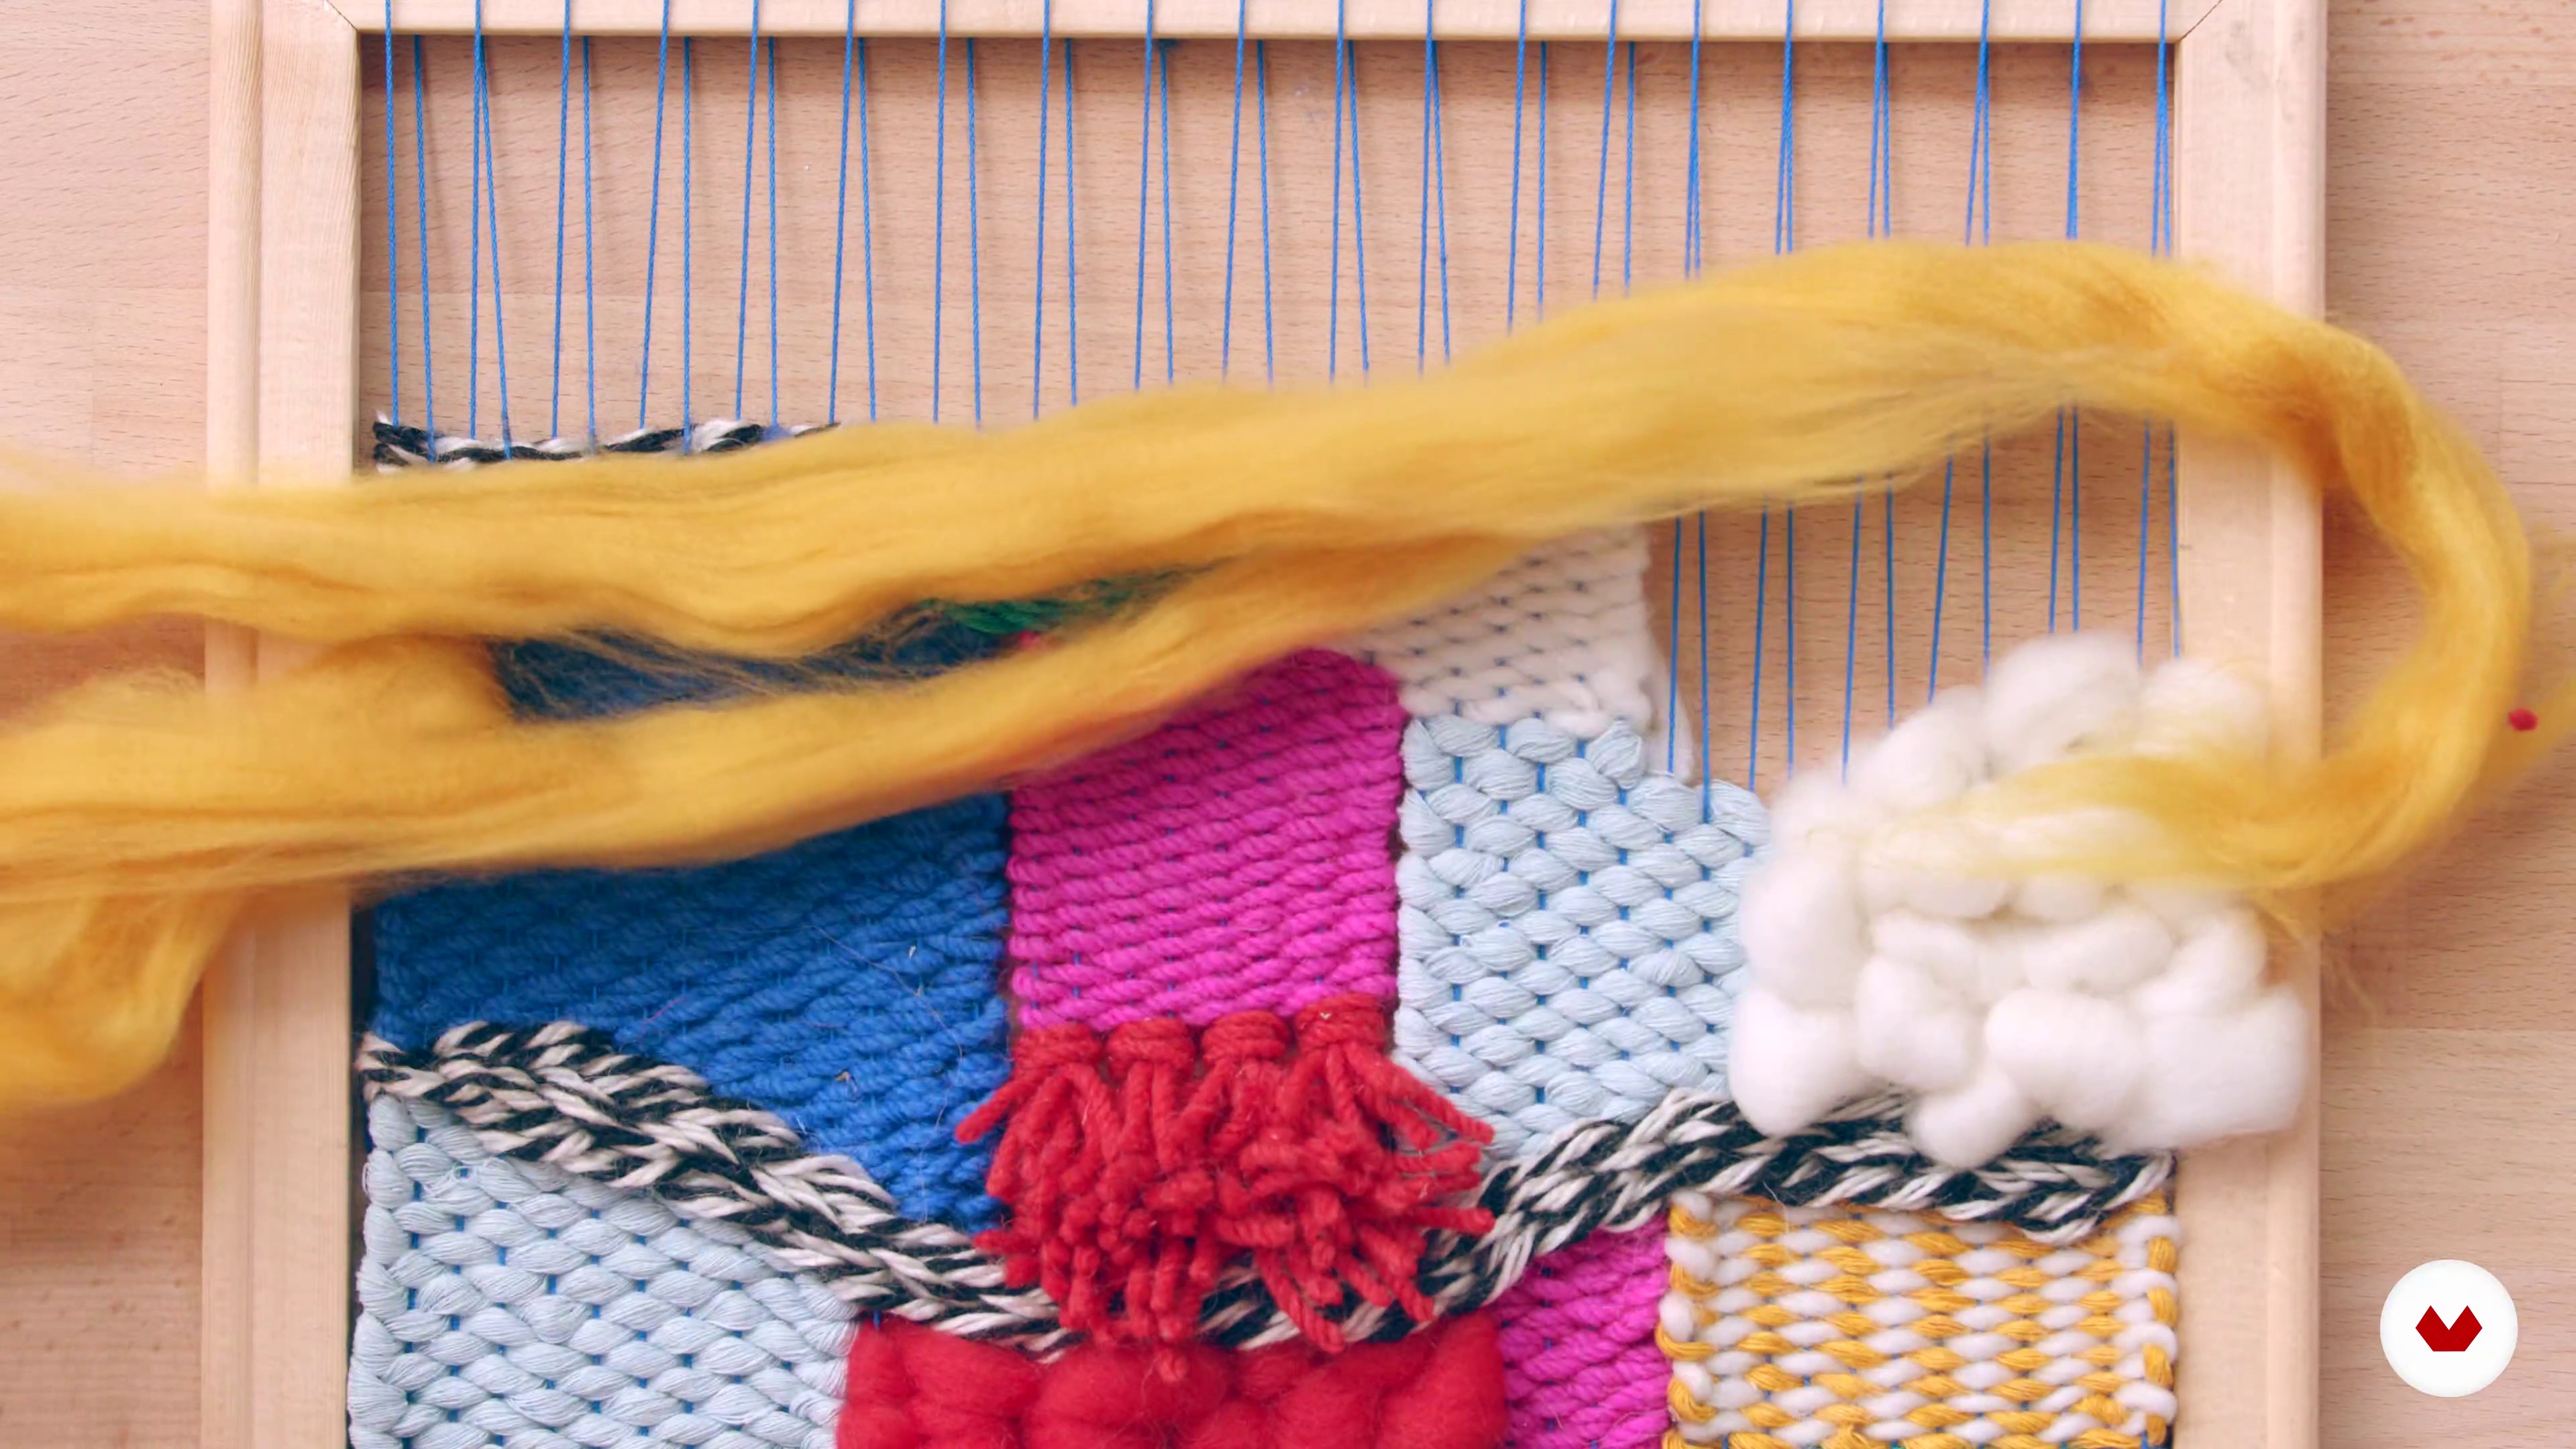
We will work the piece, according to the sketch already prepared and for that you will use the various points learned: taffeta, Soumak, Pick n'pick. We will build shapes and fill around them.
19m
 18
Playing with fringes
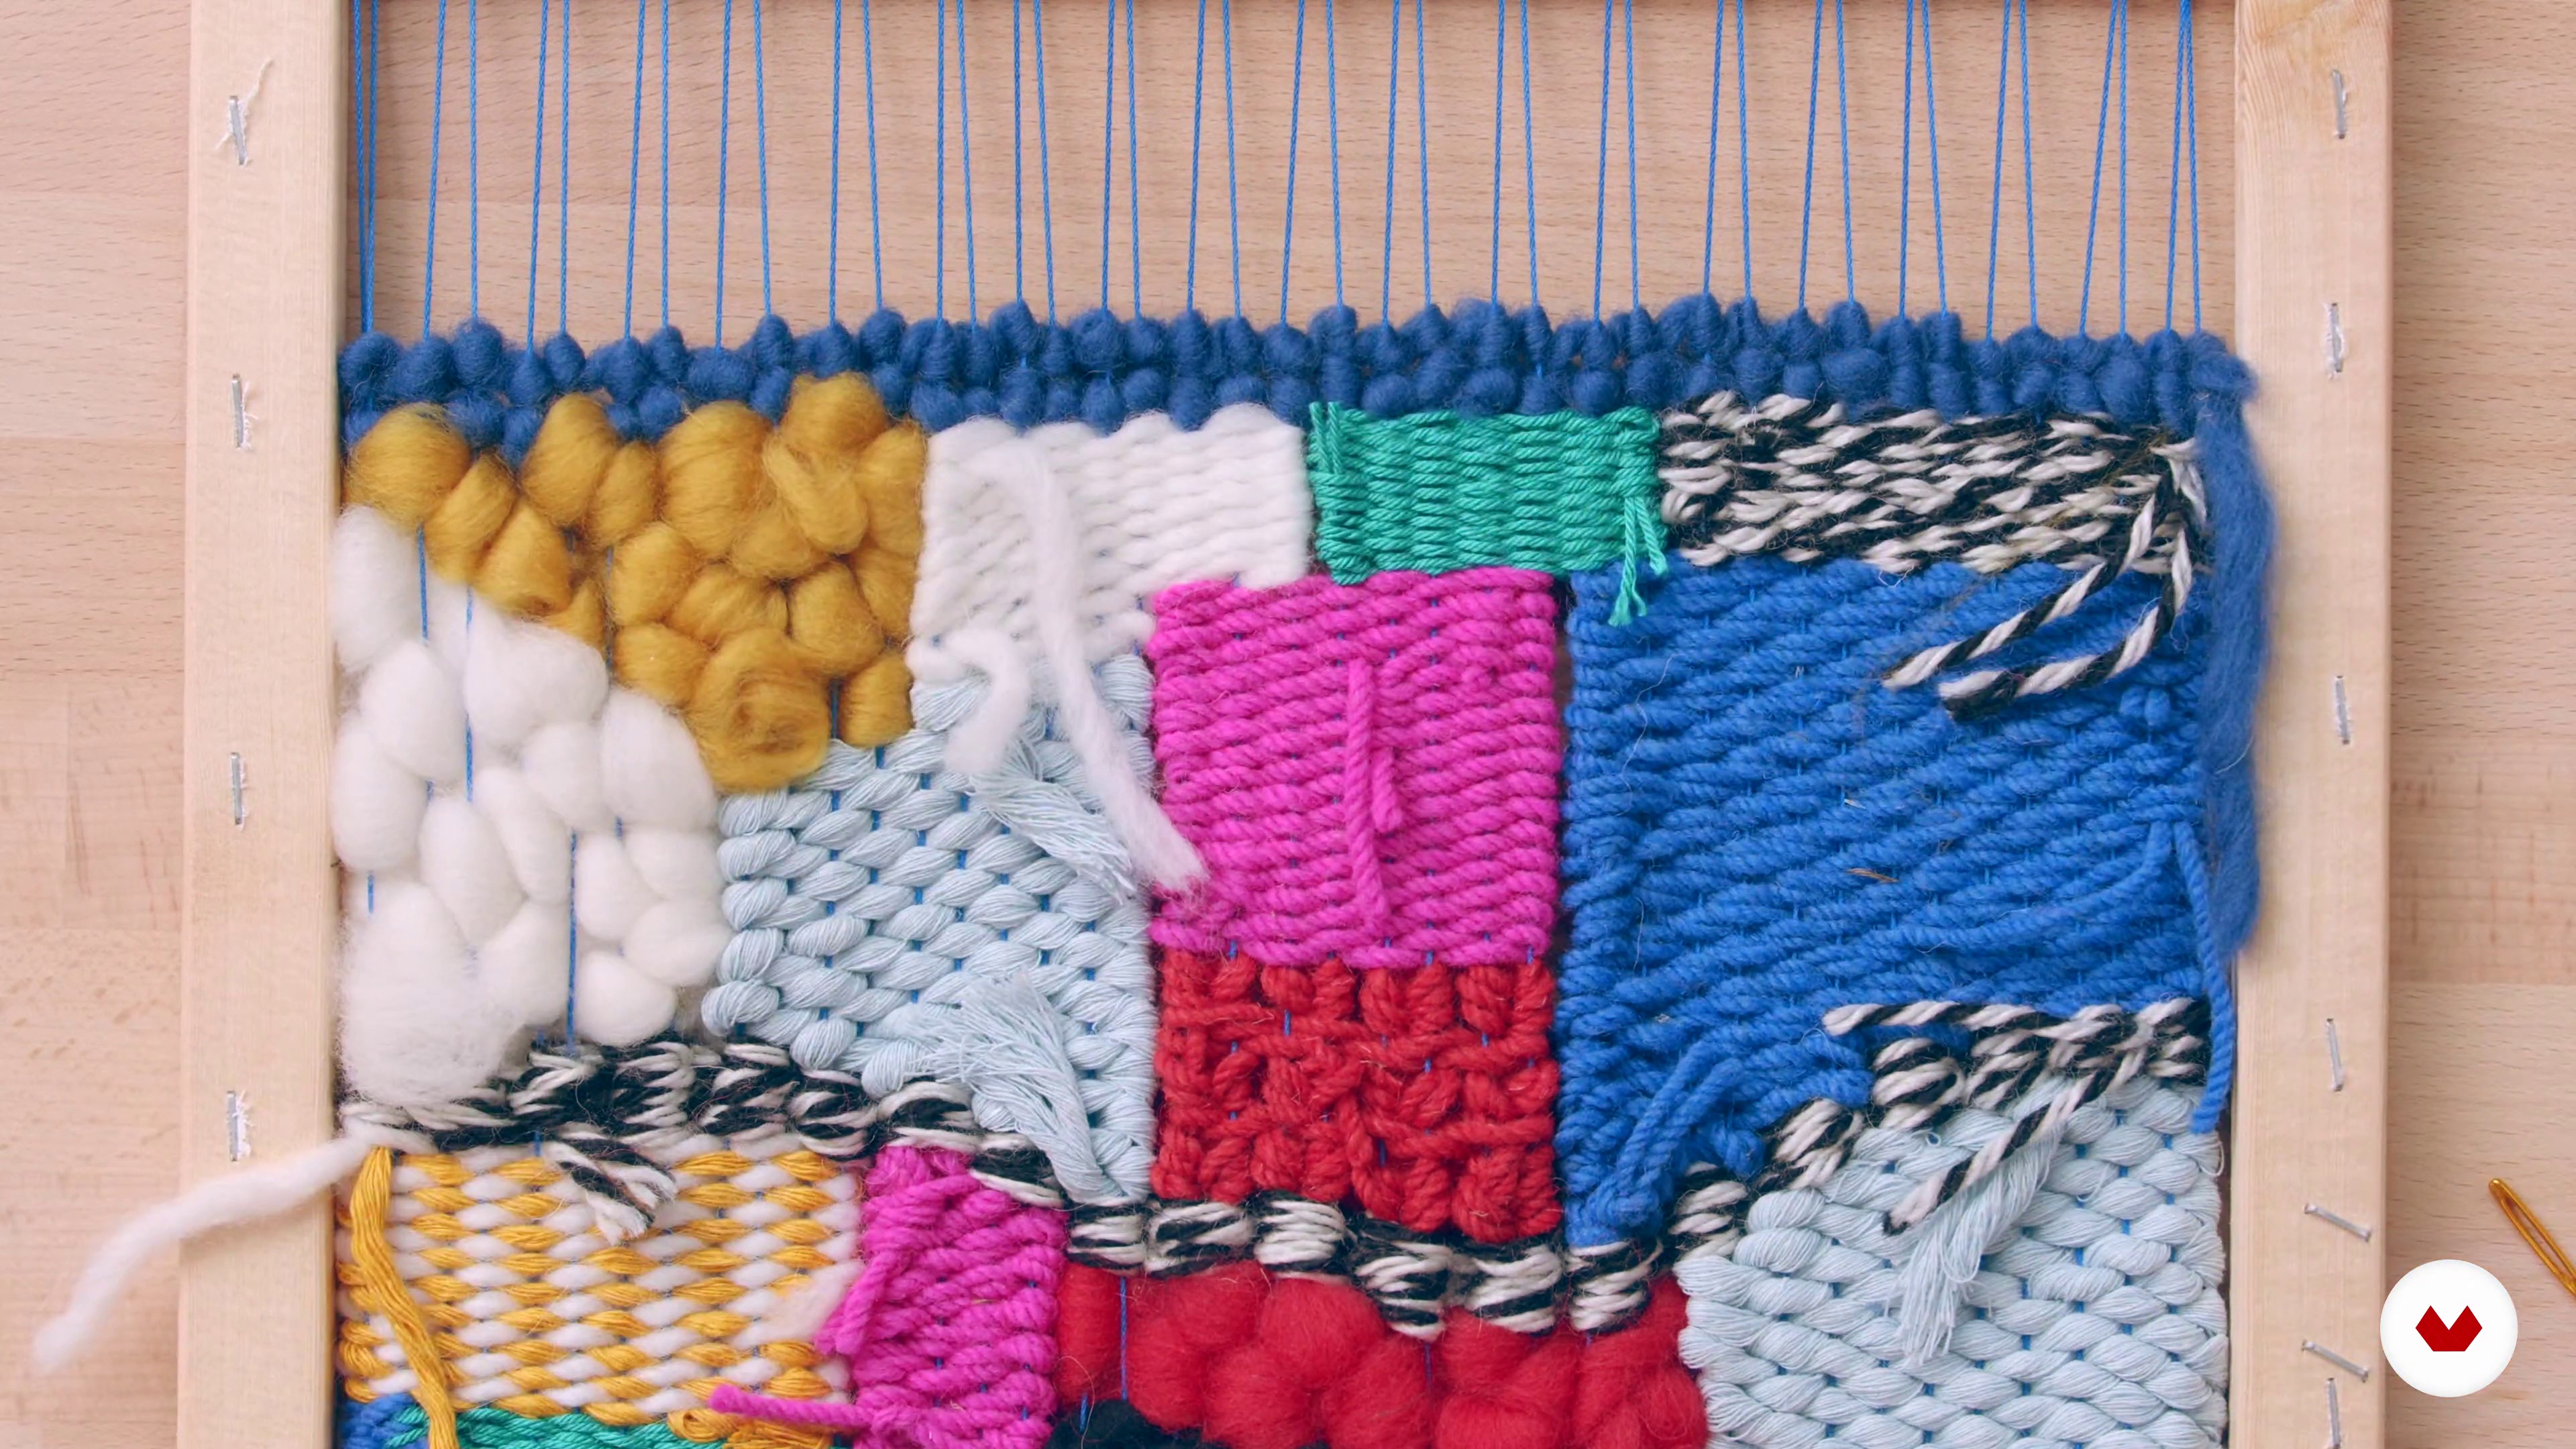
Let's play with the fringes until we reach the end of the piece.
11m
 19
Best points to finish the piece and shots
The ends of a piece are by nature the most fragile. Therefore, I will suggest the best finishing points for each type of piece.
9m
 20
Remove the piece from the loom
This is the moment we all look forward to when we make a loom piece. Perhaps, therefore, it is the phase in which we are most anxious and insecure. You will learn to remove the piece from the loom carefully and safely. After removing the piece from the loom, I will sew it to its support (bar or natural trunk) and talk about the most suitable ways to hang the piece on the wall.
11m
 21
Tips for starting your own business
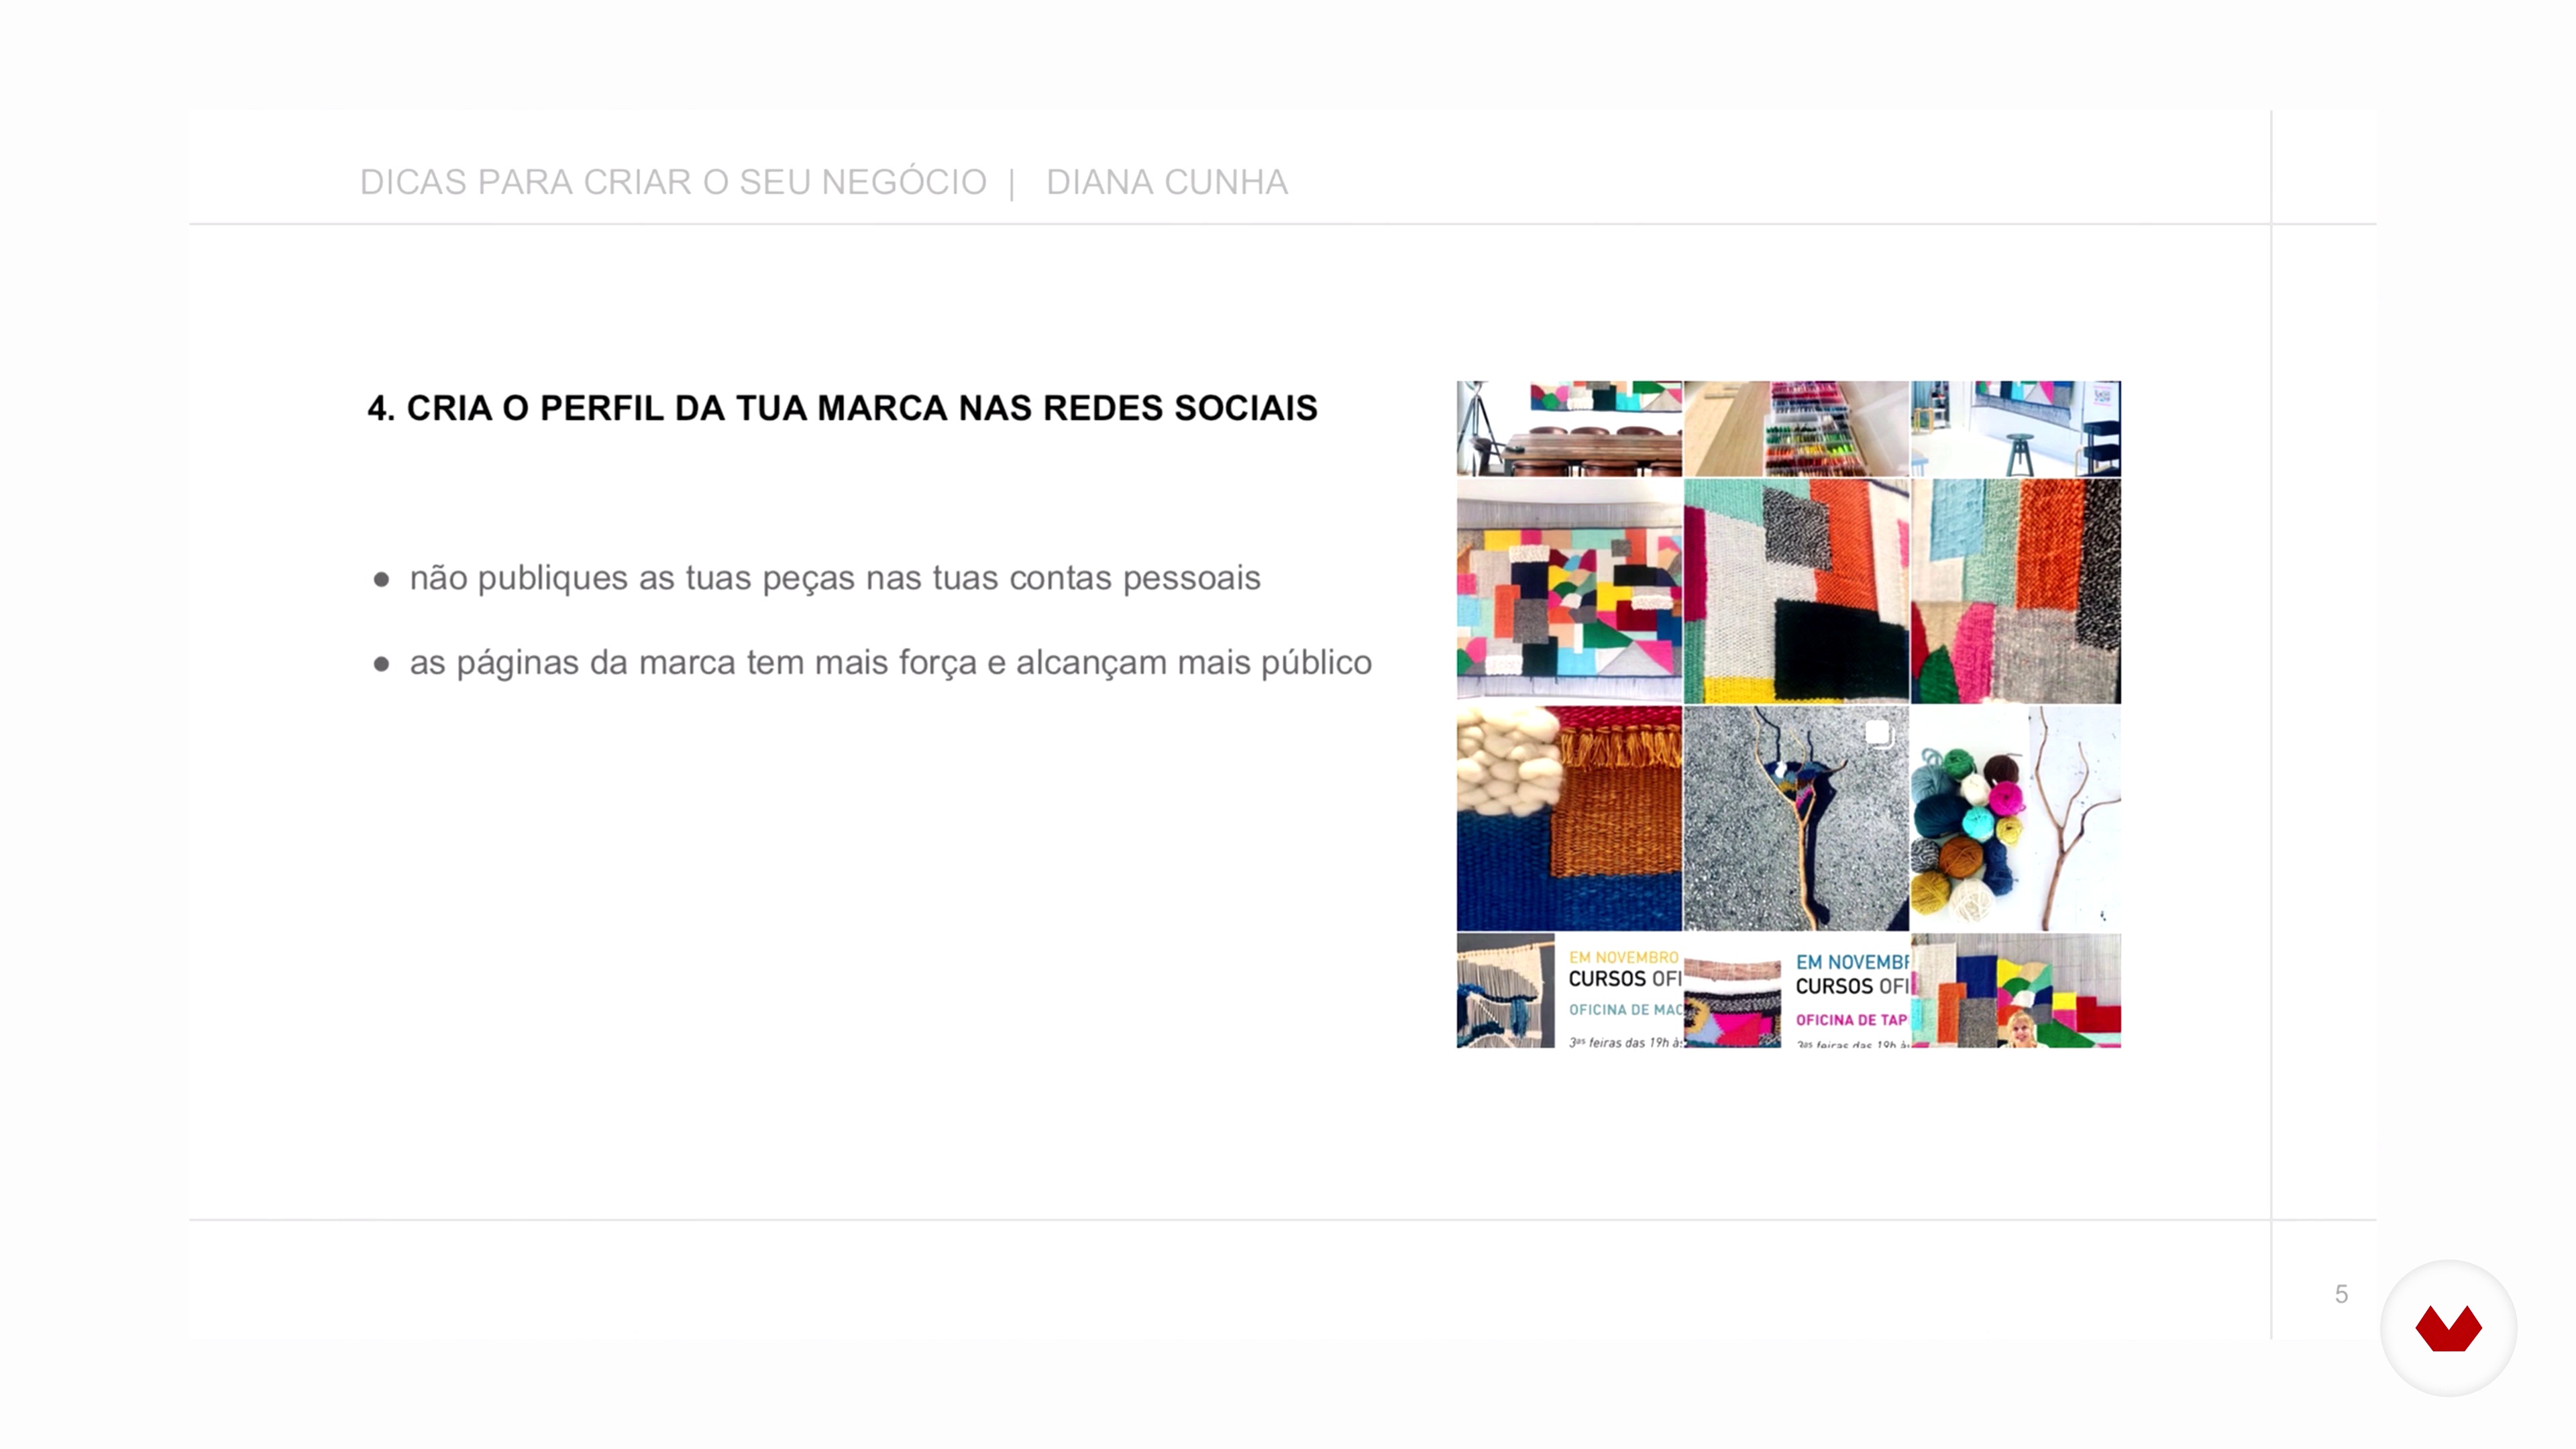
Having developed my hobby into a profession, I would like to tell you about my experience on that path. In this last class, I will give you tips that I consider useful for those who want to change their lives and create their own business and also alert you to some situations and challenges that you may encounter along your journey.
6m
 4
Main tools
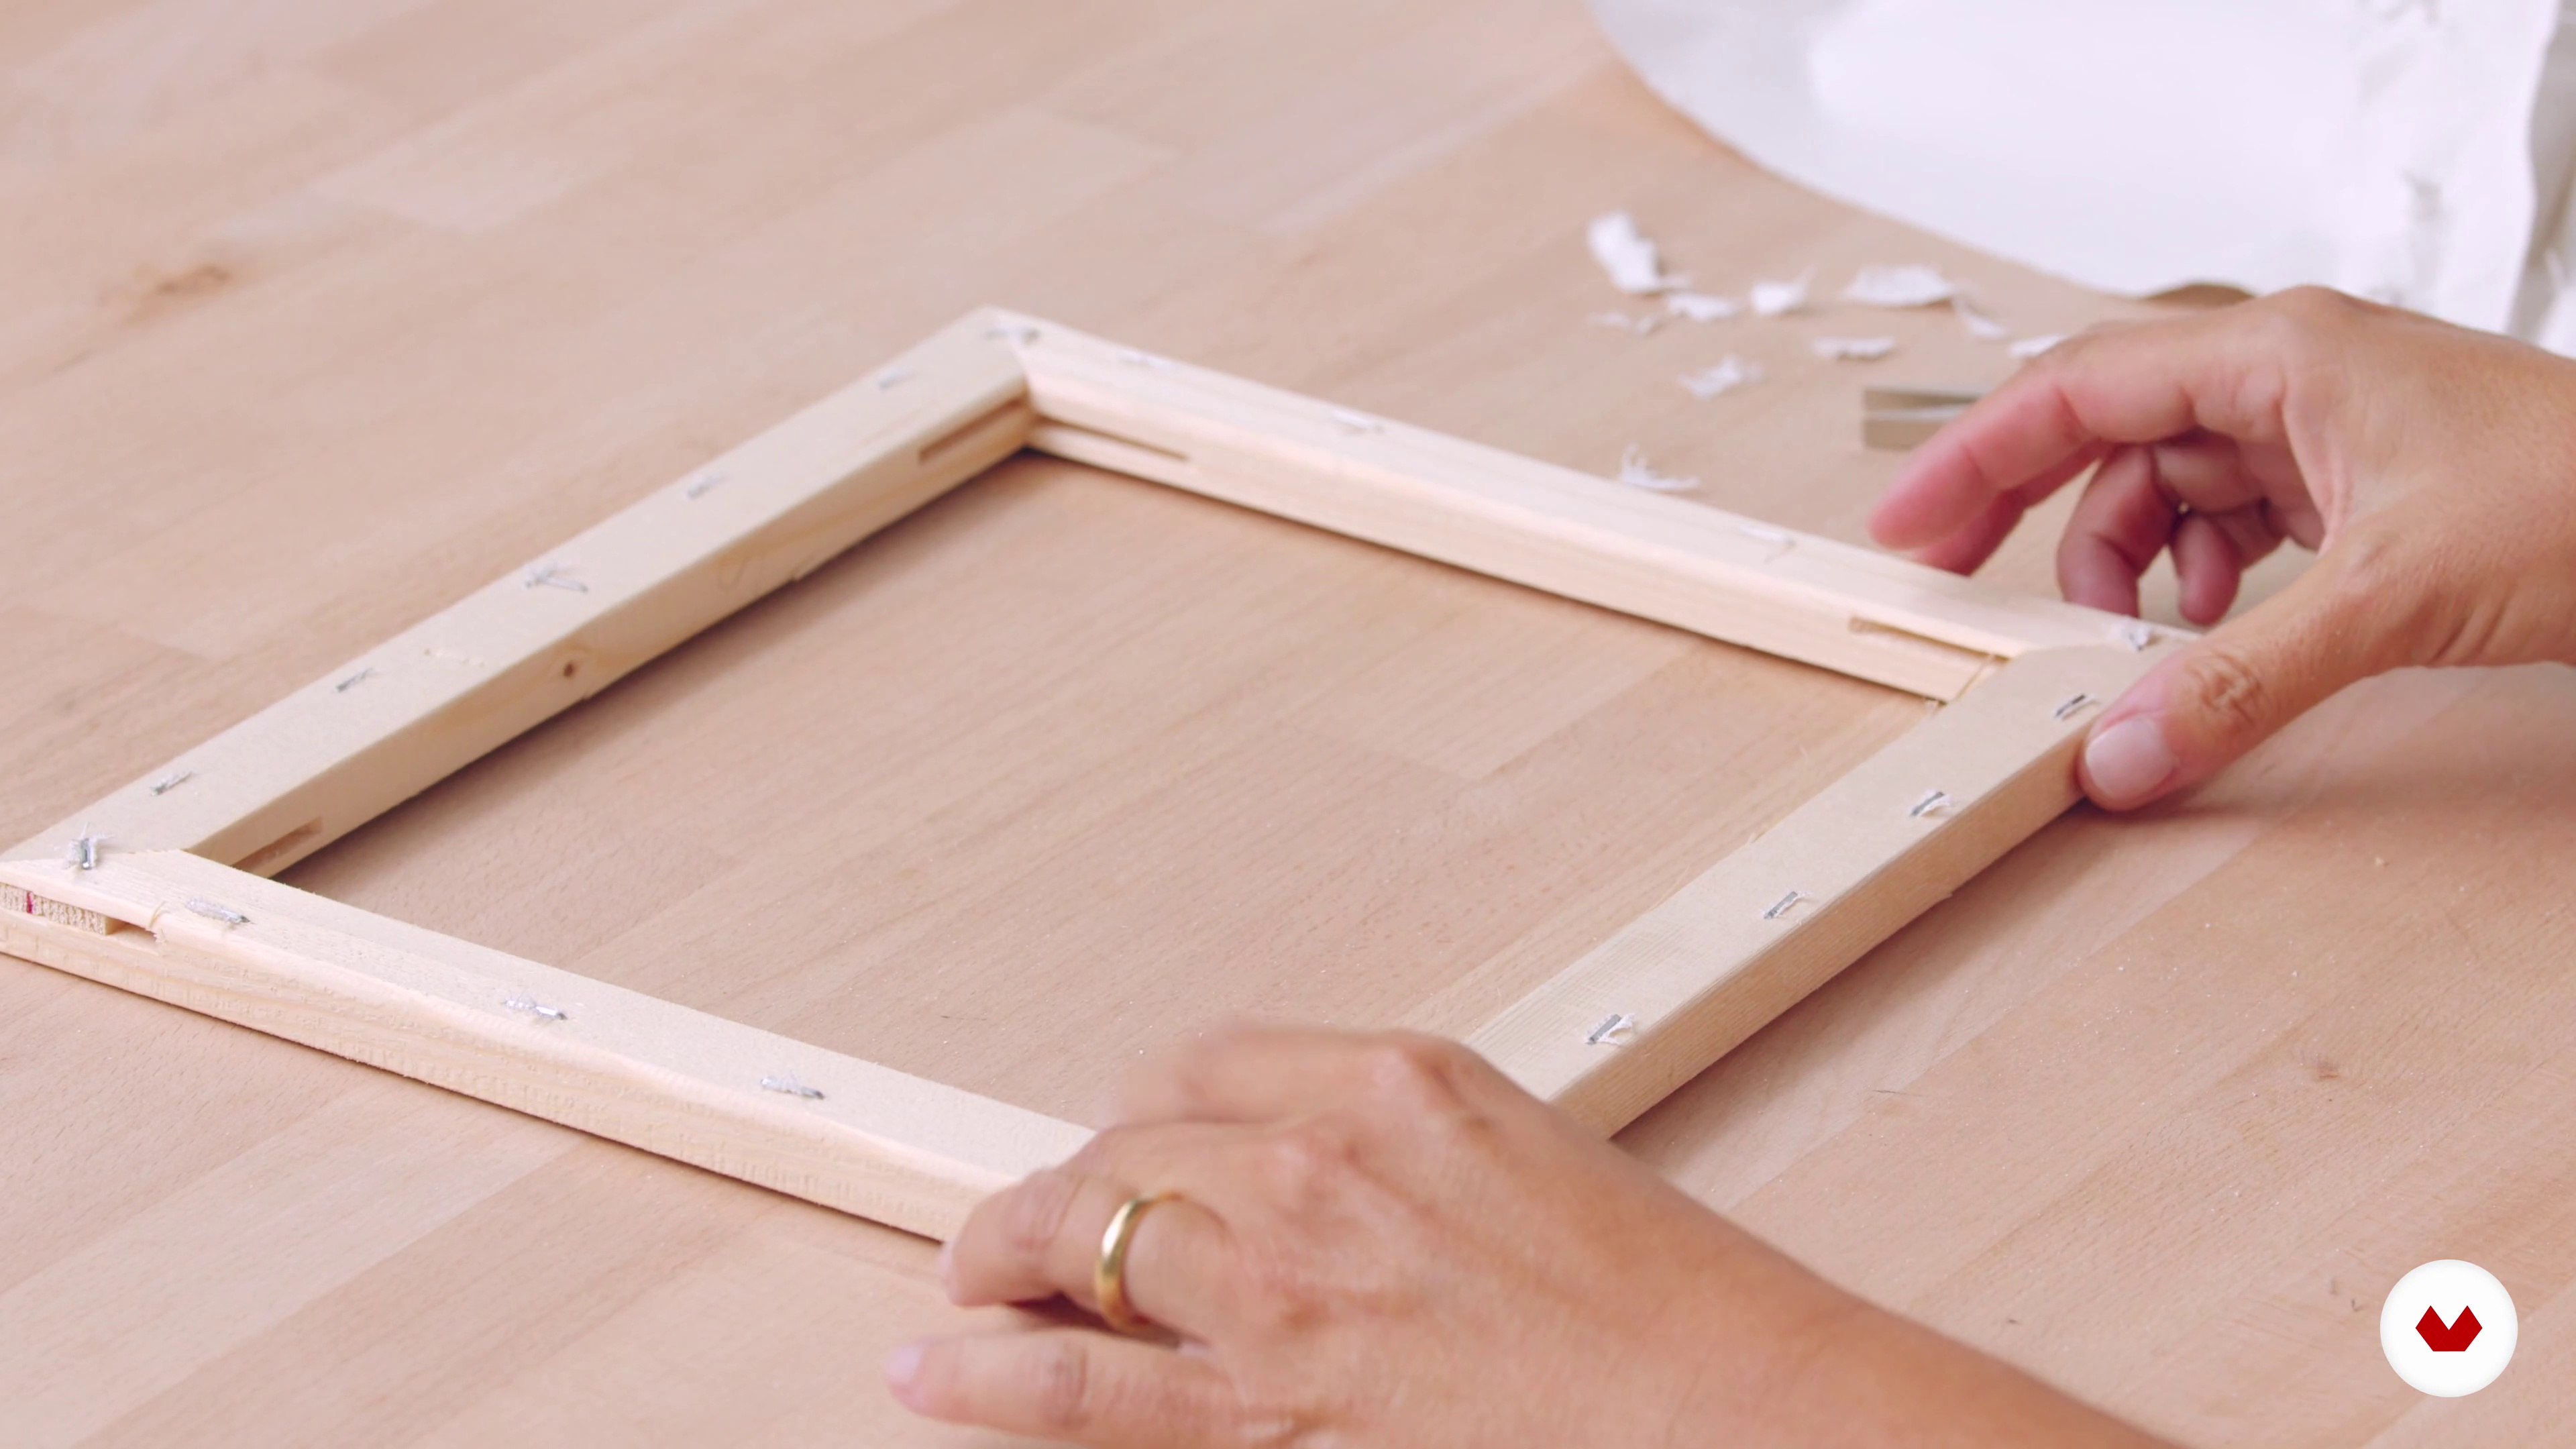
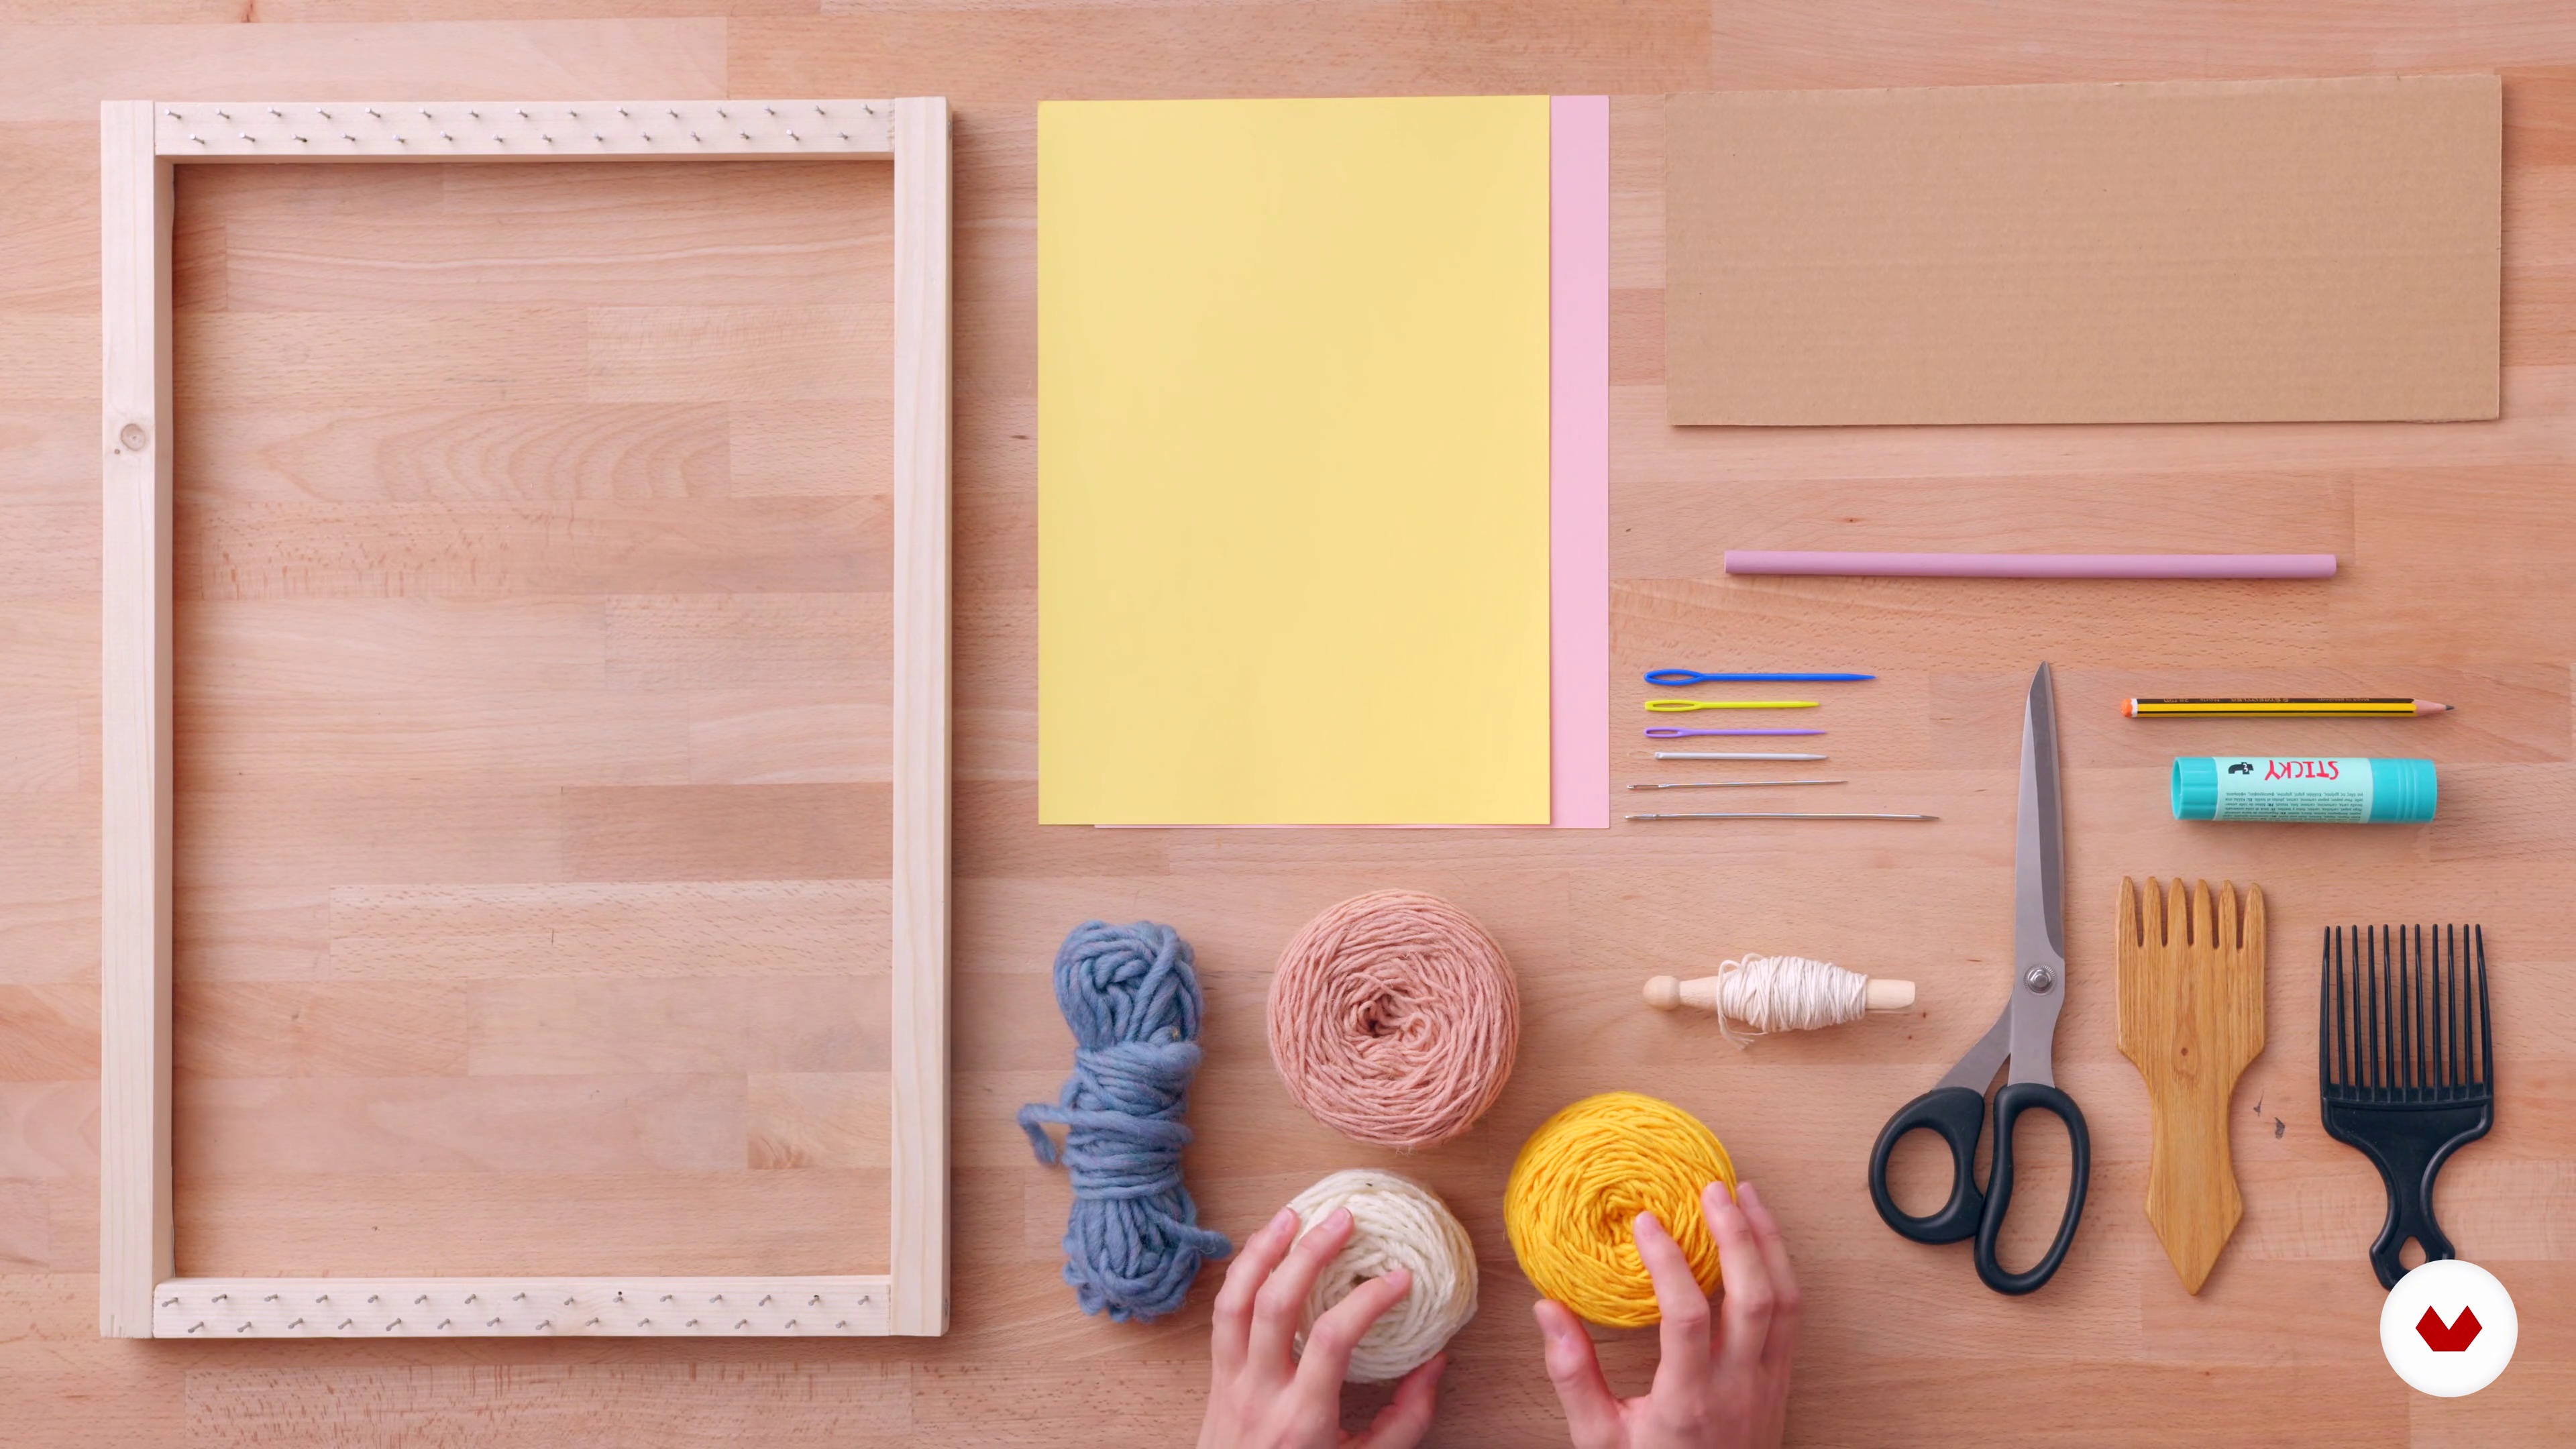
In this lesson we will review what are the necessary tools for you to start knitting. I will explain how you can build a wooden frame at home, I will show the tools we need and their use: frame, wool, cotton thread, wool needles, scissors, a comb, pencil, paper, glue and a cardboard strip.
2m
 5
Knowing the fibers
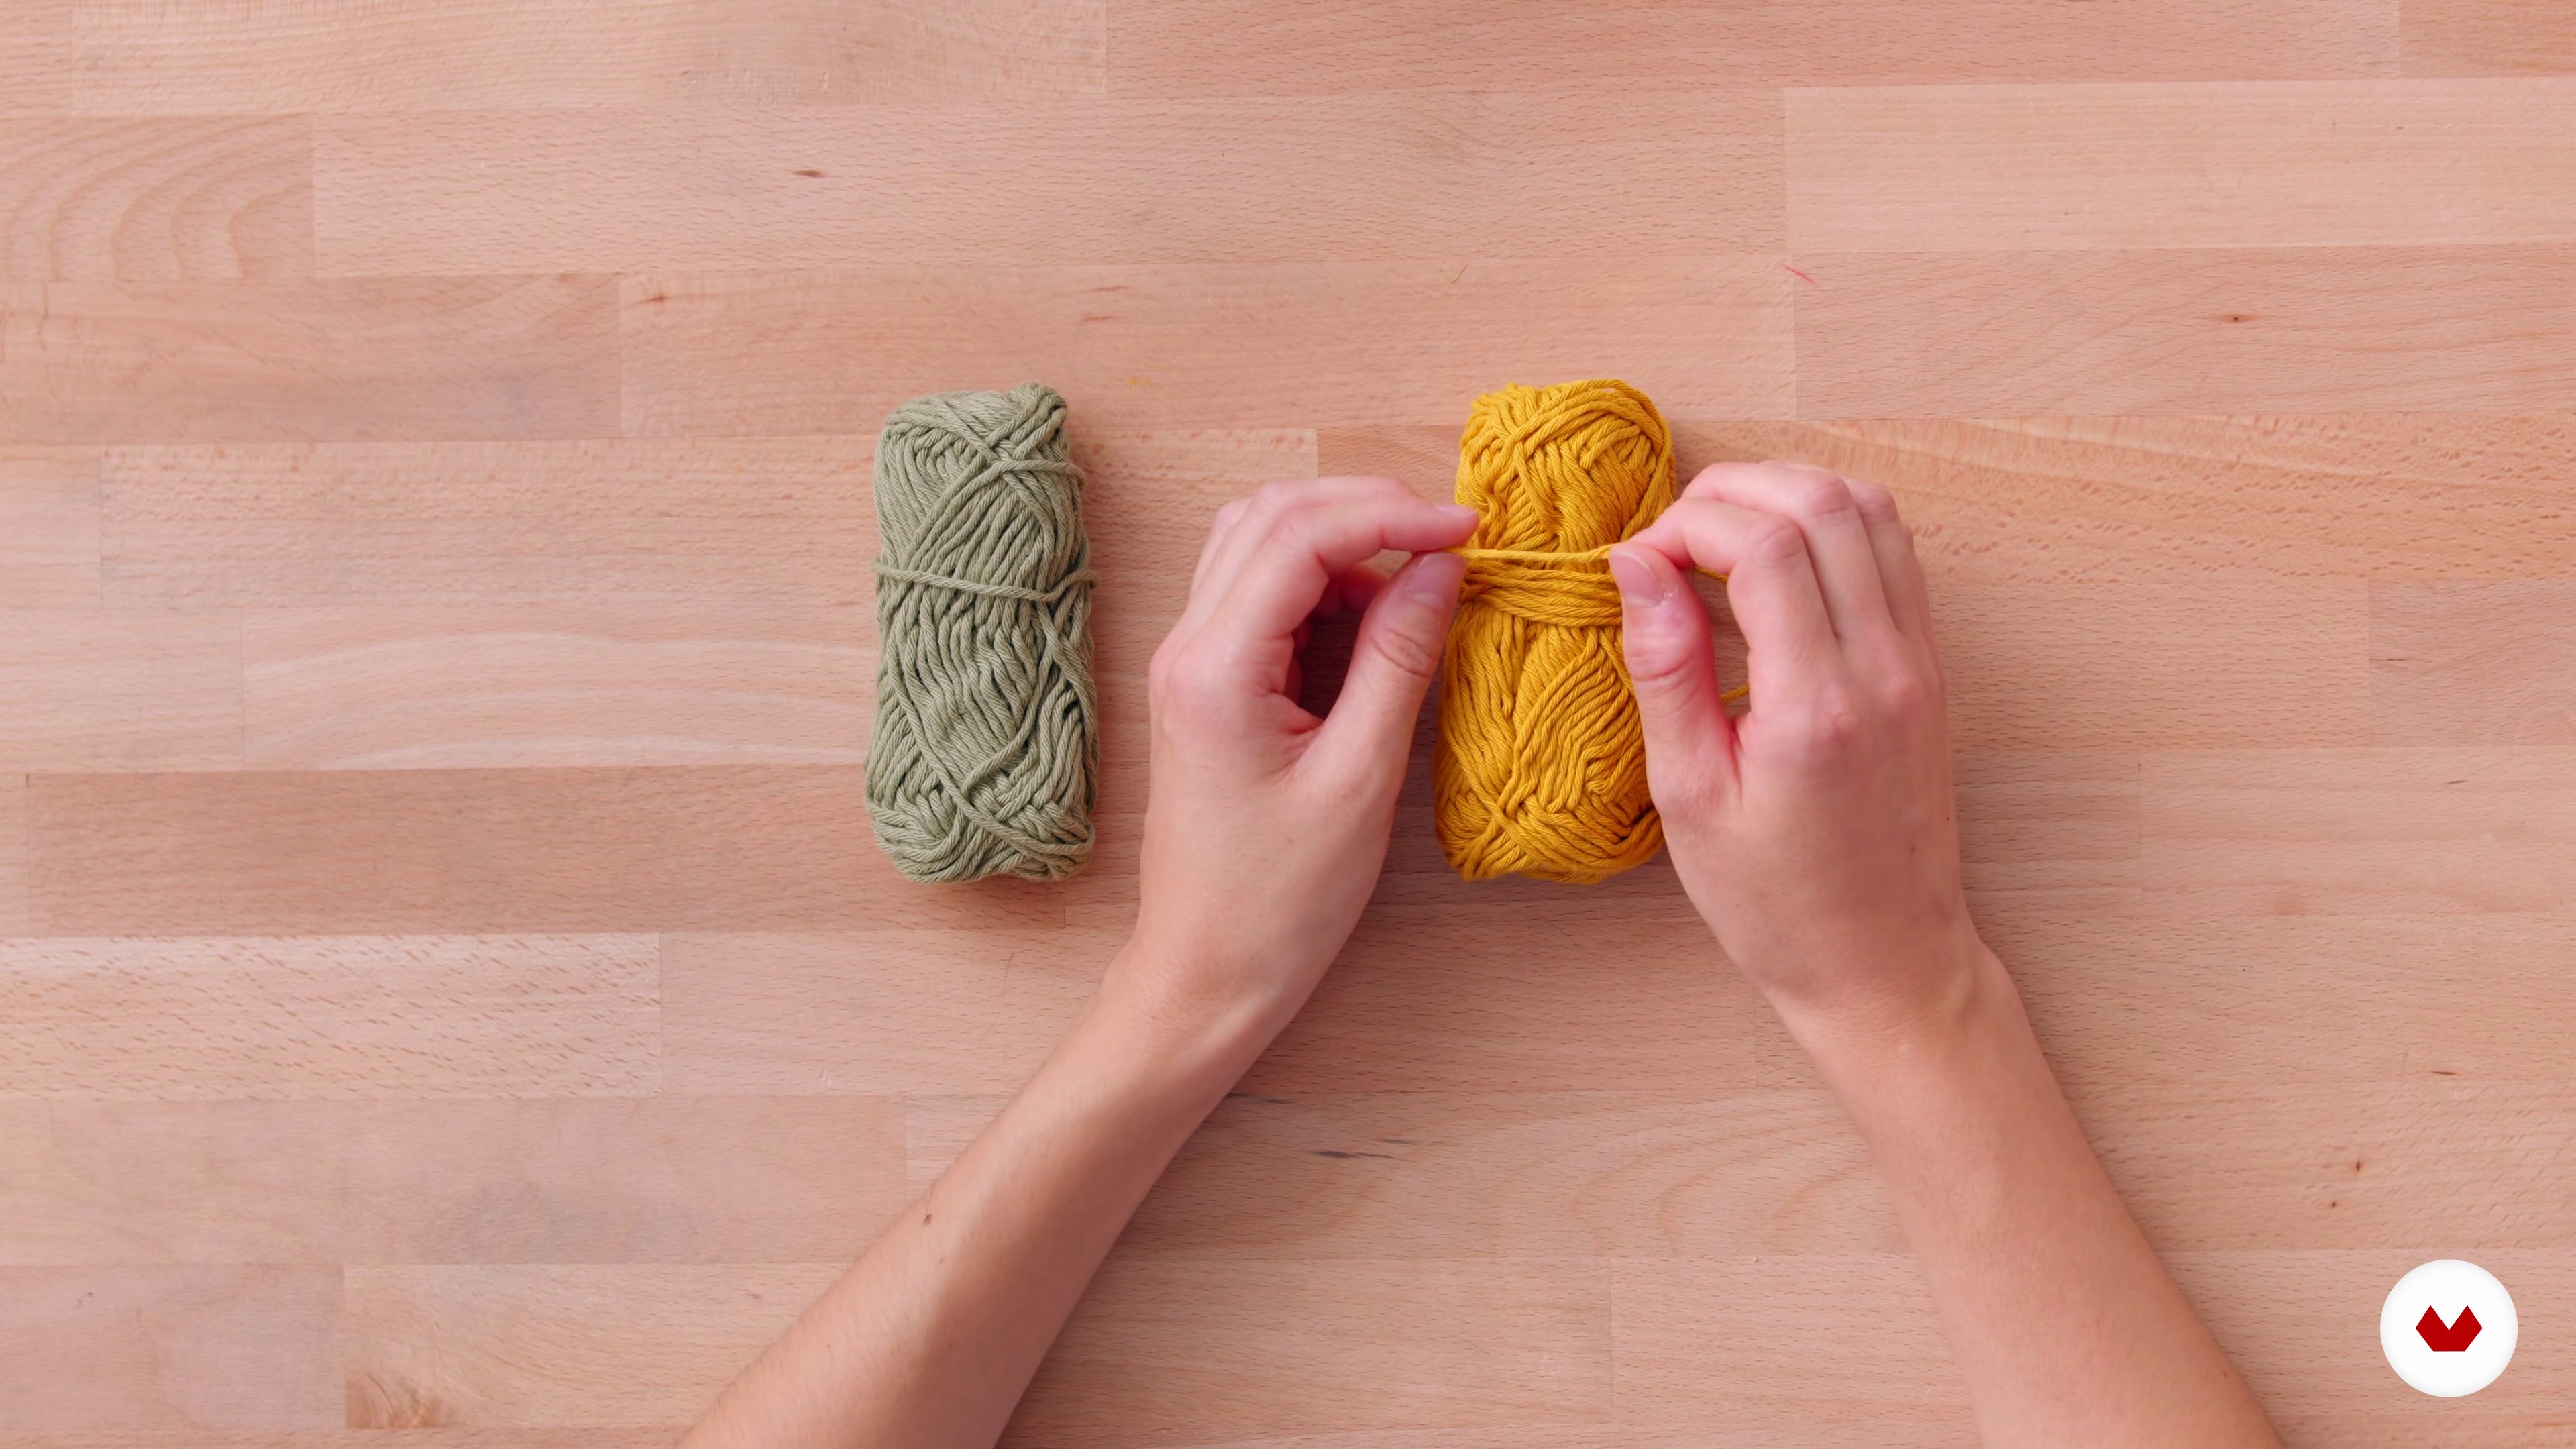
Next, I am going to explain the most common types of fibers to weave while I am teaching them, also the ones that I usually use. Depending on the different types of fibers we will have some results or others.
8m
 6
Basic concepts
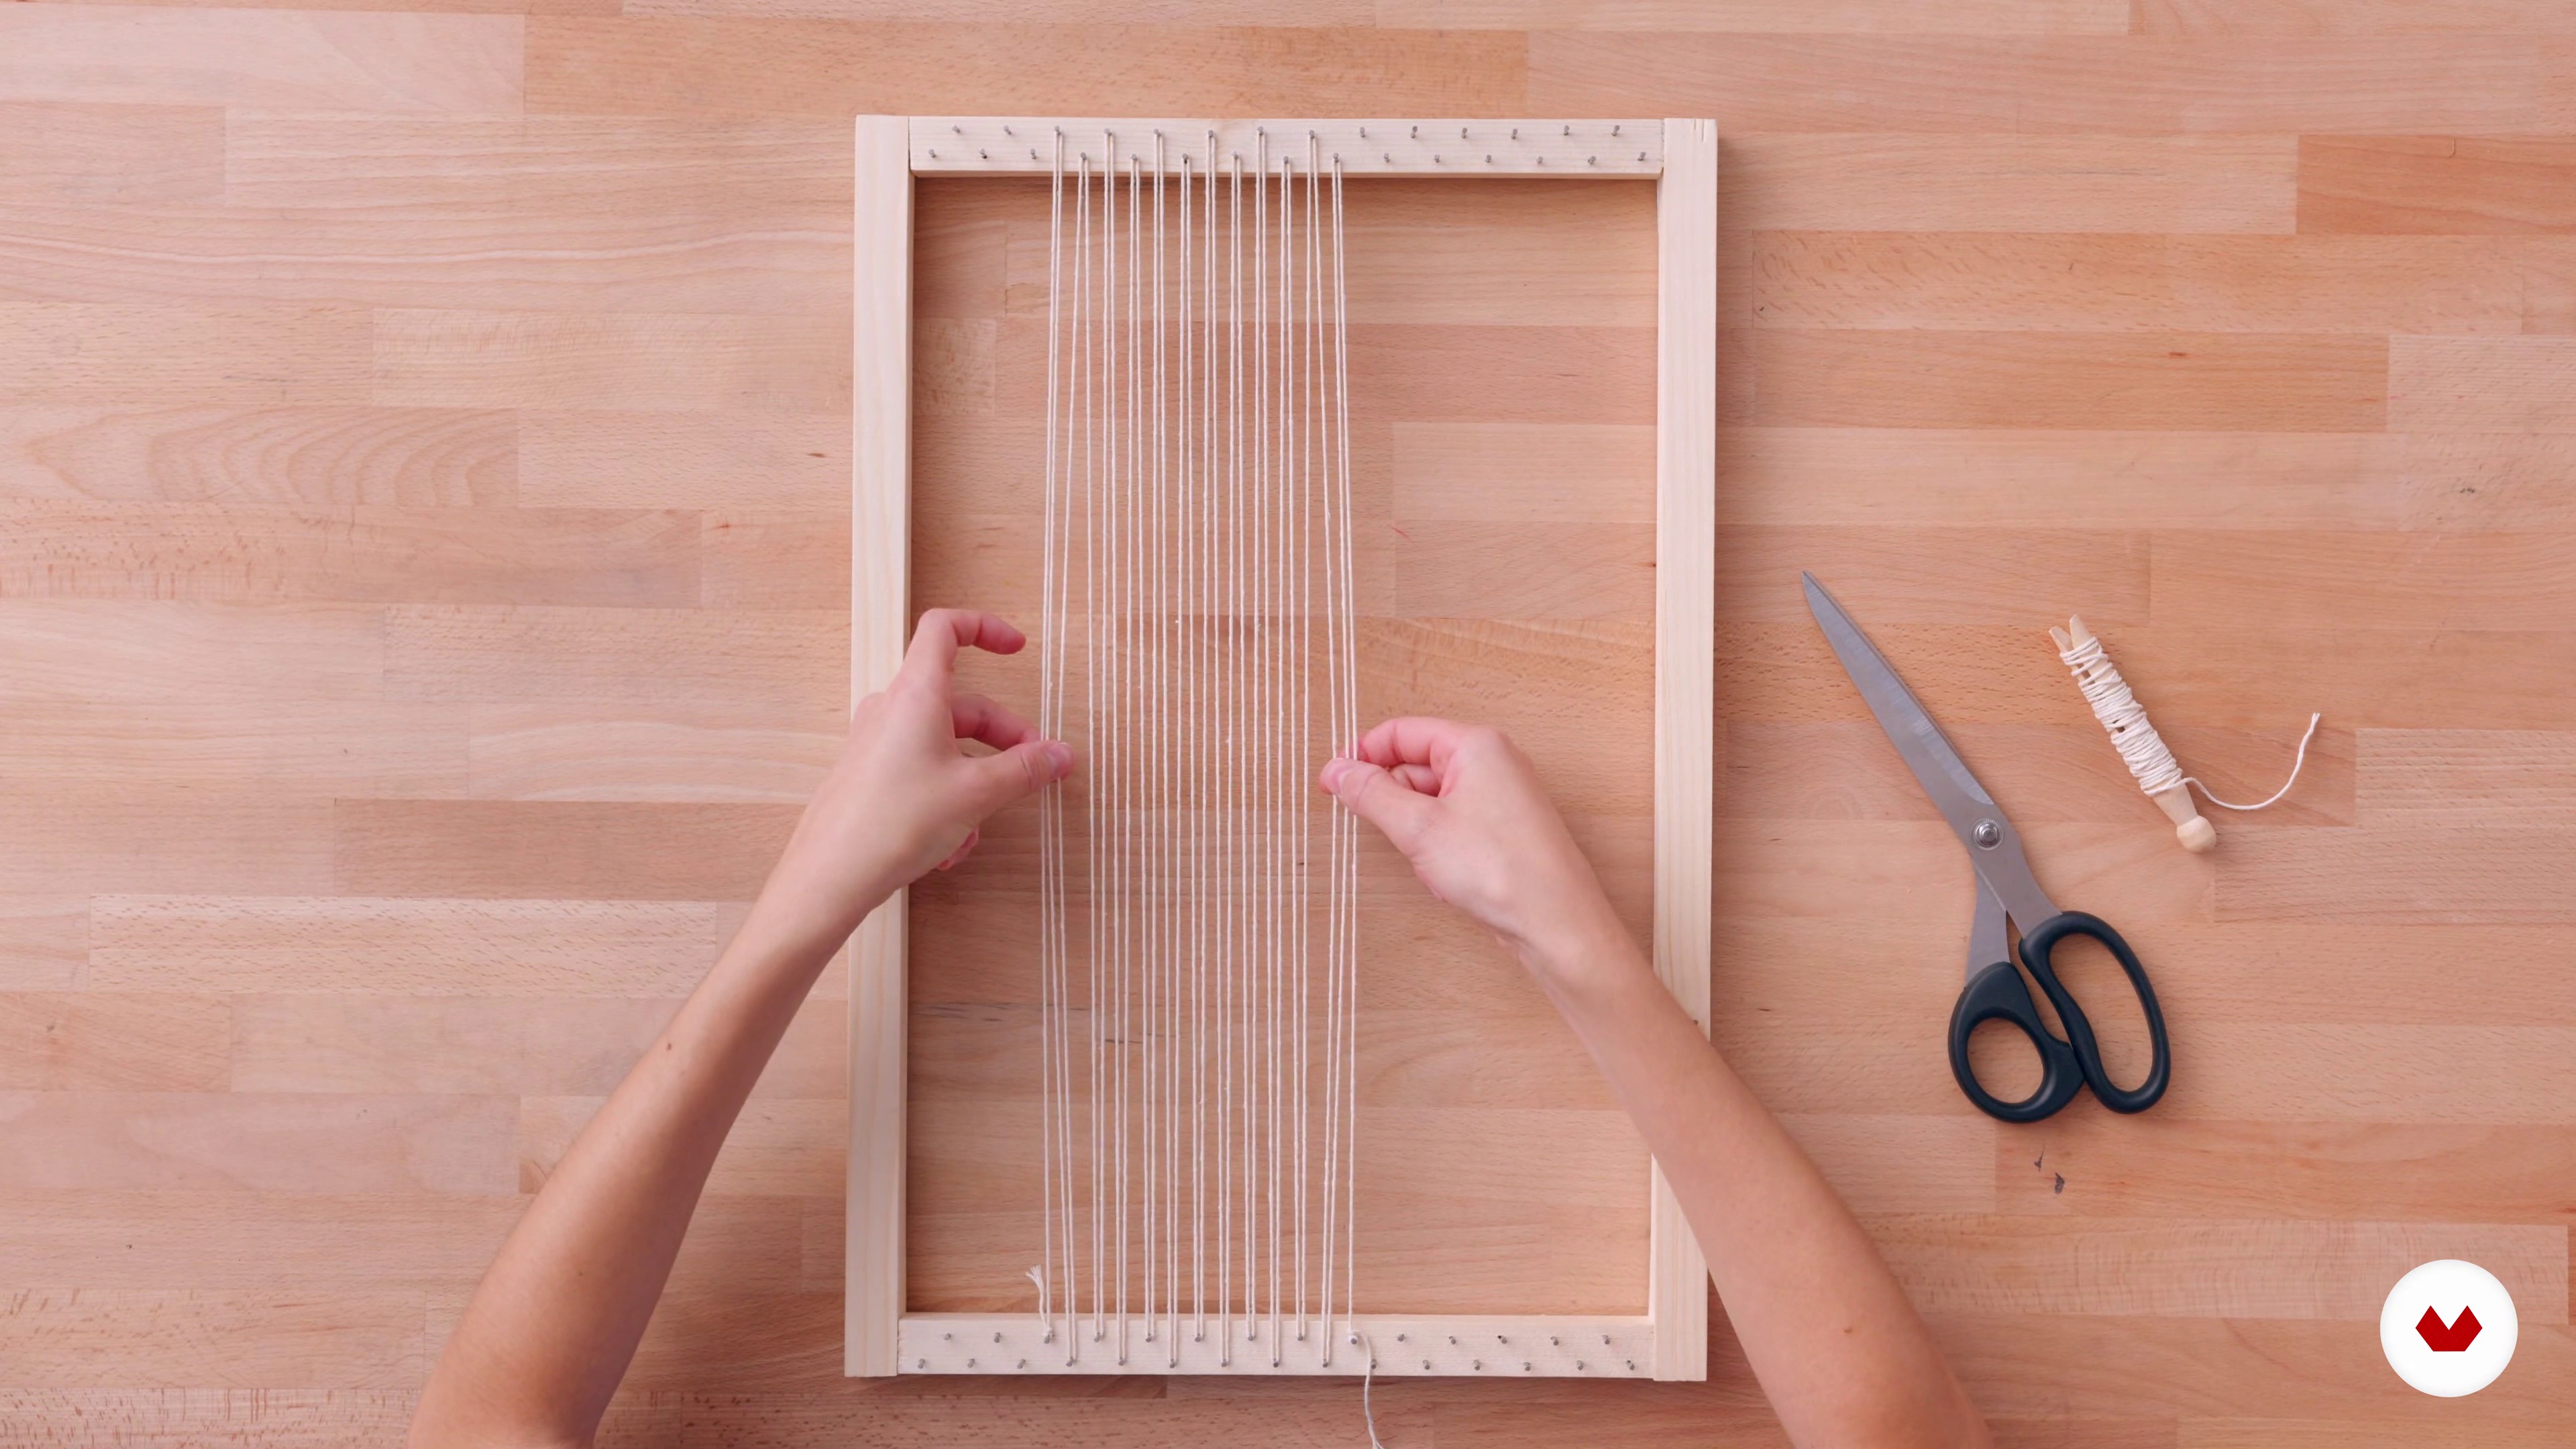
Here we will talk about the basic concepts of high heald weave, we will see what the warp is, what the weft is and what the weaving ligaments are. We will also see how to assemble the weaving frame and we will assemble a warp on which we will weave some samples in the next lesson.
3m
 7
Types of ligaments
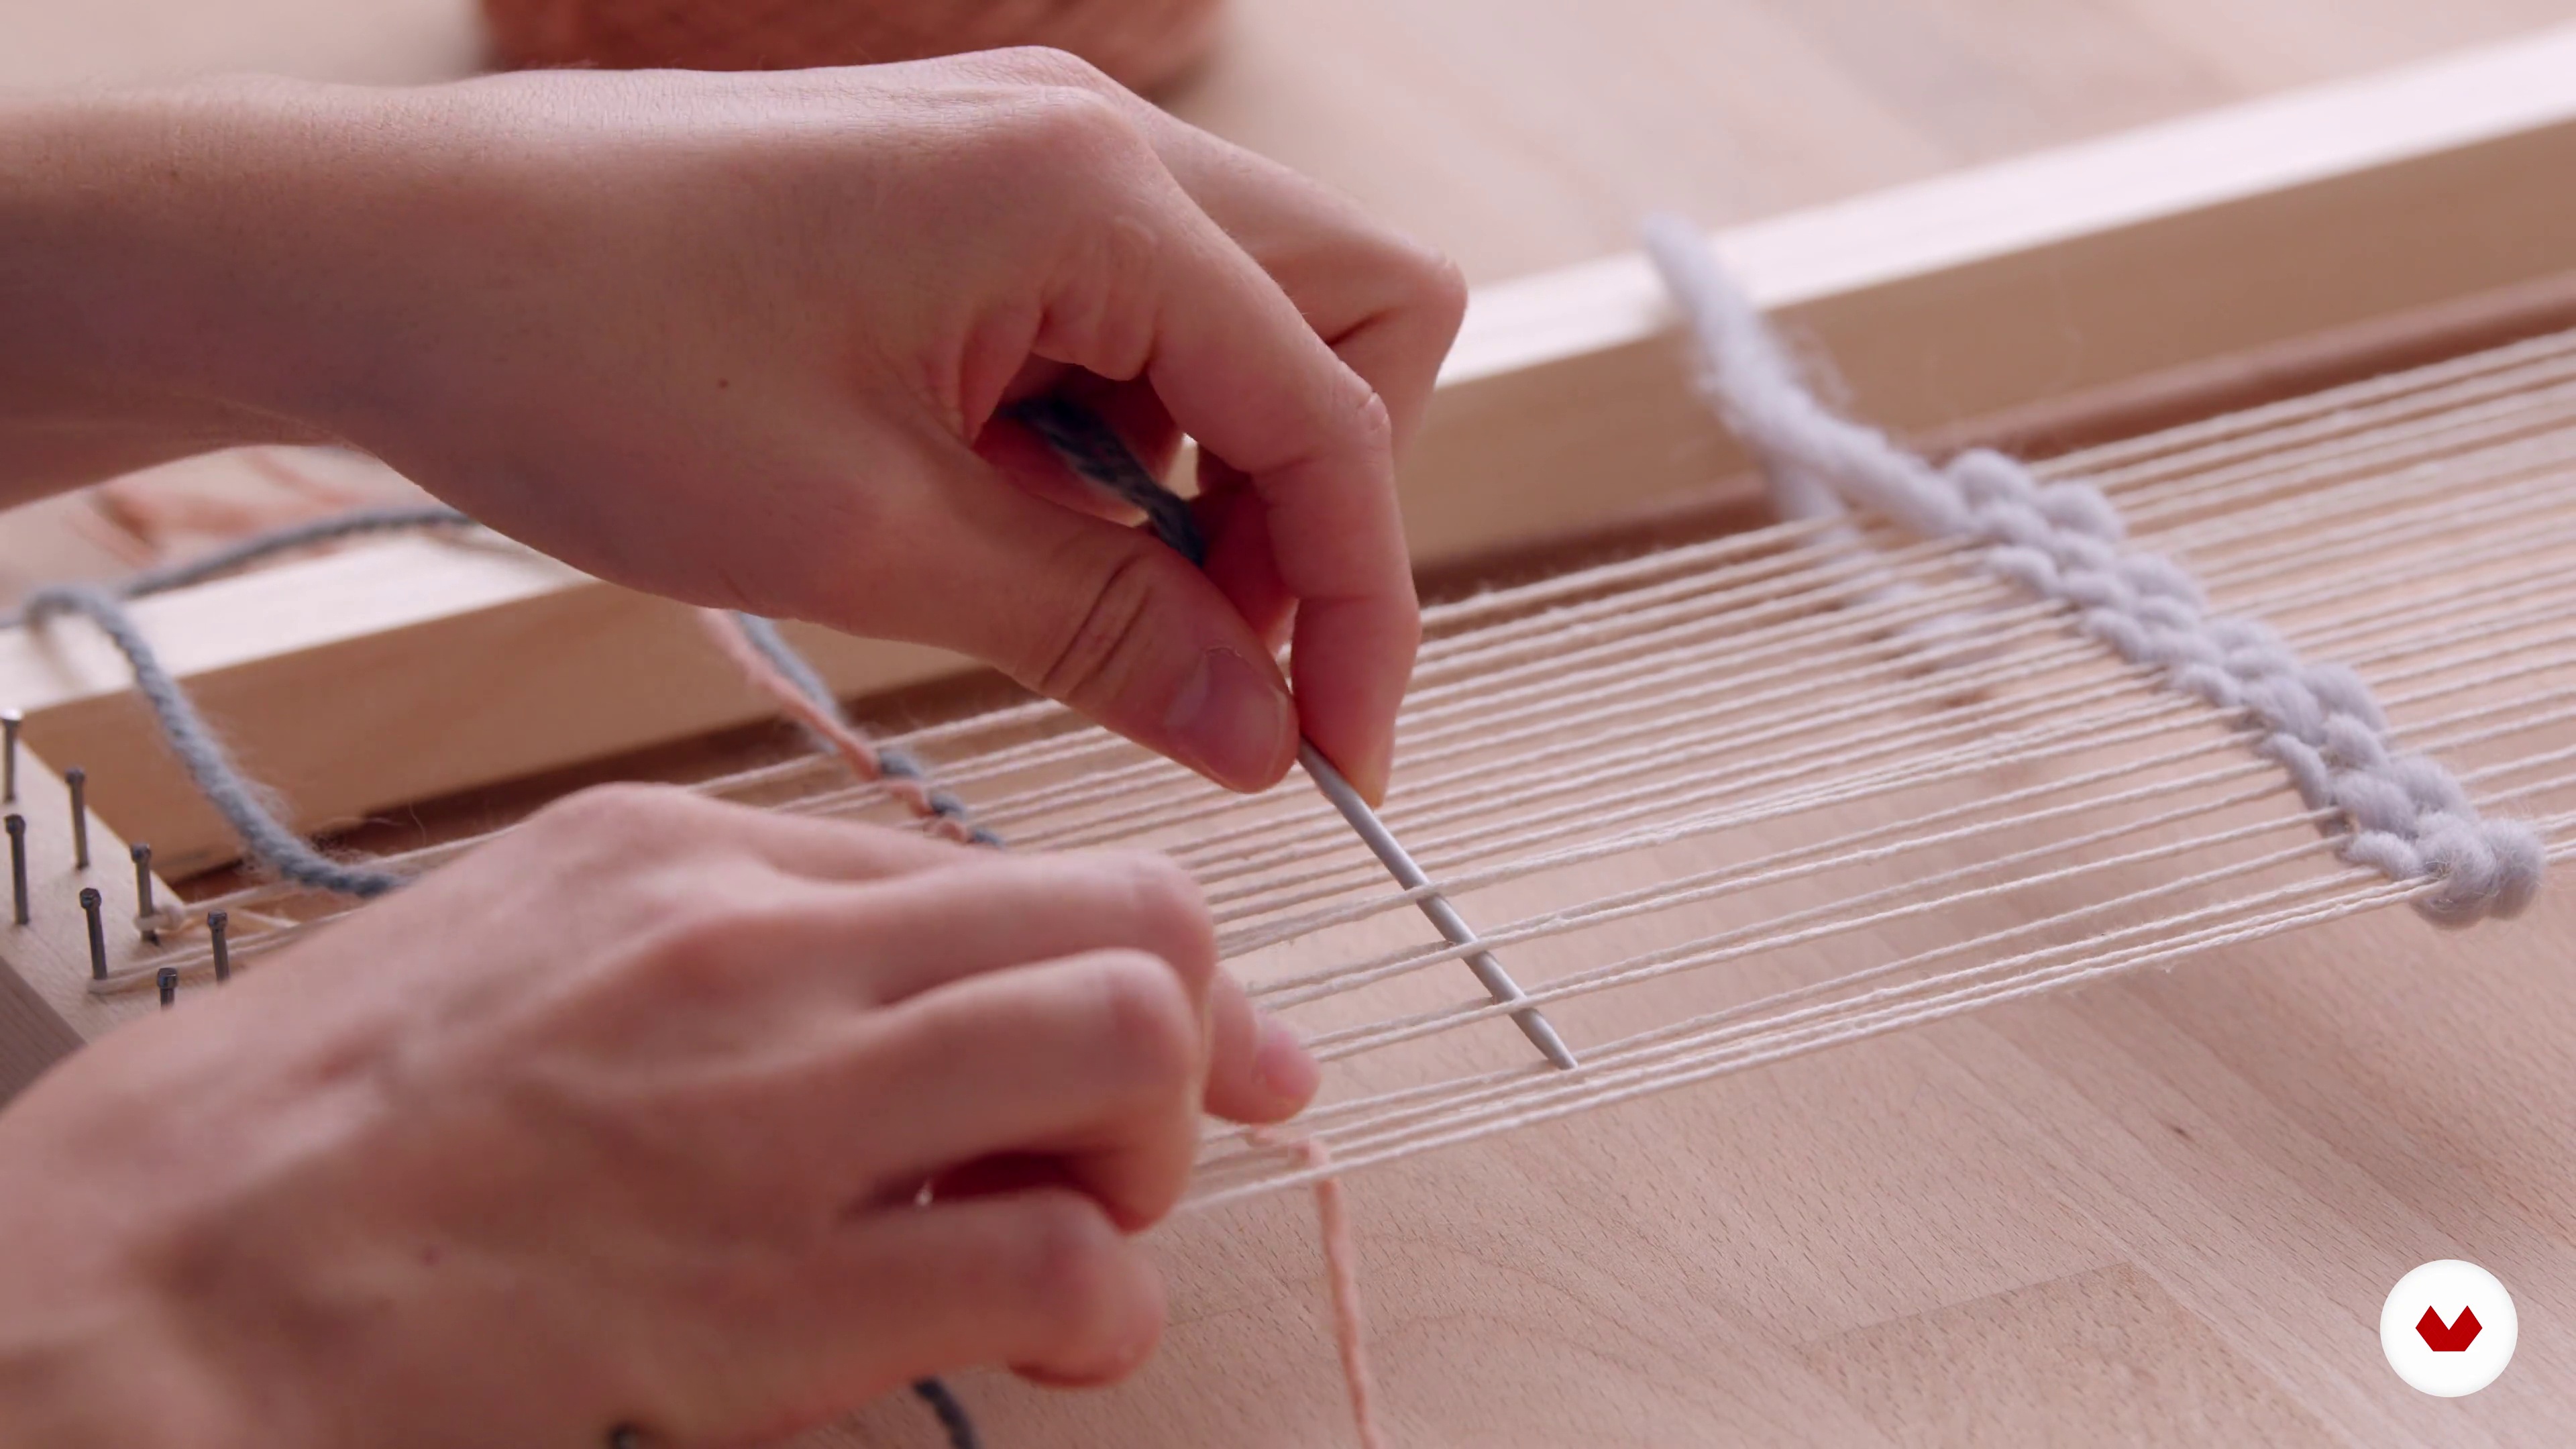
In this lesson we will see the types of ligaments that we can practice in our final project. I will teach you how to make the taffeta or plain weave and some of its variants such as double taffeta and two-color taffeta.
12m
 8
Types of textures
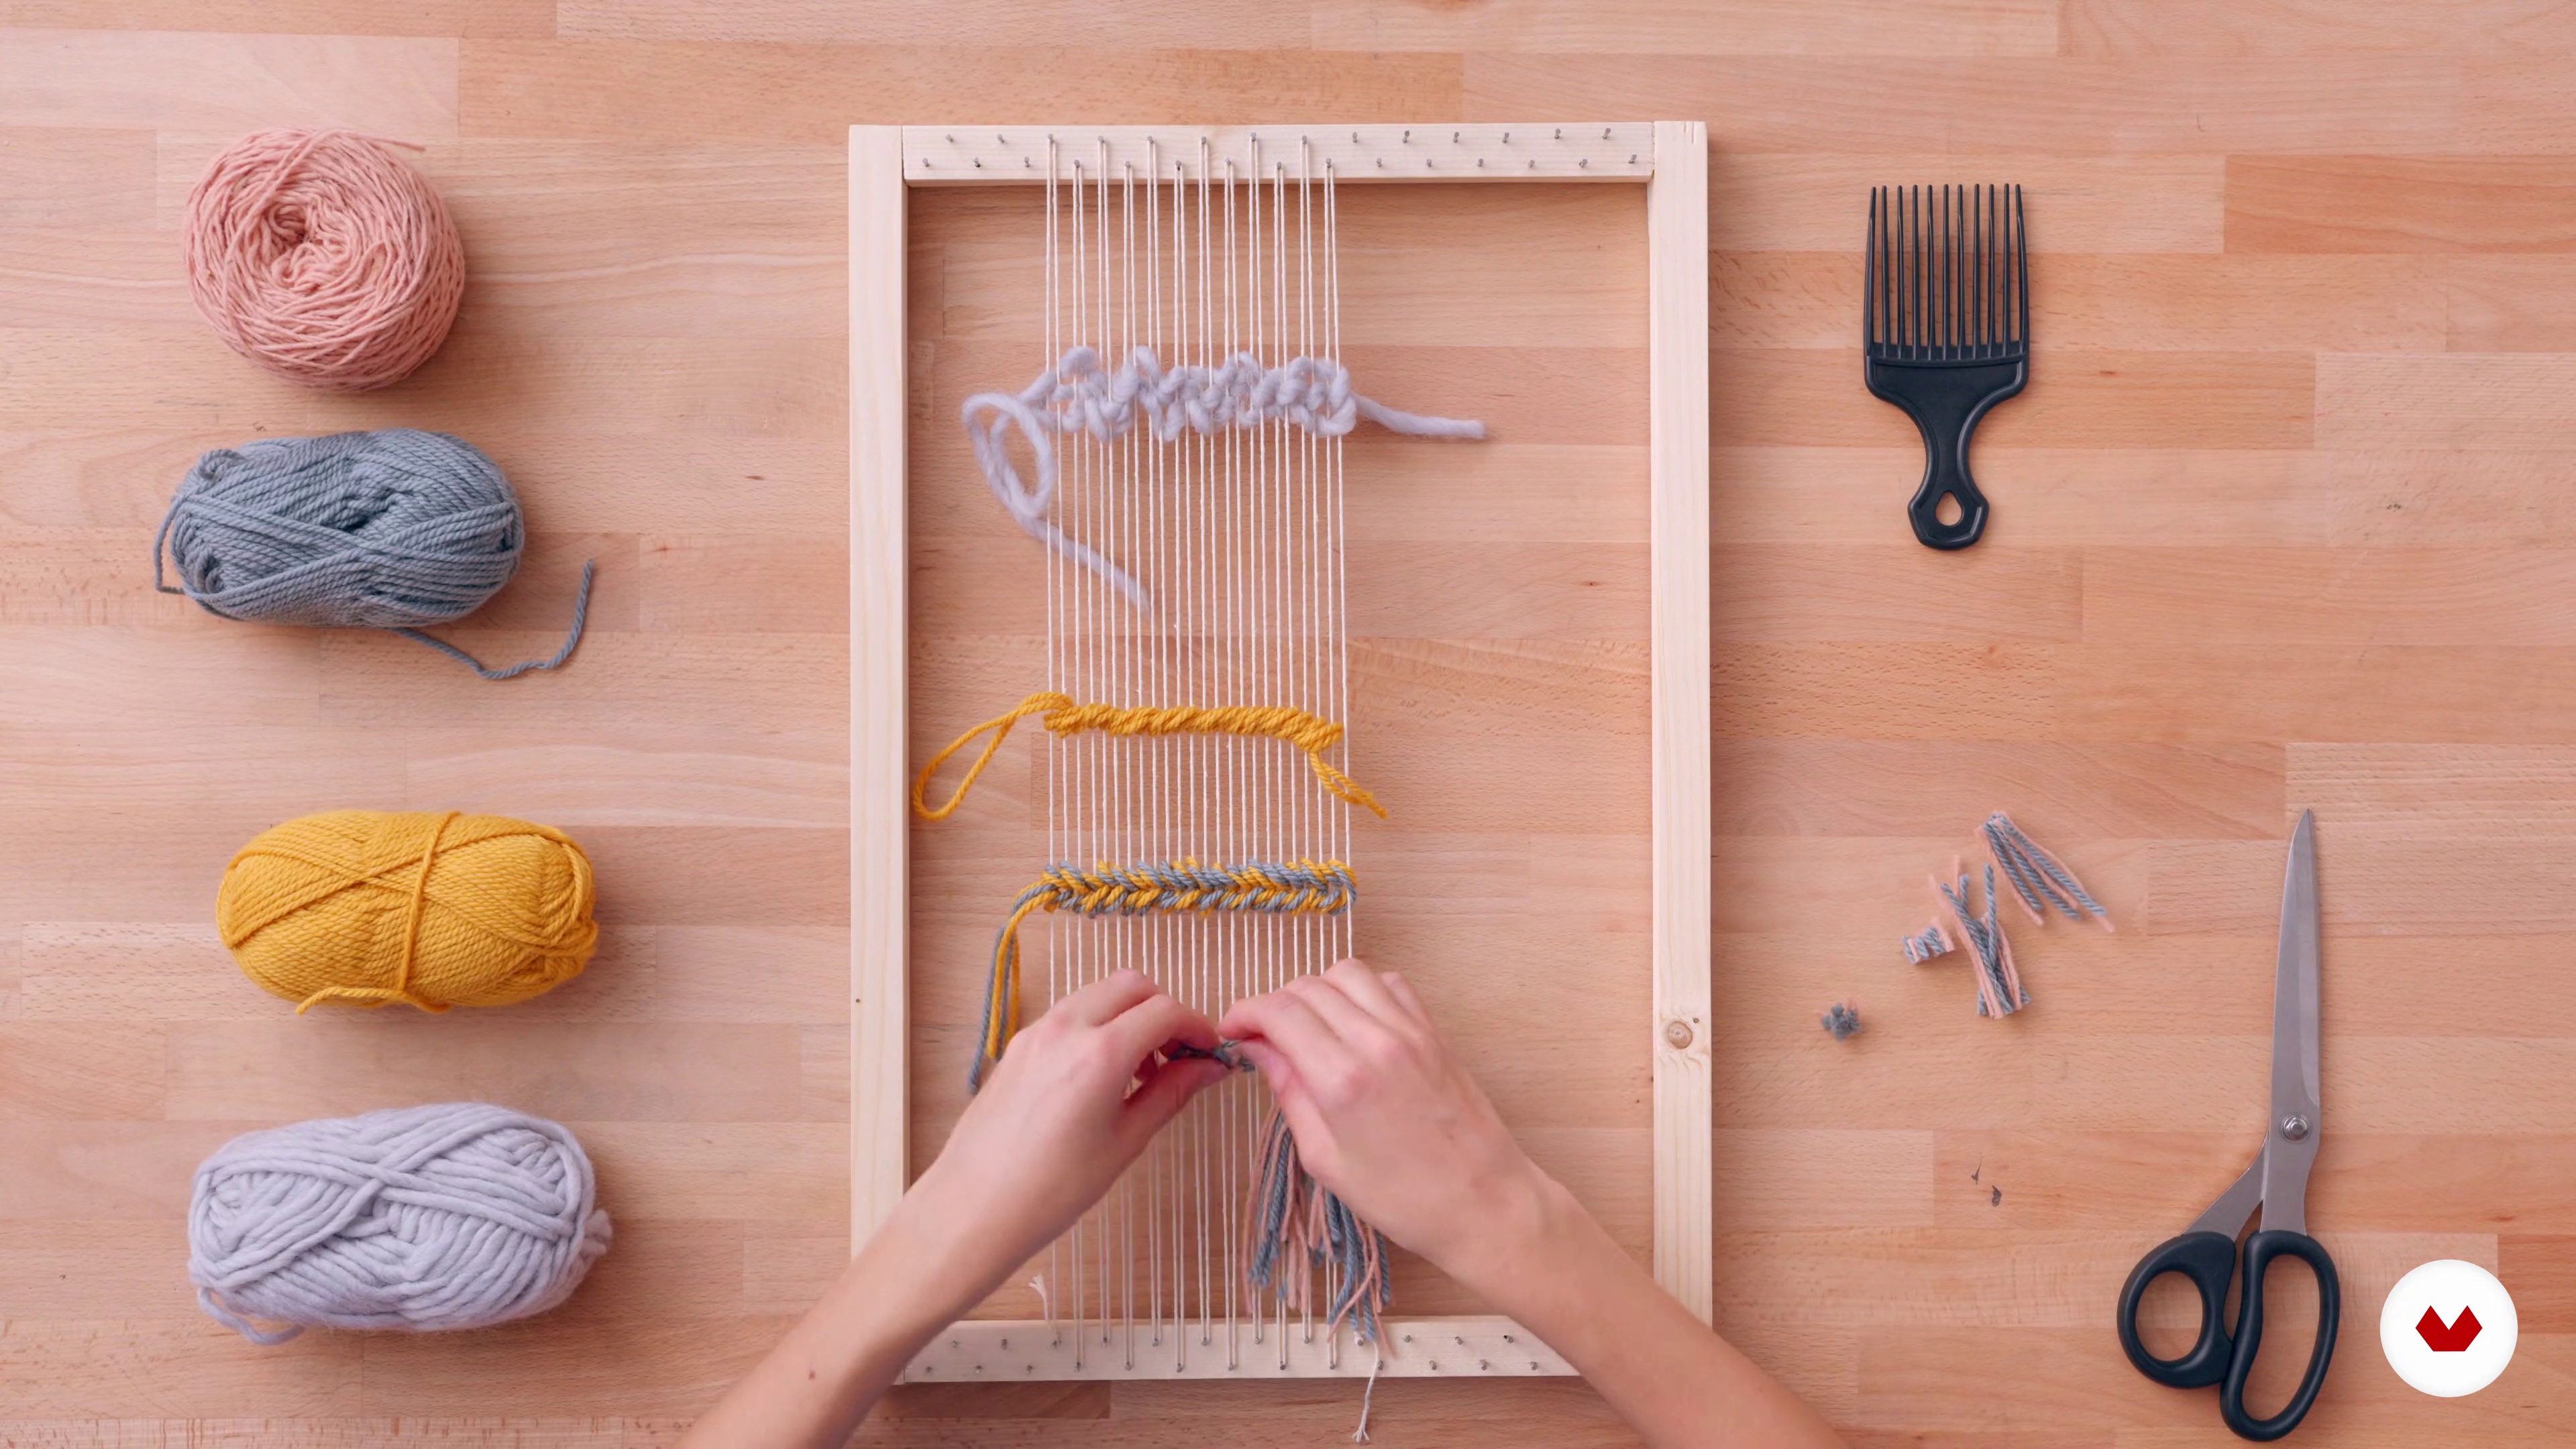
In this lesson we will see the types of textures that we can use in our final project. I will teach you how to make the taffeta fabric with volume, soumak or braid, and the Turkish knot that we will apply as fringes or to give relief.
14m
 9
Tapestry design
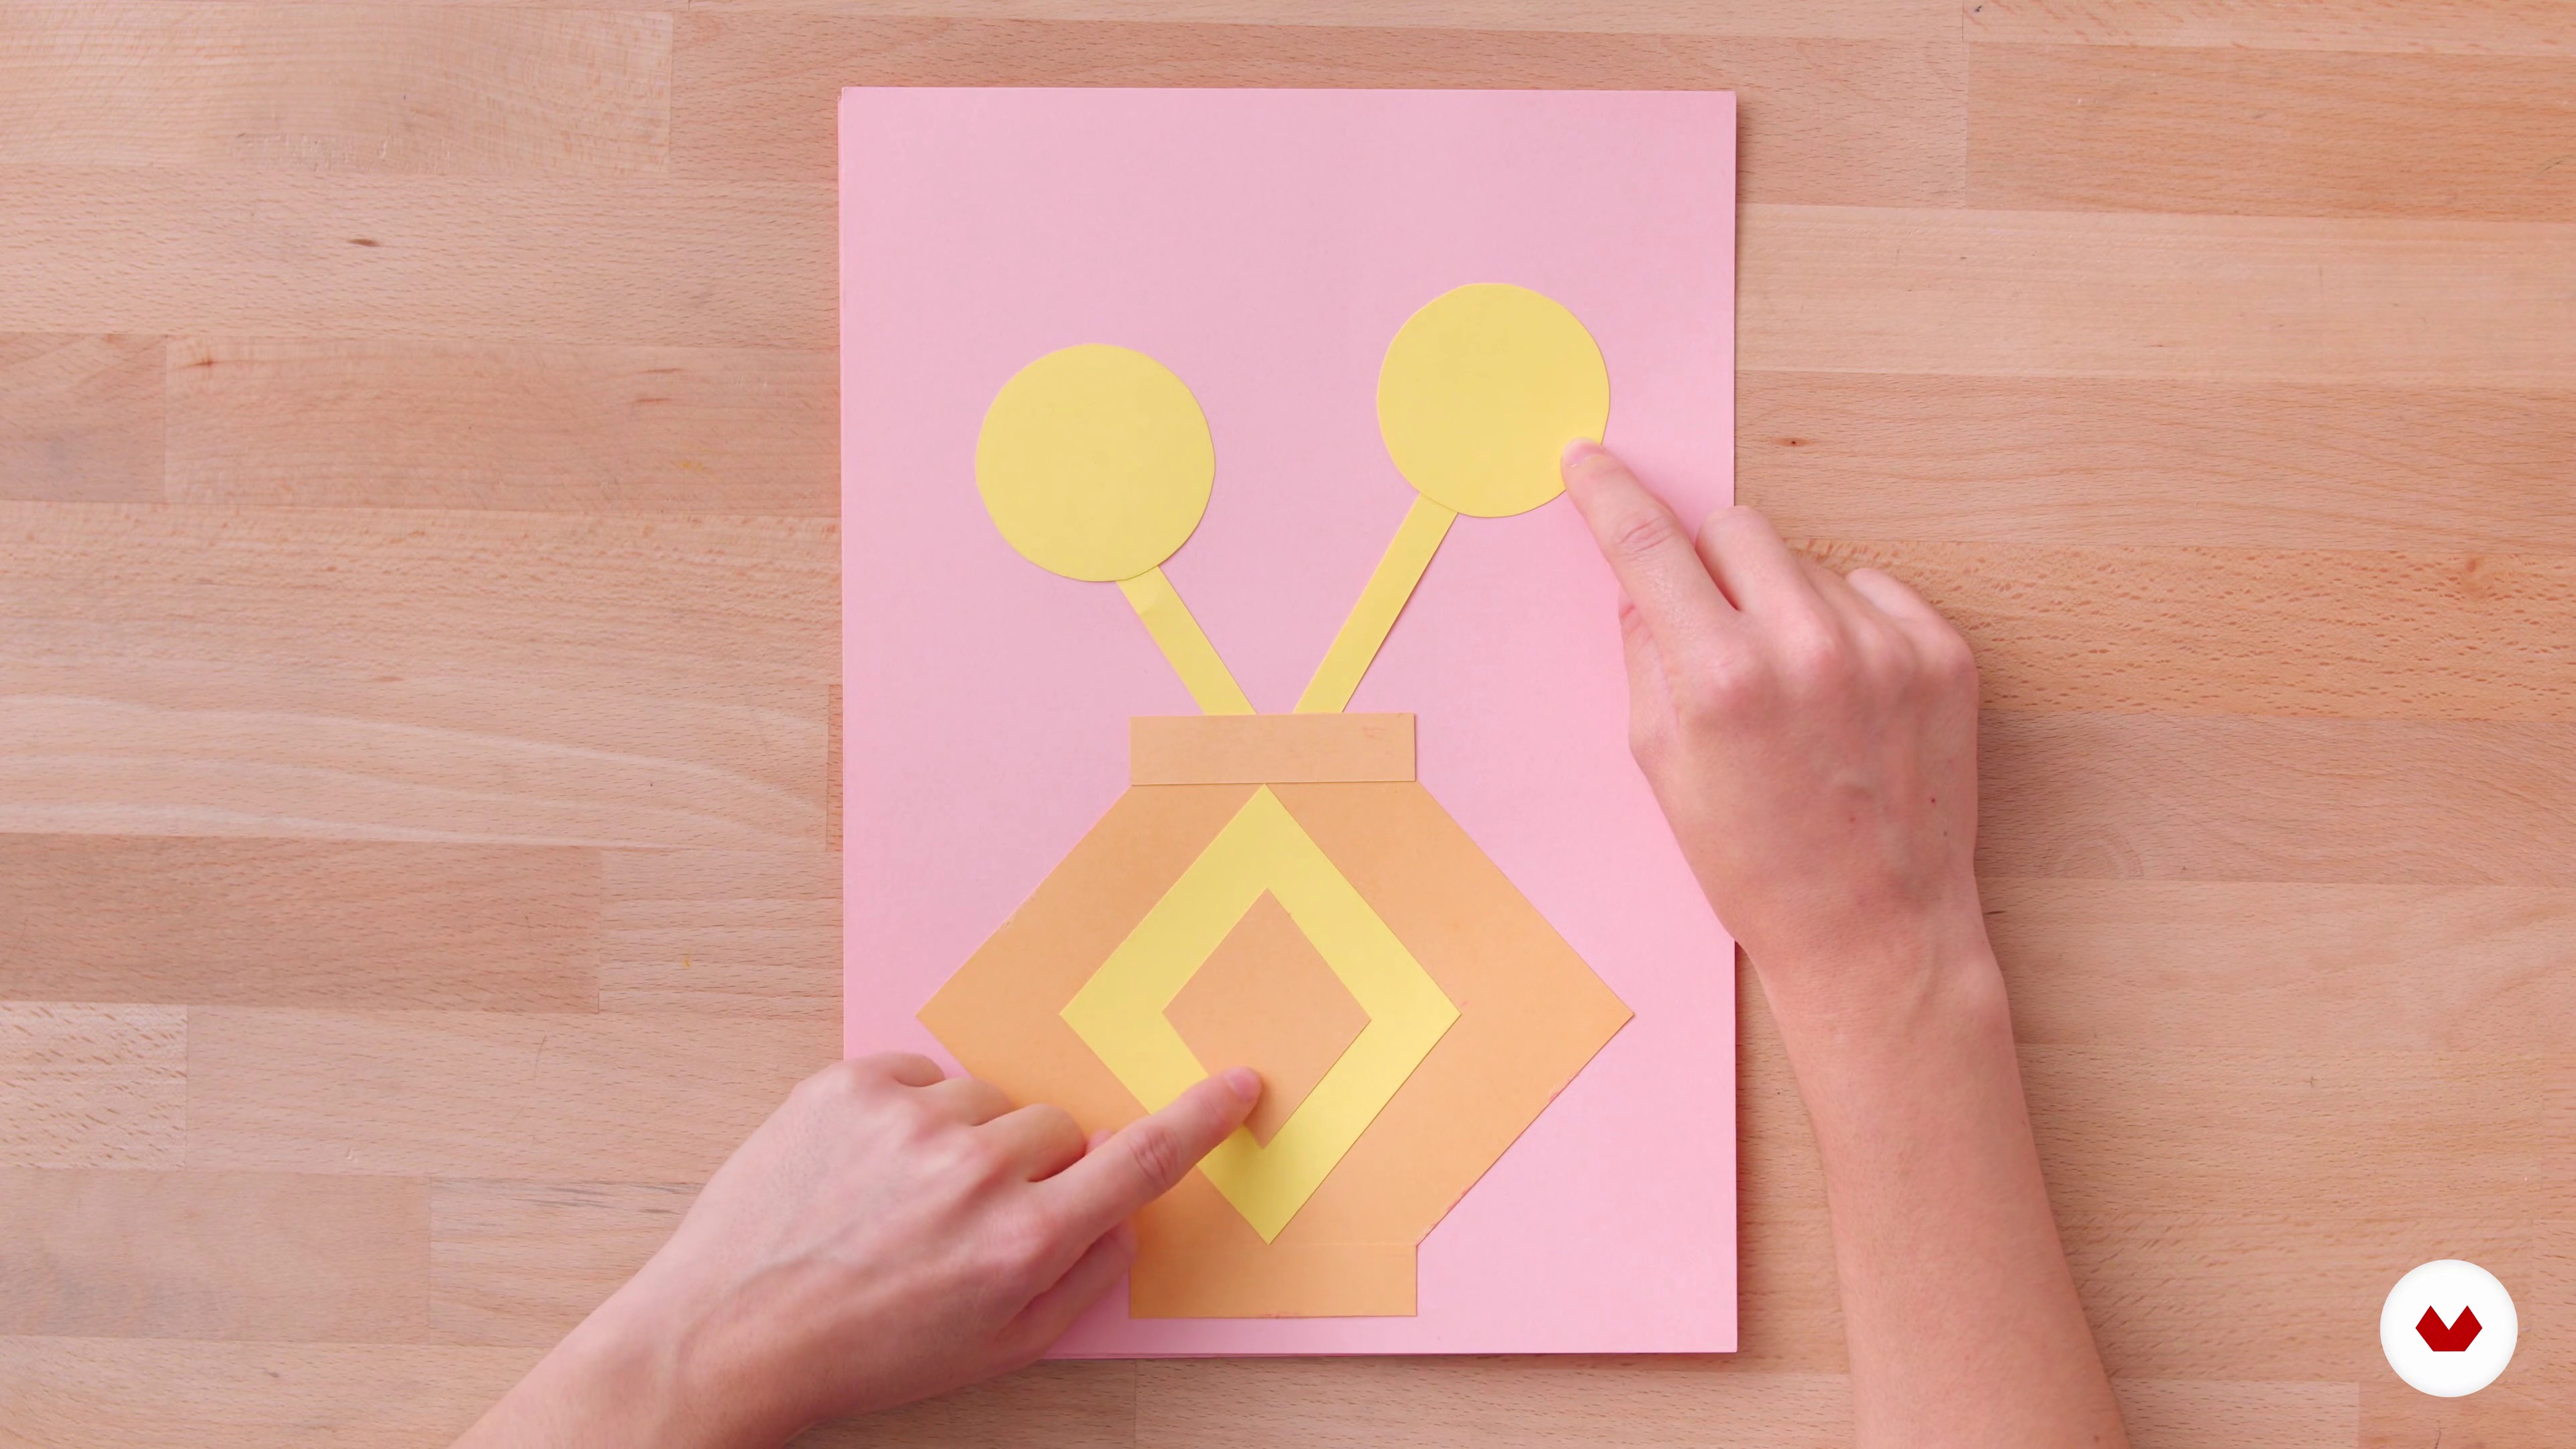
We began to design our tapestry. The main motif of this piece will be a vase with flowers in a geometric style. We will see how to build this sketch from some geometric shapes cut out of paper and combining them with each other. In this section we will also define the types of fabric and the measurements that it will have to later assemble the necessary warp.
4m
 10
Choice of color palette
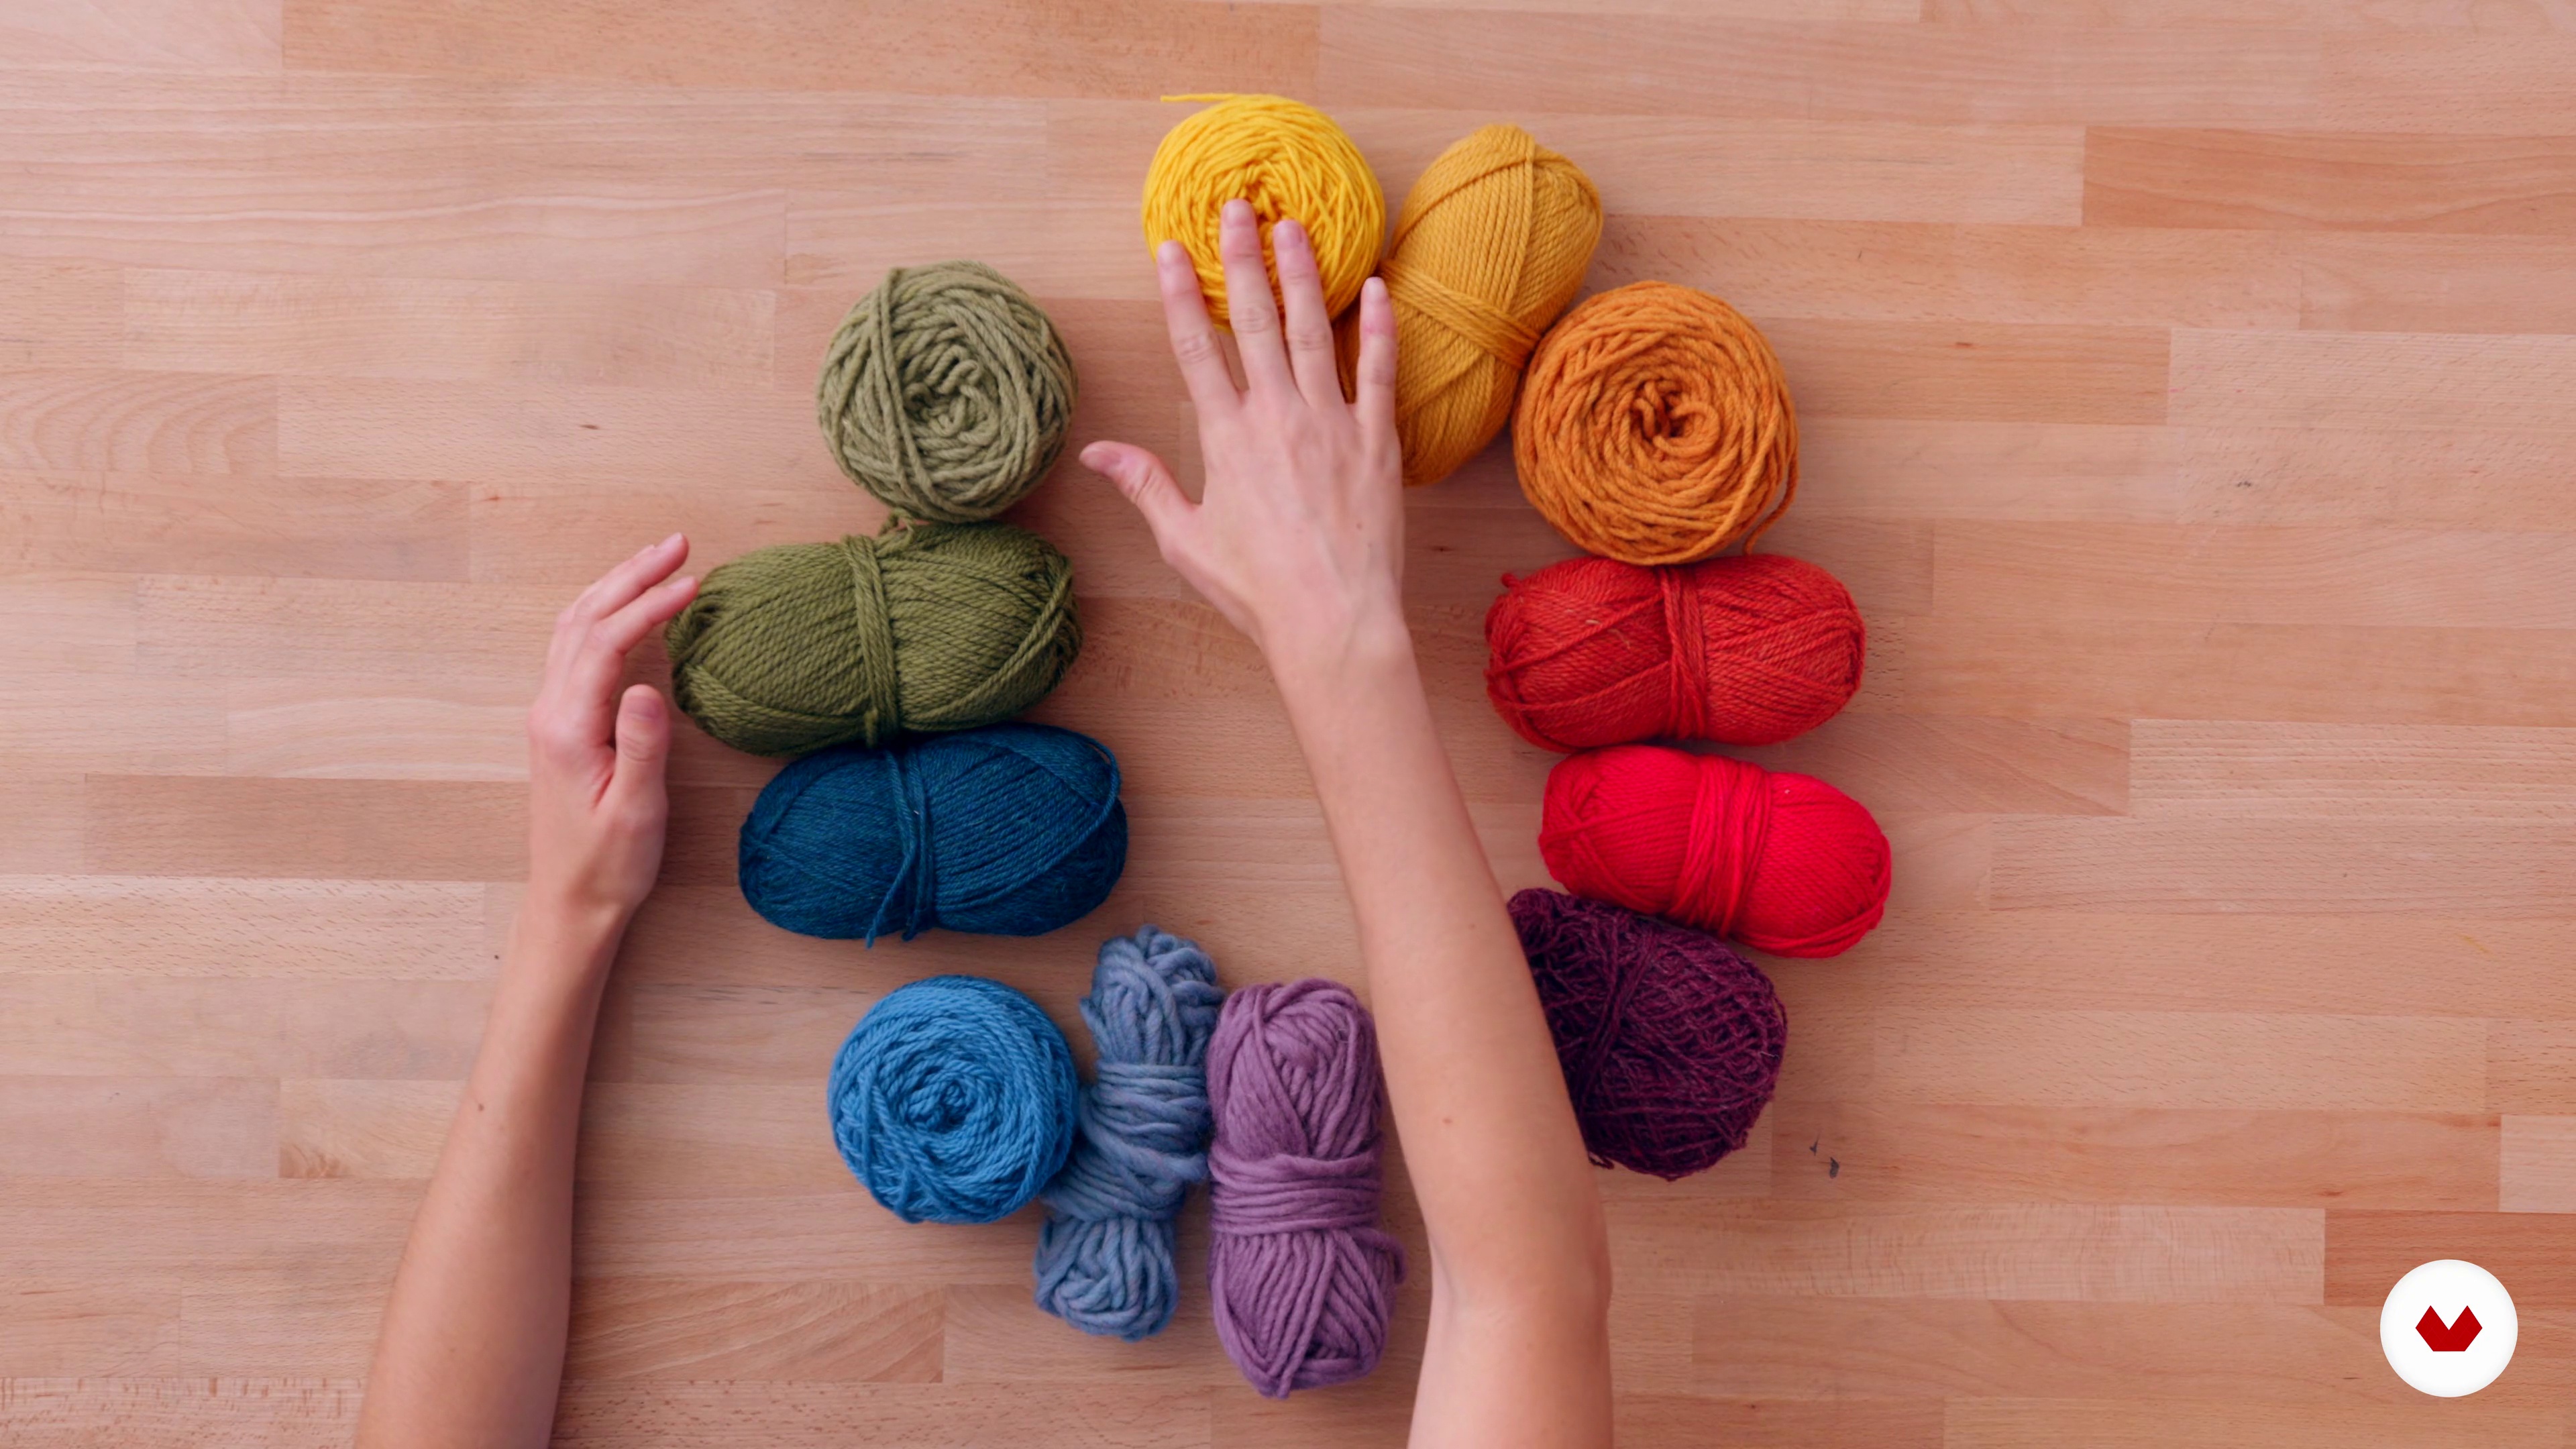
Once we have planned our design, we have to choose the colors. We are going to see some basic notions of color theory that will help you define the appropriate tones that your tapestry is going to have.
4m
 11
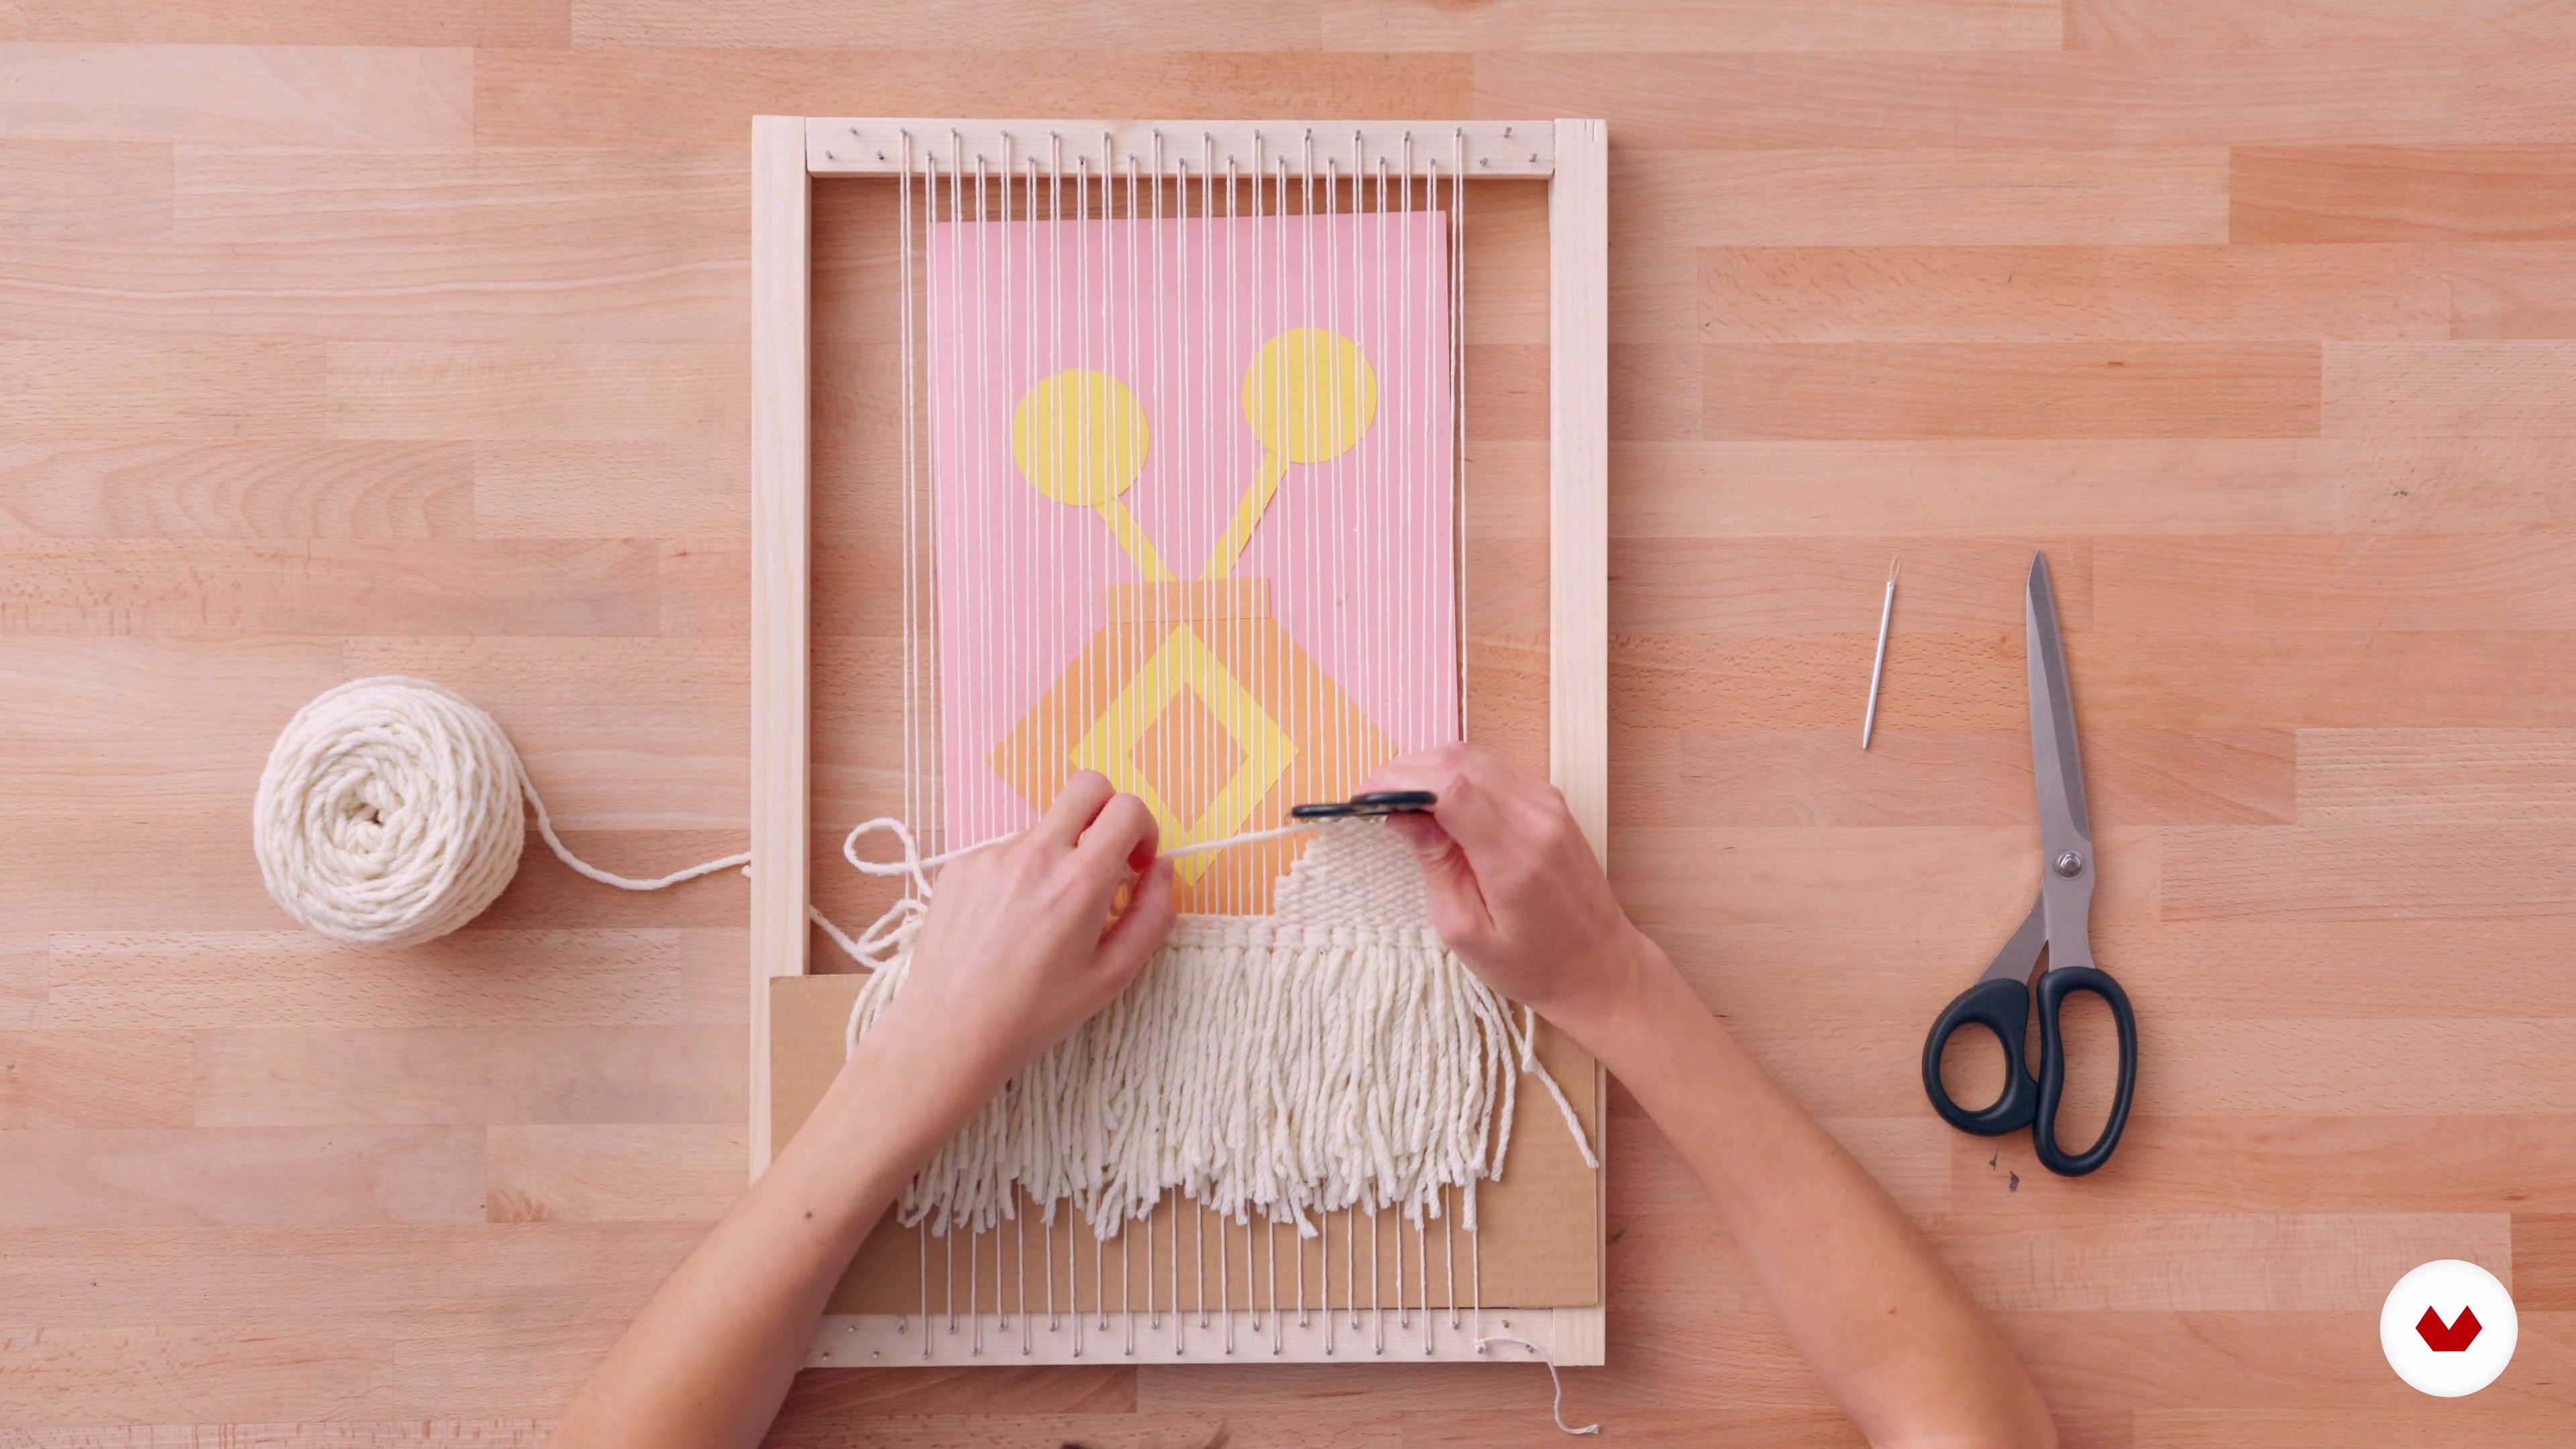
The base of the tapestry 1
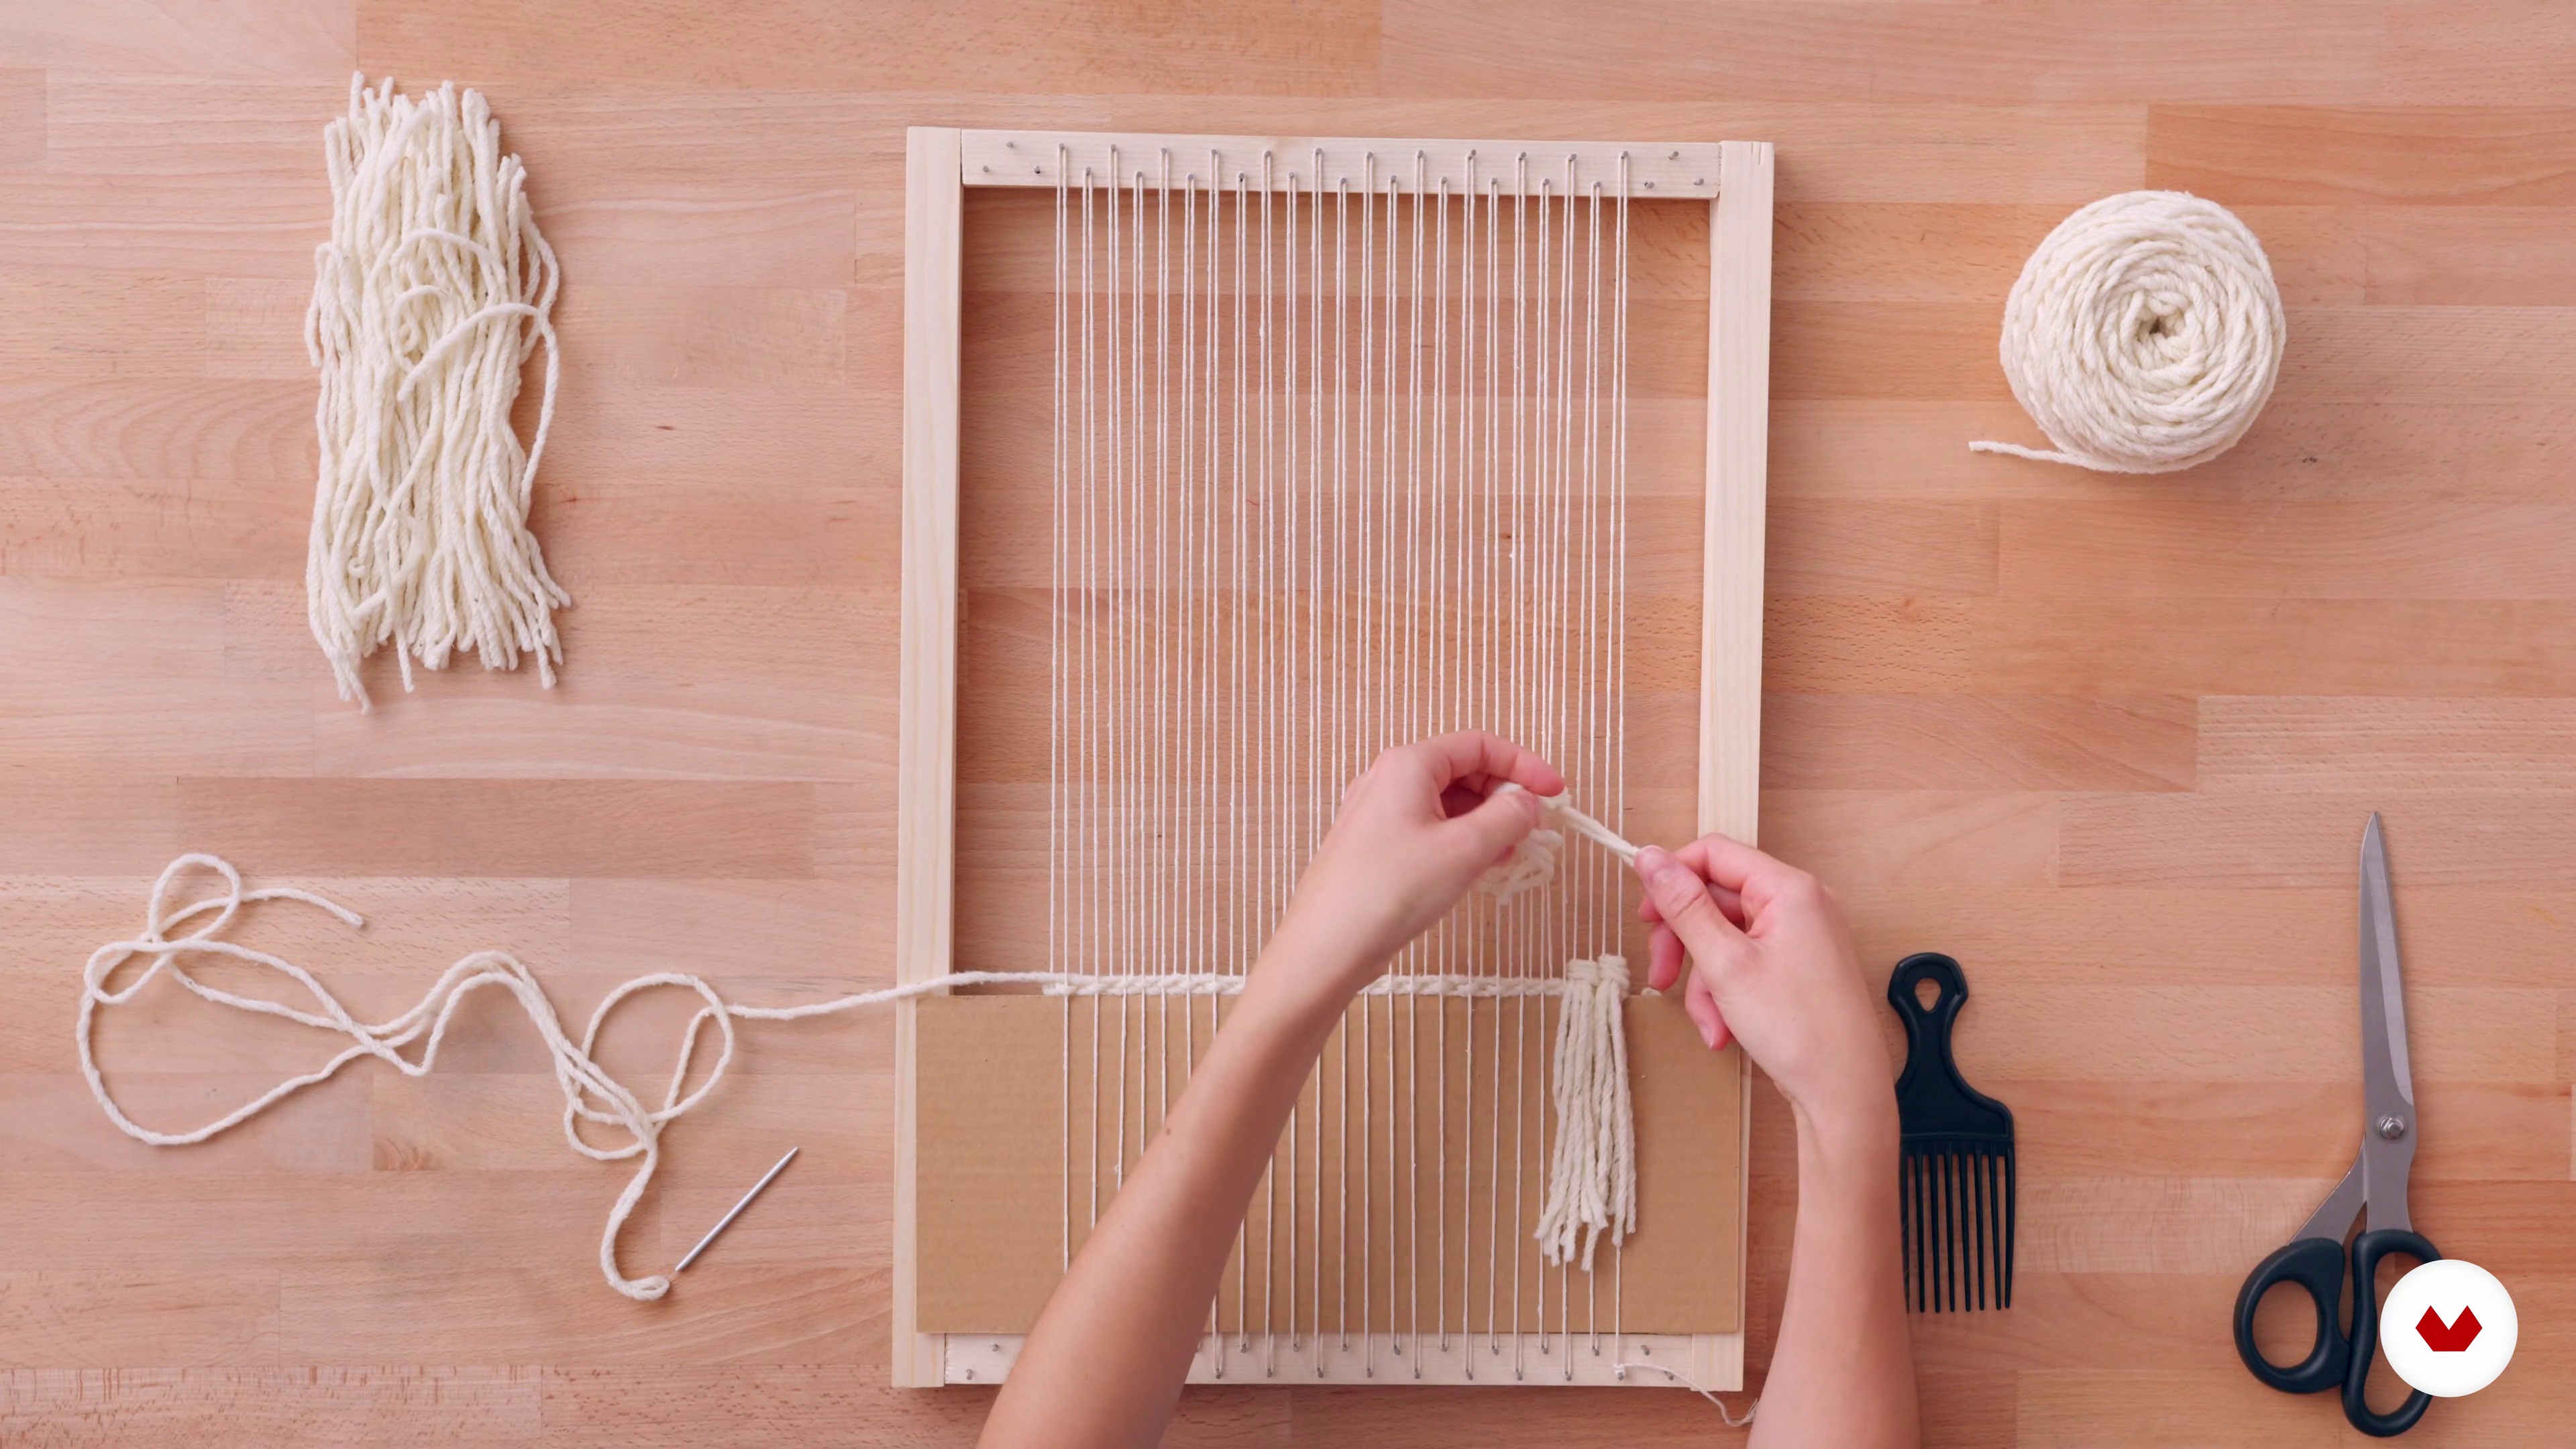
We have already selected the design and the colors with which we are going to work, now it is time to prepare the hoop for weaving; We will assemble the warp and begin to weave the base of the tapestry. First, we will place some fringes and then we will continue weaving and start with the base of our design.
11m
 12
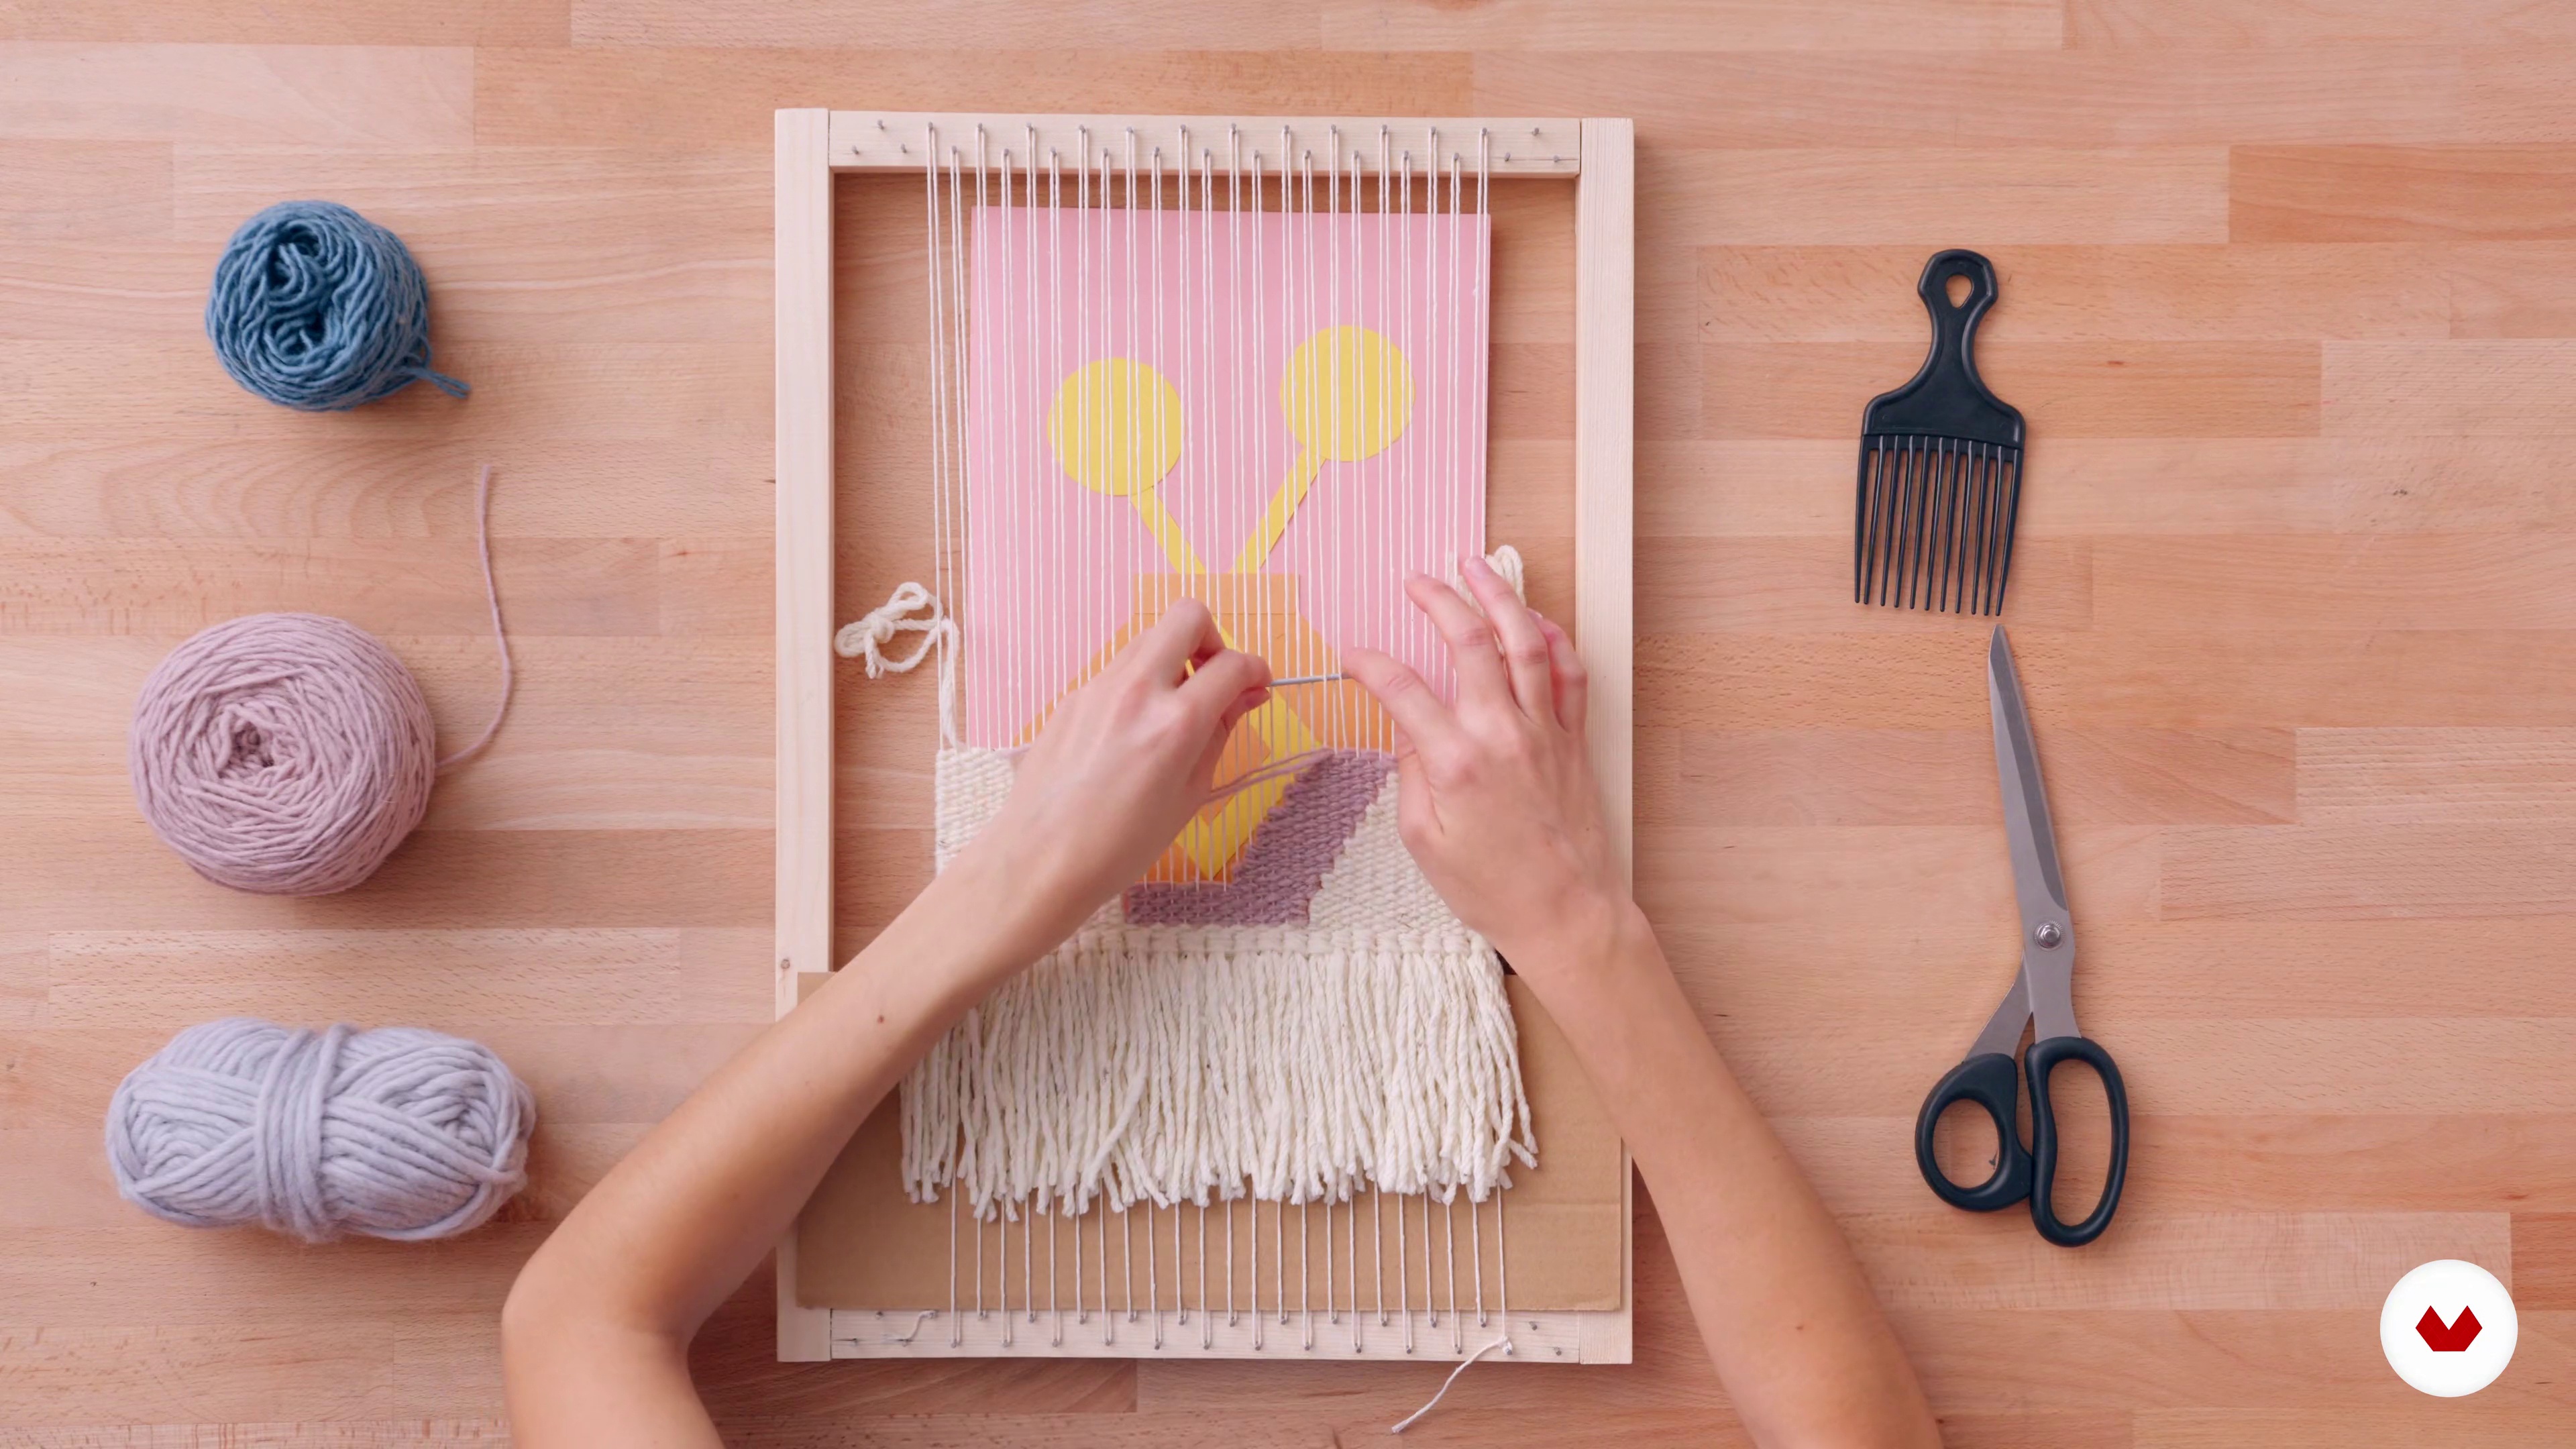
The base of the tapestry 2
After weaving the fringes, we continue with the weaving of the entire base of the tapestry.
12m
 13
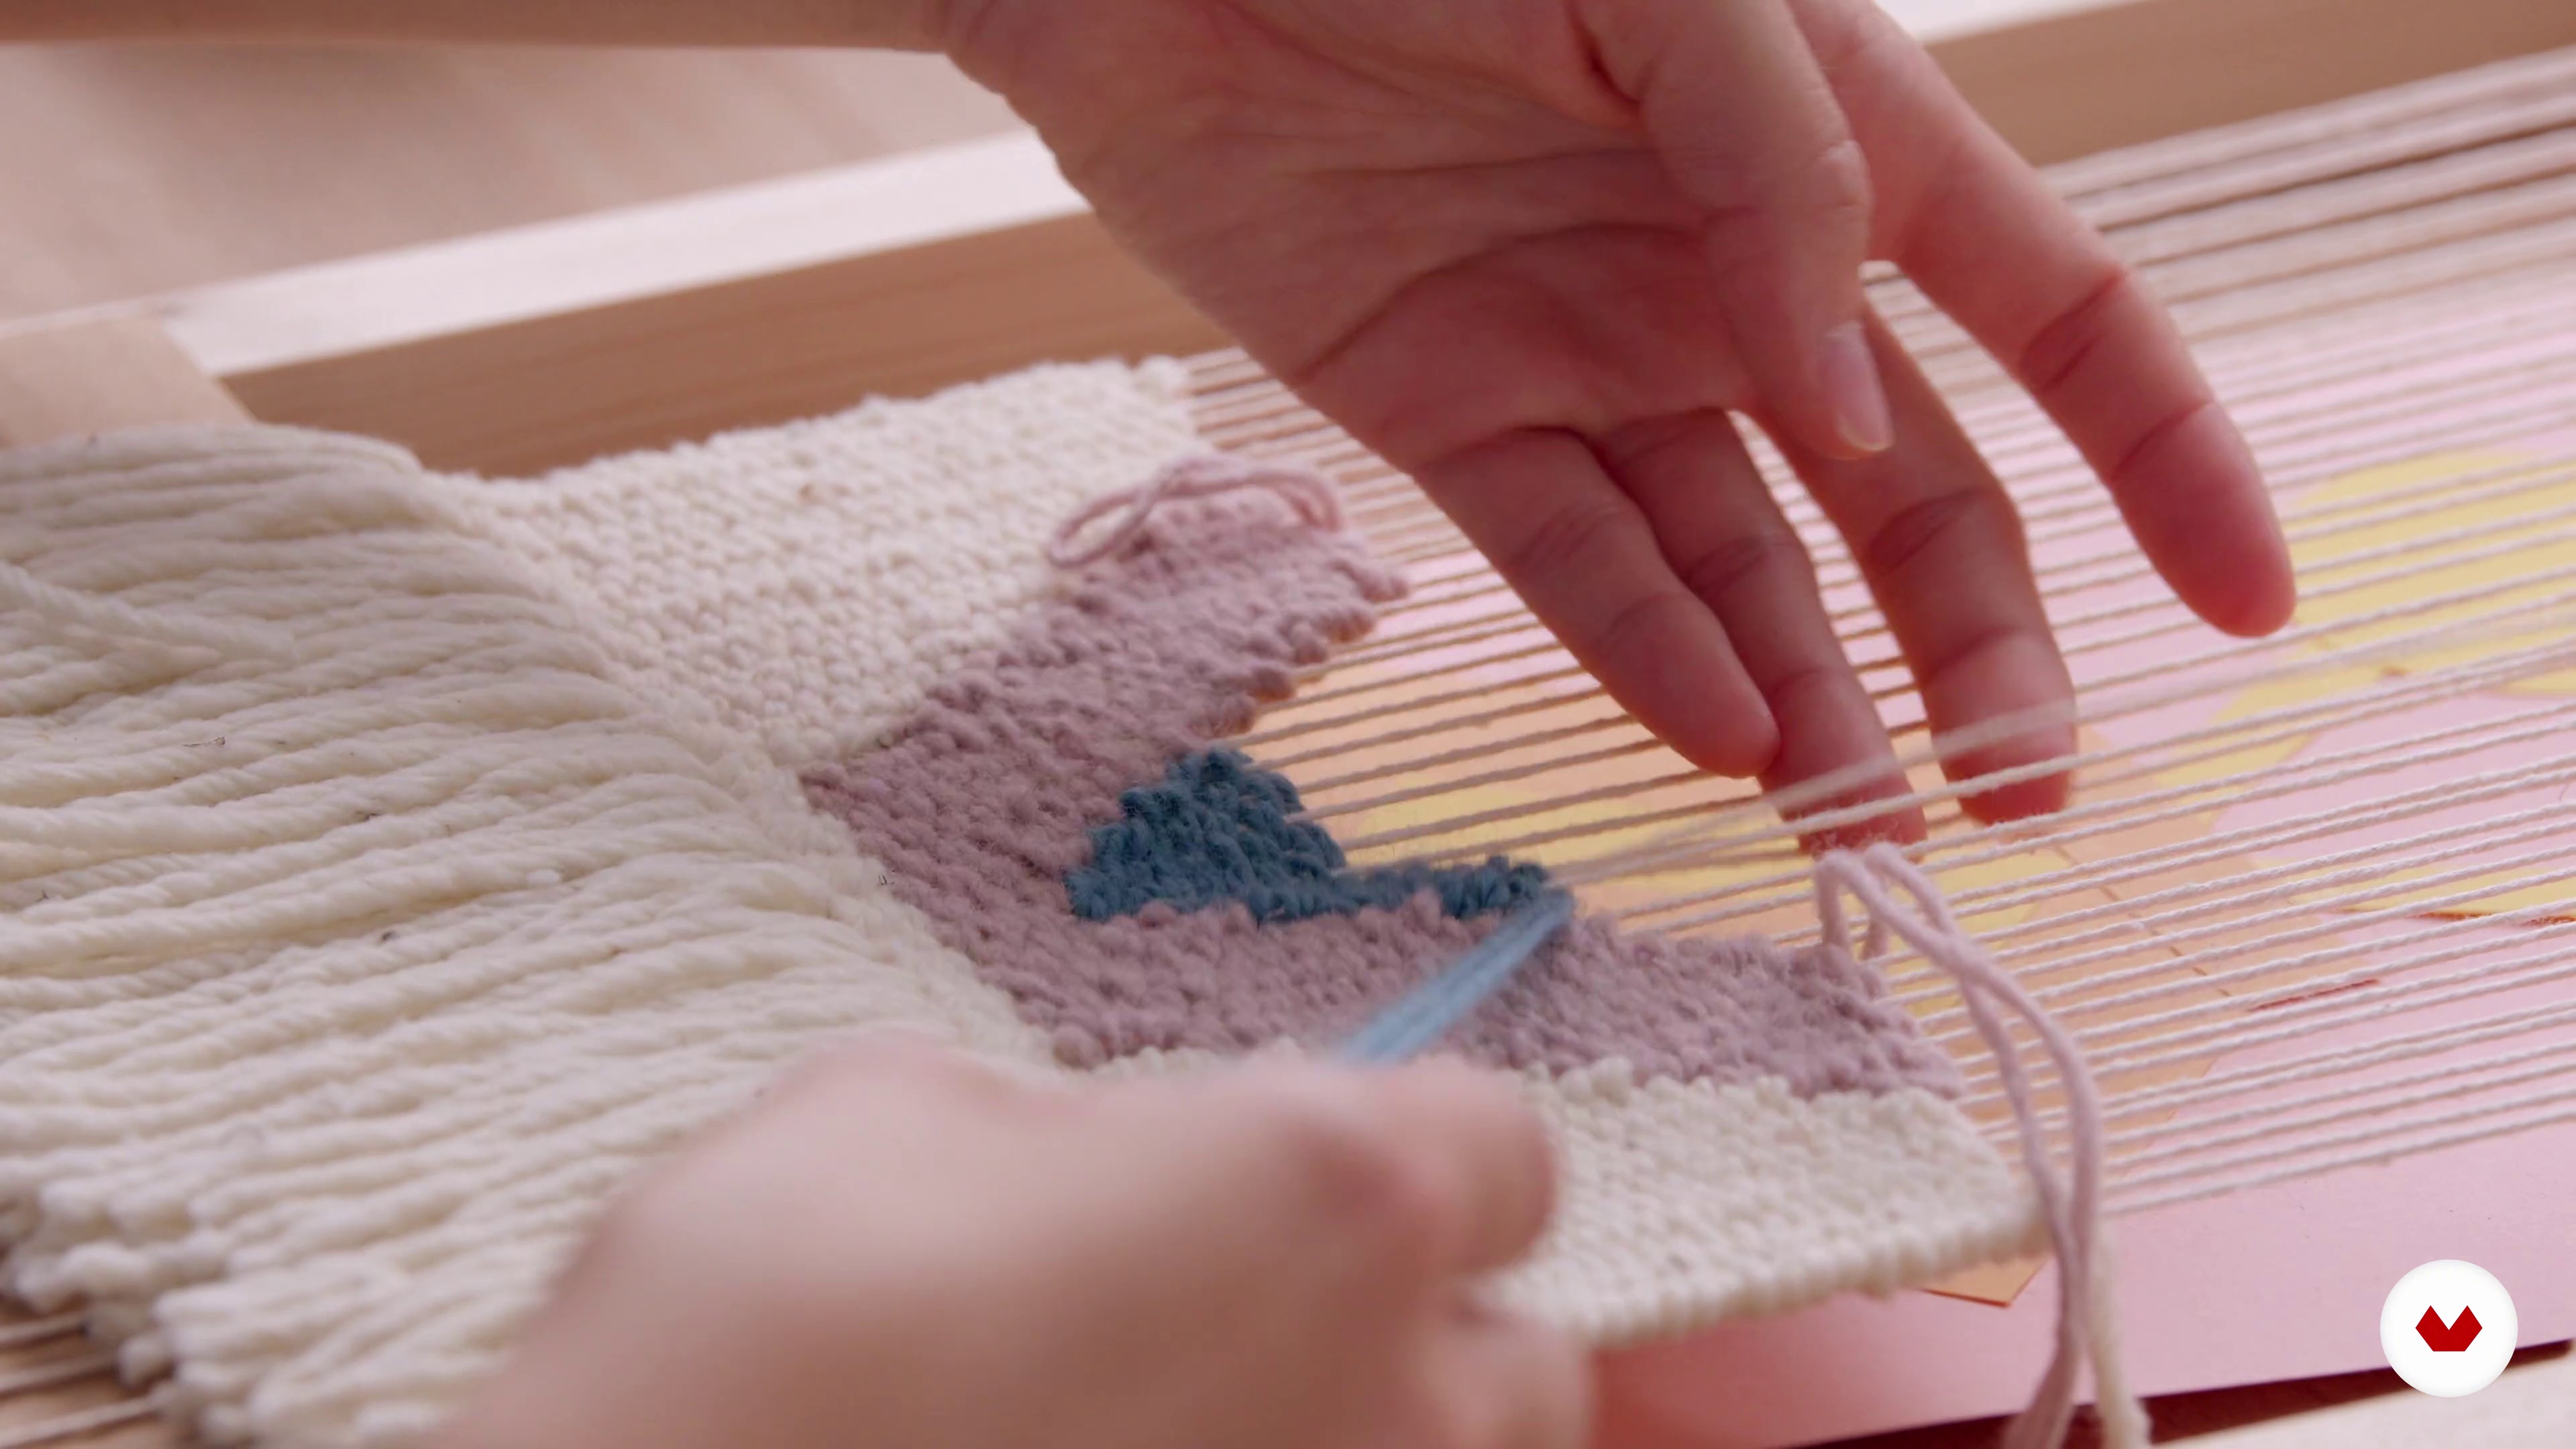
Weaving the central motif of tapestry 1
In this lesson we will create the central motif for our tapestry, the vase. We will work the straight lines, the diagonals and the creation of the central rhombus and then continue with the diagonal lines of the flower stems.
12m
 14
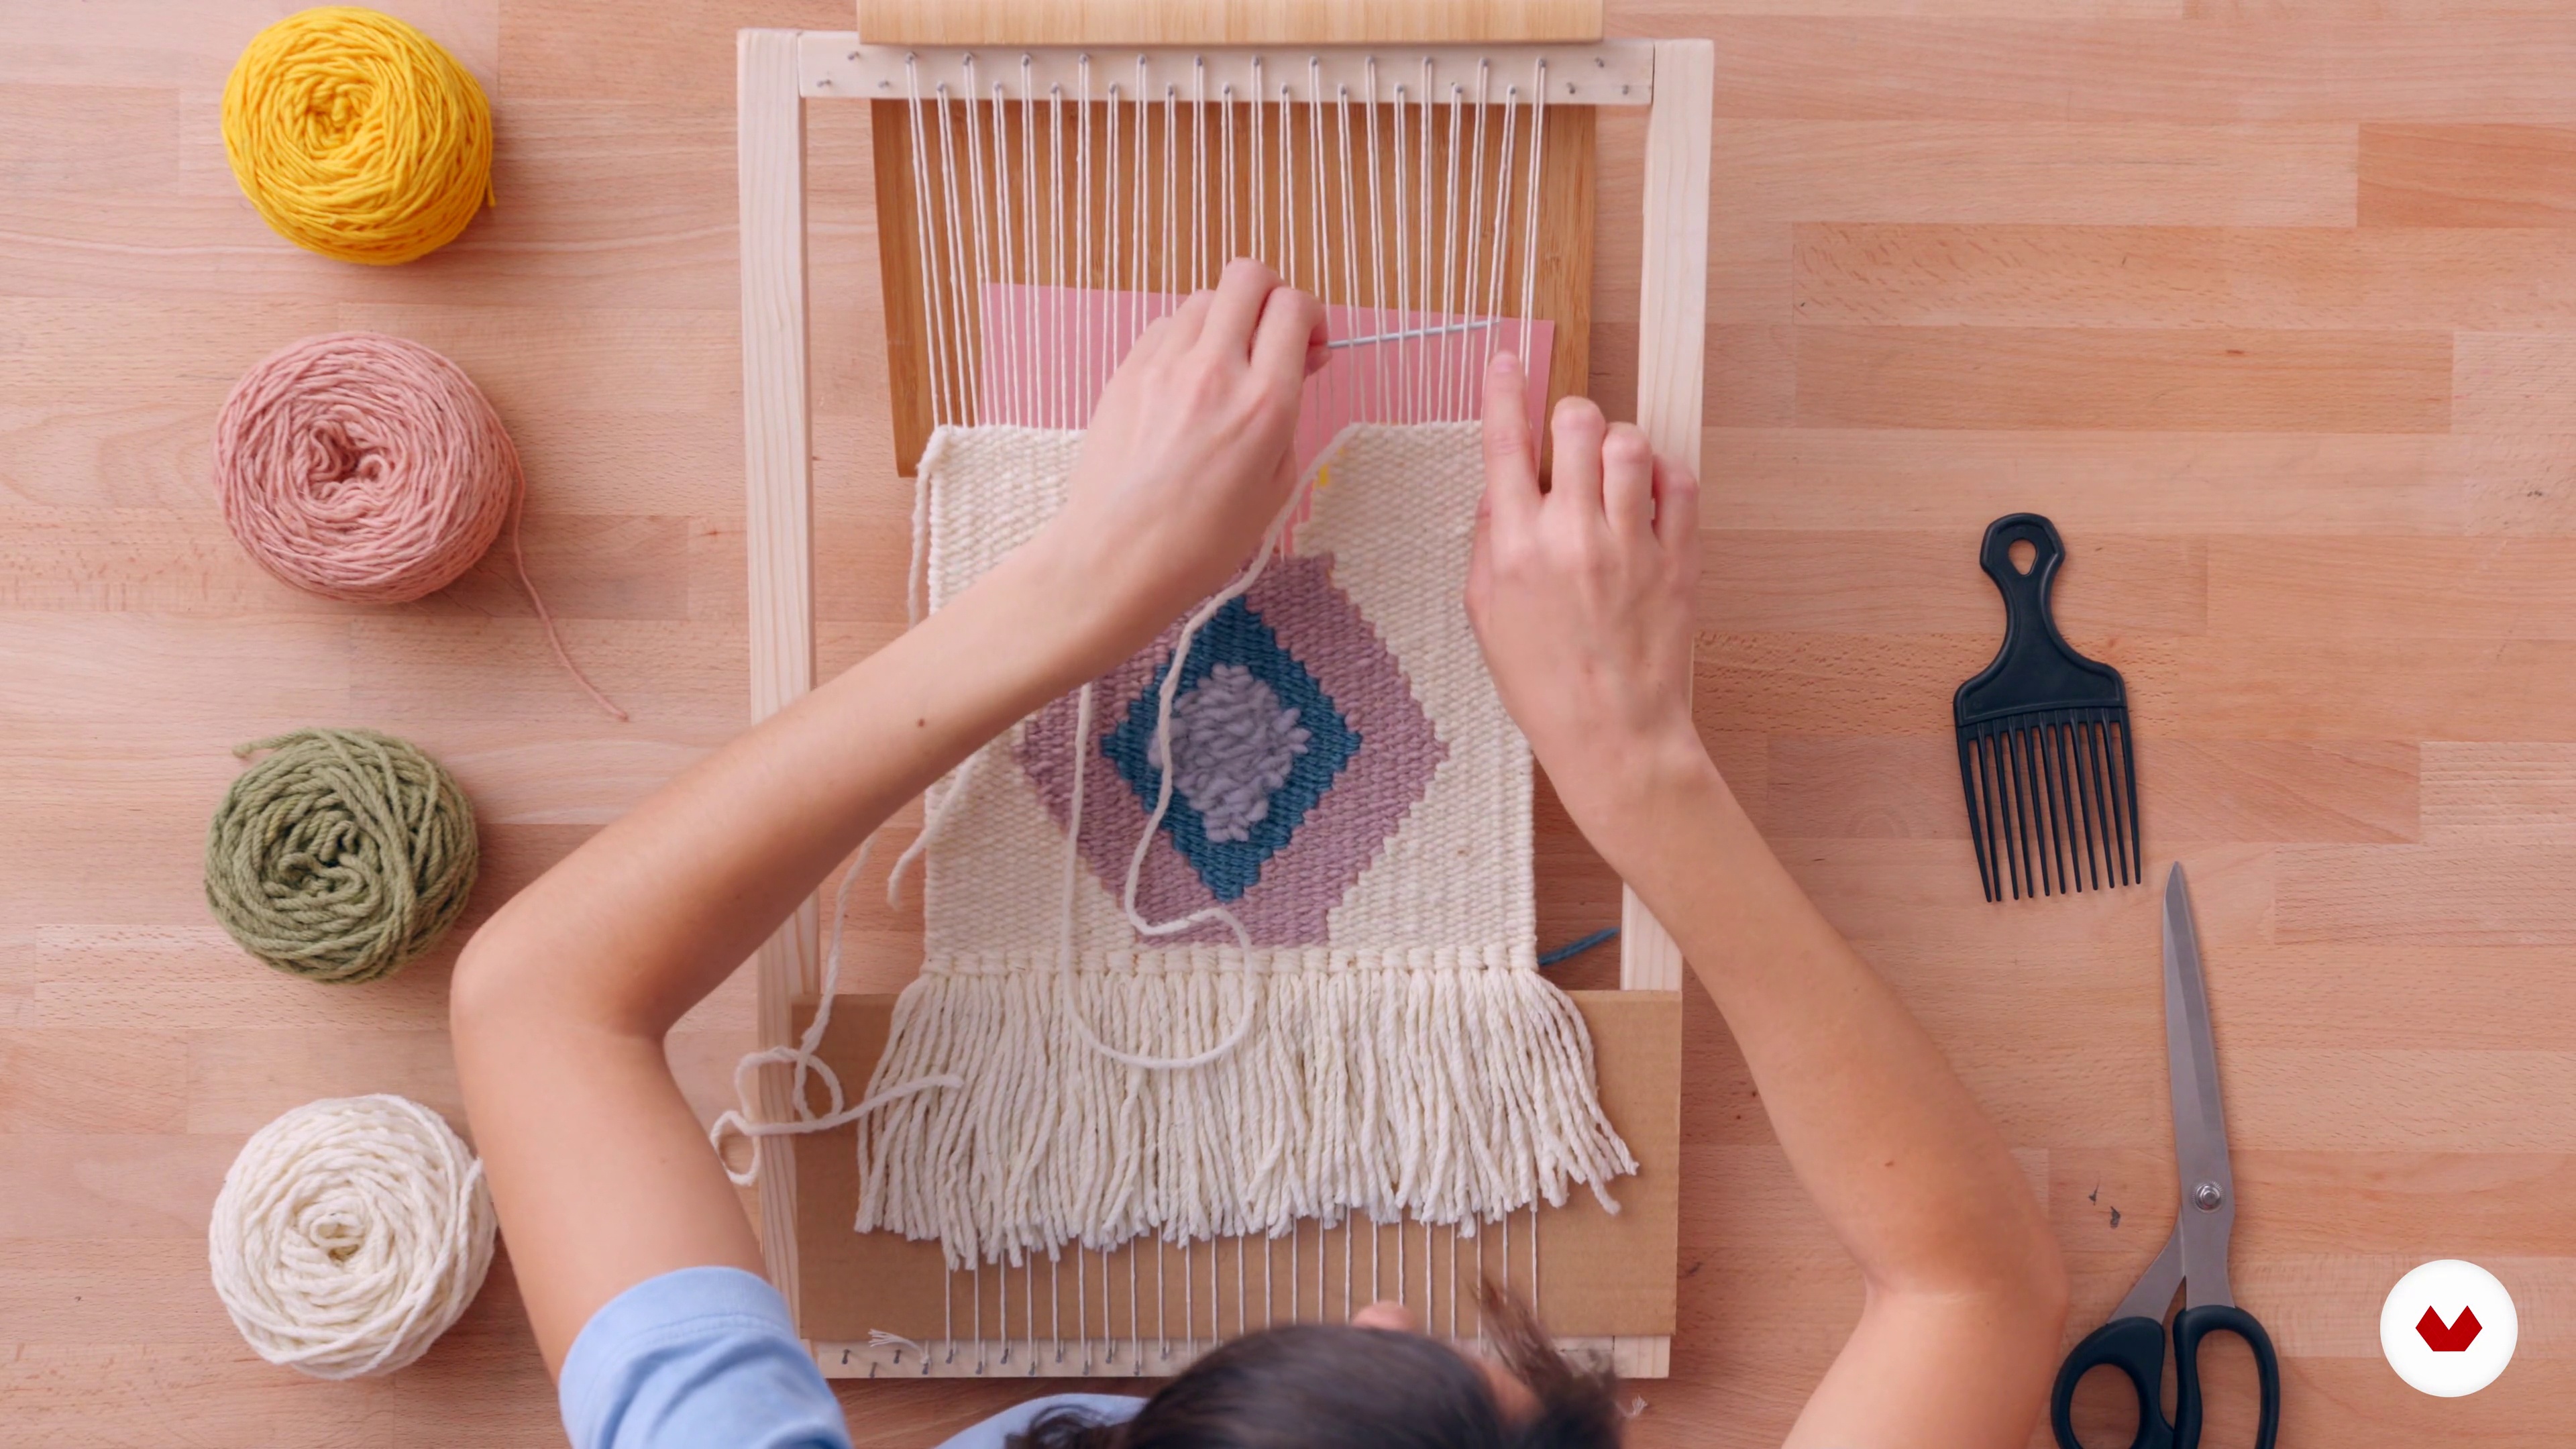
Weaving the central motif of tapestry 2
We continue working on the central motif by knitting the following diamonds with yarns of the colors we have chosen.
16m
 15
Circles with volume 1
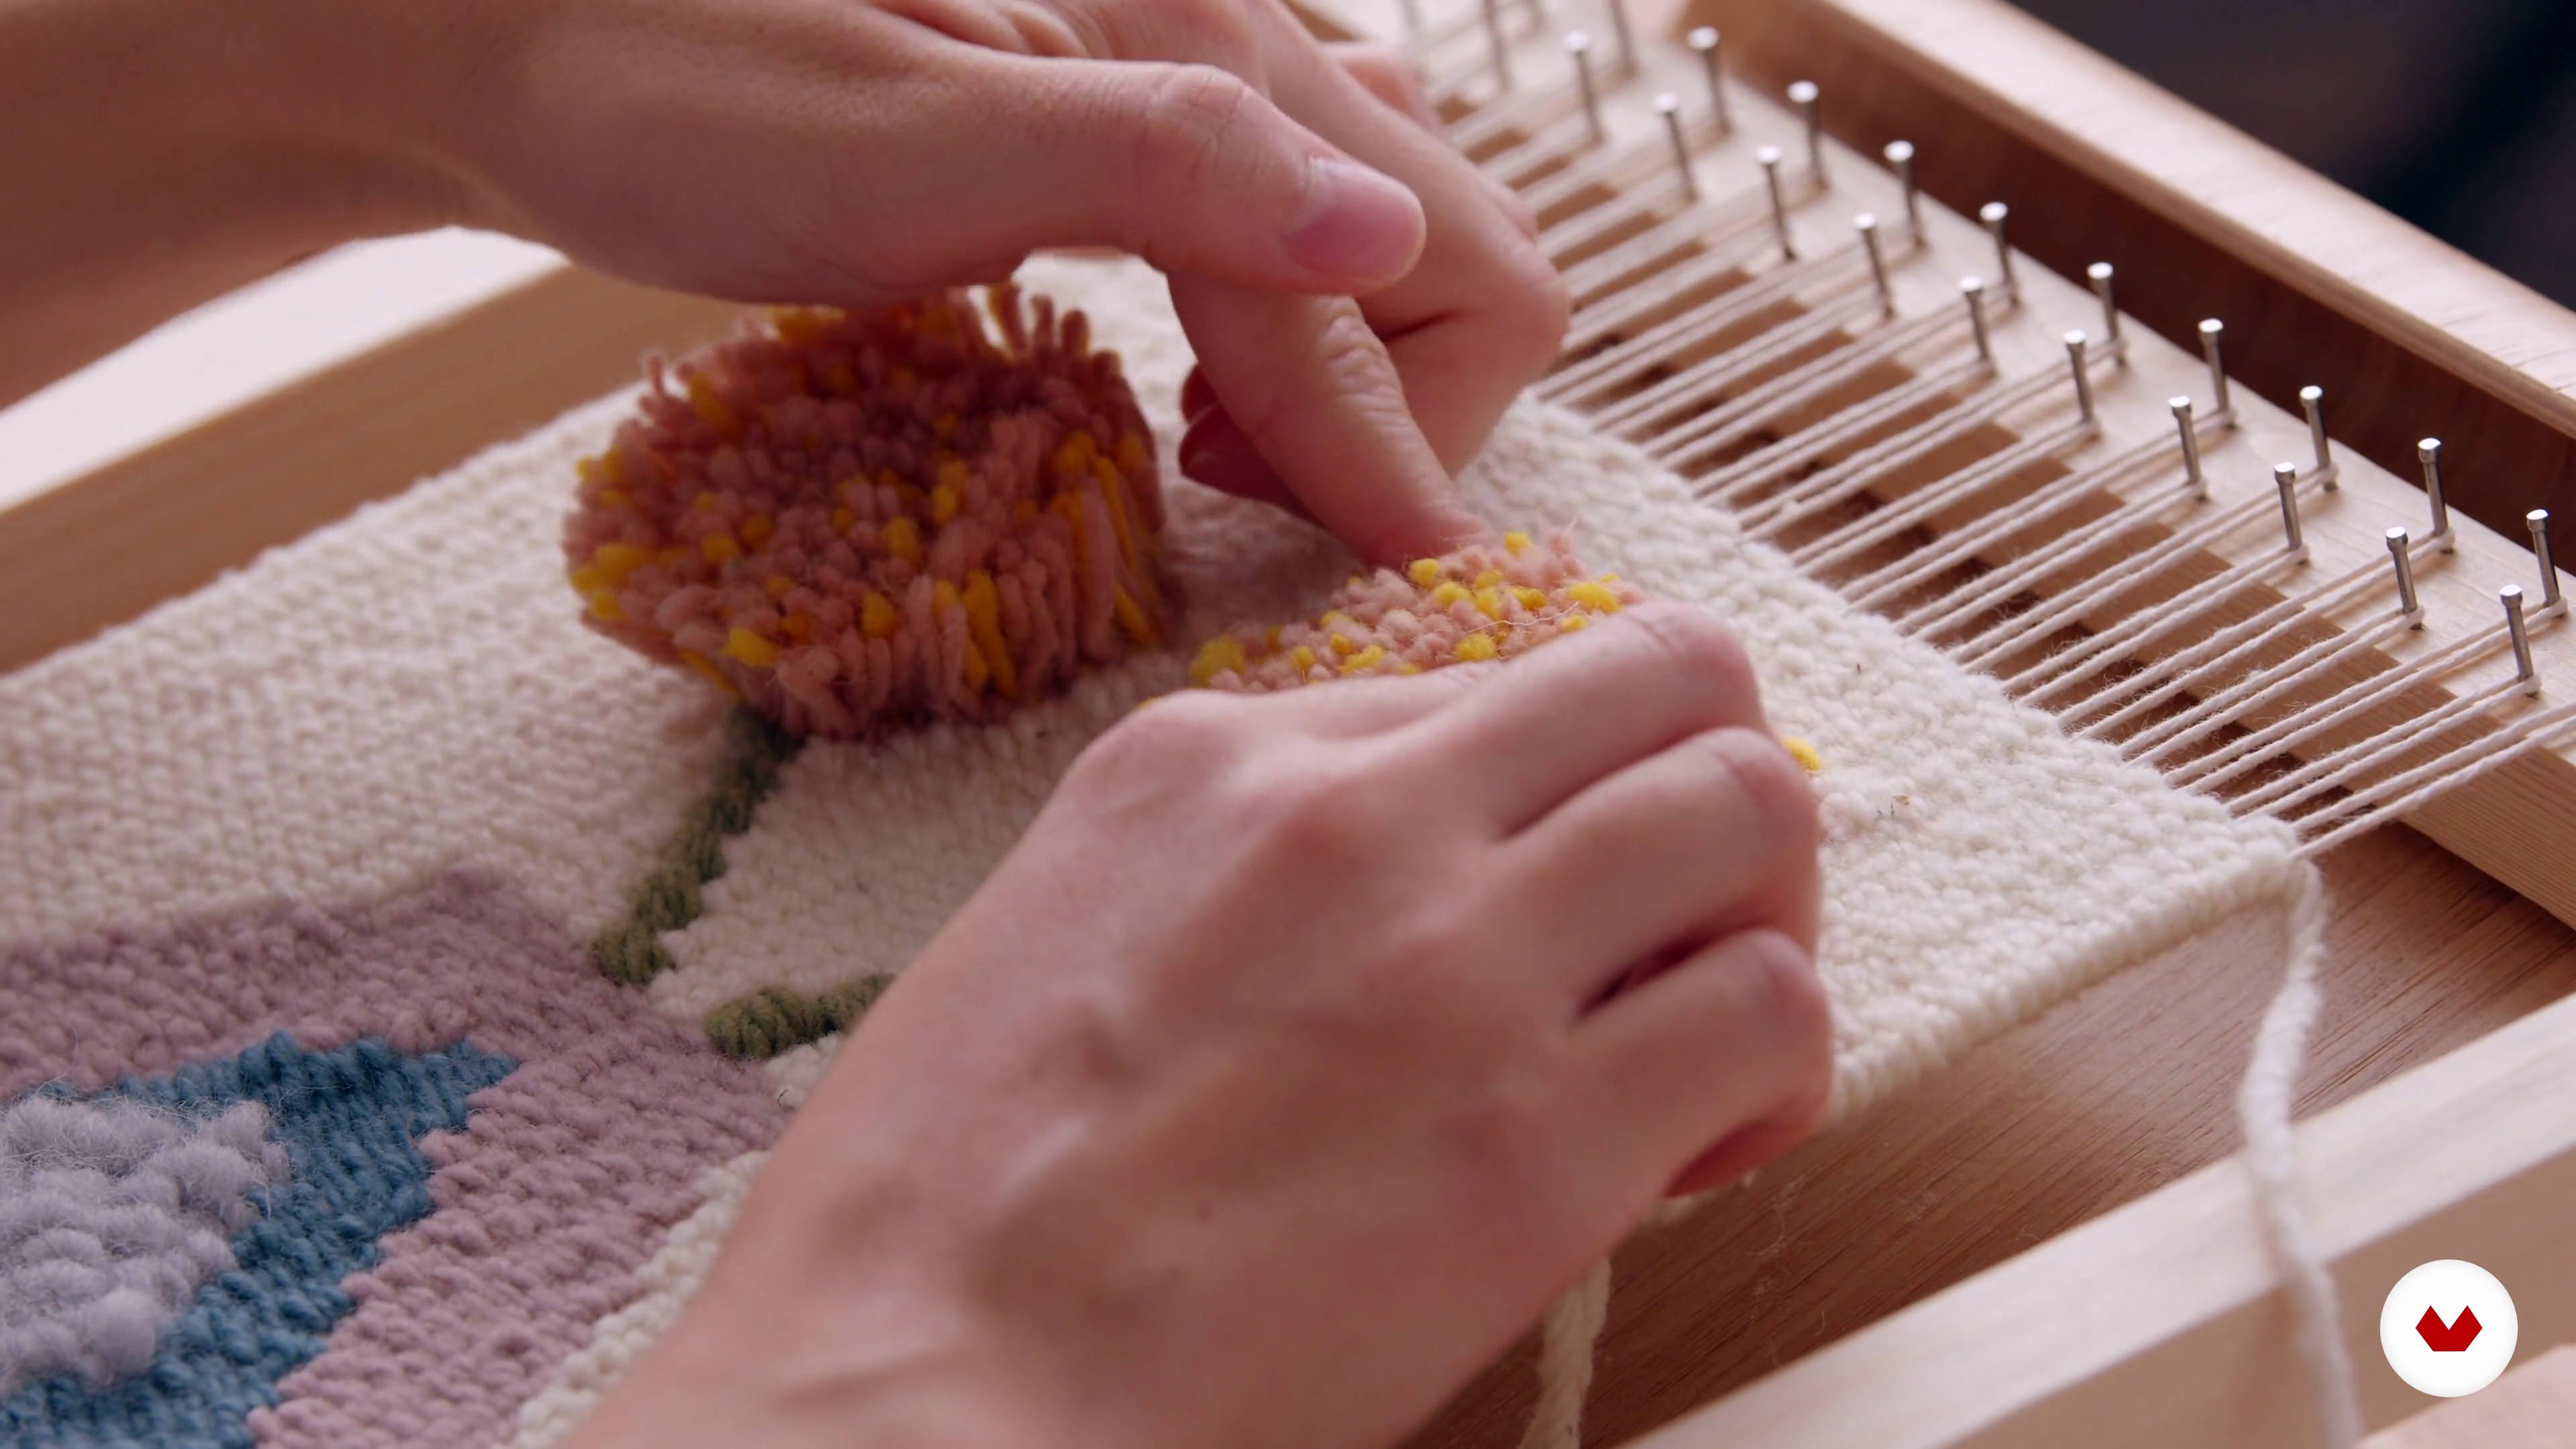
We already have practically all the main motif finished, we only need the creation of the circles with volume. Here we will see how to weave a circular shape, integrate it into our design, and how to add this volume to it by using the Turkish knot.
20m
 16
Circles with volume 2
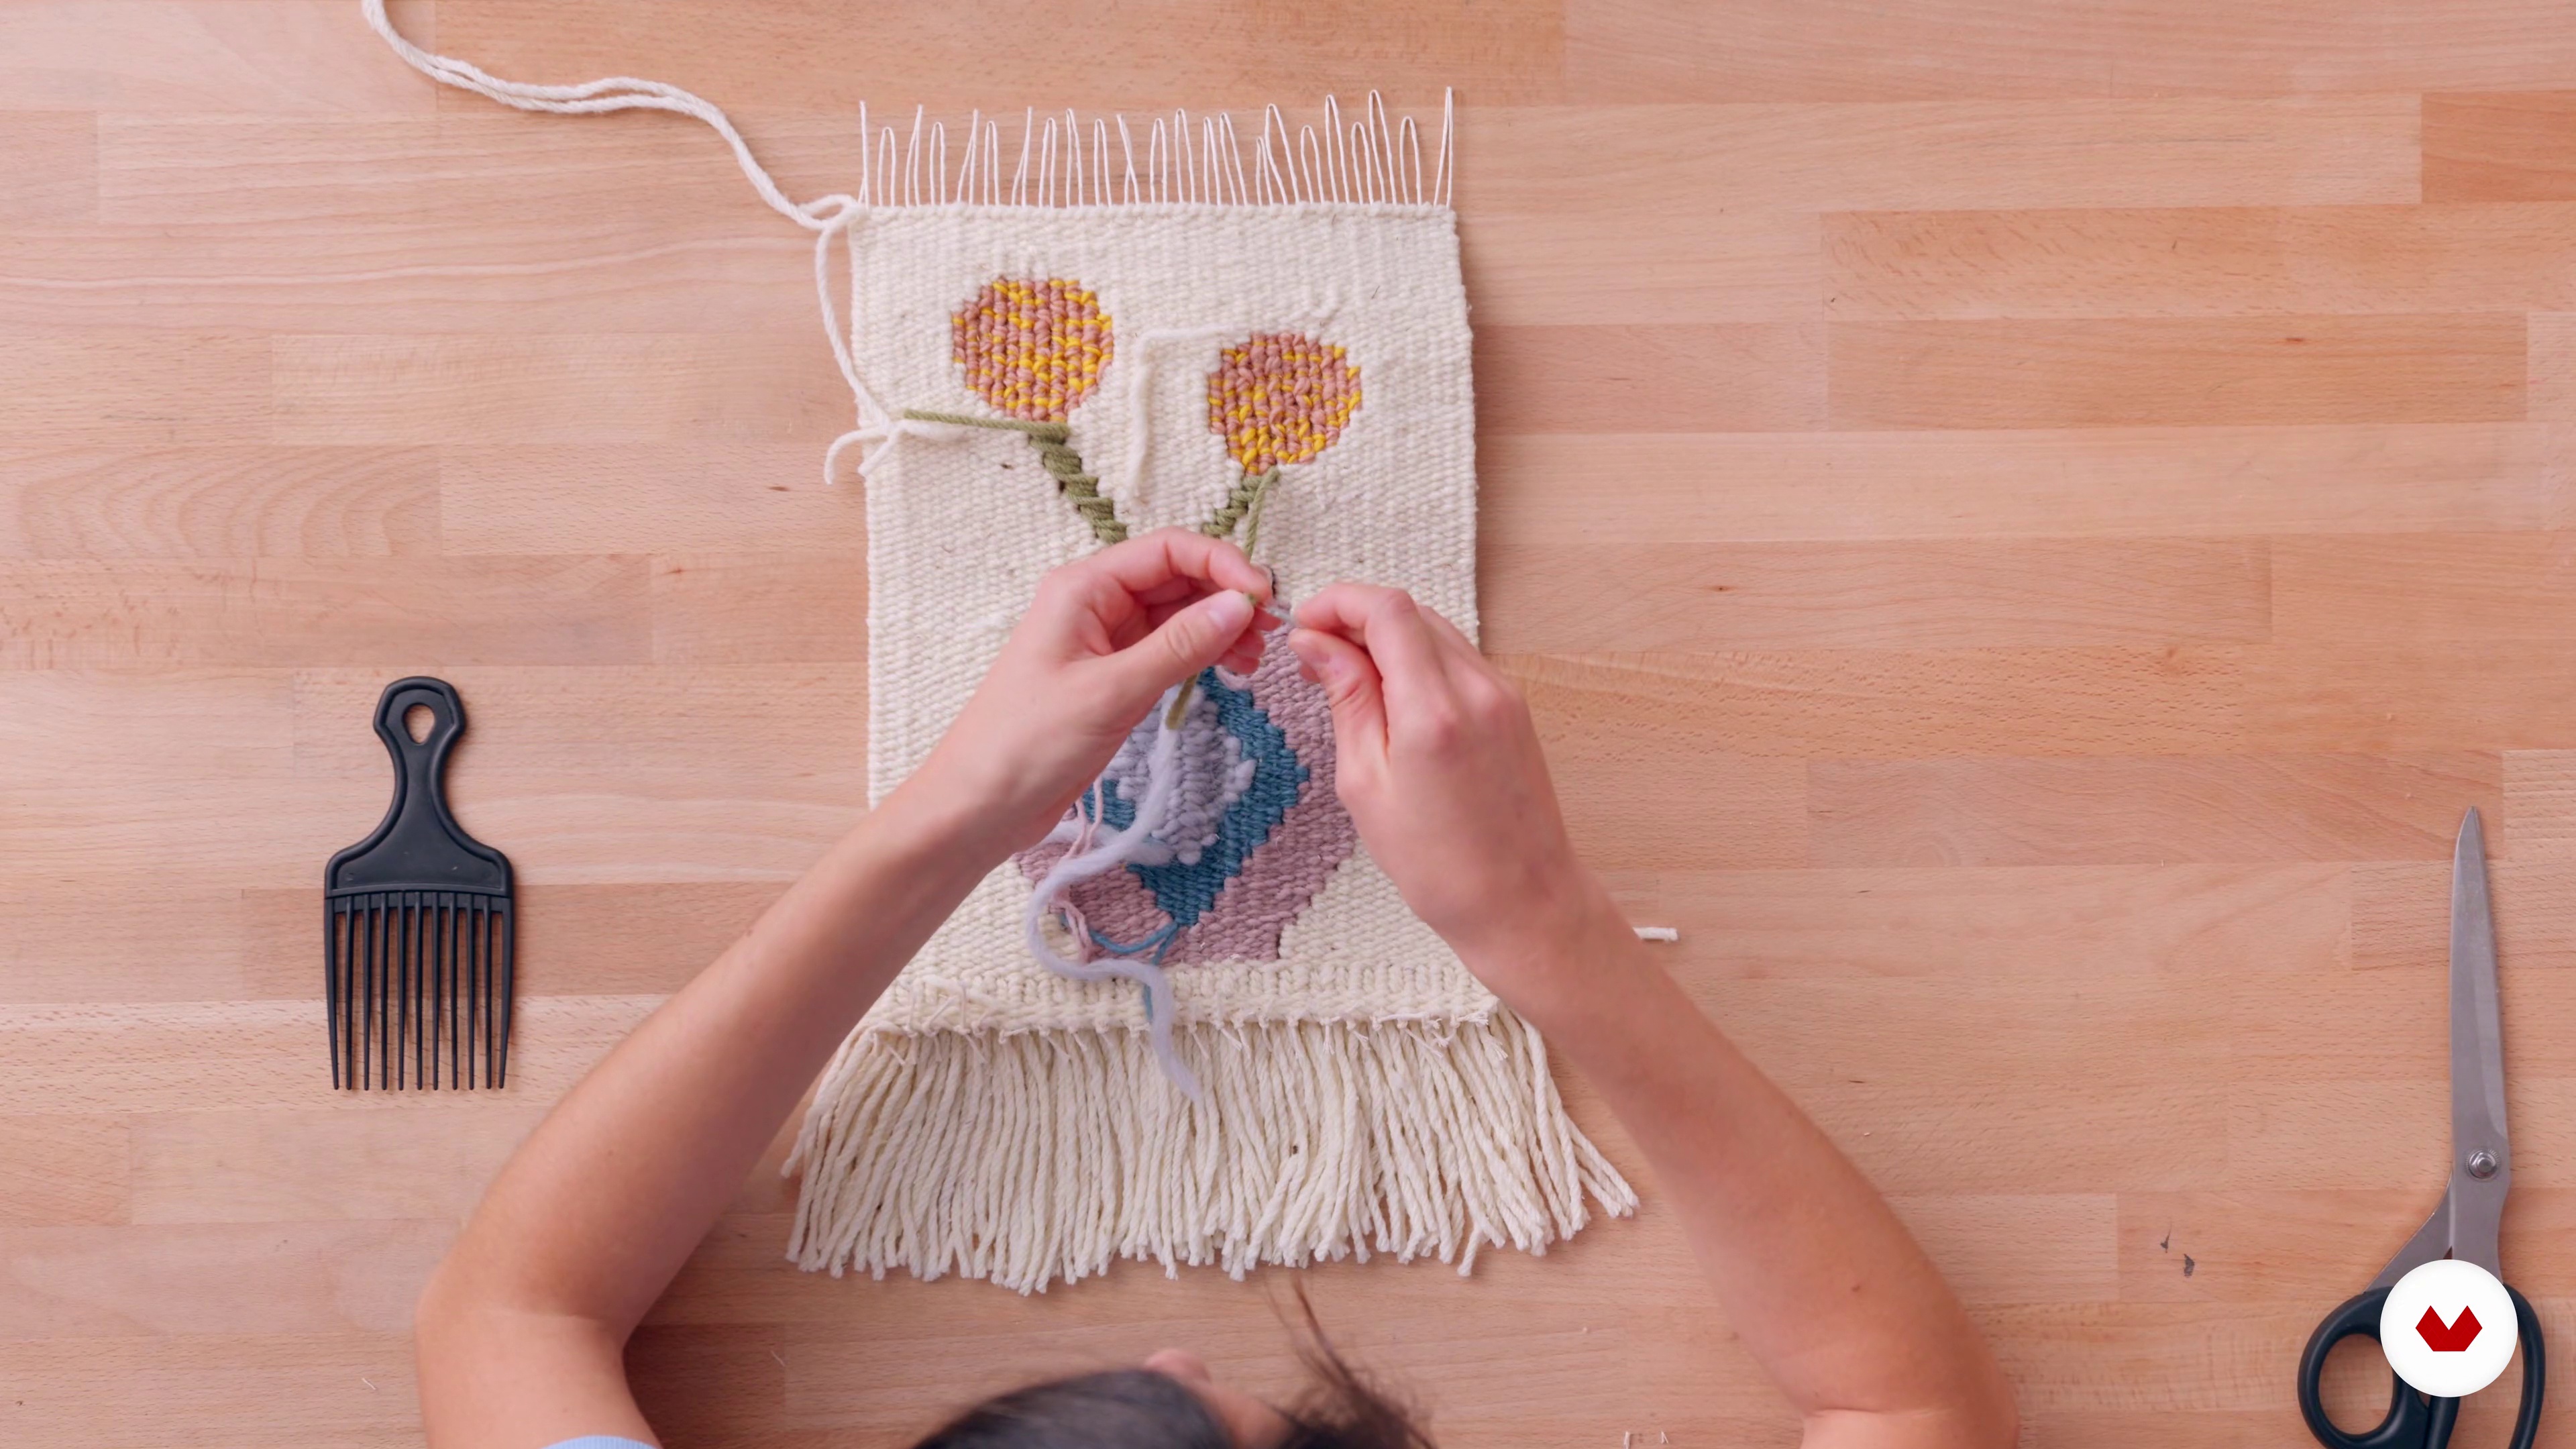
We continue to shape our tapestry by completing the circles and the white base of the fabric. It's almost ready!
17m
 17
Completion and finishing of tapestry 1
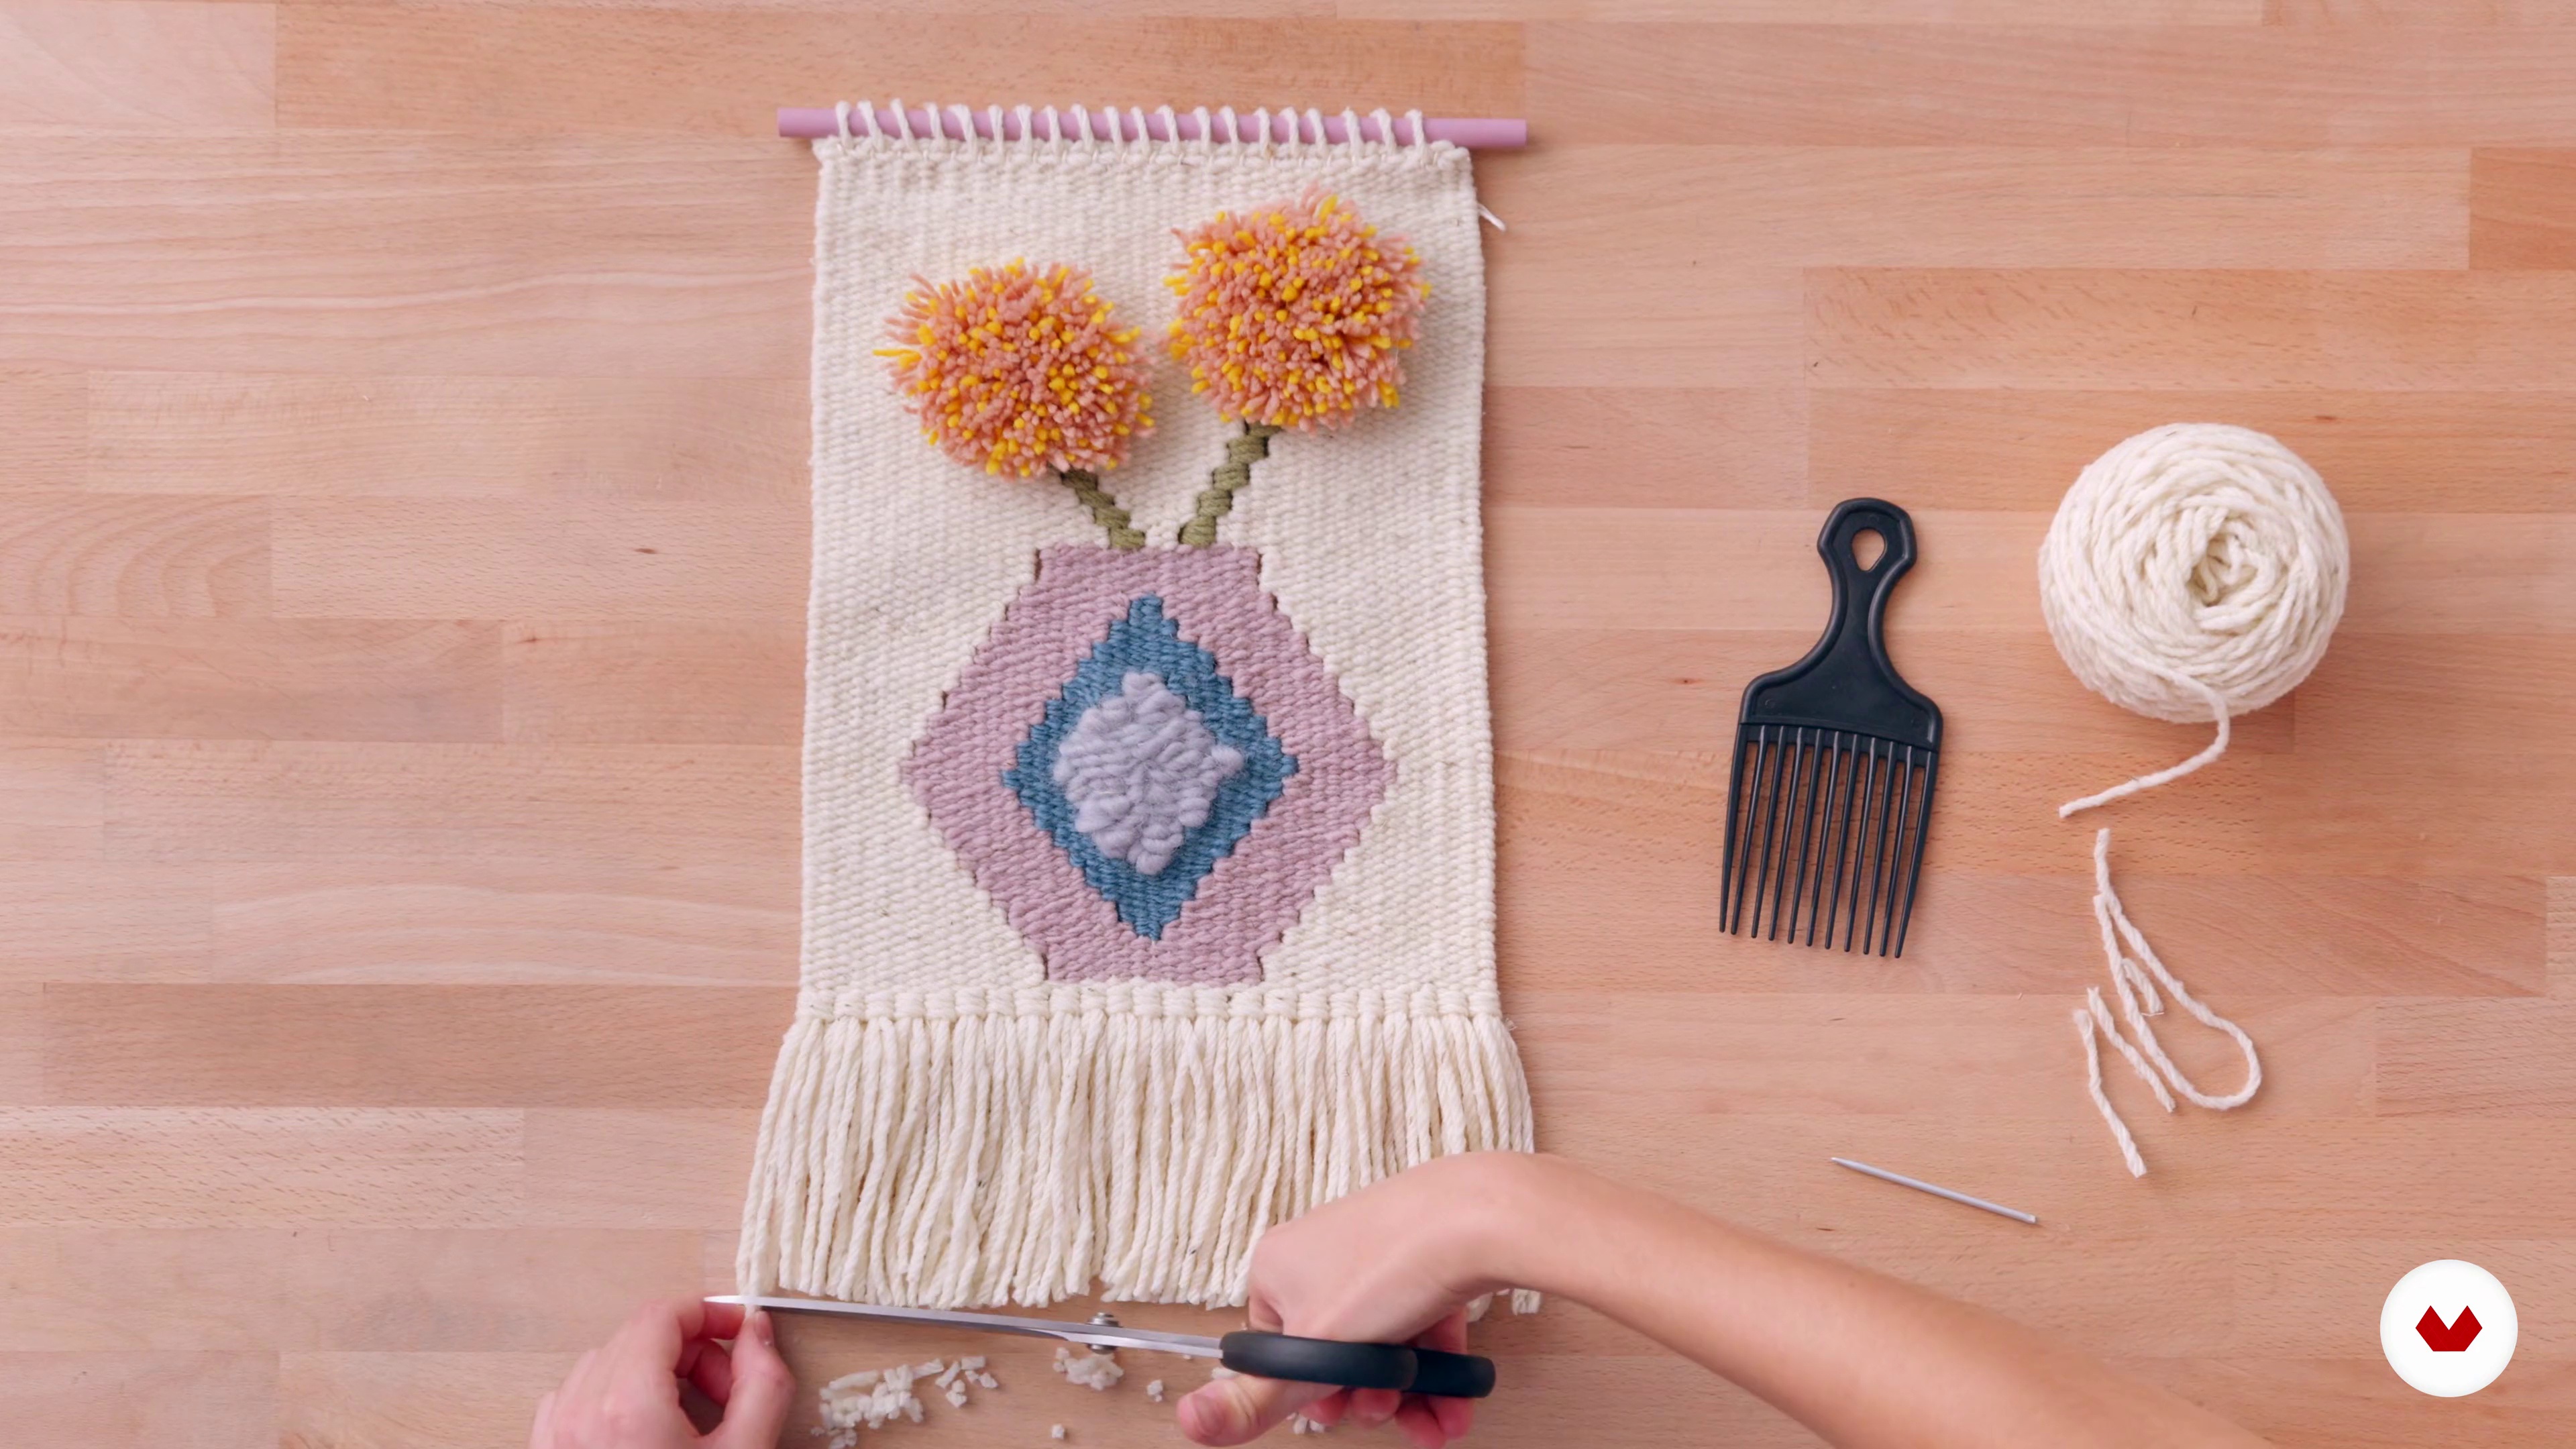
In this lesson we will see the point that we are going to use to close our tapestry and make it with a clean finish. We will also remove the tapestry from the frame by cutting it and, later, we will finish off all the loose threads to make the back part have the best possible appearance and the piece is totally secure.
10m
 18
Completion and finishing of tapestry 2
We continue with the final touches to get our piece of decorative fabric ready.
11m
 19
Various applications and final tips
To finish, we are going to see some ways to turn our handmade fabric into a more functional piece. In addition, I will give you some tips so that you can customize your final project and find your own style within this technique.
2m
 3
The importance of space and materials
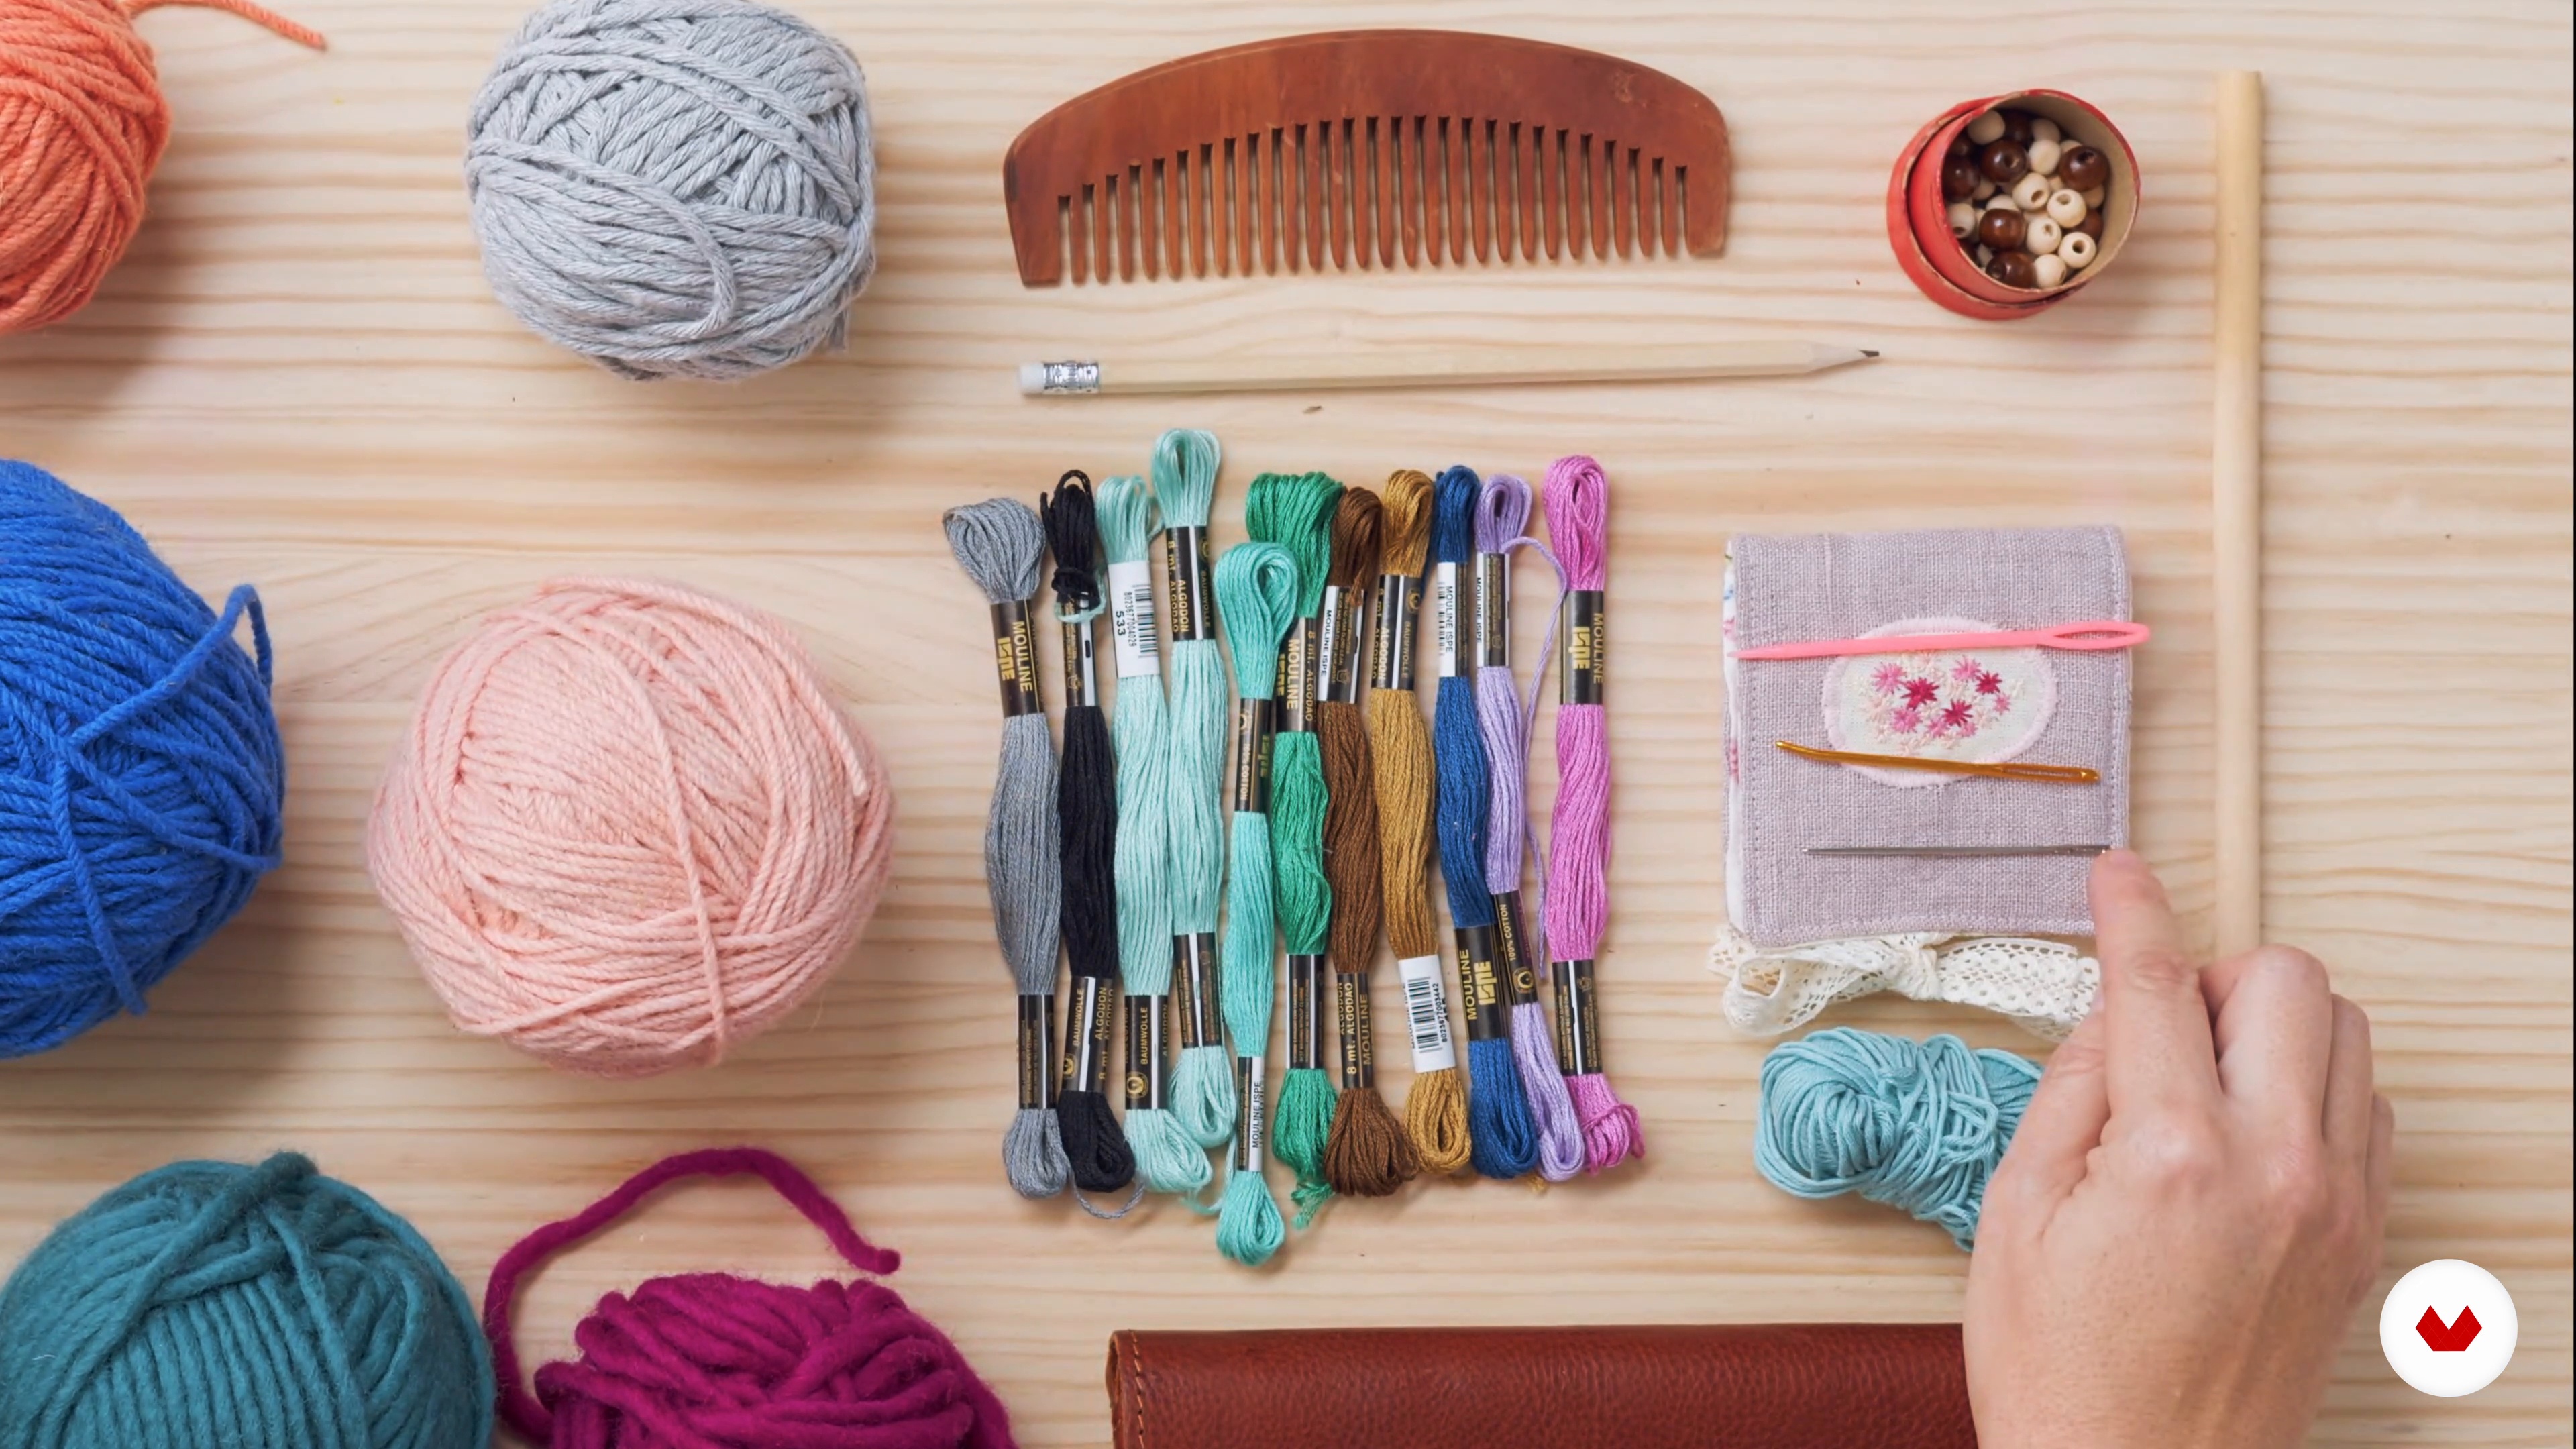
In this class, I will explain what I decided to do as a project for this course and the aspects that you should take into account when you are preparing your workspace and choosing the materials you will use.
11m
 4
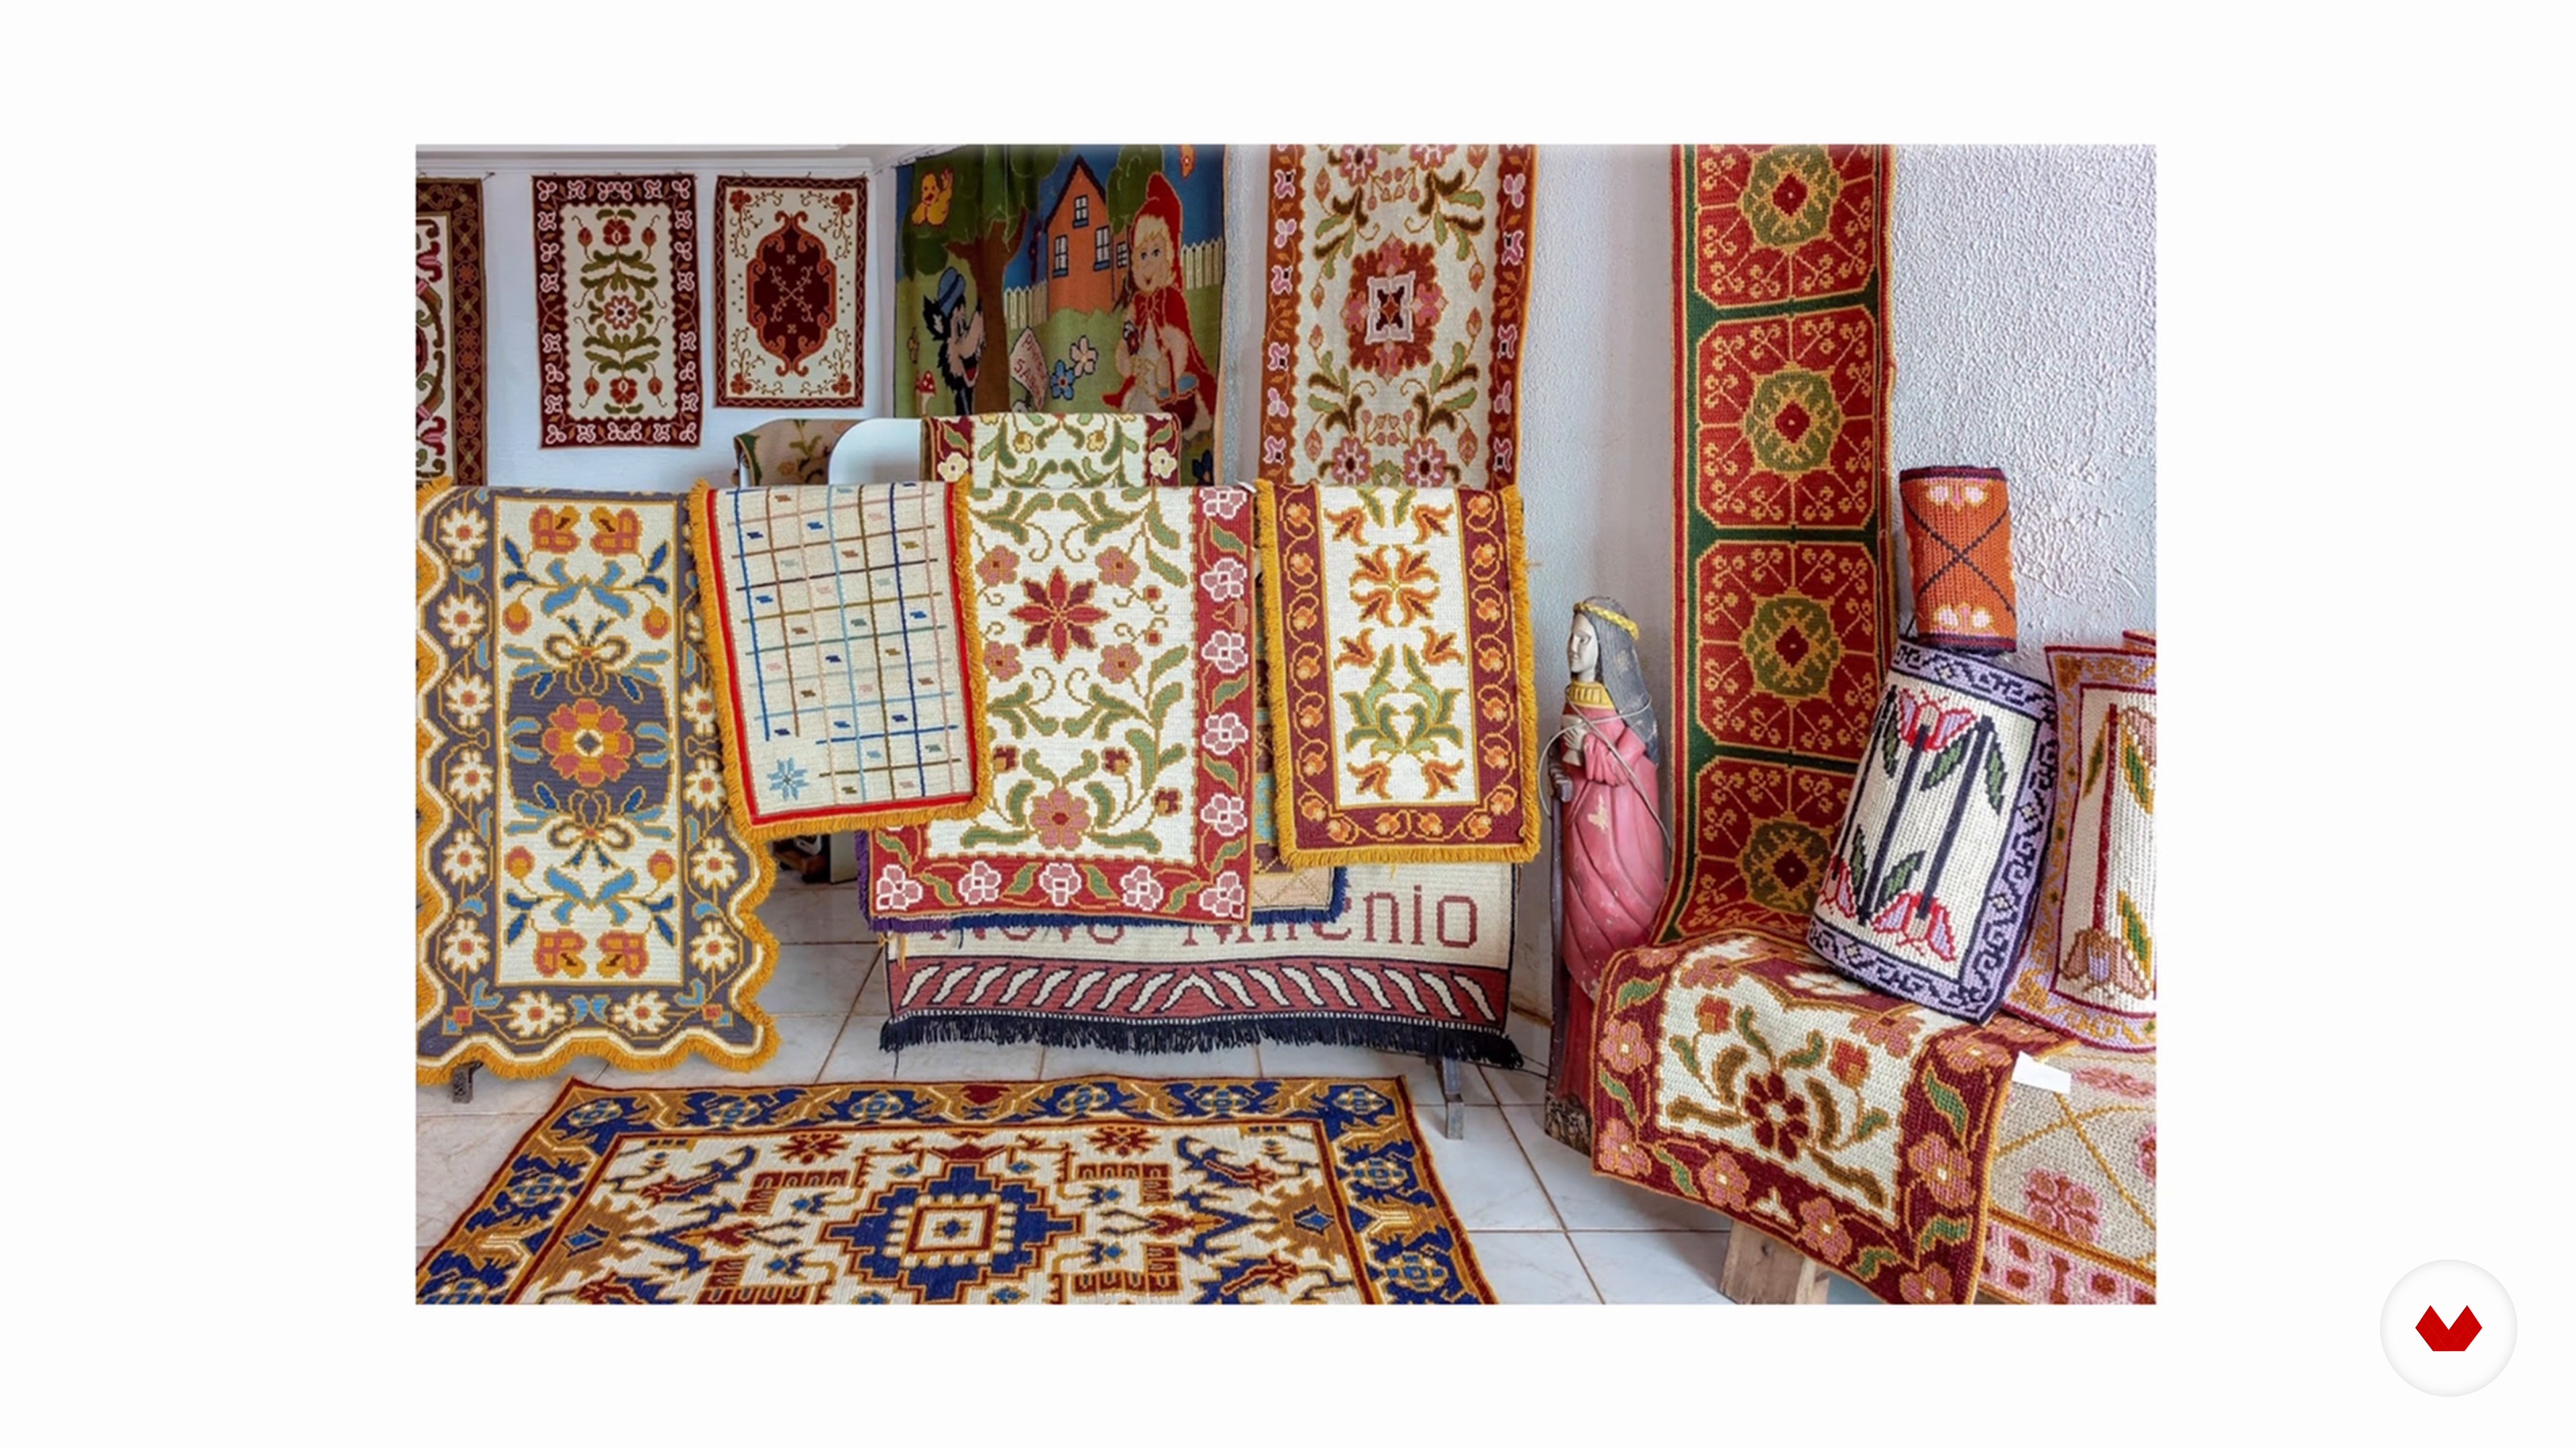
Introduction to tapestry
In addition to remembering how the basic tapestry stitches are made, I will give you some examples of uses that can be given to pieces made in frame loom and also tell you about some styles of tapestry made in Portugal.
6m
 5
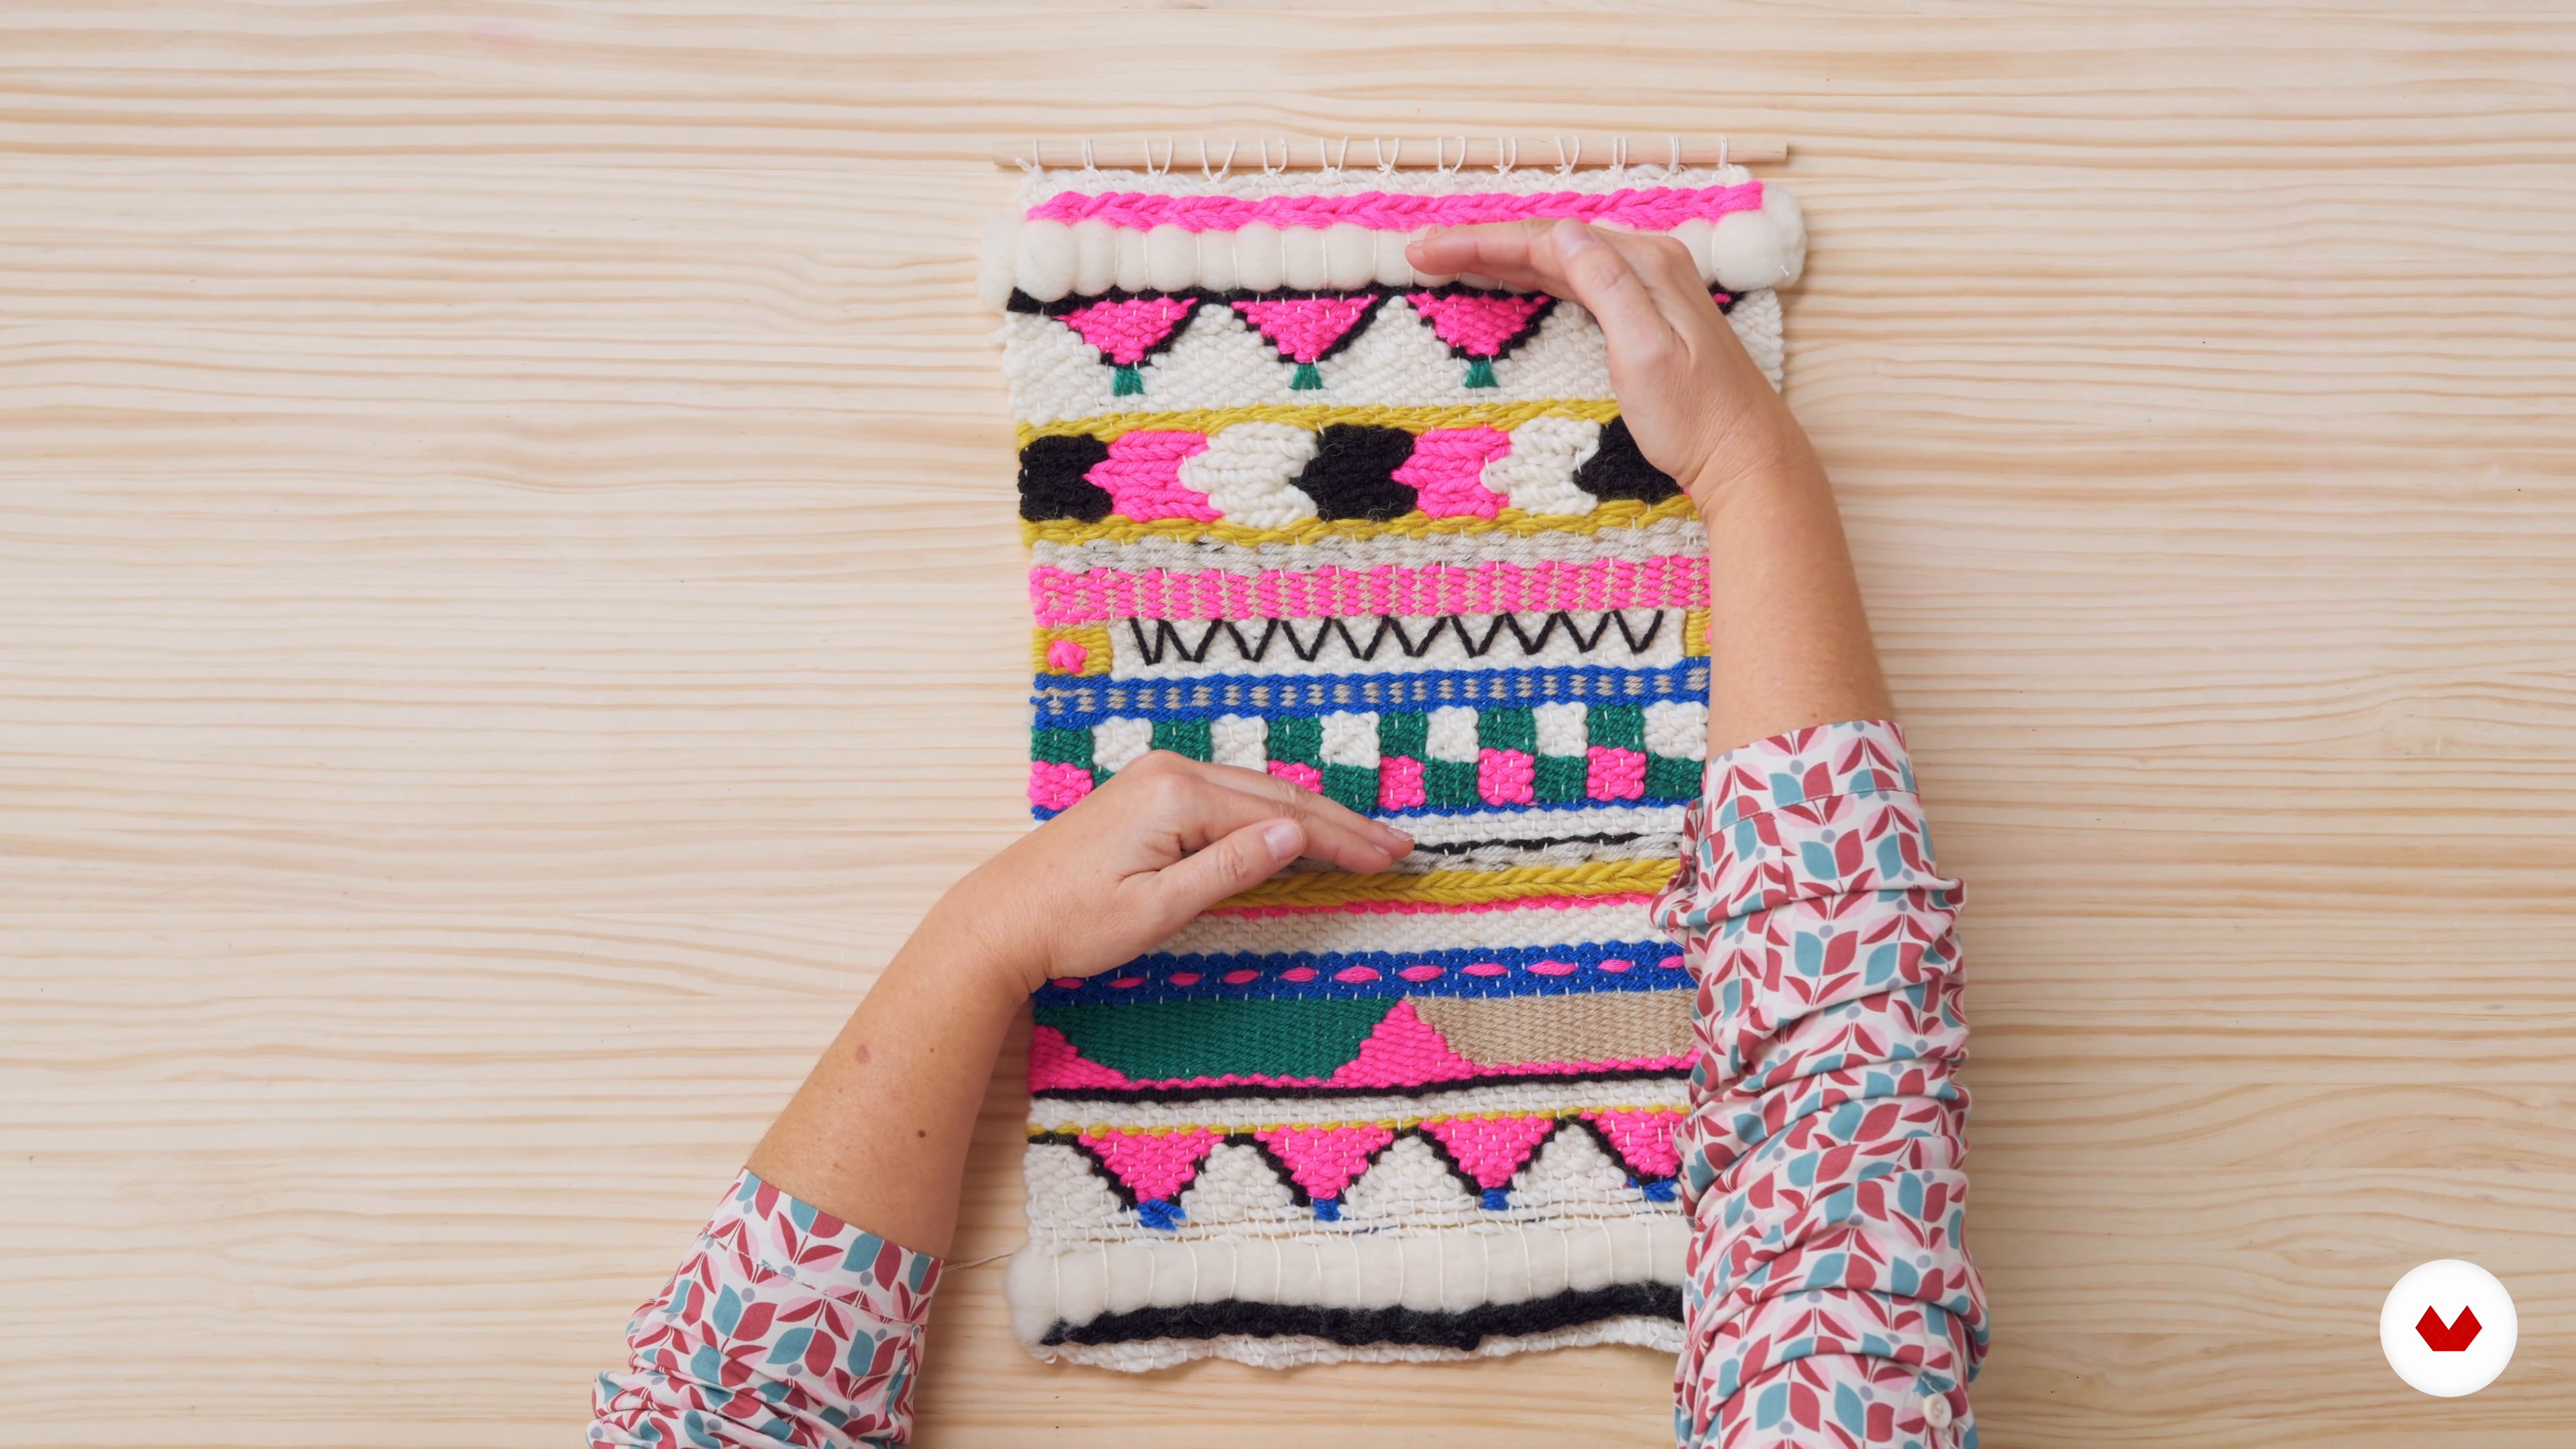
Technique of weaving the inverted piece
Weaving the inverted piece is one of the possible techniques when using a frame loom. What are the advantages and challenges of this technique?
5m
 6
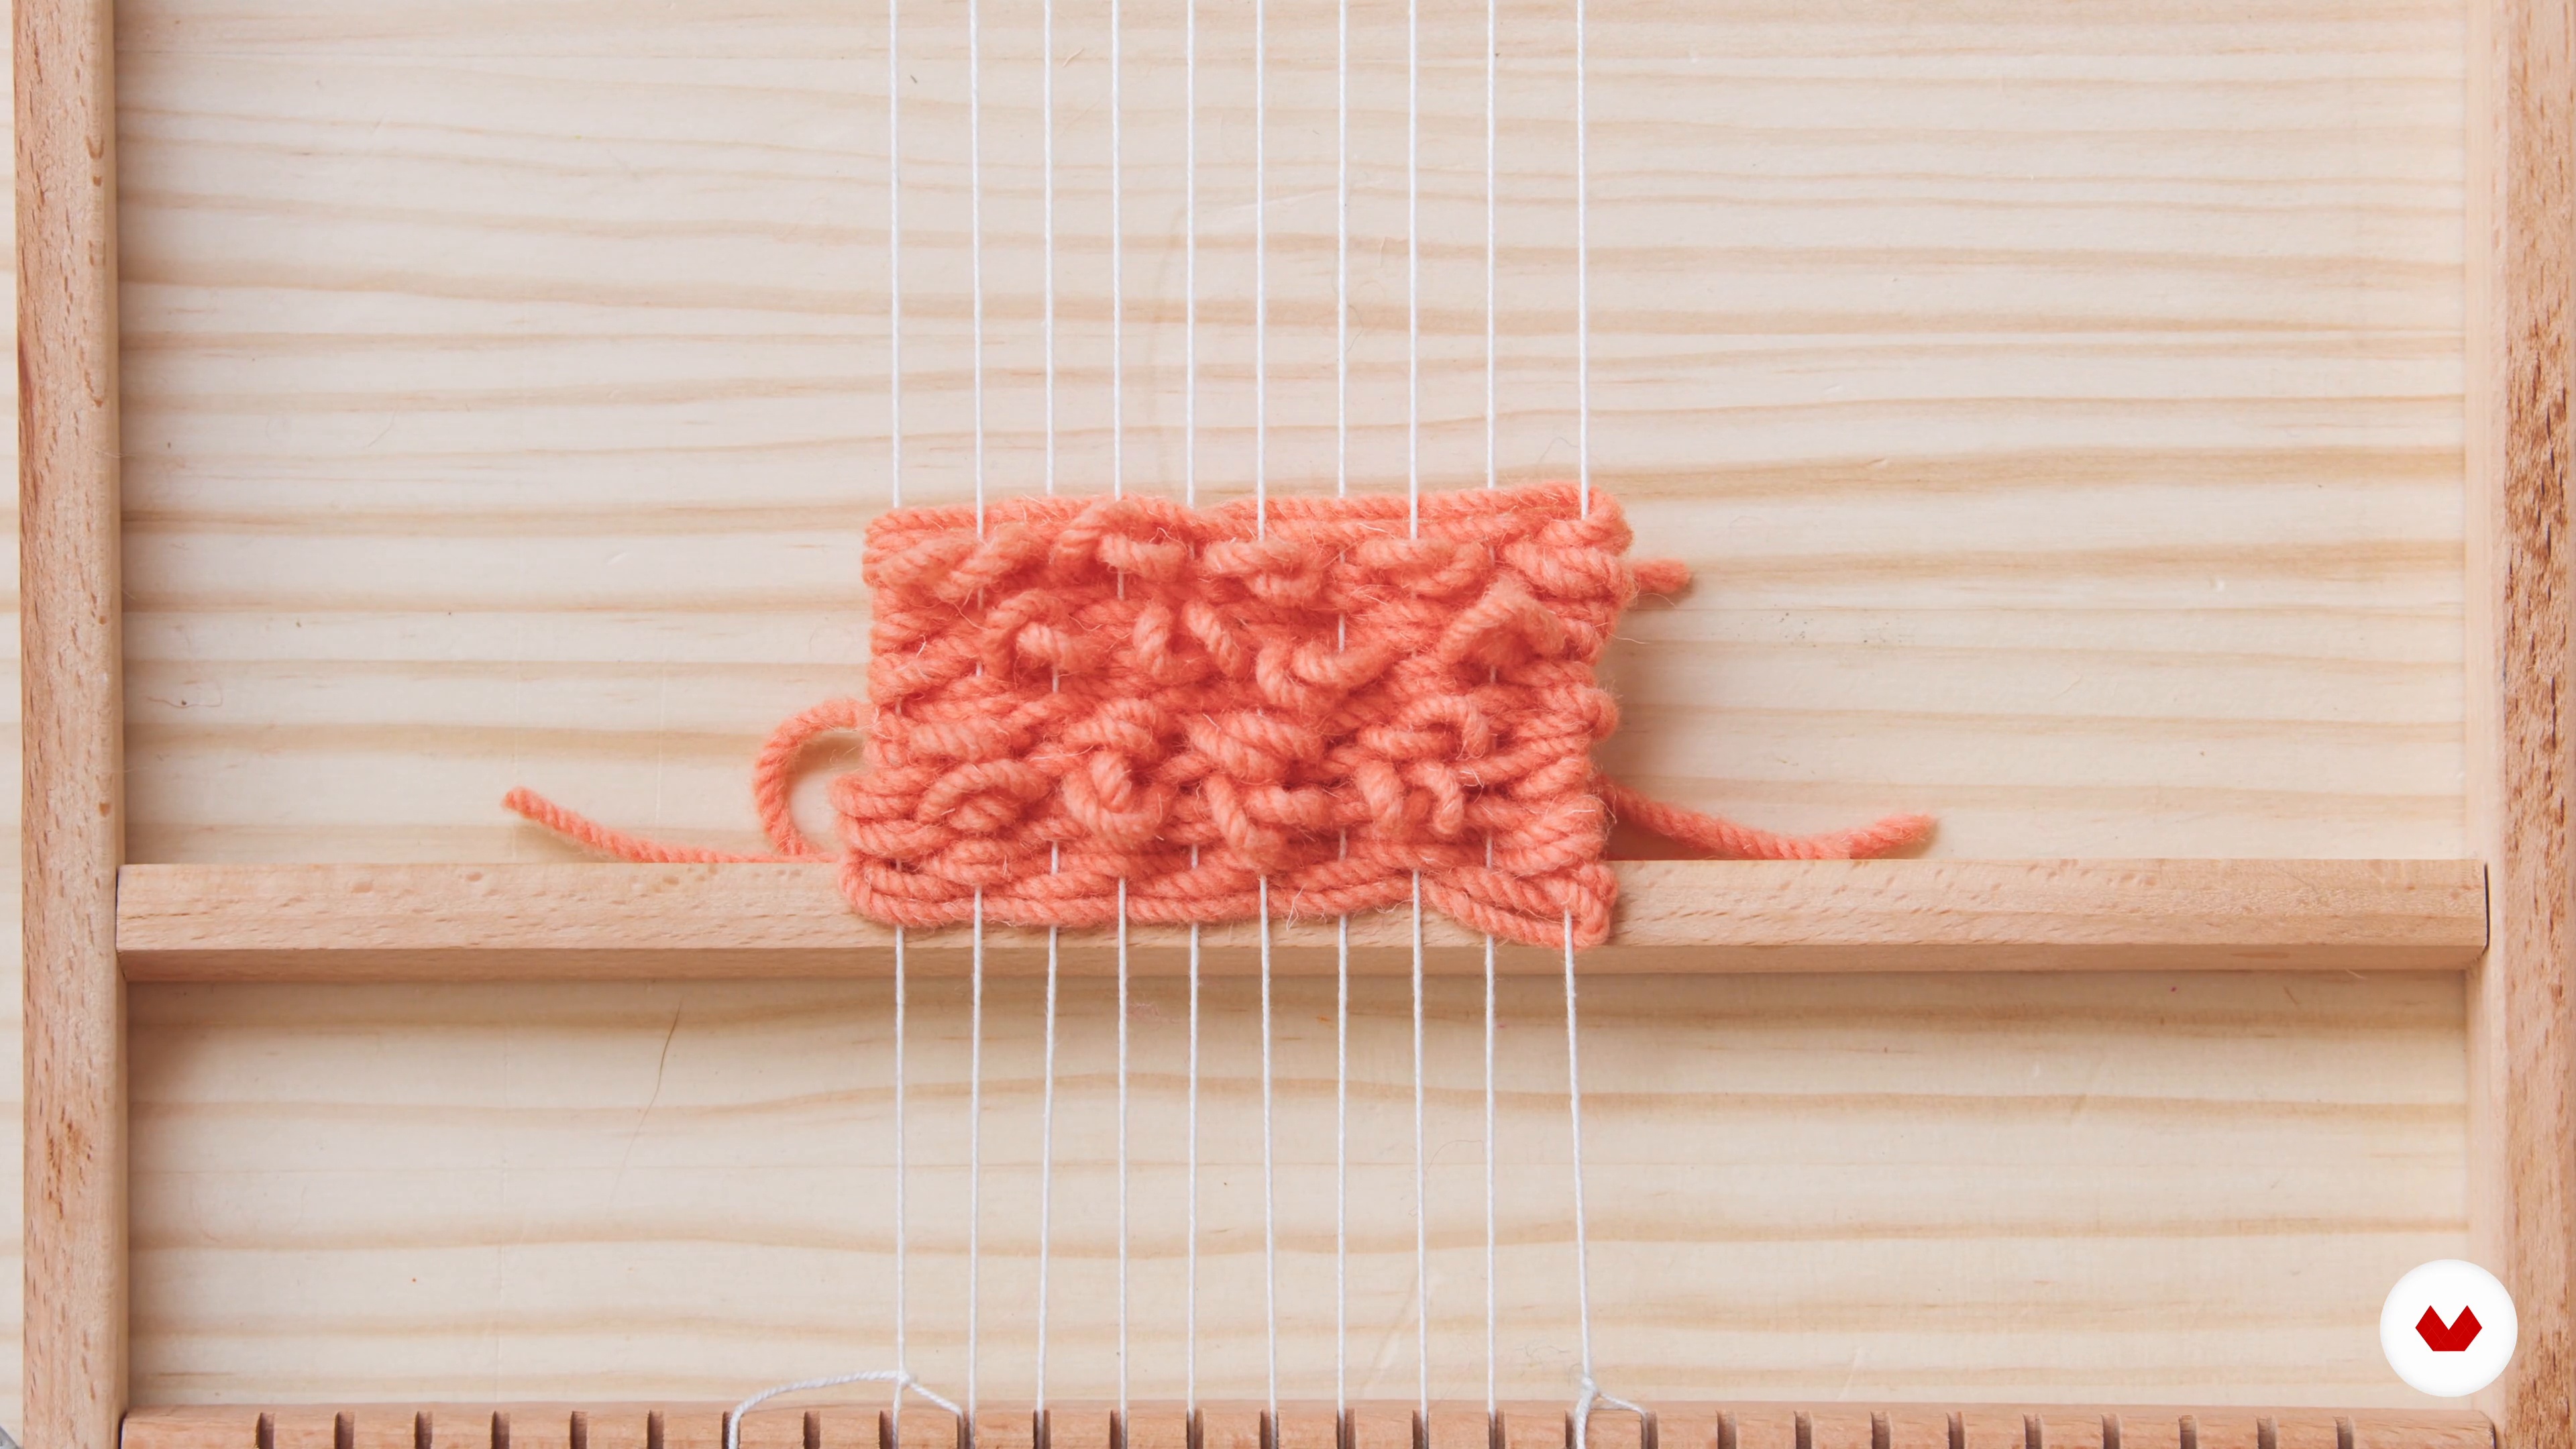
Stitches that give texture 1
In this class, I will teach you three of the stitches that give more texture to a piece of tapestry: “Pile weave”, Loops and fringes with the same yarn.
12m
 7
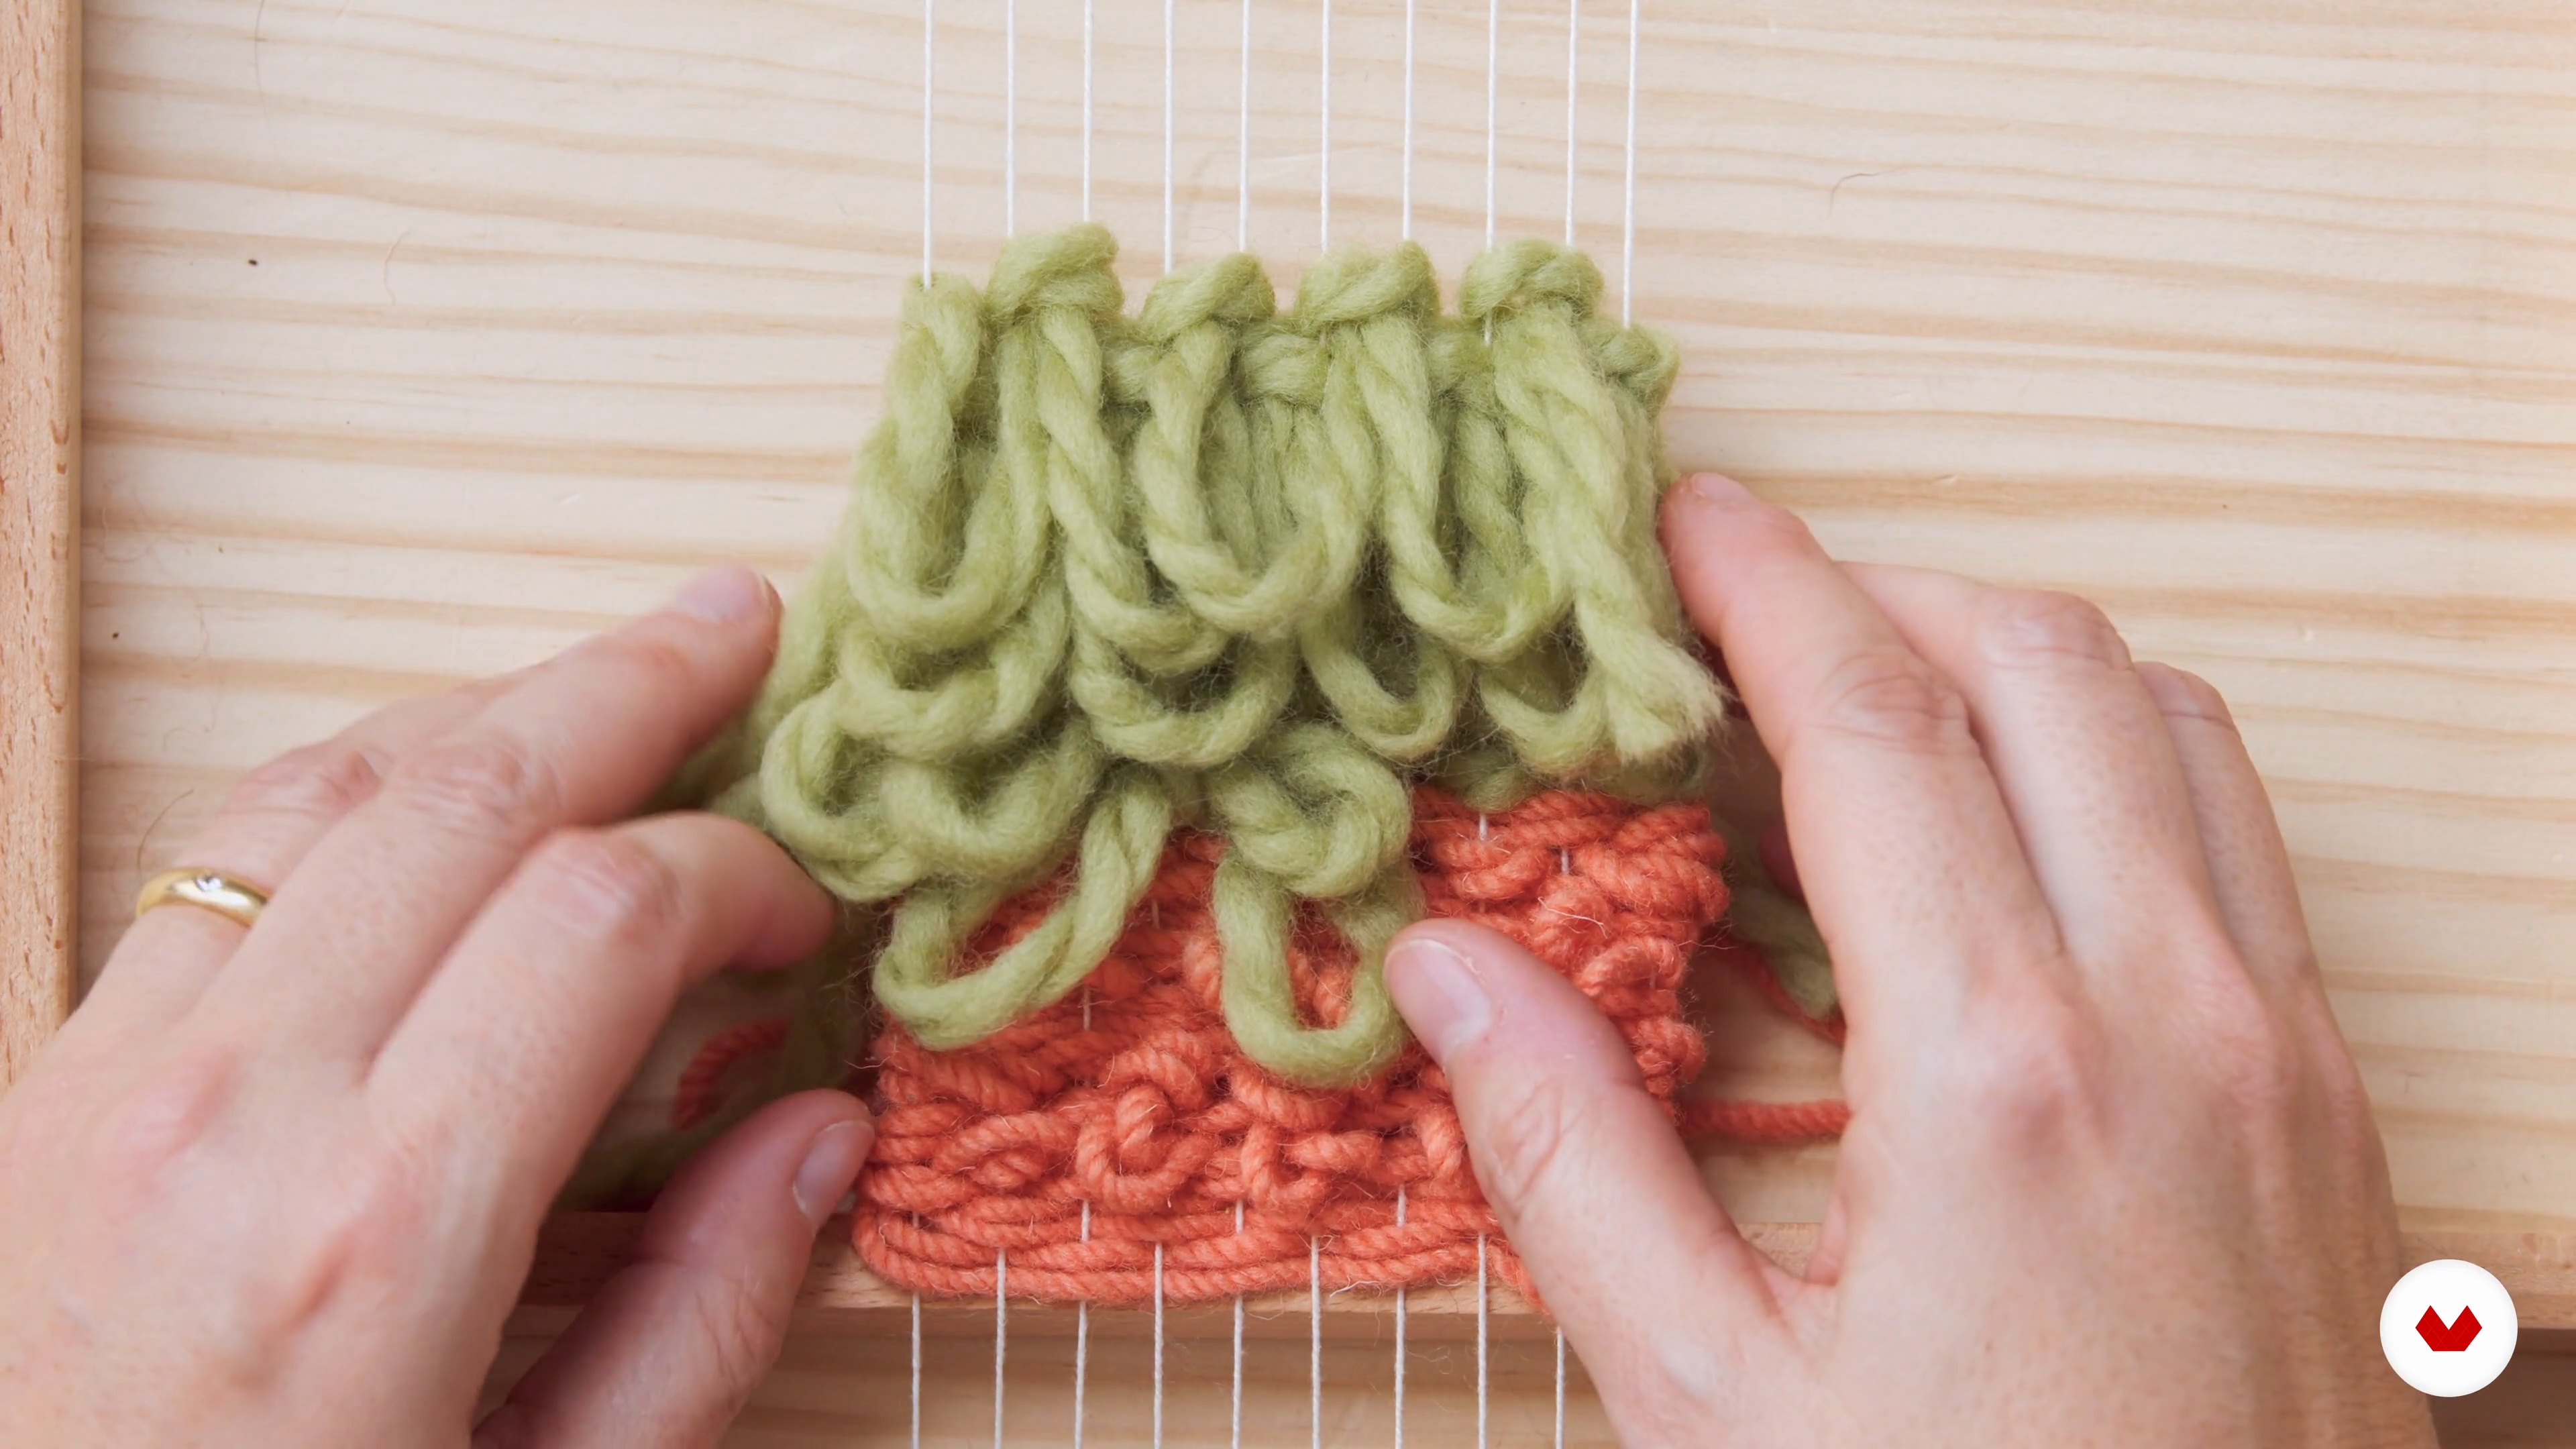
Stitches that give texture 2
In the second part of this class, I'll show you how to make Loops and we won't need a needle for them. We will use thicker wool as it gives more texture to the work.
12m
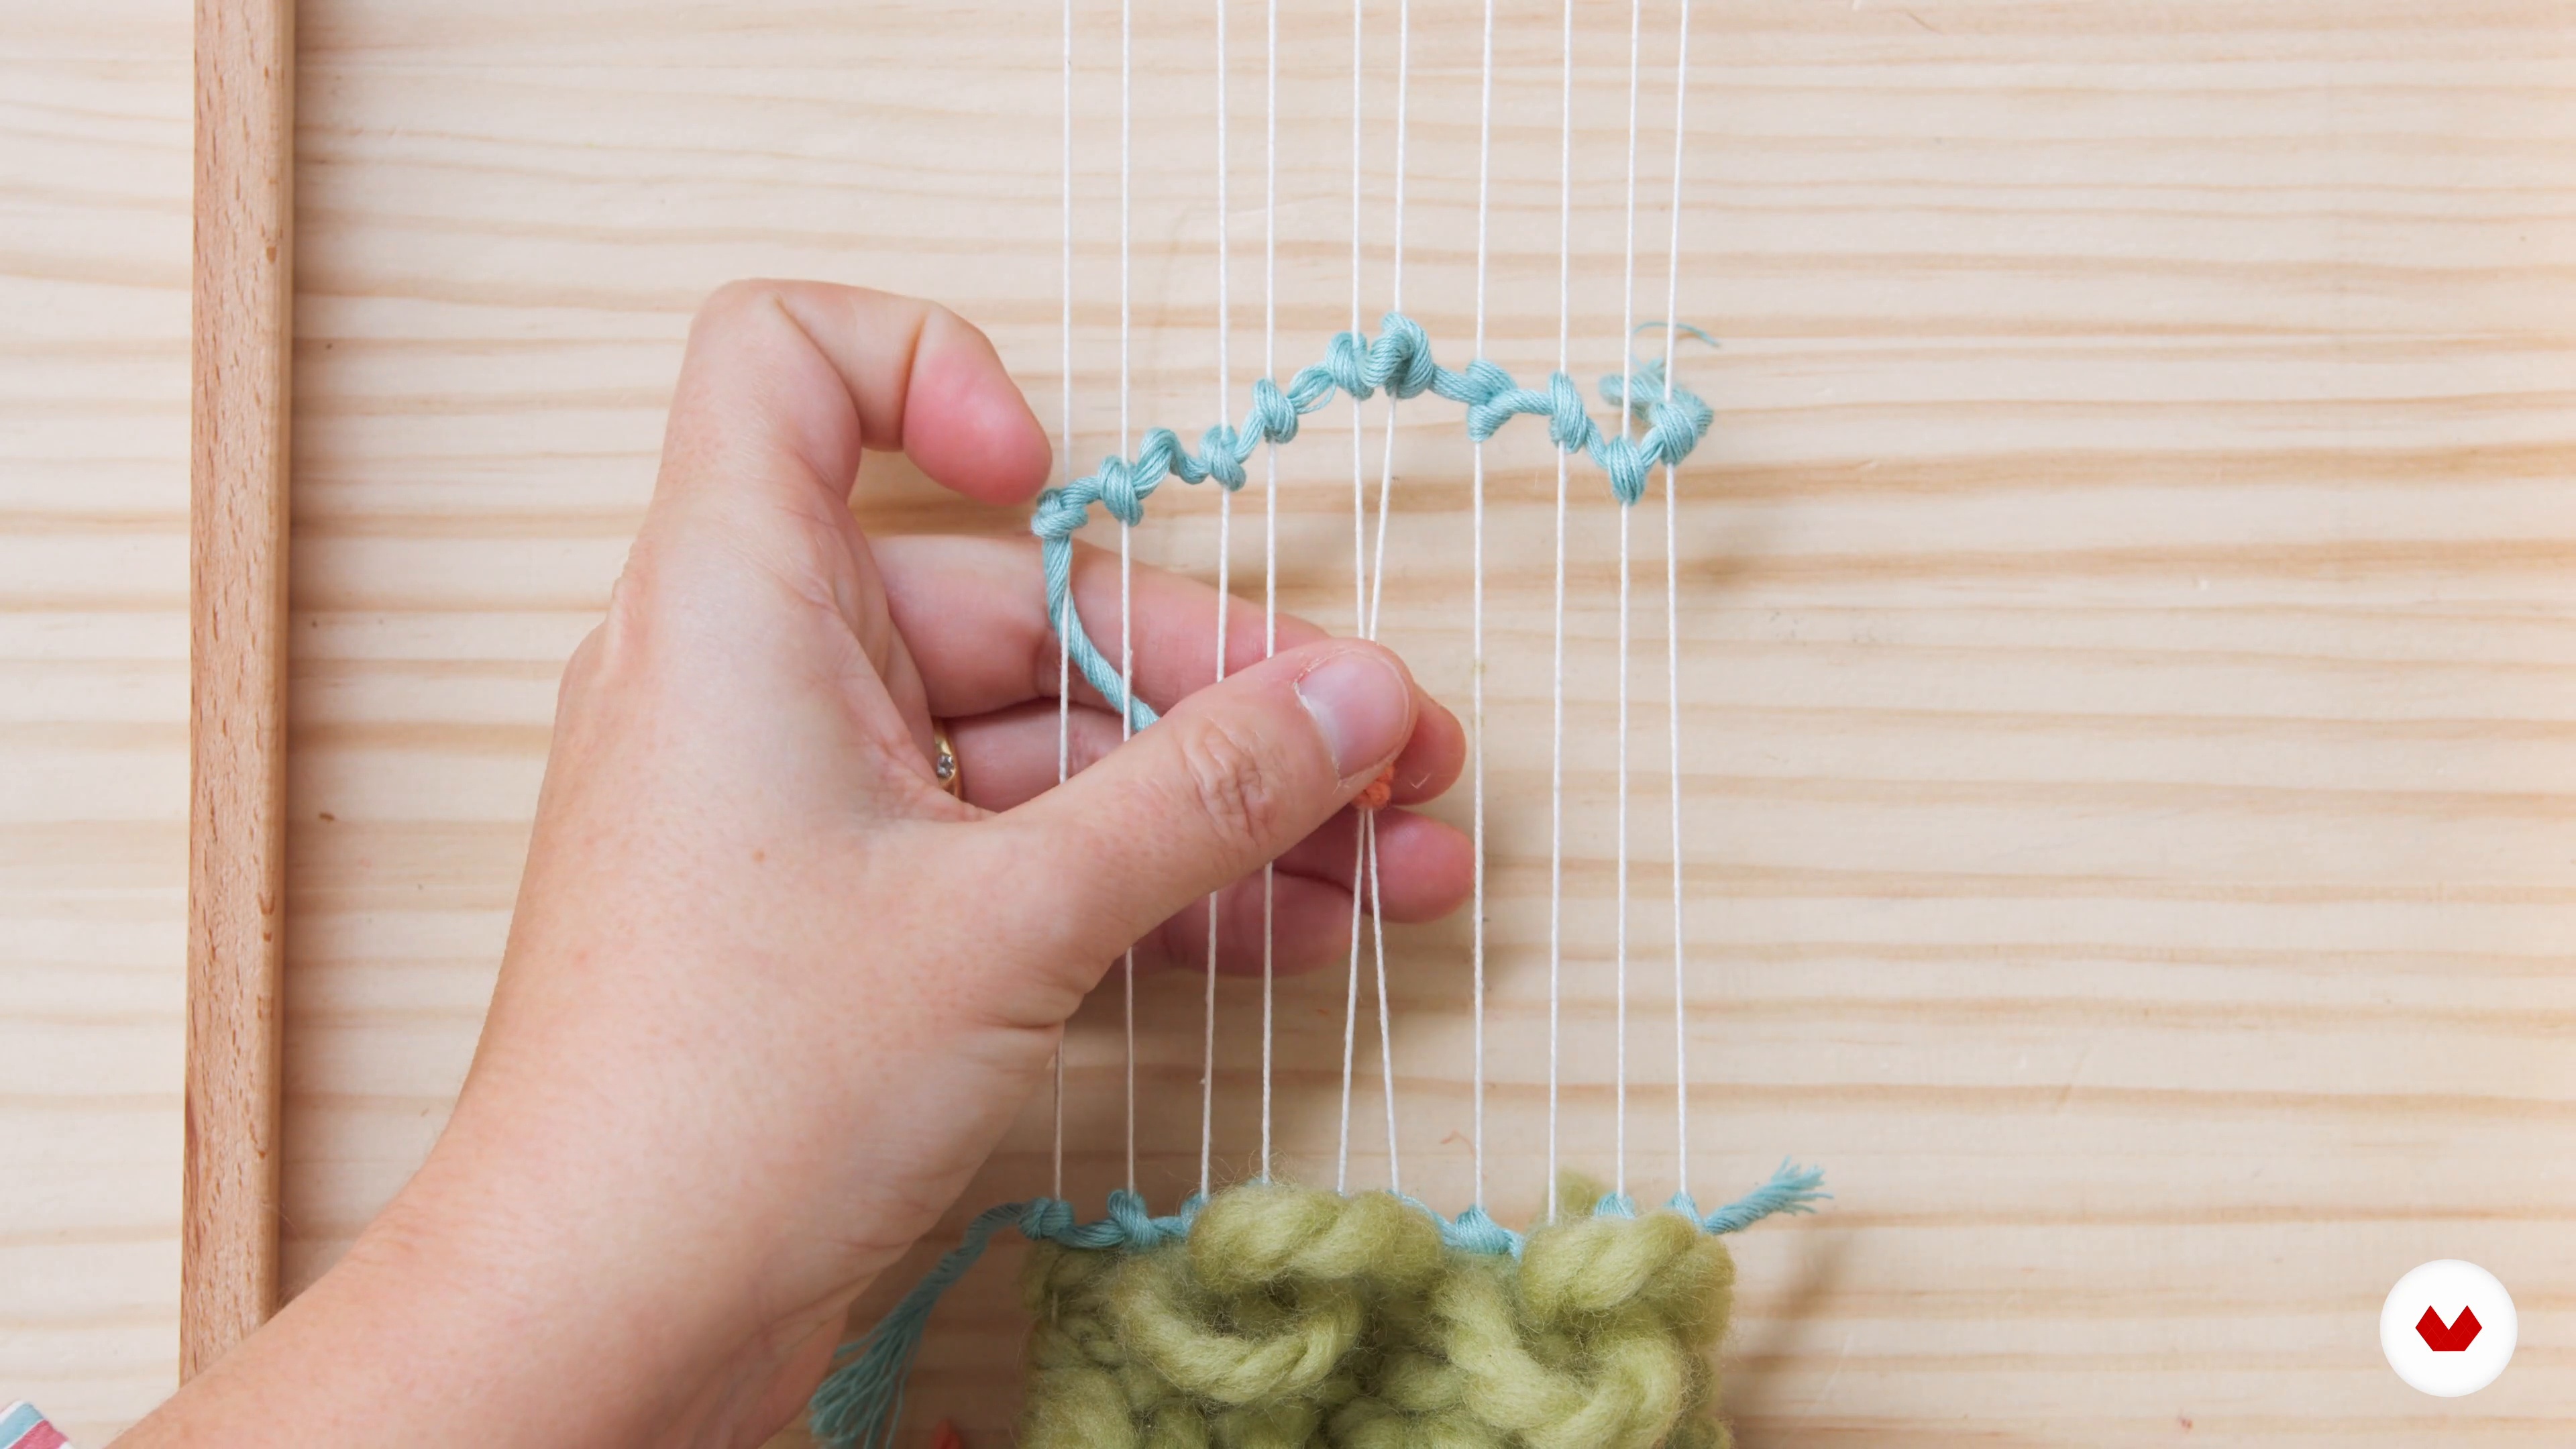 8
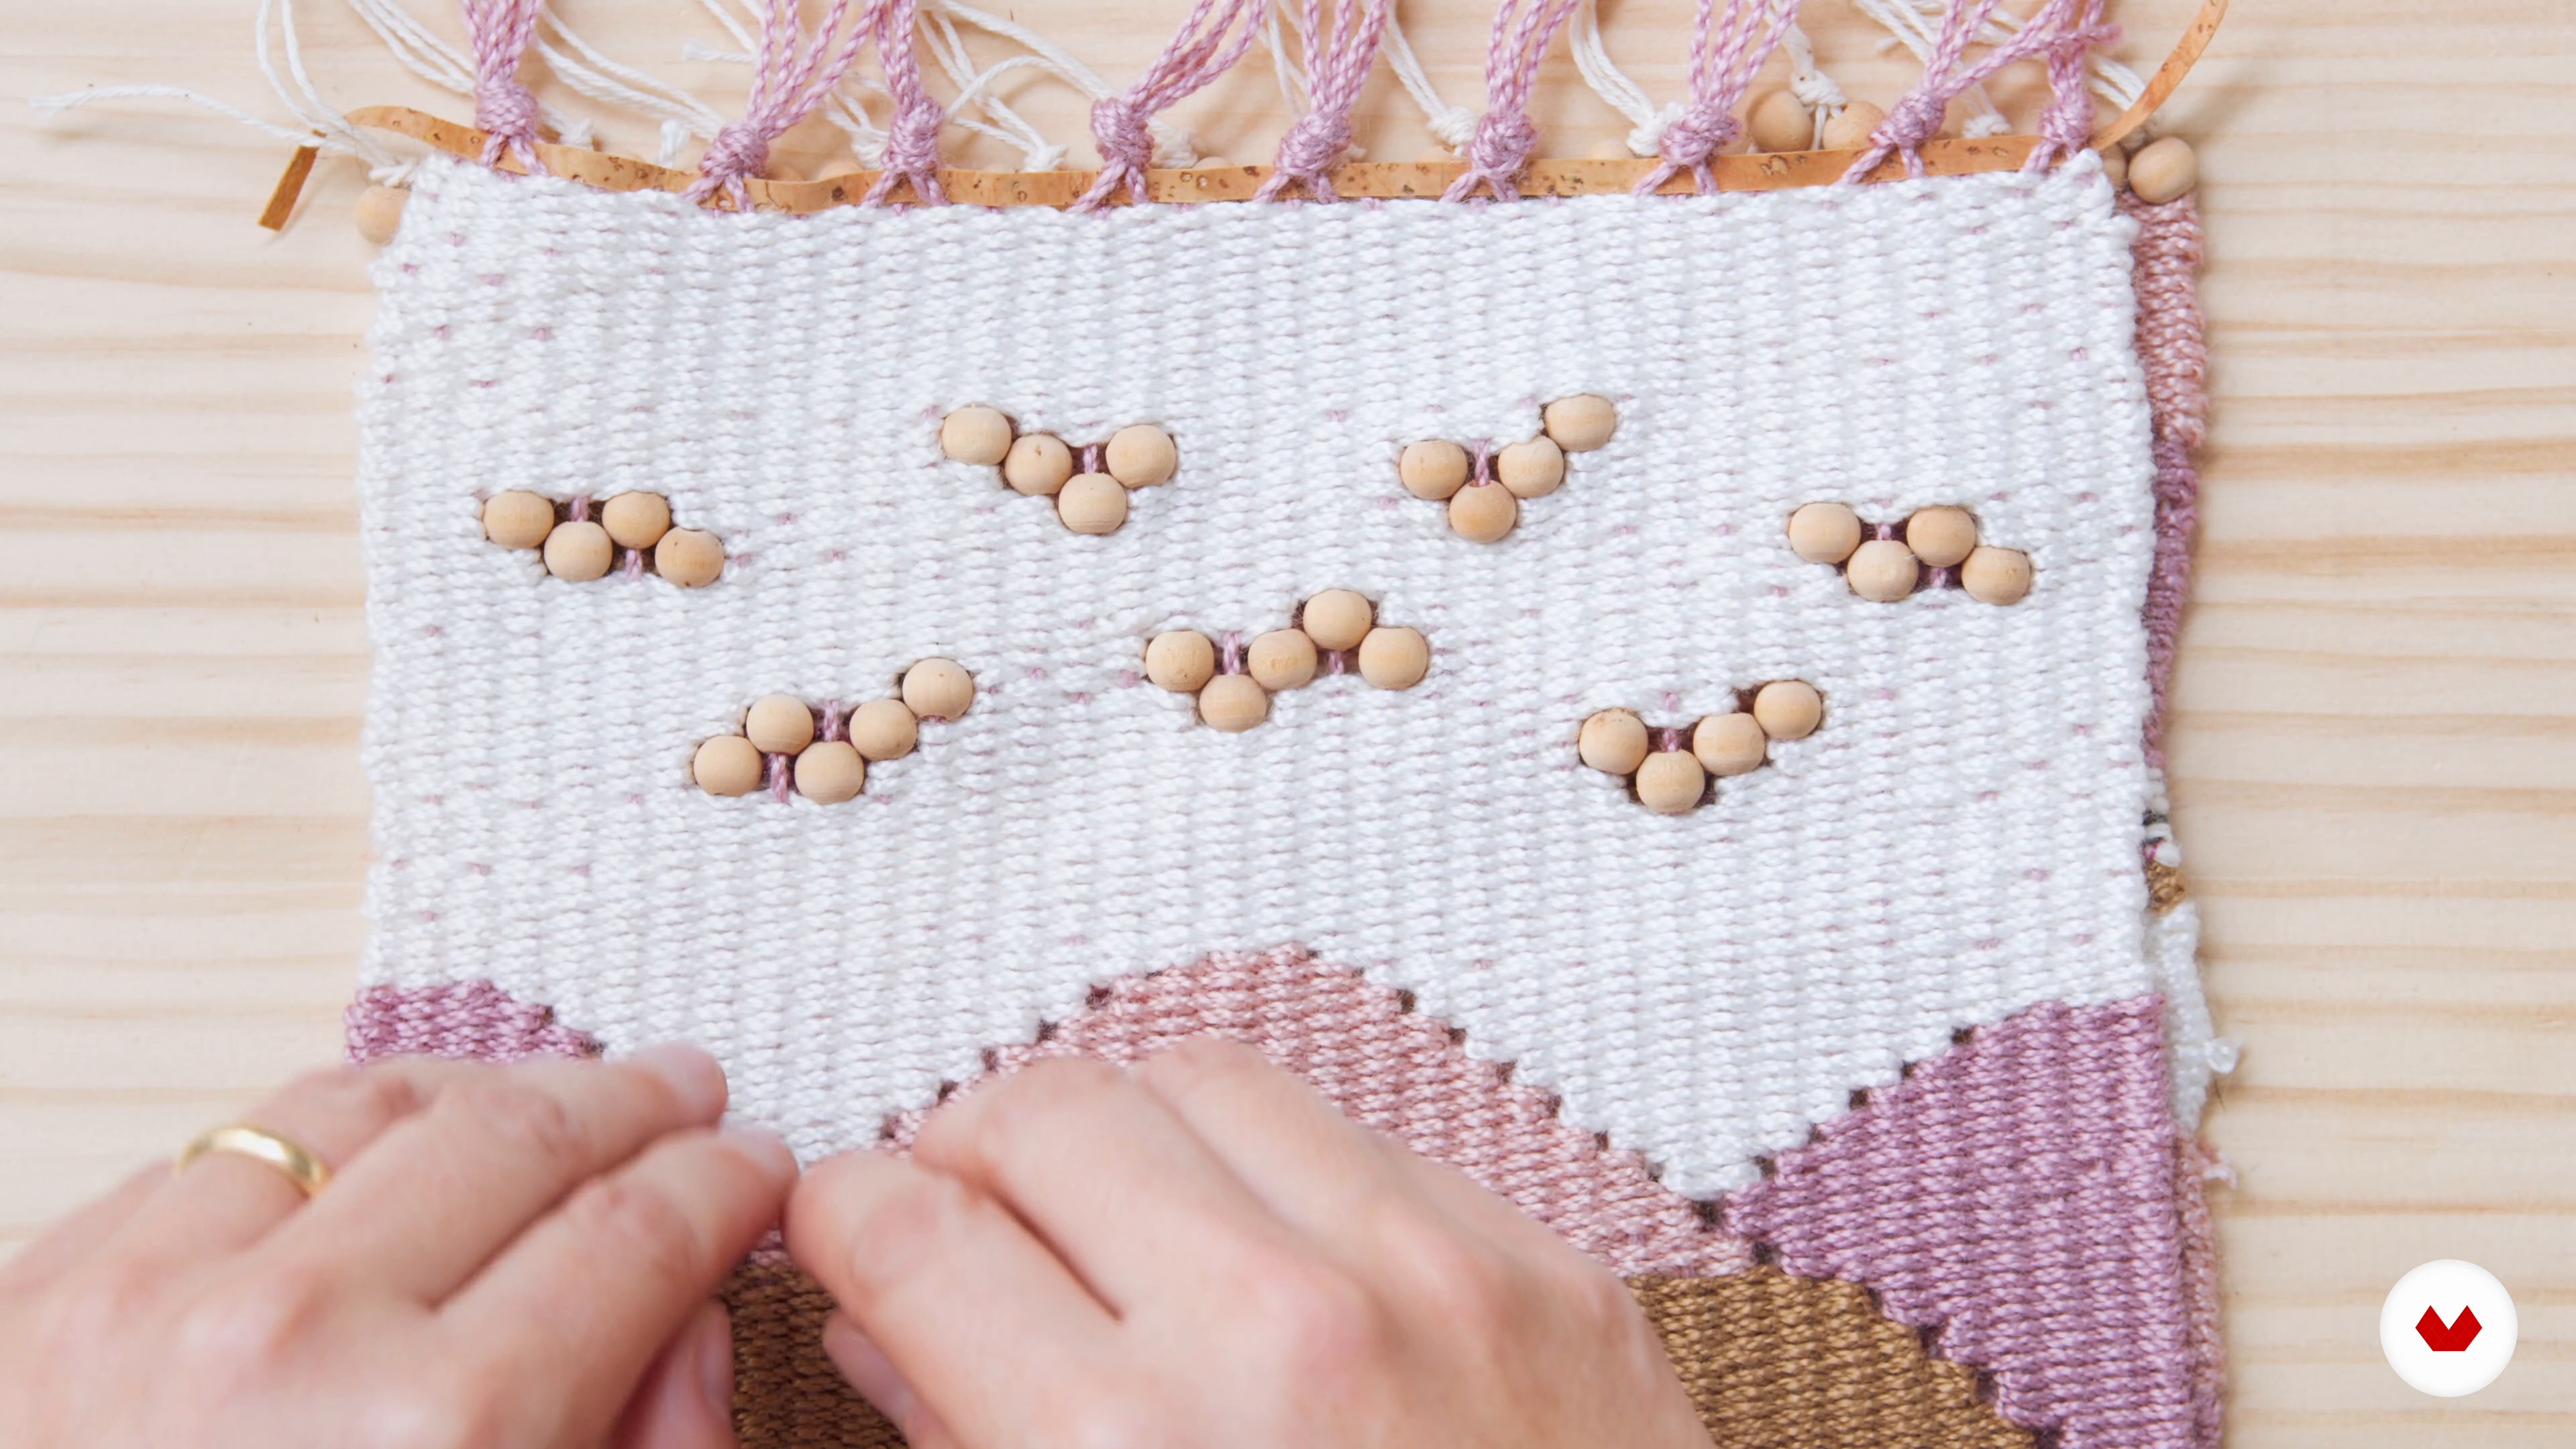
Effects and props 1
How to create a “void” and how to apply props to your piece is what I will explain in this class. We will also see how to join the warp threads with colored threads and how to add beads, feathers, scales, etc.
12m
 9
Effects and props 2
In the second part of this class, I will teach you how to make trinkets. For this, you will need a cardboard or a hard surface to wrap the wires.
17m
 10
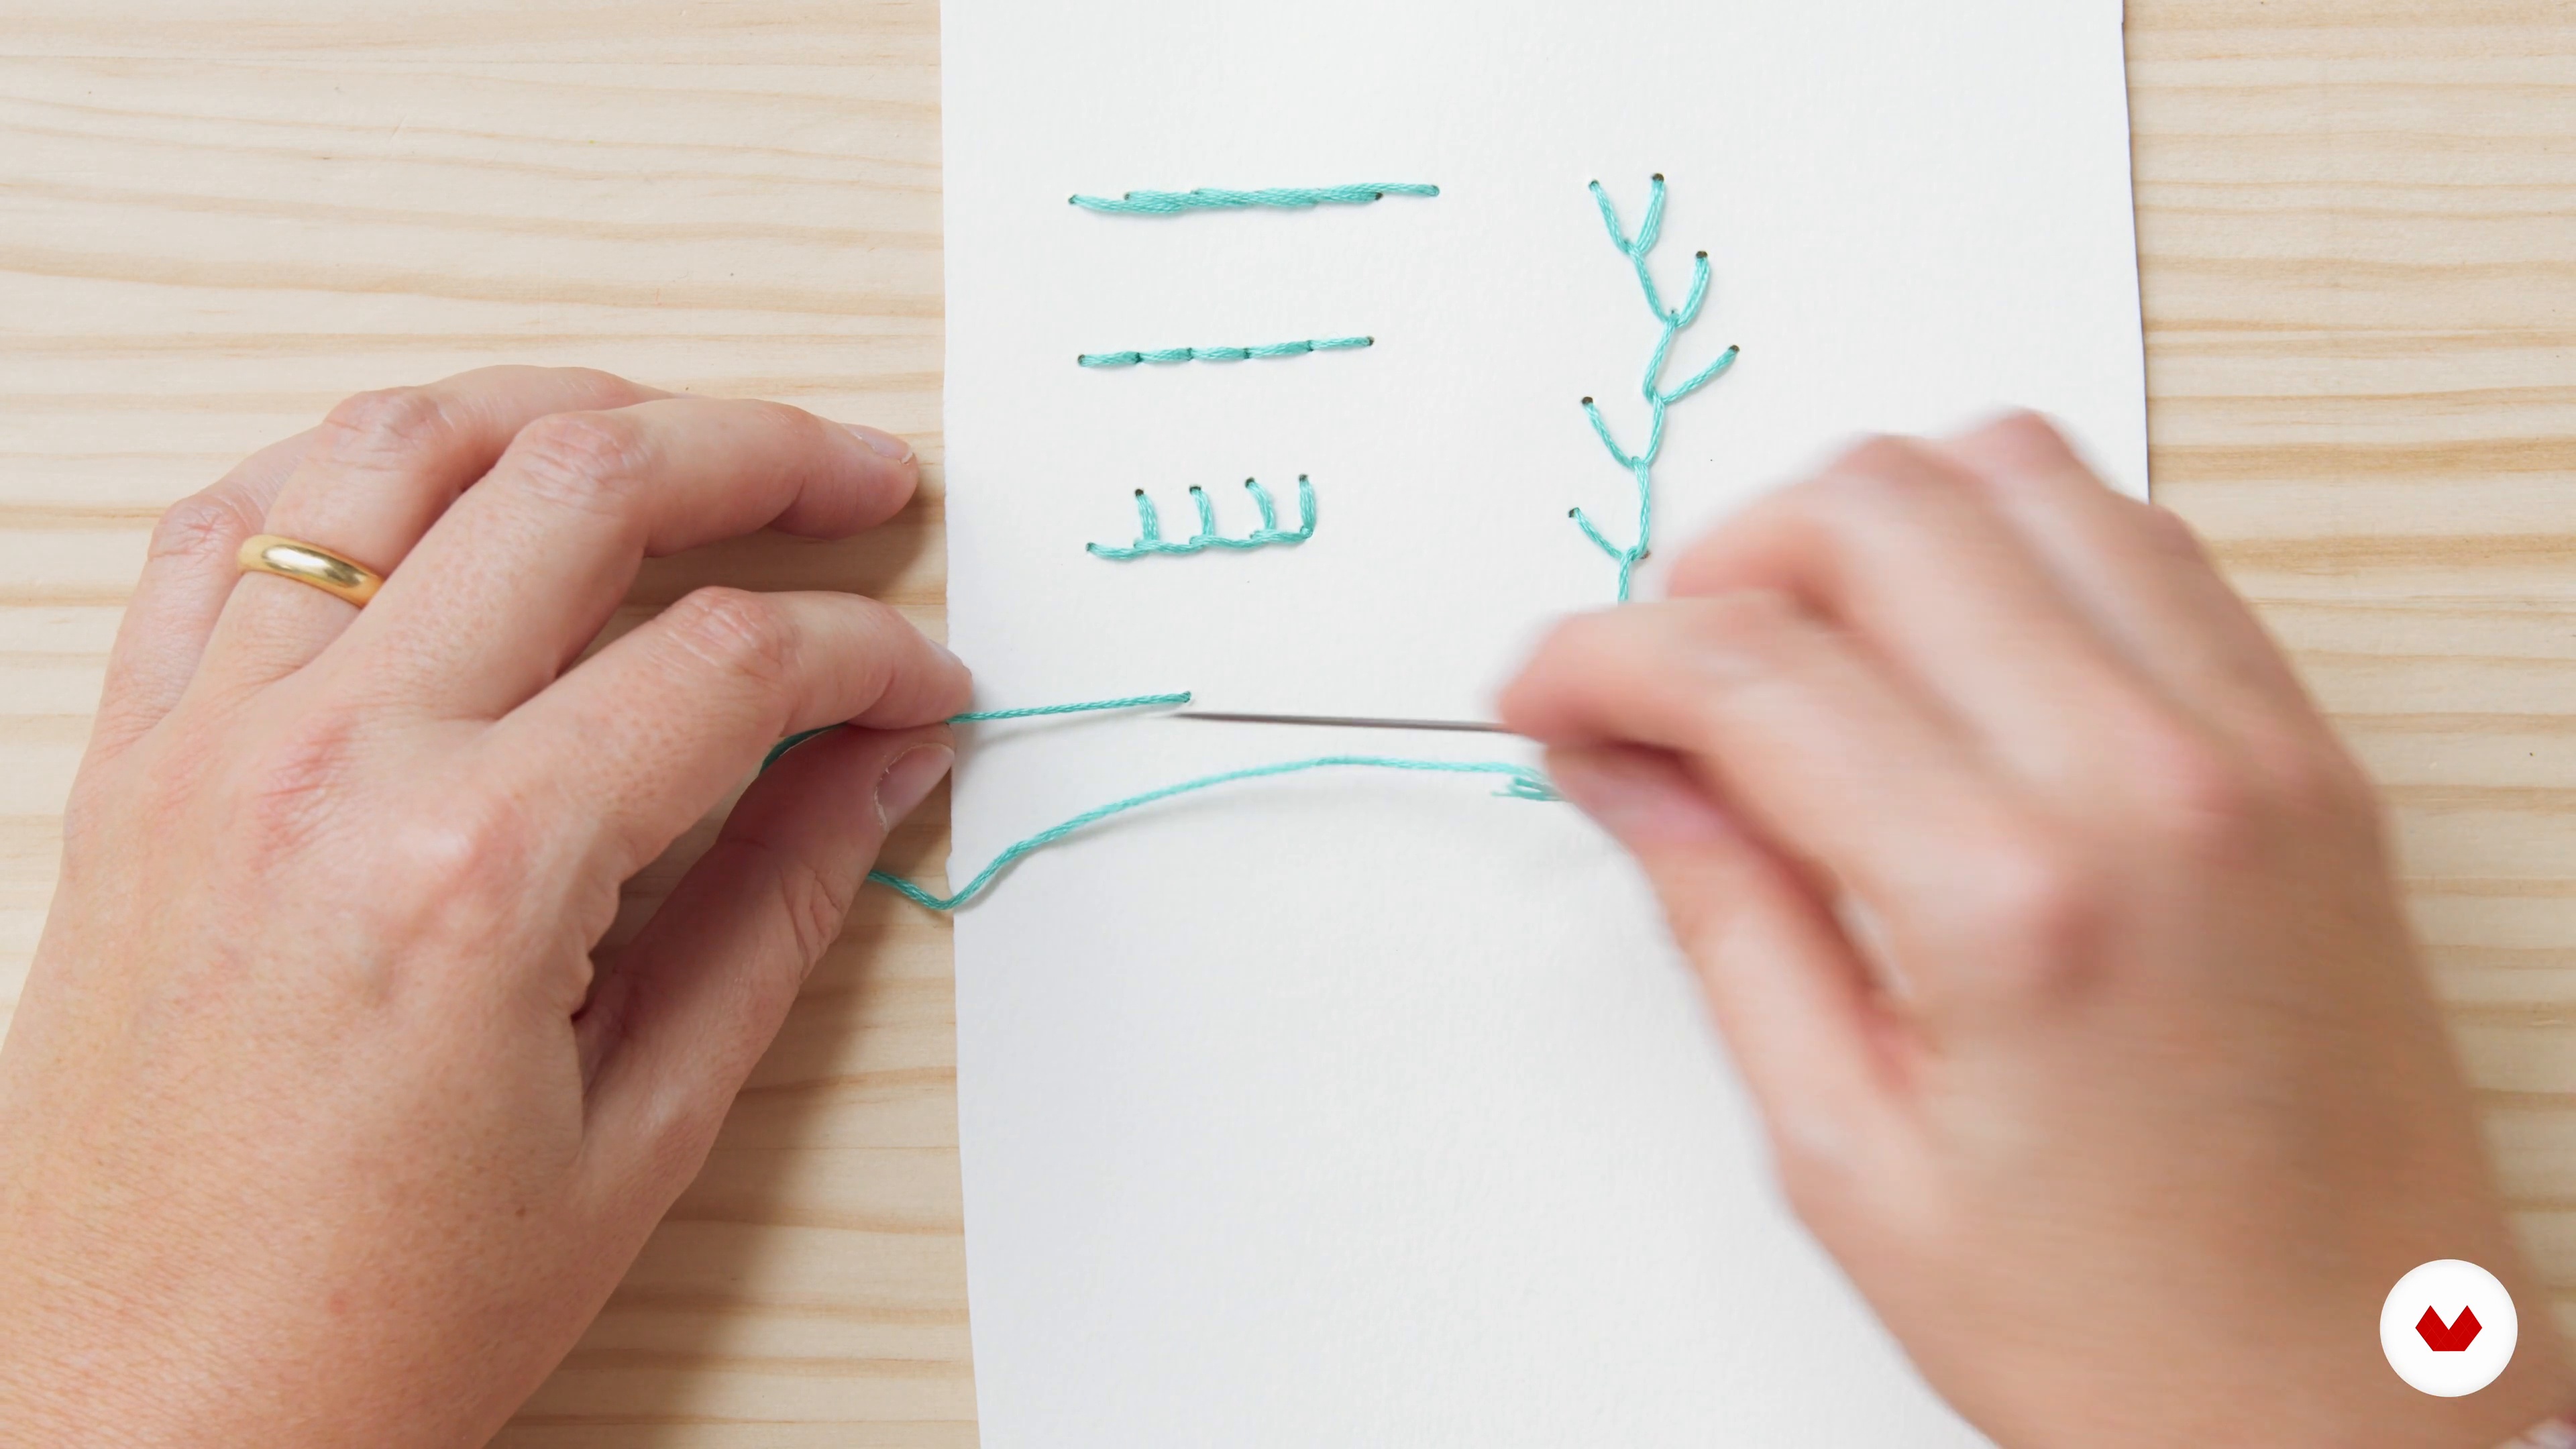
Assorted embroidery
In this class, I will teach you five embroidery stitches that you can apply to your tapestries: flower foot stitch, back stitch, blanket stitch, feather stitch and French knot.
15m
 11
Inspiration and design
When we design our piece, we look for what inspires us. In this class, you will accompany me as I draw the part of my project.
19m
 12
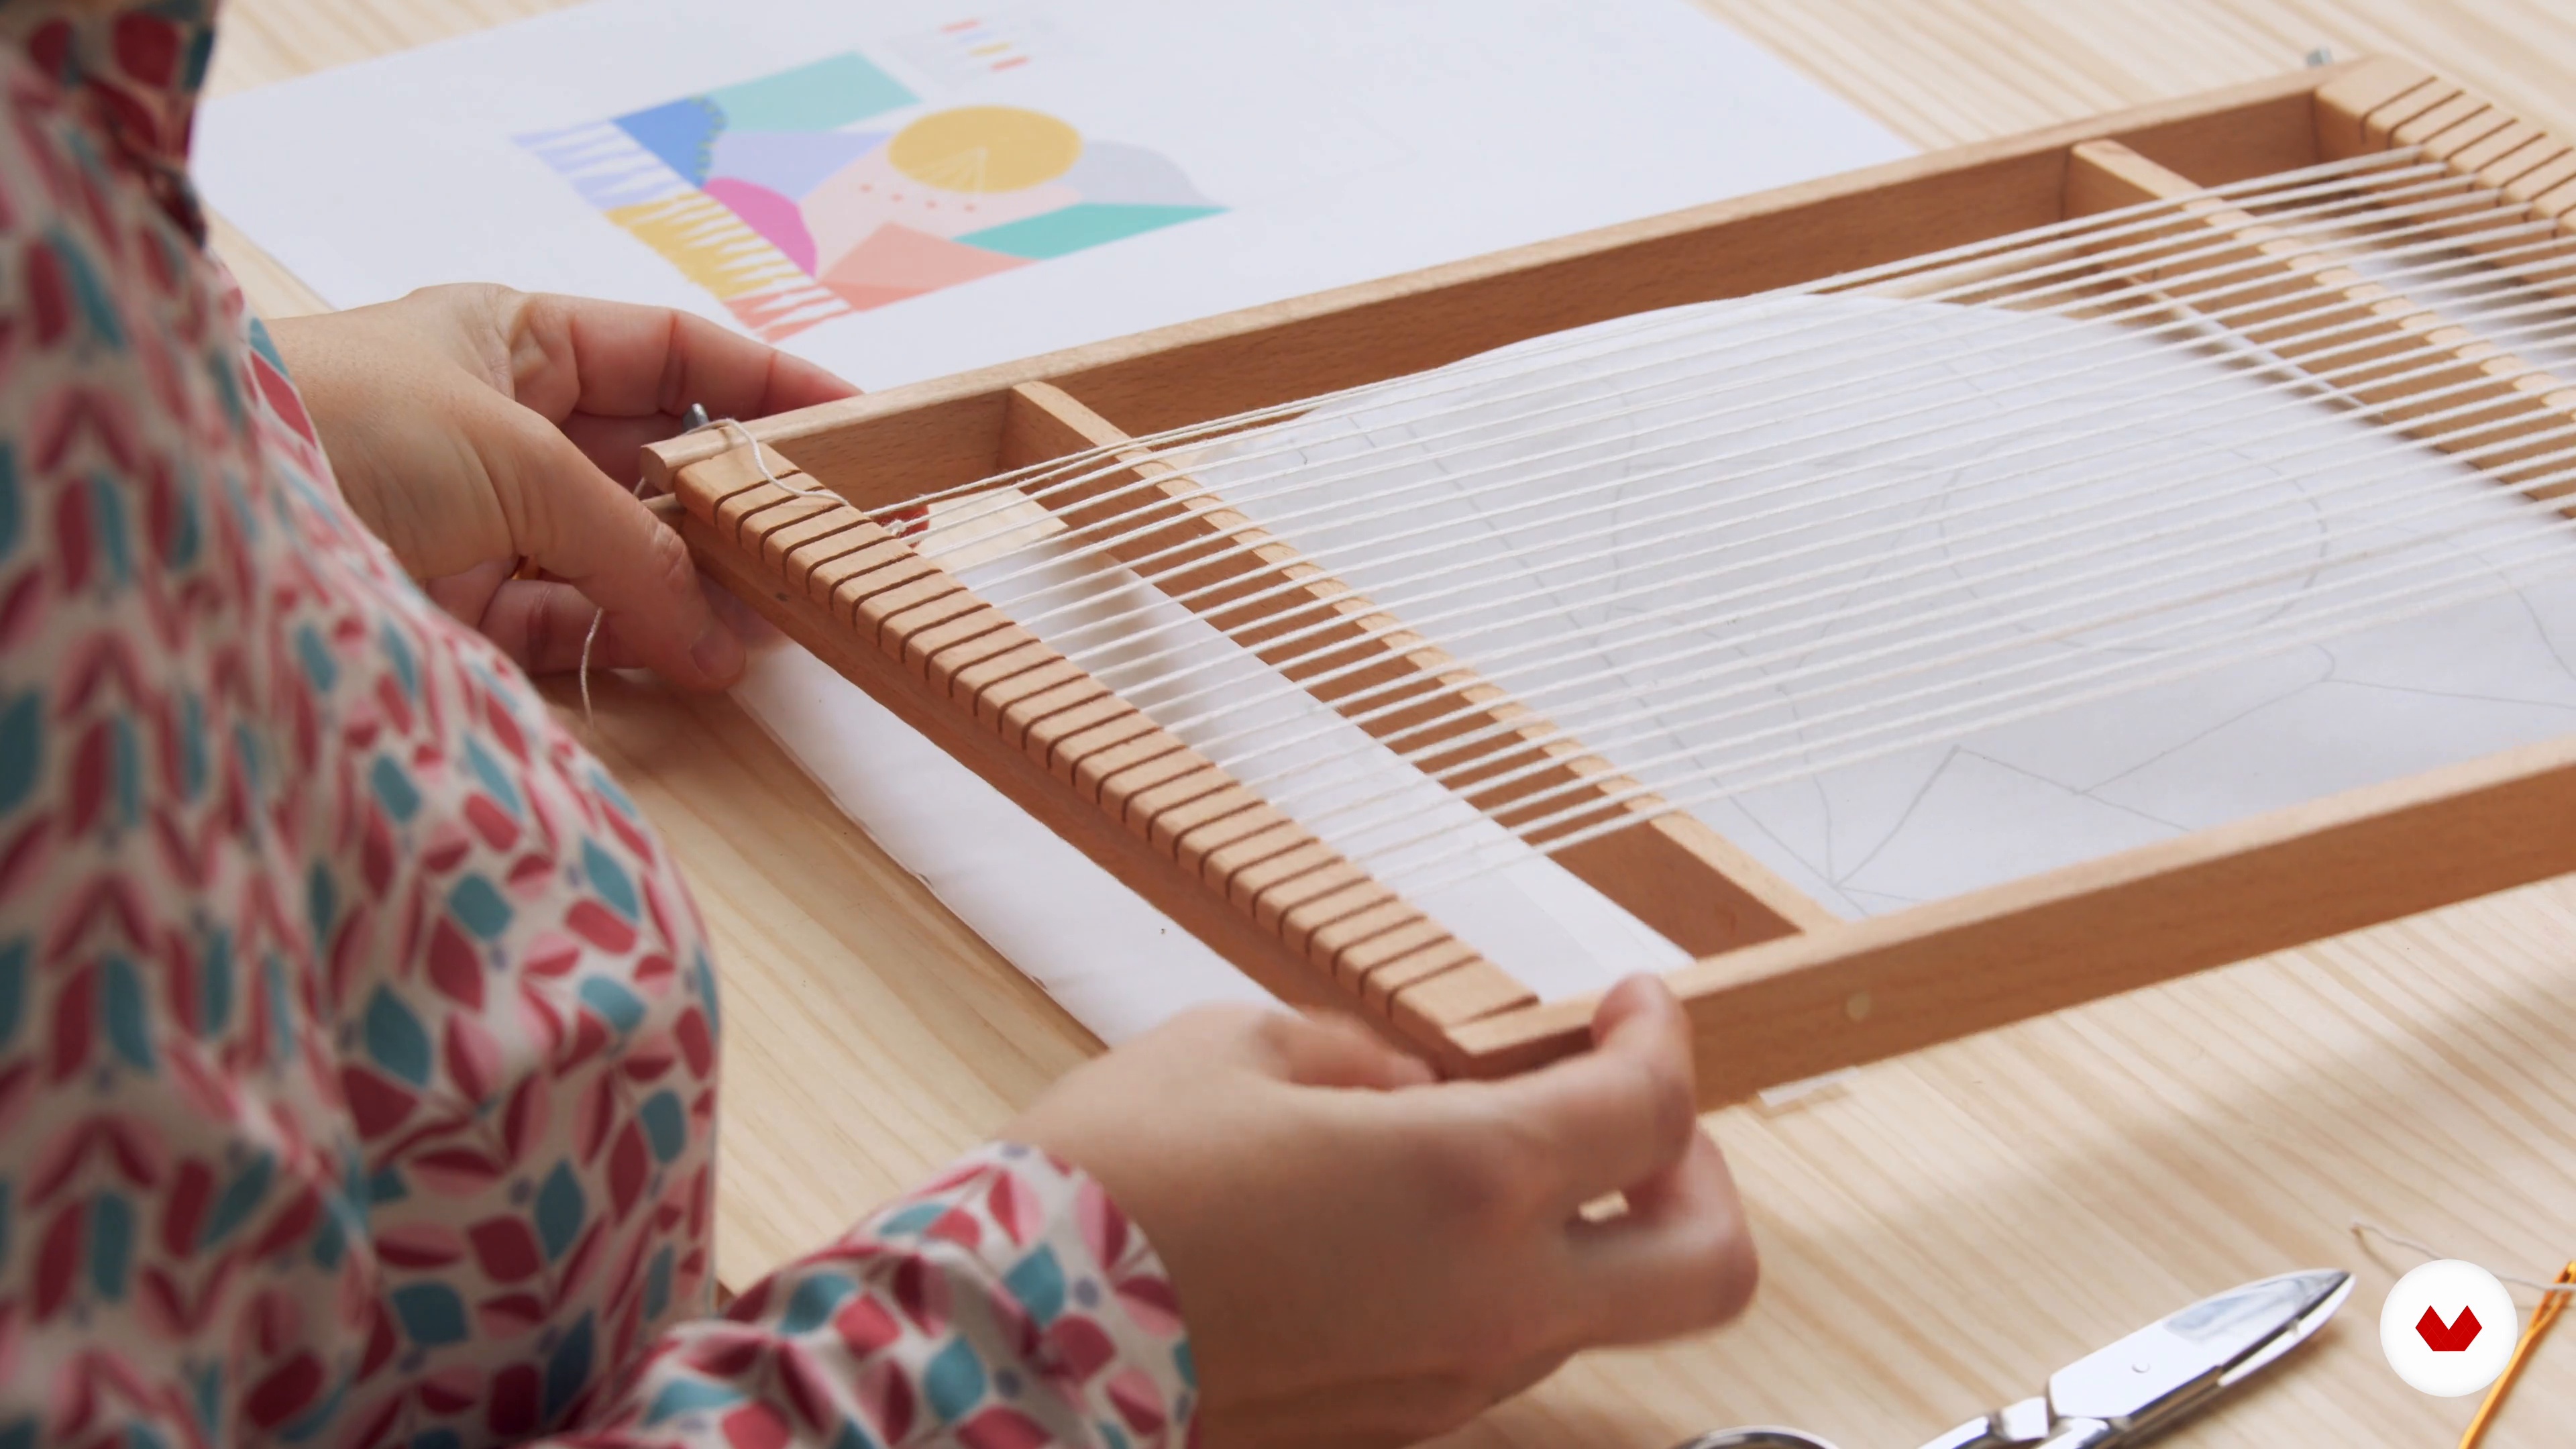
Prepare the loom and start weaving 1
In this class, you will see how I prepare the loom, setting up the web, attaching the design made in Procreate and starting to weave.
15m
 13
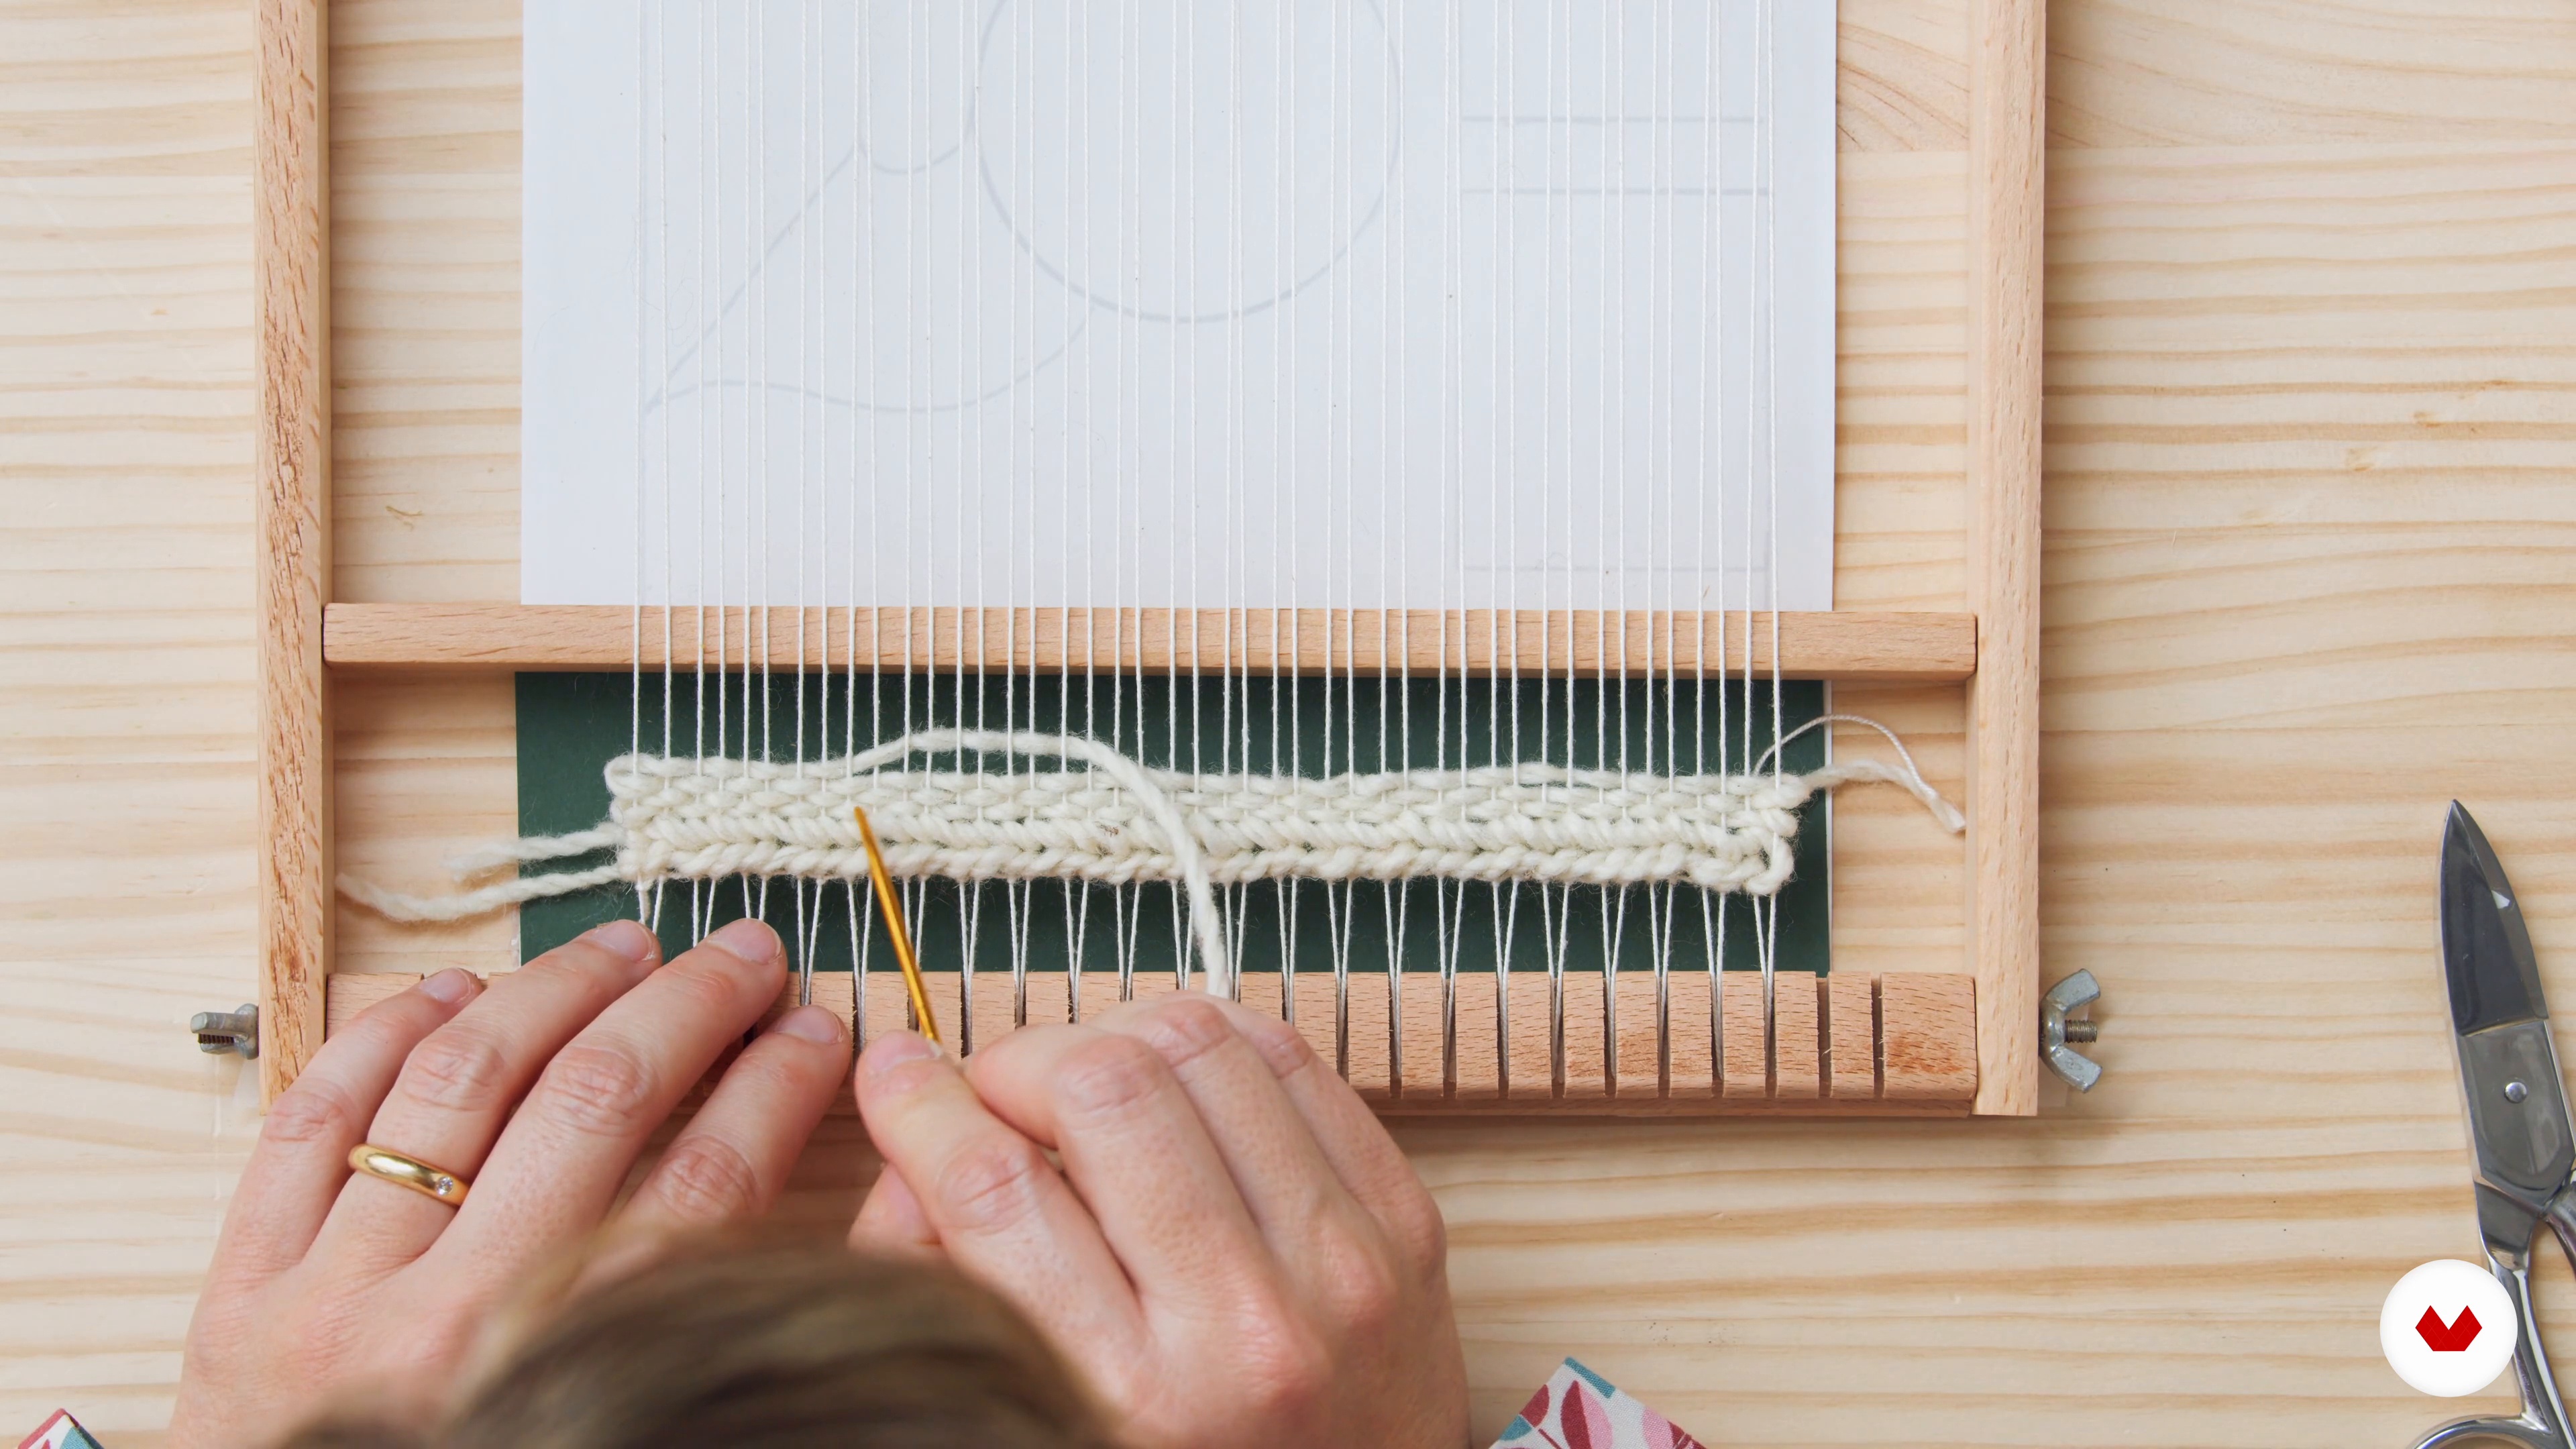
Prepare the loom and start weaving 2
In the second part of this class, after completing the background, I will apply the yarn I will use next. It's a longer yarn because I'm going to do the Soumak stitch.
17m
 14
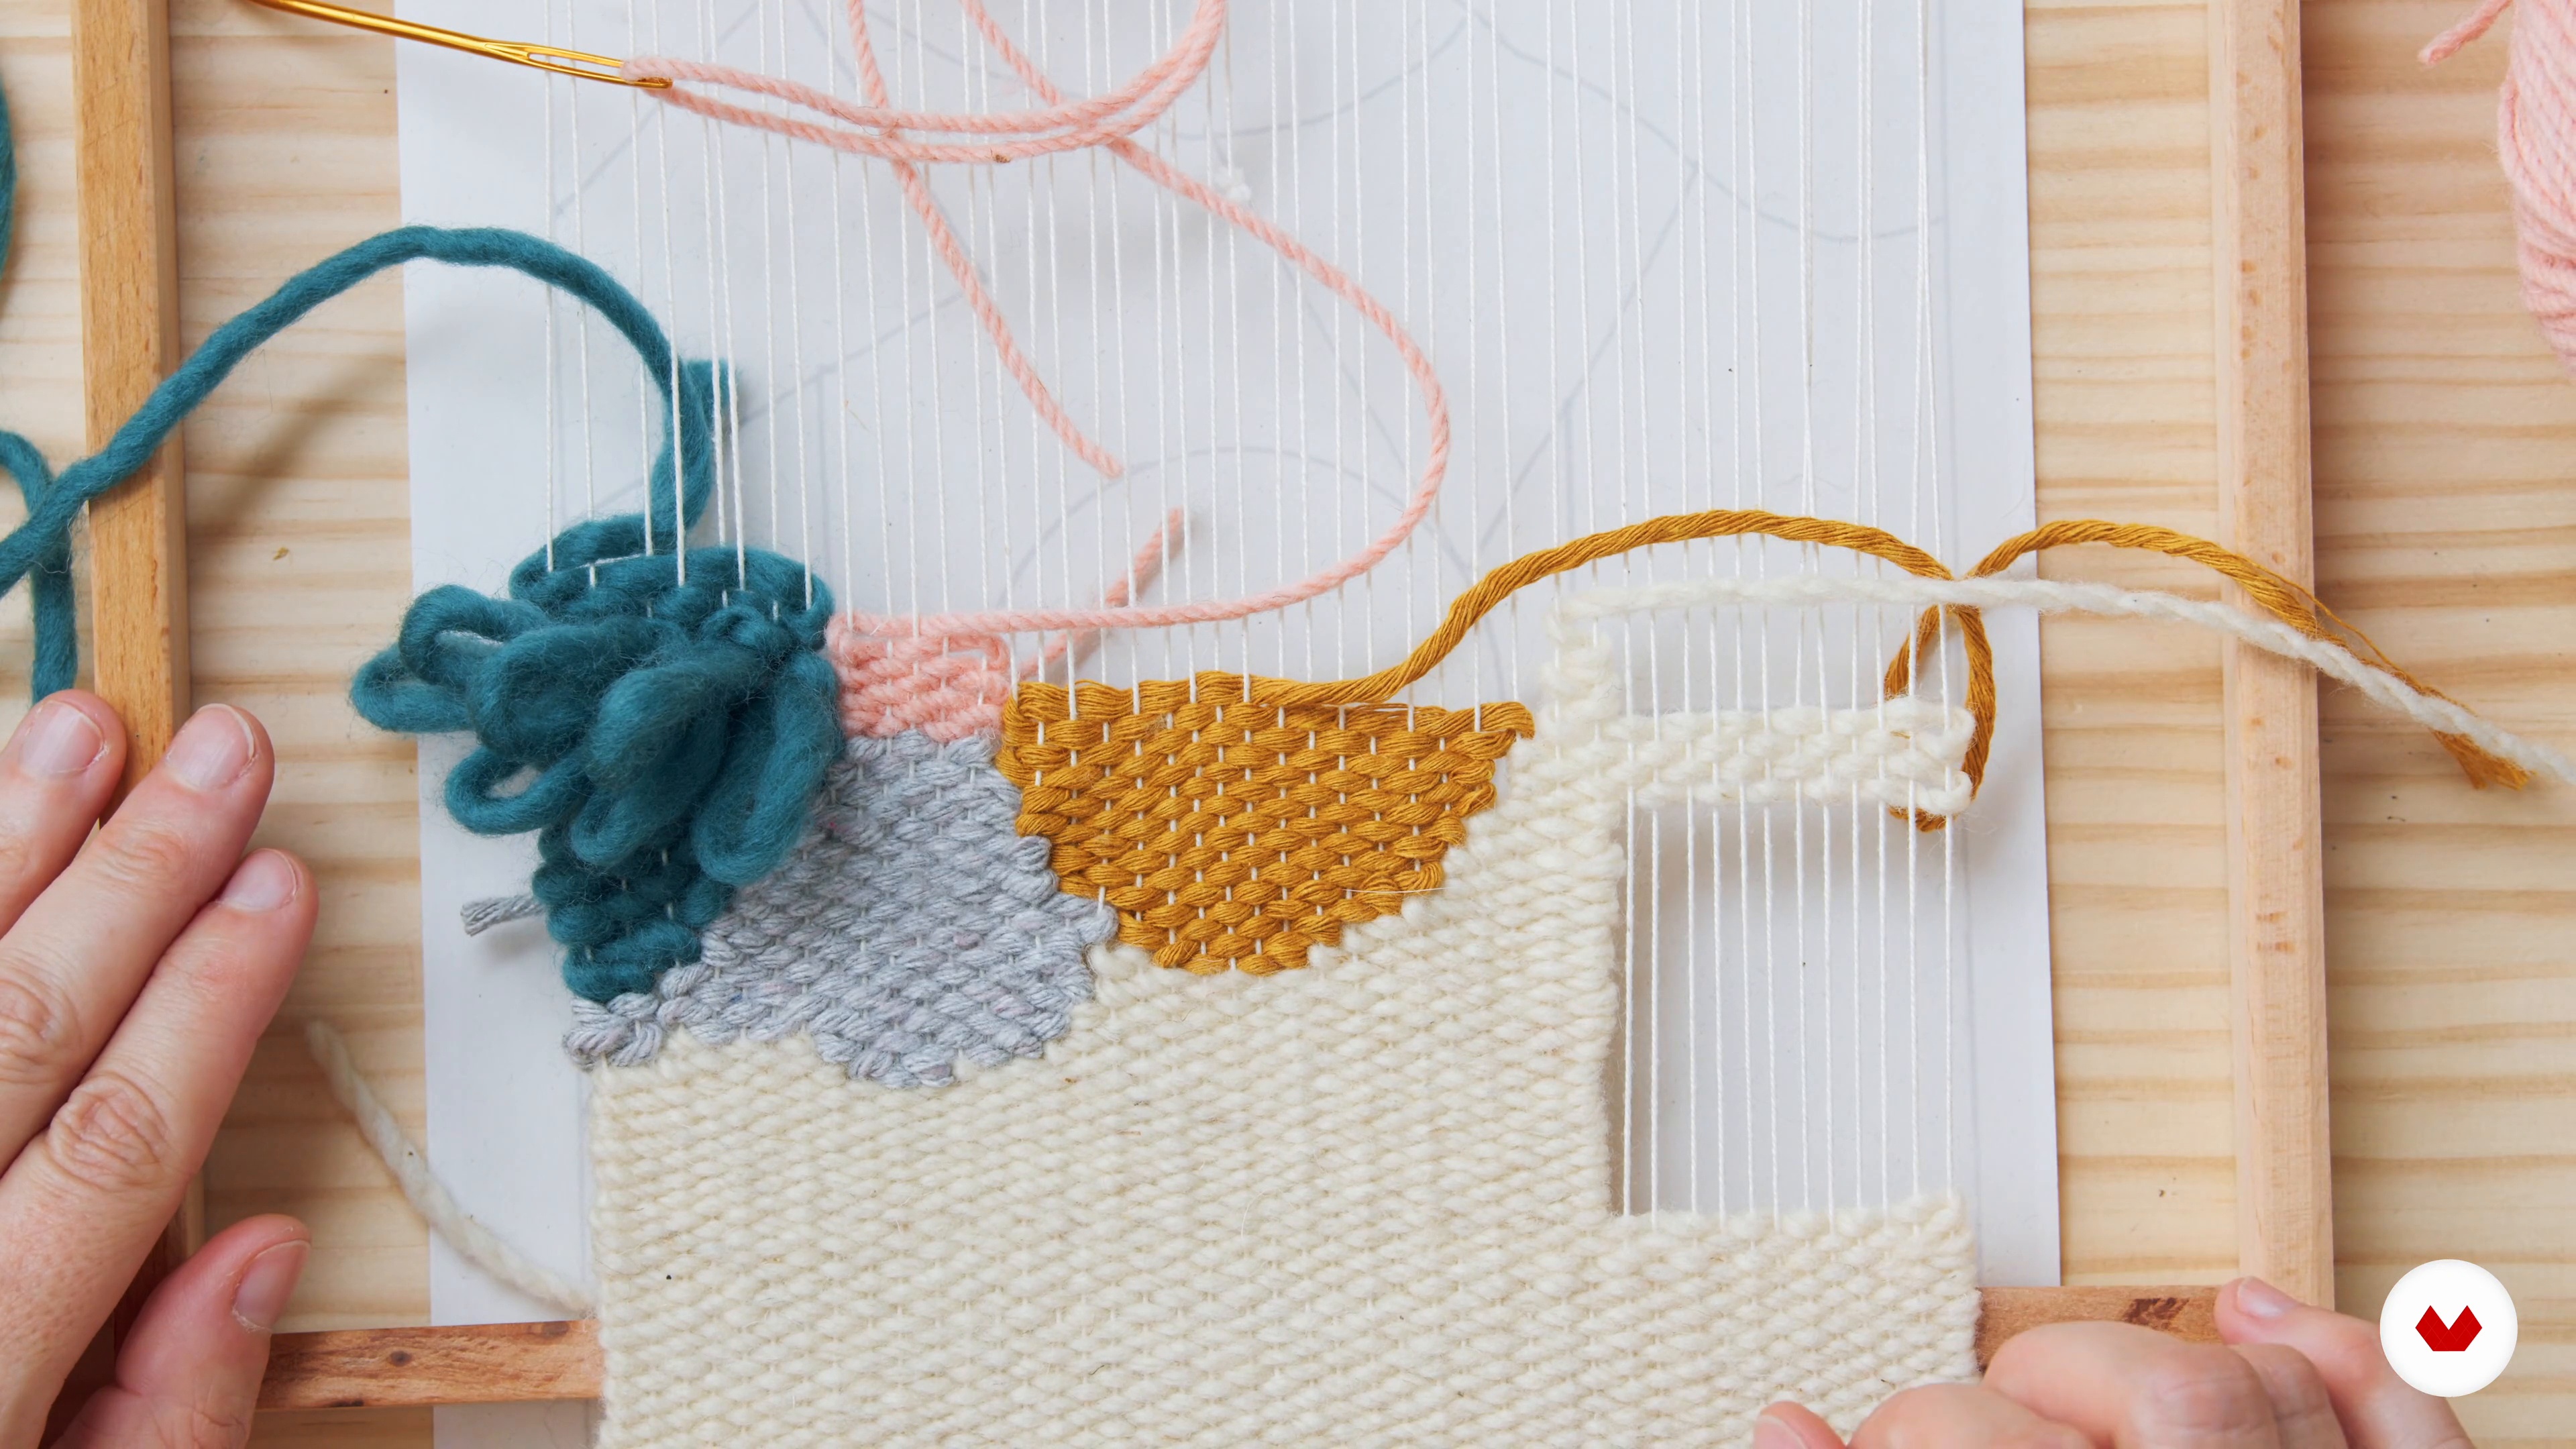
Create the void and weave the first shapes
It's time to create the empty effect and weave the first shapes, applying some of the points learned in this course.
20m
 15
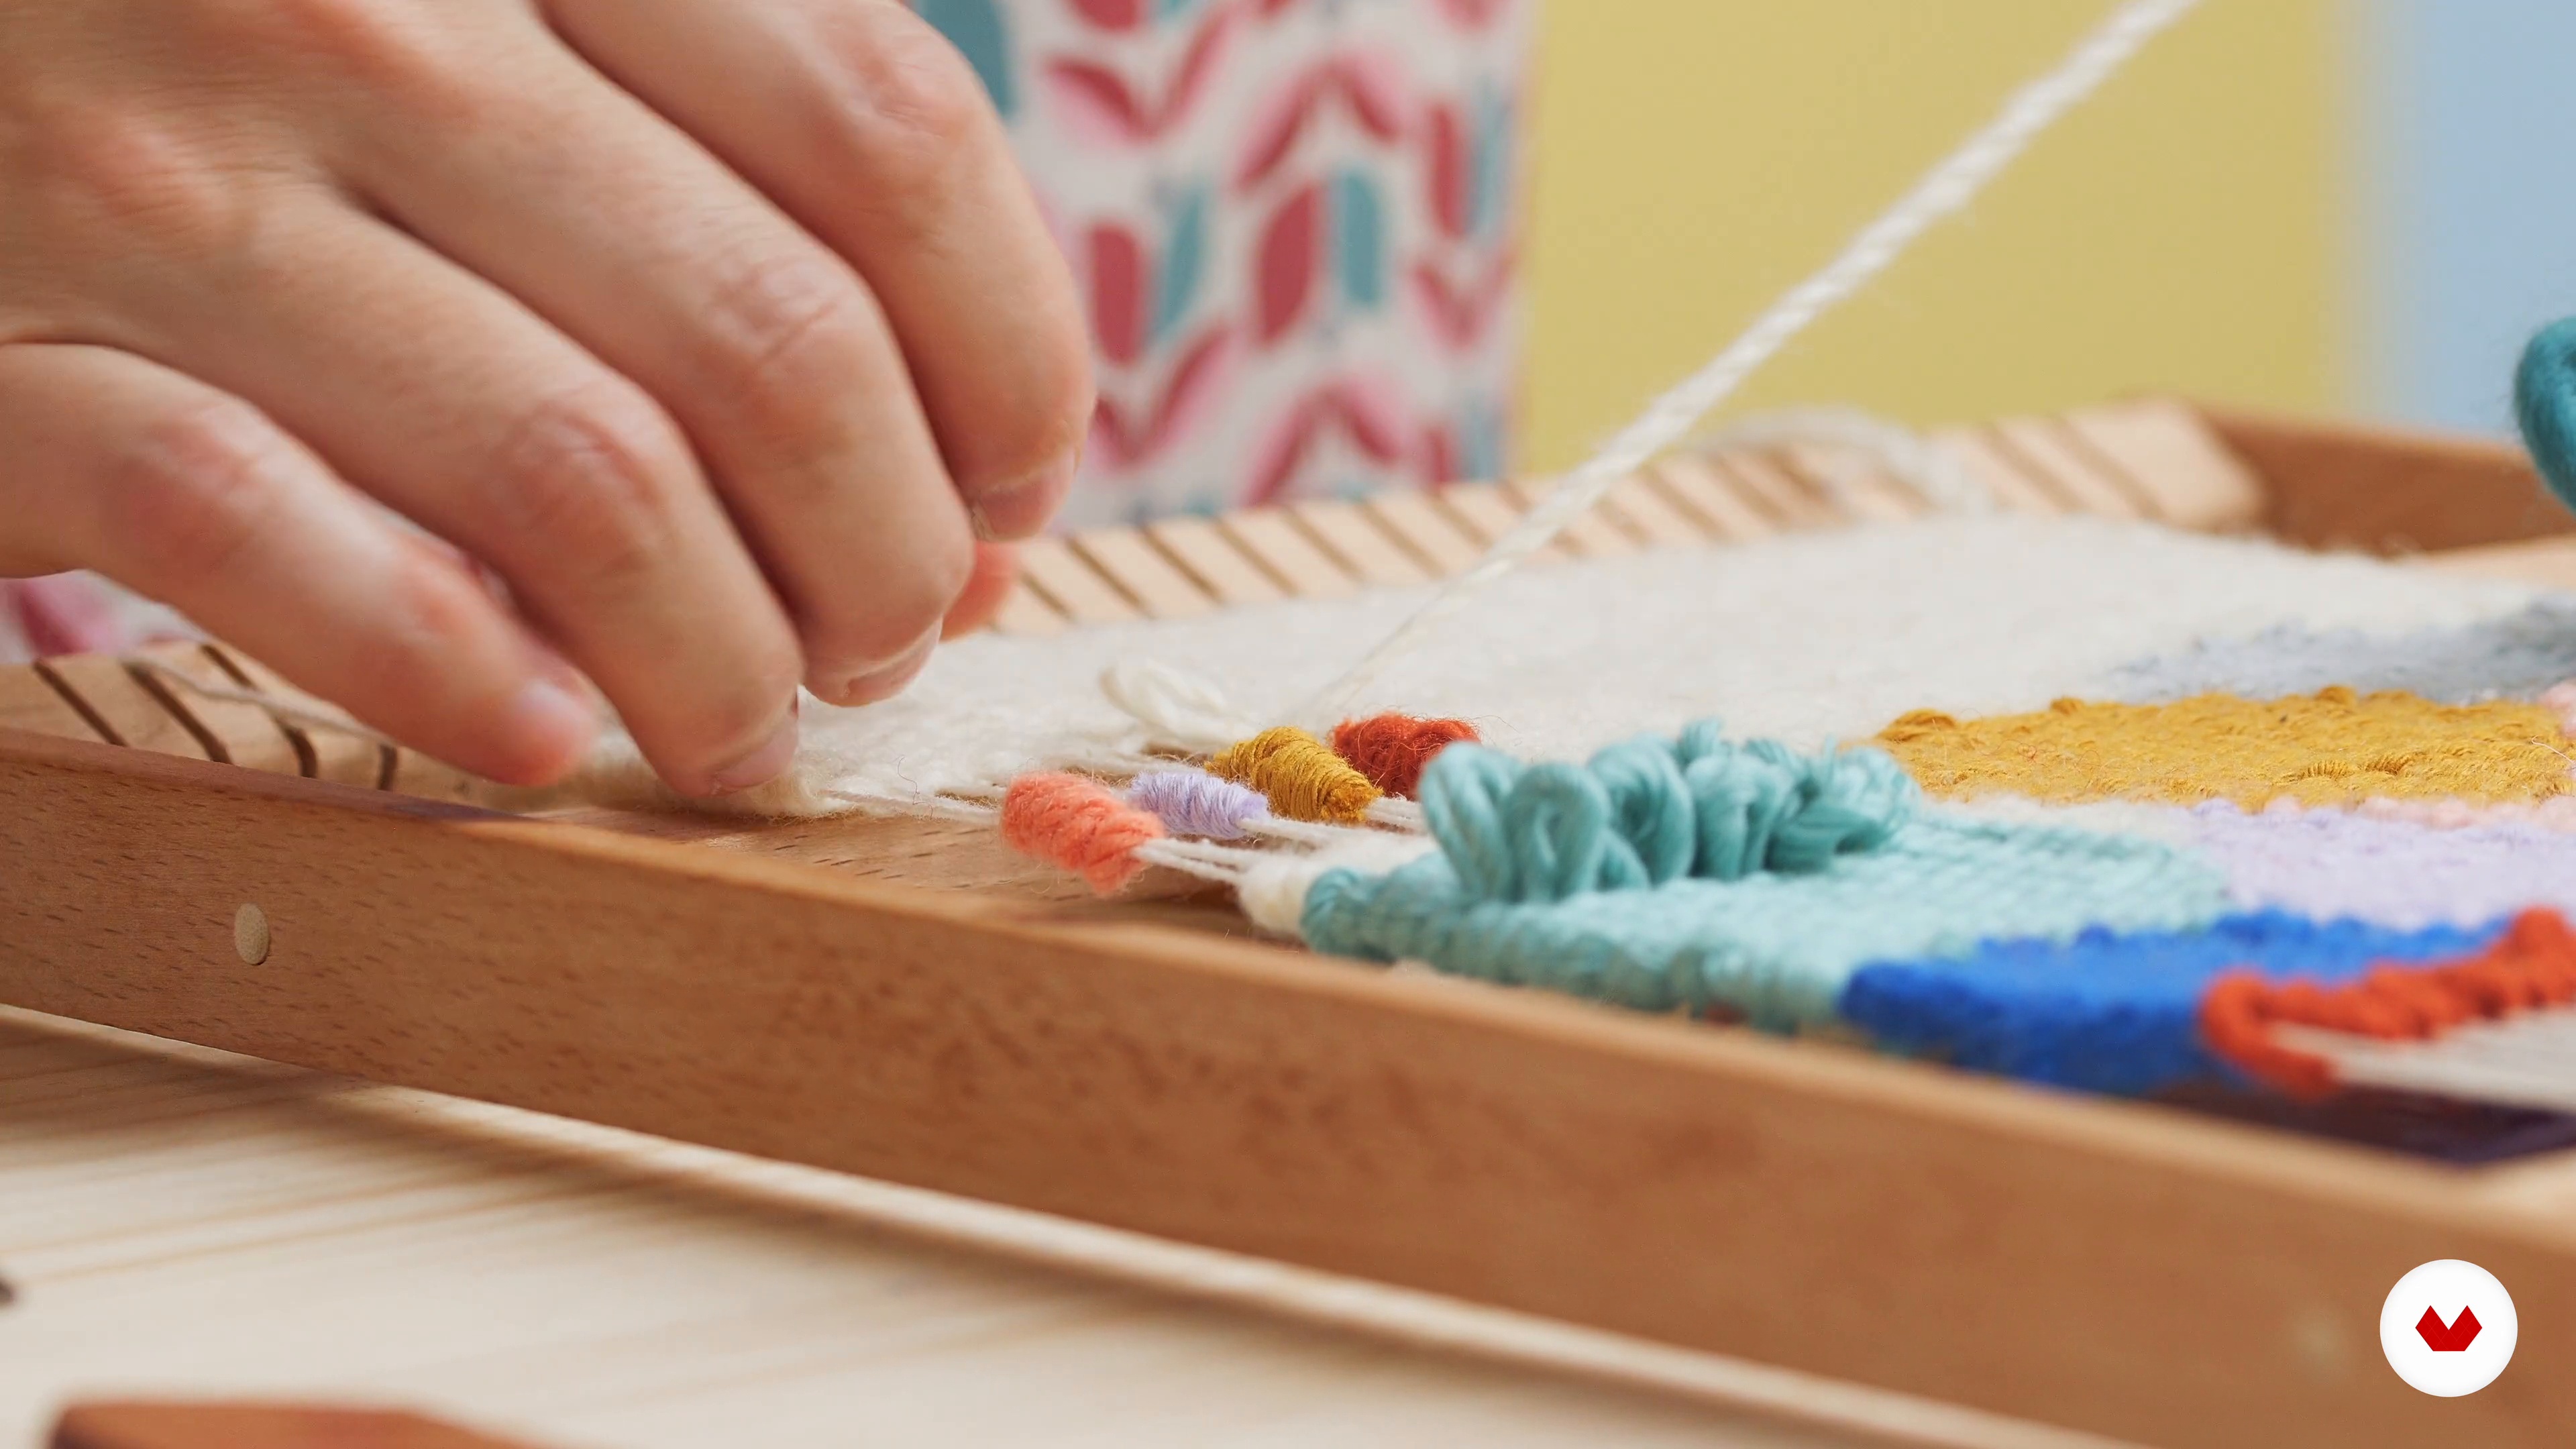
More shapes and finish
In this class, I will continue to weave the piece, following the design, until I reach the top of the loom, where I will explain my preferred way of finishing.
17m
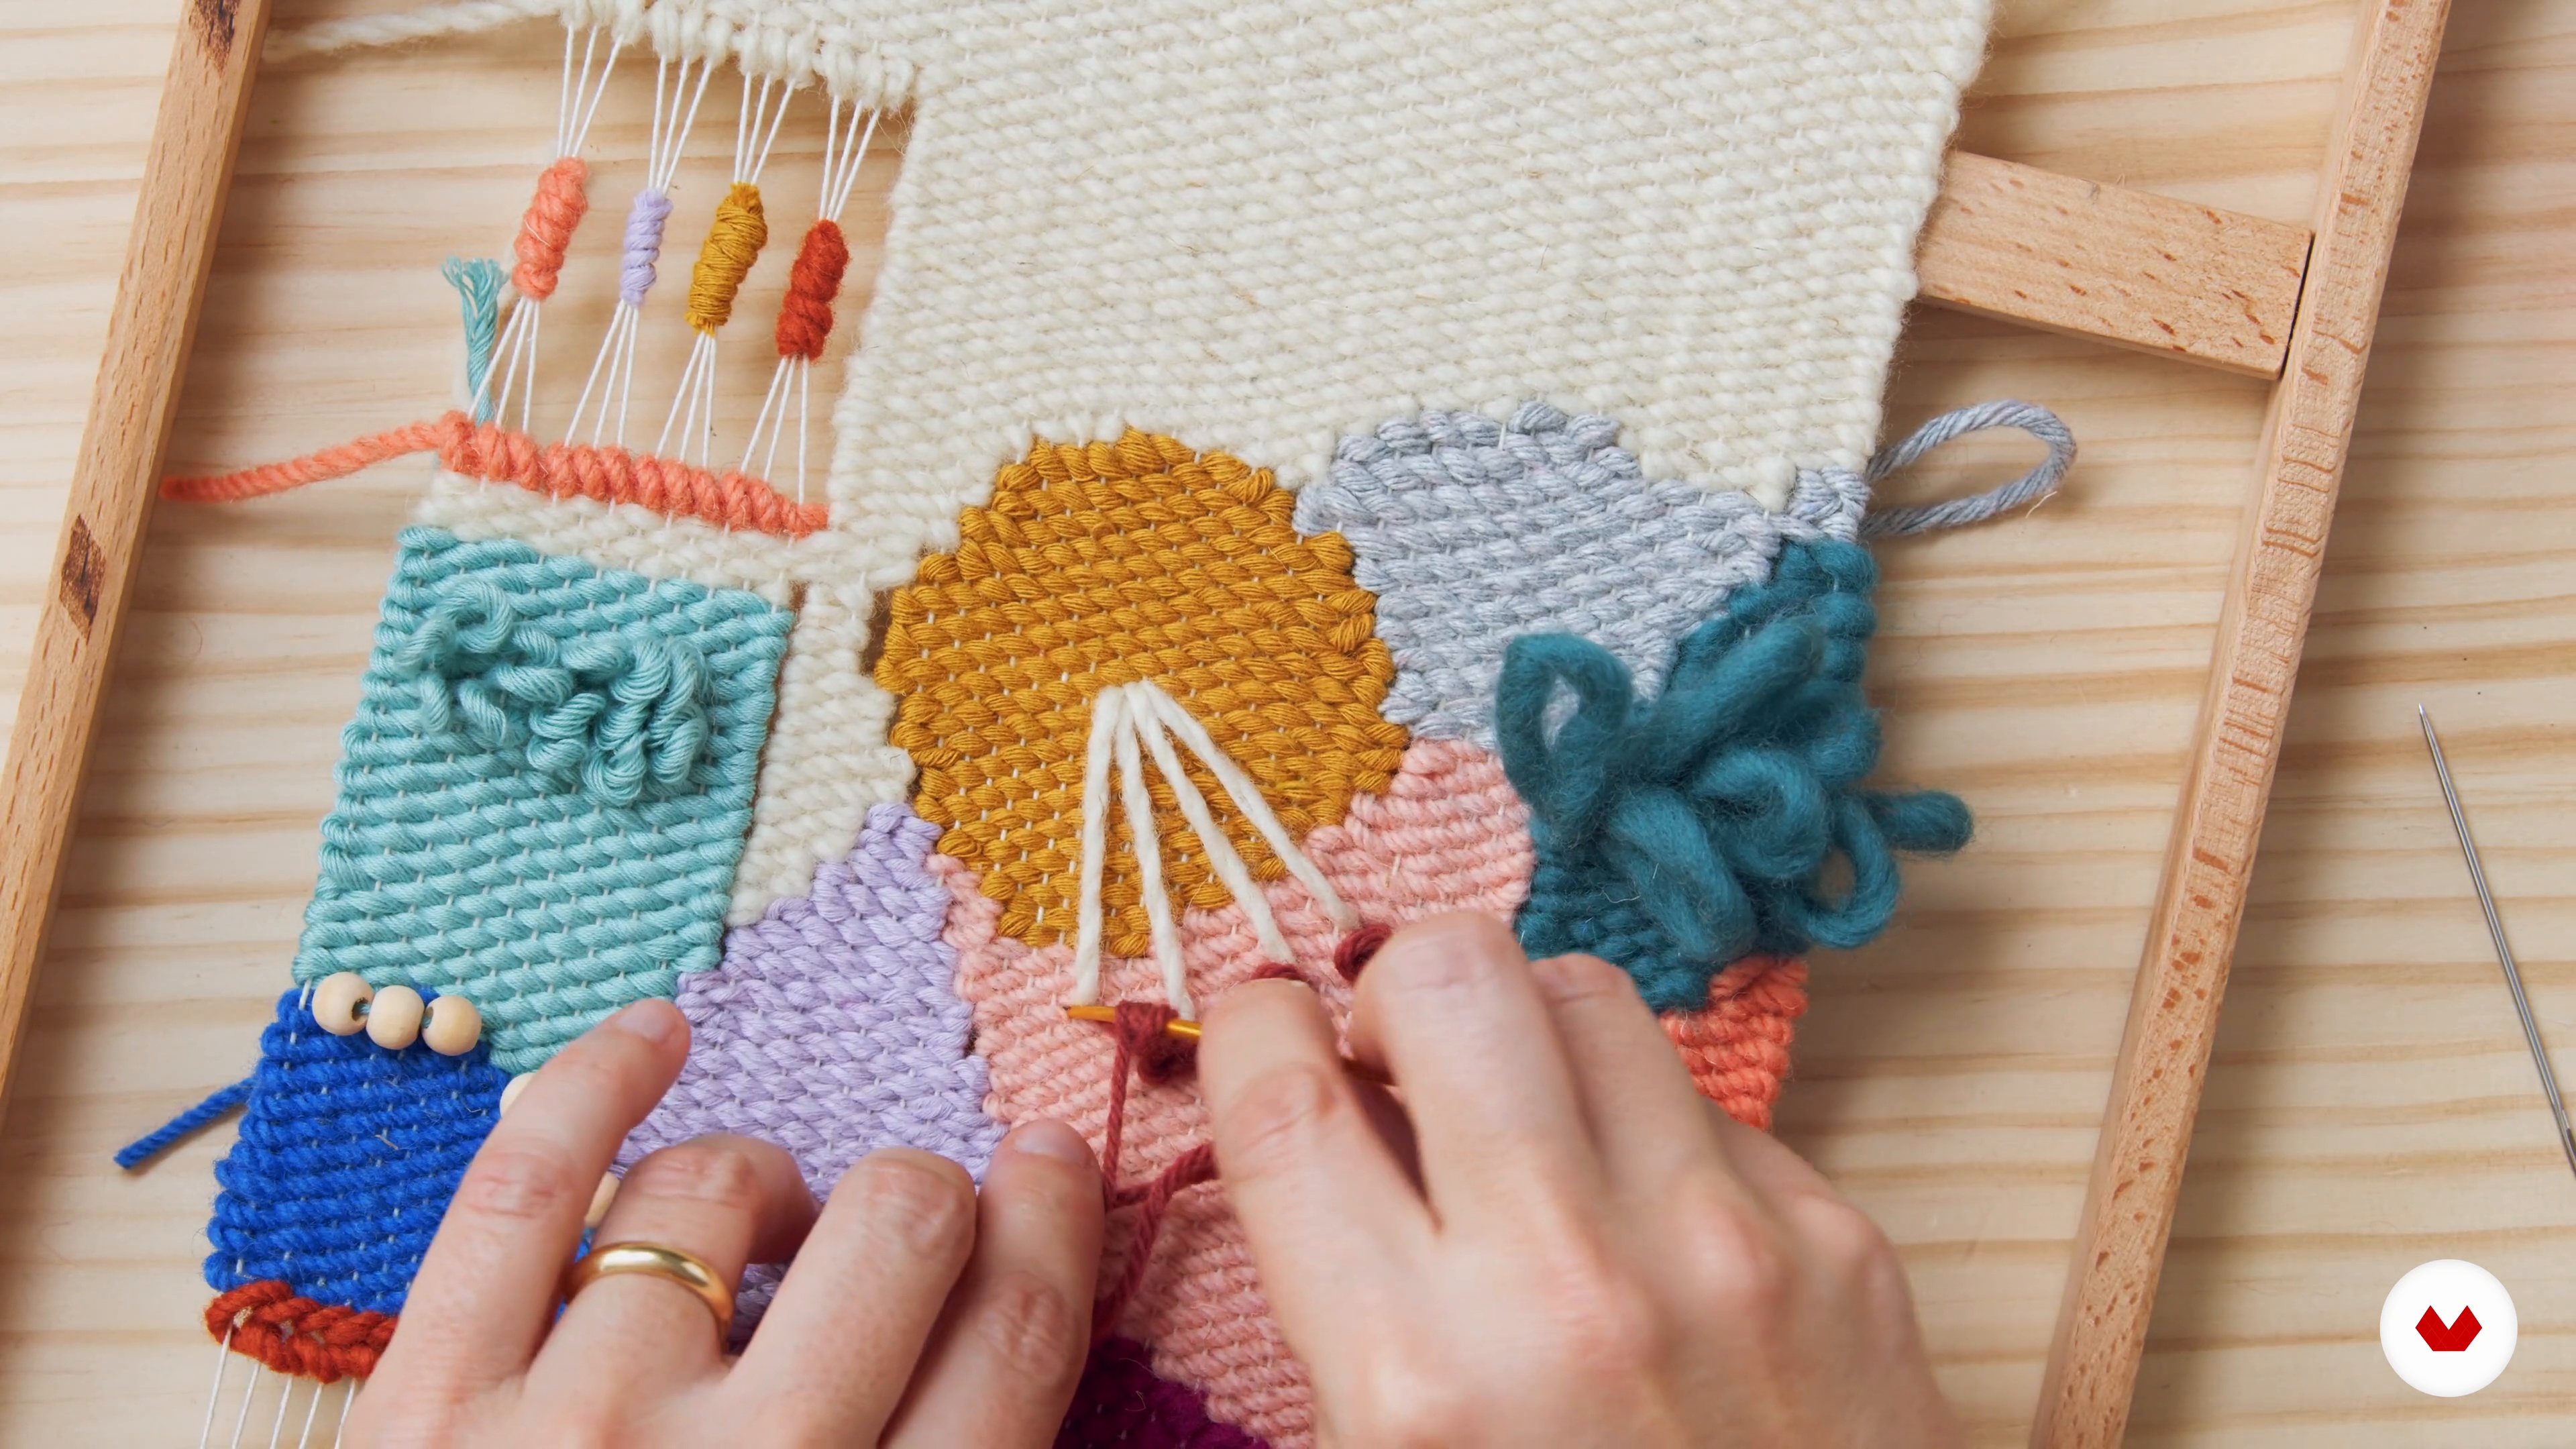 16
Props and embroidery
After the woven piece and before removing the piece from the loom, it was time to put on the various props and embroider.
19m
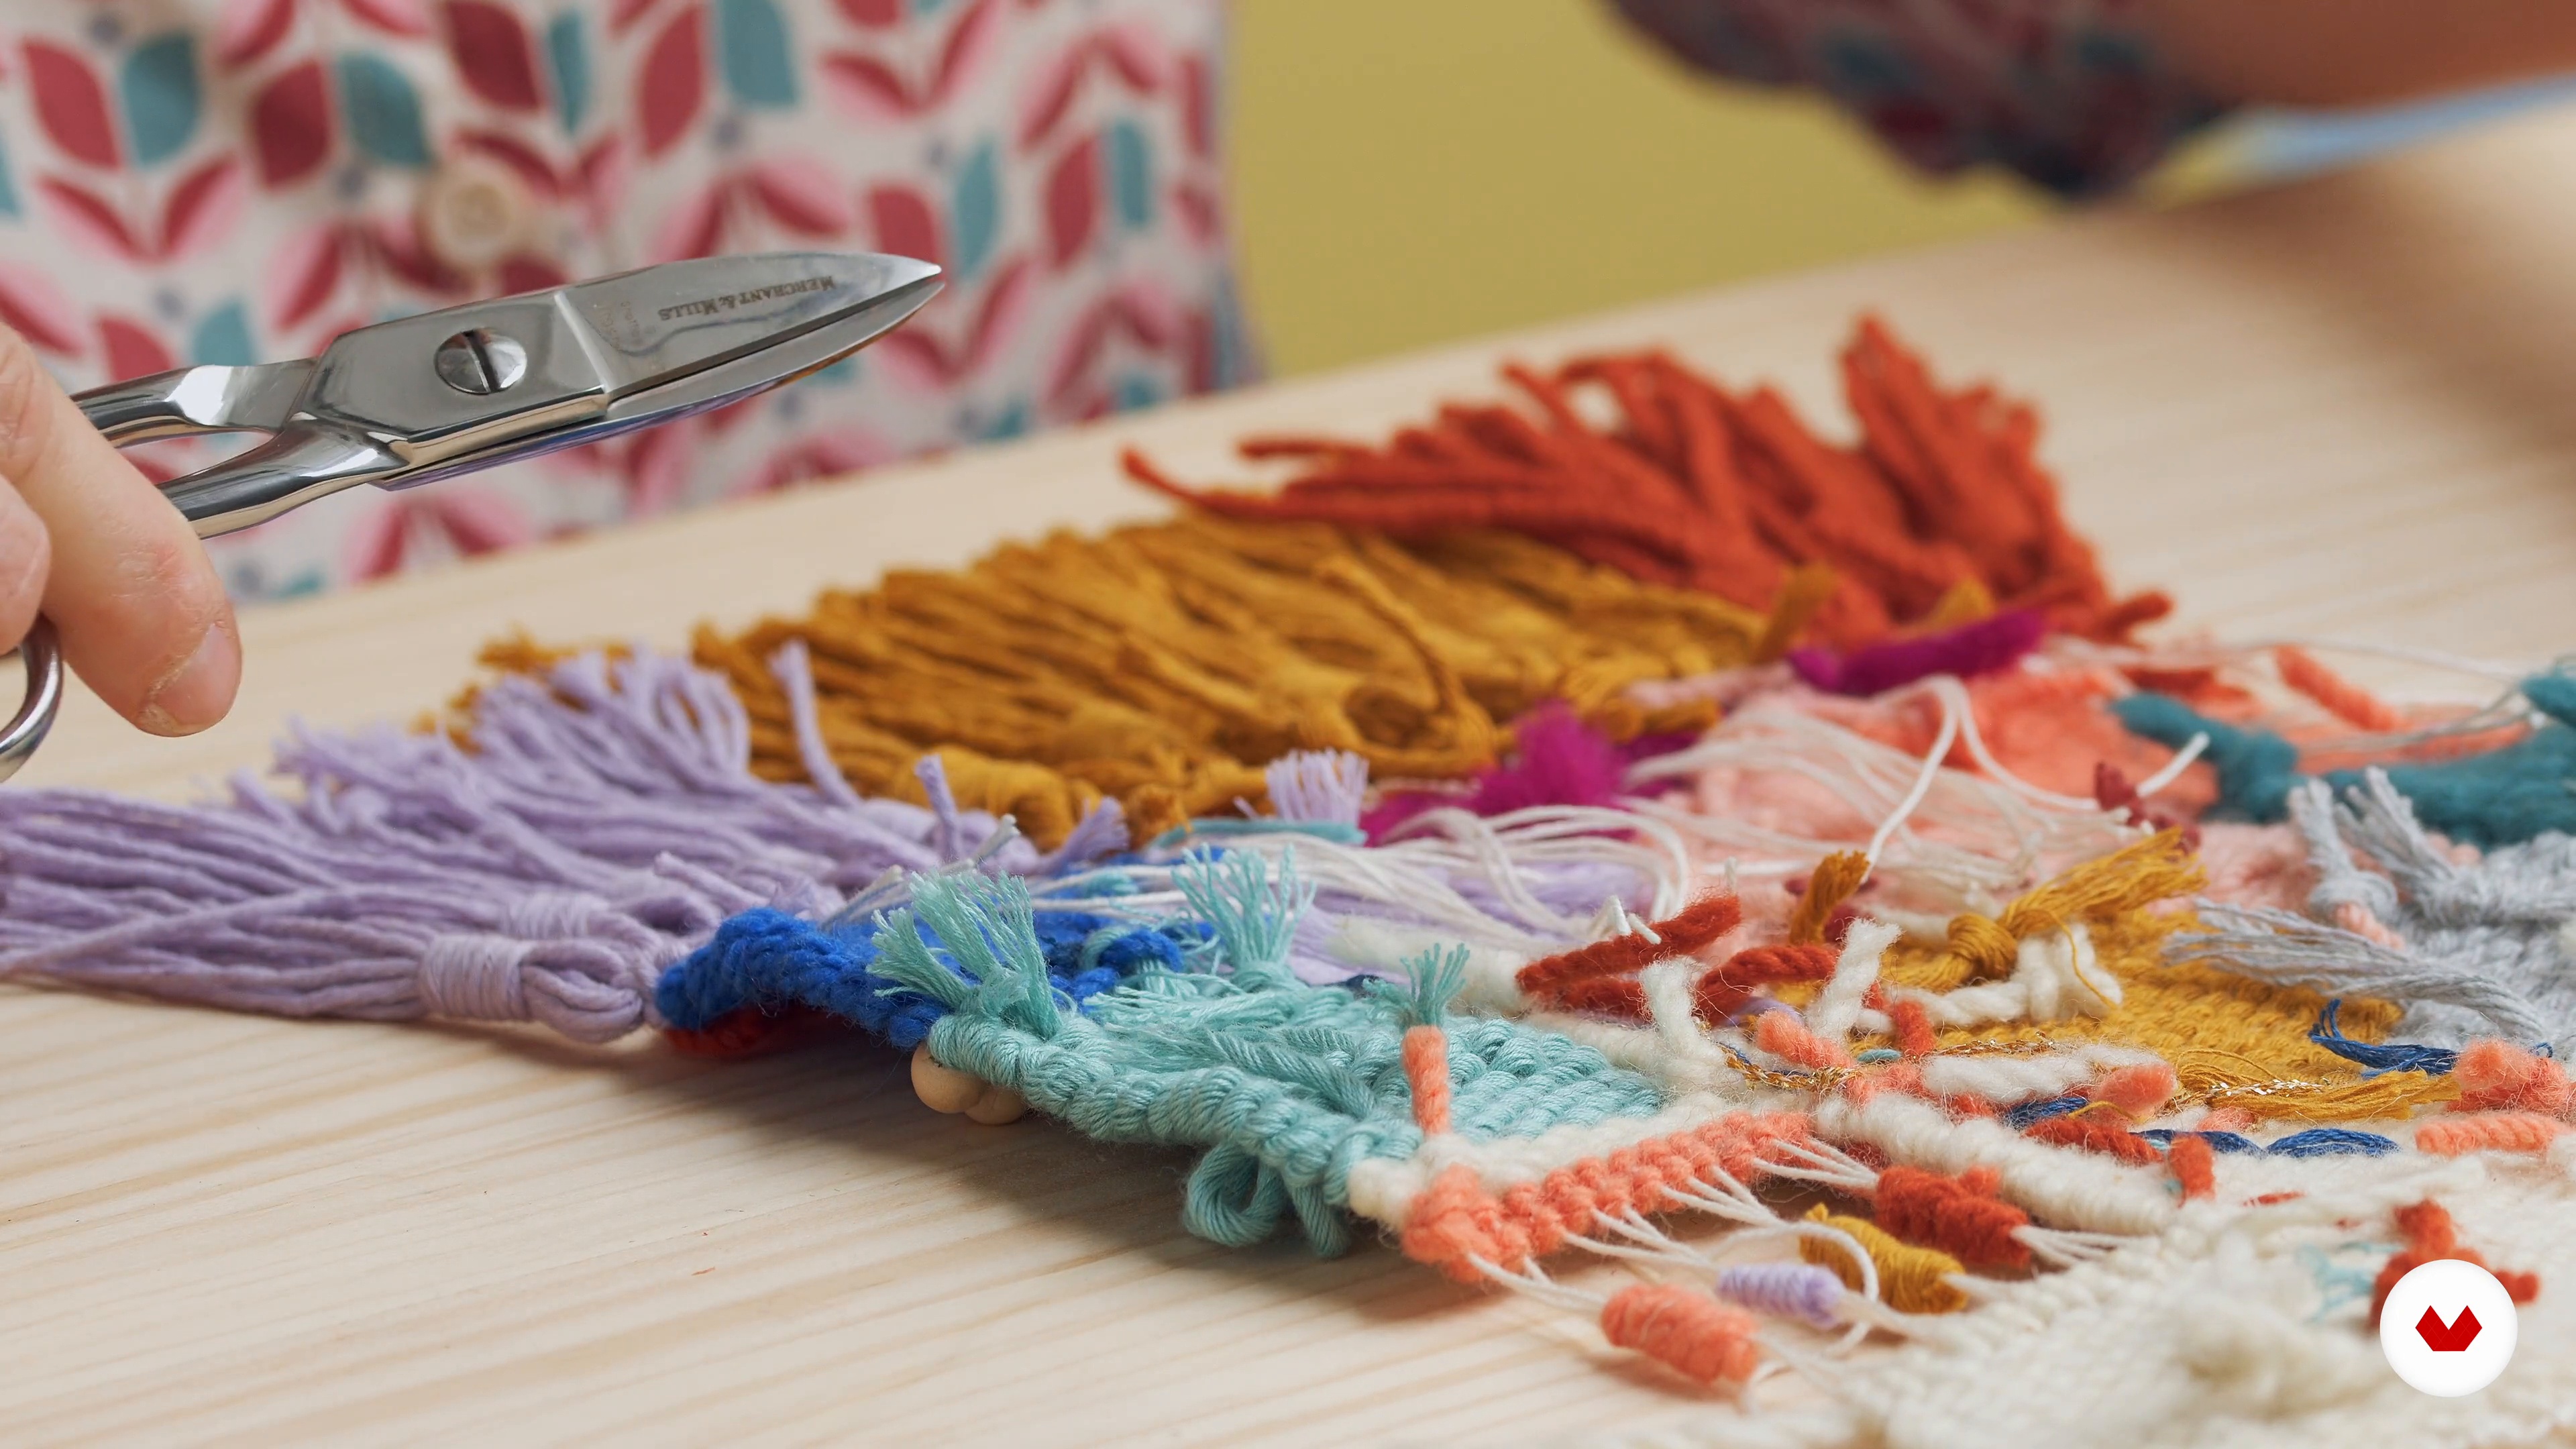 17
Finish off the piece and take it off the loom
Now that the piece is almost finished, it's time to finish off the loose ends inside out, take the piece off the loom and add the trinkets.
17m
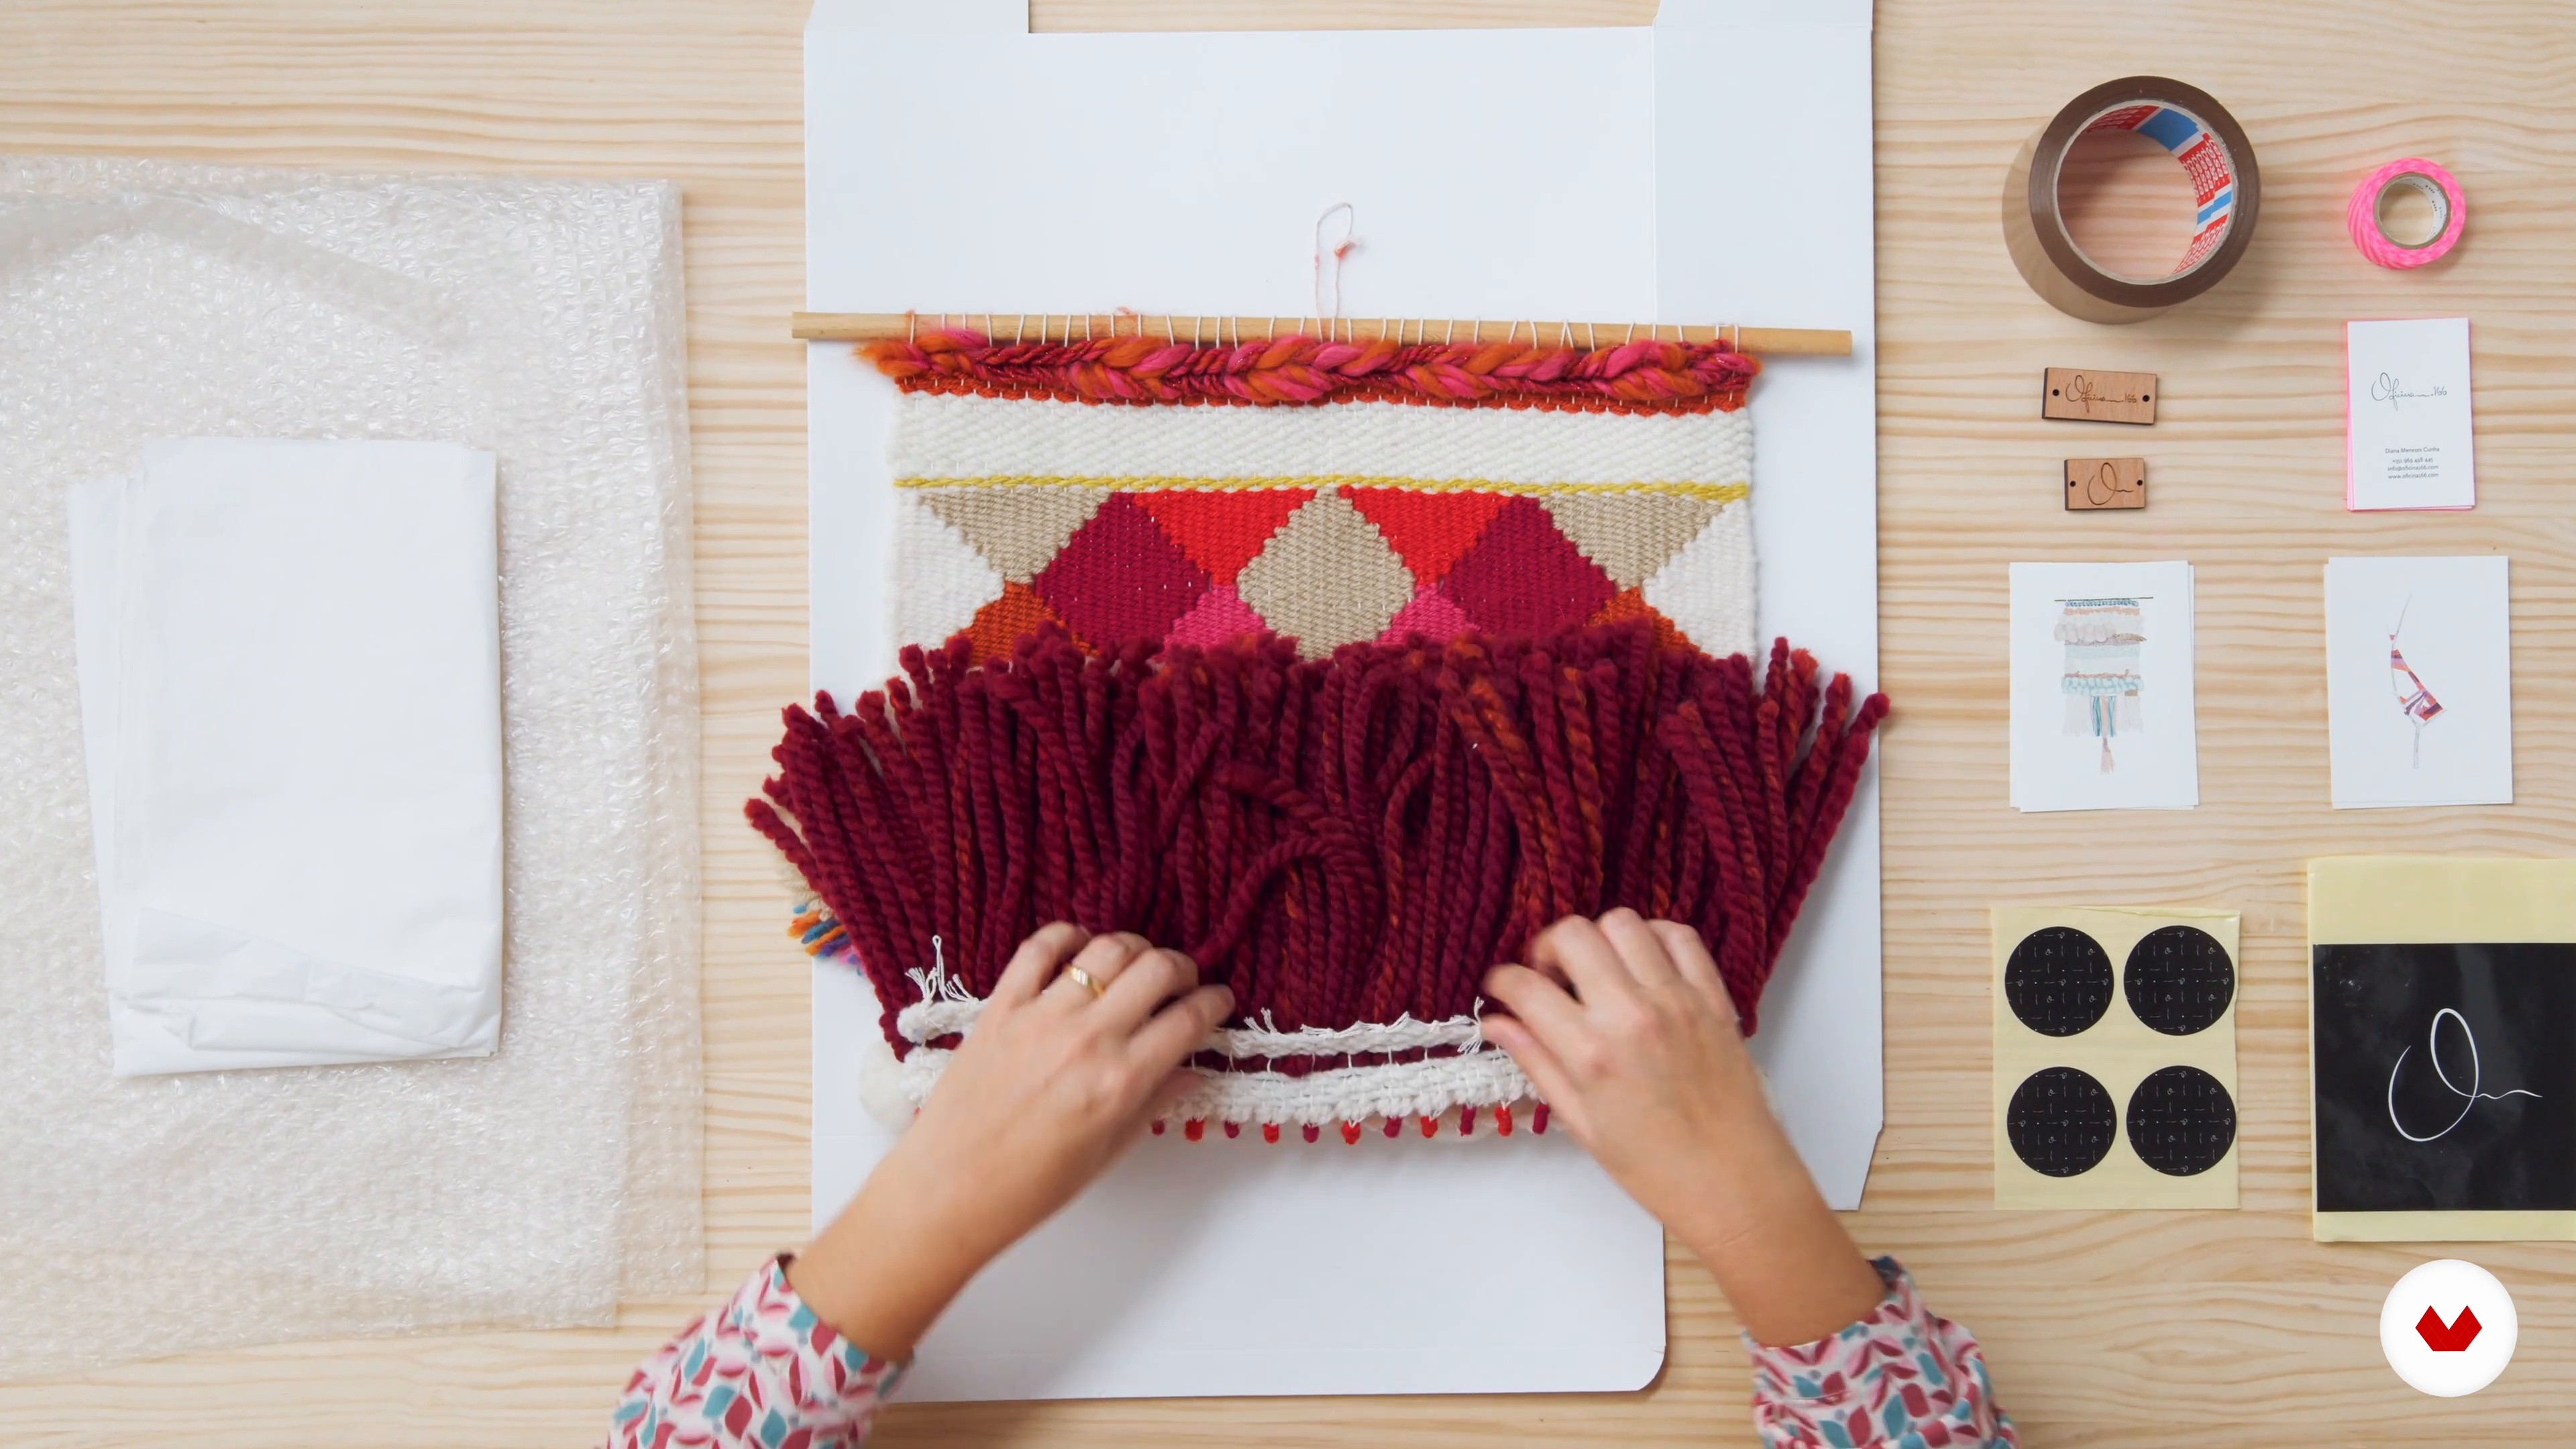 18
Storage and shipping tips
In this class, I will explain how to pack and prepare a tapestry for transport. Cleaning and conservation are also important topics that I will mention.
19m
 19
Composition and environment
This class will be dedicated to how I usually think about the ideal piece for each client and how I do the entire installation process.
14m
 4
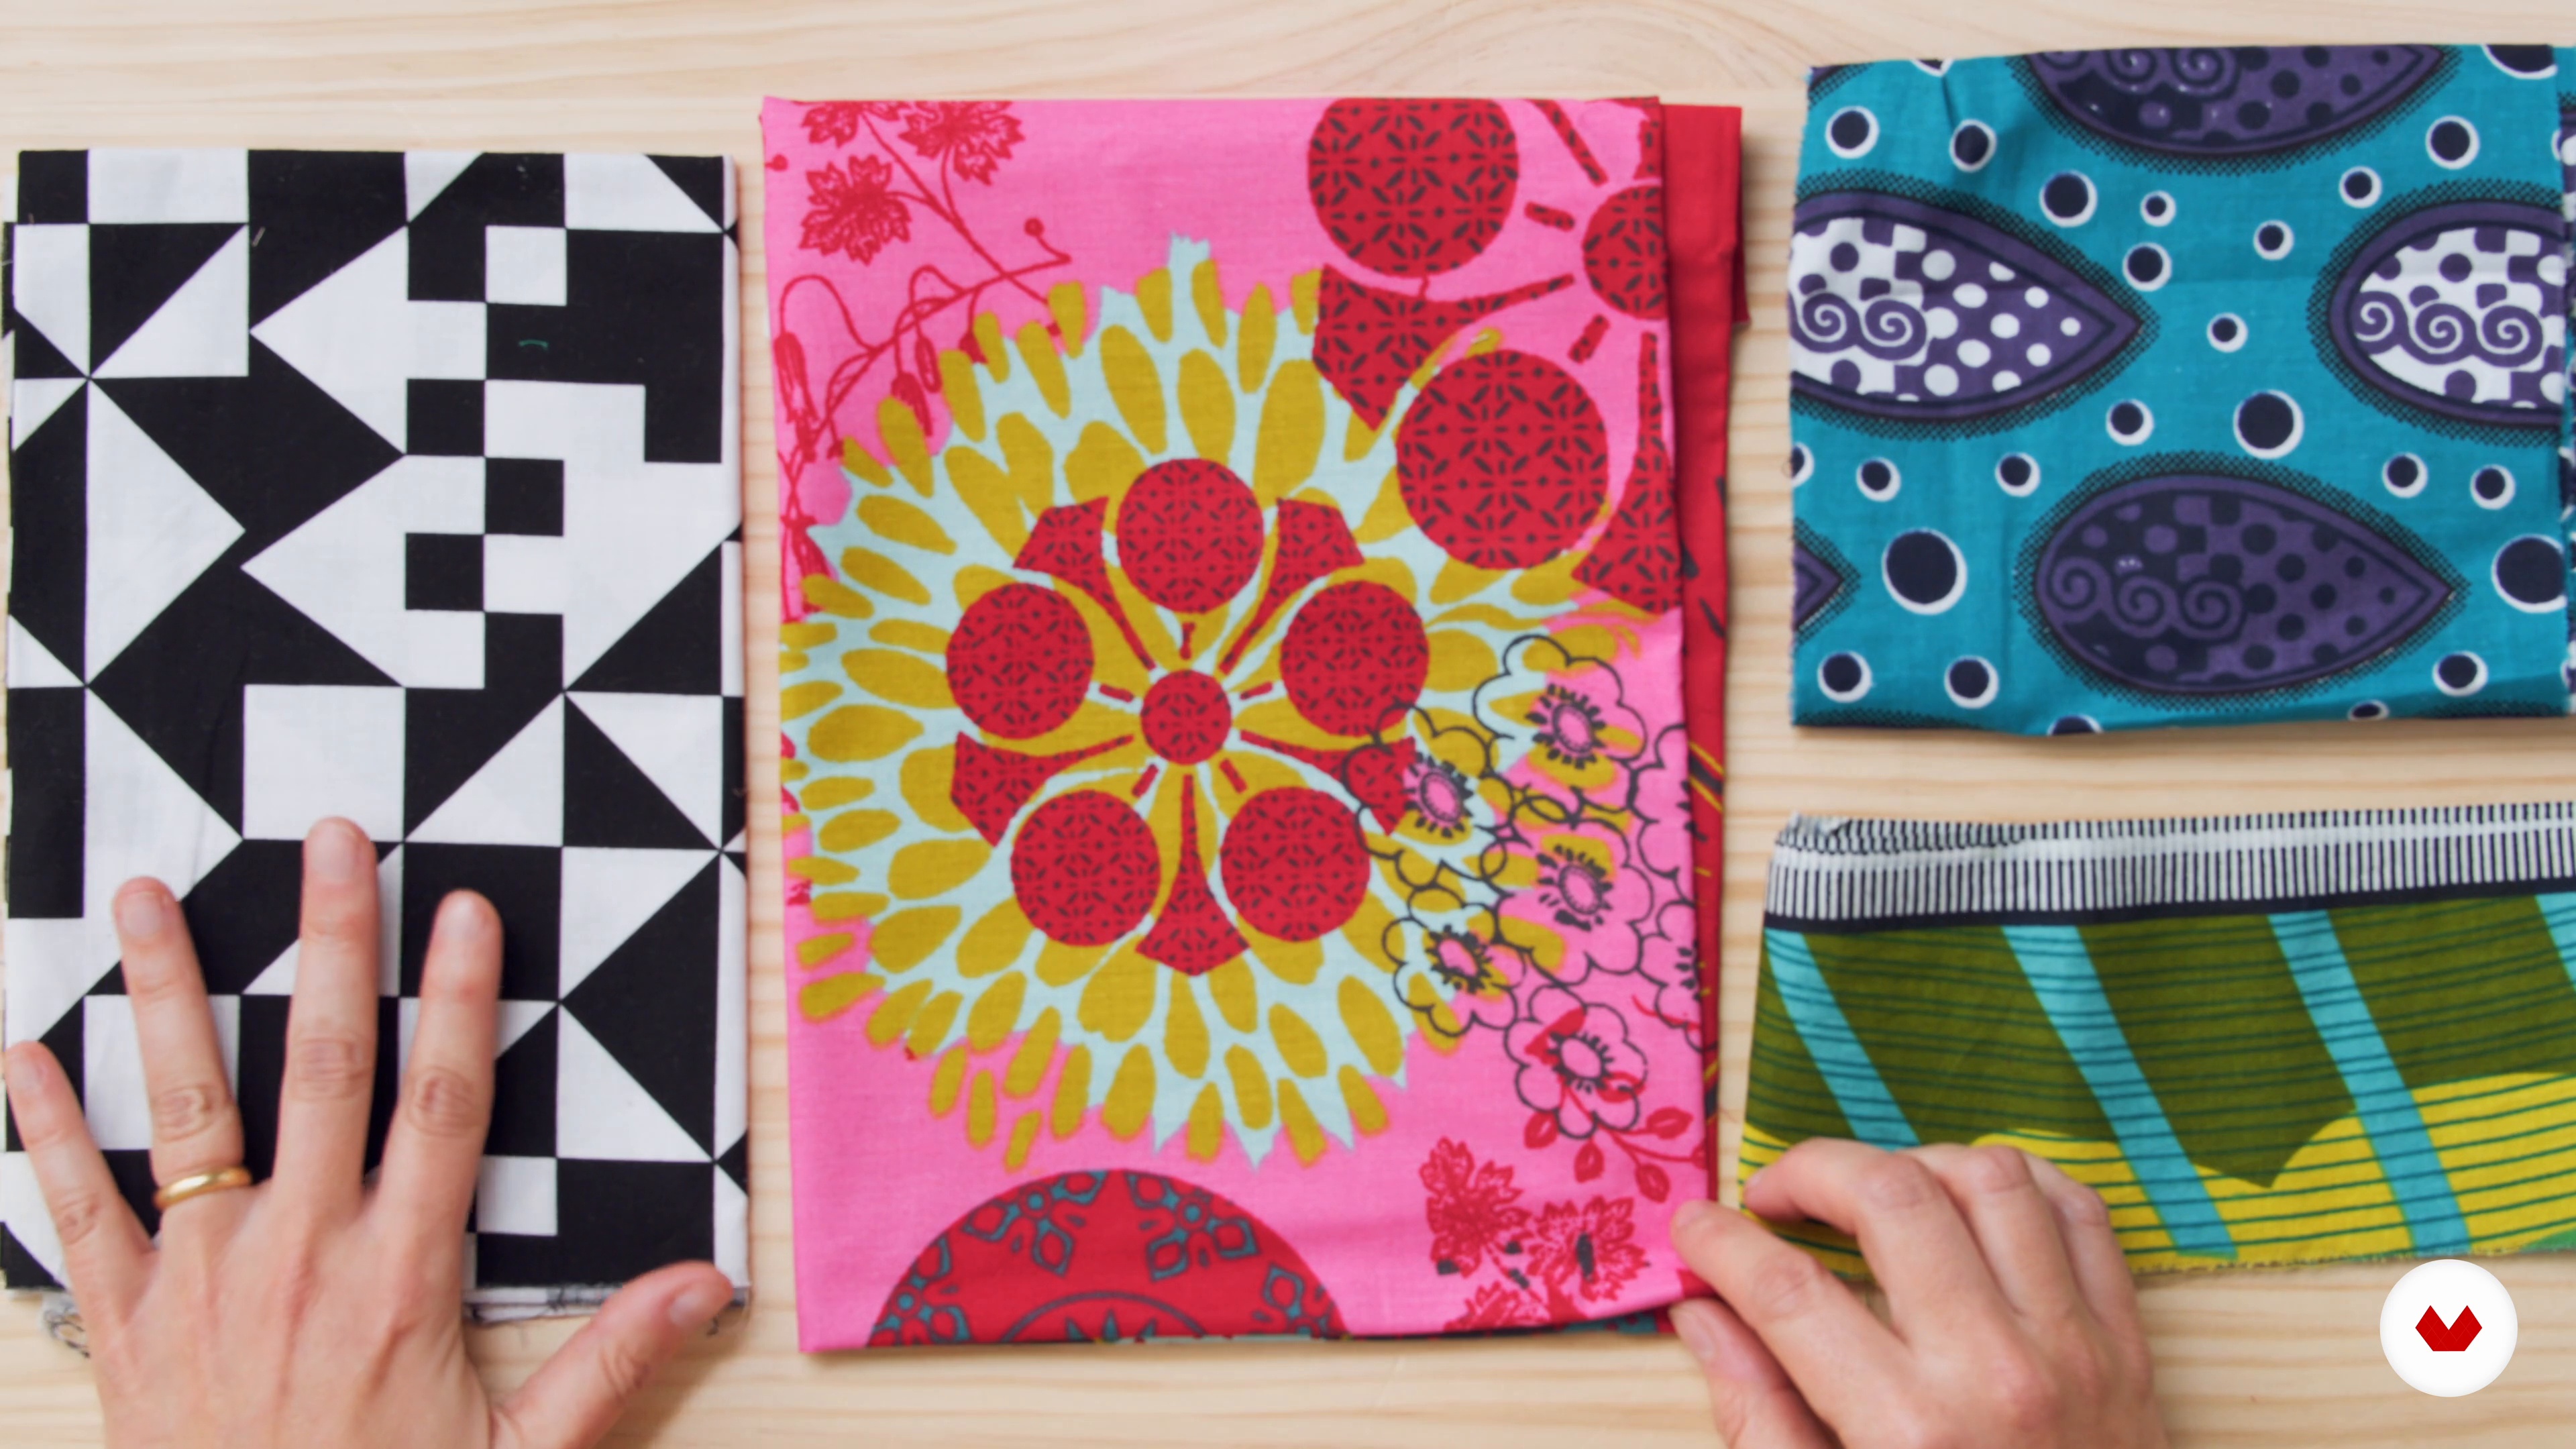
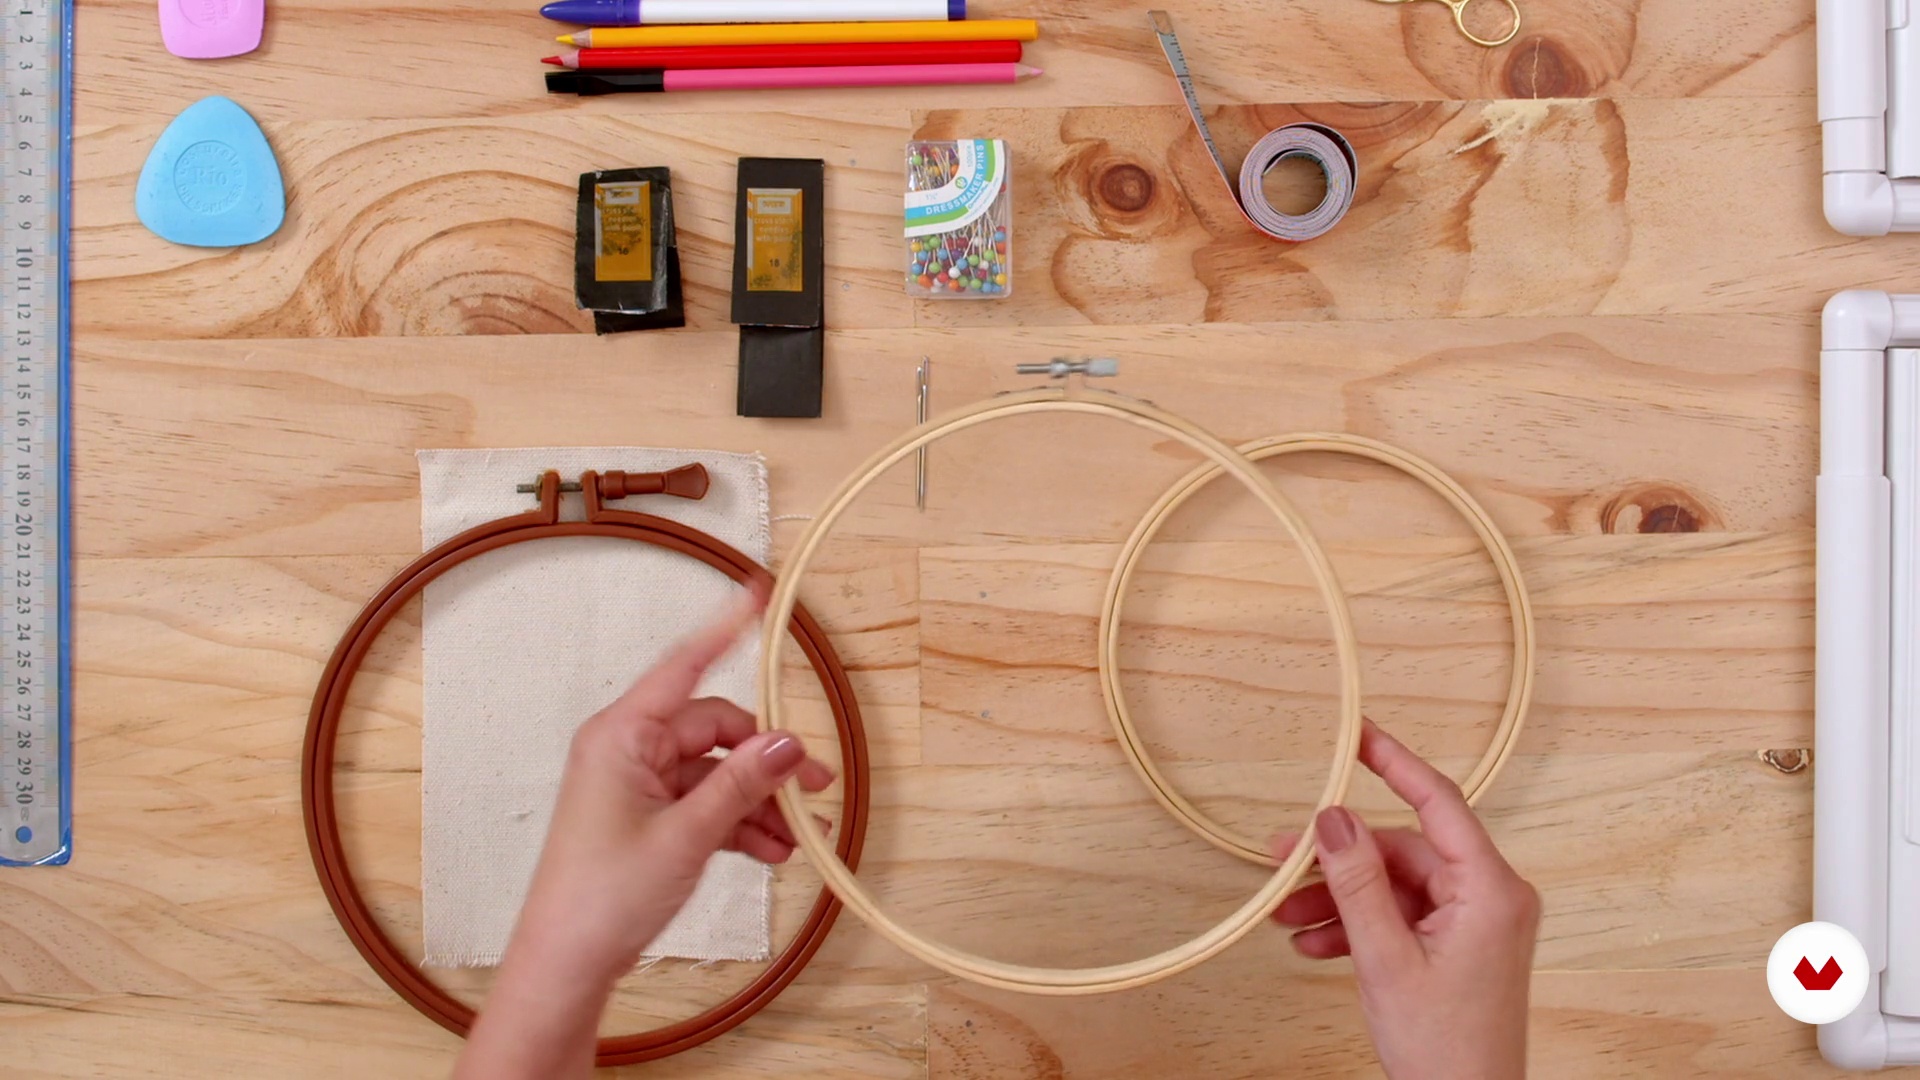
Tools and materials
Here I will show you the different tools that we will need and that we can find in the market. From needles, racks, markers and the different fabrics where we can apply our creations. Then I will show you the wide range of materials that can be used in this technique, from ropes, to wool and fabrics.
8m
 5
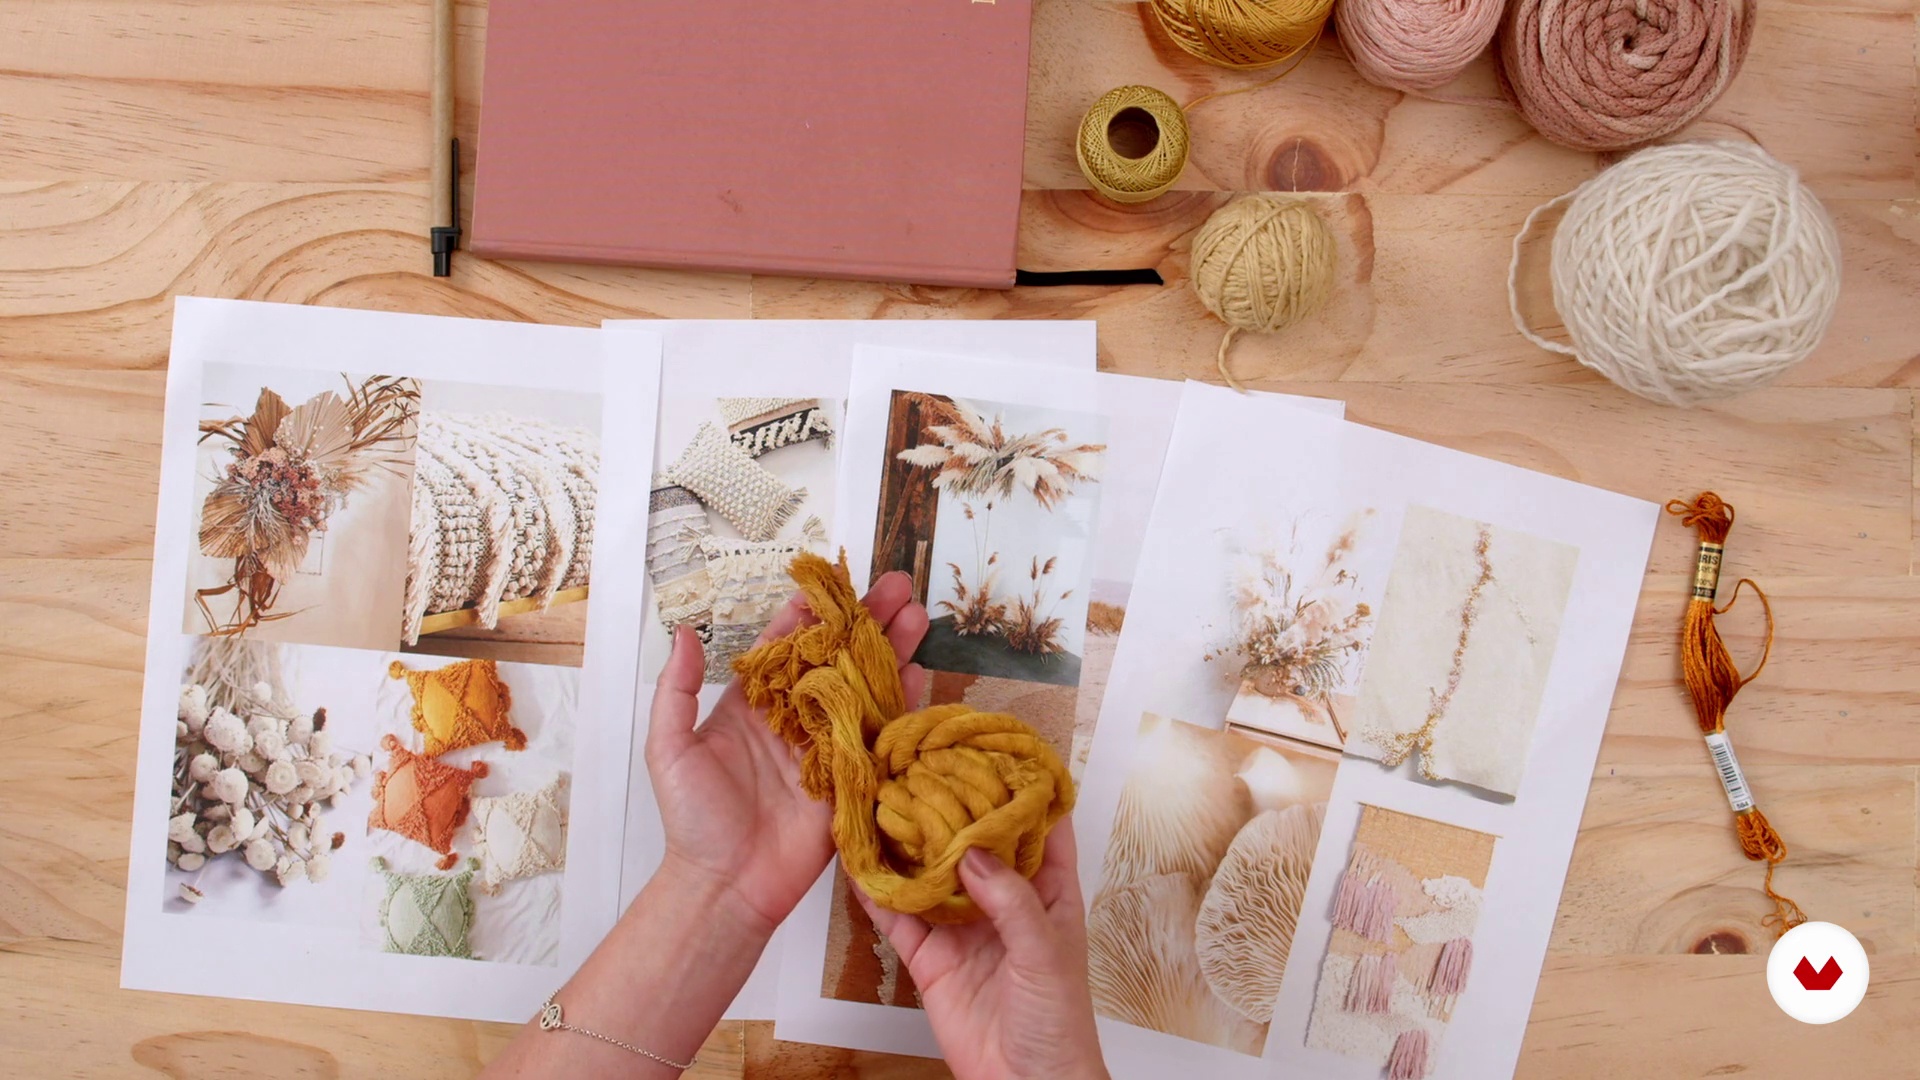
Inspiration and sketch
Here I will show you some sources of inspiration to create a sketch with them and that we will later transfer to our base fabric.
3m
 6
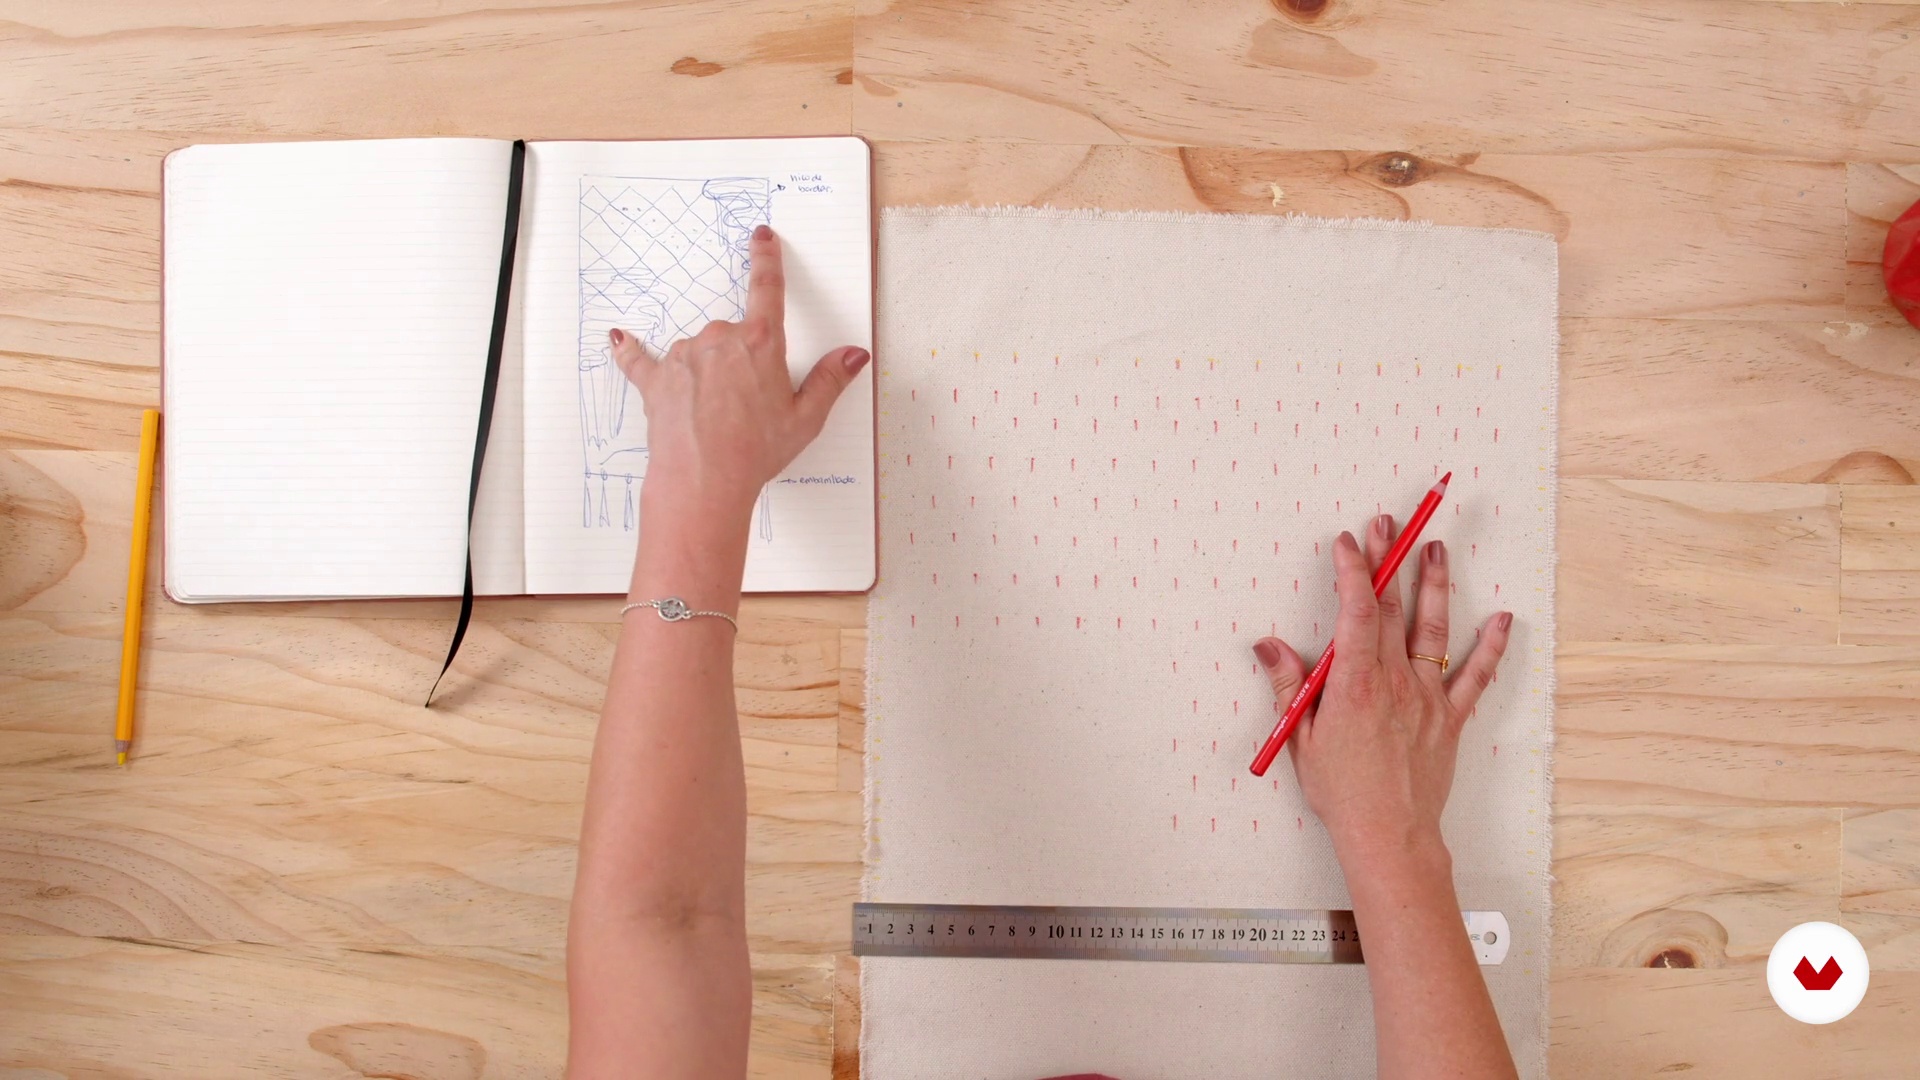
Transfer of the sketch to the fabric
With our sketch ready, I will teach you how to make a pattern which we will transfer to our base fabric. Finally, we will prepare our hoop and fabric to start embroidering.
6m
 7
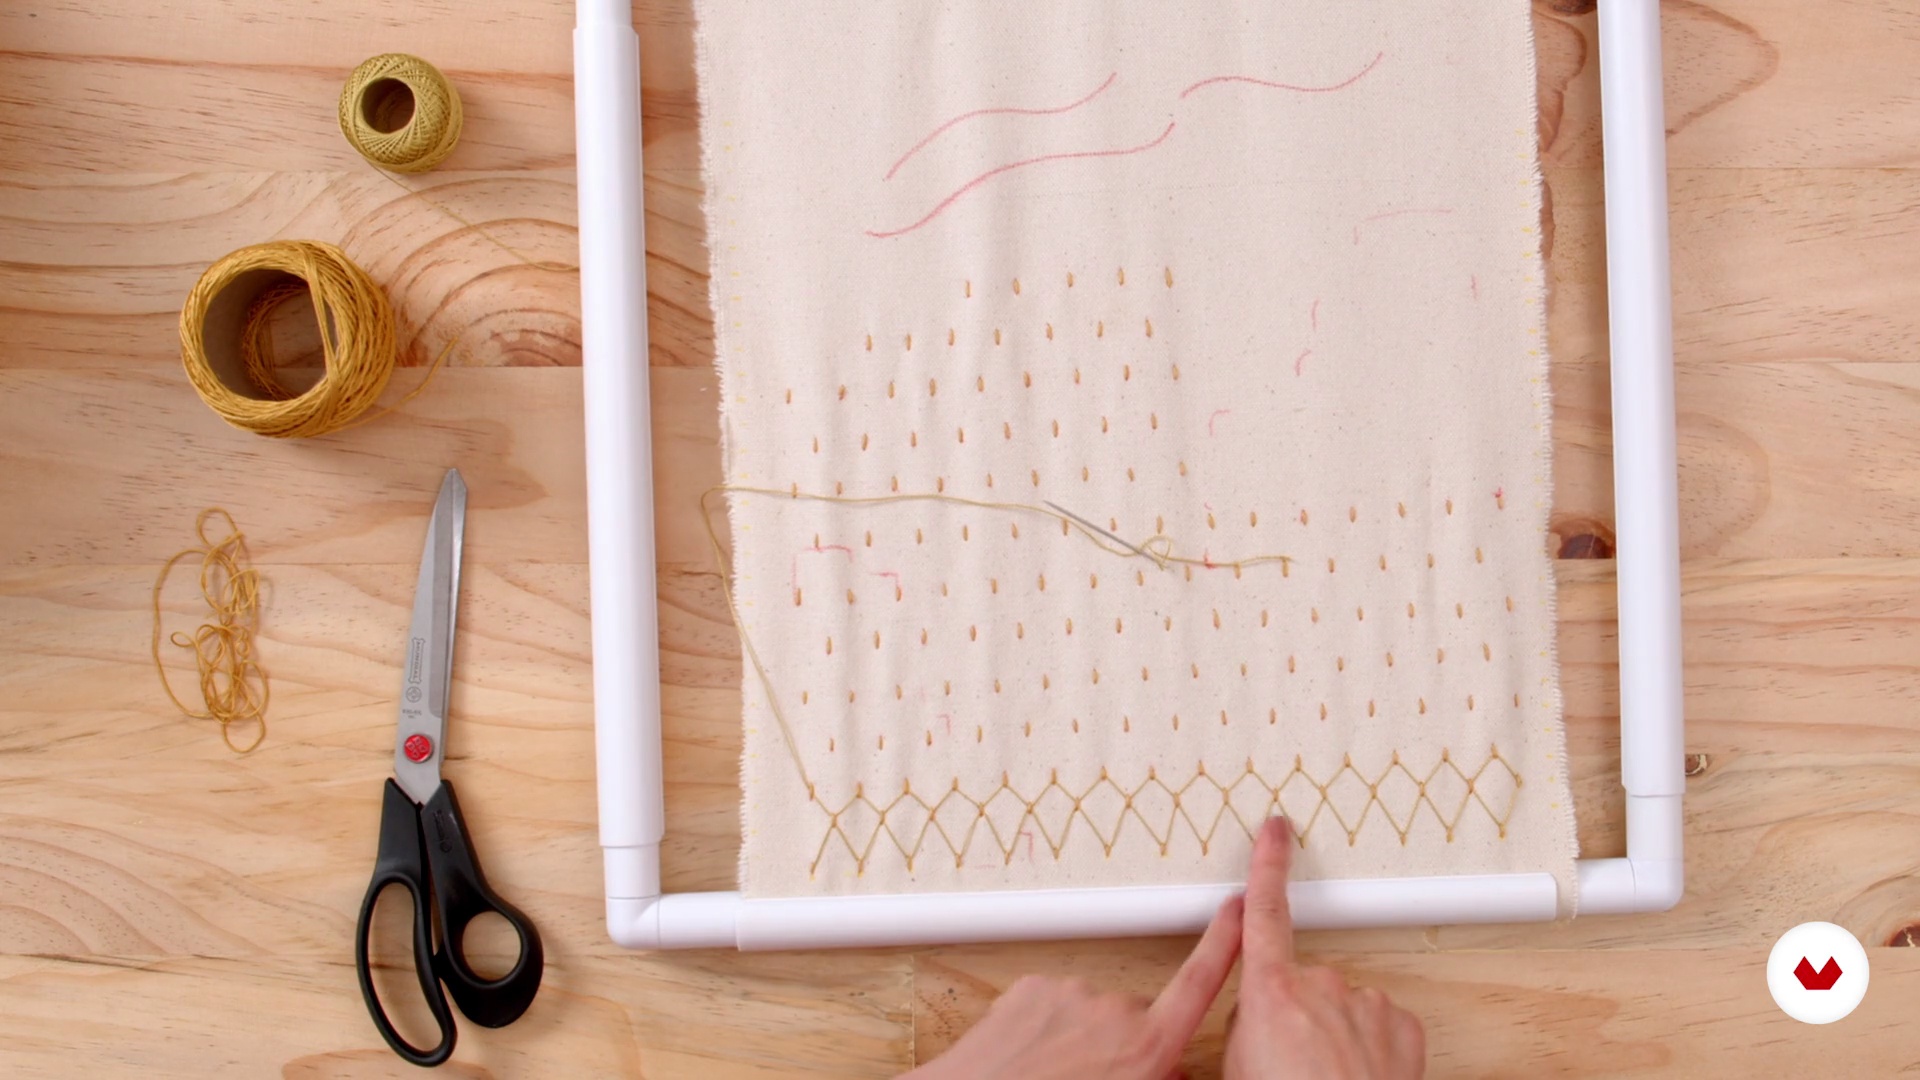
Fill point
Next we will see how to make a knitted filler point to create a flat texture, but with which you can cover spaces in a short time.
6m
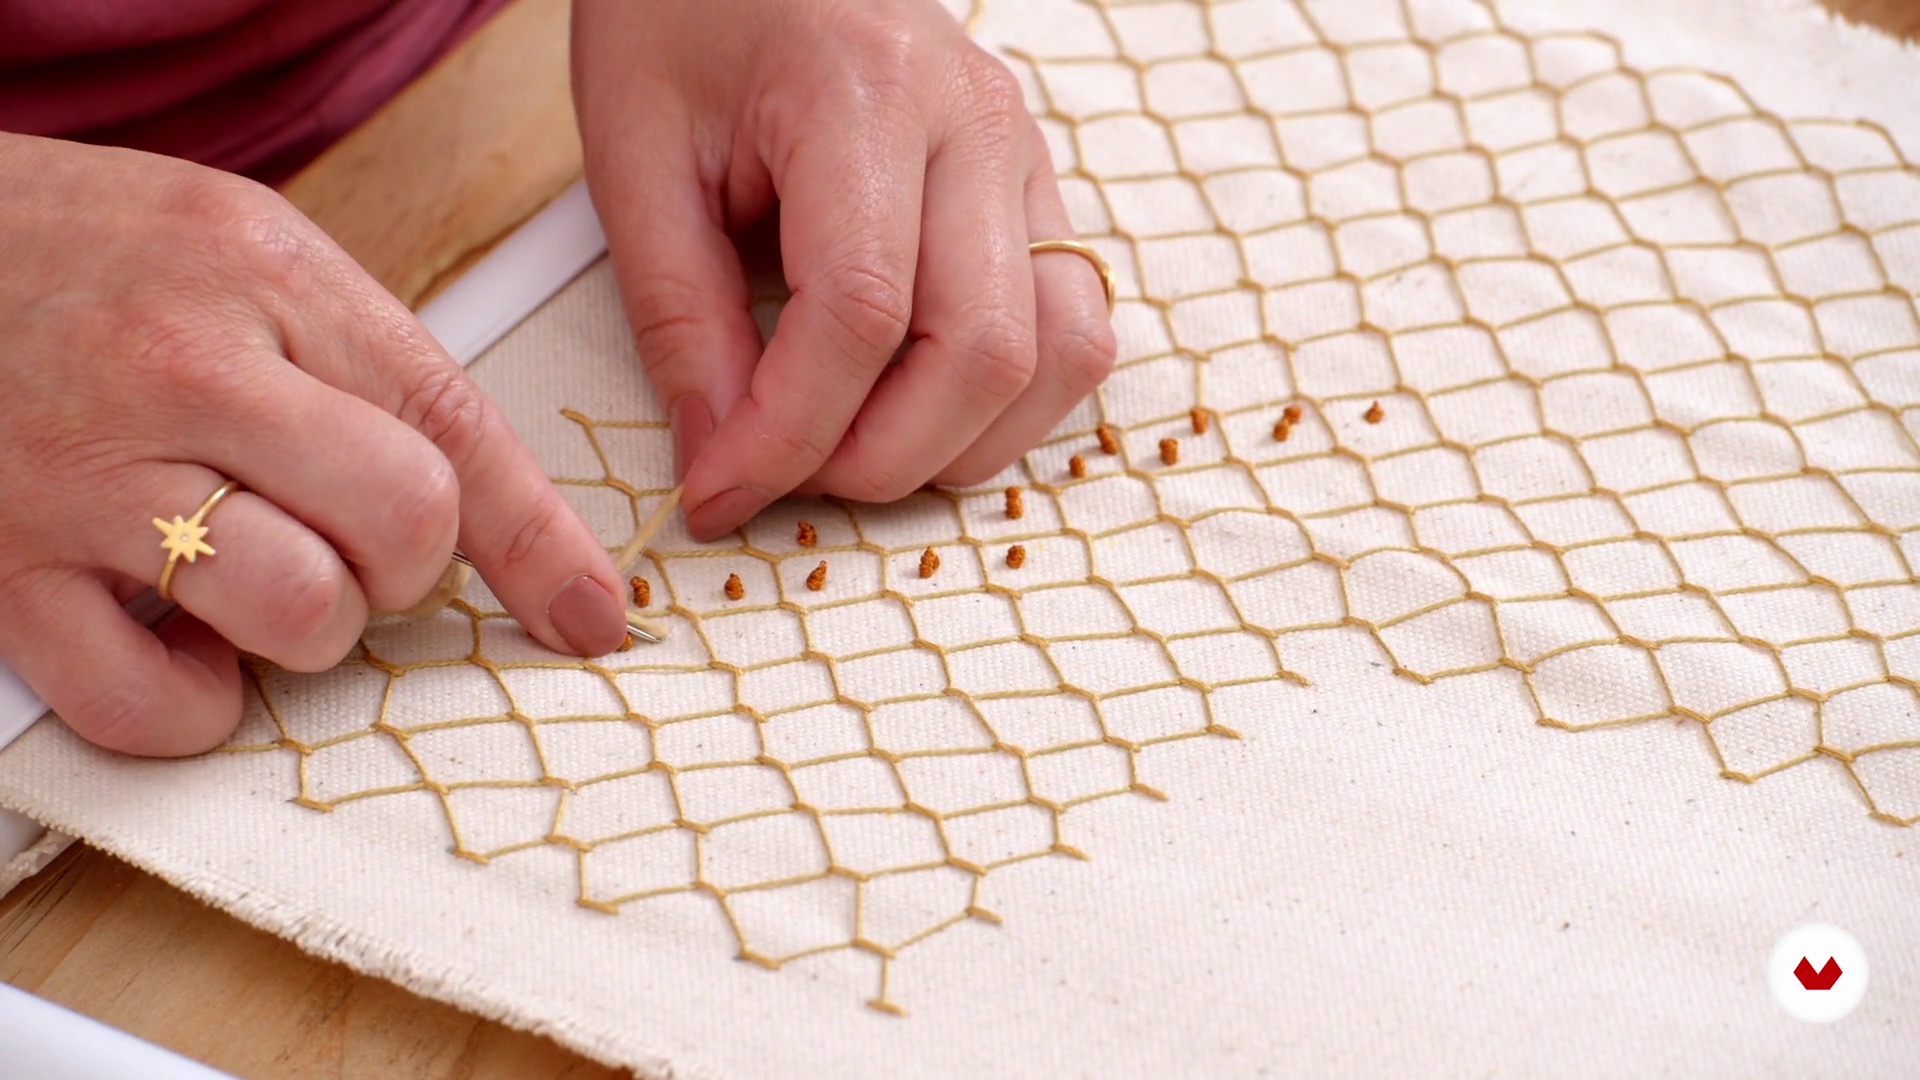 8
French knot
After working the first point we will go on to create textures with the French knot.
6m
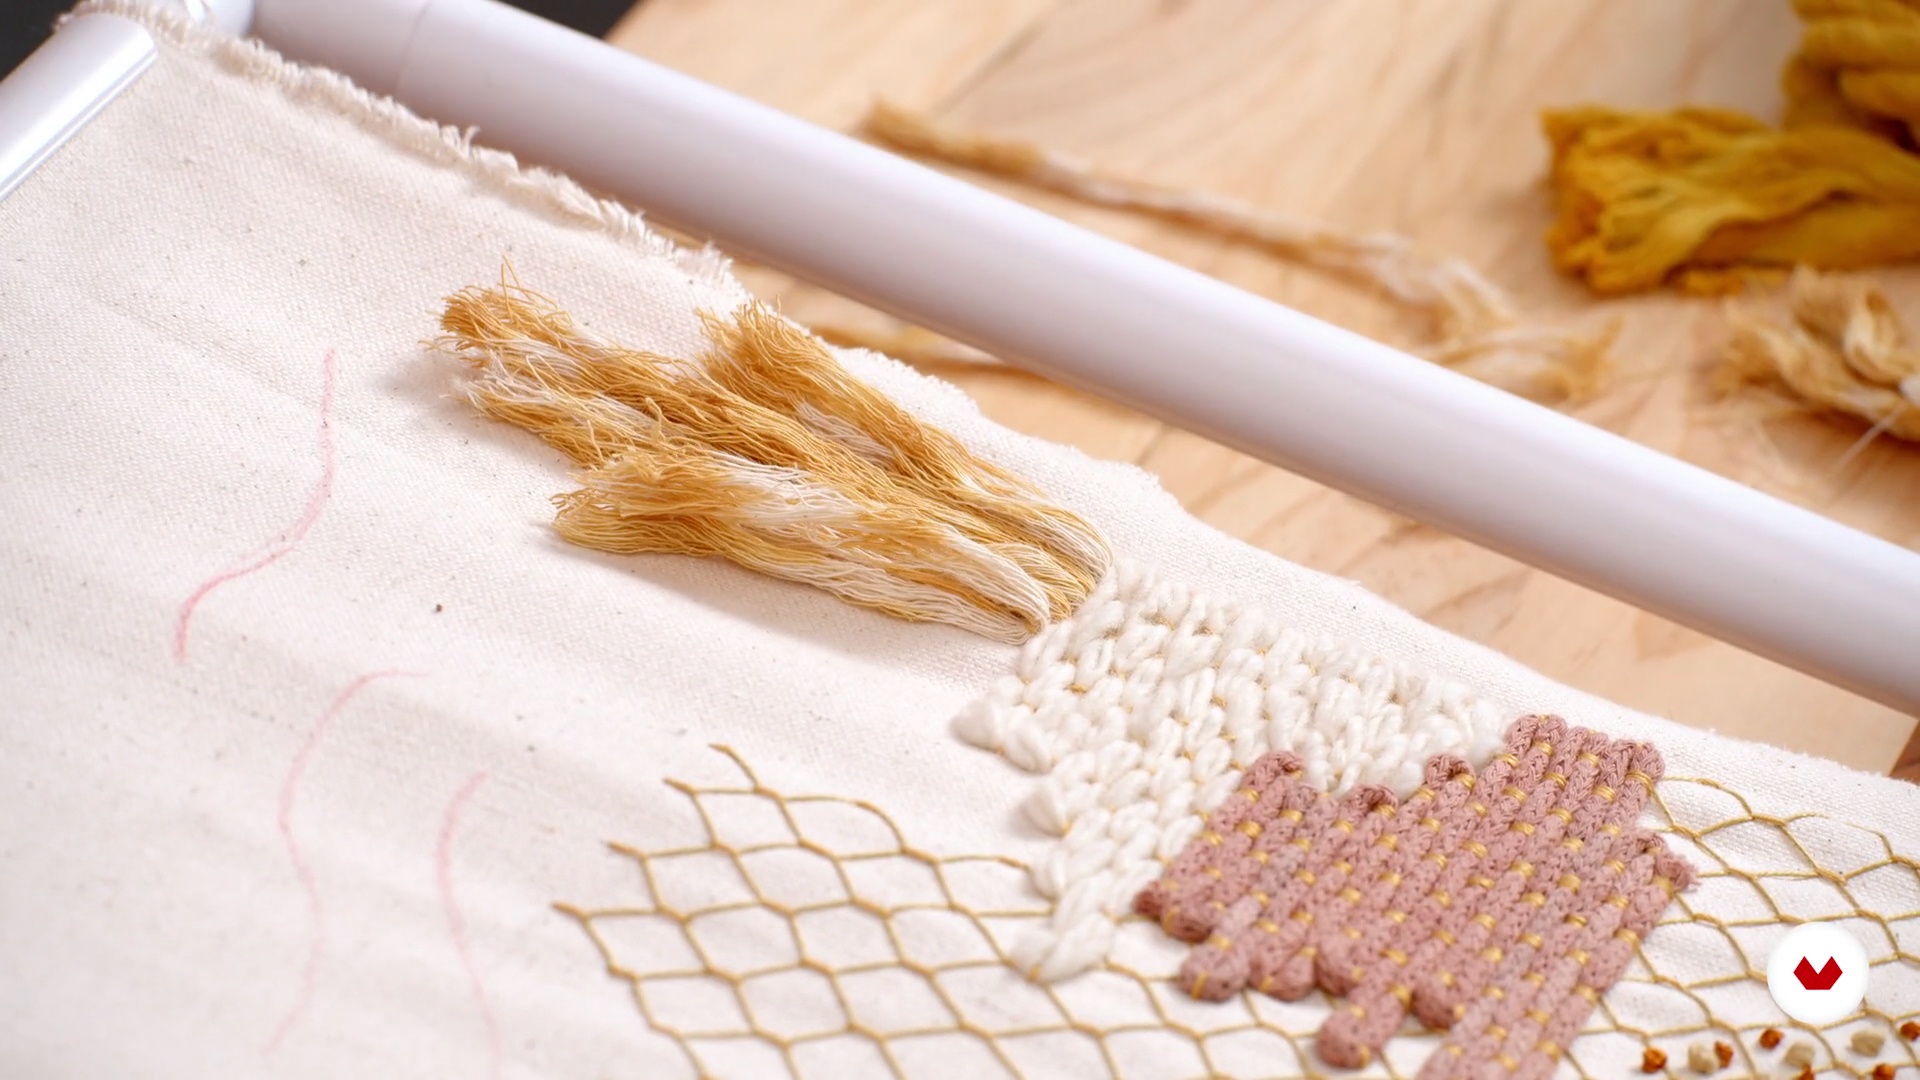
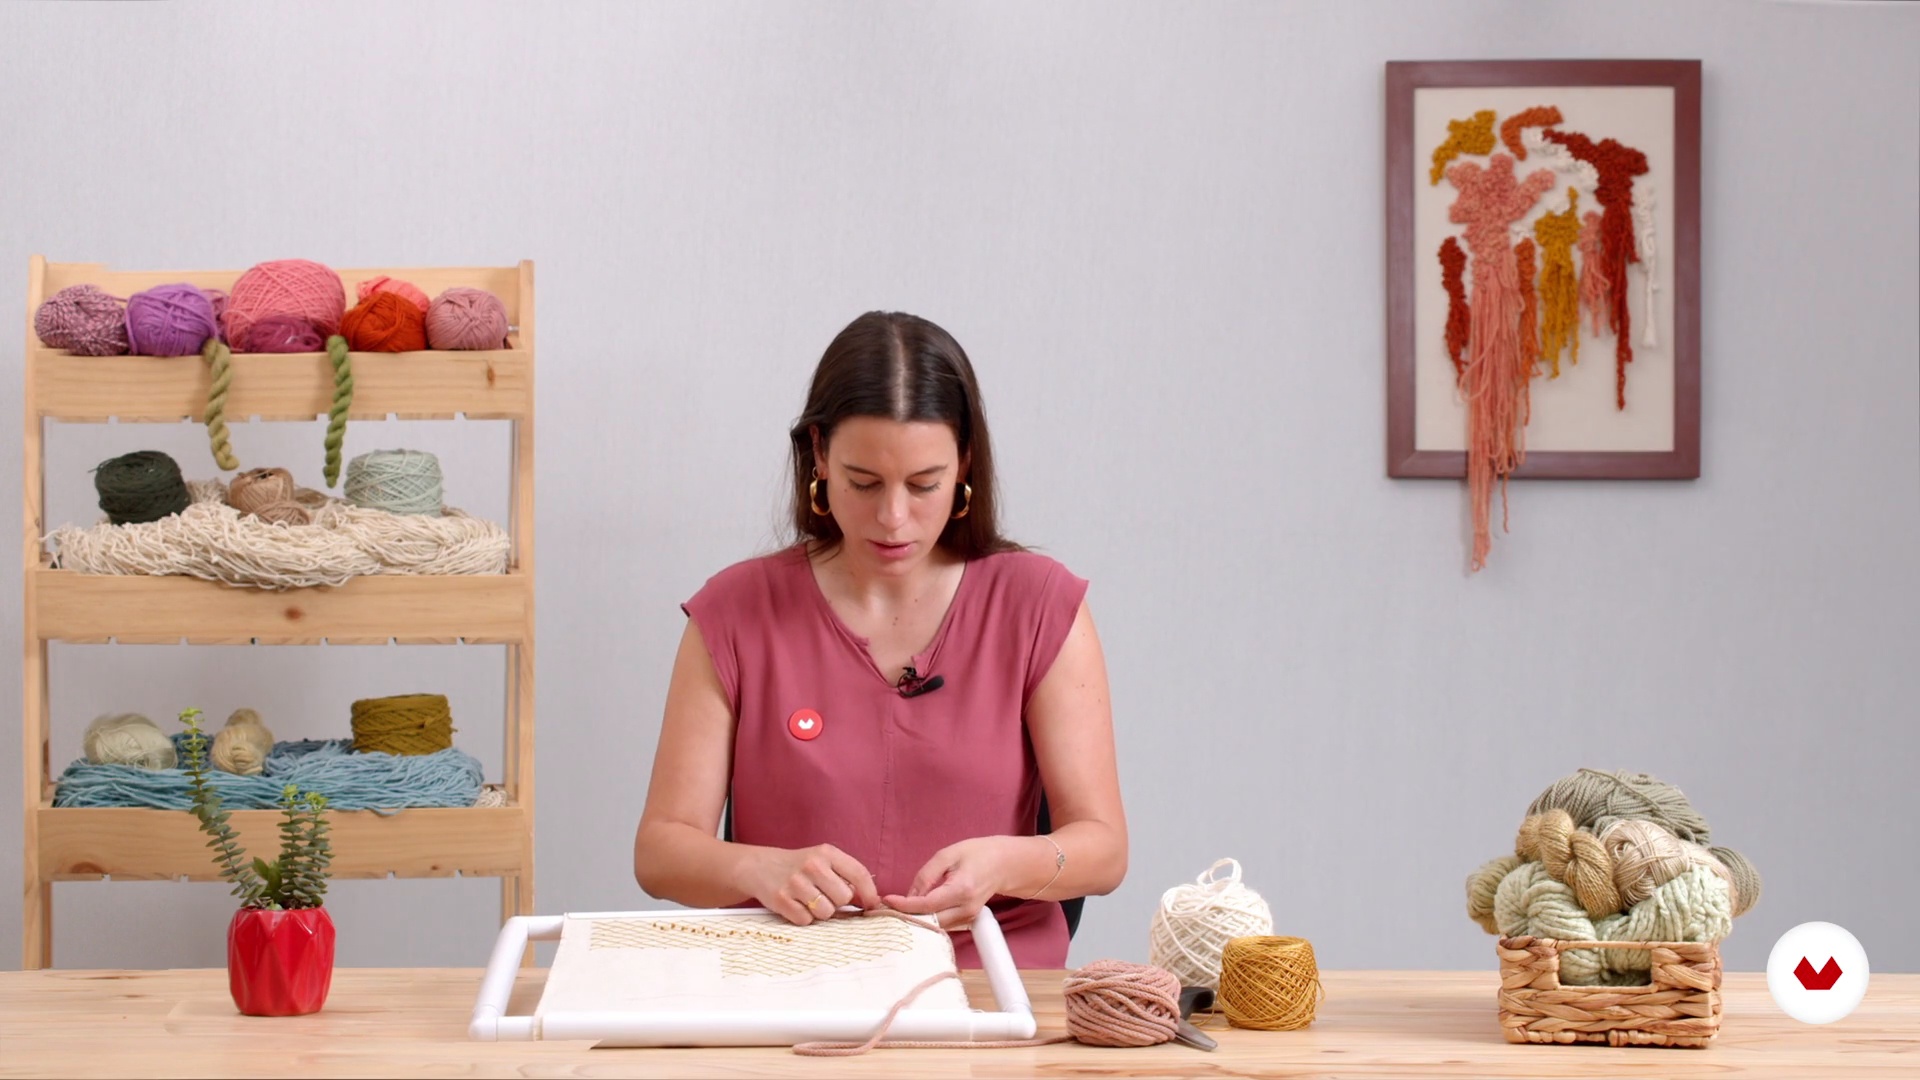 9
Materials application
Once we have our materials ready, we will start working with ropes and learn how they can be applied in different ways to create textures and reliefs. We will do it by applying ropes and a velvet ribbon.
7m
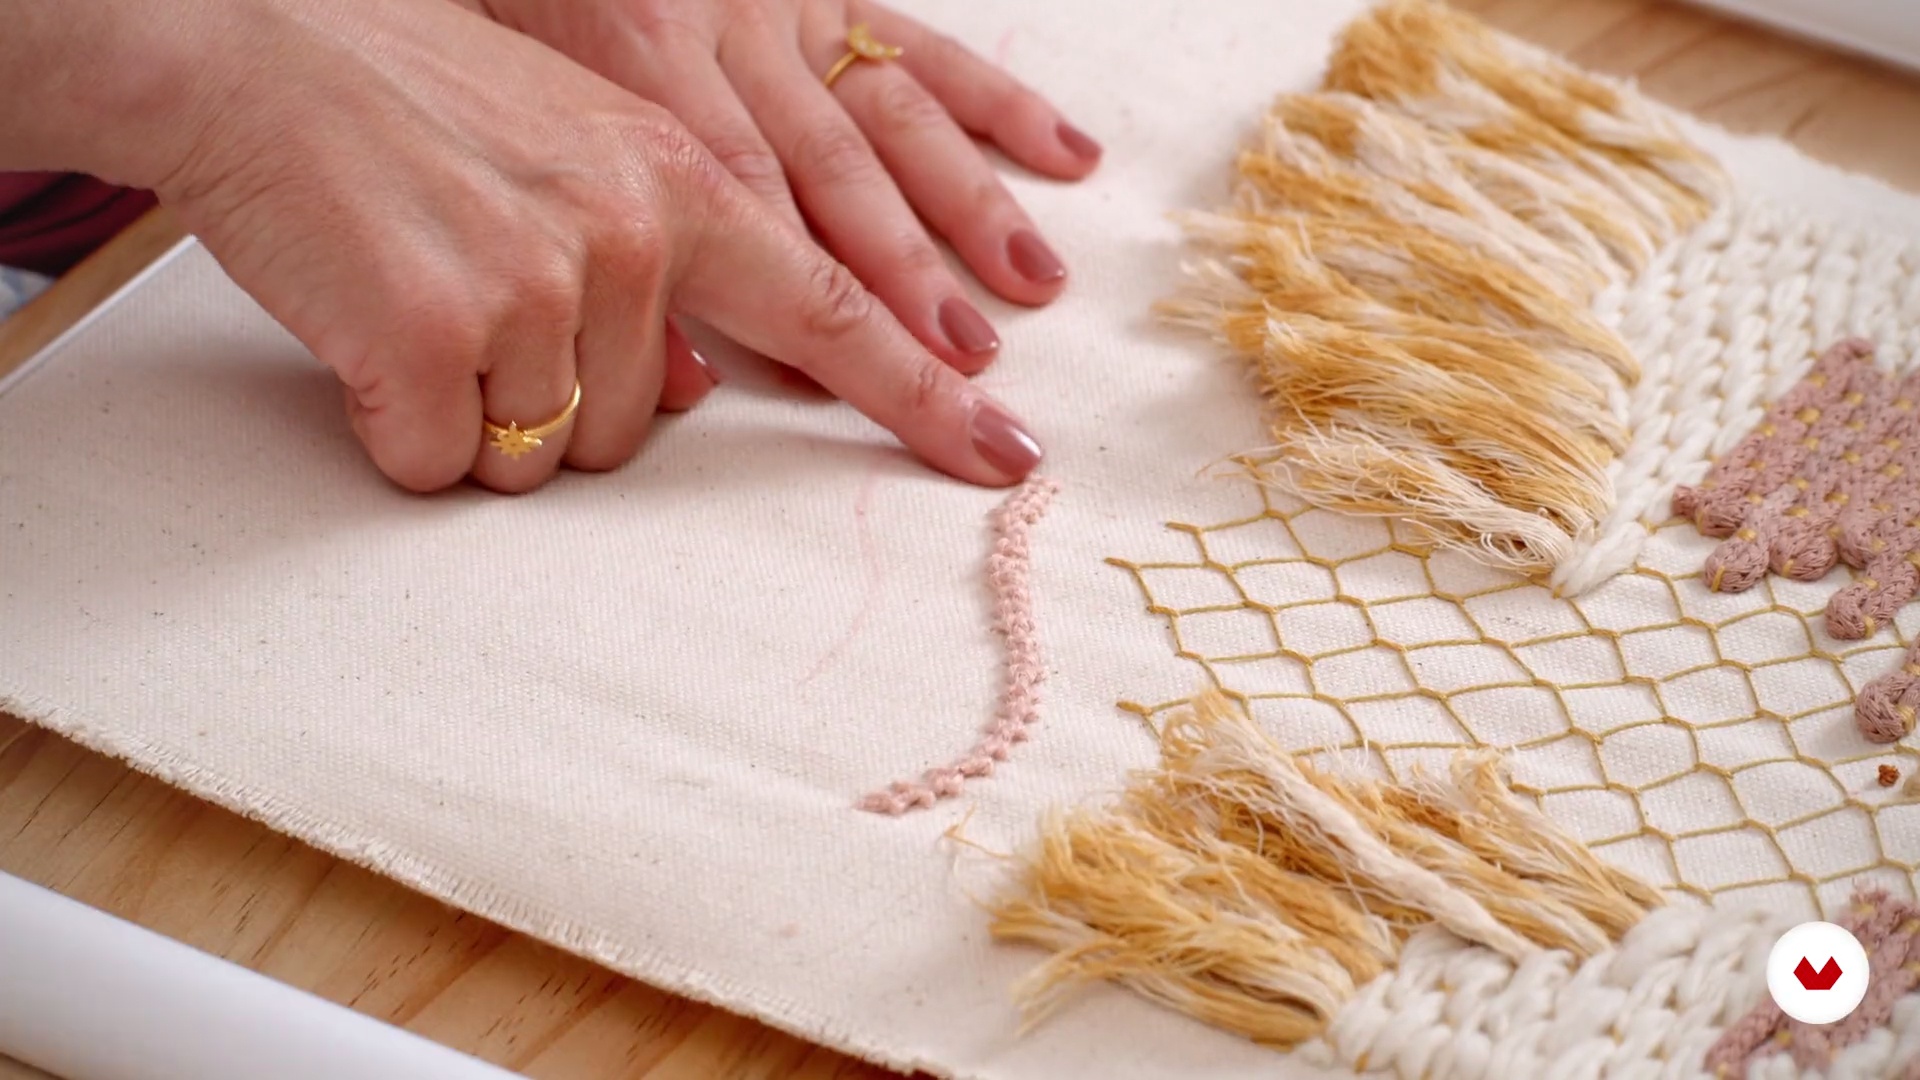
 10
Turkish Knot or Fringes
Now we will go to the Turkish knot. Here I will show you how to create super interesting textures with a modified shape of this knot.
6m
 11
Palestinian point
Now we will come to see the fifth point, the point of Palestrina.
3m
 12
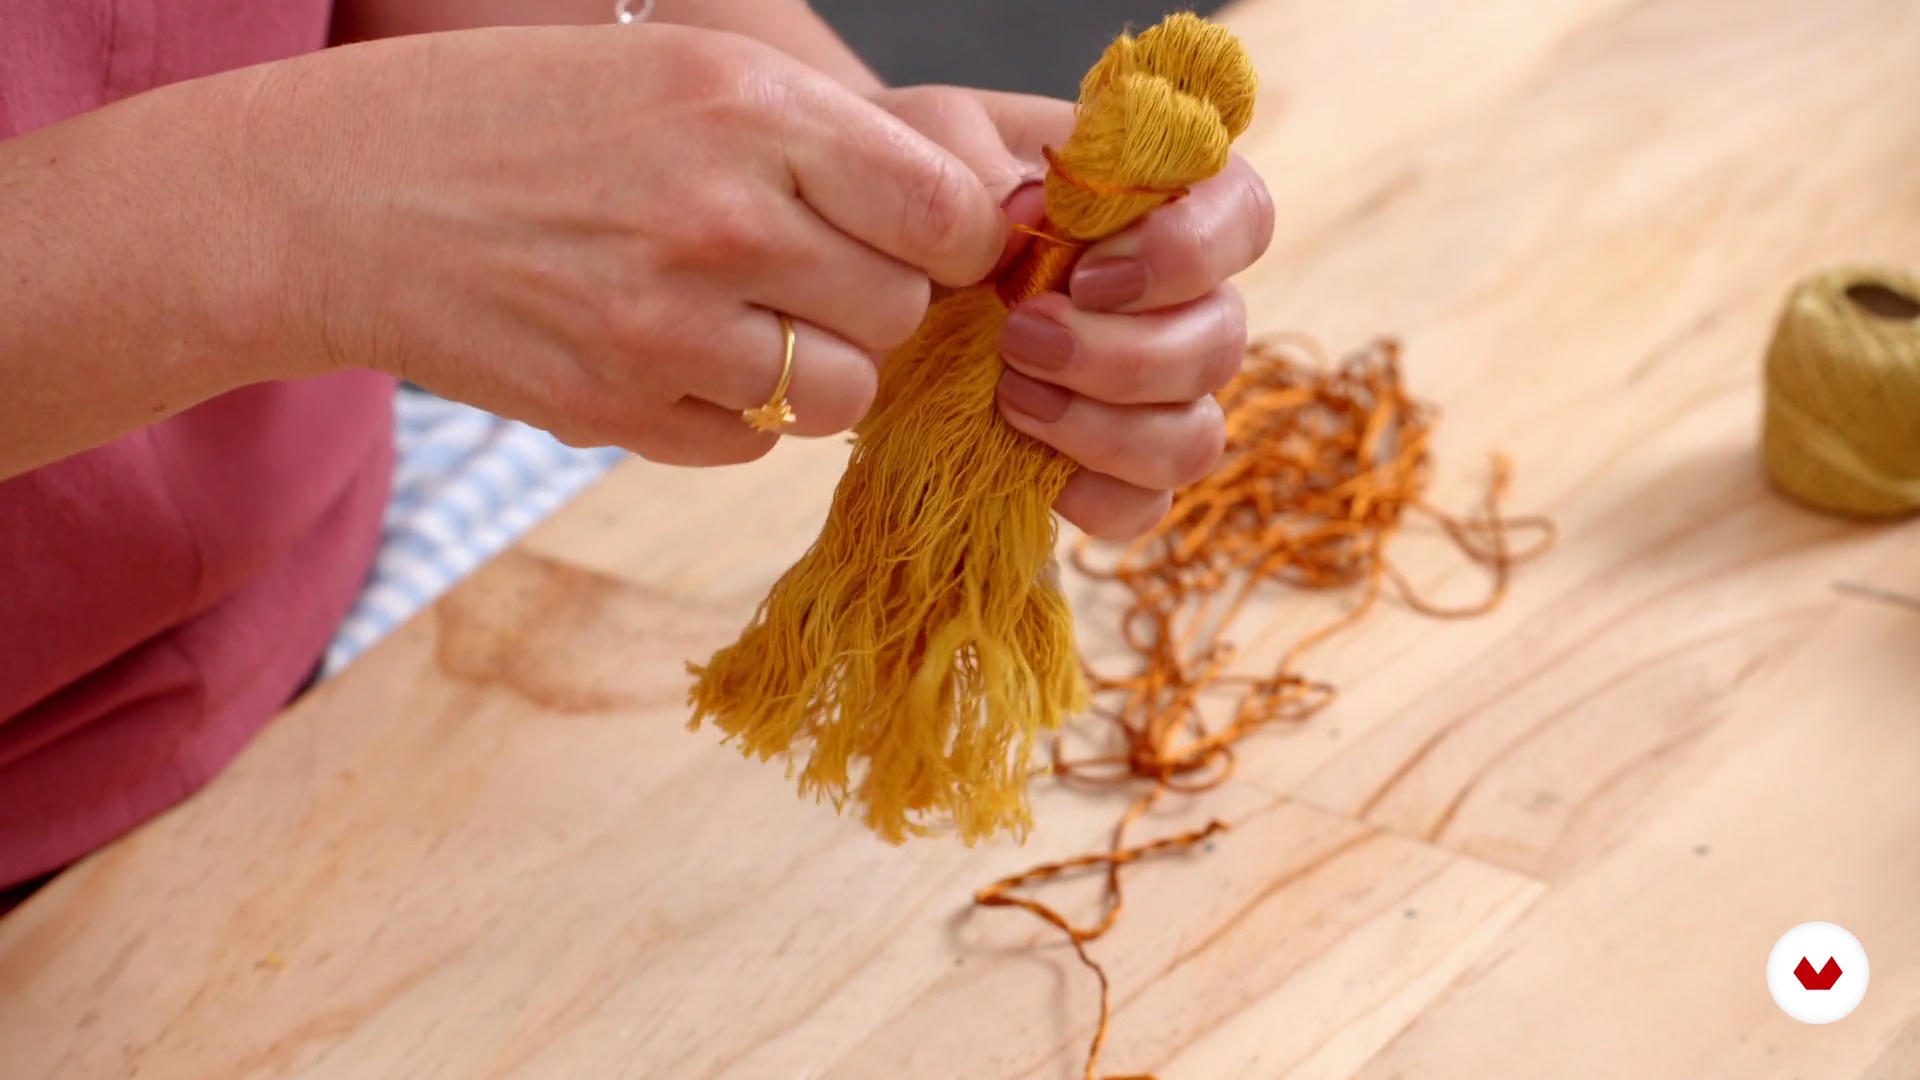
Muddled
Now we move on to the next technique, the Barrel! I will teach you how to create beautiful pieces of embarrinado and how to attach them to our tapestry.
9m
 13
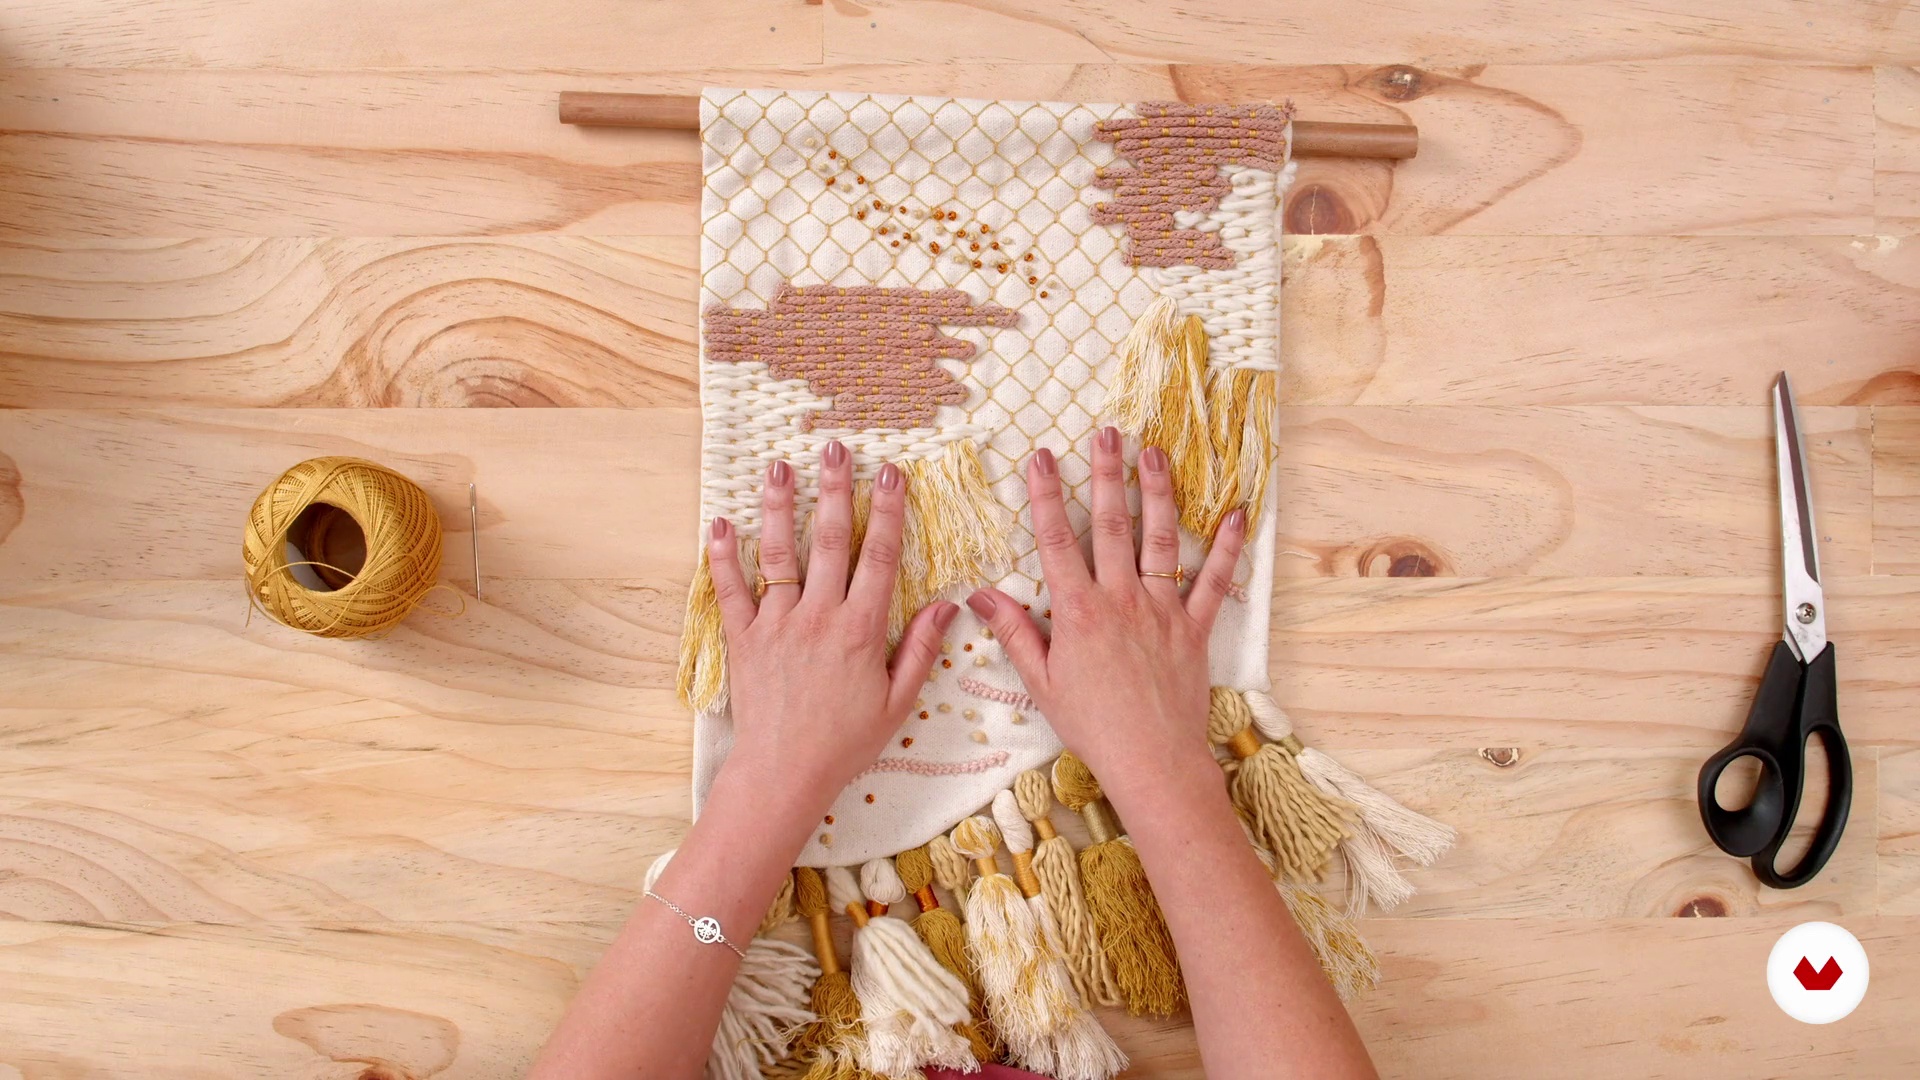
Final finishes
Once all the points have been learned and our decorative tapestry is finished, we will proceed to give it the final finishes and hang it.
4m
 14
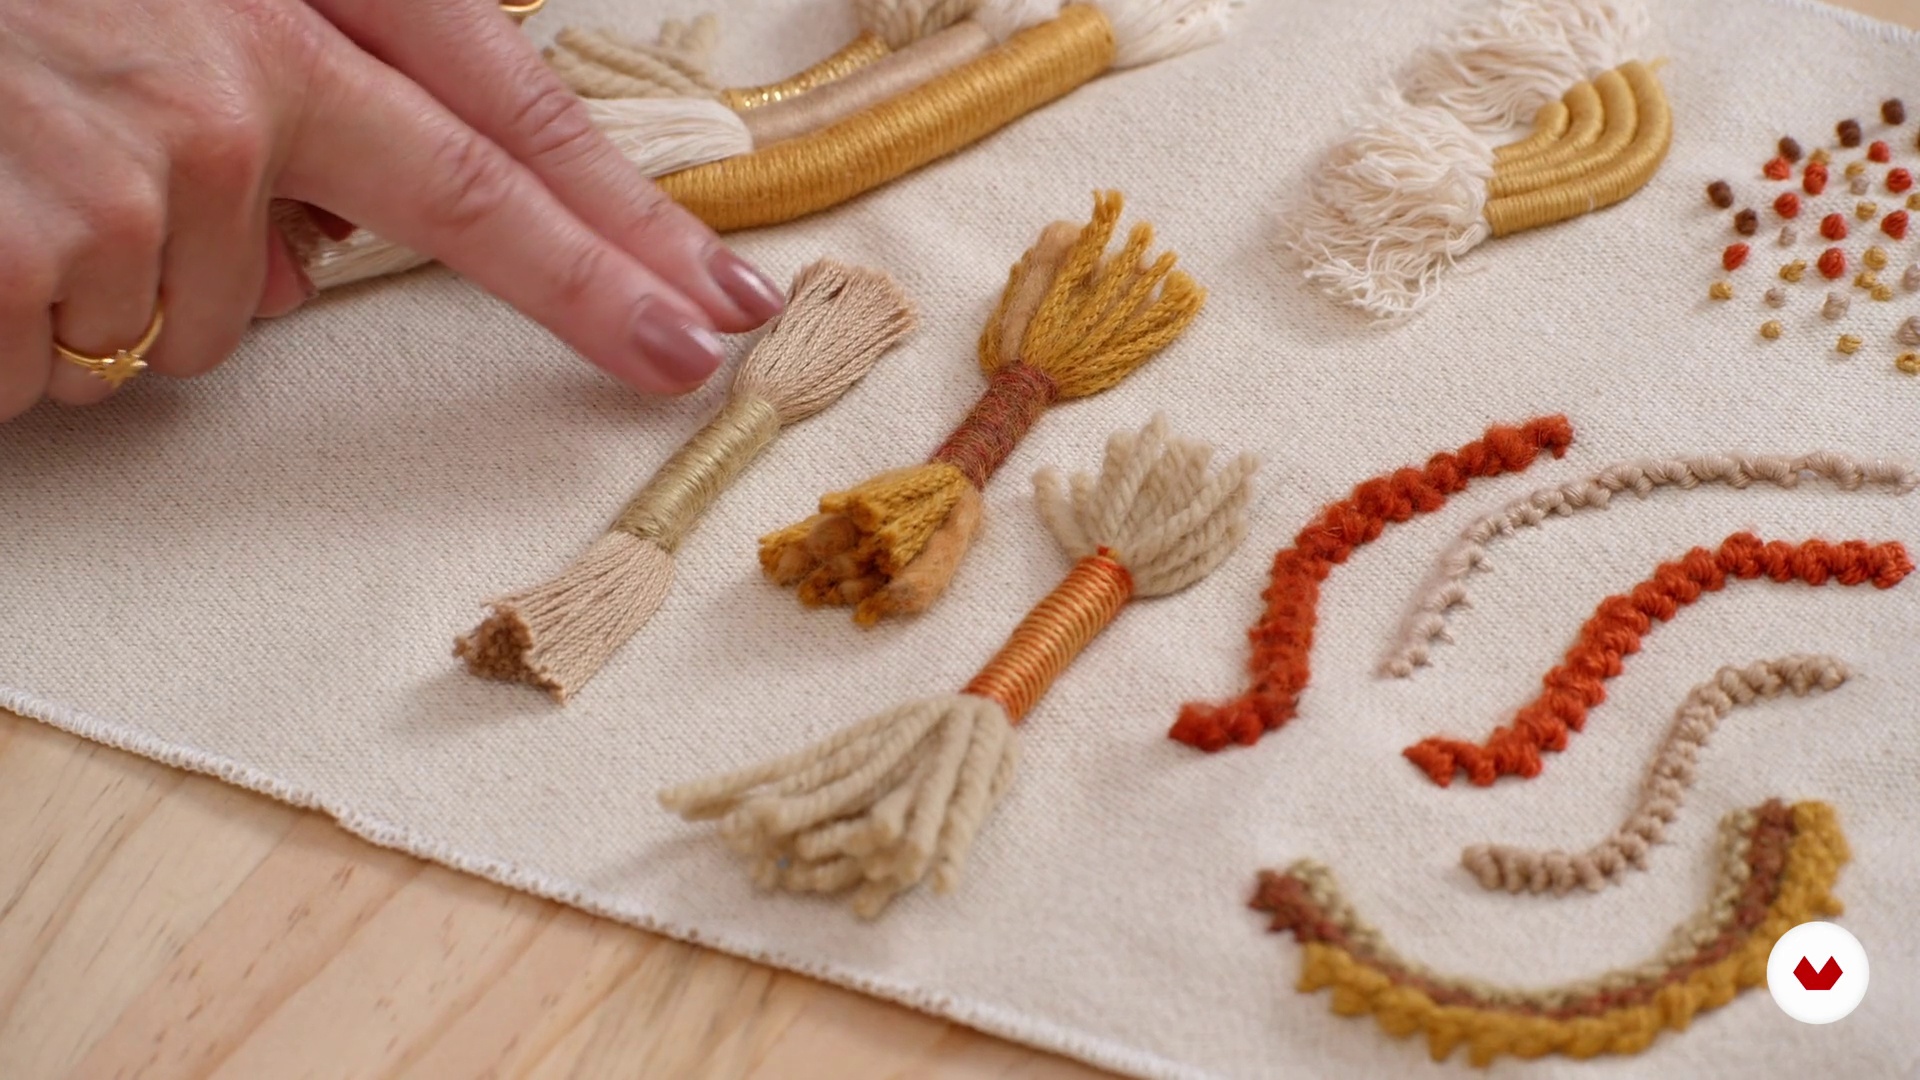
Variations
Here you will see other variations of the points through a sample of knots this will help you to inspire you to innovate and explore with different materials and points.
7m
 15
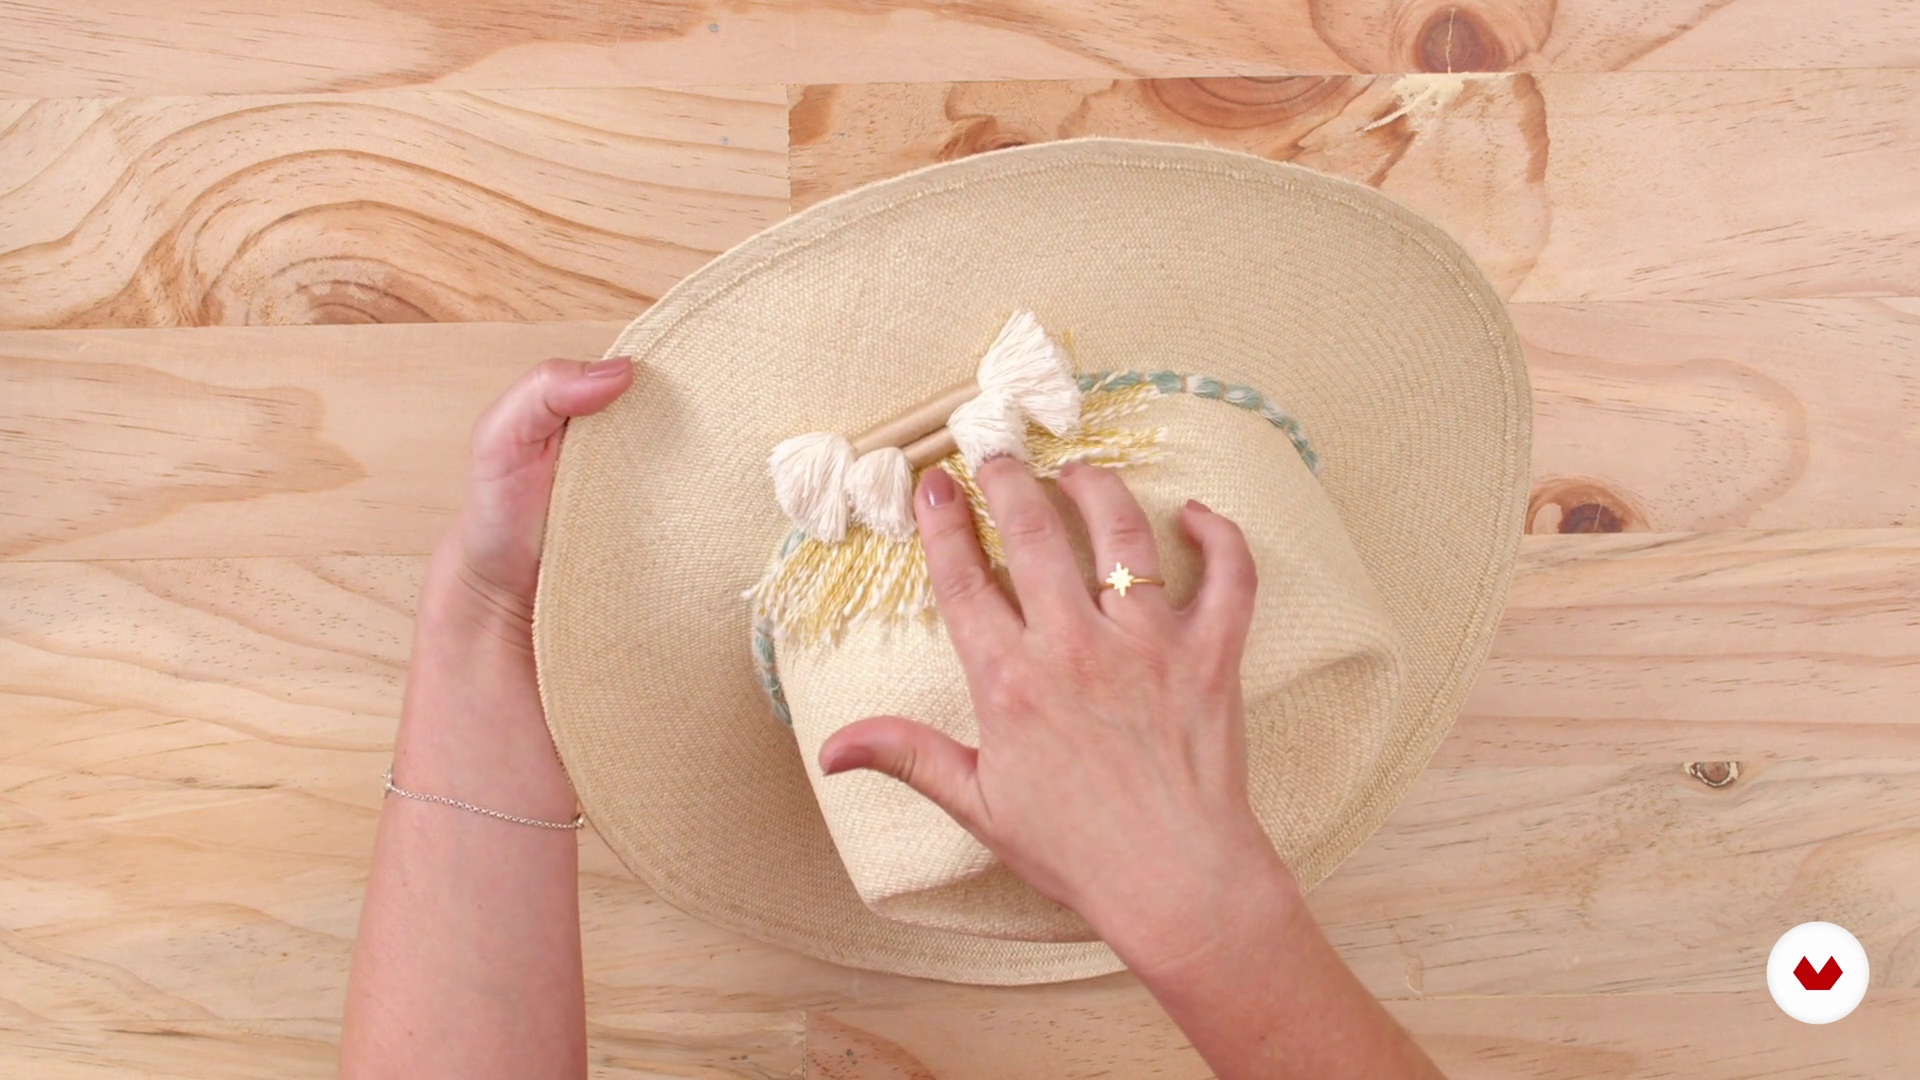
Other apps
In this lesson I will show you other projects in which you can apply the learned points, such as cushions, bags, clothing and more.
2m
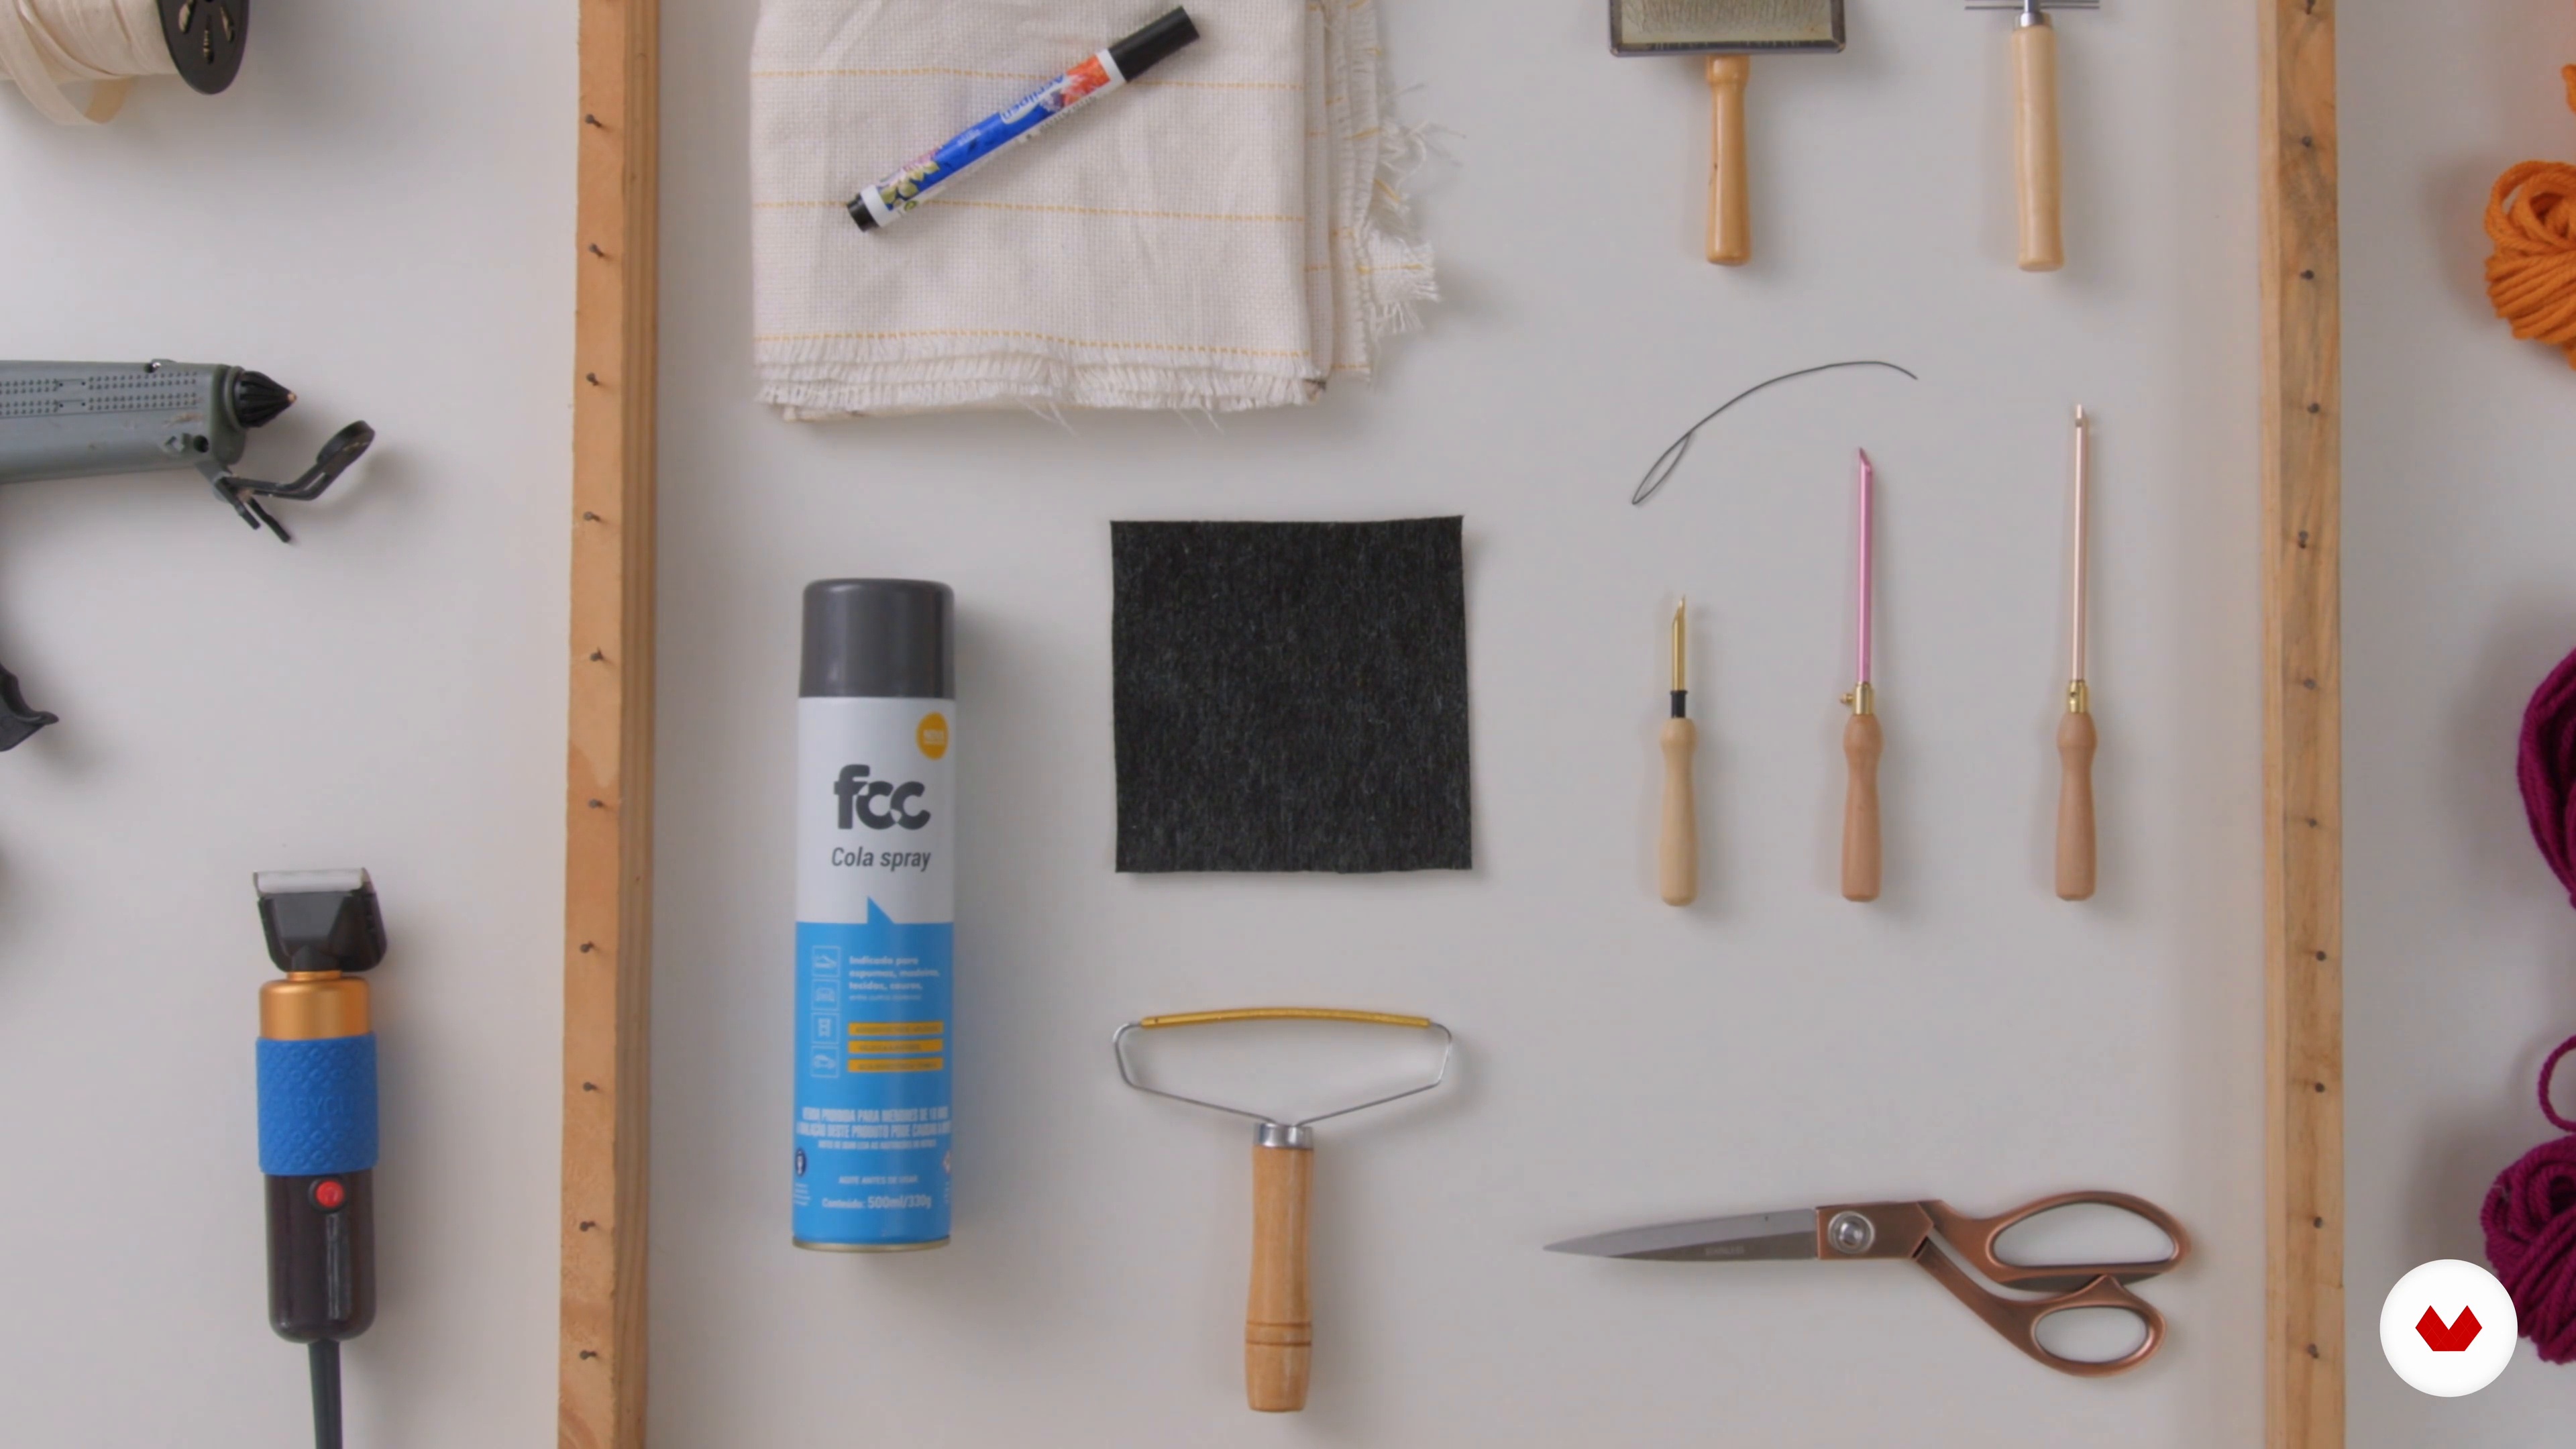 3
Materials needed for the course
I will show you the material you will need to produce your tapestry.
5m
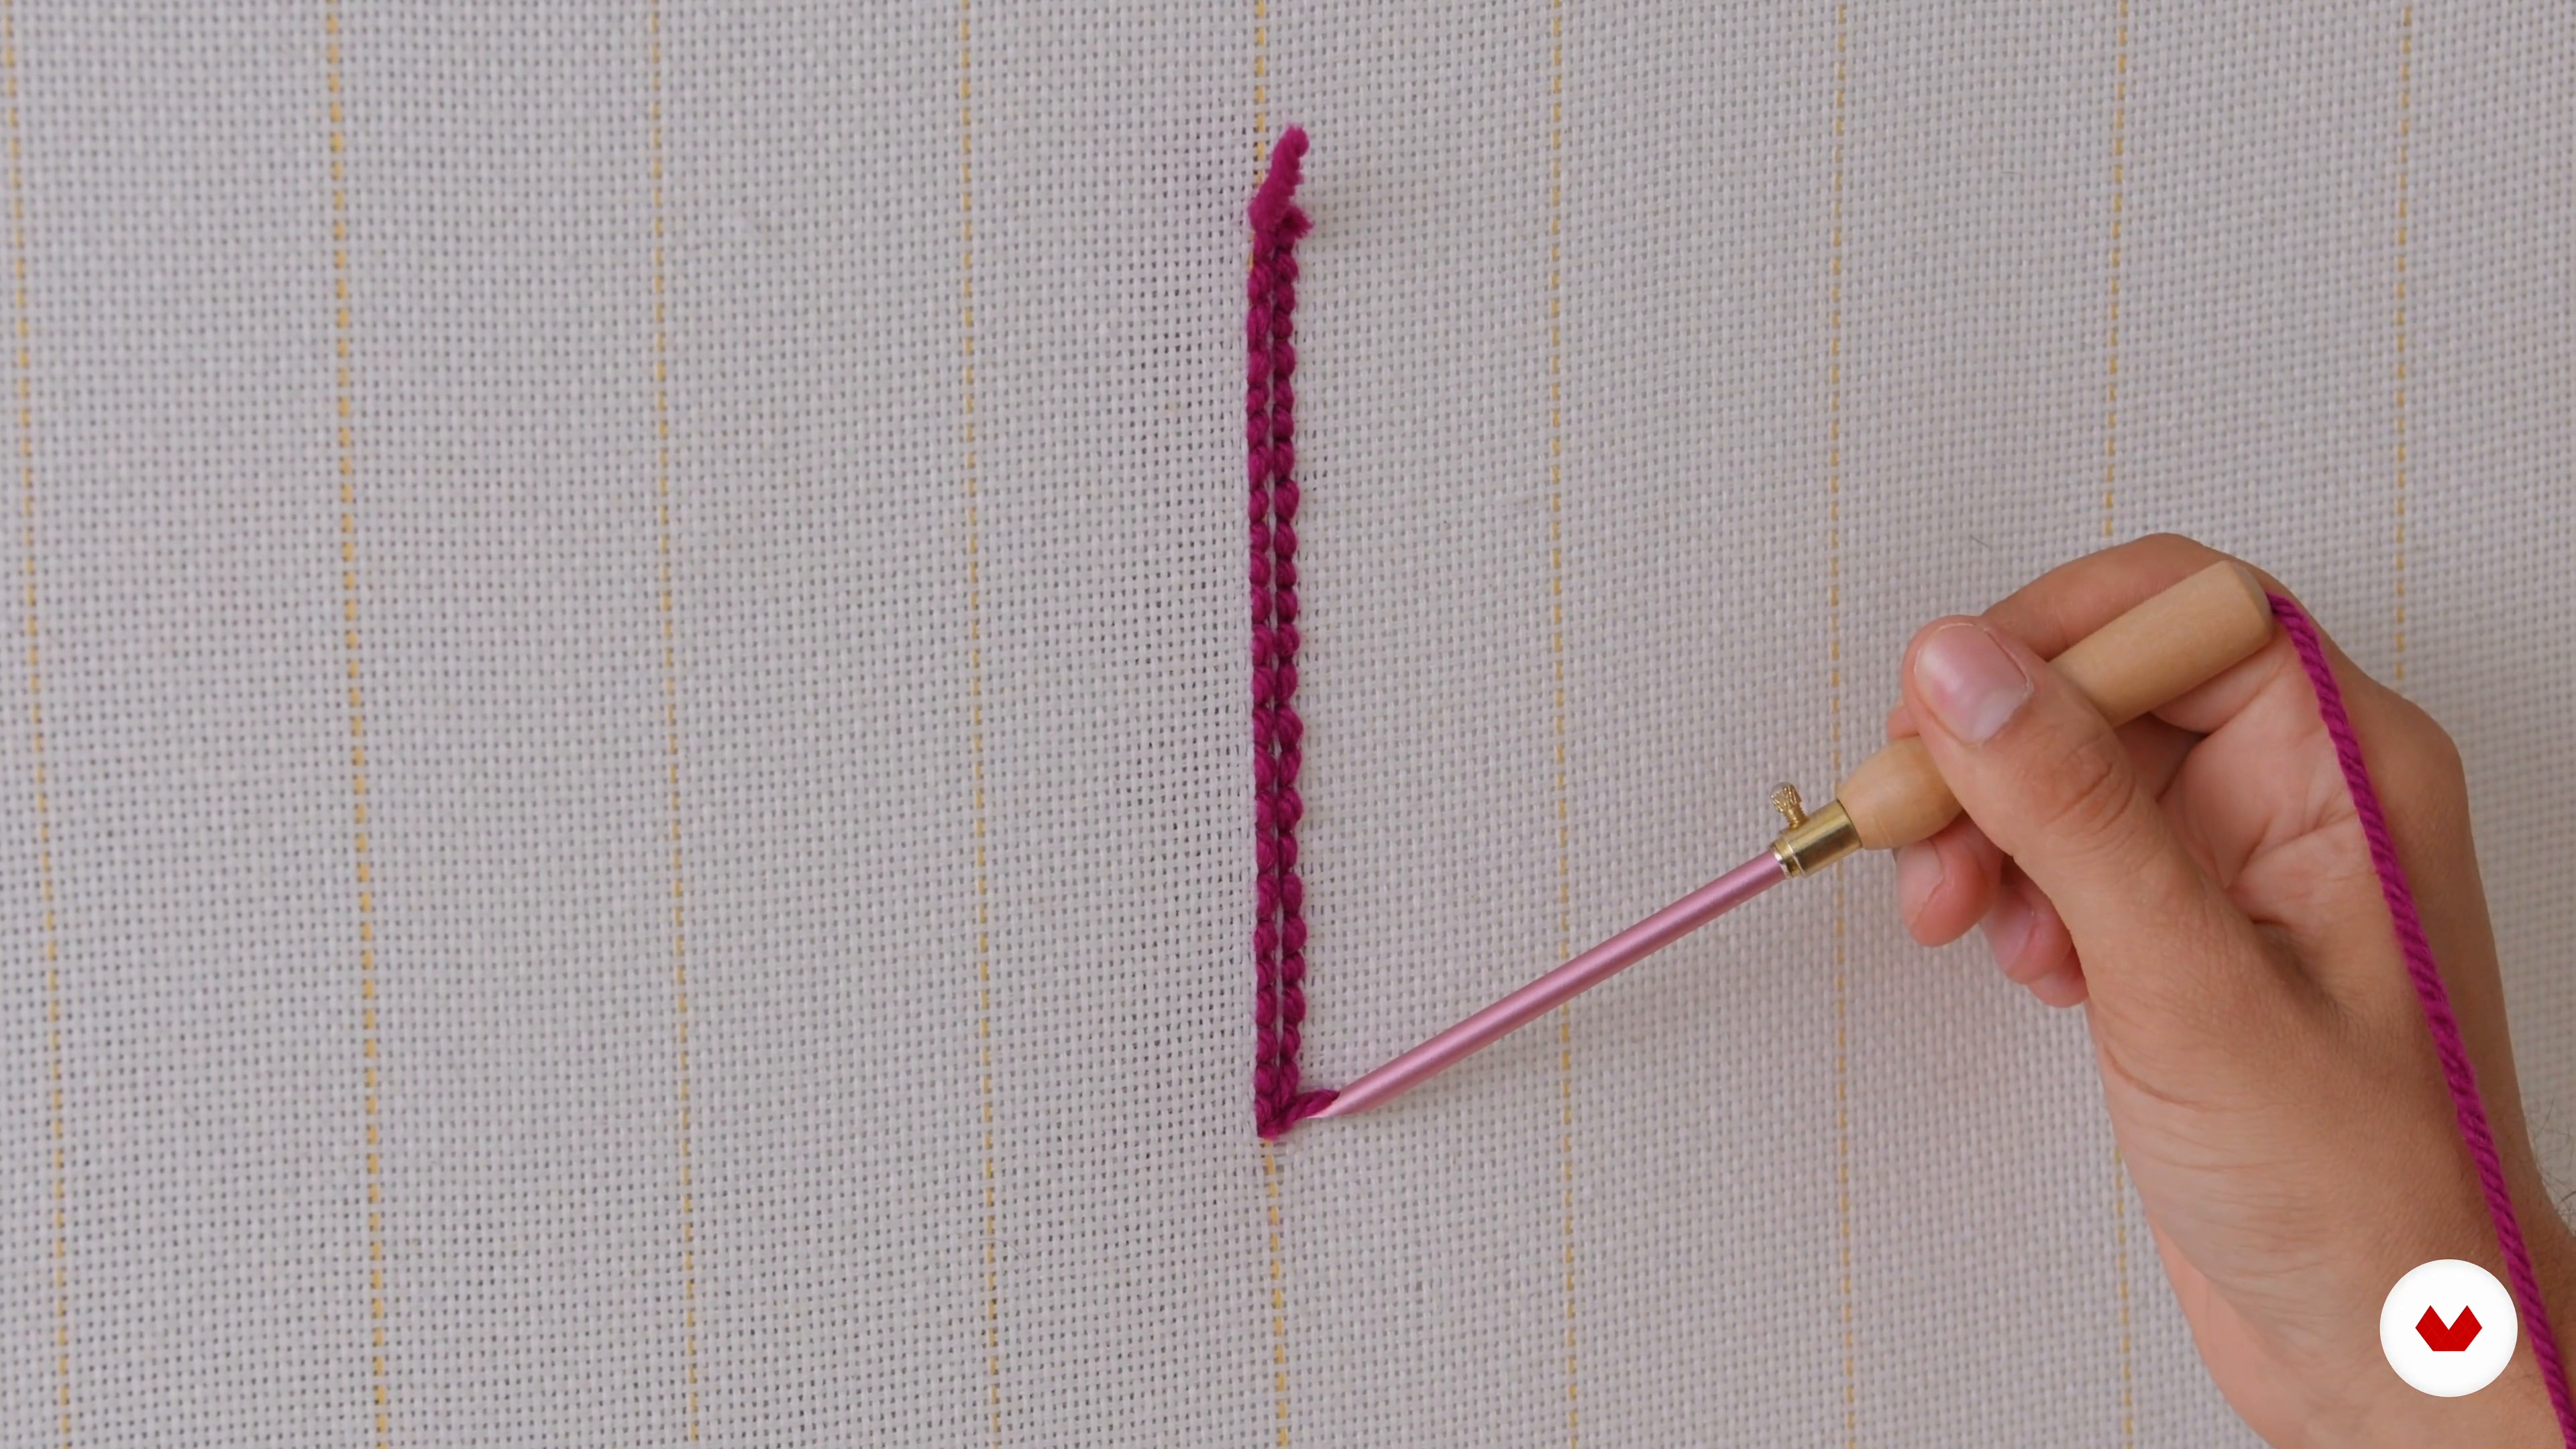 4
How to do the Russian stitch
Let's go to the Russian stitch technique and its height variations!
10m
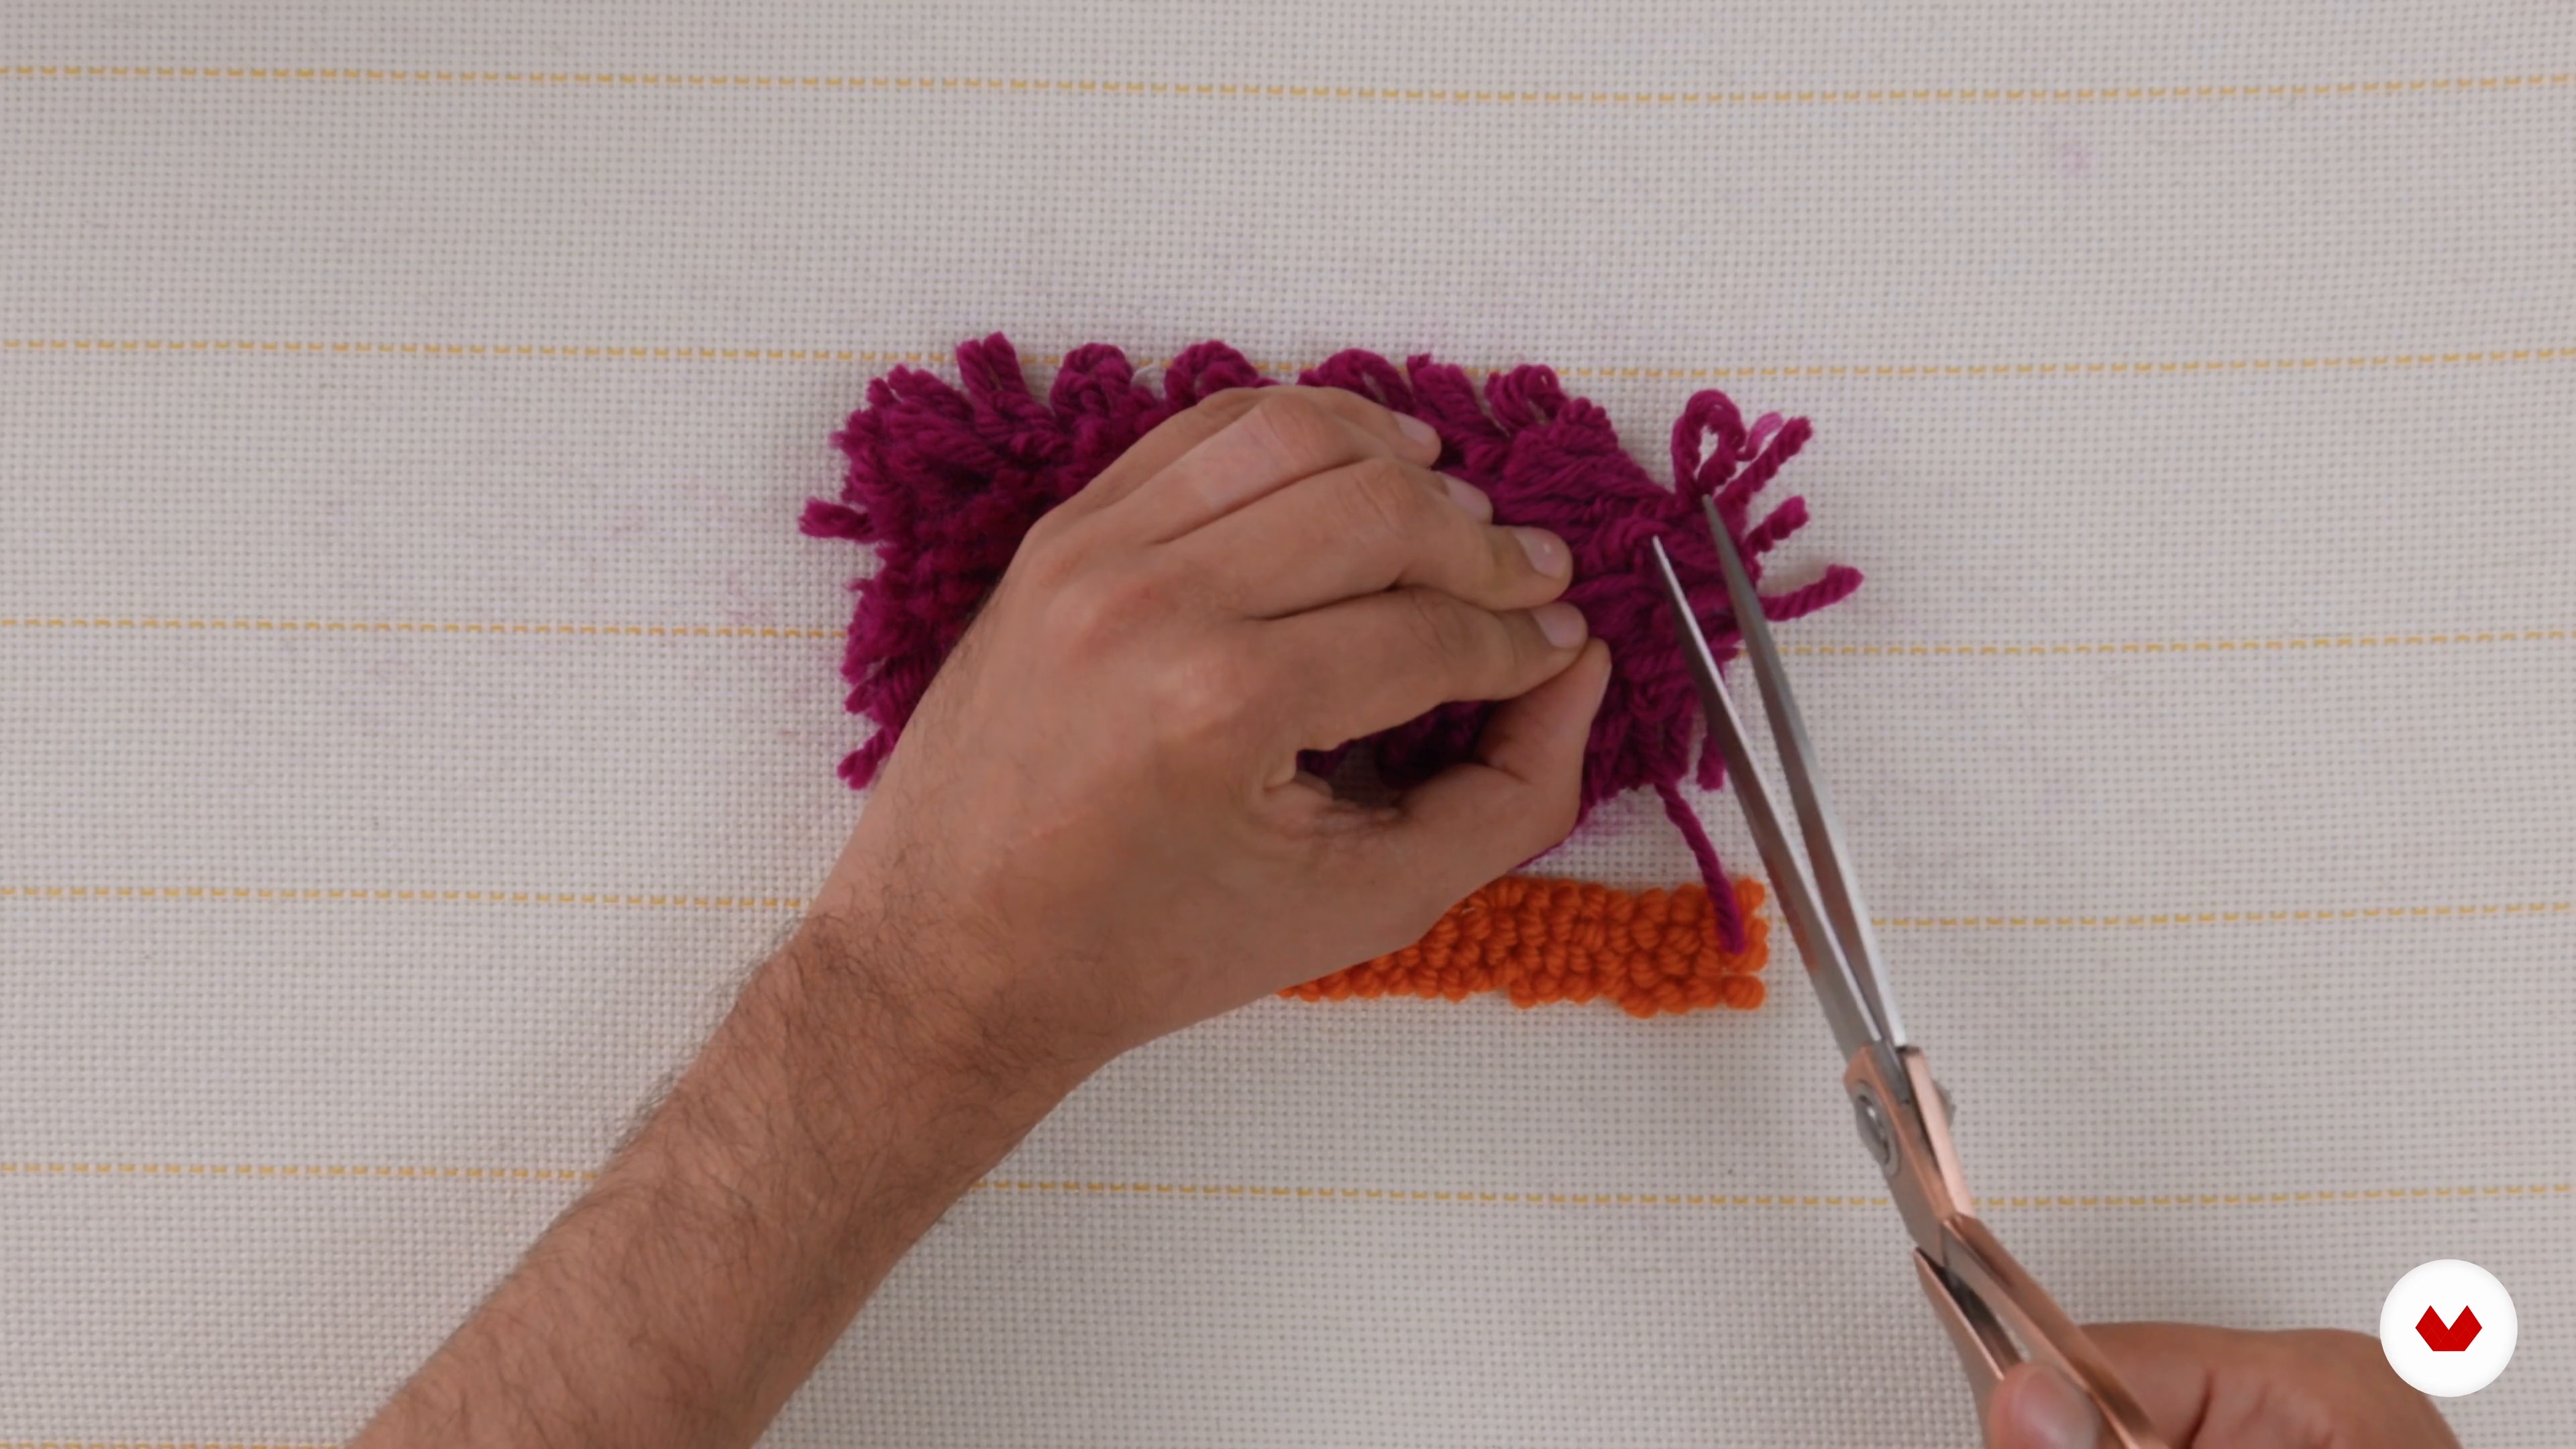 5
How to carve wool
Now, I'm going to introduce cutting, how to transform the Russian point into a pile.
8m
 6
Design development
In this class, you will learn about my design development and mapping process.
6m
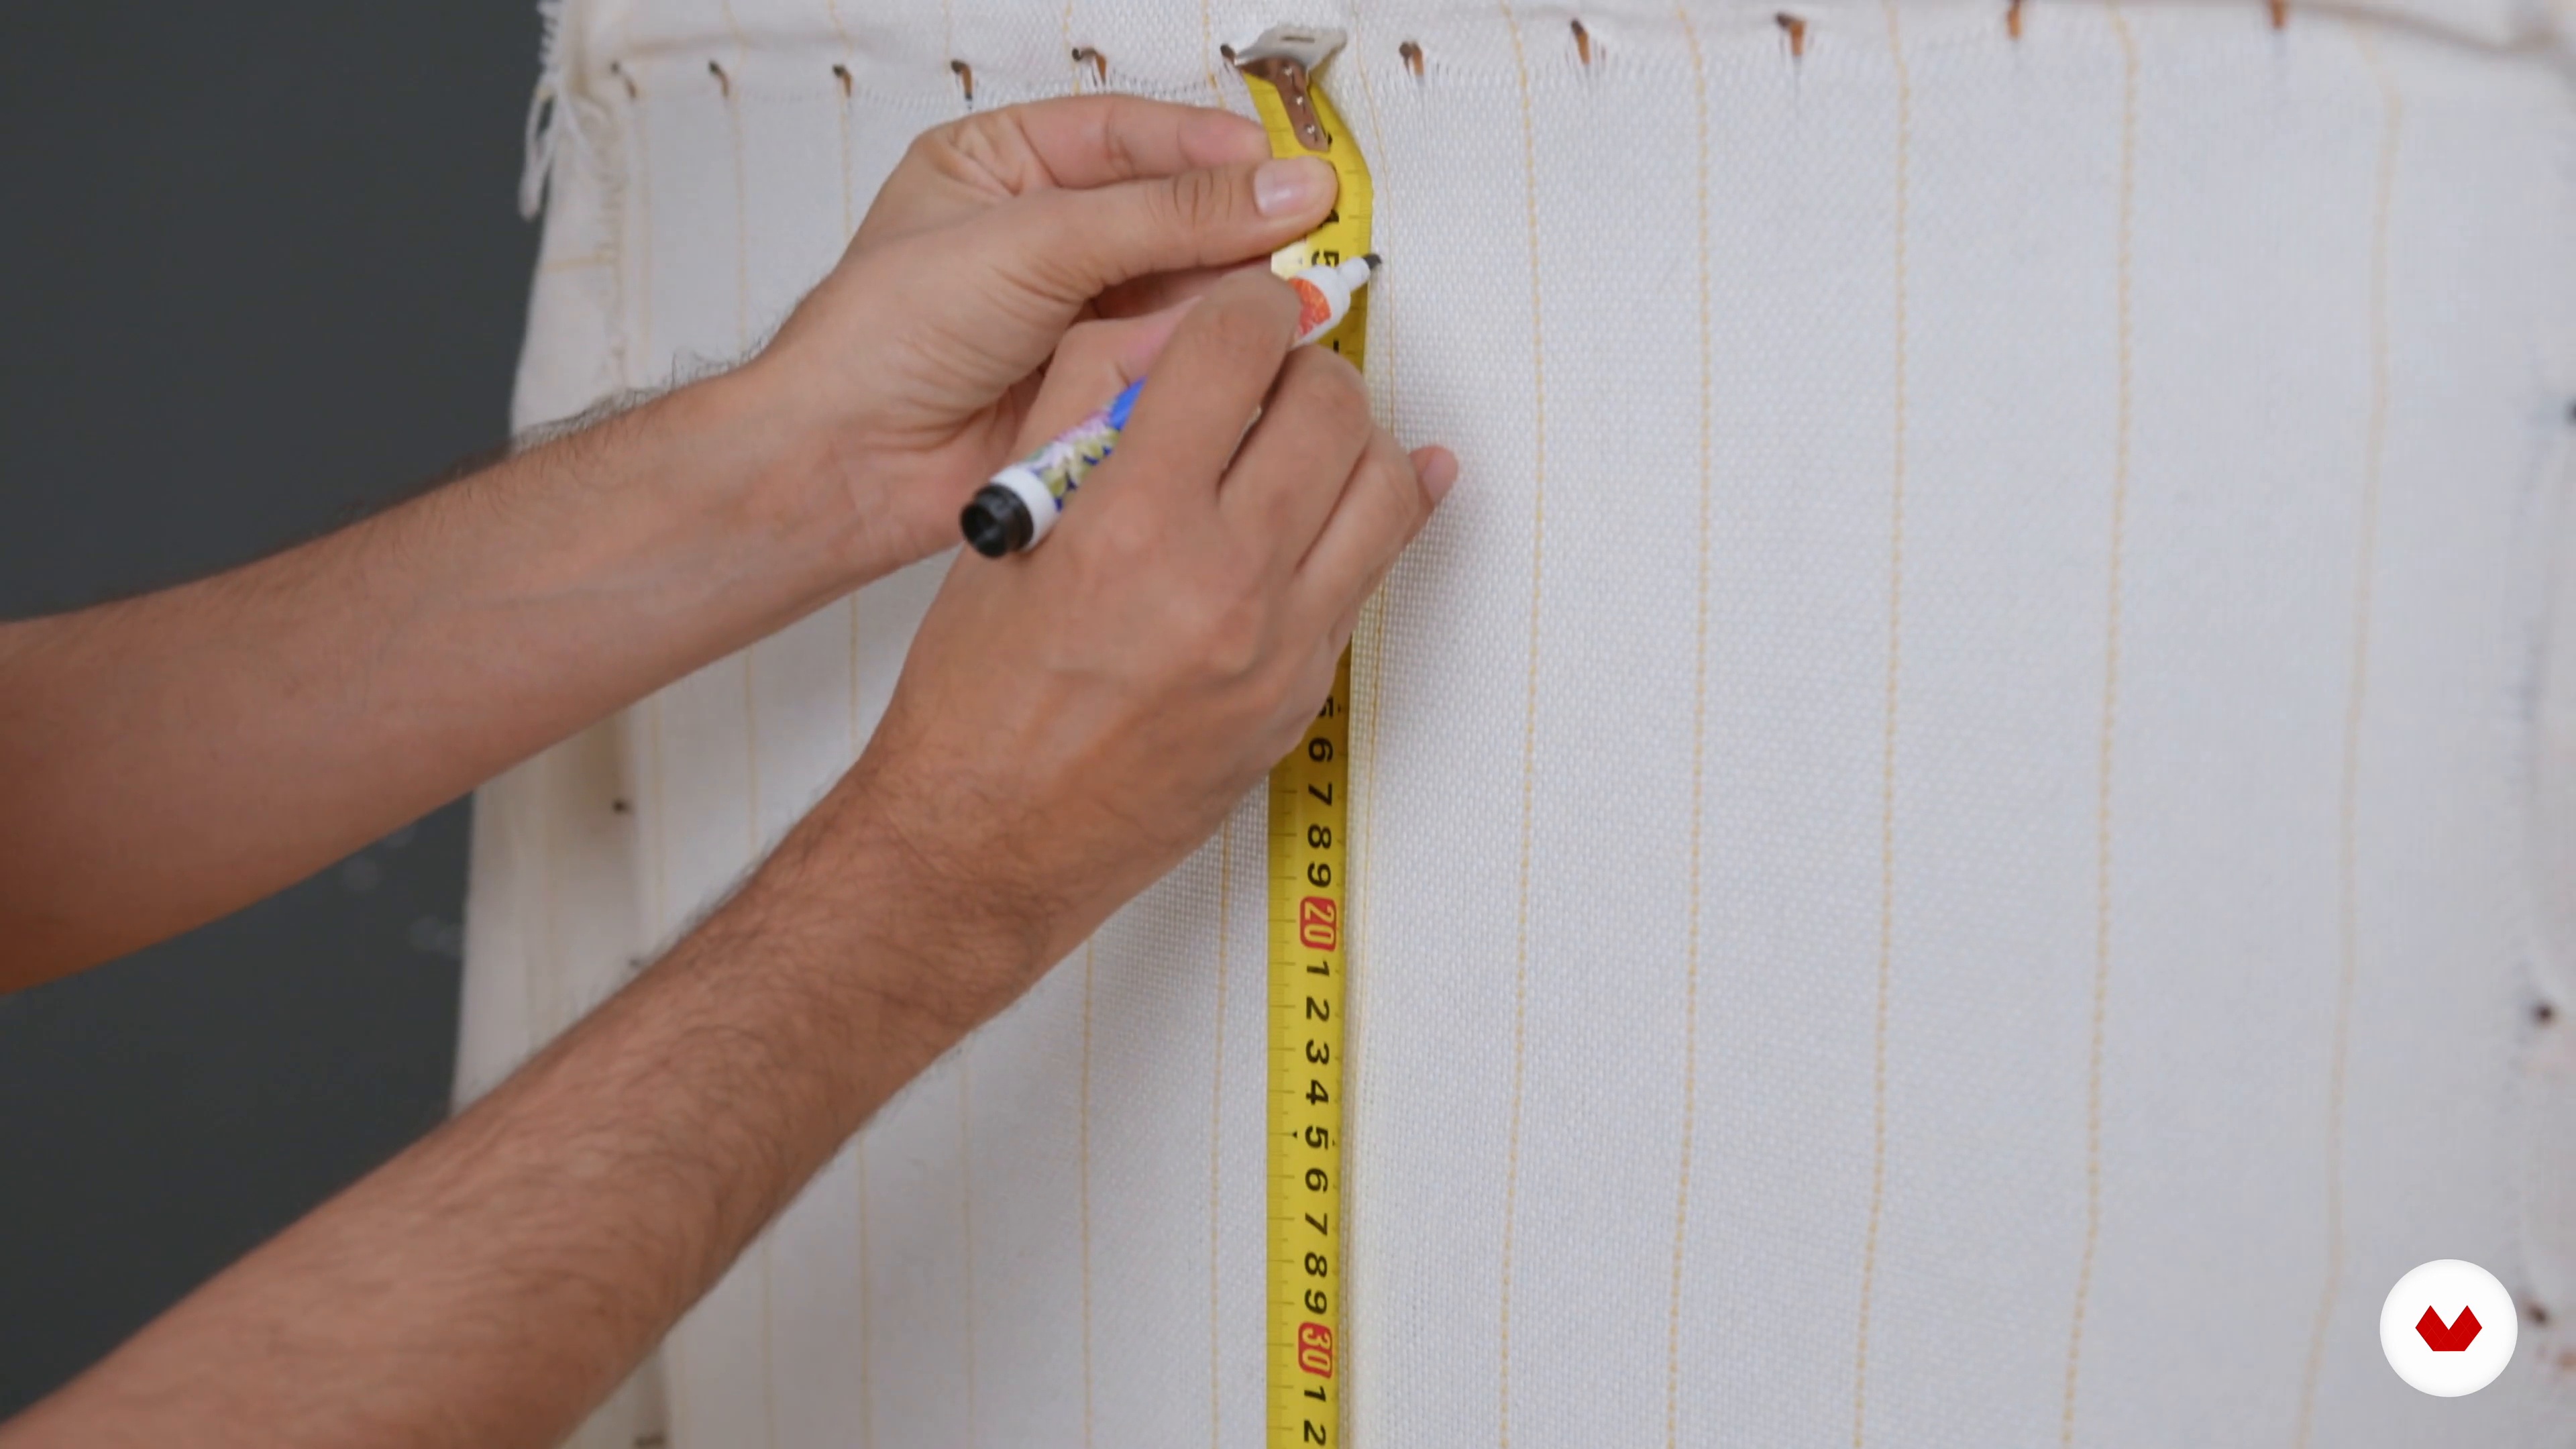 7
Prepare the work area and transfer the design to the primary fabric
In this class, I will show you how to prepare your work area to start the course project.
2m
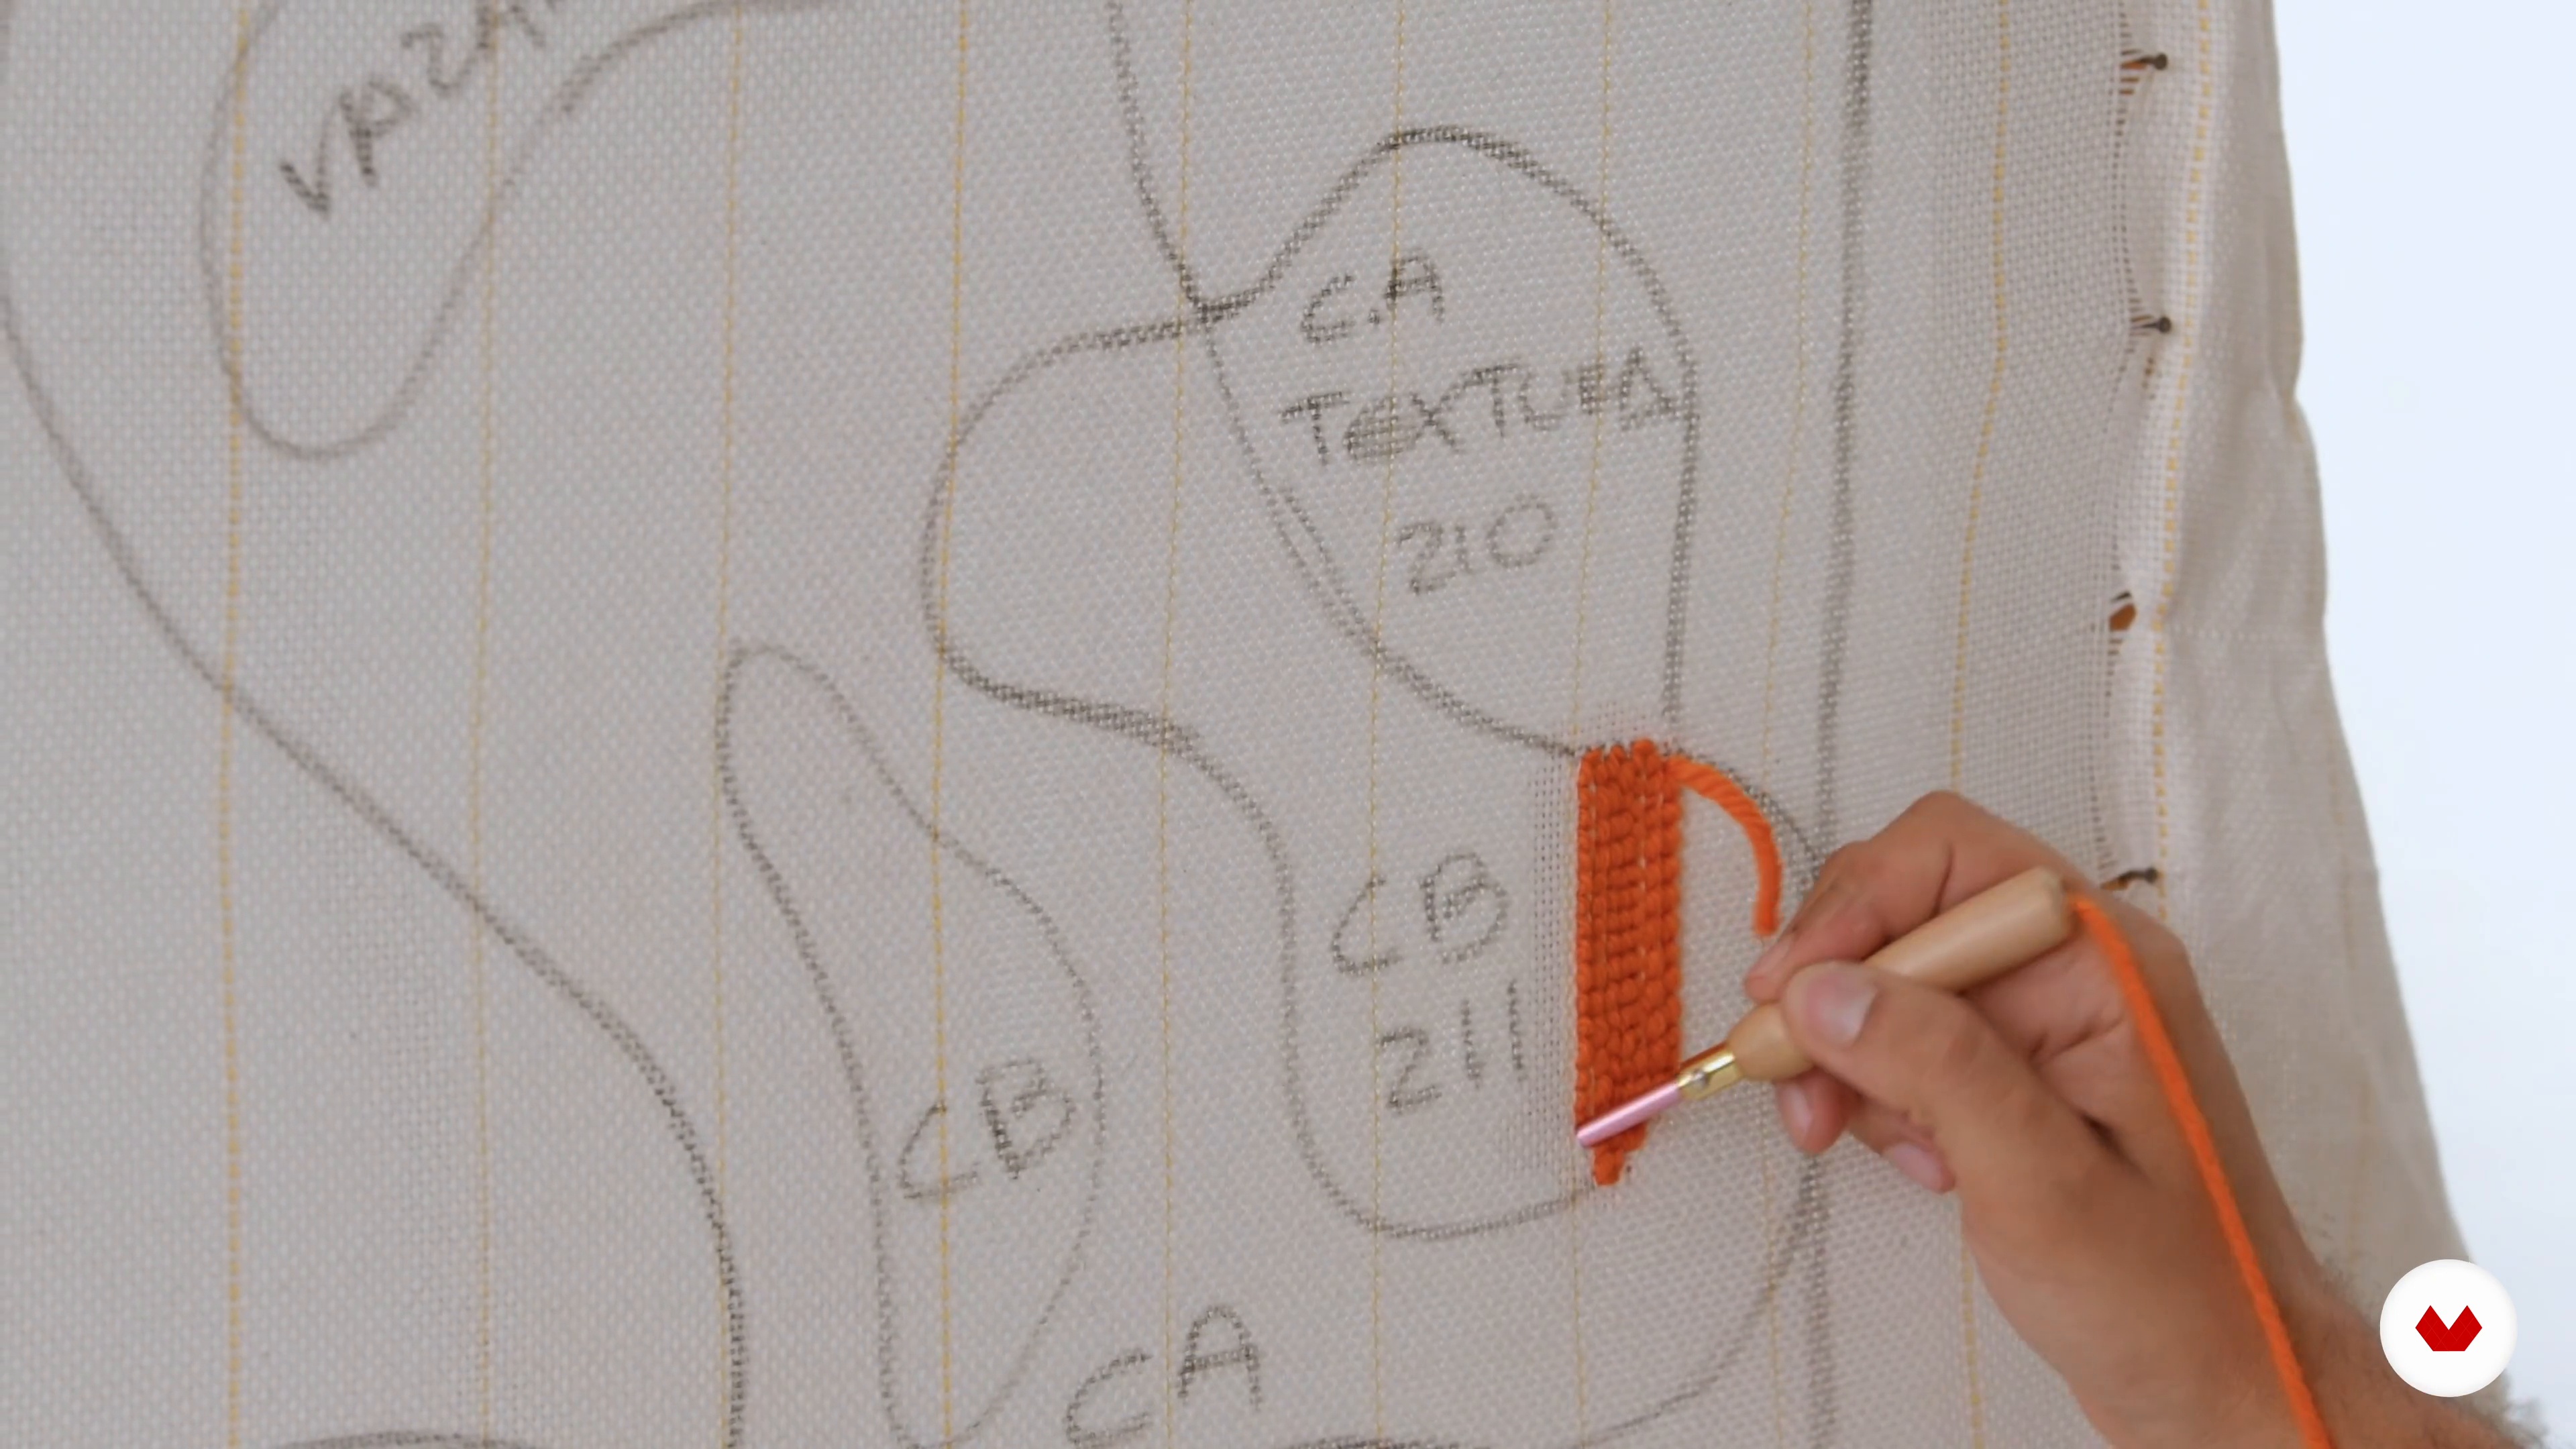 8
Do it in practice
In this step, we will fill the design with the Russian stitches following the mapping done previously.
5m
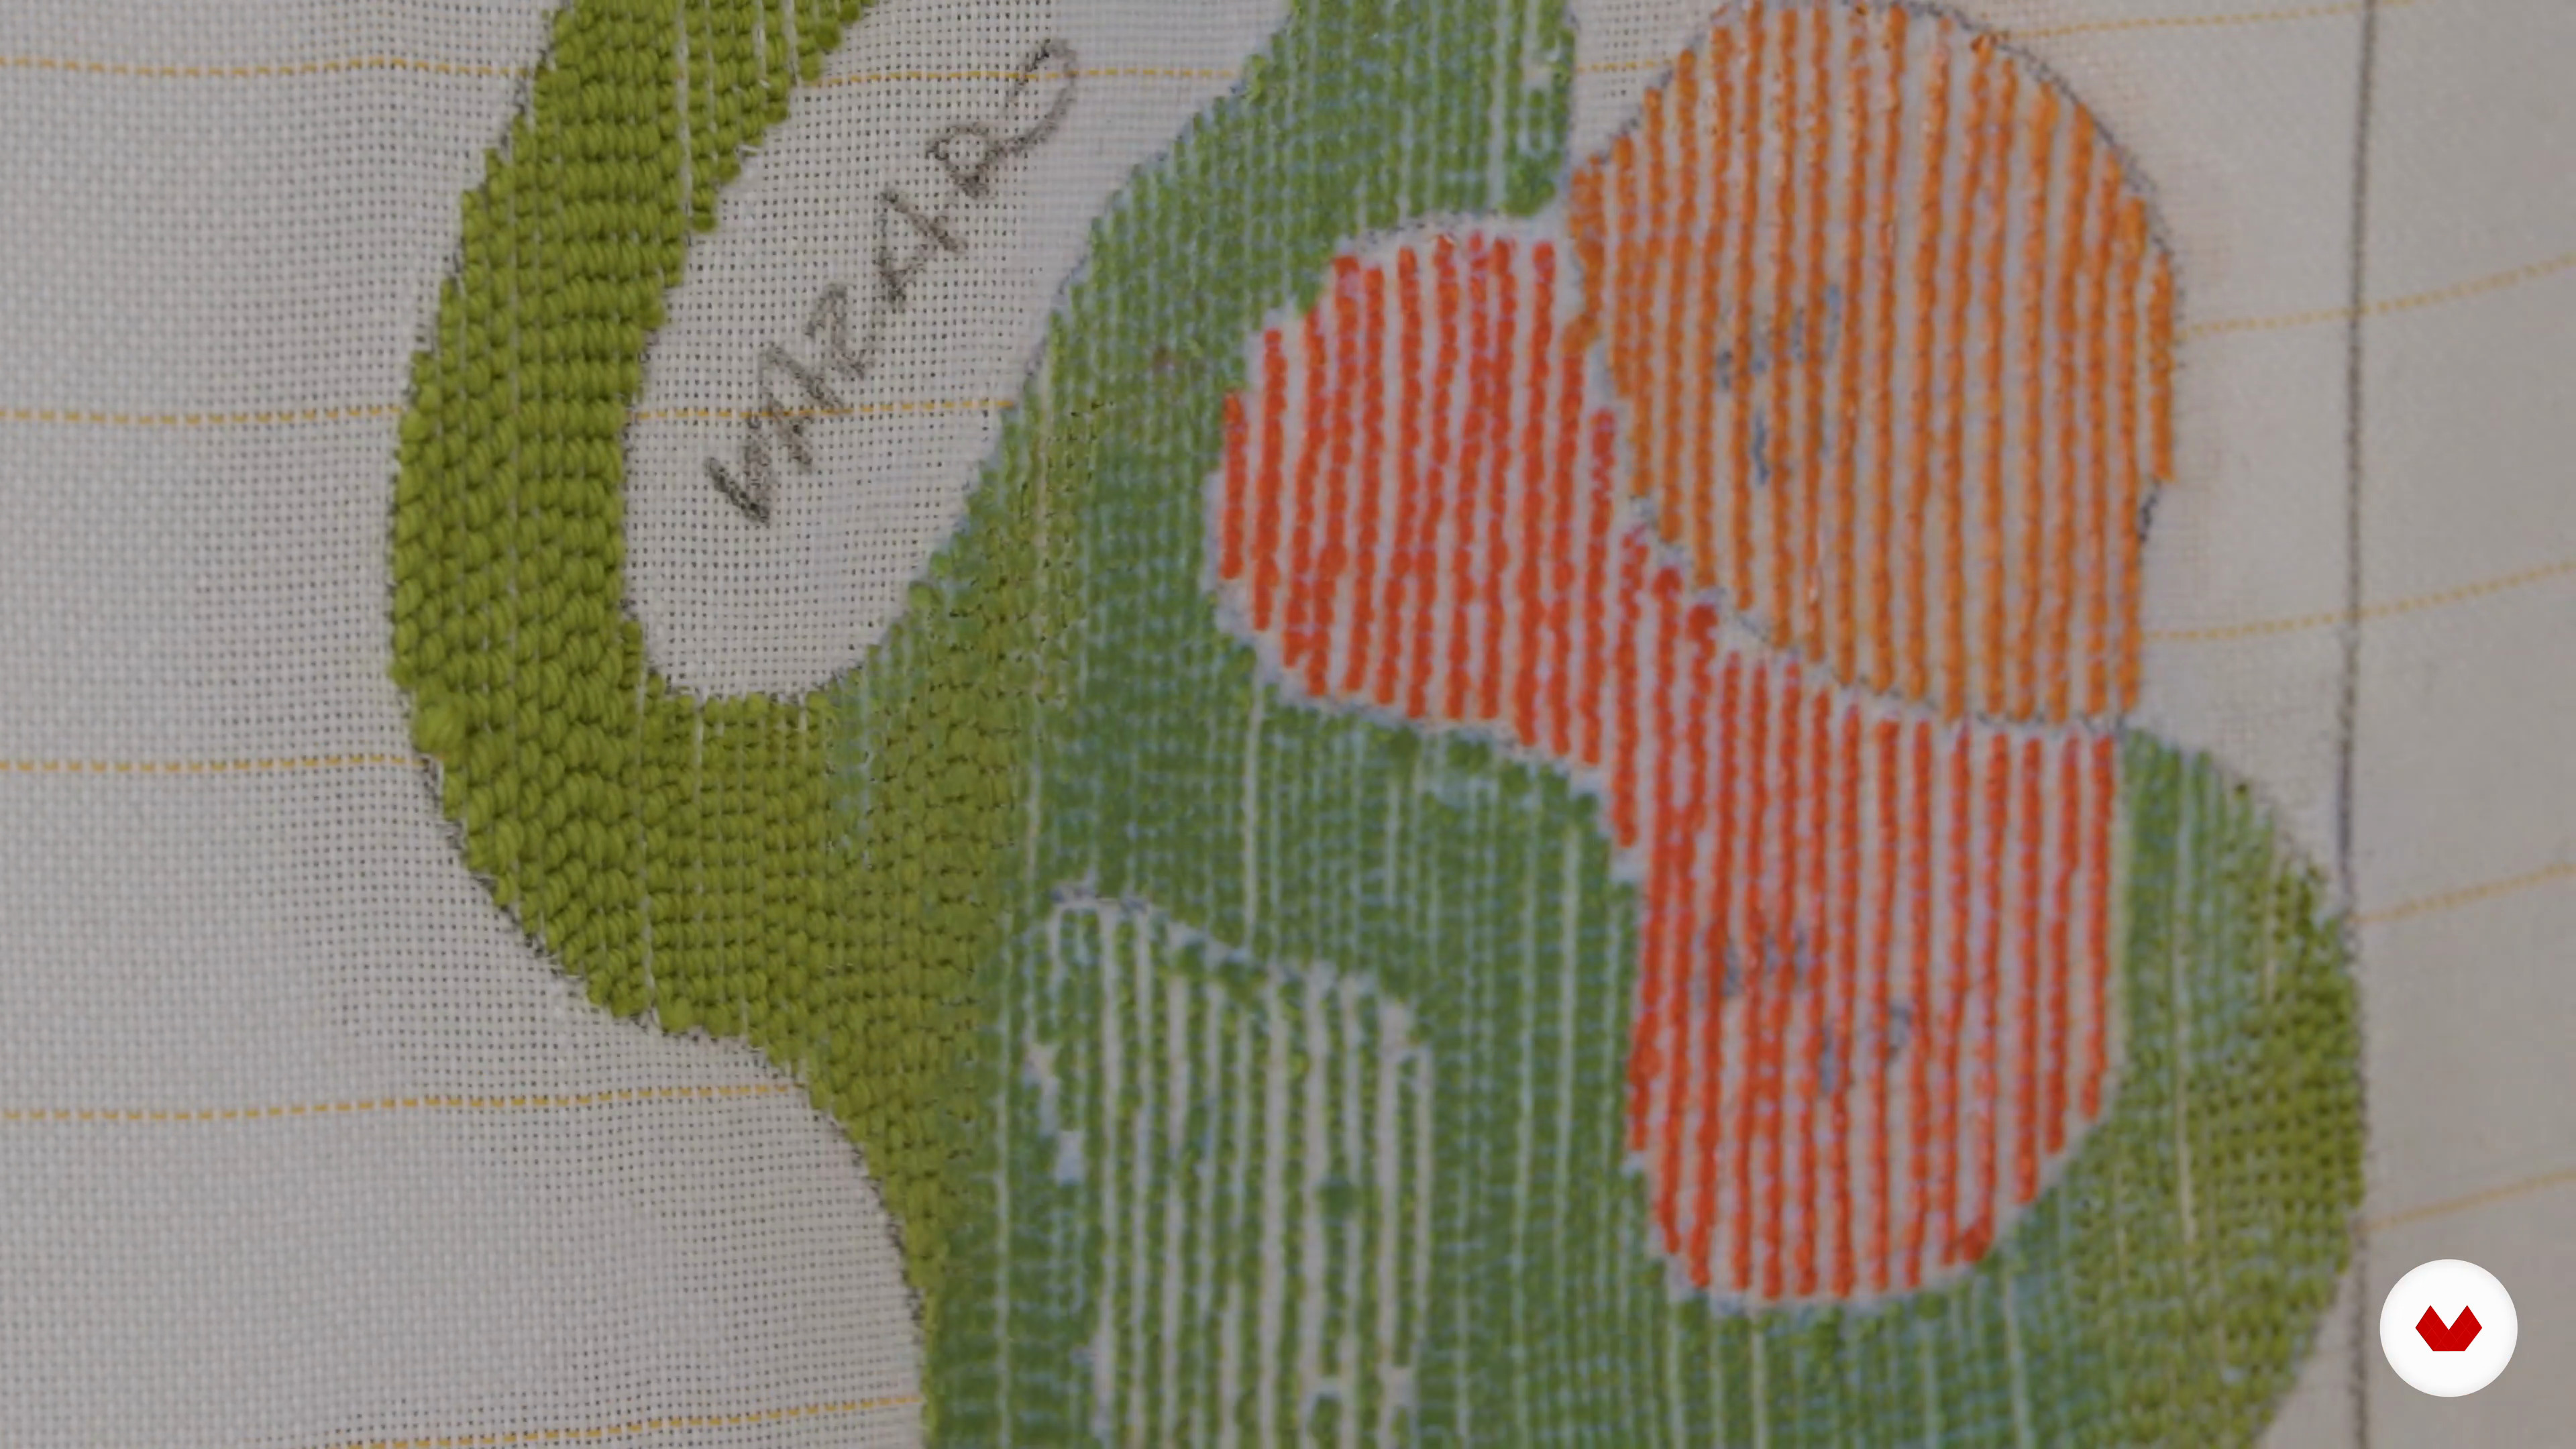 9
Resin the part
With the stitches already filled, I will now show you how to resin them by fixing them to the primary fabric.
2m
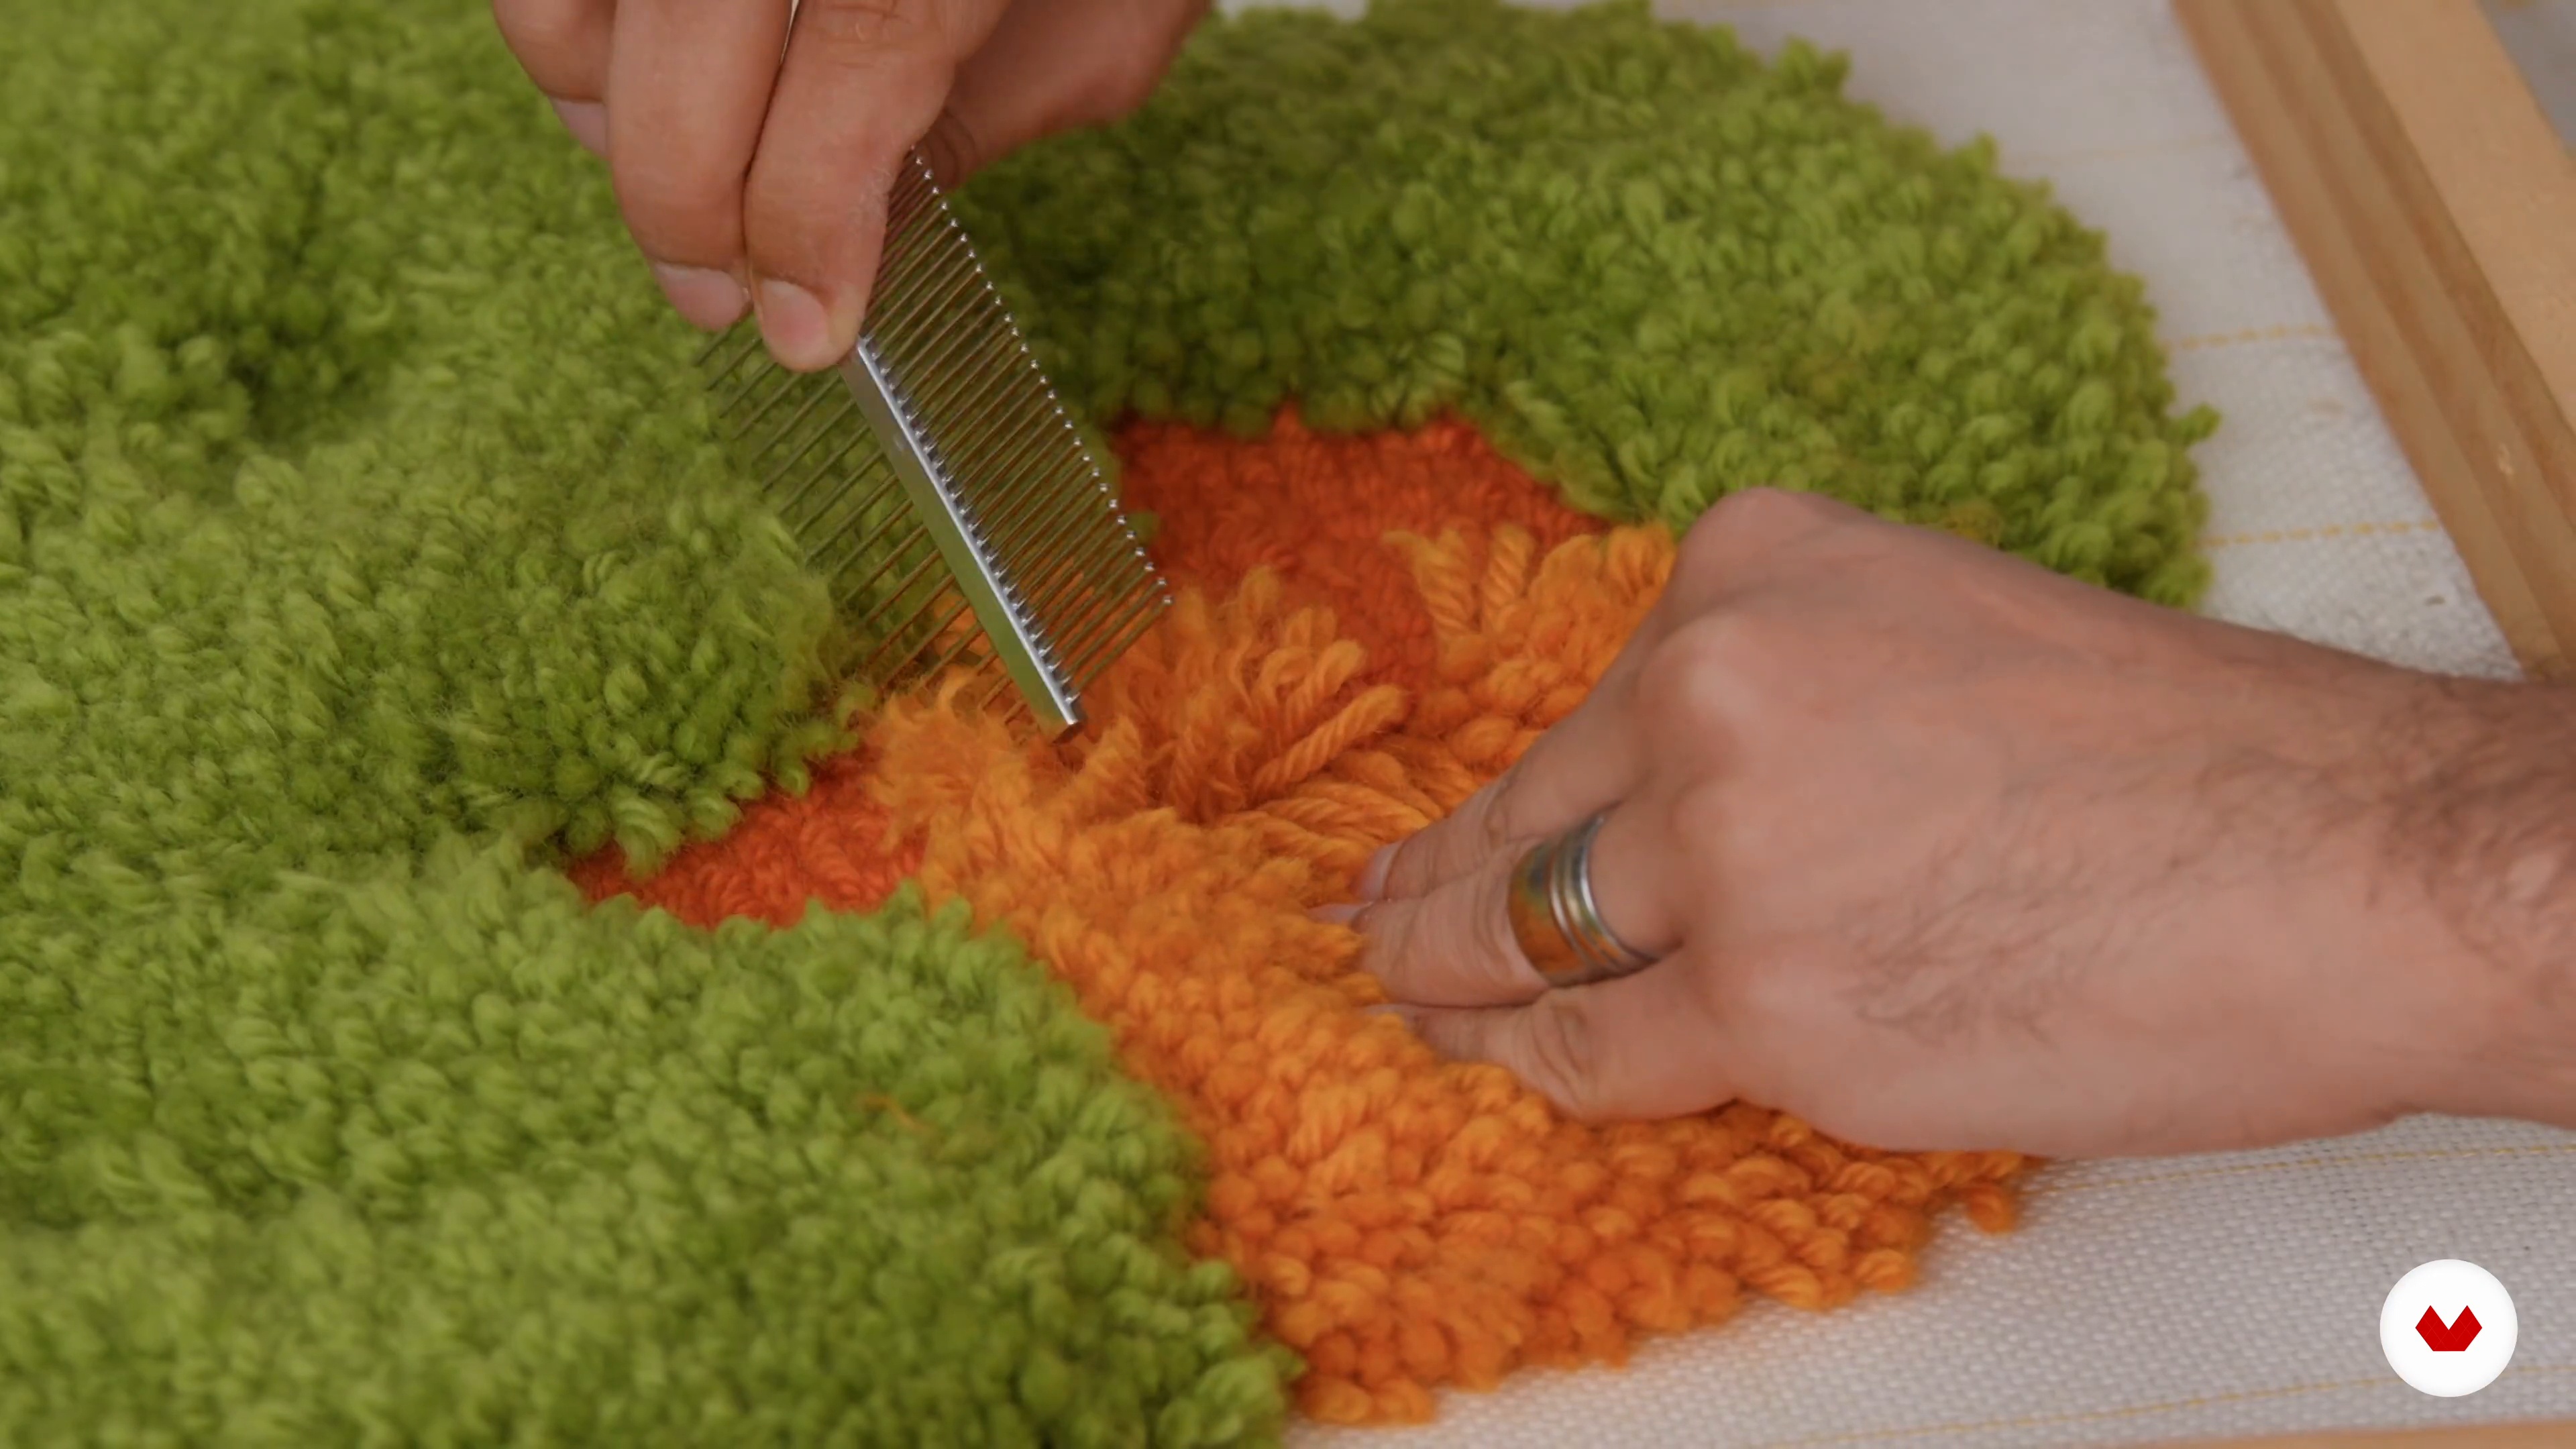 10
Effects on wool
In this class, I will teach you how to add texture to wool, bringing more dimension and visual impact to the project.
2m
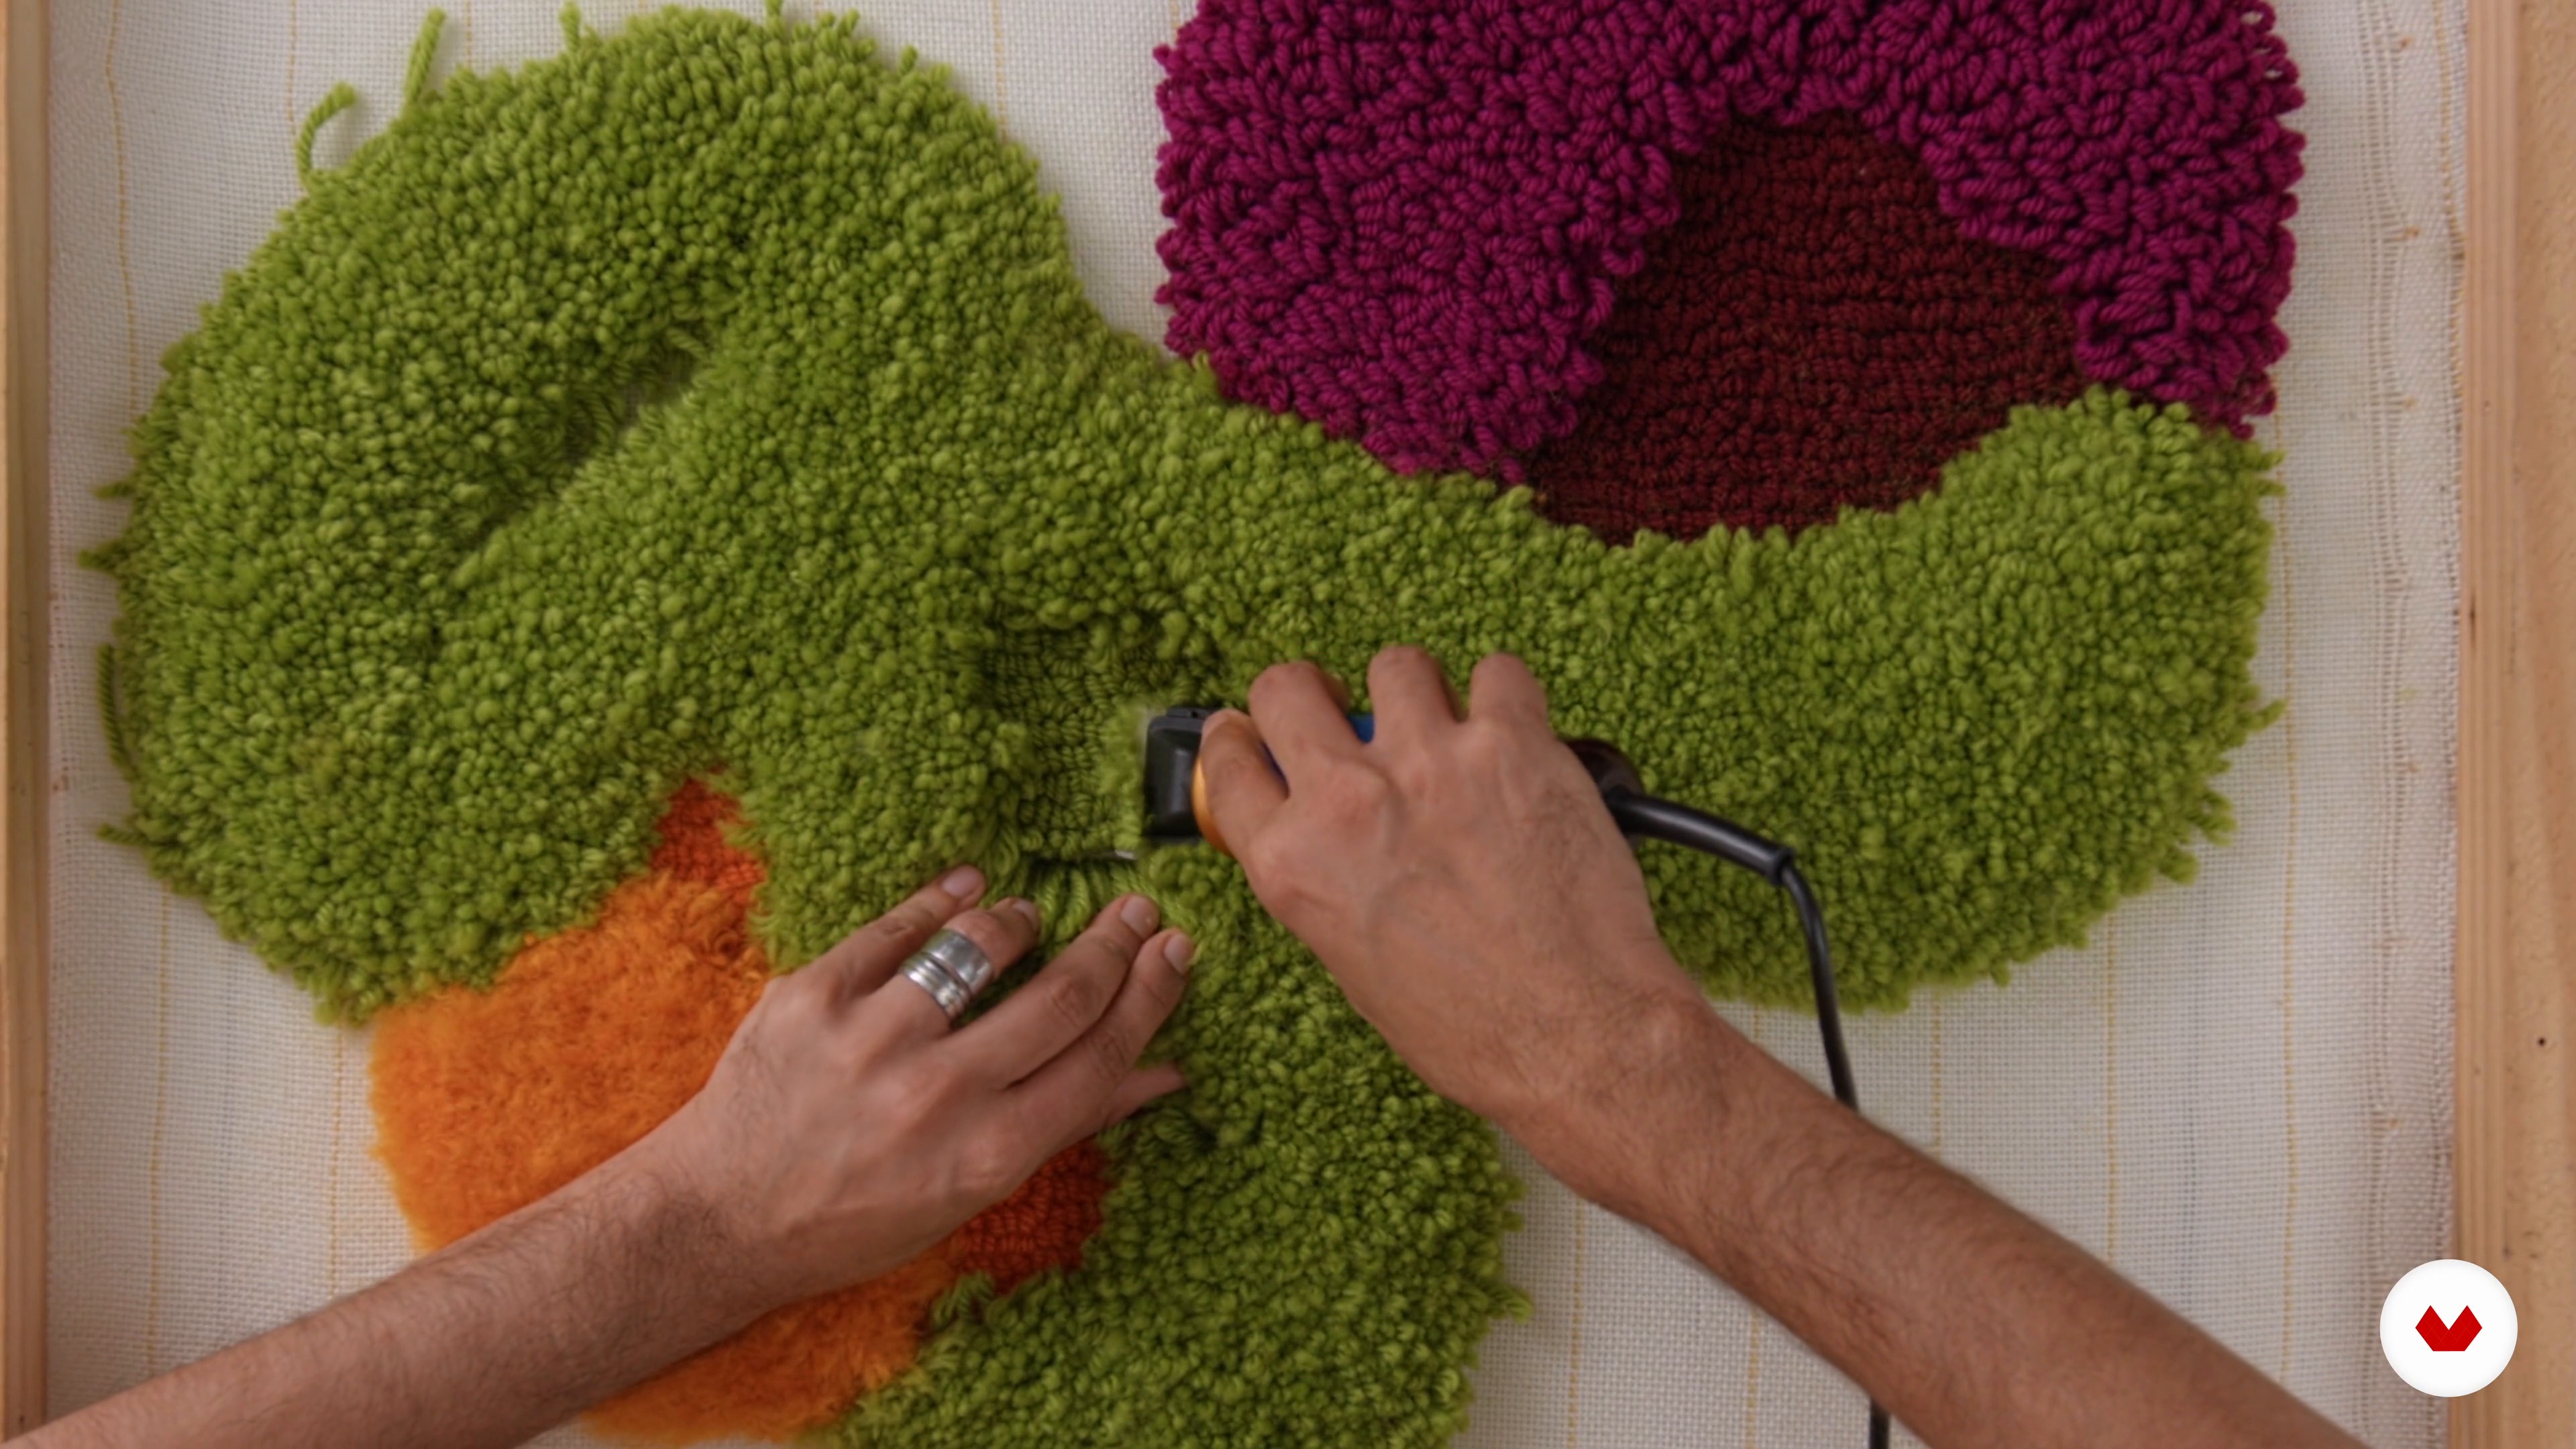 11
Sculpting wool: preparing the base
Now that you know how to start sculpting, I'll show you some ways we can use to give the piece three-dimensionality.
10m
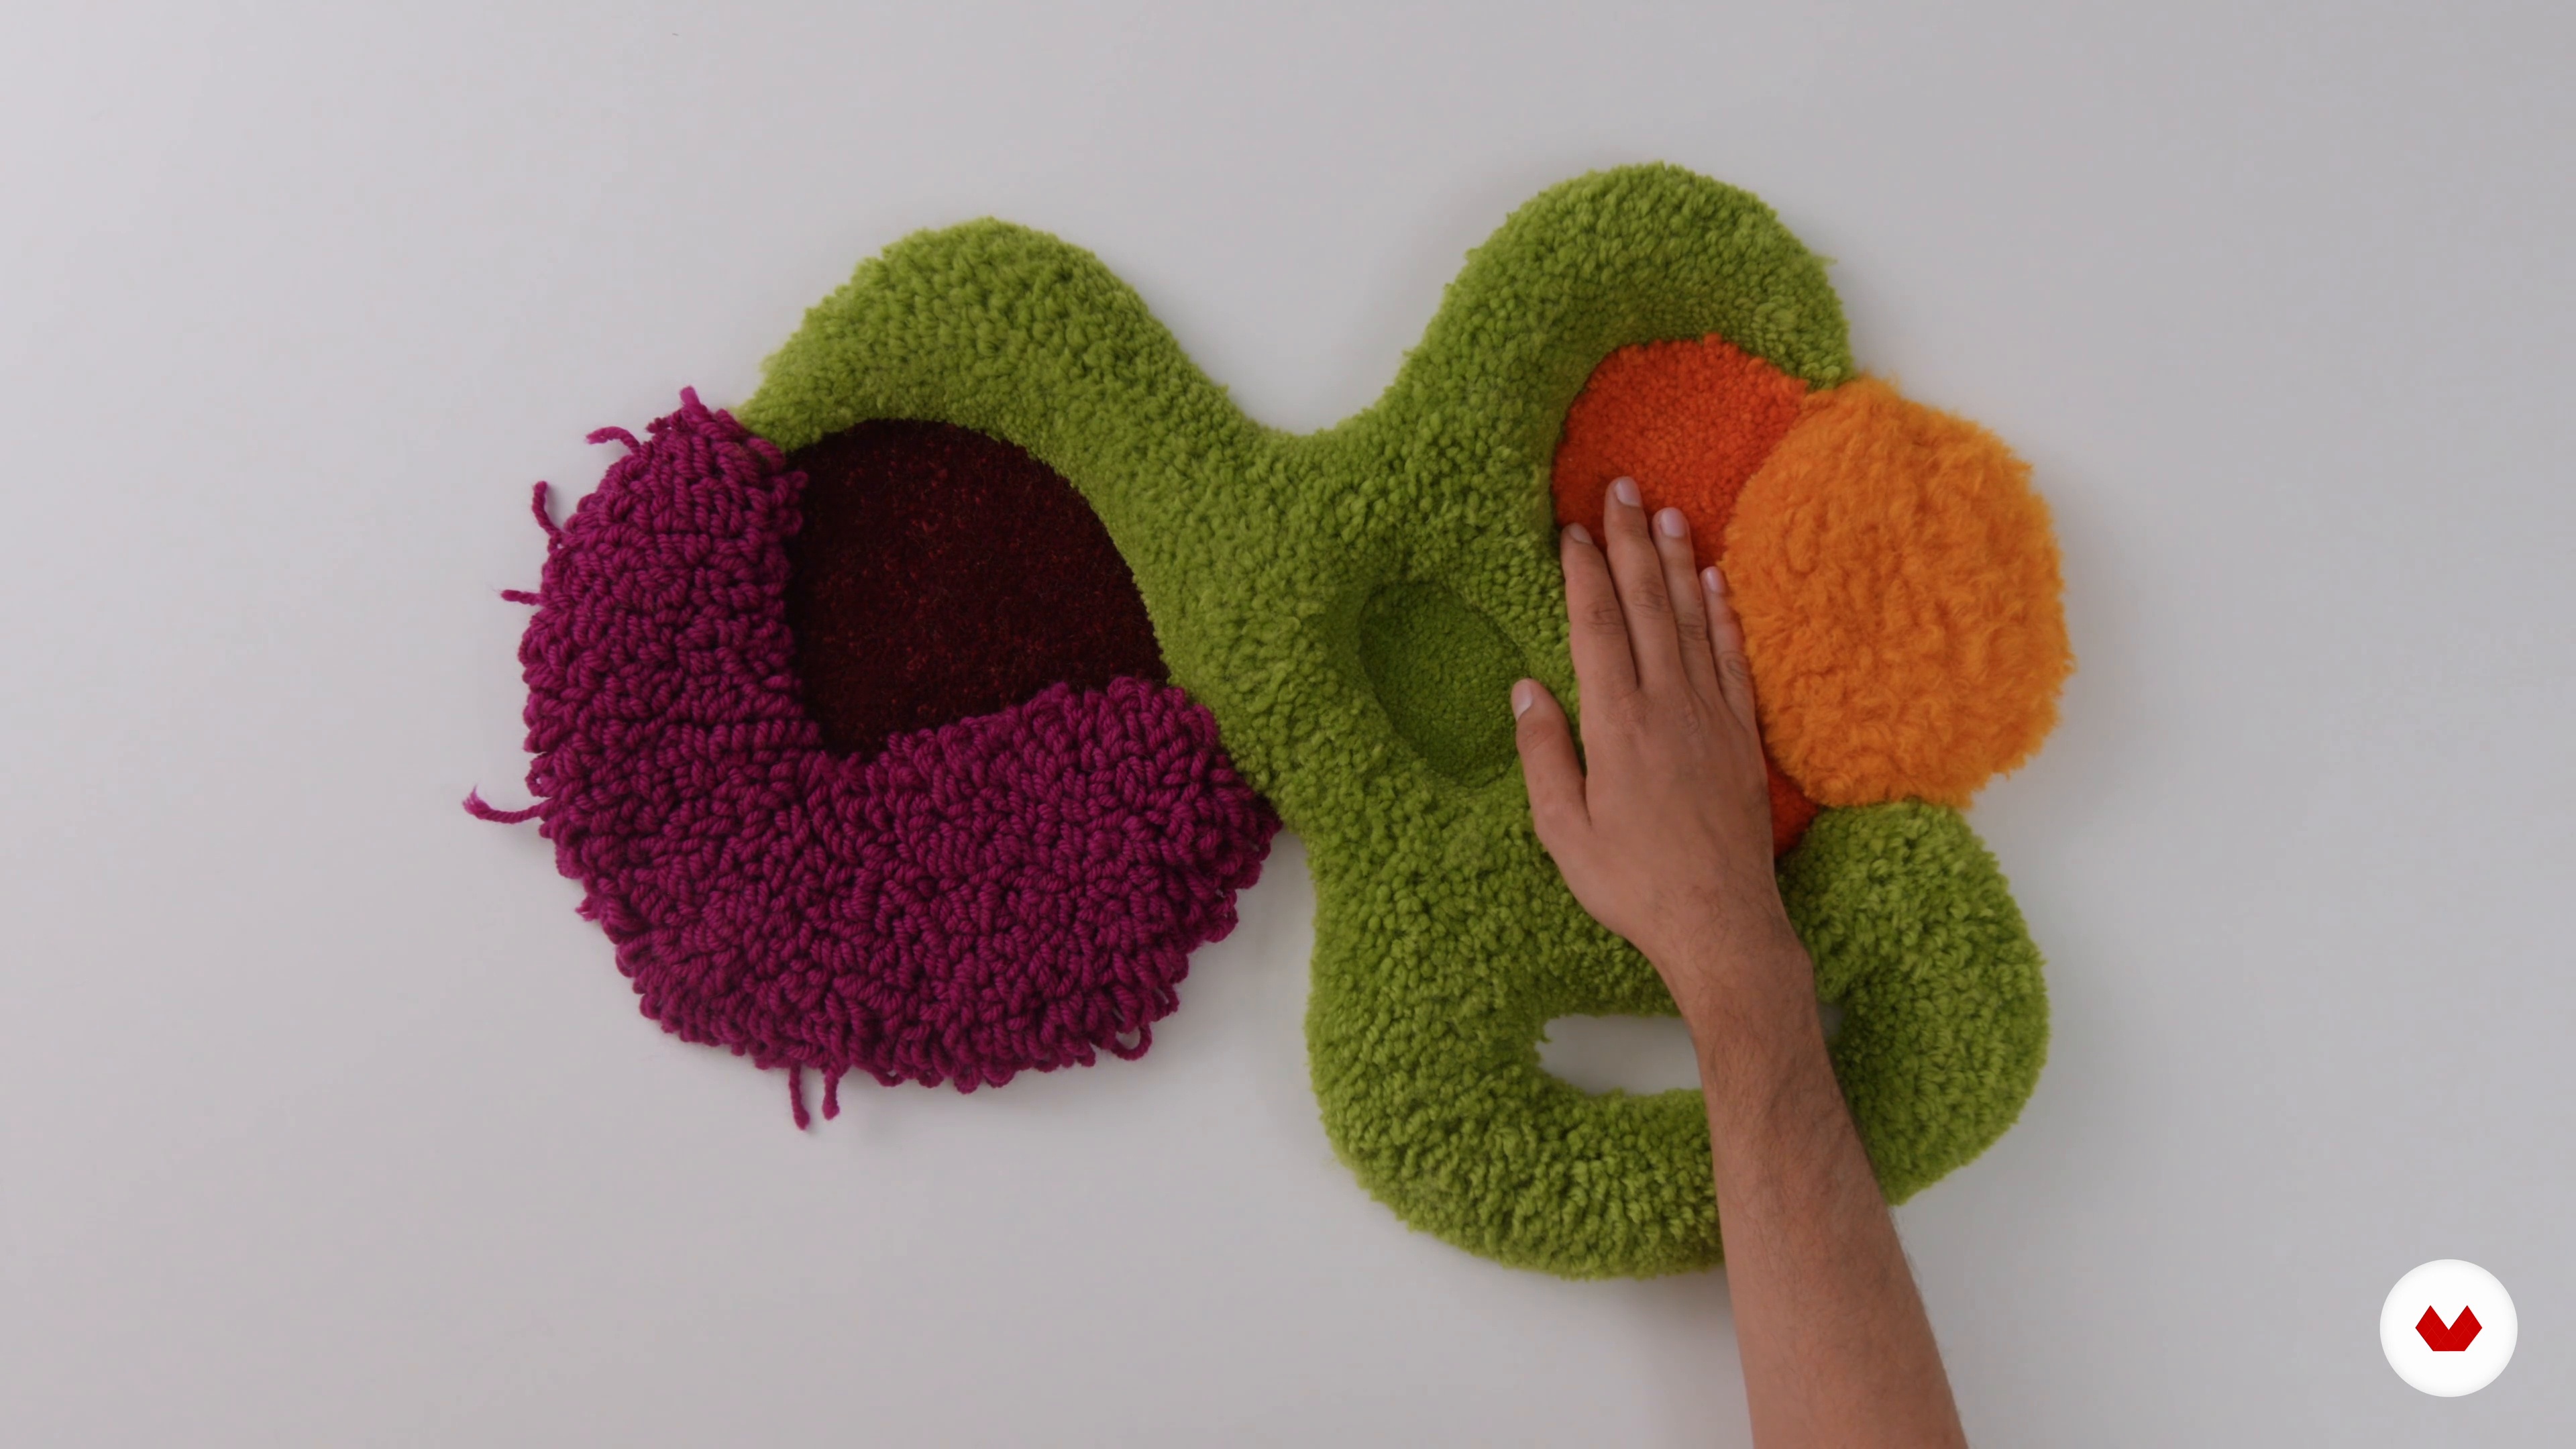
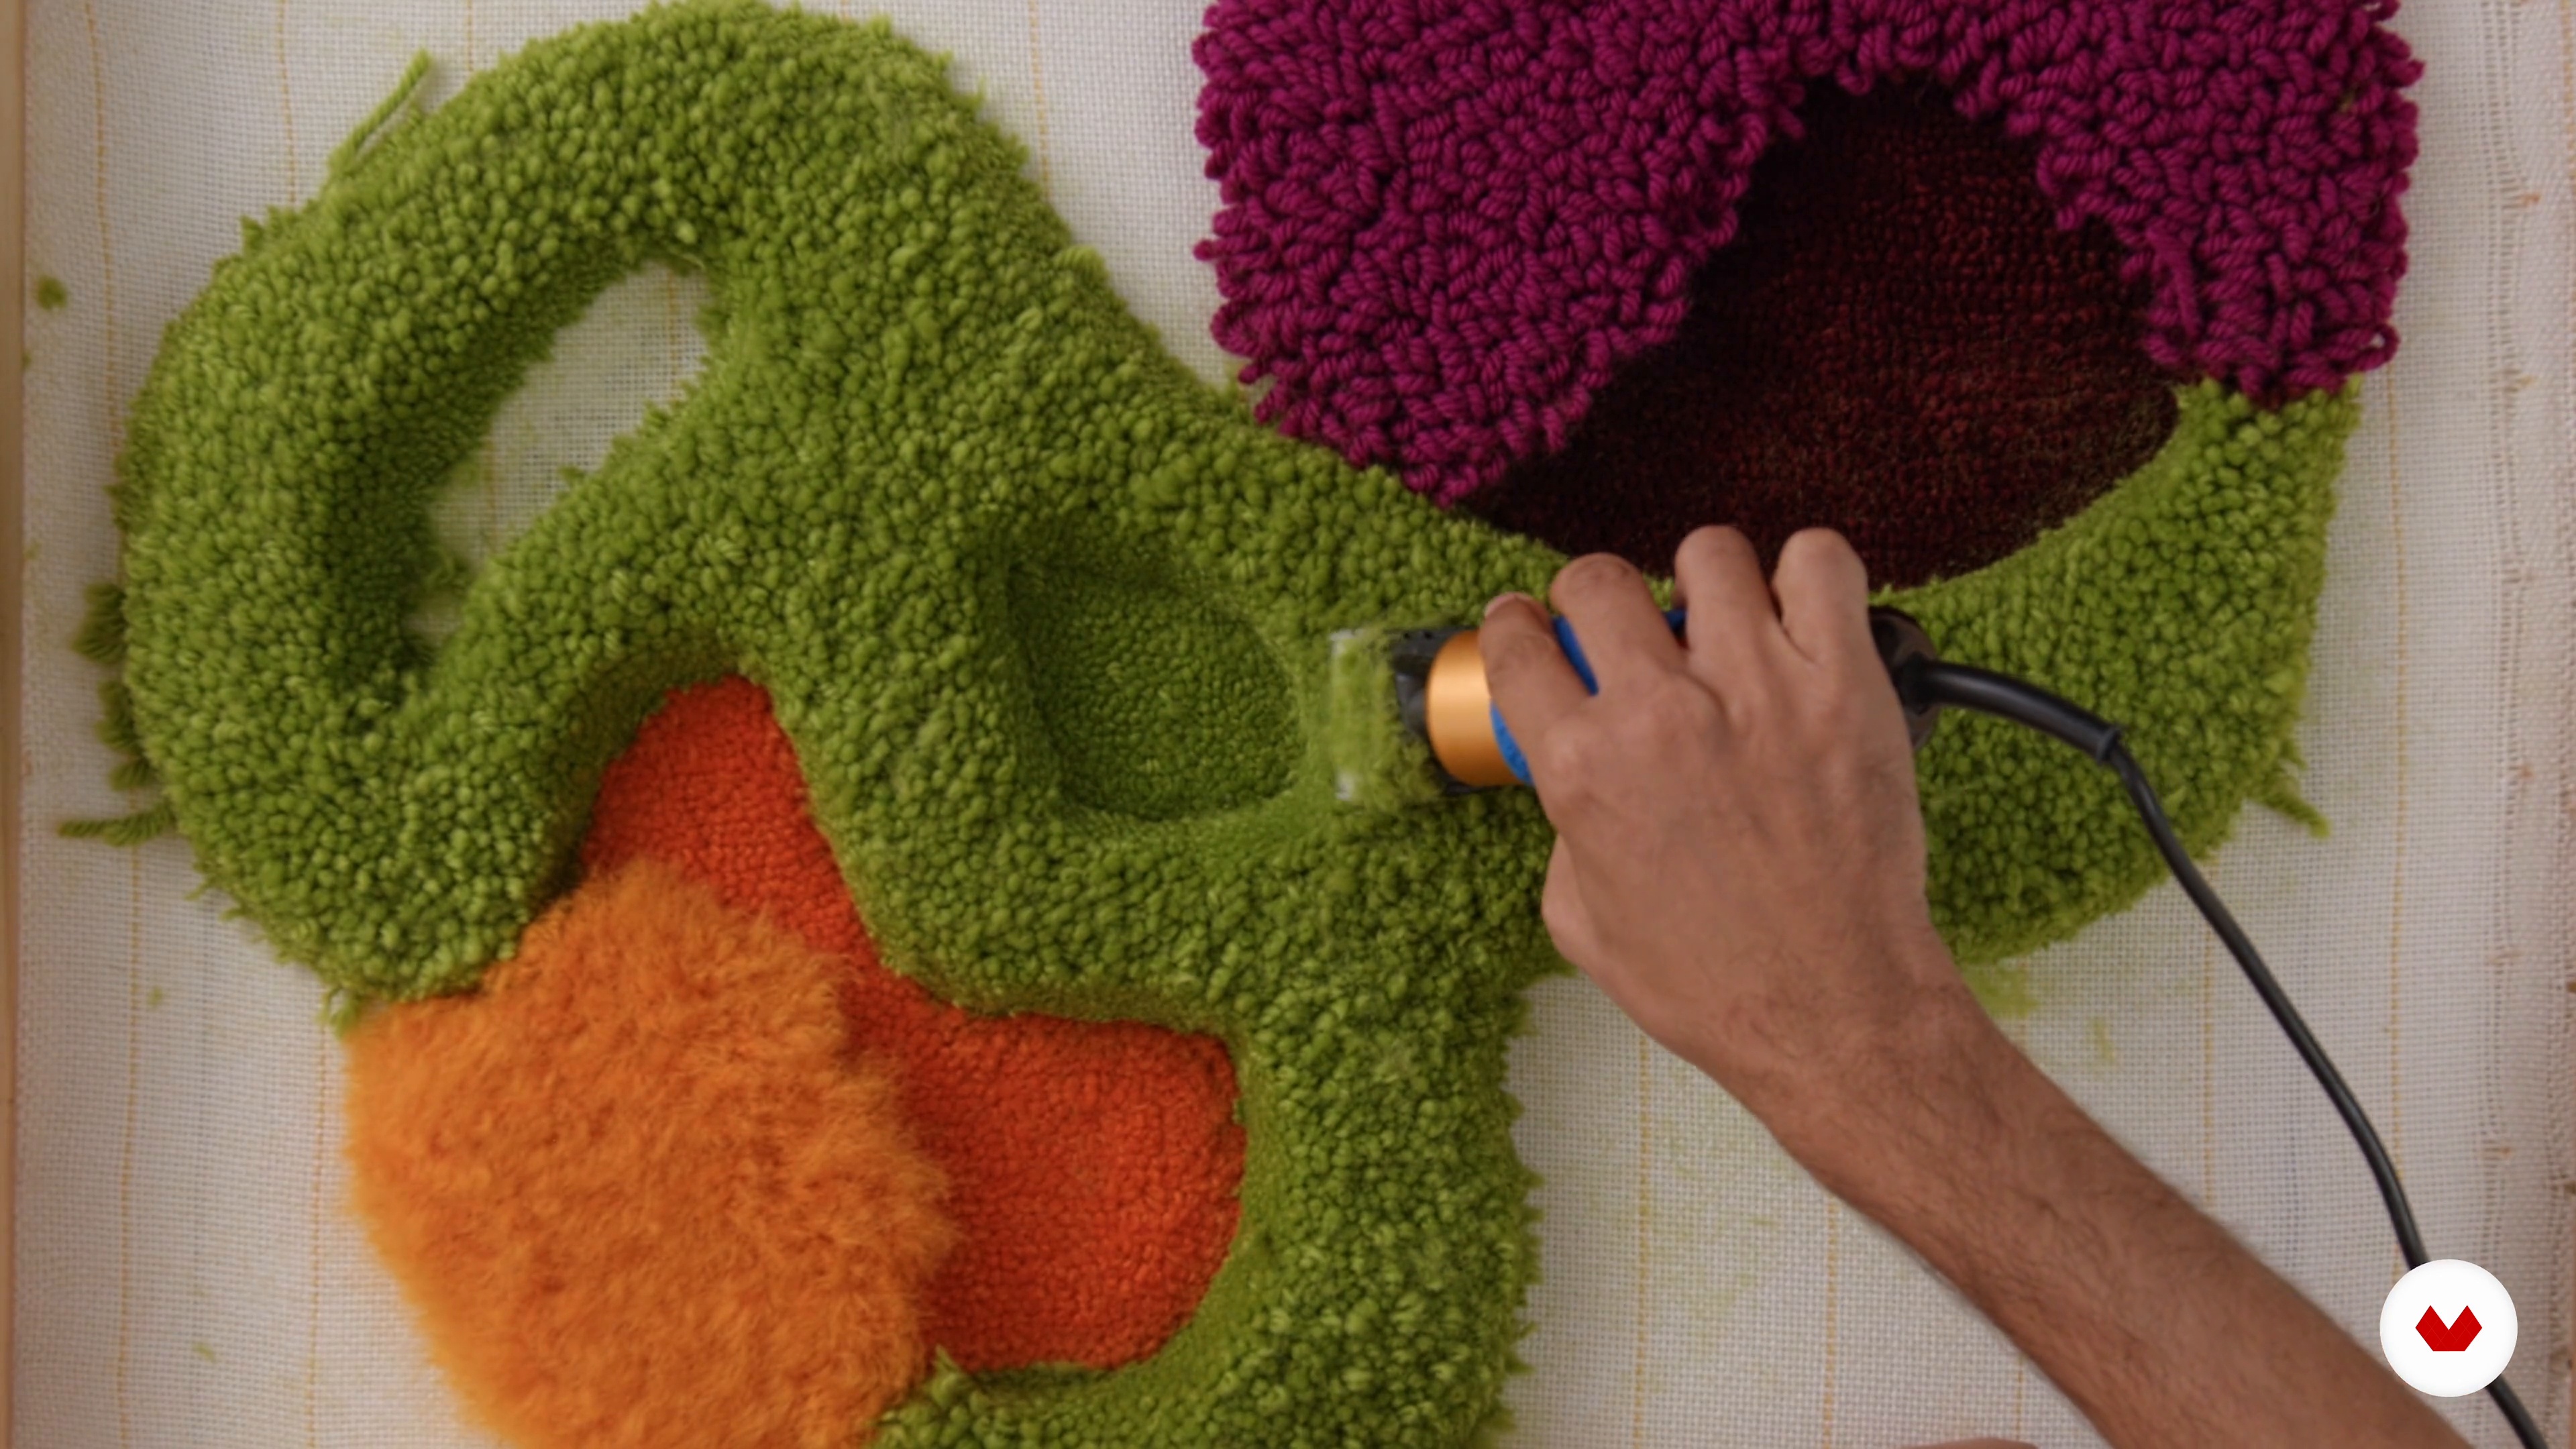 12
Sculpting the wool: leveling and angulations
In this class, I will teach the technique I developed to sculpt the shapes. A process carried out using angulations, which gives more movement and fluidity to the piece.
6m
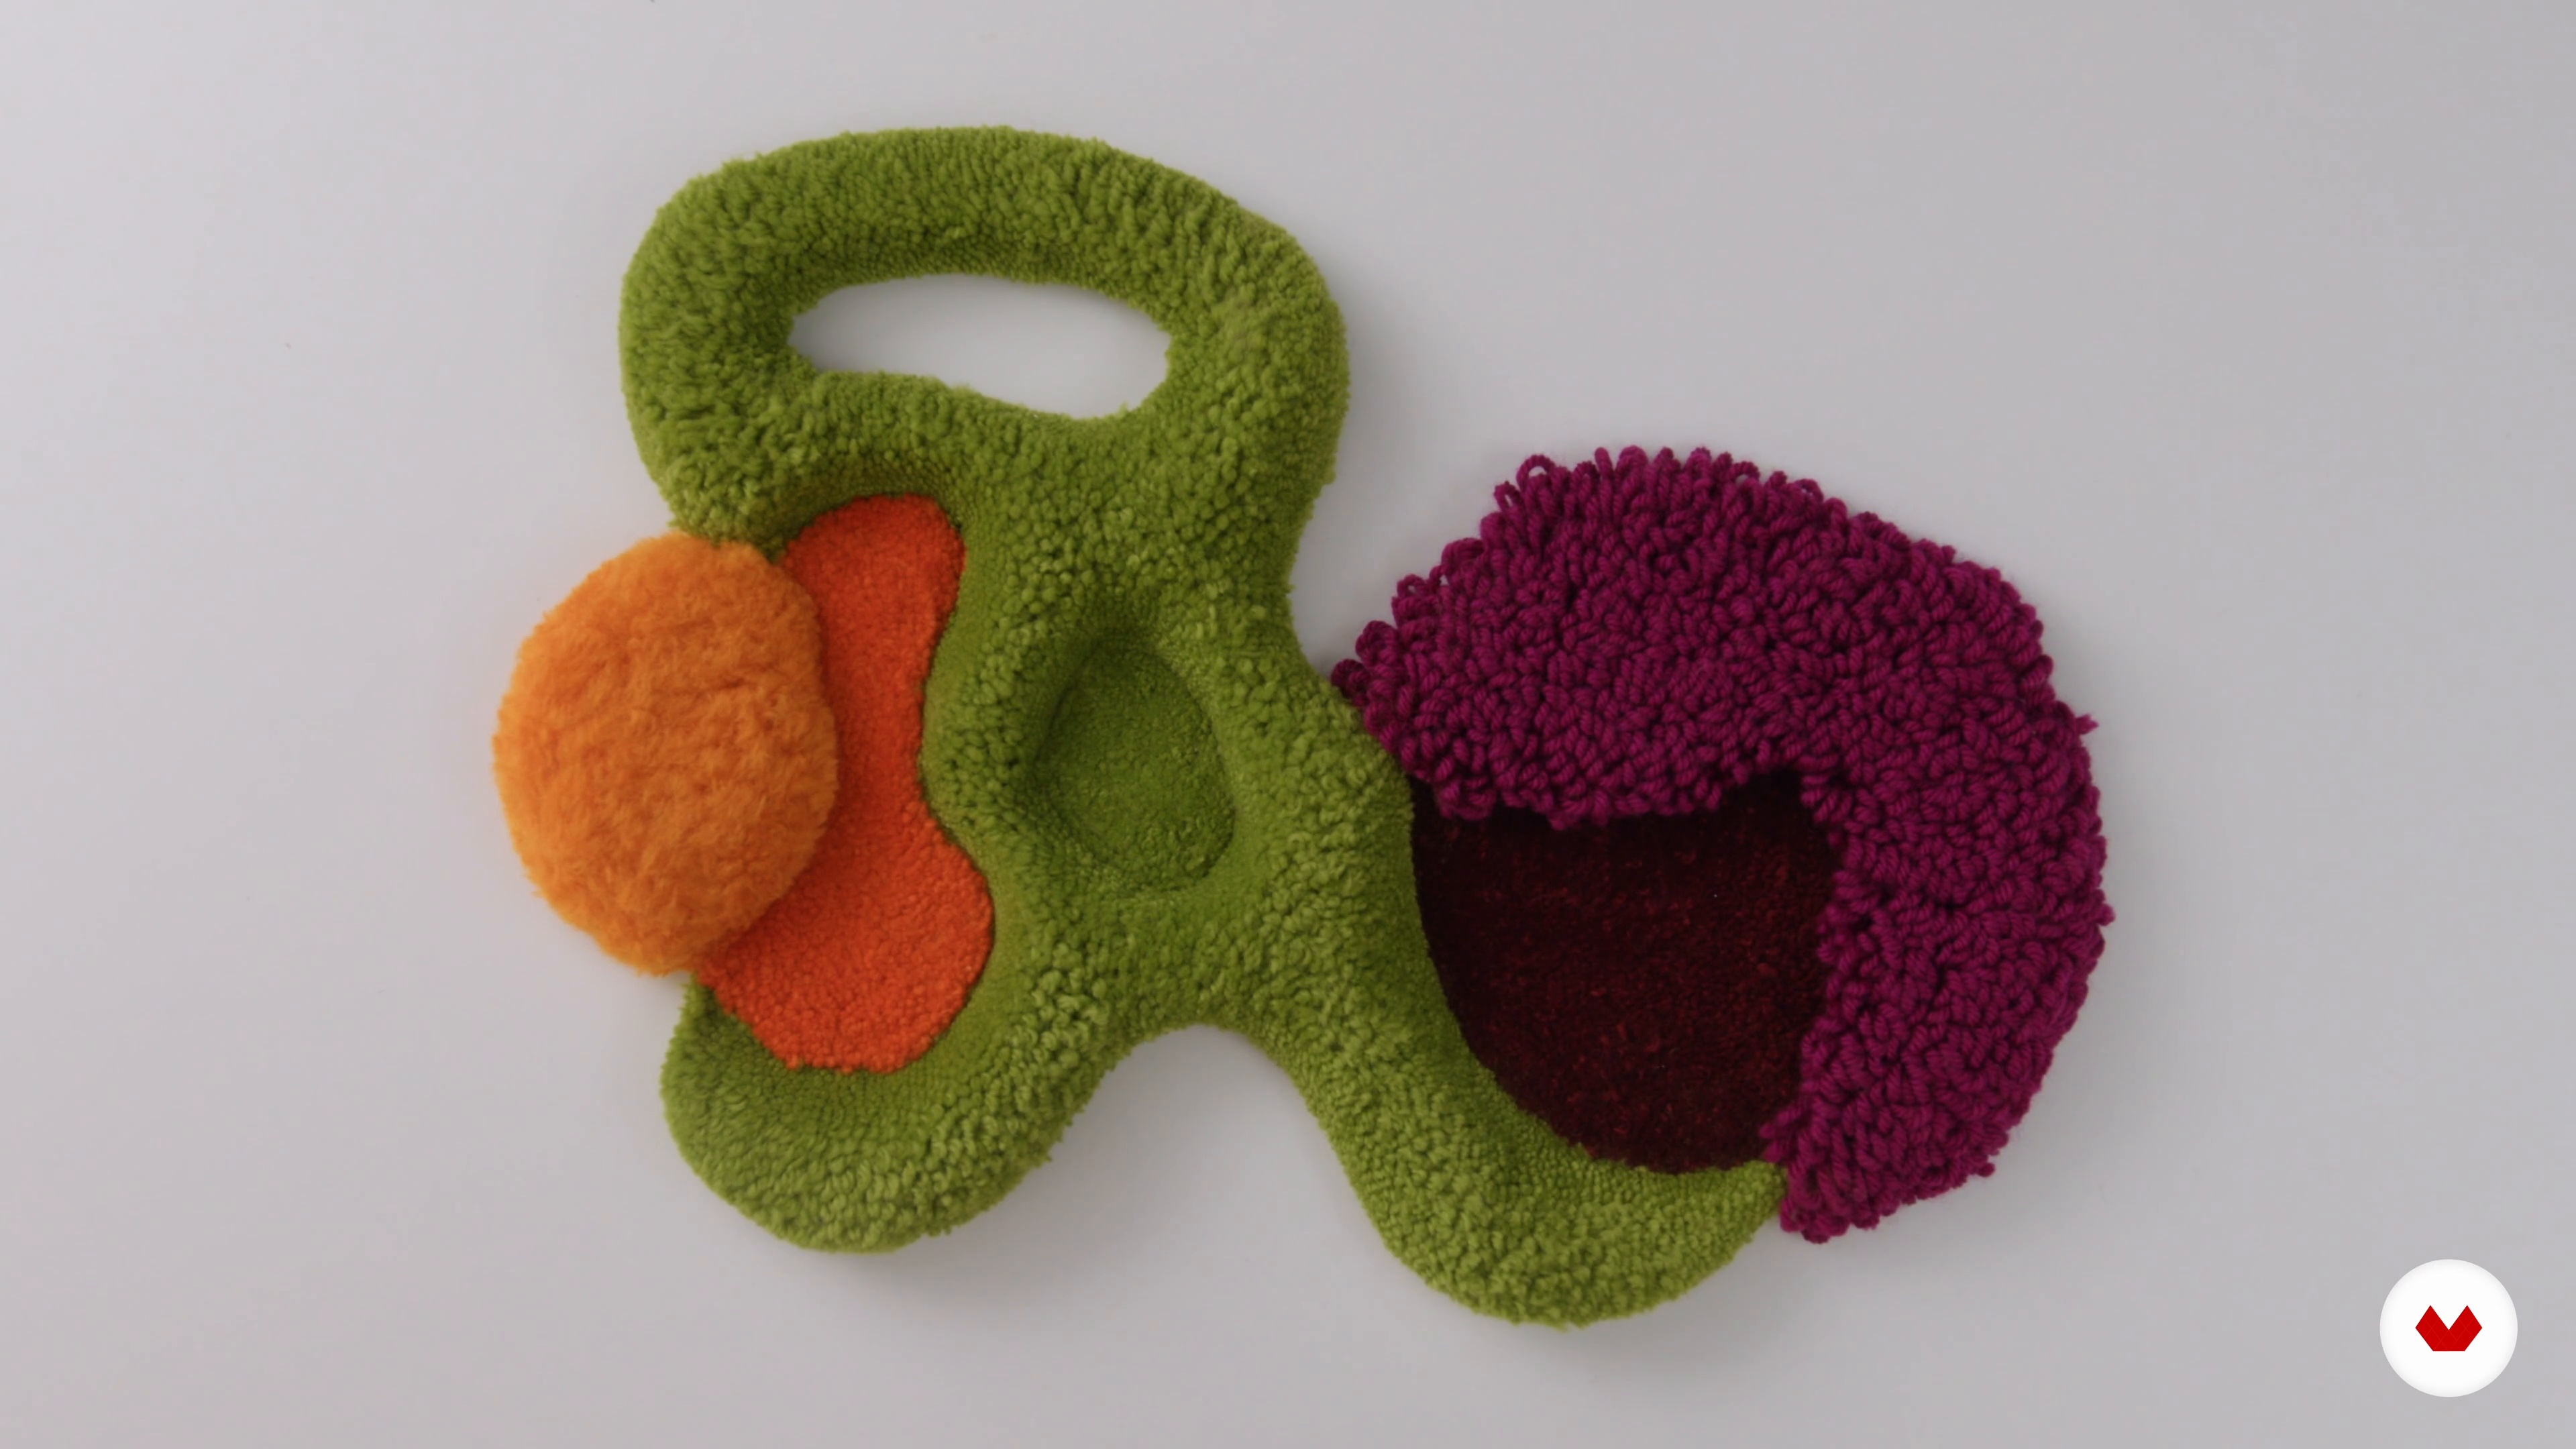
 13
Finishing on the primary fabric
Now, I'm going to show you my finishing process on the primary fabric.
1m
 14
Final finishes: touches, lining and taping
We have reached the final stage of the project! In this class, I will show you how to do the final cut check, apply the lining and tape it.
4m
What is this course's project?
Create a tapestry using high-warp techniques, incorporating complex color gradations and either figurative or abstract elements. This project will showcase your mastery of advanced weaving methods and allow the creation of a unique textile art piece.
Who is this specialization for?
Visual artists, textile designers, traditional craftspeople, and creatives eager to explore textile art as a form of artistic expression will gain valuable insights from mastering traditional and contemporary tapestry techniques, enabling the development of a unique personal artistic language.
Requirements and materials
Explore the art of tapestry with just a frame loom, yarn, and a creative spirit. No extensive prior knowledge is needed, but a basic understanding of weaving principles will be helpful. Dive into crafting unique textile pieces with ease.
Reviews
- 8 months ago
Il corso è dettagliato per le tecniche di base, spiegate in maniera semplice e brn realizzate le inquadrature. Ho trovato molto utili tutti i suggerimenti aggiuntivi legati ad esperienze personali dei docenti. Ottime le ispirazioni diverse per sperimentare e individuare i propri stili di espressione. Nella versione in lingua italiana sono molti gli errori di traduzione nel parlato (non mi sono servita di sottotitoli), soprattutto nelle lezioni di Diana Cunha.
- 1 year ago
Excellent instructors and course. Very inspiring.
Select to get to know your teachers in this specialization course


What to expect from this specialization course
Learn at your own pace
Enjoy learning from home without a set schedule and with an easy-to-follow method. You set your own pace.
Learn from the best professionals
Learn valuable methods and techniques explained by top experts in the creative sector.
Meet expert teachers
Each expert teaches what they do best, with clear guidelines, true passion, and professional insight in every lesson.
Certificates
PLUSIf you're a Plus member, get a custom certificate for every specialization course. Share it on your portfolio, social media, or wherever you like.
Get front-row seats
Videos of the highest quality, so you don't miss a single detail. With unlimited access, you can watch them as many times as you need to perfect your technique.
Share knowledge and ideas
Ask questions, request feedback, or offer solutions. Share your learning experience with other students in the community who are as passionate about creativity as you are.
Connect with a global creative community
The community is home to millions of people from around the world who are curious and passionate about exploring and expressing their creativity.
Watch professionally produced courses
Domestika curates its teacher roster and produces every course in-house to ensure a high-quality online learning experience.
FAQs
Yes, this course is designed for beginners and requires no prior experience in tapestry or textile weaving. You’ll learn step-by-step, starting from the basics and progressing to more advanced techniques.
You’ll need basic weaving materials such as a simple loom, natural fibers or yarn, a weaving needle, and scissors. A list of recommended materials is provided at the start of the course.
You’ll learn both traditional and contemporary tapestry techniques, how to create texture and volume, select natural fibers, apply motifs, and explore the therapeutic and artistic aspects of handmade textile art.
Yes, the course explores traditional tapestry methods alongside innovative contemporary techniques, helping you blend craft and fine art in your own creations.
The course teaches specific techniques for creating texture and volume, including the use of varied yarns, weaving patterns, and three-dimensional effects to enhance your textile artworks.
Yes, you’ll discover how to select and work with natural fibers, understanding their properties and how they influence the look and feel of your tapestry art.
Basket weaving techniques are introduced as part of the broader exploration of textile and tapestry skills, helping you expand your repertoire and creative possibilities.