


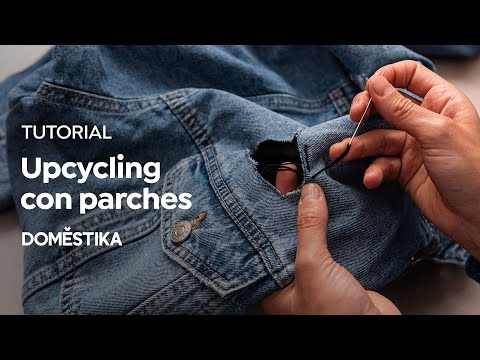
Upcycling Tutorial: How to Start Patching Your Clothes
Learn to prepare patches to repair your clothes with Ofelia & Antelmo
Fixing damaged clothes is not only good for our pocket, but also for the environment. Patches are a canvas on which you can paint, draw, and embroider: they allow us to extend the life of our favourite garments in style.
Gabriela Martinez, specialist in embroidery and textile art and creator of Ofelia & Antelmo (@ofeliayantelmo), will show us the first step in fixing and adding personality to our torn or stained clothes with patches that you can even embroider if you so fancy. You can see the tutorial here.
Materials:
- Fabric for the patches.
- Thread and needle.
- Scissors.
- Pins.
- An embroidery ring.
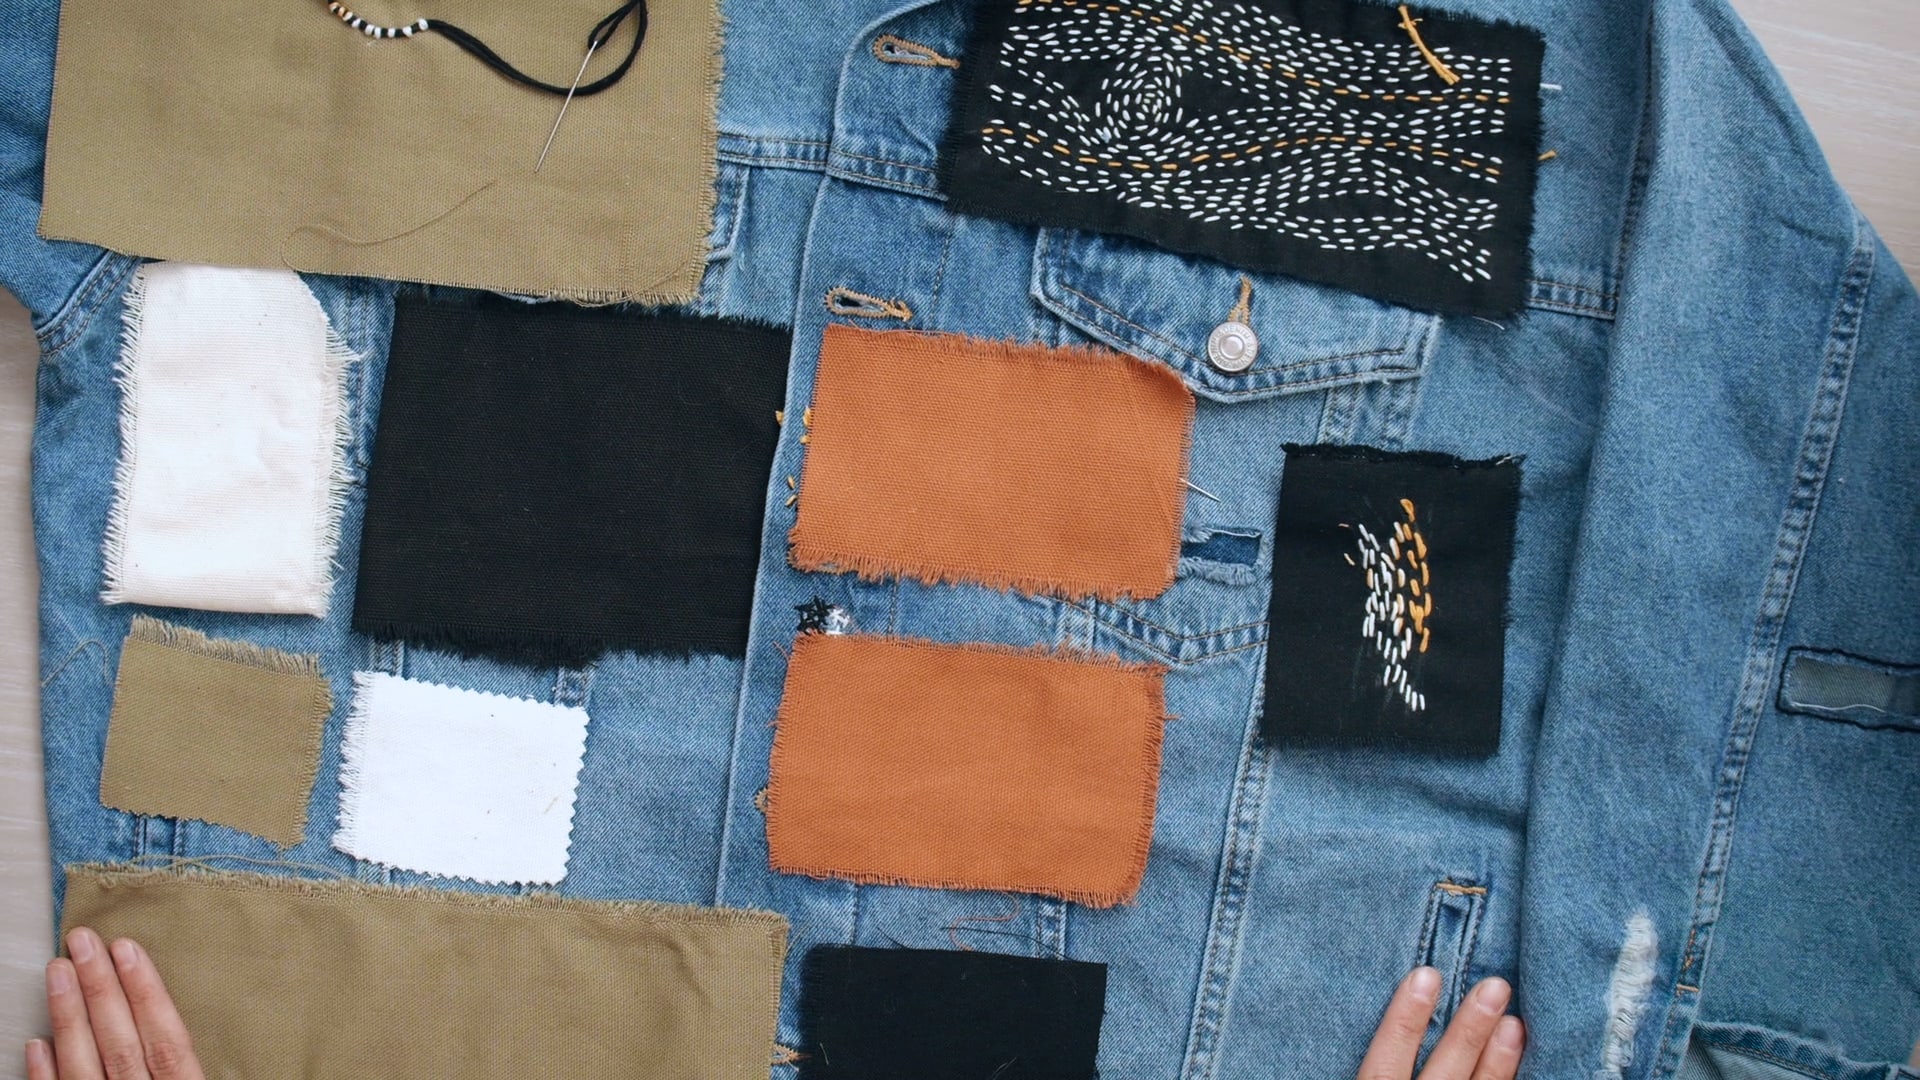
1. Prepare the fabric for your patches
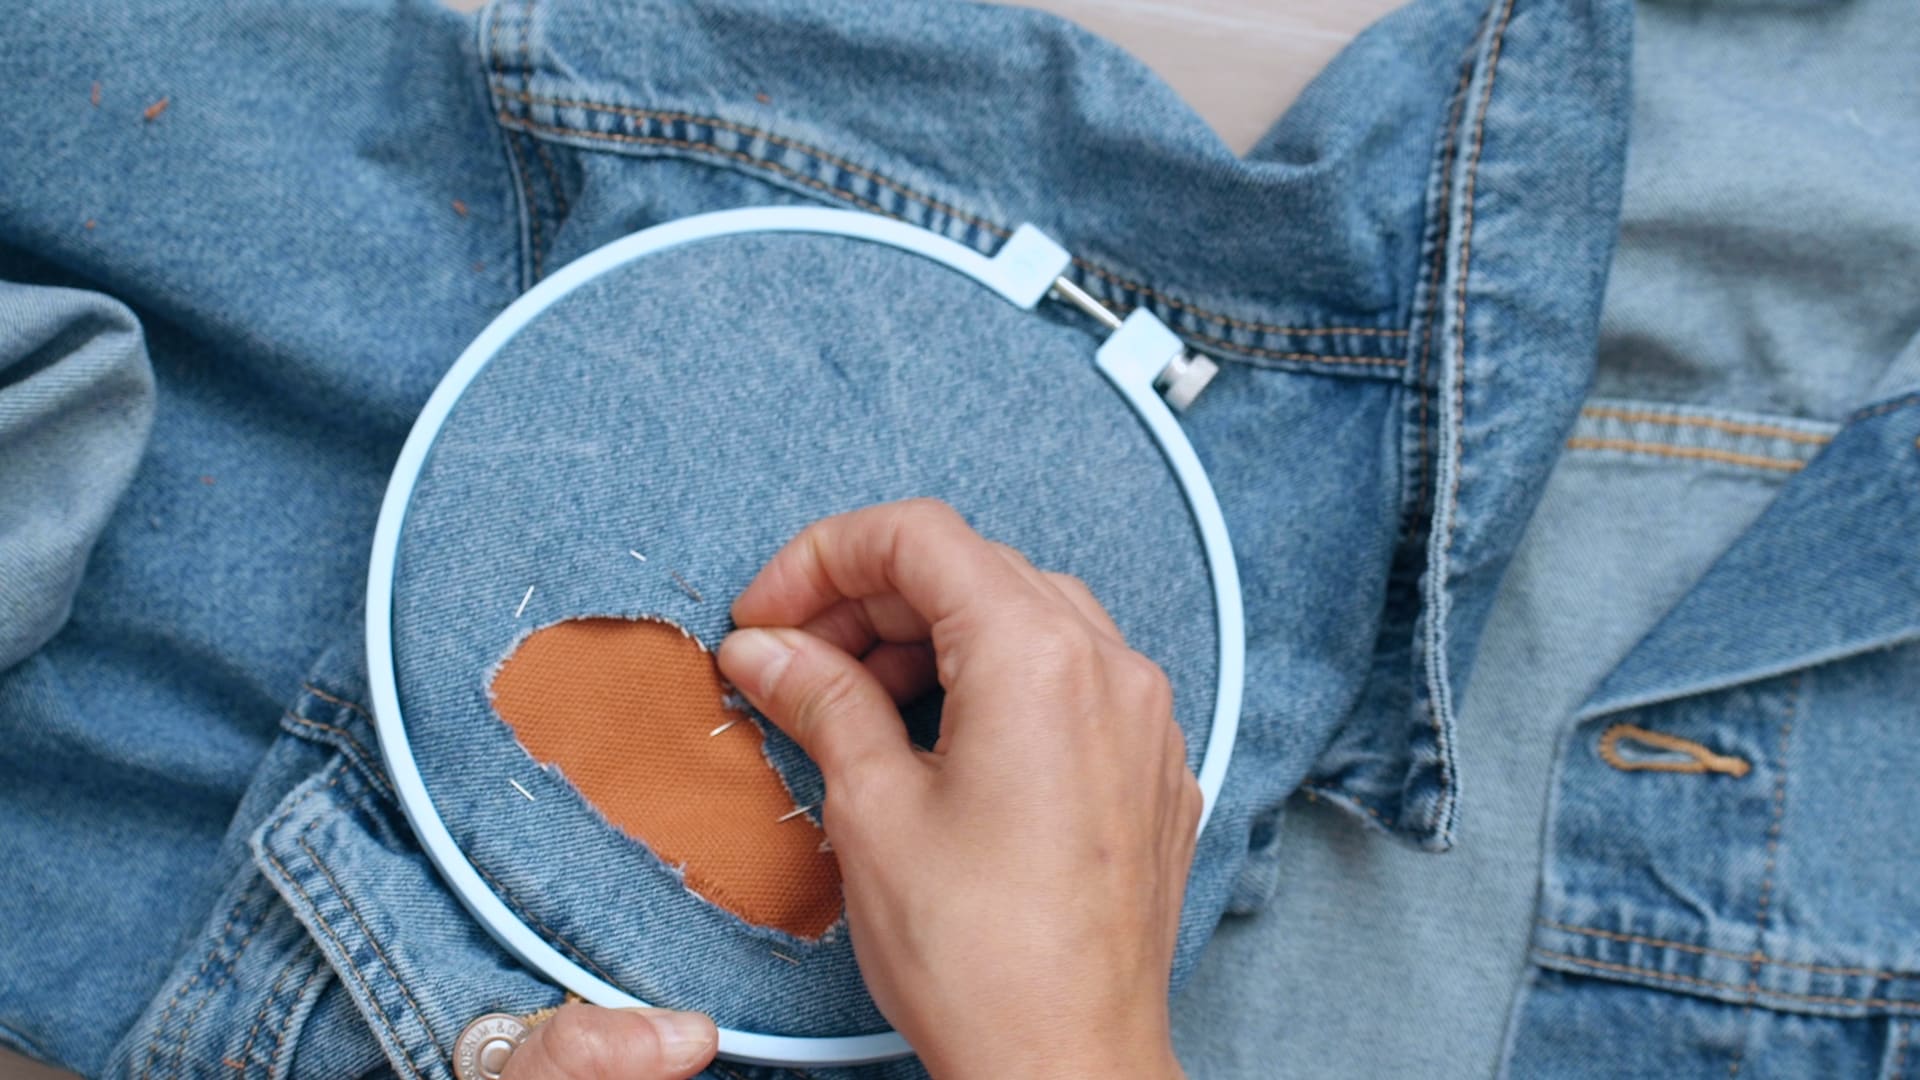
The first step is to make sure our piece of fabric is large enough to cover the area you want to patch up. To calculate the ideal size, you will place the fabric over the hole you want to cover and mark the perimeter, leaving a some margin on each side. Then, you will cut it with the scissors until you get the shape you want.
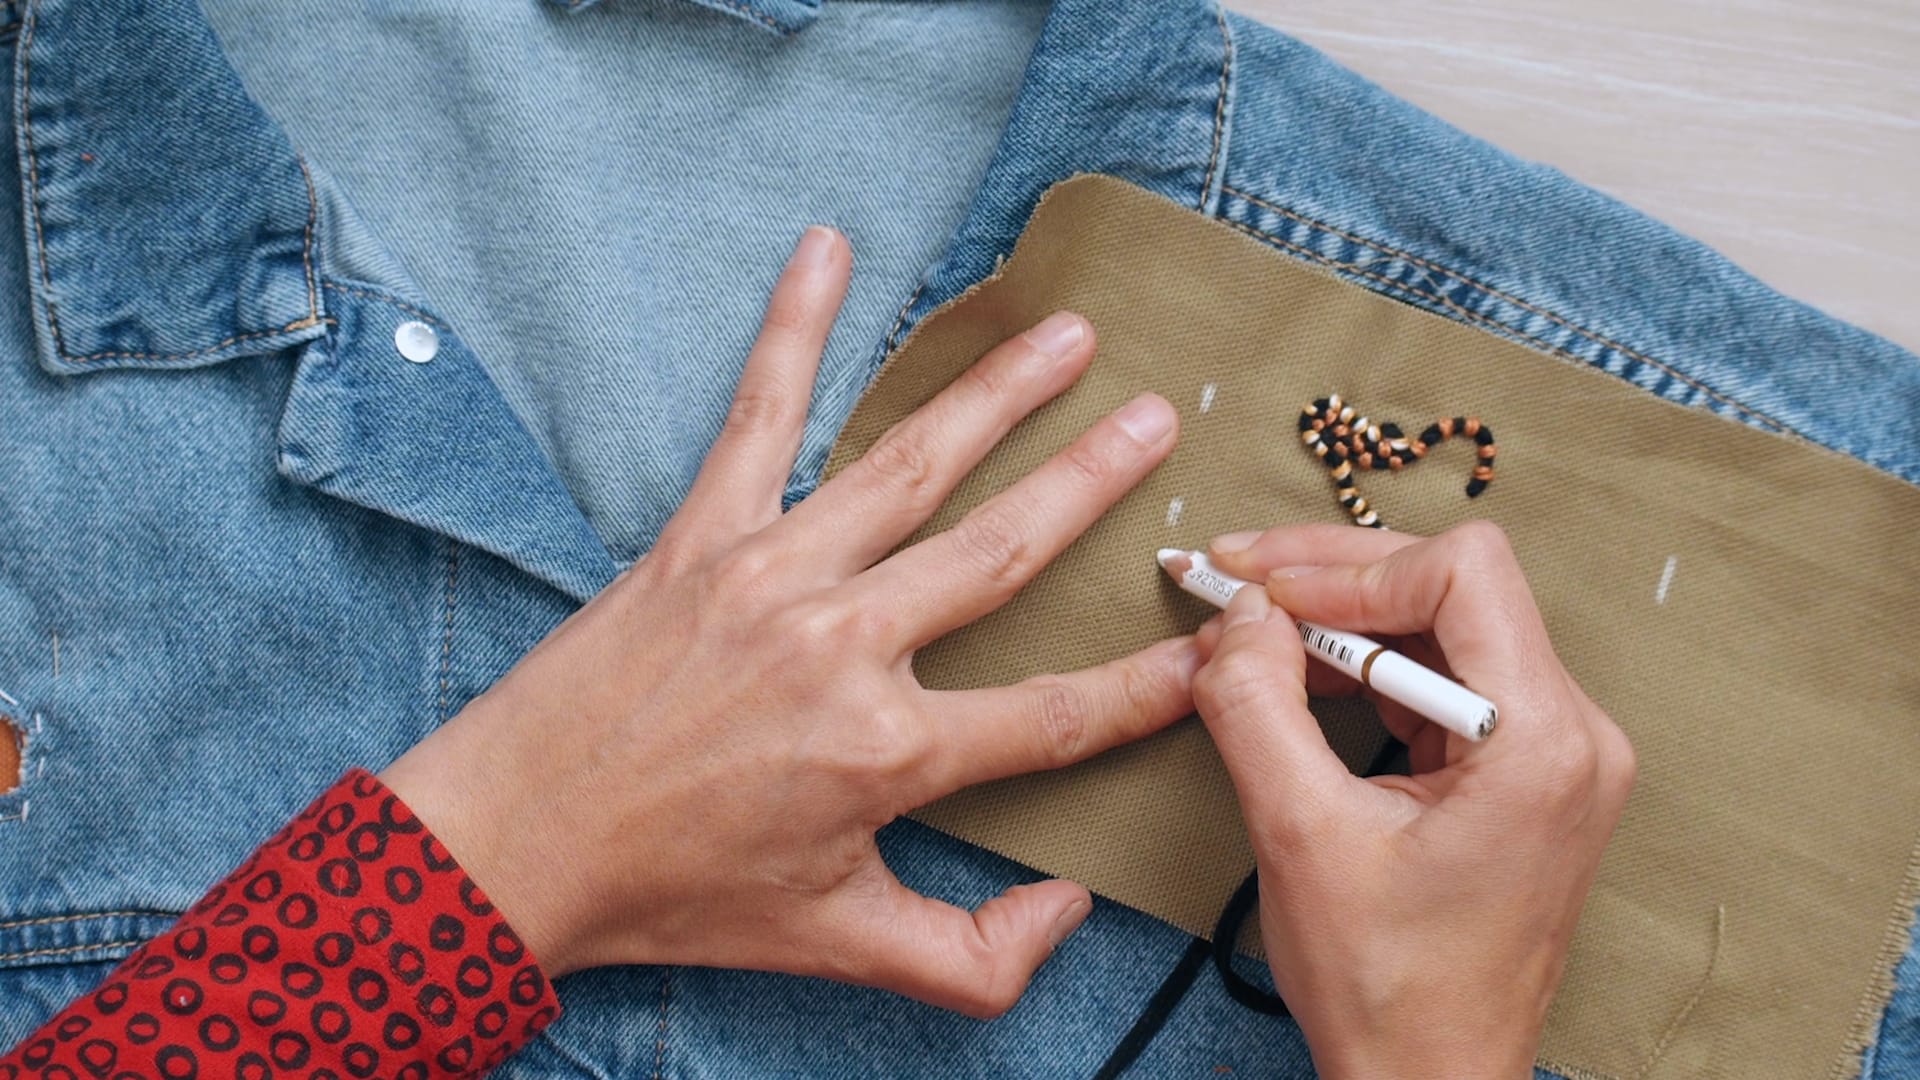
2. Is it frayed?
You can leave the edges of your patches frayed if that fits the type of design you are looking for. However, if you prefer, you can polish the edges of your patches to make them look cleaner.
To achieve this effect, start by cutting out a few millimeters of their perimeter with scissors and then prepare hems of approximately one centimeter on each side. Stitch these hems to the fabric, and fold the corners to secure them better. That will give you an unfrayed patch.
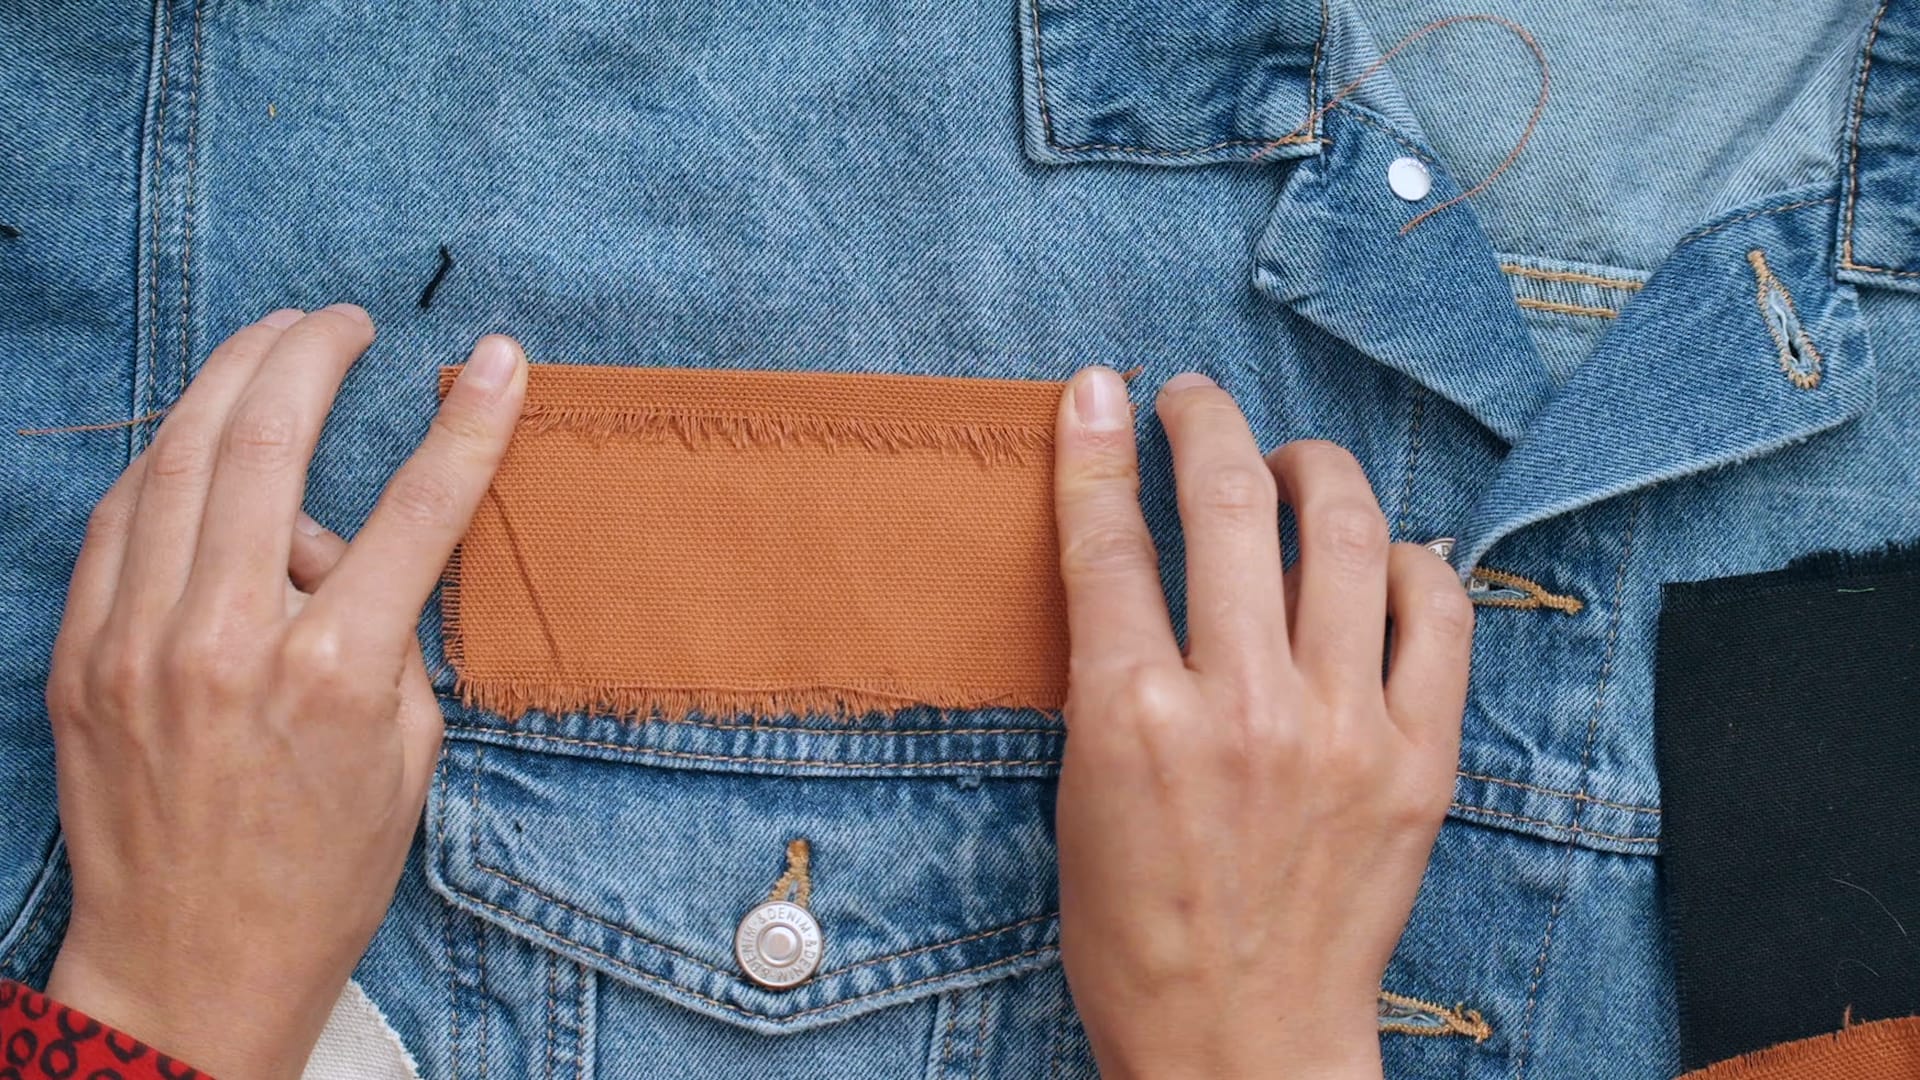
3. Inside or outside patches?
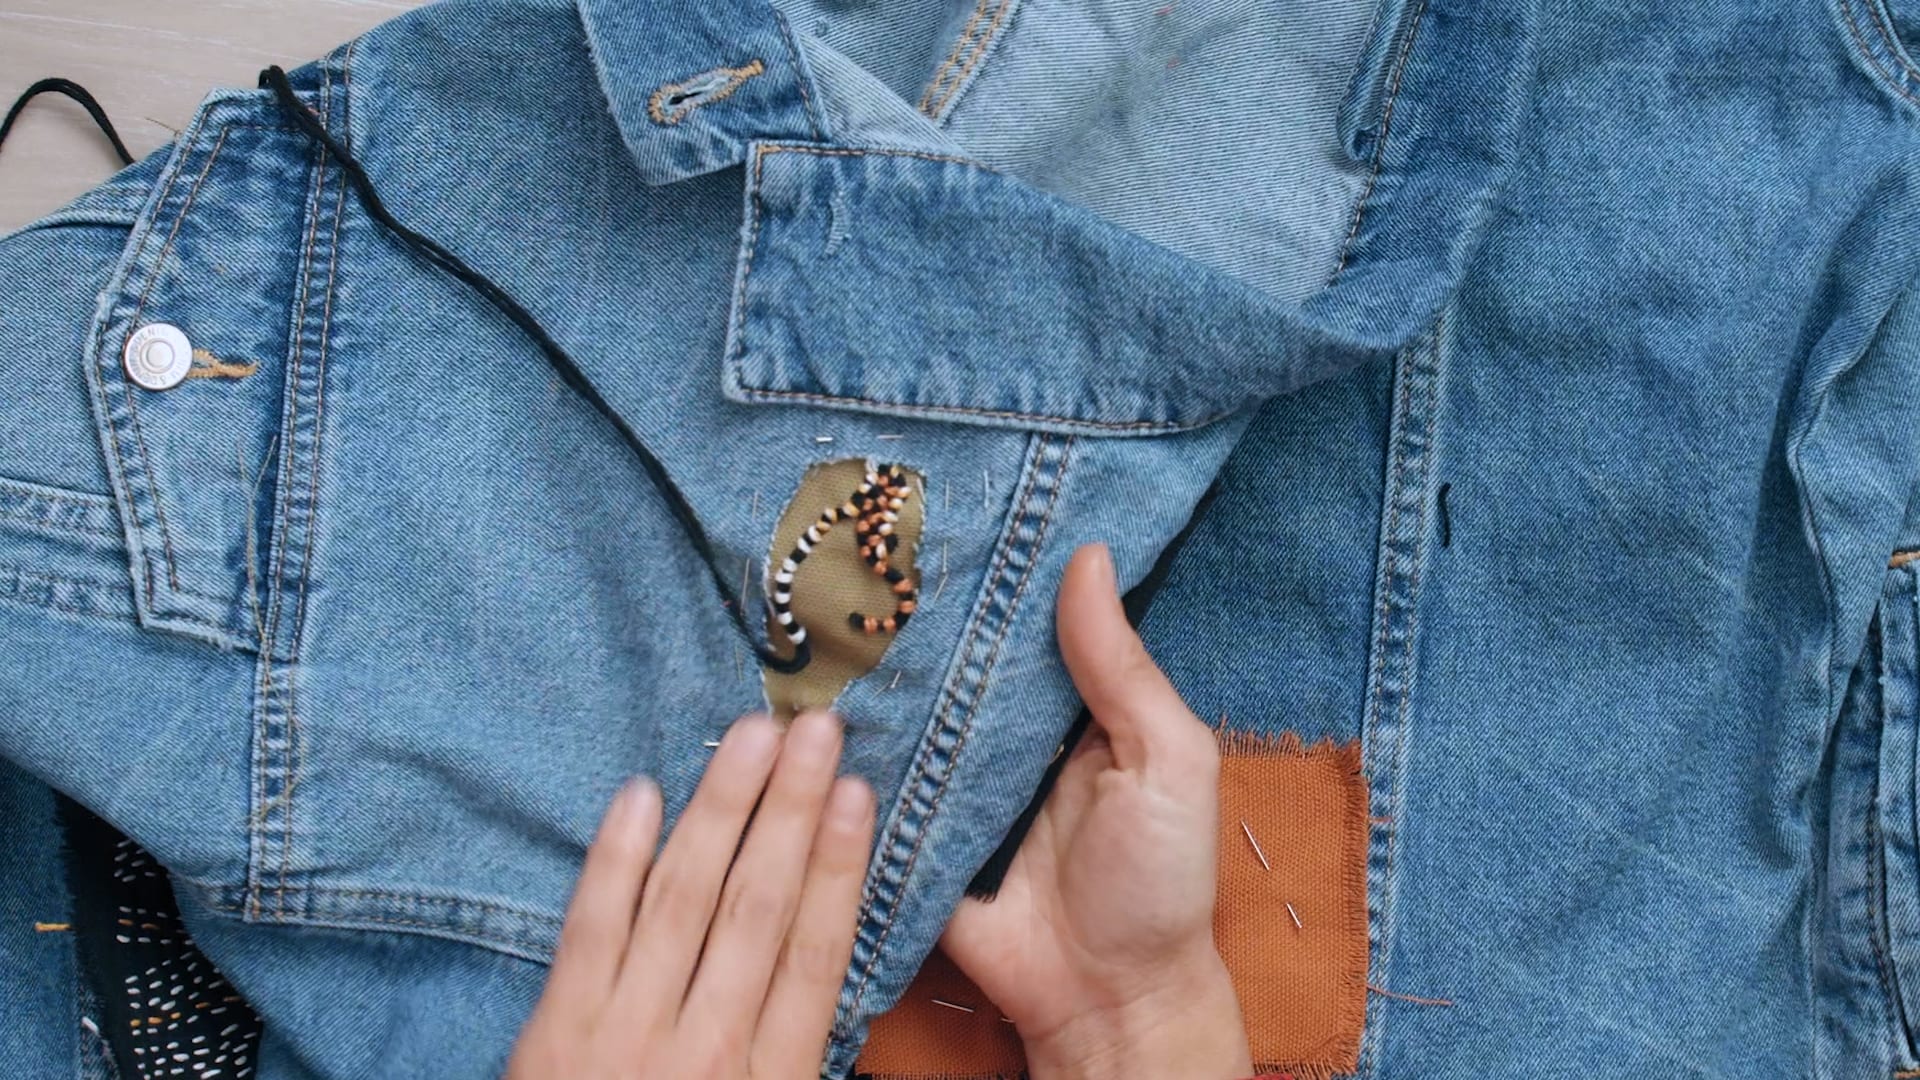
If you are trying to fix a hole with a patch, you have two options. One is to place the patch over the hole, hiding it completely.
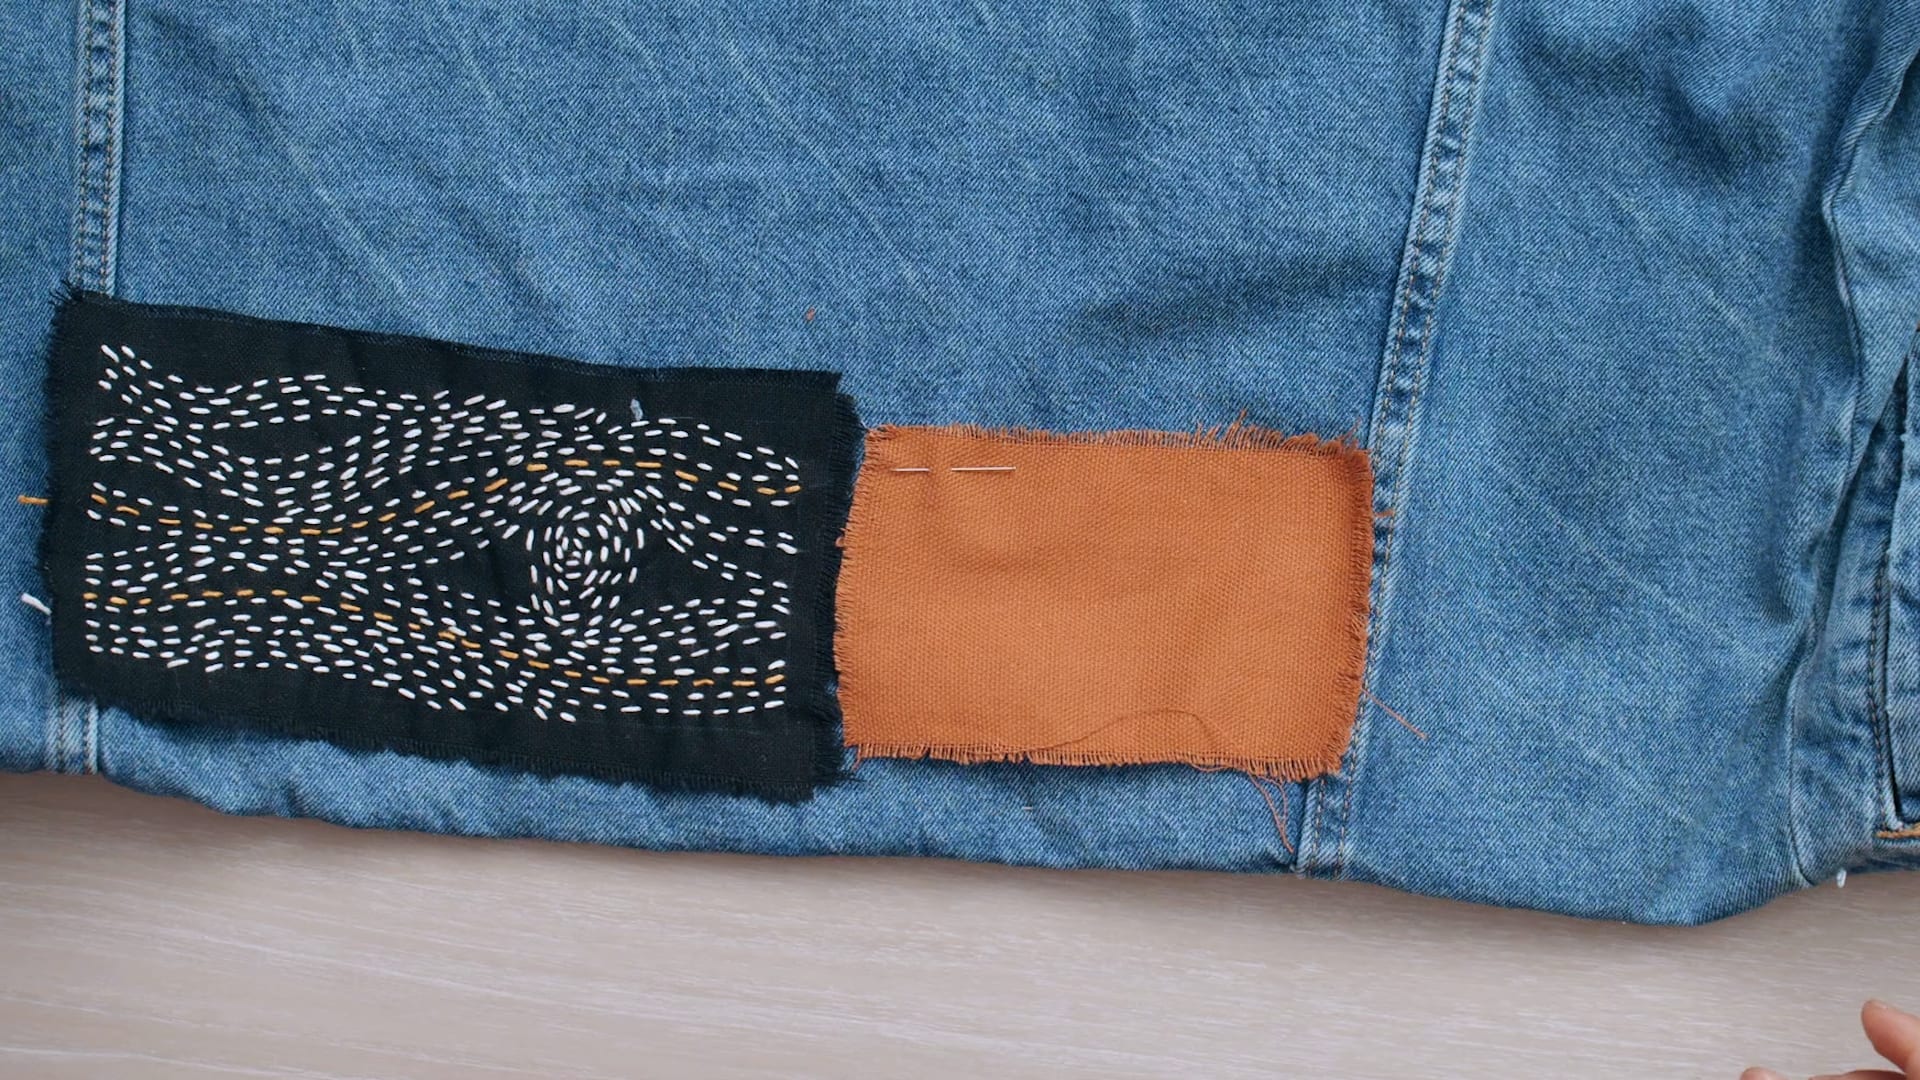
The other is to place the patch under the hole, in which case you will see the fabric and design you have chosen through it. In this case, you can modify the area of the tear if necessary to make the design look better.
4. Fix the patch loosely
Once you have prepared the right size patch and, with or without a hem to prevent fraying, it will be time to fix them temporarily to our garment so that you can then embroider on them if you wish.
Place the inner patches so that the hem part touches the garment and fix them on with pins. You also have the option of adding a basting stitch around the hole under which you will place the patch. Use the end of a thread and a needle and, when you're finished, tie it down with a small knot under the patch, and some more pins if necessary. An embroidery hoop can tighten the fabric to make the process easier.
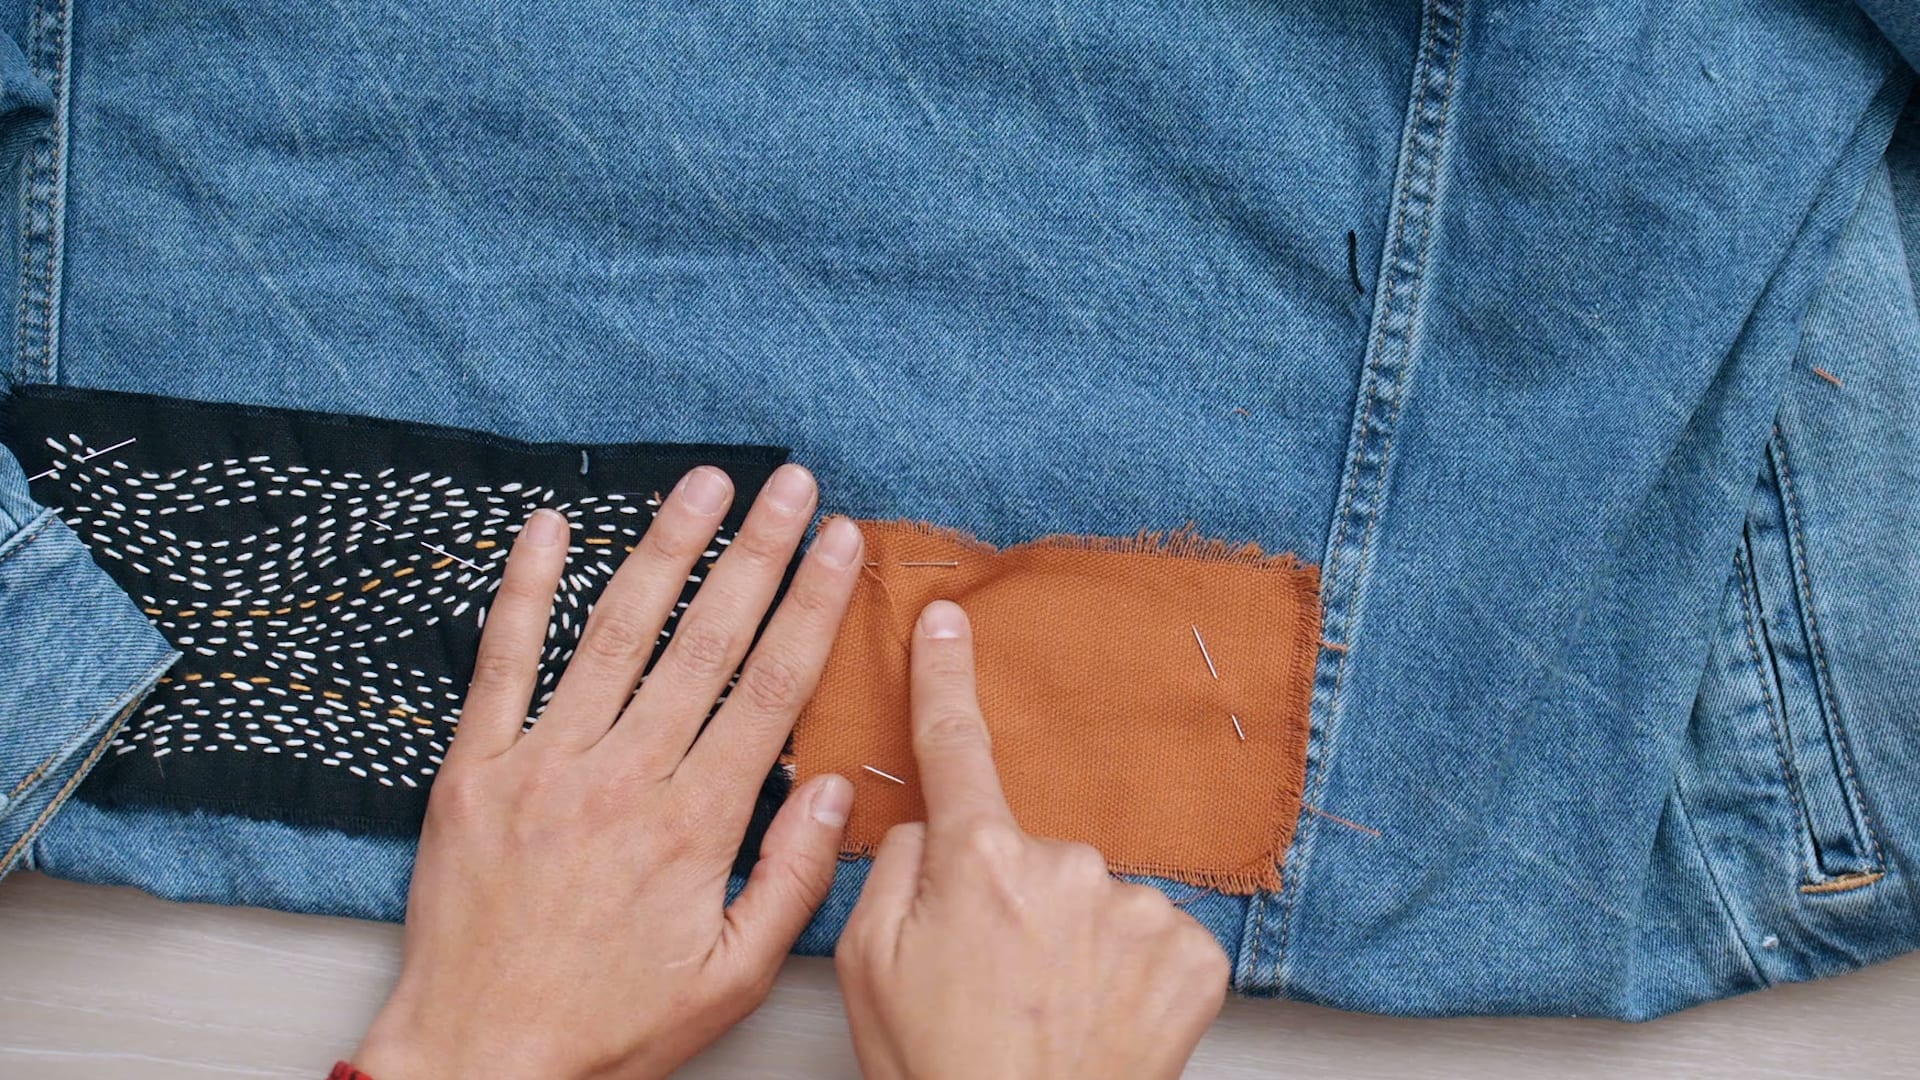
For exterior patches, on the outside of clothes, it will not be necessary to add the basting: simply fix them with pins.
Did you like this tutorial? Remember that you can learn with Ofelia & Antelmo how to use Visible Mending techniques to renew your garments with original embroidery and stylish patches in their online course Embroidery: Clothing Repair.
You may also like:
- Upcycling with Crochet for Beginners, a course by Emma Friedlander-Collins
- Sustainable Fashion: Introduction to Upcycling, a course by Ximena Corcuera
- Designing Handicraft Garments from Scratch, a course by Ofelia & Antelmo


0 comments