


How to Create Shapes using the Shape Builder Tool in Illustrator
Learn to use the Shape Builder tool in Adobe Illustrator and make your workflow easier
While it might not be the most well-known tool that you Adobe Illustrator has to offer, it is very useful for working with vectors. The Shape Builder tool allows you to create complex figures using basic geometric shapes and work quickly with different design types.
This tool is very straight-forward and easy to use. Once you get to grips with how it works, you’ll be able to work out how to create perfect shapes very quickly using the tools offered by Adobe Illustrator.
Here we explain how to use the Shape Builder tool to create shapes in Adobe Illustrator:

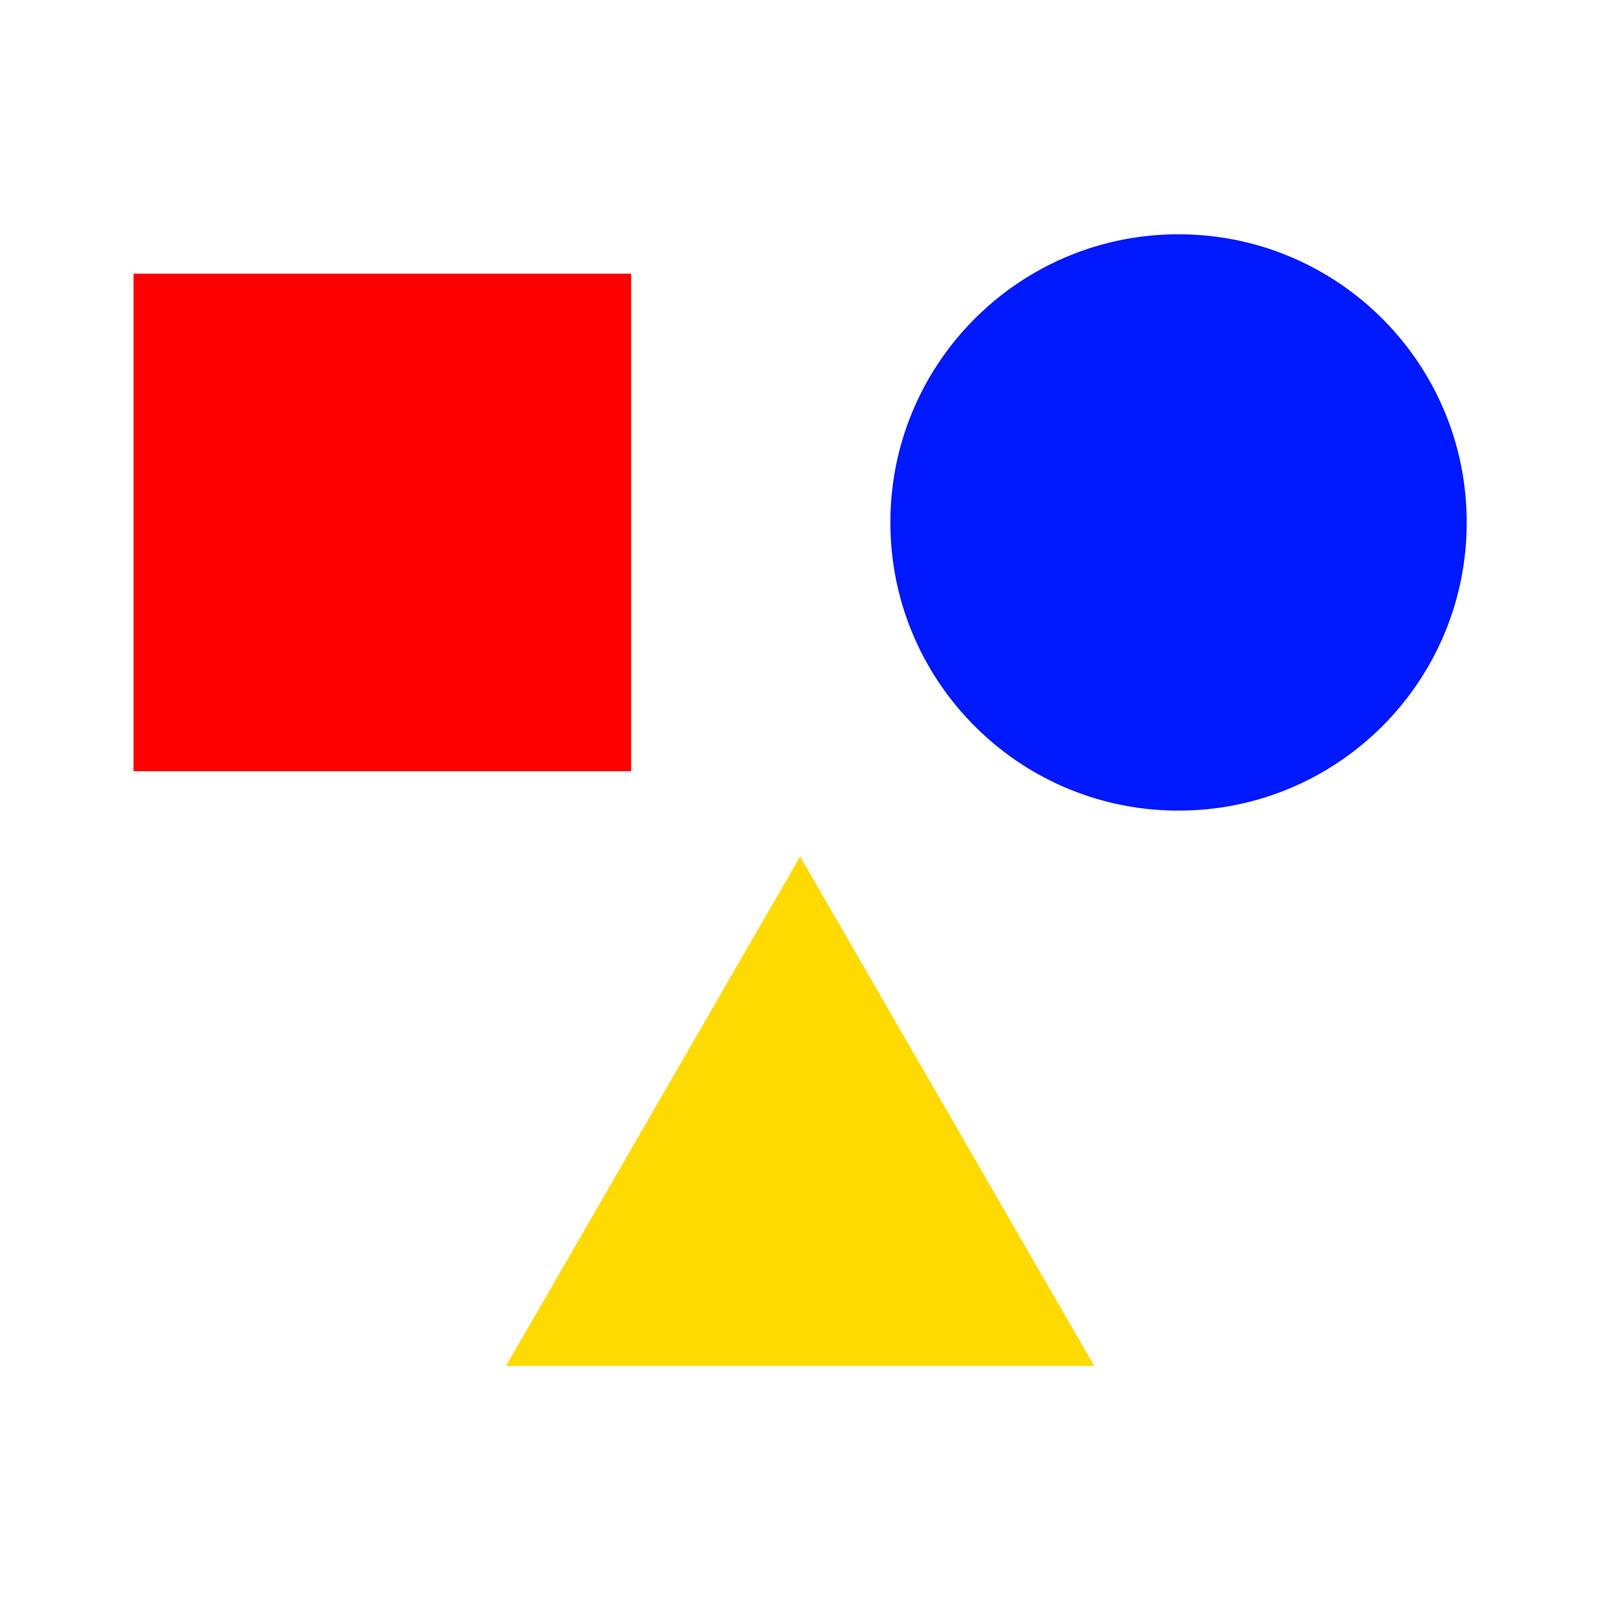
1. Create basic shapes
The first step to working with the Shape Builder tool in illustrator is, of course, to build basic shapes. You can either use Illustrator’s predetermined geometric shapes (rectangle, ellipse, polygon, or star) or freely create your own using the Pen tool.
Remember, when using tools to create polygonal shapes, if you press the Shift key while dragging the cursor, you’ll create a completely symmetrical shape. If you press Alt, then the position of the cursor will determine the shape’s center.
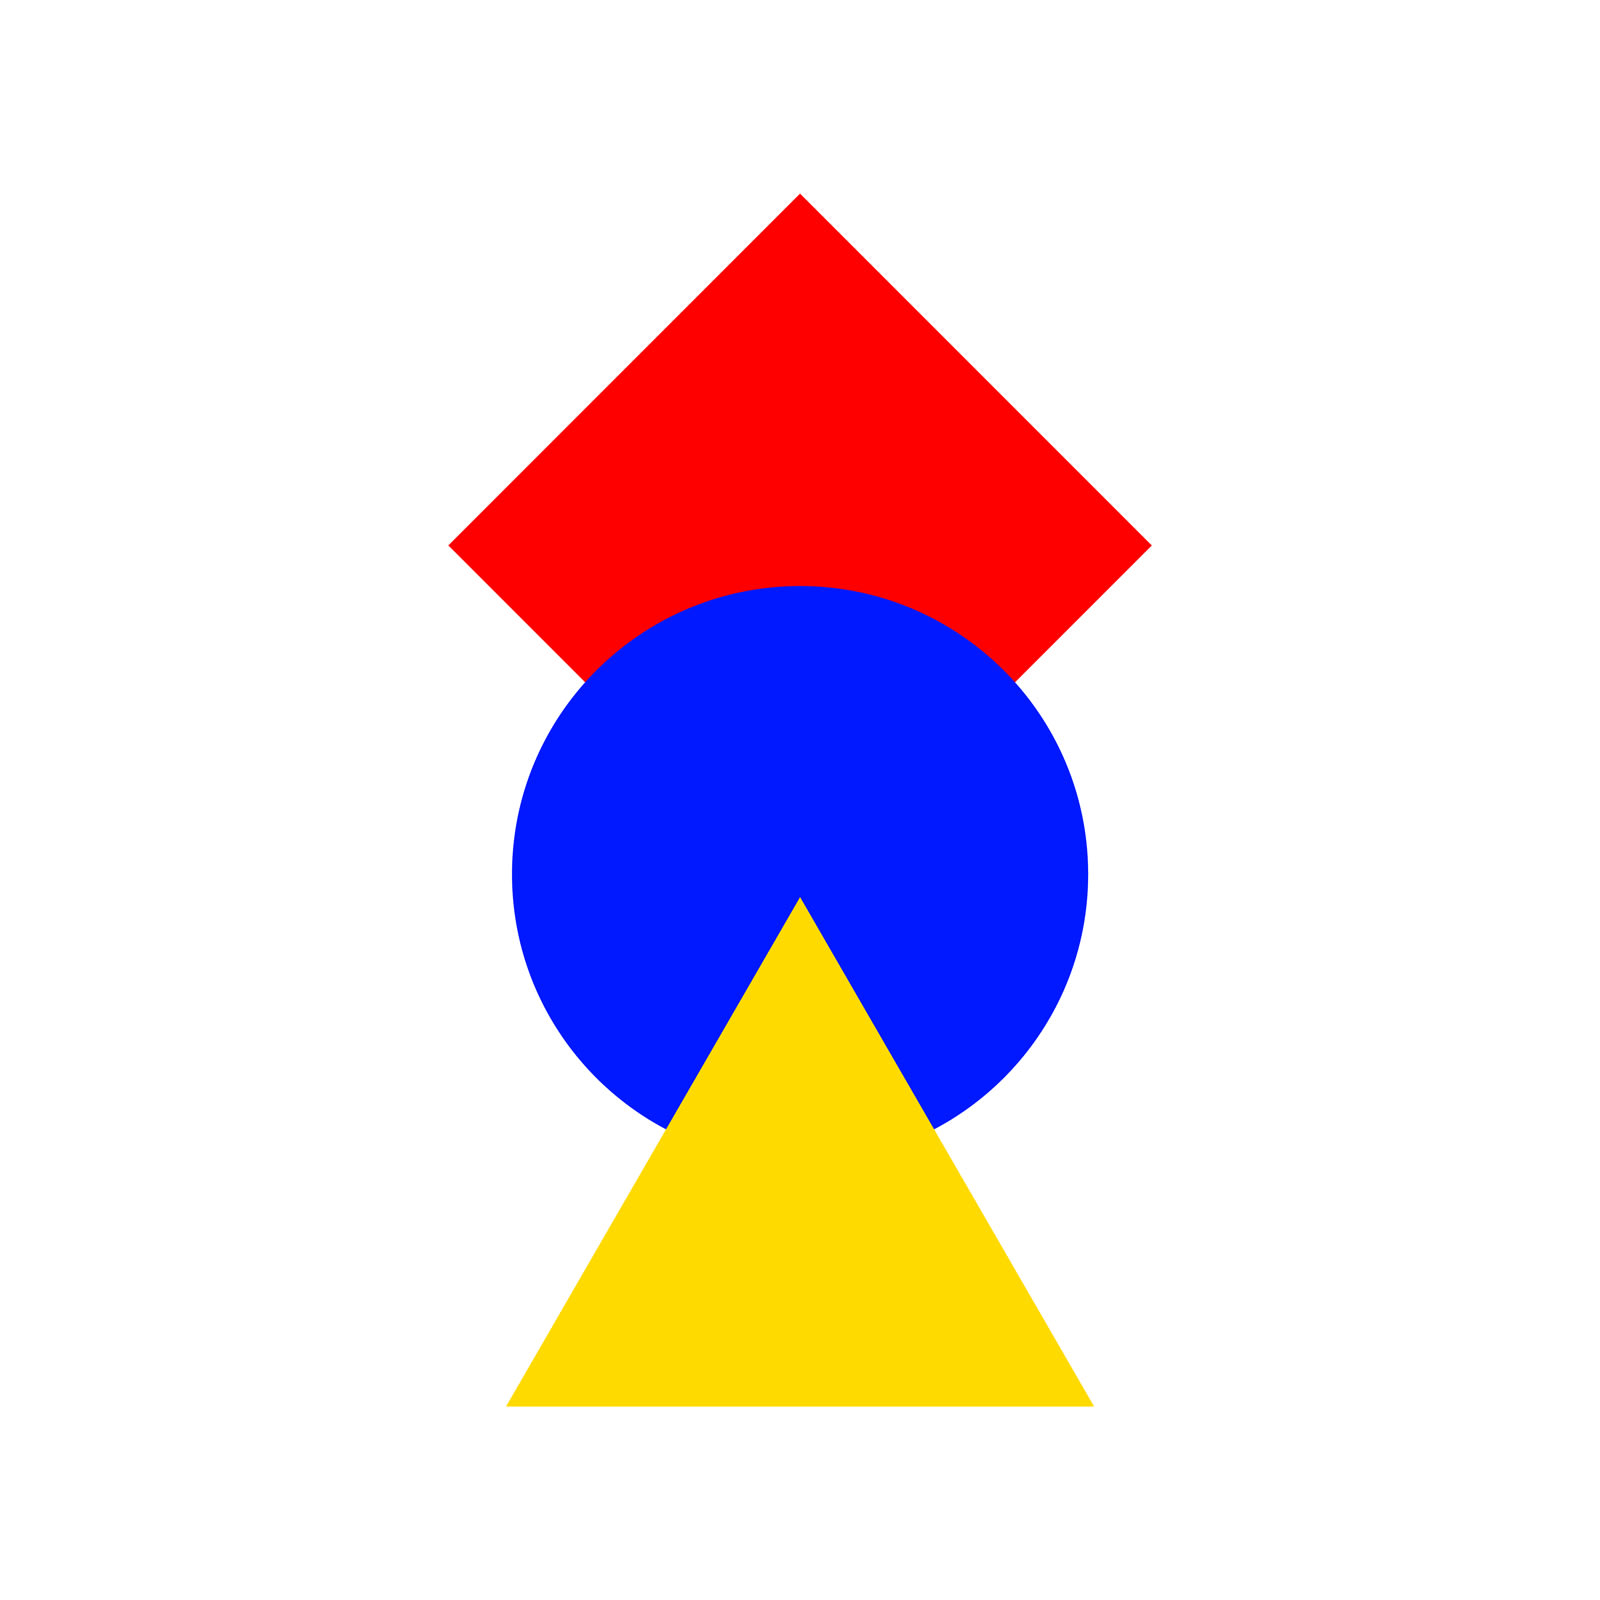
2. Move, rotate, and position shapes
Using the Selection tool, you can move your figure around your workspace simply by clicking on it and dragging it into a different position. You can also modify its size. If you hover your cursor over the small squares that mark the points of the shape, a double arrow will appear that forms an angle showing that you can rotate the shape using the point as an axis.
This way, you will be able to modify and place shapes as you wish, overlapping them so that you can make the most of the Shape Builder tool.
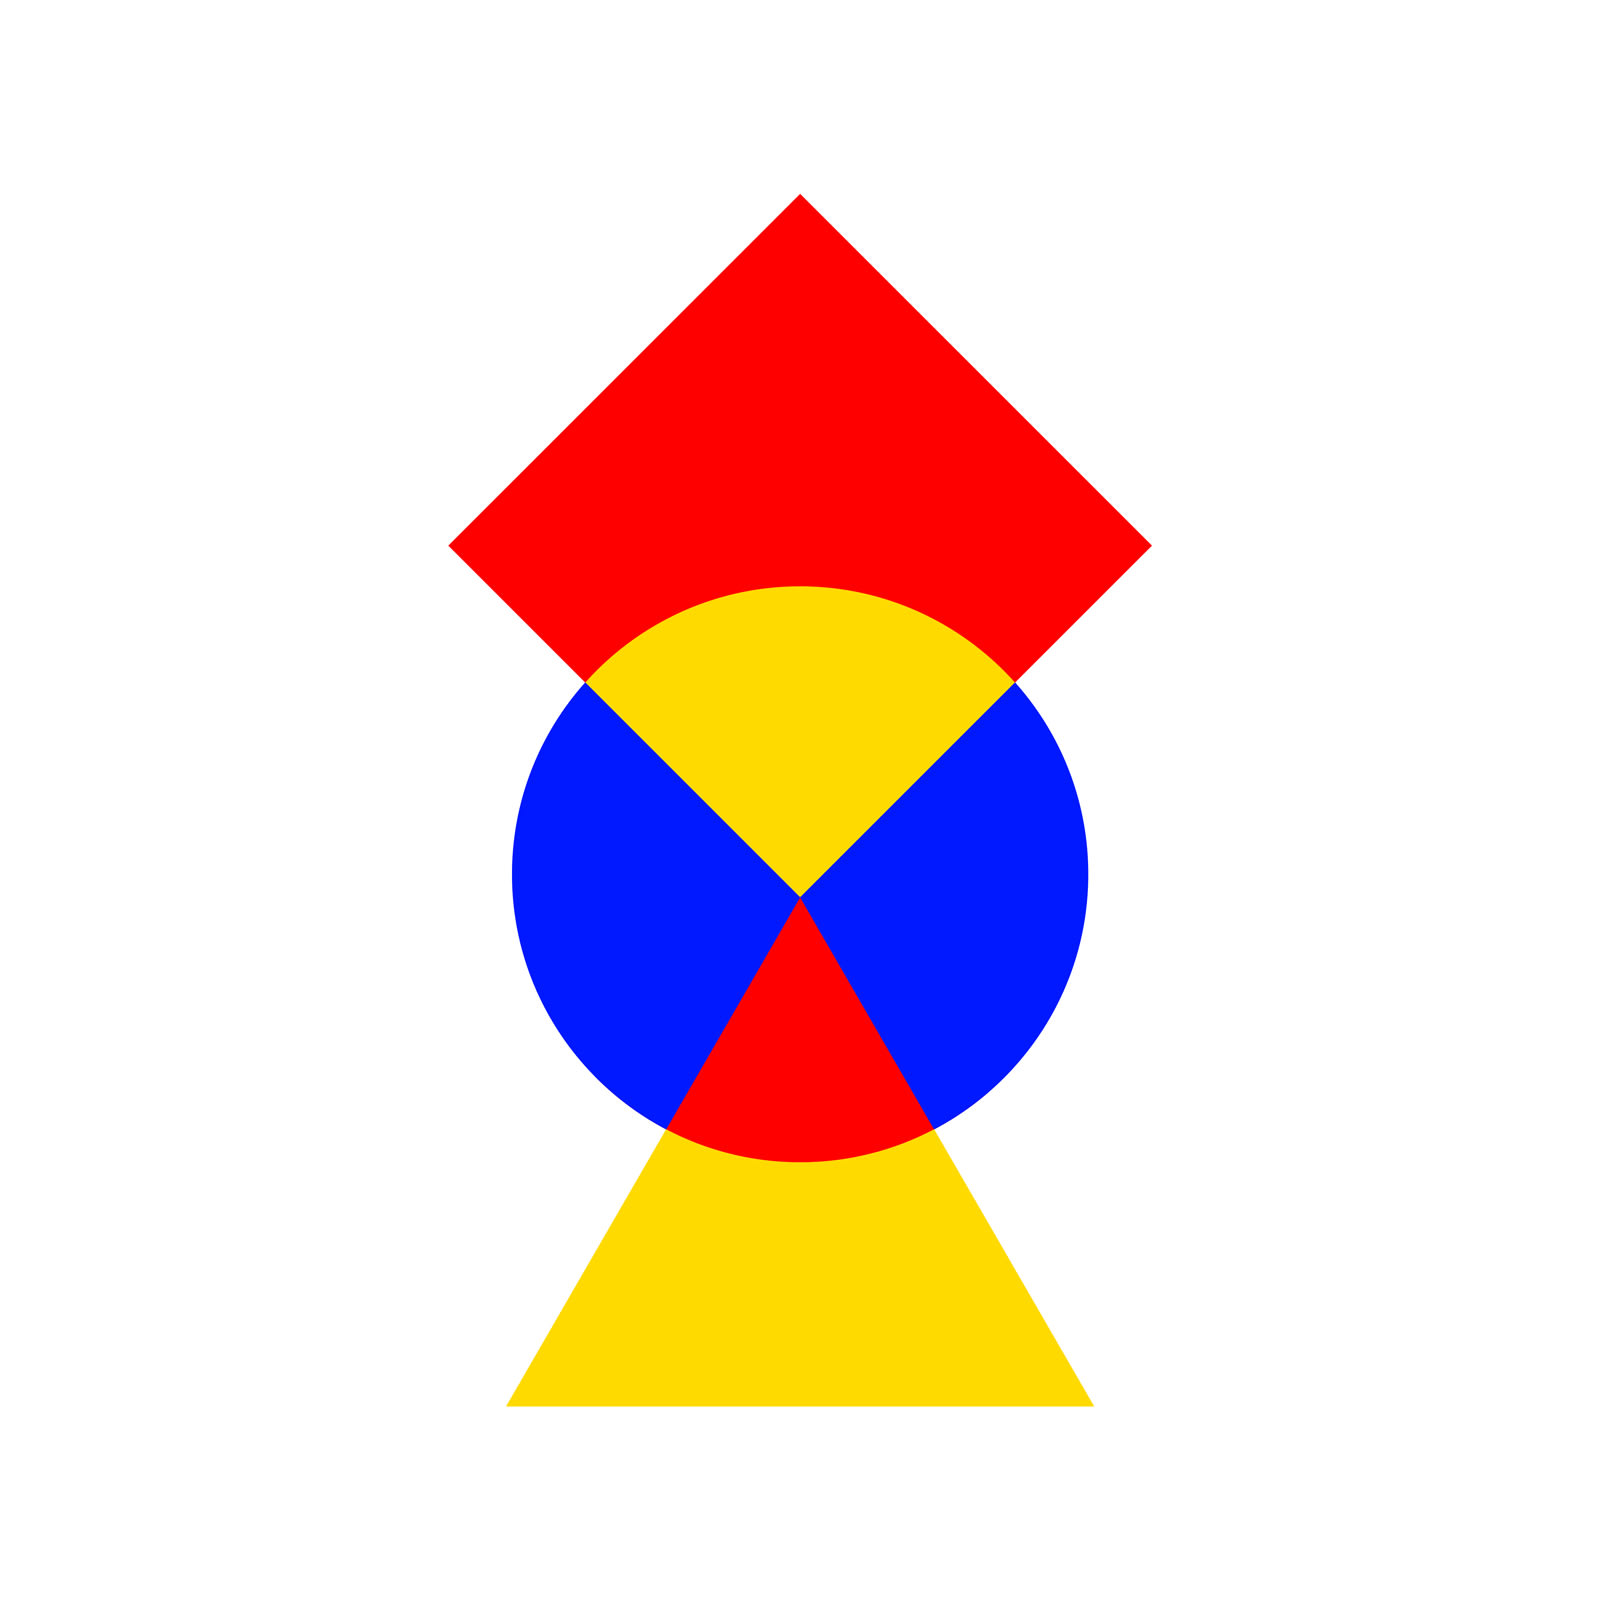
3. Join shapes
Joining shapes together using the Shape Builder tool is very simple. You can select two or more shapes that overlap each other using the Selection tool. Then, activate the Shape Builder tool, and you’ll see a small ‘+’ sign appear beside the cursor to the bottom right.
To join shapes together, all you need to do is click on one of them, and, without letting go, move it towards the shape you want to add it to. You’ll see a grid appear that indicates which shapes are being joined together.

4. Separate or eliminate shapes
If you want to create the opposite effect and separate shapes, just like the previous step, you should select the shapes that you want to separate using the Selection tool. Then, having selected the Shape Builder tool from the toolbar, you can click on each part to separate it from the rest and later delete them using the Direct Selection tool. Or, you can press the Alt key and click on the parts of the shapes that you want to delete.
When you are using the last option, while pressing the Alt key, you will see the '+' beside the cursor transform into a '-' sign, to indicate that the shapes will be removed instead of being added.

5. Add color
Once you are satisfied with the result of the shapes you’ve been working with, you can start to play with color to create effects and give the design the look you’re after.
As each of the different parts of the shape is independent, you just need to select them and choose a fill or line color from the color panel to add color.


1 comment
andreasnuggsart
PlusThanks, that was very helpful. I am new to Illustrator and I was always looking for the option to deduce a form from another.
Andrea