


Embroidery Tutorial: Herringbone Stitch
Follow this step by step guide to learn how to illustrate with a herringbone cross-stitch technique, with Yolanda Andrés
Yolanda Andrés (@yolandandres) grew up in a village surrounded by the women in her life, both friends and family, and by thread. She decided to give up the thimble and work in graphic design and advertising until 2008 when her daughter was born prematurely, and she started to spend long hours in the hospital with her trusted needle and thread.
This is how what started as a distraction, a way to relax and fill in long waiting hours, turned into a business.
Now a creative embroiderer, she has collaborated with many designers and establishments such as Hermès, Thyssen Museum, and Carolina Herrera.
In this tutorial, she will teach you to create a herringbone stitch, one of the most interesting types of cross stitch.
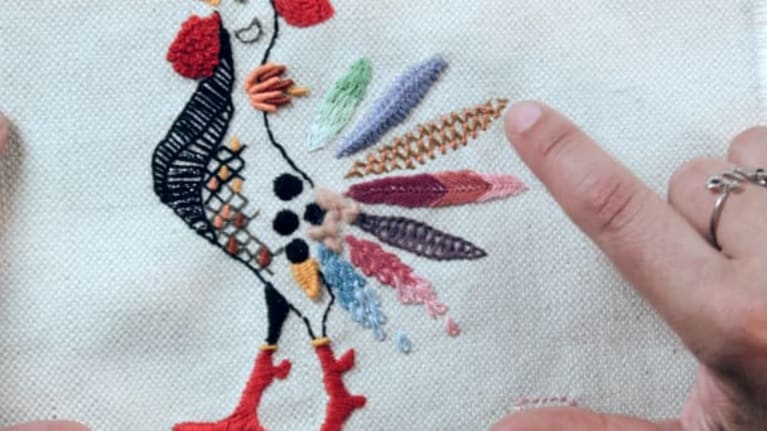
The herringbone stitch is a very simple type of cross stitch that can be used to fill in areas in a very pretty way. You can also add more details on top of it.
Steps:
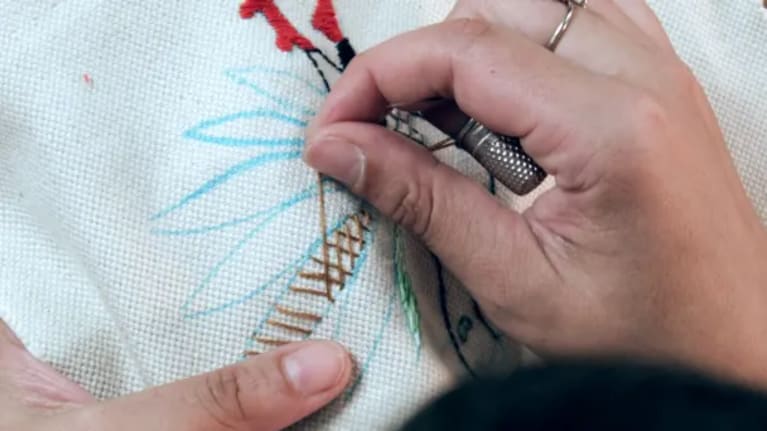
1) Start with a tilted stitch, almost diagonal, to cover the whole piece in the same direction. This is the first part of the herringbone cross stitch.
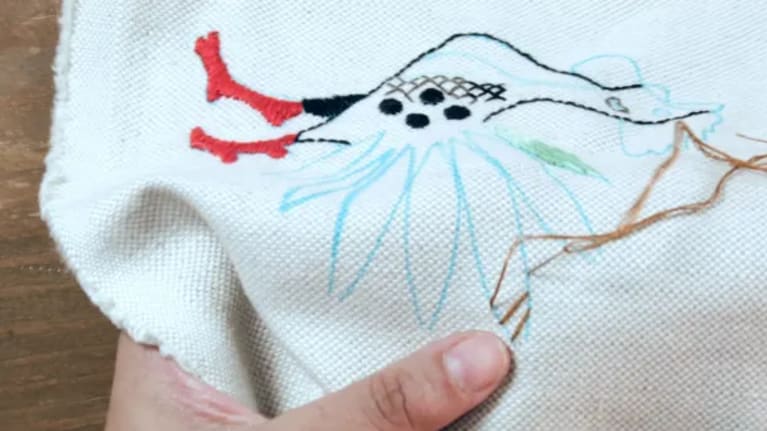
At this stage, it is interesting to notice how little thread is being used in the reverse, whilst in the front, the piece will be completely covered by the thread. With this stitch you will be able to save material and keep a neat look.
2) In the second stage of the stitch, the design of the grid will be visible. The second thread crosses over the first one diagonally and the desired effect of a grid starts to appear. The piece starts to develop.
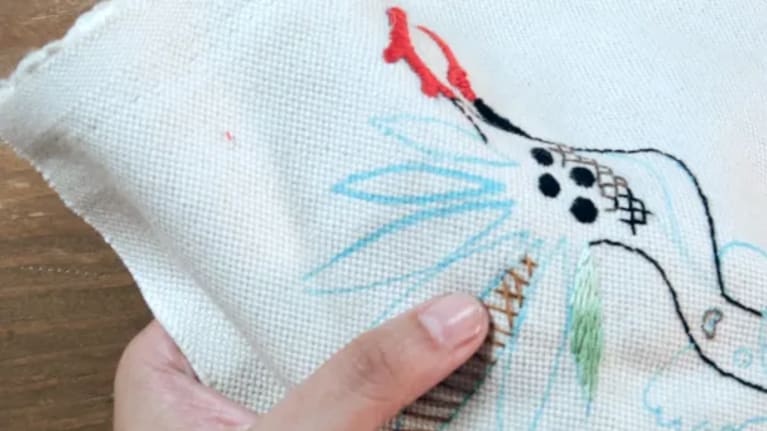
A trick to achieve straight lines at this point (if you have not opted to sketch them on the fabric) is to pull the thread and create an imaginary line.
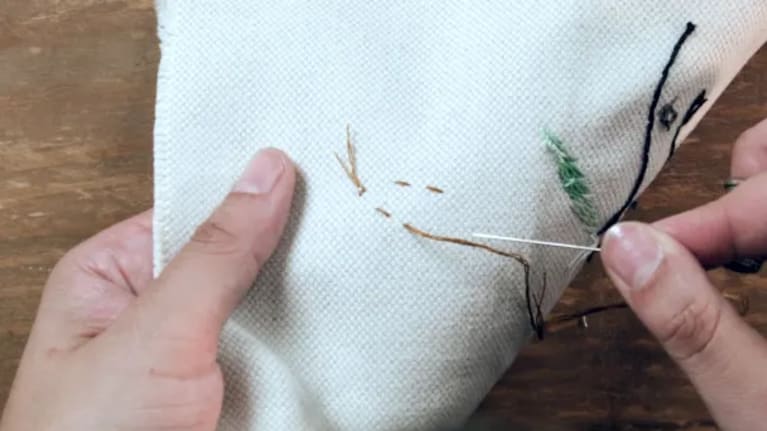
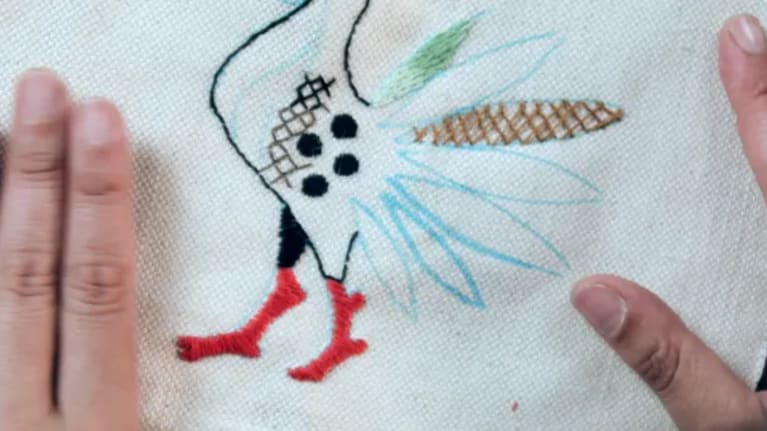
3) Sew up the thread at the back when the piece is complete. It will look similar to a honeycomb made of small diamond shapes.
If you have enjoyed this tutorial, do not miss more of Yolanda’s tips in her course: 'Embroidery Technique: Illustrating with Needle and Thread' where you will learn how to transfer a drawing onto fabric and start practicing all types of stitches armed with needle and thread.

You may also be interested in these tutorials:
- Watercolor Tutorial: How to Paint with Watercolor Brushes and Pencils
- Craft Tutorial: How to Prepare Your Frame to Start Embroidering
- Illustration Tutorial: The Color Wheel


0 comments